Category Archives: tote bags

Mixing It Up

When I pulled fabrics a few weeks ago for my current Junior Billie Bag, these were my picks:

You can see at a glance this is a combination of batiks and regular woven cottons. Some quilters work exclusively with one or the other but I really like to mix ’em up.

You’ve already seen the front and back panels of my JBB in progress:

Now here’s a look at the pockets on the inside of the front and back panels:


I also have the side panels/bottom unit done (not pictured) and my binding made. This bag is ready to become three-dimensional! That happens next week, when I demonstrate how it’s done for a marvelous group of students from the Oregon Coastal Quilting Guild.

When this bag is finished it will go on display at Montavilla Sewing Center in Lake Oswego. Why? Because I’m teaching a Junior Billie Bag workshop there in February and March of next year. When the class is over the JBB goes home with a dear friend of mine who loves the color purple.


Posted in Billie Bag, Junior Billie Bag, kaleidoscope quilts, tote bags, update | 8 Comments

Little Labors of Love

Thank you all so much for your kind comments on my last post about my father’s passing. I don’t often write about my personal life on this blog but in this case my connection with my dad intersected with my quilting life in such a meaningful way that I wanted to share it with my readers. I appreciate your words of comfort so very much.

My big project for 2018, the sampler quilt known as Hazel’s Diary Quilt, has been on hold the last couple months while I worked on small projects for friends and family. I think of these projects as Little Labors of Love.

In the past I’ve shown photos of pillowcases made for my sisters Reigh and Diane. Recently I made pillowcases for another set of very special sisters in my family, Jenny and Tracy. I asked them to let me know their color preferences and then selected fabrics from my stash I thought they would love.

Here are Tracy’s cases . . .

. . . and Jenny’s:

(I followed my picture-heavy tutorial to make these burrito-style pillowcases.)

Another labor of love is this mysterious item made from quilted fabric:


It measures about 18″ square (not counting the straps) and is doubled in order to create four channels, each about 4″ wide and open at one end. On the inside it has Velcro strips along the sides:

When folded in half the Velcro strips close and it becomes a carrying case:

Can you guess what this is for? Only if you are a Mah Jongg player! In addition to being a champion bridge player, my stepmother Shirley is an avid Mah Jongg fan and plays regularly. She asked me to make a carrying case for the tile racks in one of her sets.

My guide for this rack carrier came from another Mah Jongg player named Dorothy Huotari who posted a photo on Facebook in June of one she had made and graciously gave permission to other crafters to replicate it:

I have enough left of the quilted fabric to make Shirley a matching bag for the tiles similar to the one shown in the photo of Dorothy’s carrying case.

Last month I put the binding on a beautiful quilt made by my friend Virginia Hammon:

The quilt was one of many made by Virginia that were featured in a special exhibit at Northwest Quilting Expo last month. The quilts illustrate a book she has researched and written about the U.S. monetary system. With the text finished, Virginia can now concentrate on finishing the quilts. Since I truly enjoy the binding process, I was happy to add the binding to this beauty.

I get so much pleasure working on these Little Labors of Love, sandwiched as they are between longer term projects.


Posted in family, home dec, roll-it-up pillowcases, tote bags, update | 1 Comment

Junior Billie Bag: A New Beginning

In the works: a new Junior Billie Bag, based on Billie Mahorney’s original design. I’ve had the pleasure of teaching this fabulous quilter’s tote for the last three years and will be heading to the Oregon coast next week to teach a two-day workshop for a quilt guild.

A new class necessitates a new Junior Billie Bag, and here’s a preview of the one I’m working on right now:


(My celadon green carpet isn’t the best backdrop to show off the front and back panels but it will have to do for now.)

My starting point was this gorgeous print from In the Beginning Fabrics that came out last spring. Designed by Jason Yenter, it’s called “Ajisai Hydrangea:”

For one of the front/back panels I made a windmill block, inserting a fussy cut blossom in the center with narrow trim around it:


For the other panel I made a kaleidoscope block of eight 45° degree triangles, converting it into a double inset circle:


I just happened to have the perfect button in my collection to put in the center of the circle. The button went on after the panel was quilted:

Now I’m preparing to make a plethora of pockets. Here’s my fabric pull, a pleasing mix of woven cottons and batiks — all from my stash:


Does anyone else love the combination of green and purple as much as I do?


Posted in Billie Bag, Junior Billie Bag, kaleidoscope quilts, tote bags, update, windmill block | 8 Comments

It’s Party Time!

Cheryl at Meadow Mist Designs is hosting a Best of 2017 Linky Party, inviting bloggers to highlight their top five posts of the year. It’s a fun way to look back over the last 12 months and identify some of the high points.

My top five are below, in reverse order. Clicking on the links will take you to the original posts.

5. Dutch Treat. Although I didn’t finish this quilt till June, I started it in January during an epic snowstorm that kept me and many Portlanders indoors for several days.

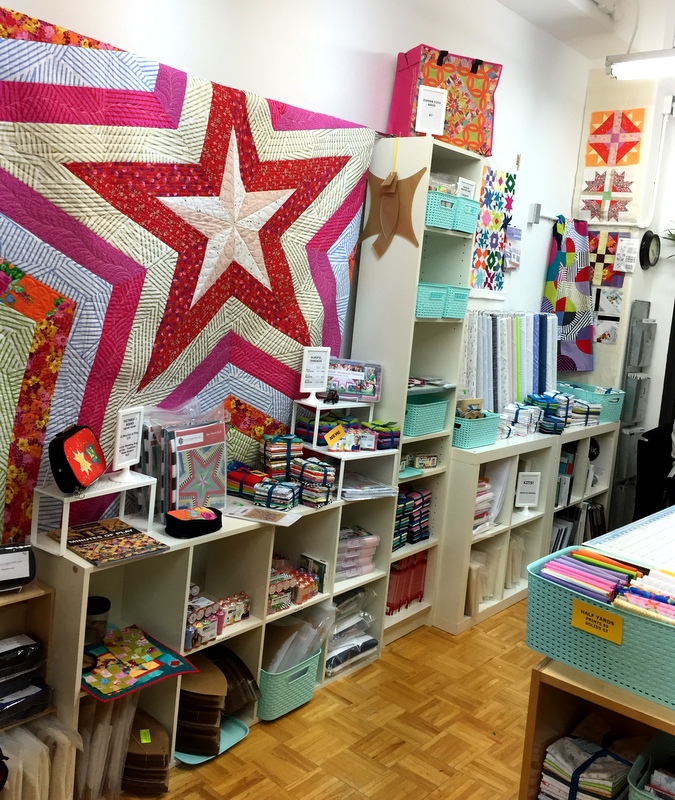
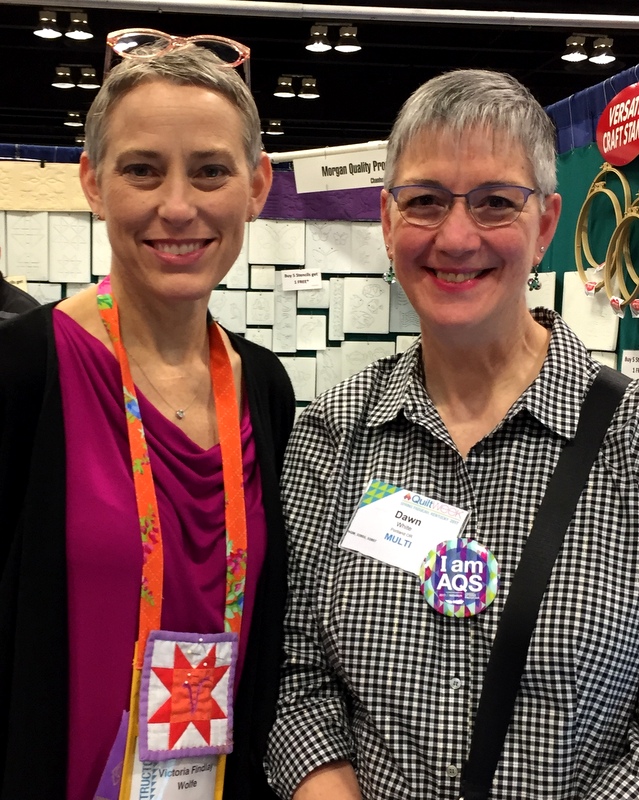
4. NYC and VFW. A trip to New York City with my twin sister in March combined many of the things I love in life: family, travel, theater, museums, and quilting. The quilting part? A visit to the Manhattan shop of Victoria Findlay Wolfe:


Victoria didn’t happen to be there that day but I had the pleasure of meeting her the following month in Paducah, Kentucky during AQS Quilt Week:

3. Terrazzo Tiles and Piccolo Terrazzo Tiles. Using the free pattern Mini Mod Tiles by Sew Kind of Wonderful, I made two versions:

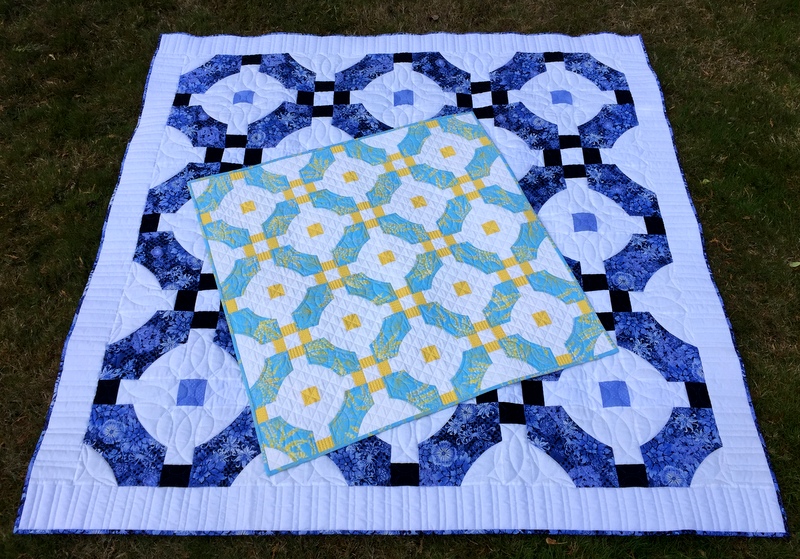
The larger one was made by “supersizing” the original pattern, using the larger of the two curved rulers Sew Kind of Wonderful designed for cutting curves. I wrote a tutorial showing how I did it.

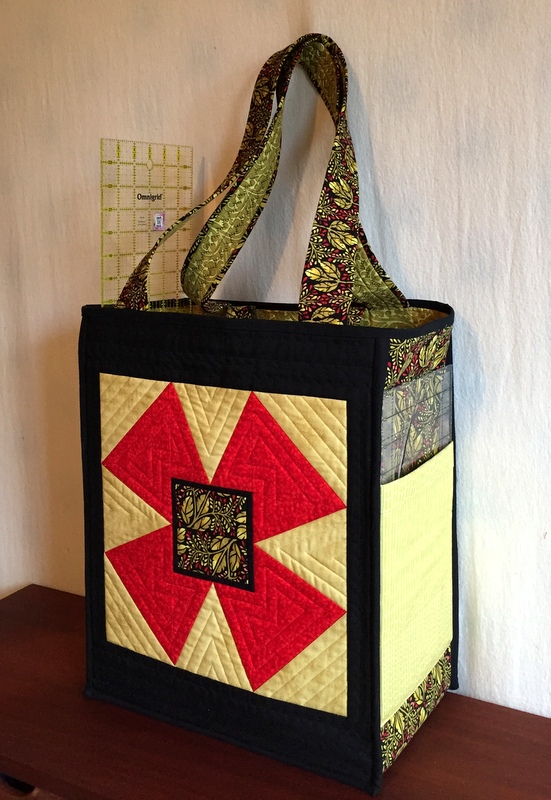
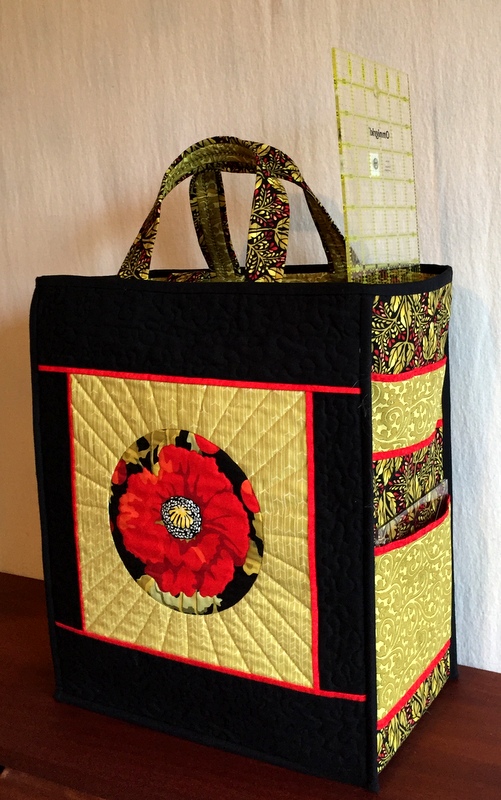
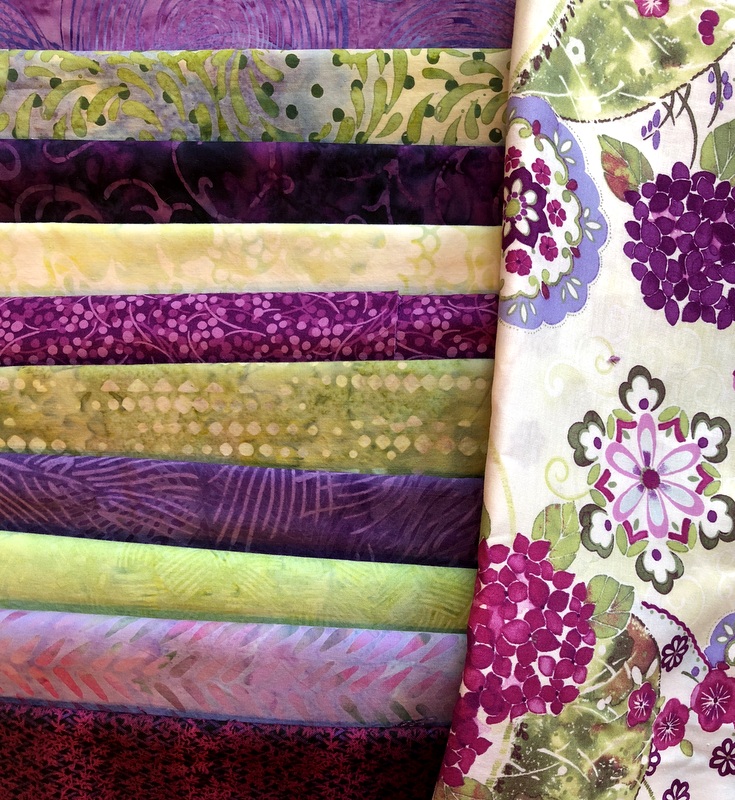
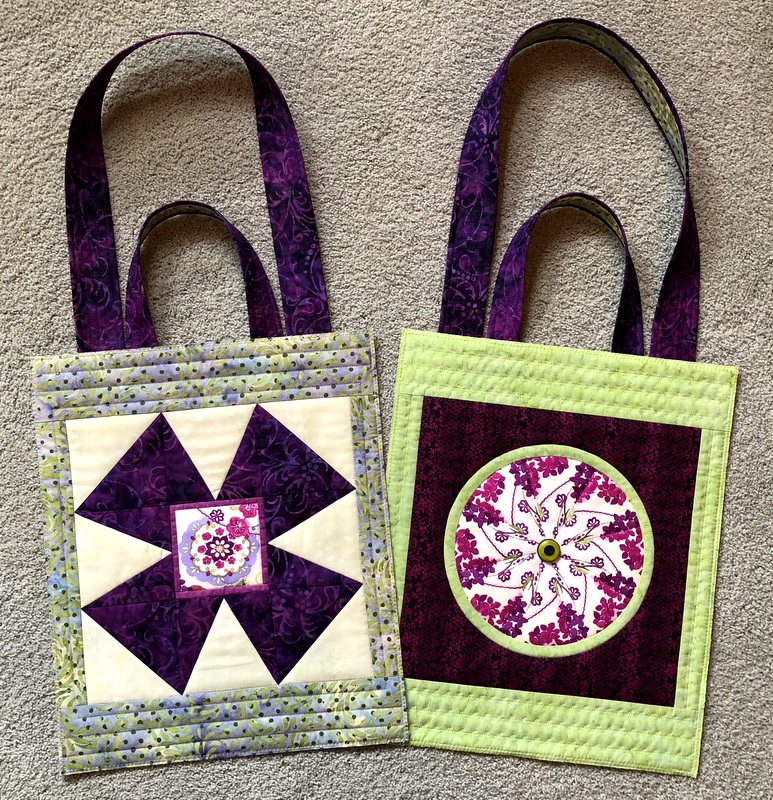
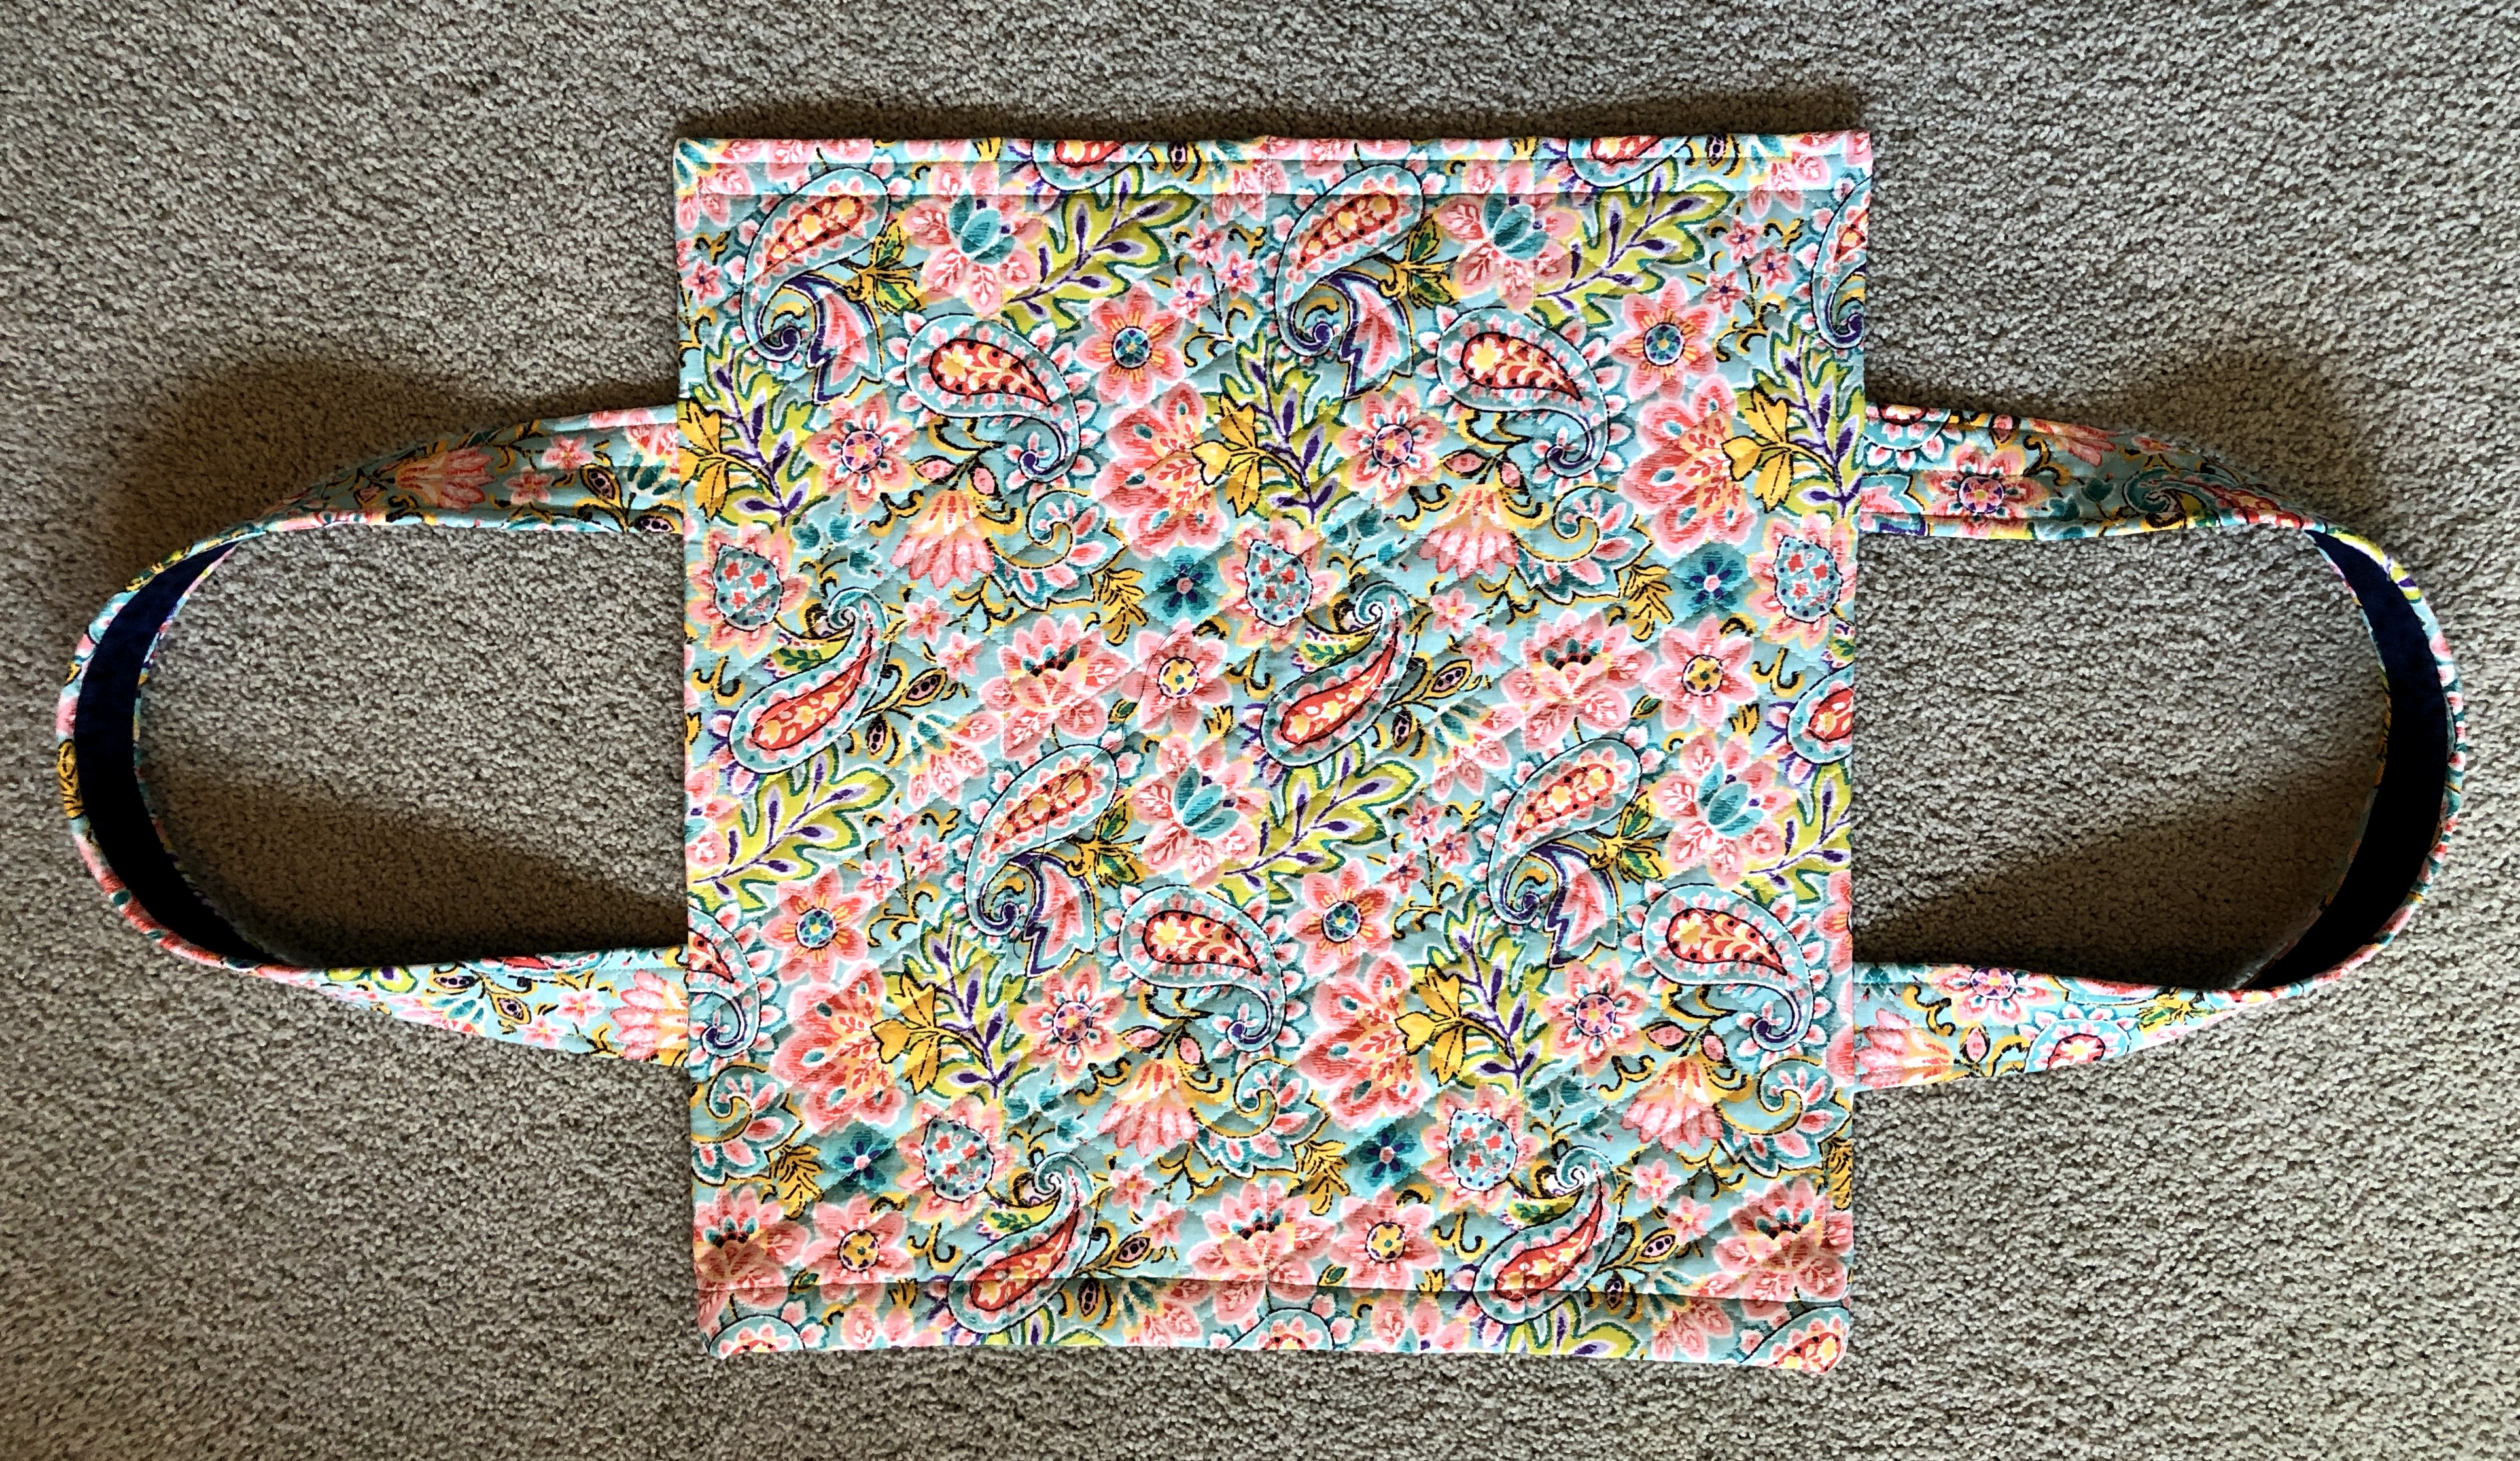
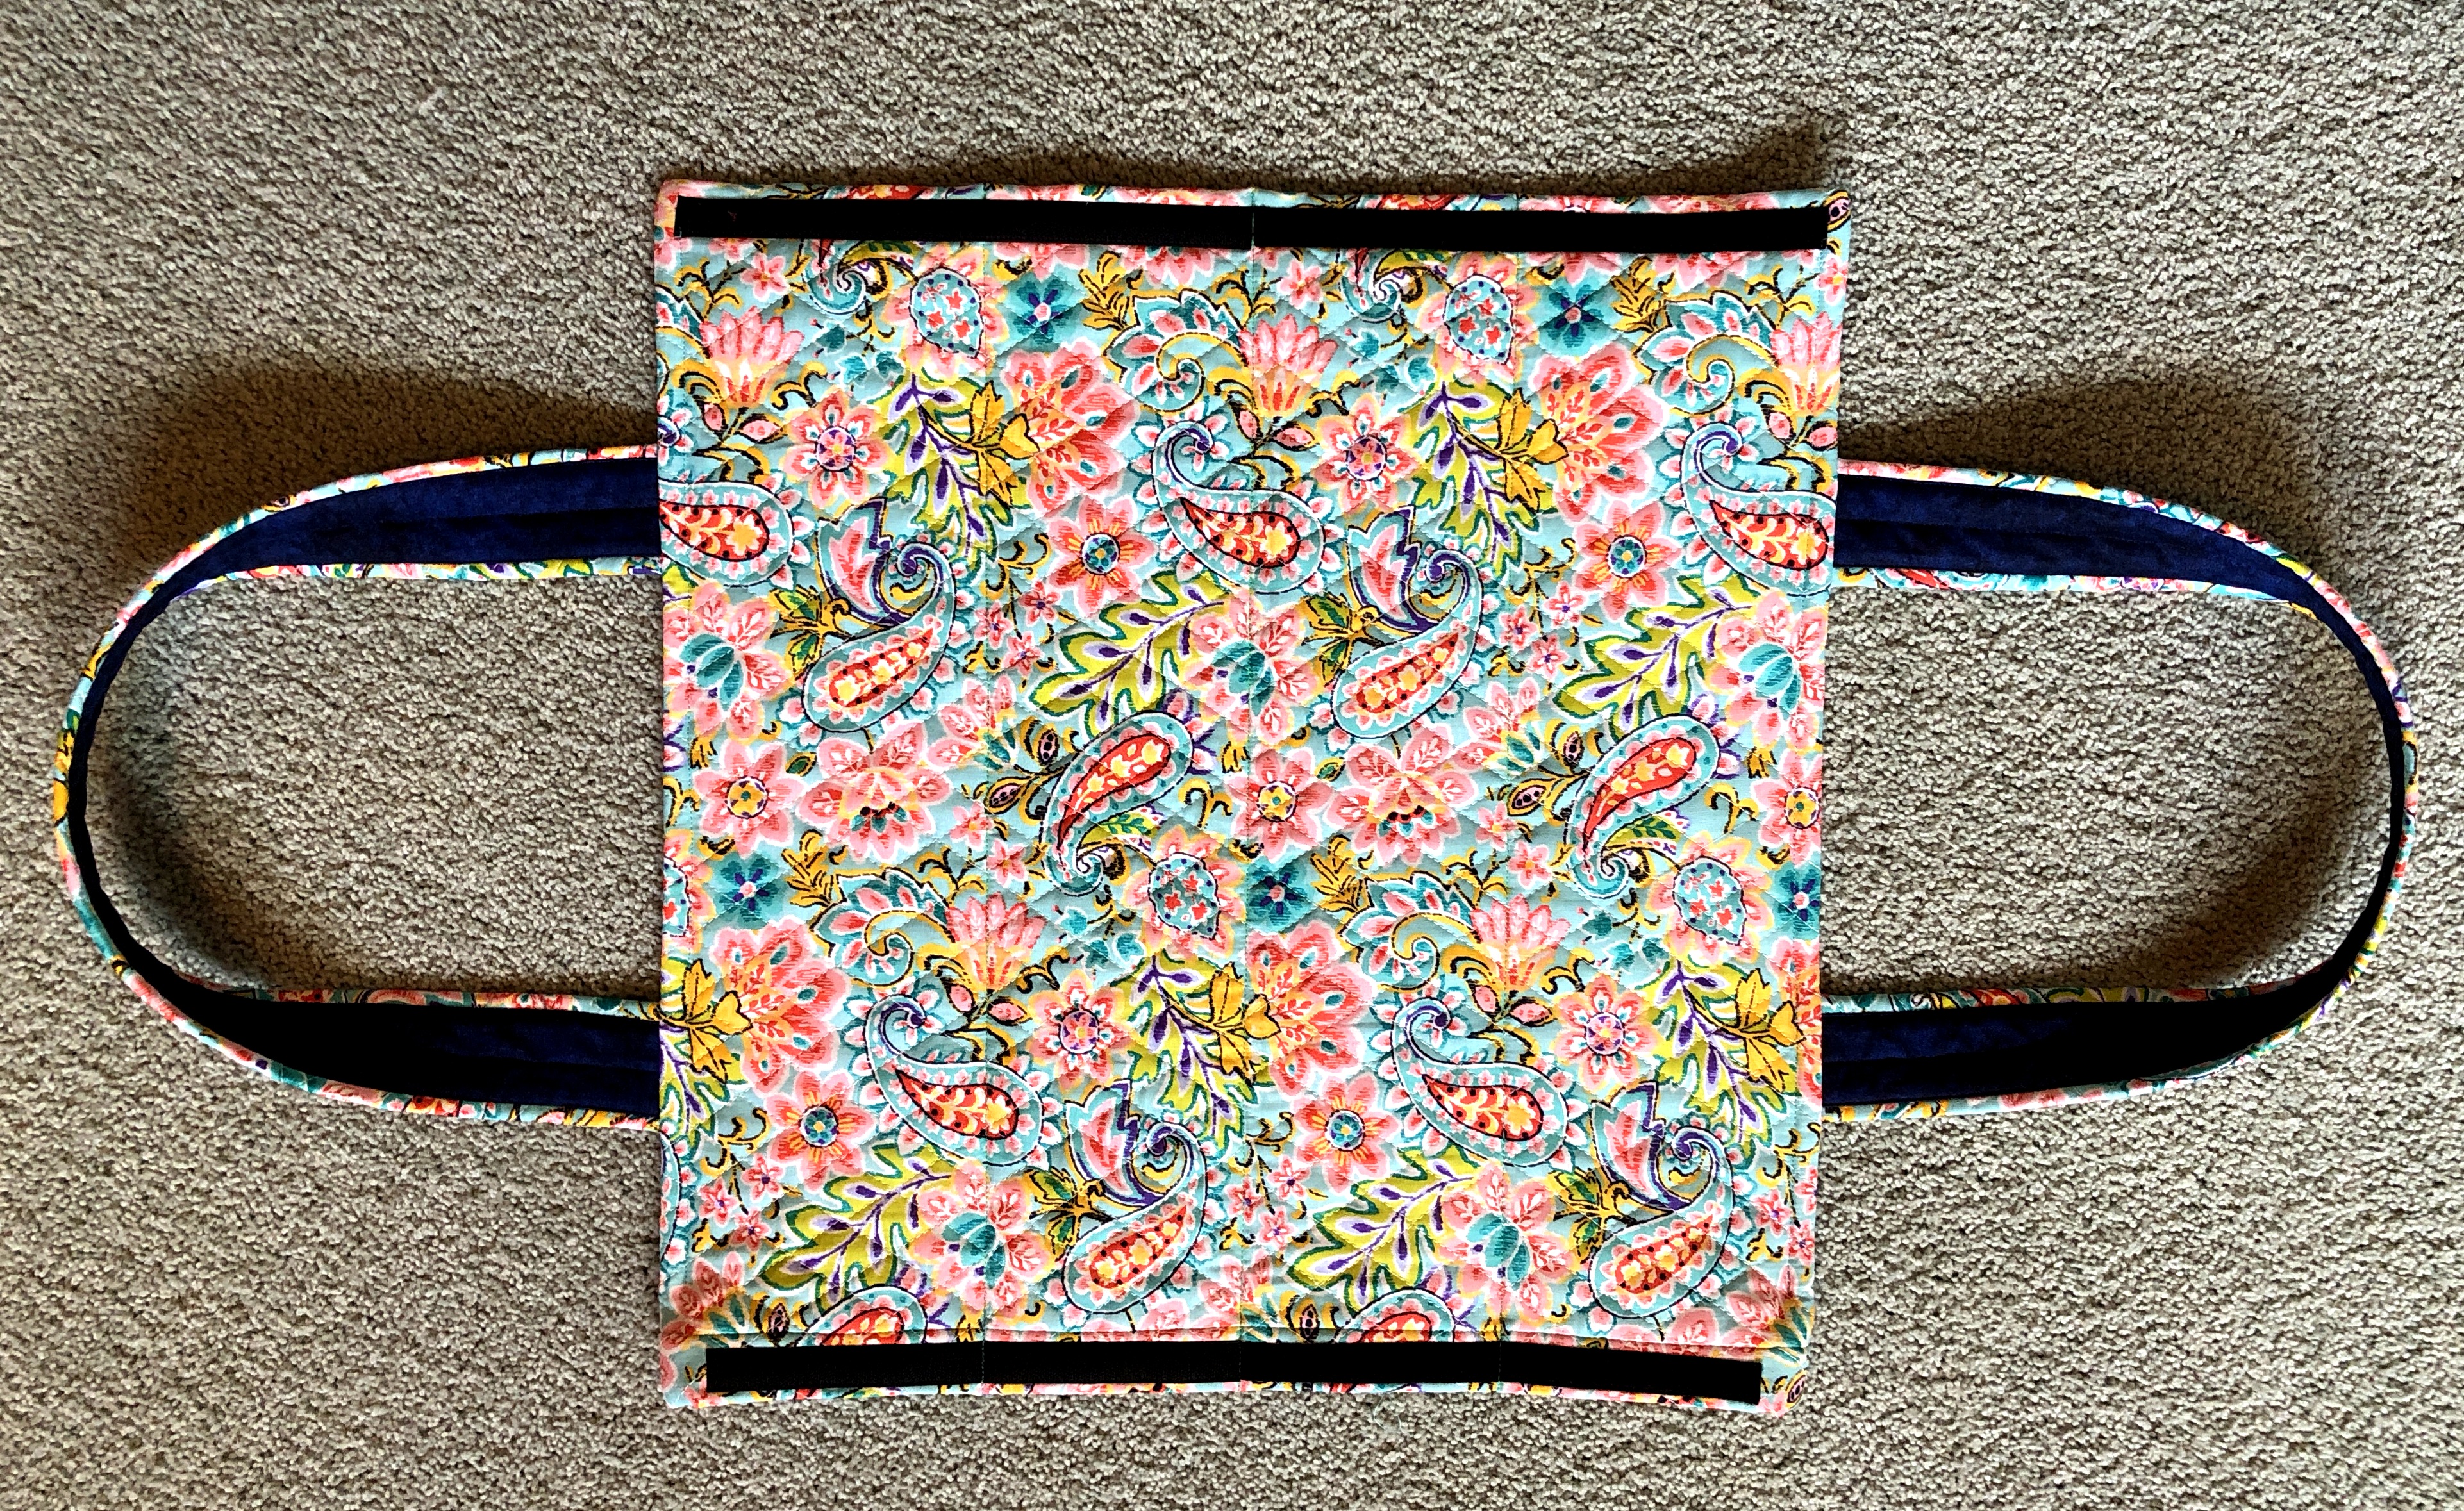
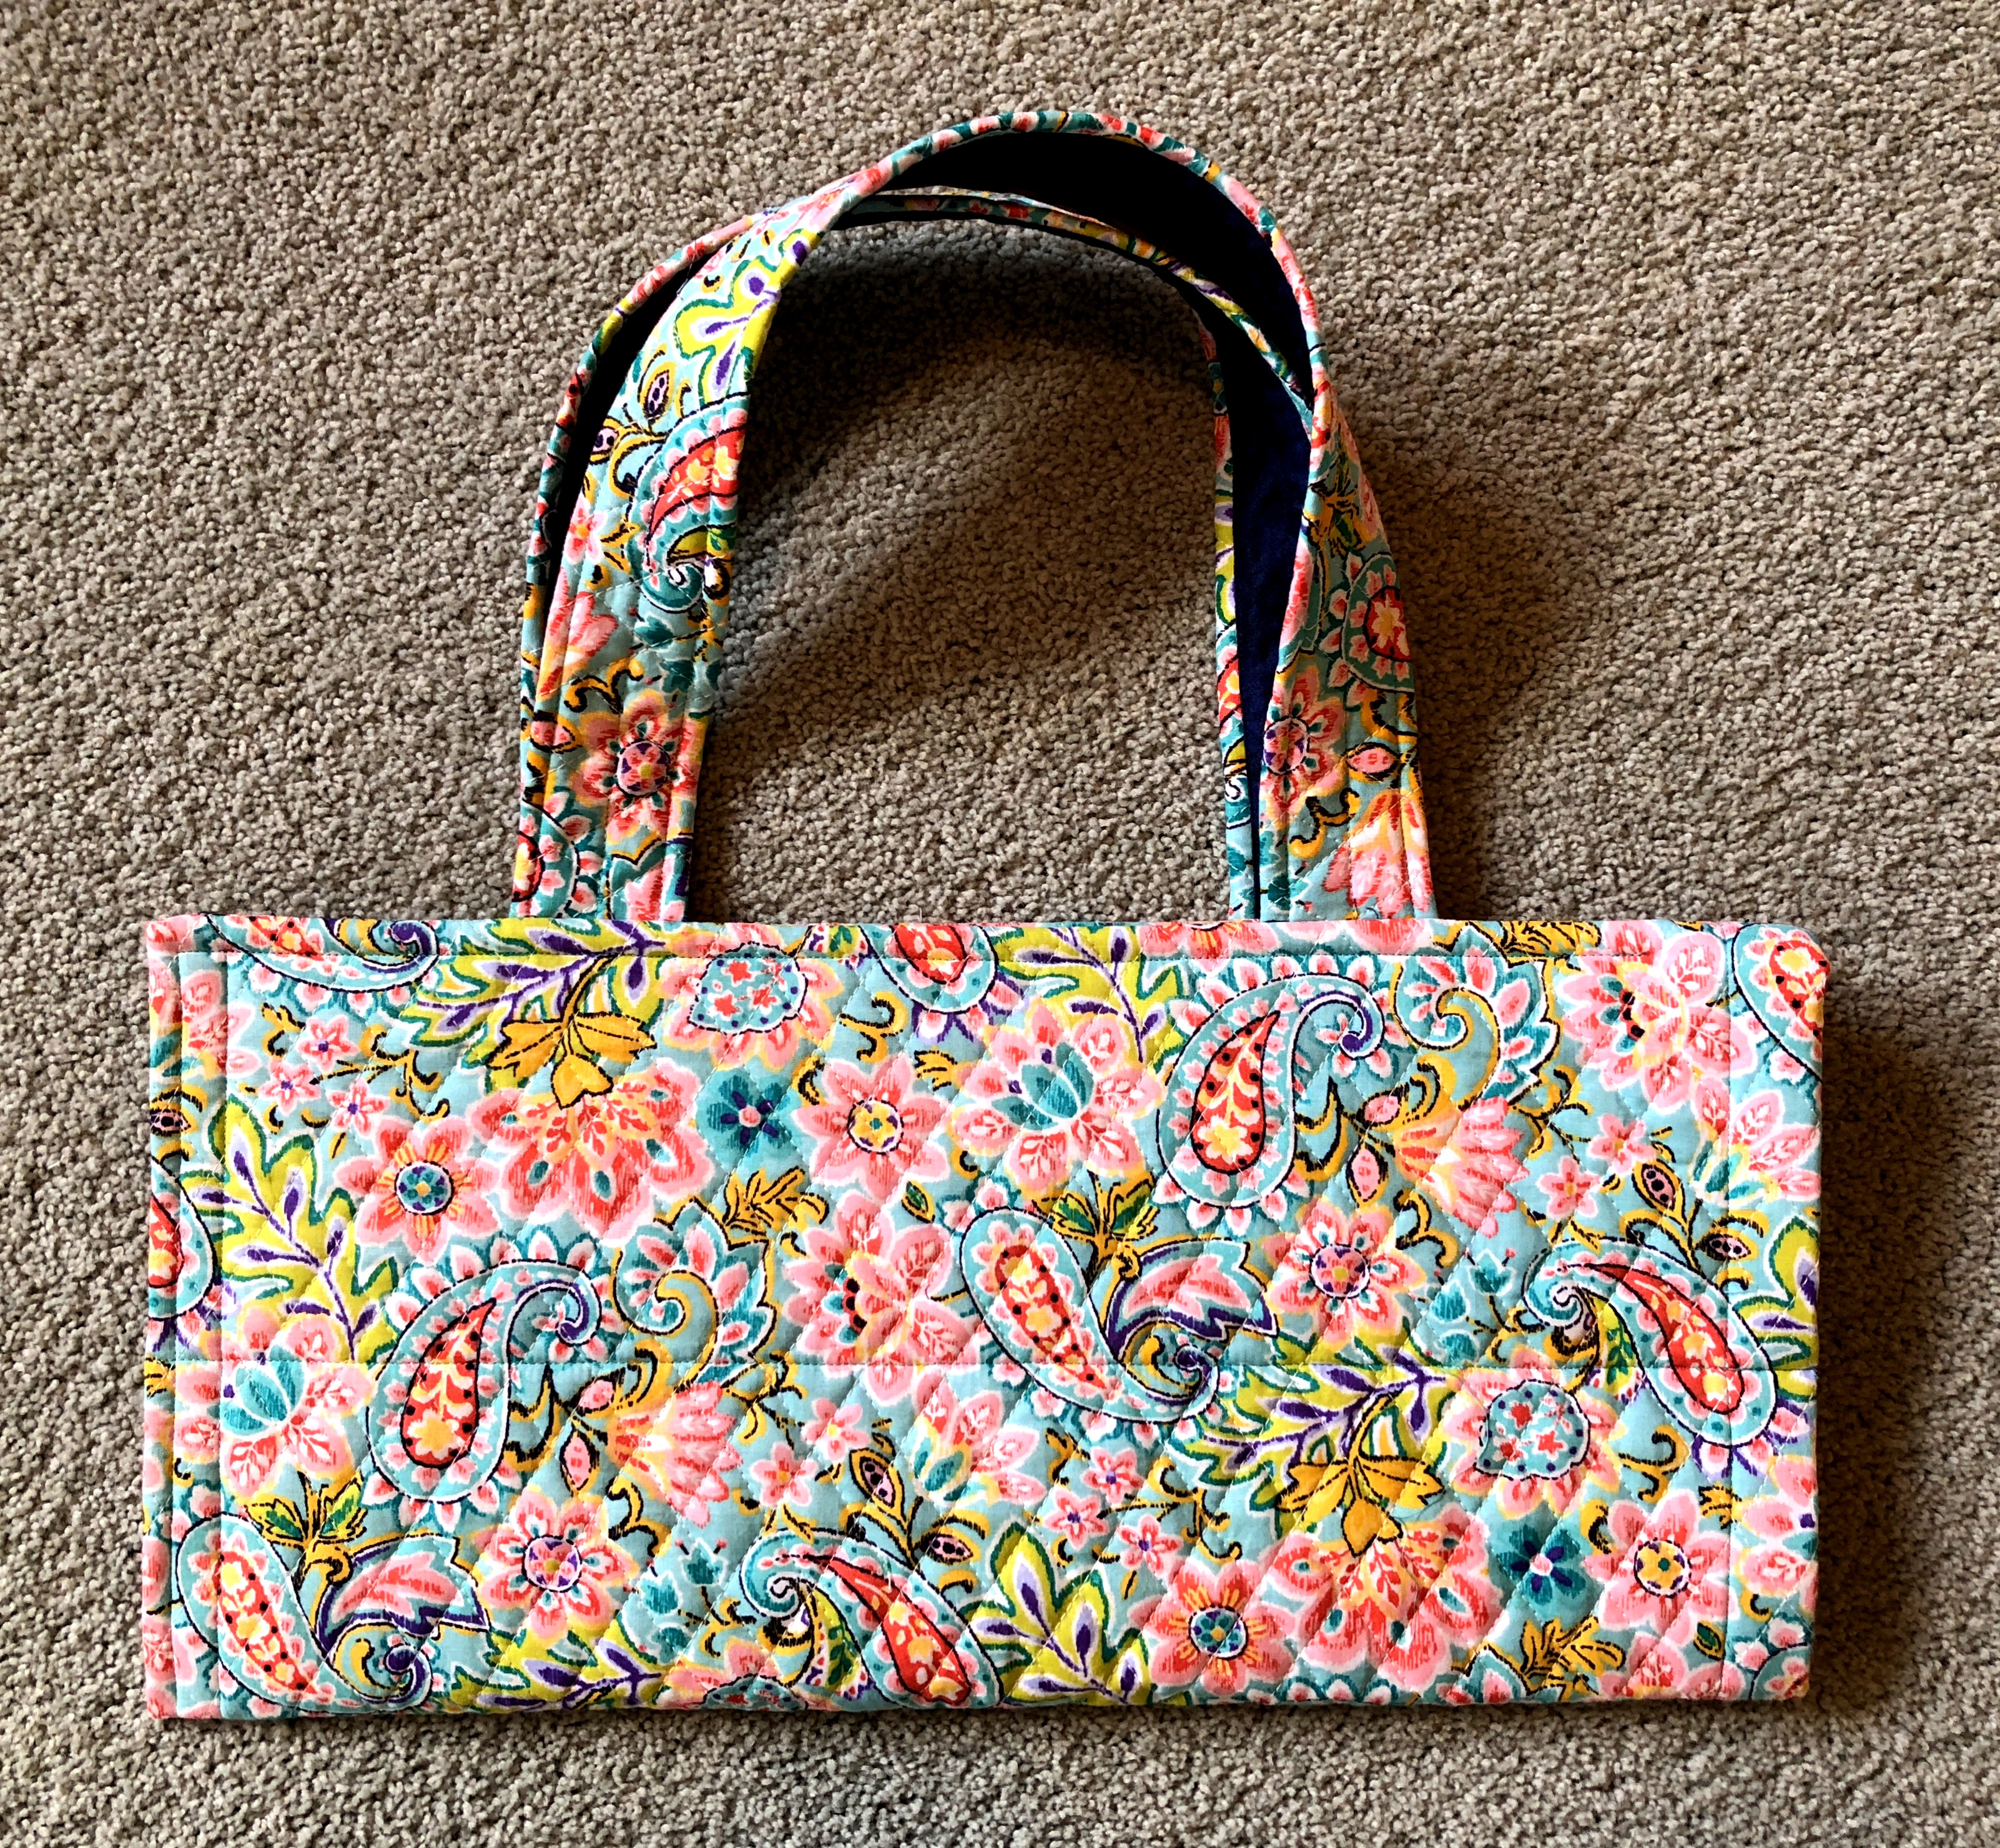
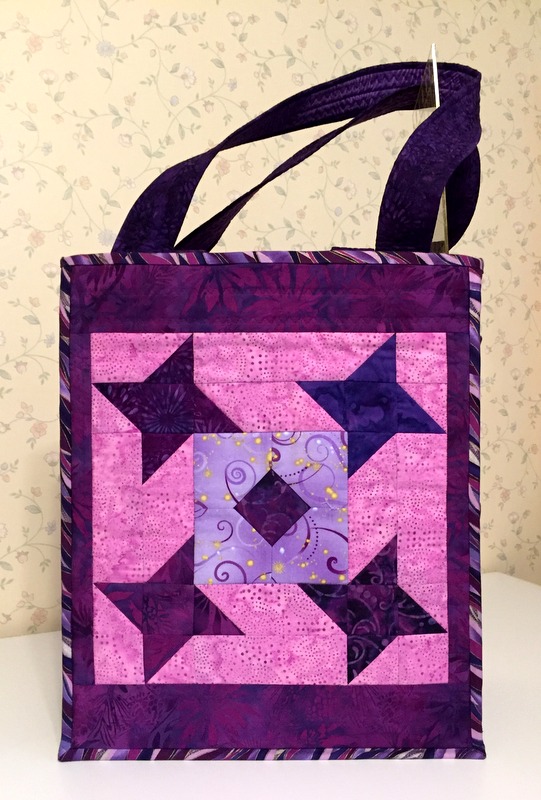
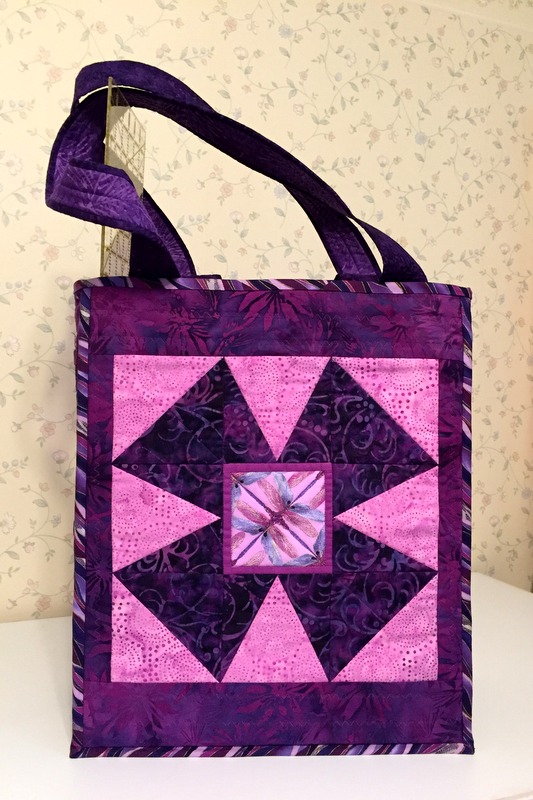
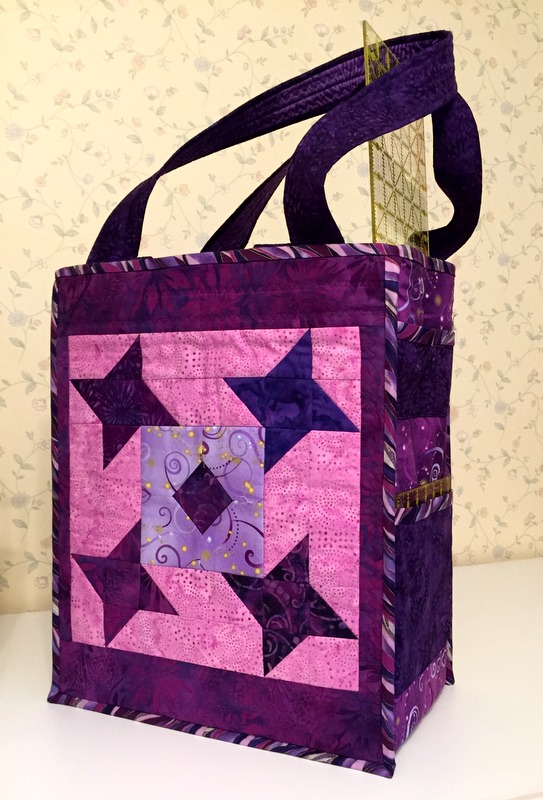
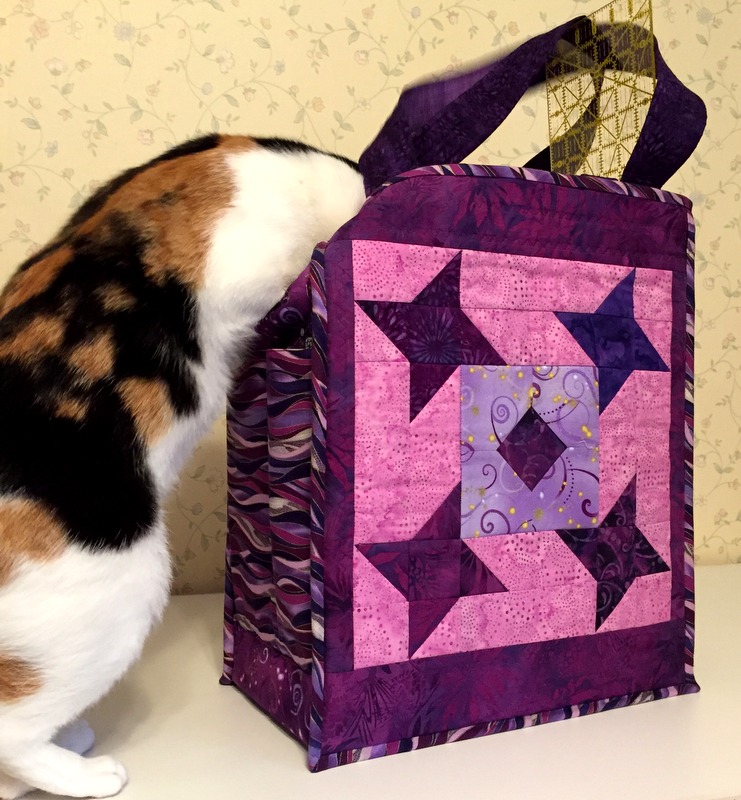
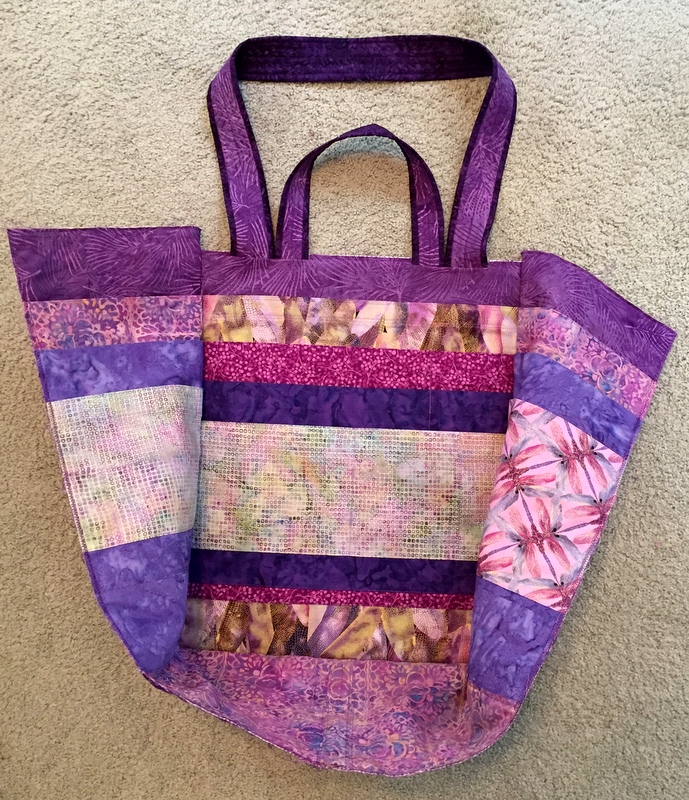
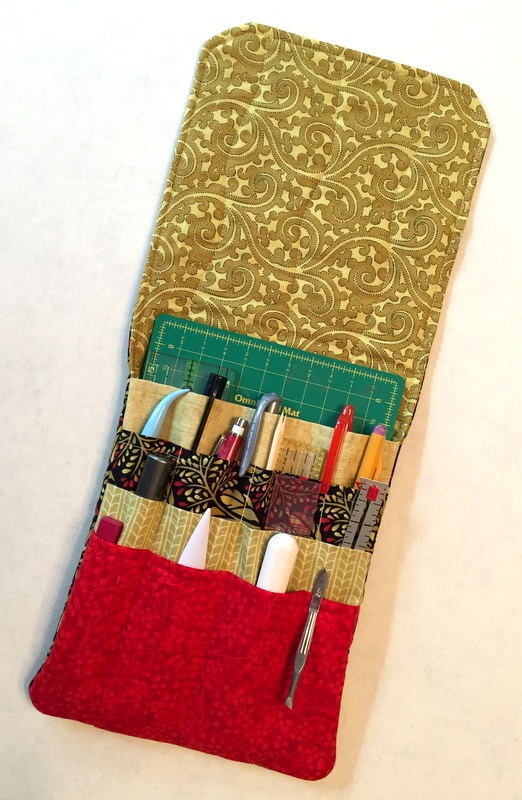
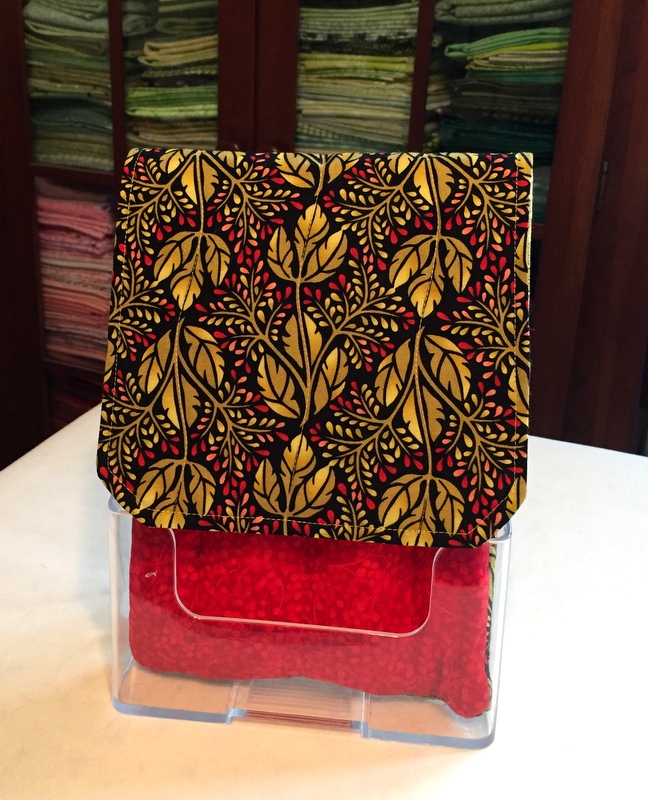
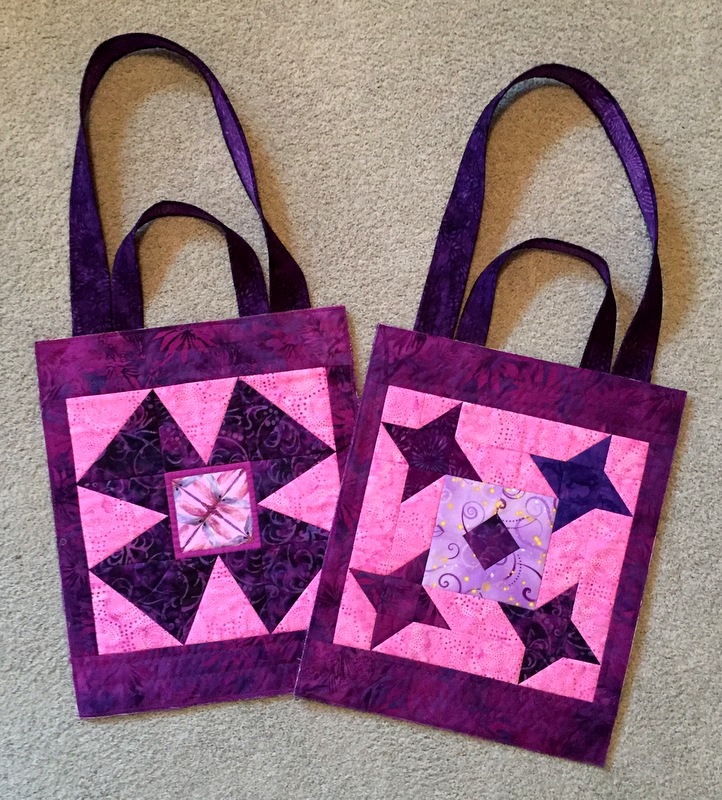
2. Junior Billie Bag. This was the first of two JBBs I made in 2017:

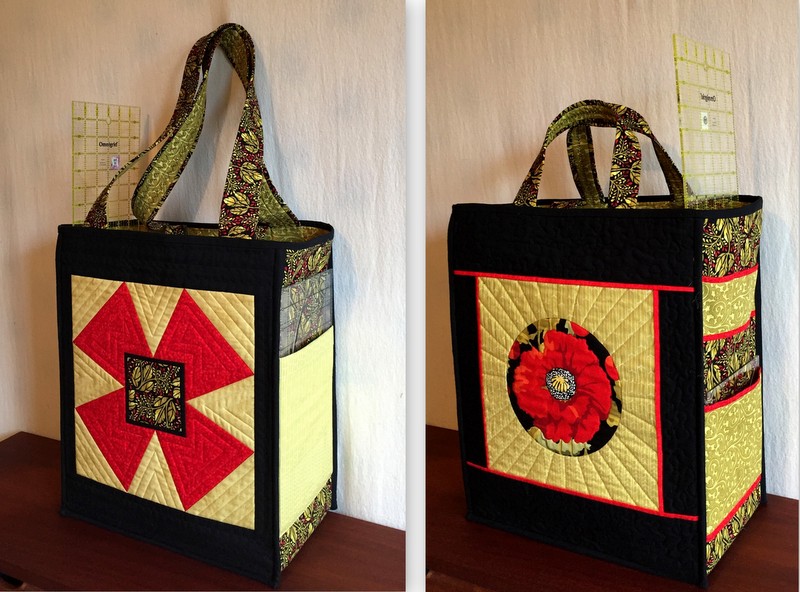
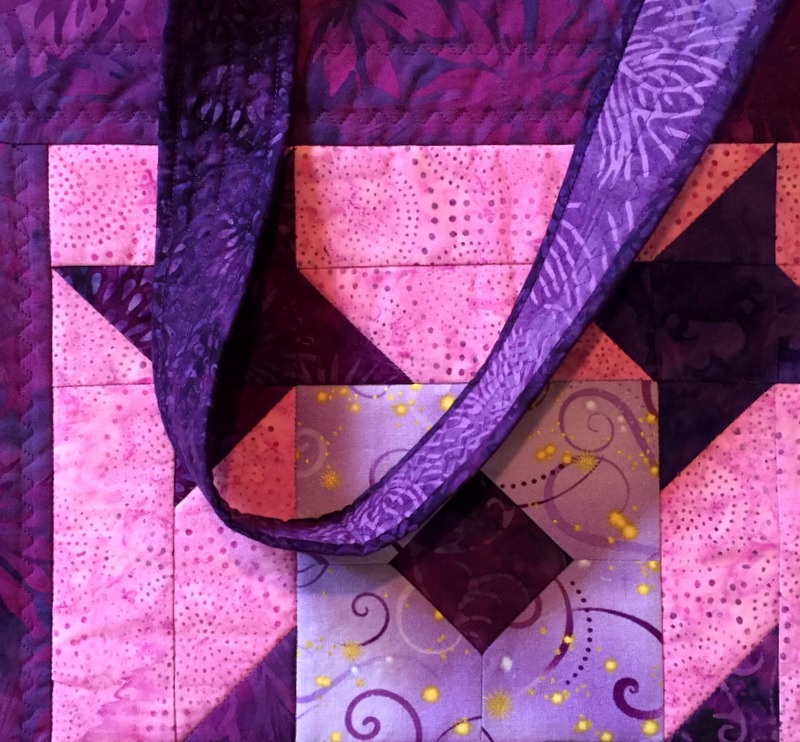
Designed over 20 years ago by Billie Mahorney, it’s a fabulous quilter’s tote personalized by each maker, starting with the design on the front and back panels and ending with the pockets inside and out. Two years ago Billie turned the teaching of her design over to me, and I make a bag every time I teach a class. This may be my favorite of the eight I have made so far.

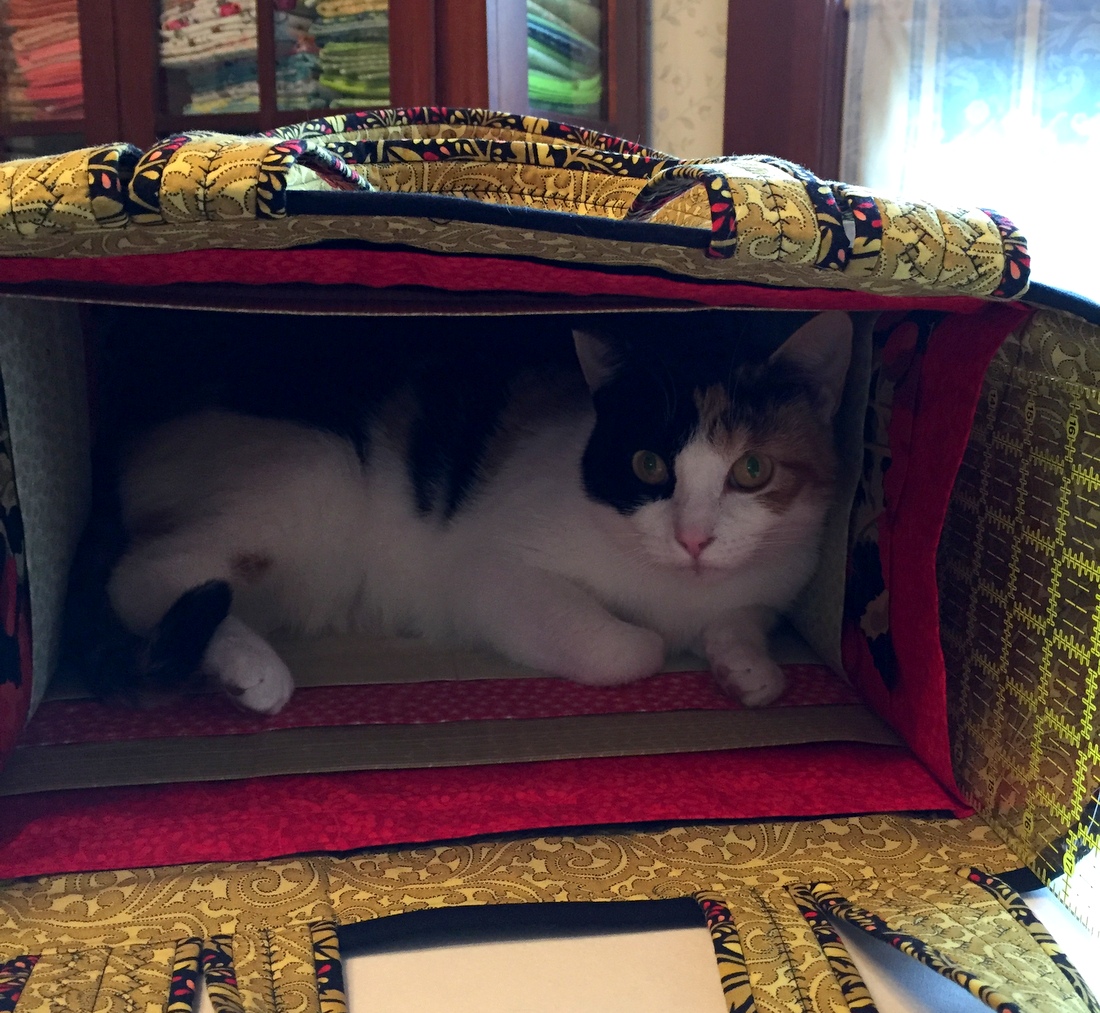
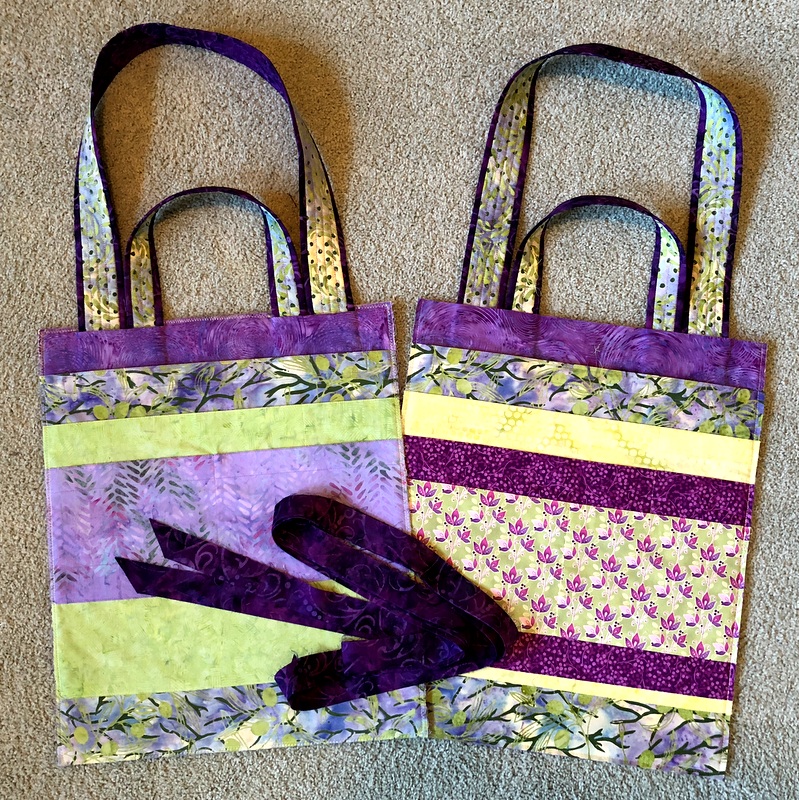
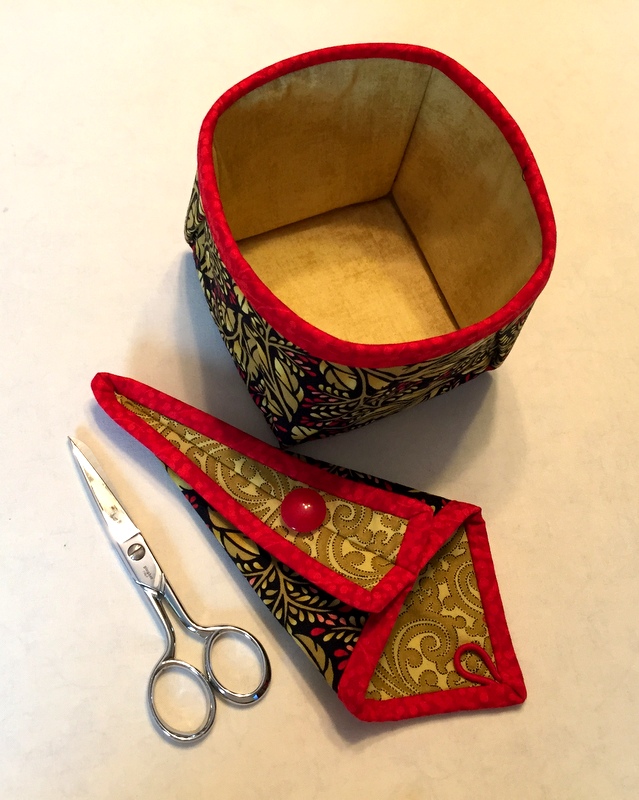
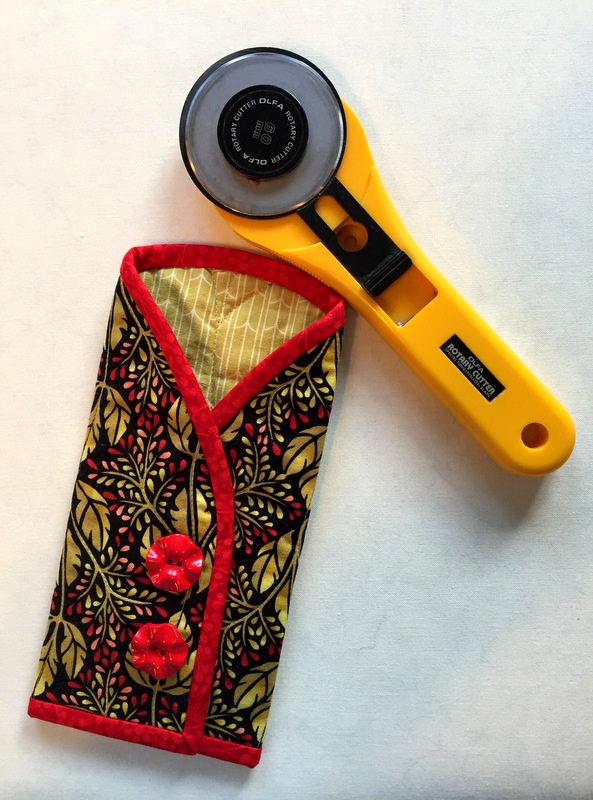
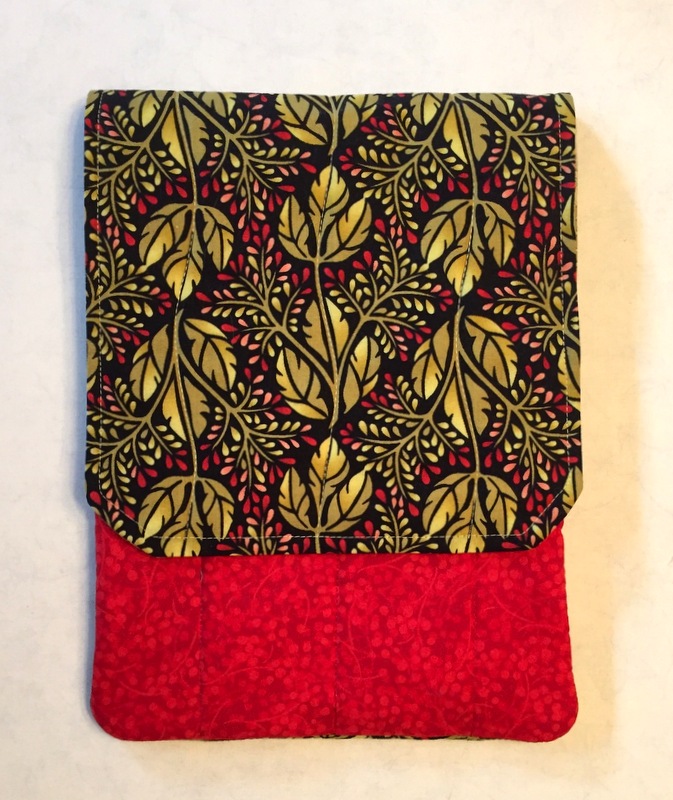
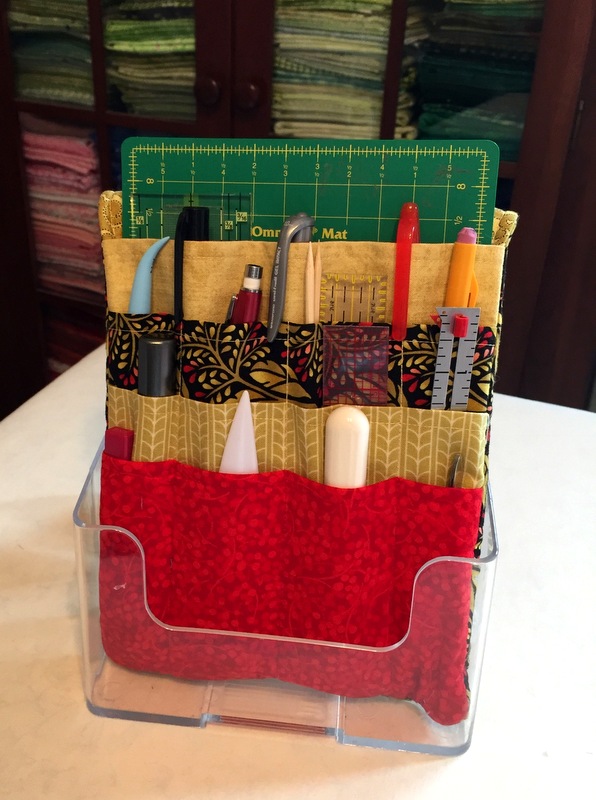
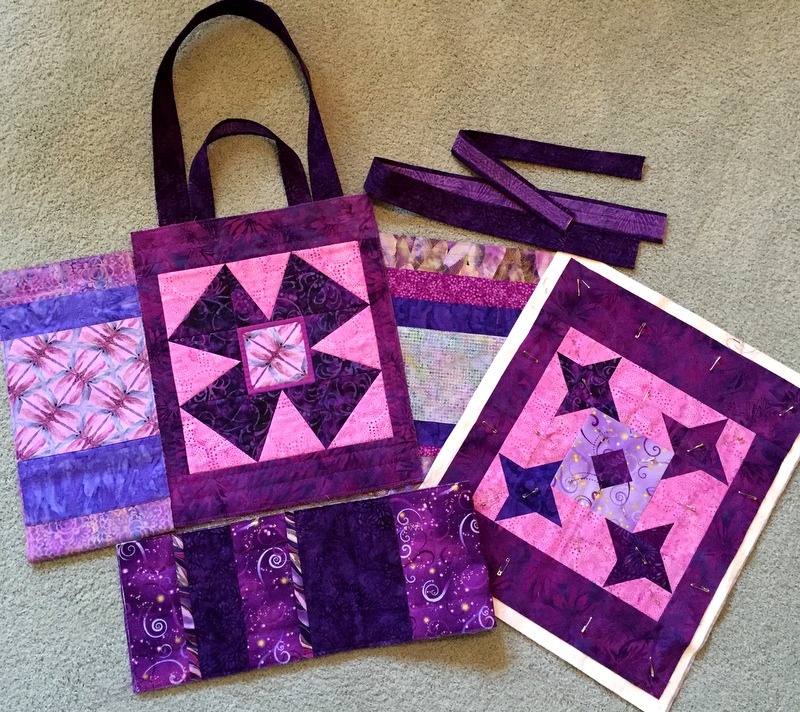
Without consciously planning to, I wound up making a suite of accessories to go with my Junior Billie Bag:

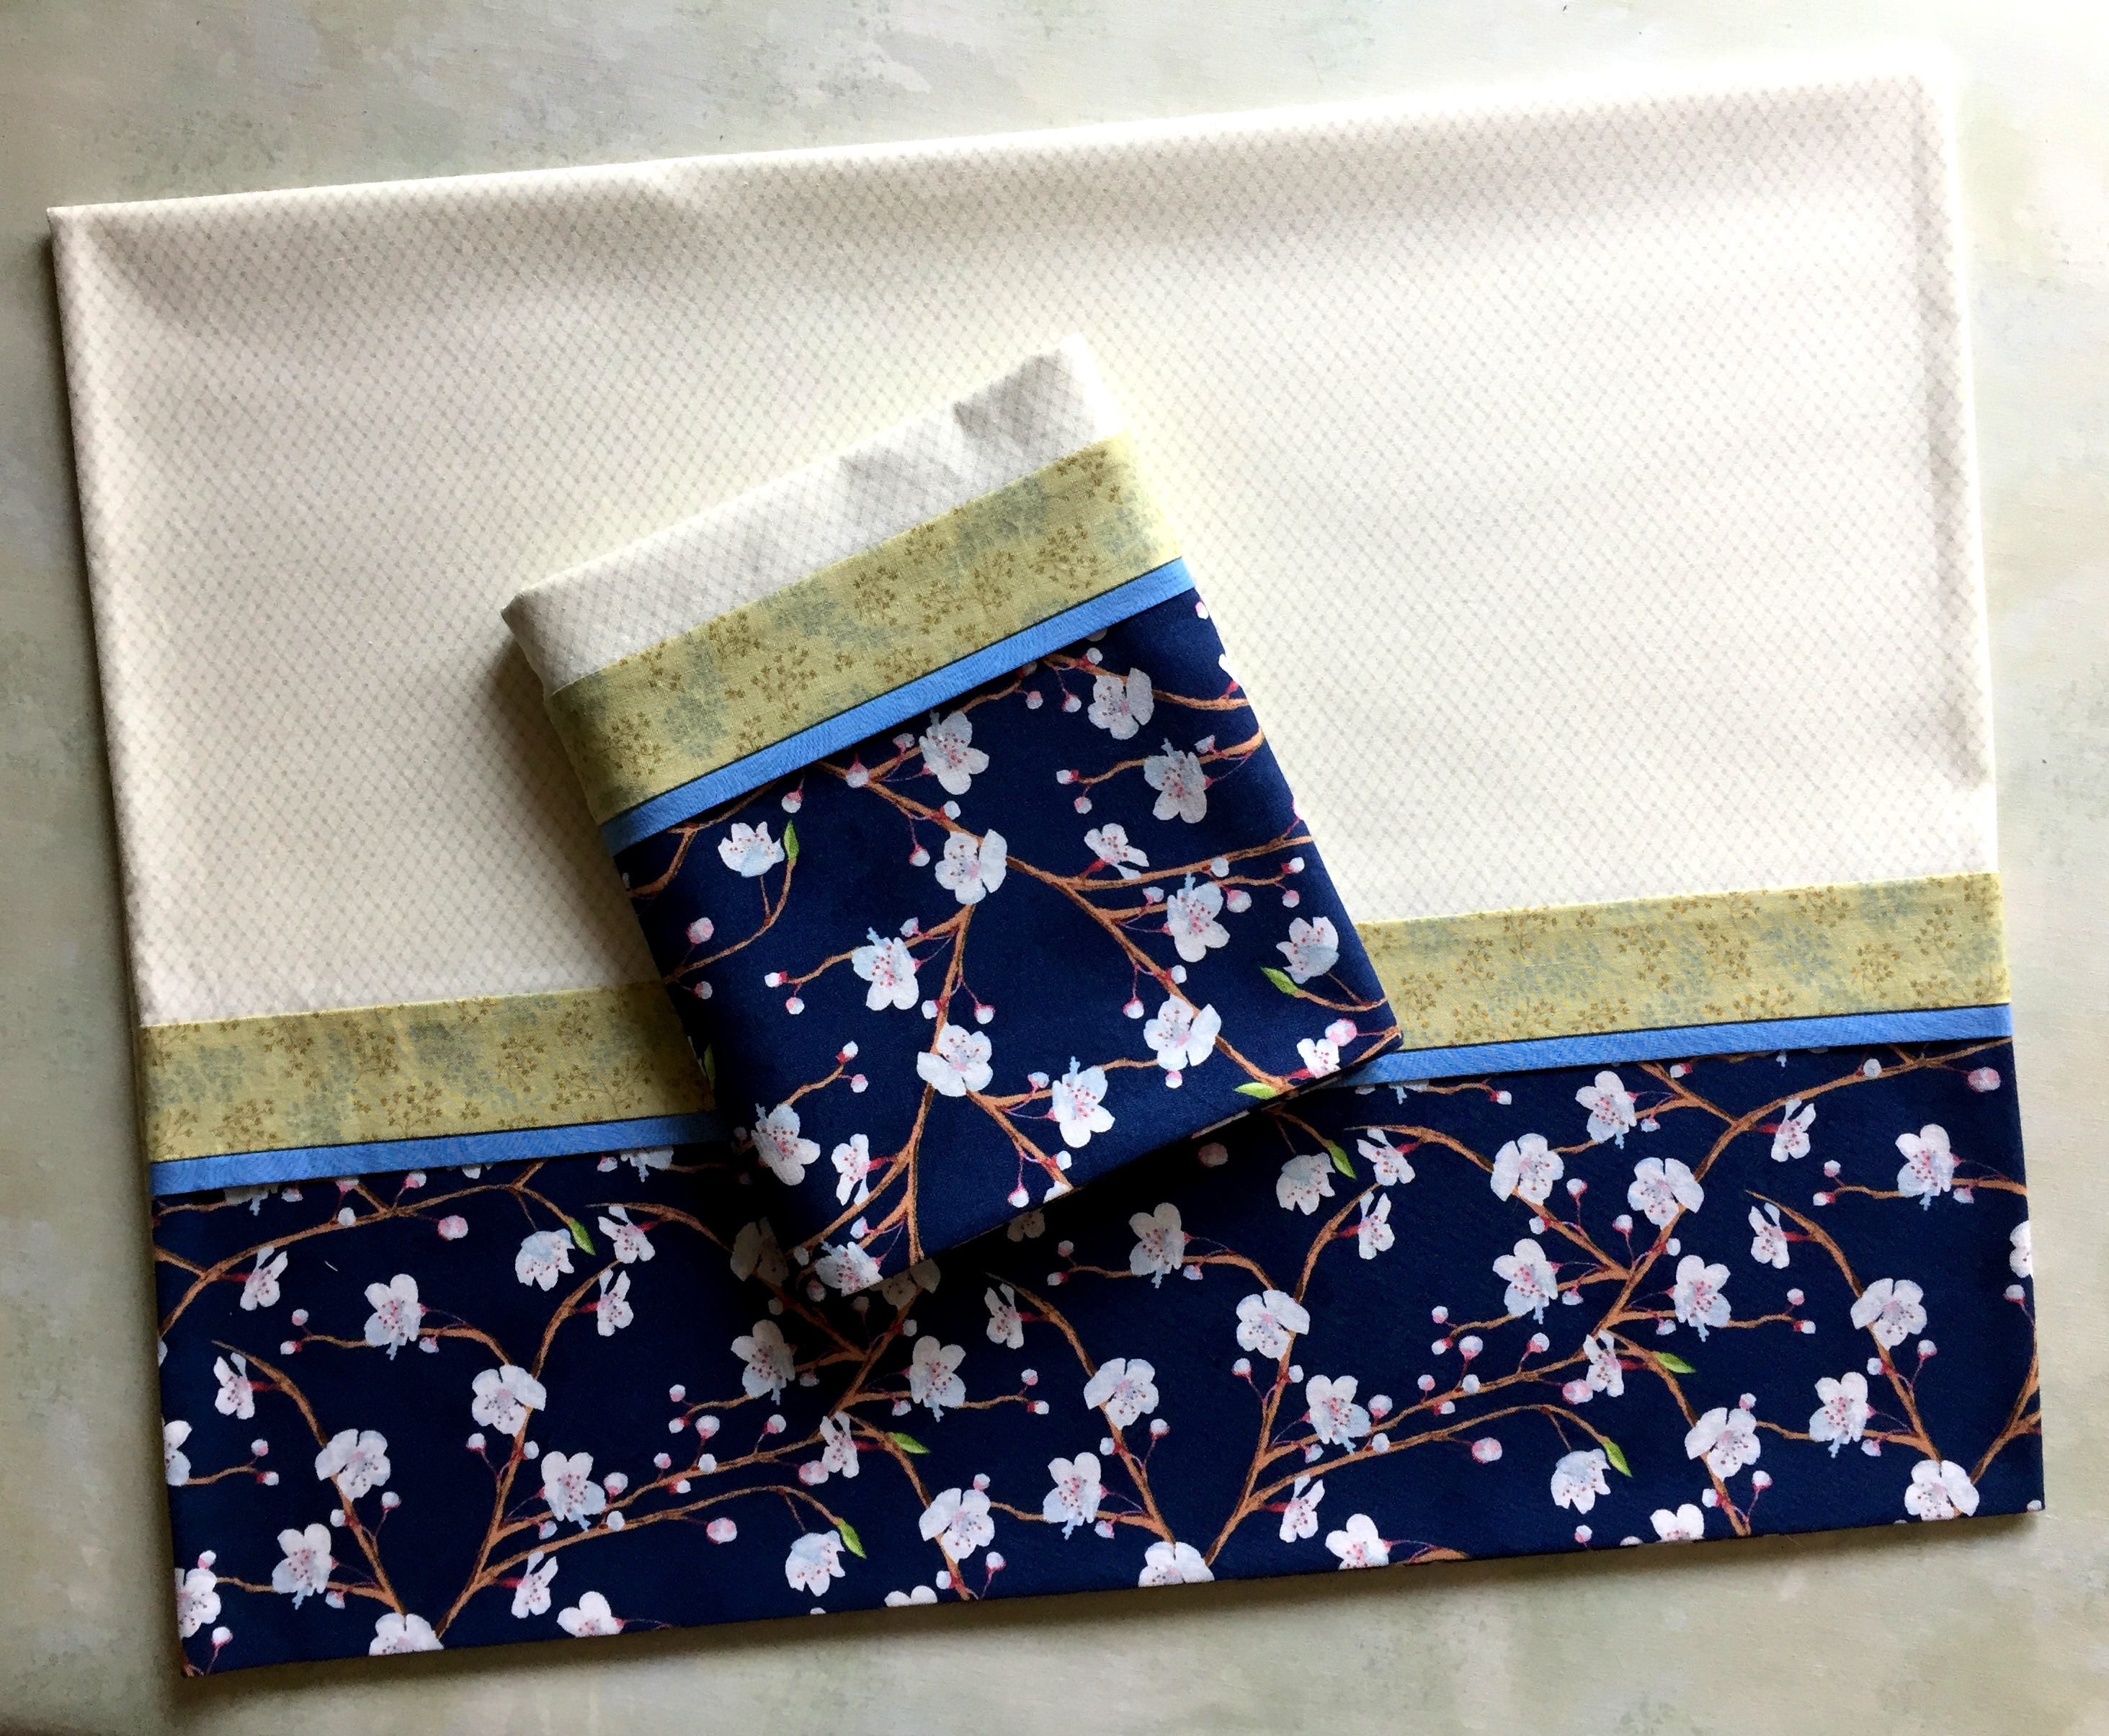
(See the rotary cutter coat in the lower left corner? I wrote directions for it in 2014 and it remains my most popular tutorial. Every now and then when I see a huge spike in the number of views on my website/blog, I know it’s because someone provided a link to the tutorial.)

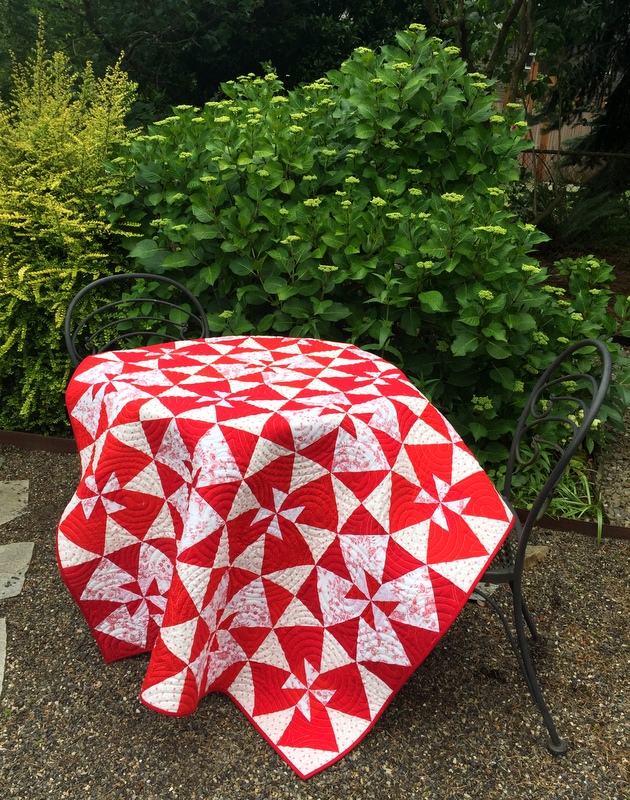
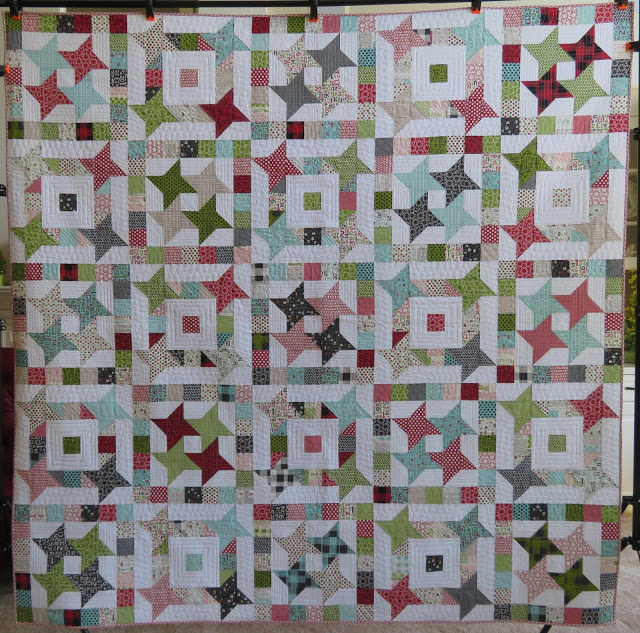
1 . Where It’s @. Much to my surprise and delight, this quilt won a second place ribbon at the Northwest Quilting Expo in Portland, Oregon in September:

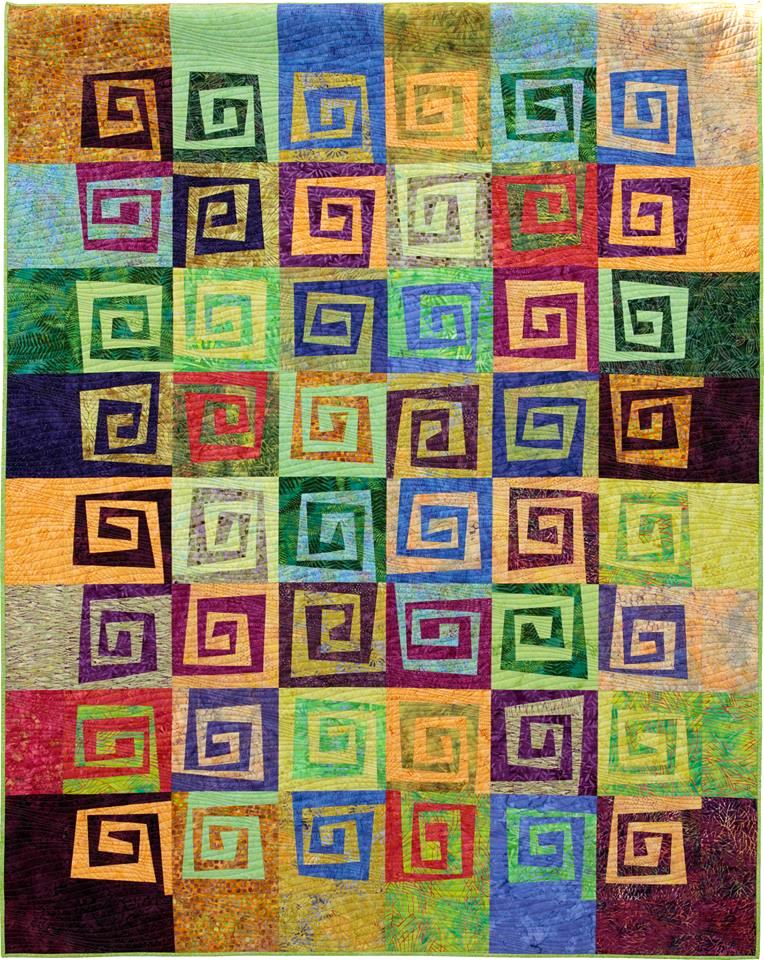
The design is Rewind by Karla Alexander of Saginaw Street Quilts. I started the quilt in a class with Karla in Sisters, Oregon in July 2016. Getting a ribbon was honor enough but the award came with a check for $500. My first reaction? “Think how many yards of fabric I can buy with that!”

Well, this has been a nice little trip down memory lane. Do you want to join Cheryl’s party, too? The link is open until January 2. Be sure to check out the top five posts of the other quilting/blogging partygoers. And thank you for checking out mine!


Posted in Billie Bag, family, Junior Billie Bag, Northwest Quilting Expo, QCR Mini, Quick Curve Ruler, Quilter's Affair, rotary cutter case, sewing tool caddy, tote bags, tutorial, update, windmill block, wonky Greek key | 5 Comments

Speaking of Junior Billie Bags . . .

. . . (see my last post), I have another finished one to show you, the one I made alongside my students fall term at the Pine Needle. The class ended a few weeks ago but I didn’t put the last touches on the bag until today. It’s for my friend Vickie, who has a late November birthday, but she won’t get it for several more weeks because she’s traveling. You get to see it before she does.

Here are the front and back panels:

I decided early on to cut the binding fabric on the bias because I figured the striped fabric would provide a dramatic frame for the panels. Good call, don’t you think?

These pictures don’t give a sense of the depth of the bag — 7½” — so here’s a partial side view that also shows you the pockets I put on the outside:


That side has two pockets and the other side has one taller pocket cut from the same wavy stripe I used for the binding:

Coco is busy investigating the interior pockets, of which there are many.

A look inside:


It’s really hard to get a good shot of the interior of a finished Junior Billie Bag. This earlier photo should give you a notion of how many pockets there can be (totally up to the whim of the maker):

You can also see there’s a shorter set of handles. Those are tucked out of sight in the photos at the top of this post.

To sum up:

The Billie Bag was designed by Billie Mahorney, who taught for many years at the Pine Needle. The junior version measures 14″ wide, 17″ tall, and 7½” deep.

The panel with Friendship Star blocks was based on a design by Thelma Childers of Cupcakes’n’Daisies. Read here how I modified it for this project. The windmill block is a variation of one designed by Deb Eggers of the Cottage Rose for her pattern A Mid-Winter’s Night.

I started with fabrics from the “Dance of the Dragonfly” line by Benartex and Kanvas Fabrics, adding several batiks from my stash and one blender from P&B Textiles. There can be no doubt what the birthday girl’s favorite color is!


Posted in Billie Bag, cats, Junior Billie Bag, Quisters (Quilt Sisters), tote bags, update, windmill block | 3 Comments

Completing the Ensemble

Here are two more accessories I just made to tuck into my Junior Billie Bag when I’m heading out for a class: a case for my 5″ Gingher scissors and a 4″ x 4″ fabric box used primarily as a thread catcher:

The scissors case and fabric box go with the rotary cutter coat and sewing tool caddy made recently from the same fabrics:


Isn’t this a charming group of accessories?


Everything fits inside my Junior Billie Bag with plenty of room to spare:

My quilter’s tote is loaded and ready to go.


Posted in Billie Bag, Junior Billie Bag, rotary cutter case, tote bags, update, windmill block | 6 Comments

An Open and Shut Case

You may recognize the fabrics in this sewing tool caddy, which I made last month at Quilt Camp:

They’re the same fabrics used in the Junior Billie Bag I made earlier this year.

The pattern for the tool caddy is Travel Case by Pearl Pereira of p3designs.com. I’ve made it several times, modifying it the last few times by adding an extra pocket. I keep my tool caddy in an acrylic brochure holder one of my students gave me:

With the flap turned back, all of my smaller tools are right at my fingertips. At the end of a sewing session the tools go back in the caddy. It really does help me keep my sewing room organized.

Having made the caddy, I couldn’t help but make a coordinating rotary cutter coat:

Aren’t those vintage red buttons perfect?


Posted in Billie Bag, Junior Billie Bag, rotary cutter case, sewing tool caddy, tote bags, tutorial, update | 5 Comments

Ready for the Next Dimension

The Junior Billie Bag I am currently working on is slowly taking shape. I’m pacing myself on the construction so I can show my current group of students at the Pine Needle how this quilter’s tote goes together step by step. The bag is a gift for a friend with a November birthday so the timing is perfect.

In the photo below you see most of the individual elements — front and back panels, handles, side panels, inner and outer pockets:

This particular bag is going to have plenty of pockets — 21 to be exact. The pockets have been carefully sized to hold everything a quilter might need, from file folders to acrylic rulers to rotary cutters. The Junior Billie Bag was designed by Billie Mahorney to be customized — makers of the bag decide how many pockets they want and what size they will be.

Now that the second panel on this bag has been quilted and the handles attached, you can see what the bag is going to look like from front and back:

Which is the front and which is the back? It doesn’t matter! The front/back panels are totally interchangeable. The front of the bag is whichever side the owner turns to the outside on any given day.

And you can quilt the panels very simply or be very creative with free motion quilting. I’ve done both on previous bags. On this one I opted to stitch in the ditch in the central part of the panels and to use a serpentine stitch on the strips around the center blocks. I used the same decorative stitch on the handles:

The next step is sewing the front/back panels to the side panels and bottom unit. I’ll demonstrate this in Friday’s class. My students are almost ready for the third dimension!


Posted in Billie Bag, Junior Billie Bag, tote bags, update, windmill block | 2 Comments

Back to the Billie Bag

The first week of October already! September came and went in a flash. It was a very busy month, just not one devoted to much sewing. I’m finally back at work on that wonderful quilter’s tote designed by Billie Mahorney known as the Junior Billie Bag. I’m teaching an upcoming class at the Pine Needle so I need to get a move on.

Here’s the second of two panels in my JBB-in-progress:

The block you see above was inspired by a block in a quilt called Christmas in July designed by Thelma Childers of Cupcakes’n’Daisies:

Christmas in July, 88″ square (2017). Designed and made by Thelma Childers. Photo used with permission.

Click here to read Thelma’s post about the making of this quilt. In July Carrie Nelson of Moda wrote about Thelma’s quilt on the Moda Cutting Table blog and created a pattern for it called Hometown Stars, available as a free download.

Thelma’s quilt is very scrappy. Working with far fewer fabrics, I simplified the block somewhat and made one change that made a big difference in the outcome. Here is my block as it was first laid out . . .

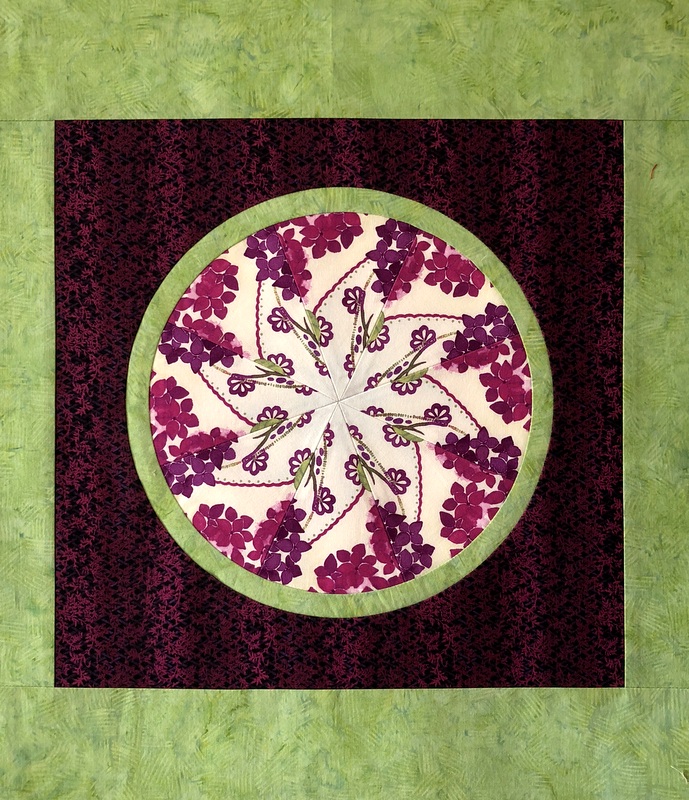
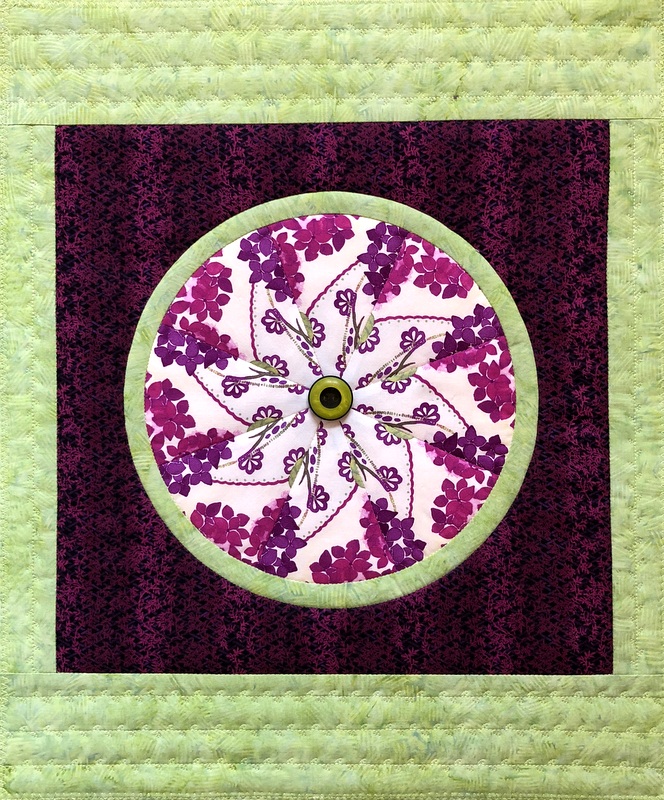
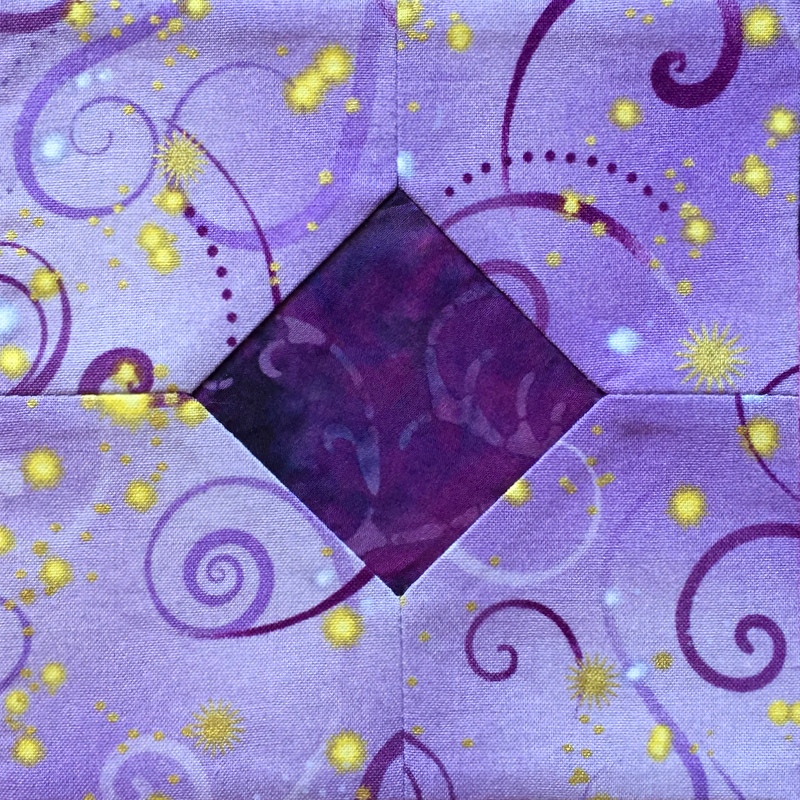
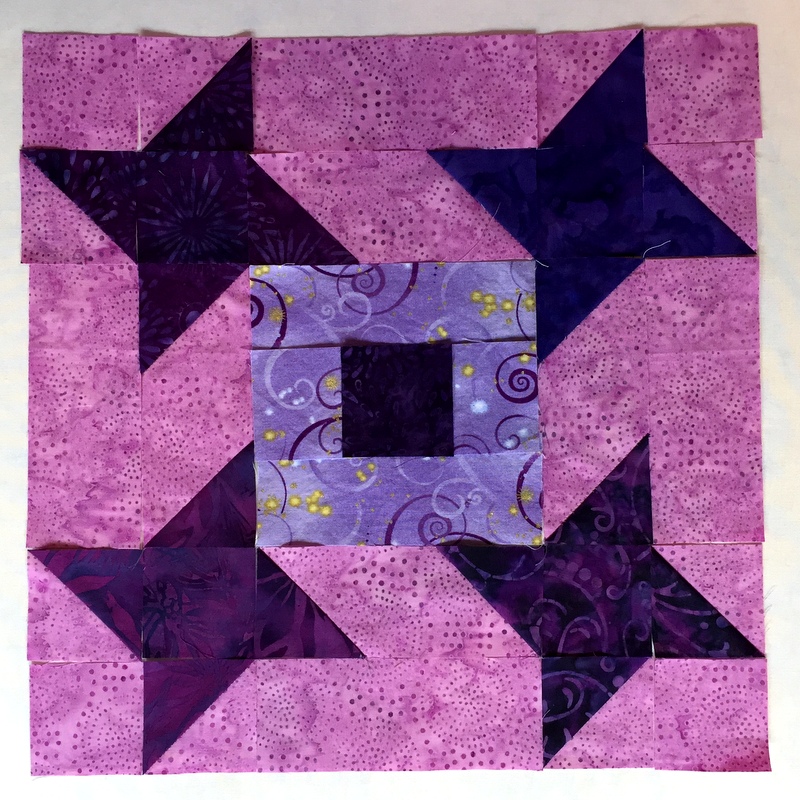
. . . and here it is ready to be sewn:

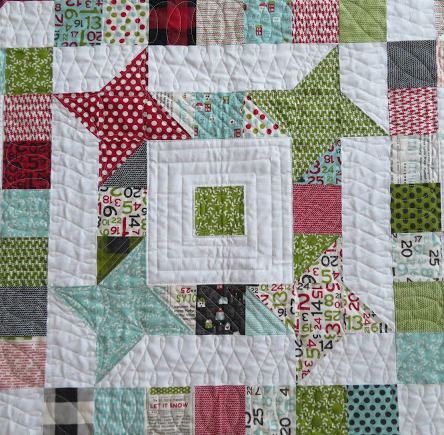
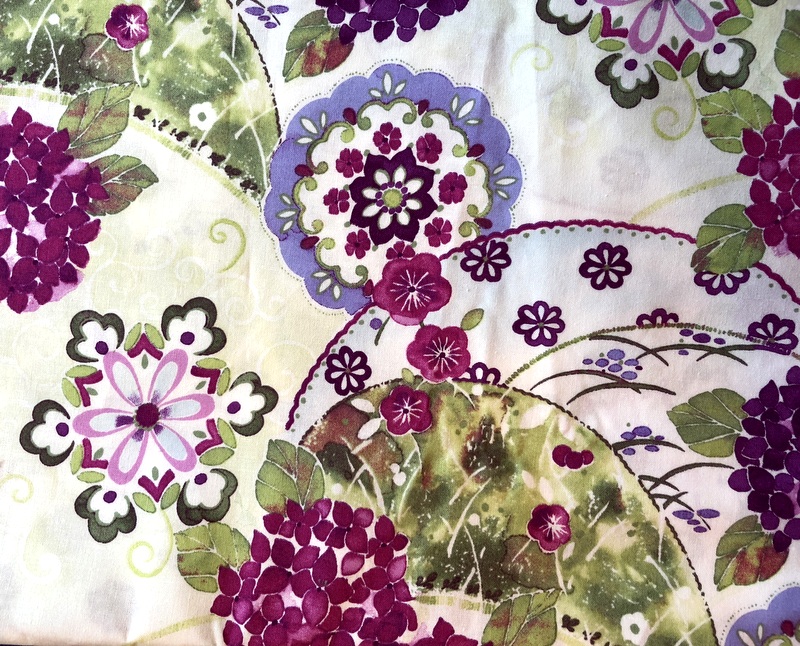
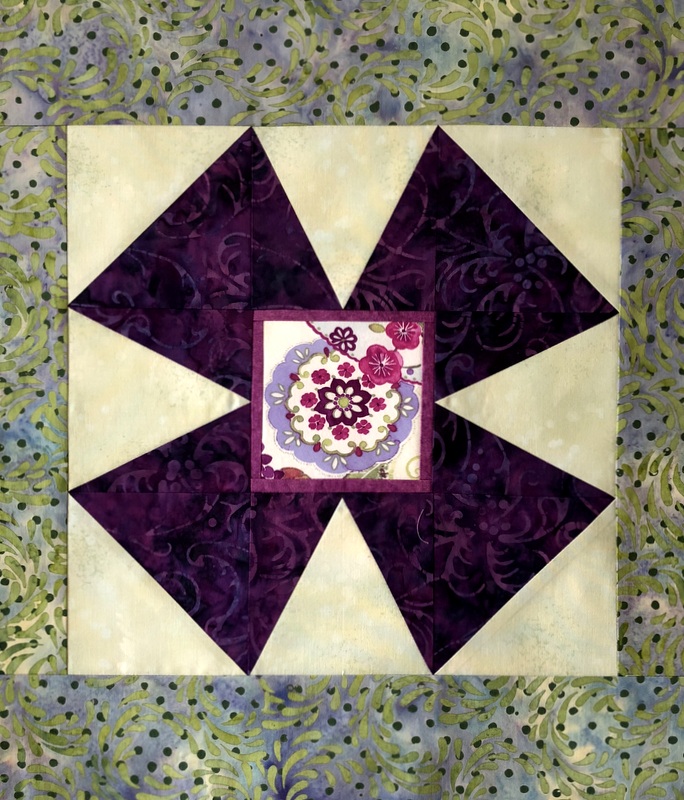
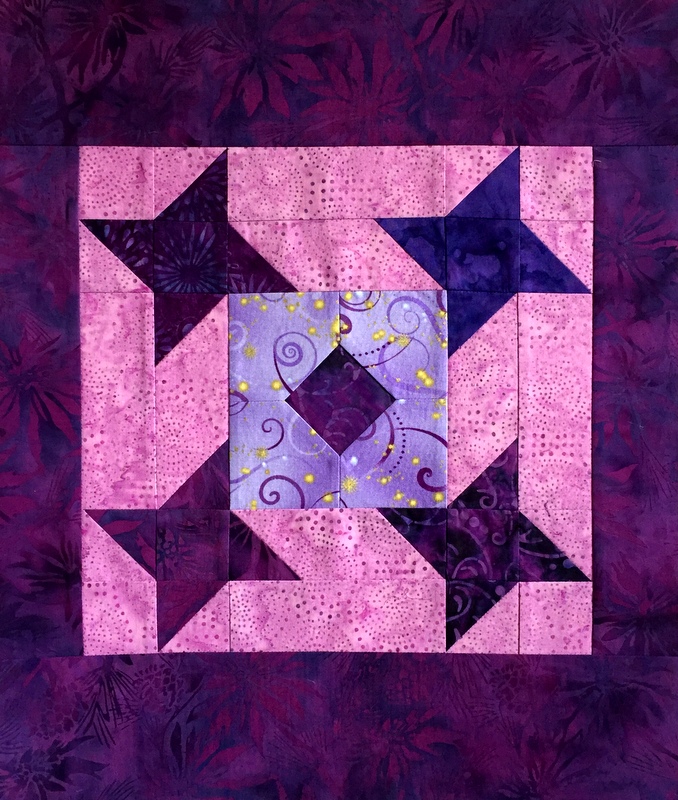
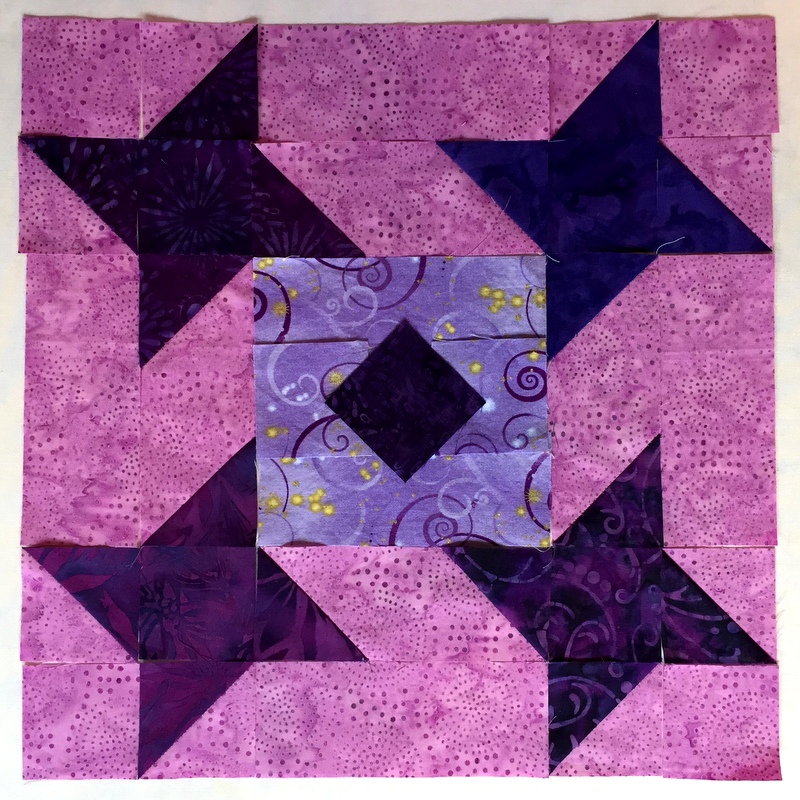
Do you see the difference? Turning that center square on point reinforced the angles in the Friendship Star blocks in the four corners. Had I made an entire quilt, I would have followed Thelma’s design to a T because the square in the center of the block is central to her overall design:

To minimize the seam lines I opted to construct the center section like a classic bow-tie block using Y-seams:

Thelma’s original finished block size is 17½” square. Carrie resized it to finish at 14″ square, although she included directions for both sizes in the pattern. I had to resize the block to 12¾” square to get it to fit my panel size. That means the half-square triangles finish at 1¾” square and the center bow-tie block finishes at 5¼” square. Good thing I like the challenge of quilt math!

Here are the front and back panels side by side:

Since this Junior Billie Bag is being made for a friend, incorporating the Friendship Star block is a meaningful addition. Thank you, Thelma and Carrie, for the inspiration!


Posted in Billie Bag, bowties, Junior Billie Bag, tote bags, update, windmill block | 4 Comments

Another Finish: Another Junior Billie Bag

Ladies and gents, I have another finish to report: Here is my latest version of the quintessential quilter’s tote known as the Junior Billie Bag:


I just finished teaching a class at the Pine Needle on making a JBB. I started the class (and this bag) in January; you can read about my fabric choices here.

In the photo above, you see the longer of two sets of handles; these are worn over the shoulder. In the photo below you see the shorter set of handles, allowing the bag to be carried like a satchel:


Notice the custom outside pockets in both photos.

Now look inside the Junior Billie Bag, where you’ll find many more pockets, all sized with specific items in mind:


After those pockets are filled, there’s still room to tuck in bundles of fabric or batting — or even a sack lunch. Now you know why I call the Junior Billie Bag “the quintessential quilter’s tote.”

The original Billie Bag was designed by Billie Mahorney and measured 21″ x 21″ x 7½”. This version is smaller, measuring 14″ x 17″ x 7½”. Billie never wanted to write a pattern, preferring to teach her design in a classroom setting. Now that she has retired from teaching, I have the pleasure of teaching the class. How glad I am! It’s been so much fun sharing her design with other quilters, and in the process I have made myself a JBB or two and given others as gifts.

When Coco saw me taking photos of the JBB this morning, she trotted right over to investigate. Before I knew it, she had crawled inside and made herself very much at home:

It seems the Junior Billie Bag is perfectly sized for a cat. Who knew?!


Posted in Billie Bag, free motion quilting, Junior Billie Bag, tote bags, update, windmill block | 12 Comments