Monthly Archives: August 2013

Playing Around with the Twist Block

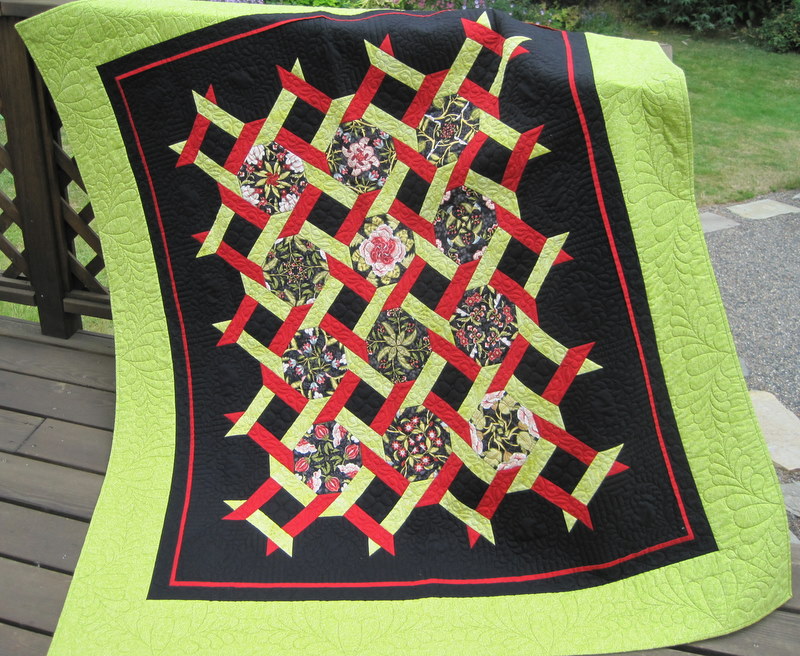
Time to show you more of the project I’ve been working on since my last post. I actually started this project over a year ago, when I got a bug to make a new quilt based on my 4-Patch Wonder with a Twist pattern. This is the first quilt, which is on the cover of the pattern:

2011-9, It's All in the Twist, 57x65

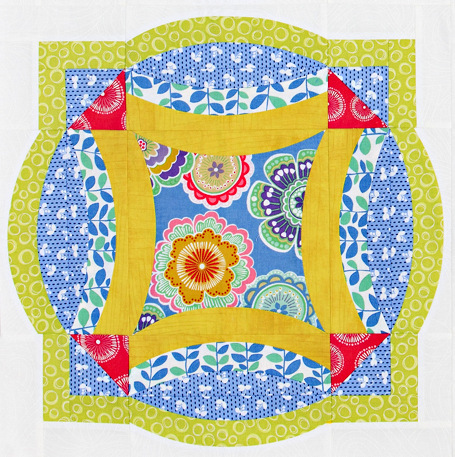
The 12 snowball blocks are very different from each other but they are all from the same piece of focus fabric, made into 4-Patch Wonder blocks (my name for blocks made of four identical layers of fabric that are stacked, cut in squares, and then rotated to make a pleasing symmetrical design). An alternating block — red and green in this case, on a black background — helps create the illusion of interlocking strips. The quilt looks contemporary but the twist block actually dates back to 1870.

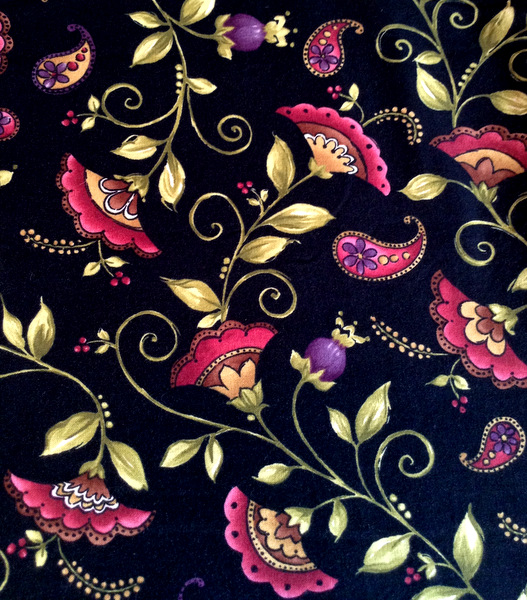
The fabric I had in mind for a second version was this lovely print, Ella, by Kathy Brown for Red Rooster Fabrics:

Ella fabric

I was attracted to the folk-art feel of her design and the rose and purple tones set off by green vines on a black background. My thought was to make the lattice strips out of three colors — rose, purple, and green — instead of two colors as I did in my first quilt. And I thought the Ella print would make great 4-Patch Wonder blocks

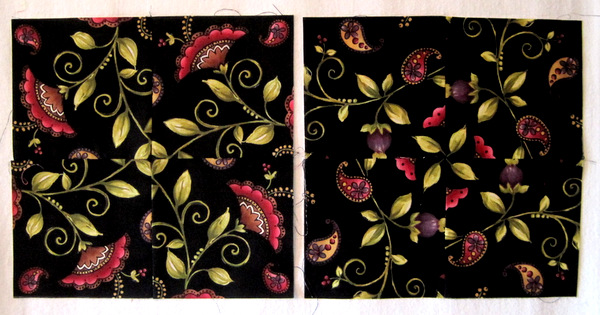
Trouble was, the first couple 4-Patch Wonder blocks I made were — well, they were pretty but not nearly as pretty or as interesting as the original fabric:

Ella 4-pw blocks

I abandoned the plan for 4-Patch Wonder blocks and simply cut squares. Then I dug into my stash for the rose, purple, and green fabrics needed for the twist strips. I pulled out quite a few pieces, all reading as textured solids. Pretty soon I had several options for each color. (What does this tell you about the size of my stash?)

Somewhere along the line I got the idea of using four different fabrics for each of the three colors. That’s right — 12 different fabrics for the twist strips. I just about drove myself crazy deciding which strips would go where, and then devising a way to keep track of them once their positions were assigned. Maybe that’s why I made just a few blocks and put the project away for over a year. Another Work-in-Progress, languishing . . .

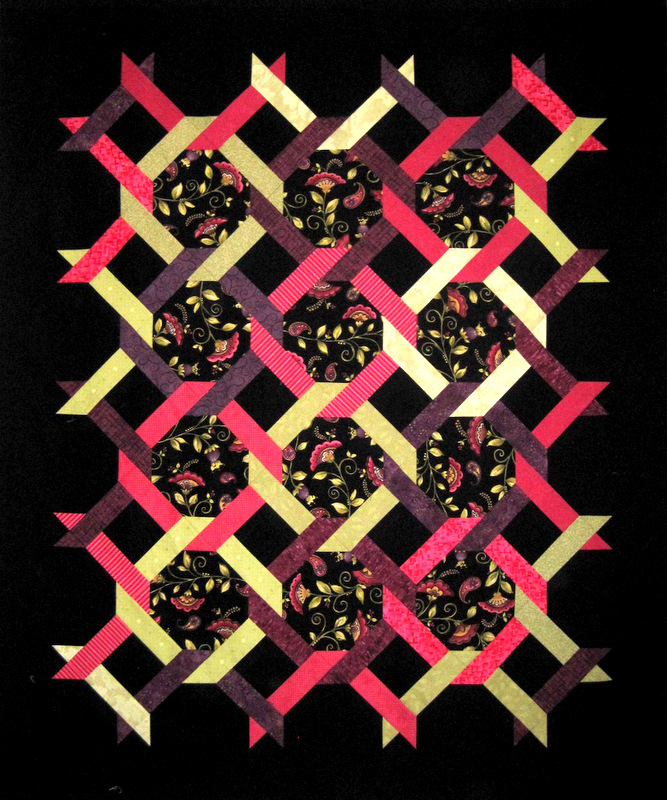
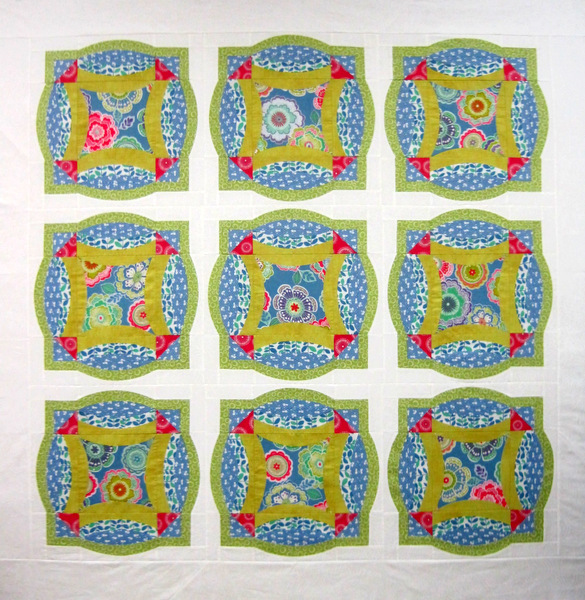
Out it came last week, ready for some close personal attention, and here is the result so far:

Ella 800p

I’m very pleased with it! Still to come: borders. With quite a few 2½” strips left over from the lattice, I’m thinking about making an inner border of 2″ squares using all 12 lattice fabrics. I hope you’ll check back in a few days to see what I’ve done.



Posted in 4-Patch Wonder, faux-kaleido quilts, snowball blocks, update | 5 Comments

The Fastest Snowball Block Ever!

I’m working on a quilt (another Work-in-Progress, begun over a year ago) that contains several snowball blocks — you know, the ones that have a triangle sewn to each corner, like this:

corner triangles #8

I’ve seen these edges referred to as foldover corners and stitch-and-flip corners. Whatever they’re called, the usual method of making them is to place a small square in each corner of the larger square, sew diagonal lines from corner to corner, trim the seams, and press the resulting triangles to complete the square.

Pretty basic, pretty fast. Except that it’s usually necessary to draw a stitching line on the small squares and sometimes to pin them to the larger square. It can get pretty tedious drawing all those lines on fabric, and it’s surprisingly difficult to stitch a perfectly straight diagonal line, especially when you are starting out at a corner.

Well! I recently learned a new way to sew these squares that doesn’t involve either pins or drawing lines. It’s faster than the old method and has resulted in improved accuracy in my stitching. I experimented a bit with the method and the materials, and this is what I came up with that works best for me:

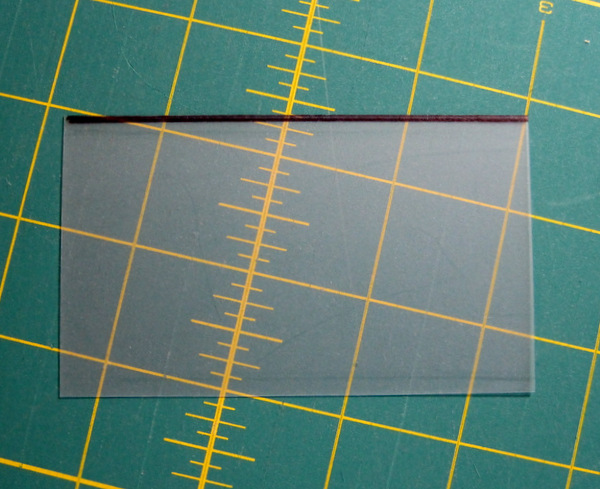
corner triangles #1

It’s a piece of template plastic, about 4½” wide and 2½” long, the perfect size for a block that finishes at 6″. I placed the plastic on a piece of scratch paper and, using an acrylic ruler and black Fine Point Sharpie pen, drew a thin line along one long edge. You’ll see what the dark edge is for in a moment.

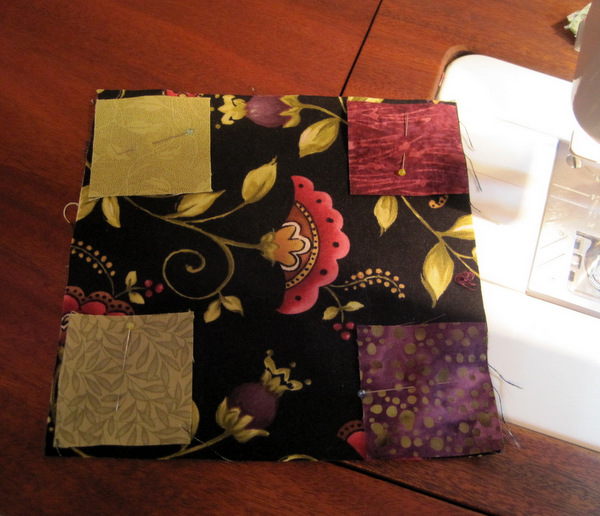
Here is my large square and the four smaller squares I need to make the corner triangles:

corner triangles #2

(The only reason I have pins in the smaller squares is to make sure they are in the correct position for the quilt I am making. If I were using the same fabric in all four corners, I wouldn’t need pins at all.)

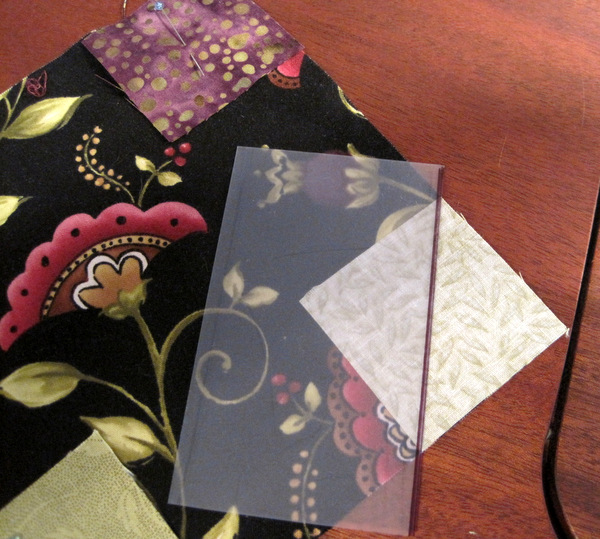
I start by positioning one of the smaller squares right side down in one corner of the larger square. Then I lay the template plastic right along the stitching line, from corner to corner, with the edges of the template plastic extending beyond the beginning and ending points of the stitching line. The inked side of the template plastic helps me see the edge of the plastic better on light fabric:

corner triangles #3

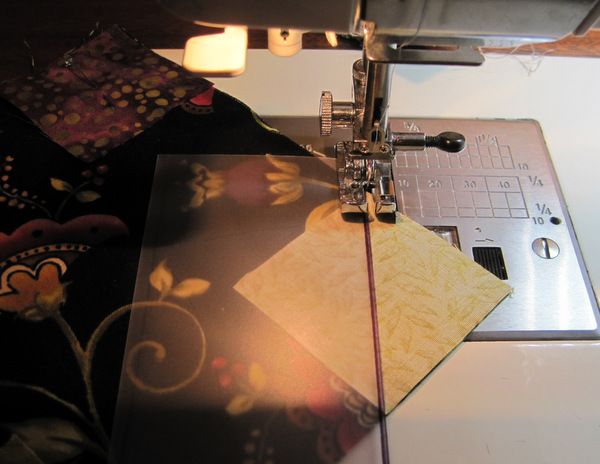
Next I position the fabric with my needle (in the down position) right next to the template at the exact corner of the small square. Holding my left hand (not shown in the photo below) firmly on the template plastic, I start stitching right at the corner:

corner triangles #4

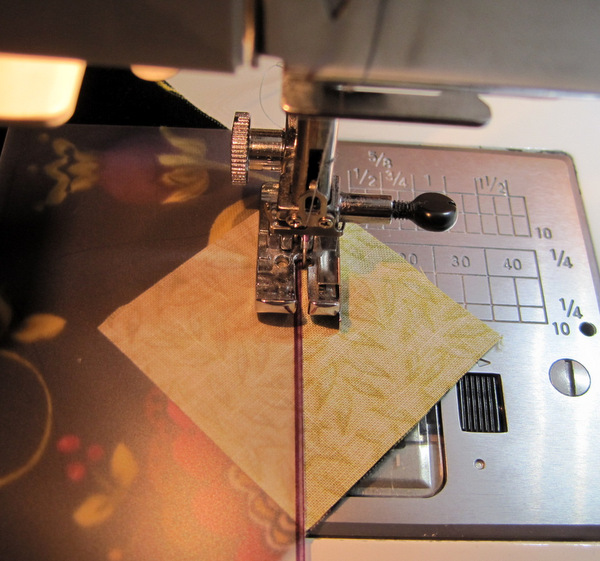
You can see the needle is right next to the edge of the template plastic, eliminating the possibility of straying off the stitching line:

corner triangles #5

It feels a little bit like stitching in the ditch, with the edge of the template plastic serving as the ditch. Being able to see the fabric through the plastic helps me make sure the fabric isn’t shifting.

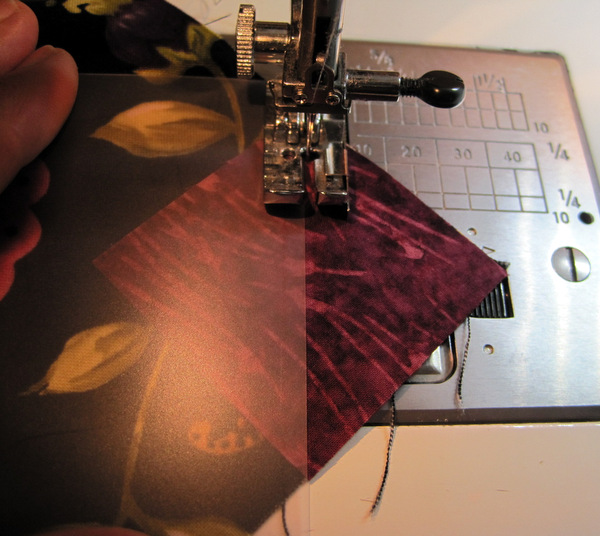
I use the uninked long edge of the template on dark fabrics, as it is easier to see the needle as it goes in and out right next to the edge of the template plastic:

corner triangles #6
I sew all four corners in this manner, rotating the large square as I go and not cutting the thread between corners:

corner triangles #7
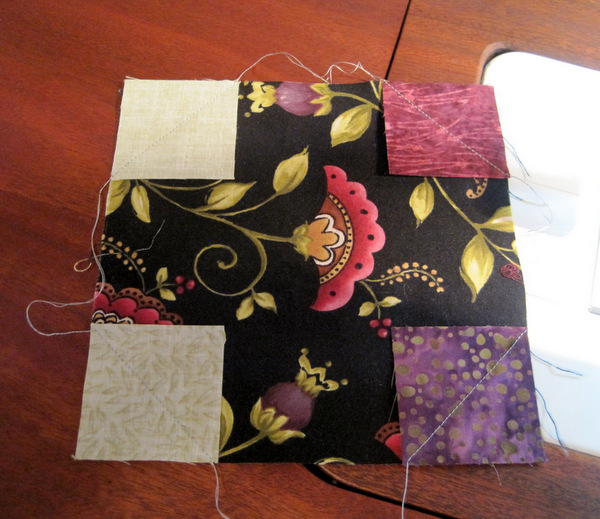
Now all I have to do is cut the threads, trim the seams, and press. Voila! My snowball block is done:

corner triangles #8
This method works for flying geese blocks, sawtooth edges, just about any block that calls for a triangle to be made from a square or rectangle. The templates can be made with cardboard or other stiff materials, but I’m sticking with template plastic because I like being able to see through it as I sew along next to it. I’ll make larger templates for larger blocks.

My thanks to Kelly at BlueBird Sews for introducing me to this new method. I love learning from fellow quilters!


Posted in snowball blocks, stitch-and-flip corners, tutorial, update | 8 Comments

Mission Accomplished

I’ve been working on a quilt top based on the pattern Urban Tiles by Jenny Pedigo of Sew Kind of Wonderful. The top is done, and here it is:

UrbanTiles 600
Urban Tiles Quilt Top, 58½” Square


This was fun to work on because the fabrics are so bright and cheerful. I could see this as a table topper or a little girl’s quilt.

Now to consider quilting motifs. . . . I could go with an all-over design. On the other hand, maybe I should choose a motif that highlights the secondary design in the white fabric around the blocks. What do you think?


Posted in table topper, update | 4 Comments

WIP Wednesday, a Day Late

Urban Tiles deb h photo - Copy

Yes, it’s a new Work-in-Progress. (The older ones will just have to wait.) I’m making a quilt using the pattern Urban Tiles by Jenny Pedigo of Sew Kind of Wonderful because I’ll be teaching a class on it in October at the Pine Needle Quilt Shop.

The center of the block was designed as a nine-patch but I wanted to show off the playful floral fabric (from the new Dori line by Mitzi Powers for Benartex) so I opted to use a solid piece. The block finishes at 16½”.

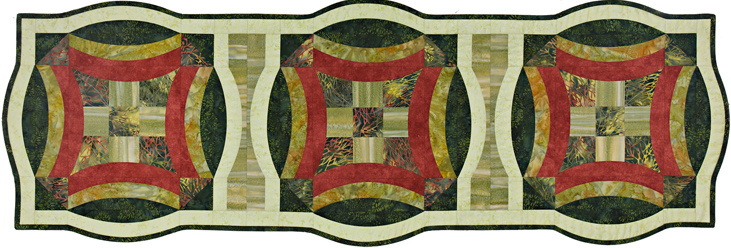
Regular readers may recognize the pattern, as I made a table runner last year from Jenny’s design, before her pattern was published:

Into the Woods, Dawn's Urban 9-Patch table runner
Into the Woods, 17½” x 51″ (2012)

Isn’t it amazing how fabric changes the look of a design?

I hope you’ll stop by in a couple of days to see my WIP transformed into a finished quilt top!


Posted in update | 3 Comments

4-Patch Coaster Fun

Between family birthdays, reunions, and weddings — joyous occasions all — I’ve spent very little time in my sewing room in the last month. My two youngest granddaughters, Bonnie (13) and Beatrice (10), are currently visiting from San Francisco, so the last week has been filled with activities such as picnicking in the Columbia Gorge, attending a professional women’s soccer game, frolicking in the pool at our nearby community center, and shopping for school clothes.

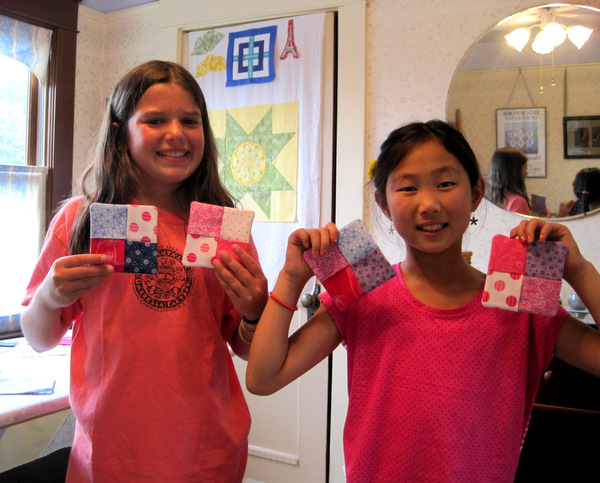
Yesterday we stayed home. Beatrice had a playdate with My Little Neighbor (MLN), who just turned 11. Both girls were in the mood to “make something crafty.” They picked out some fabrics from my stash, and here is what they created:

2013-8, MLN and Bea
My Little Neighbor and Granddaughter Beatrice Display Their Coasters
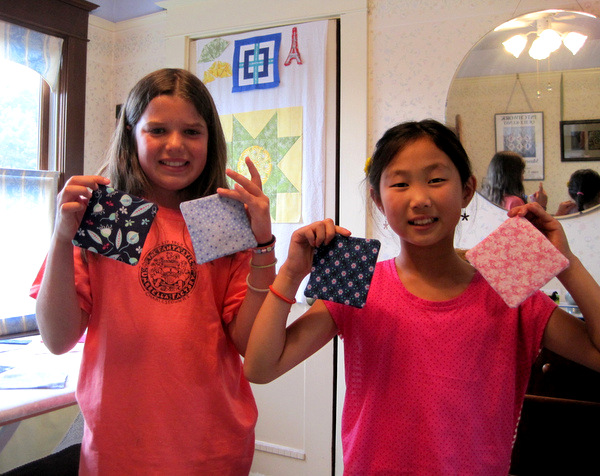
2013-8, MLN and Beatrice
Their Coasters from the Back

The girls had so much fun they’re going to make a few more coasters tomorrow.


Posted in 4-patch coasters, family, My Little Neighbor, update | 4 Comments