Simply Irresistible
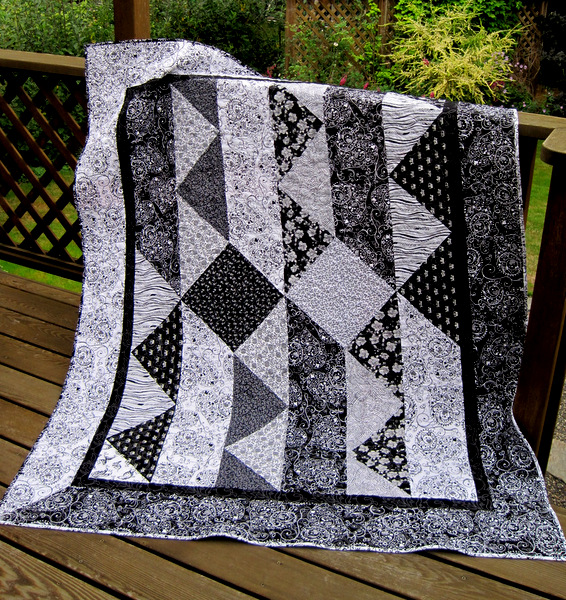
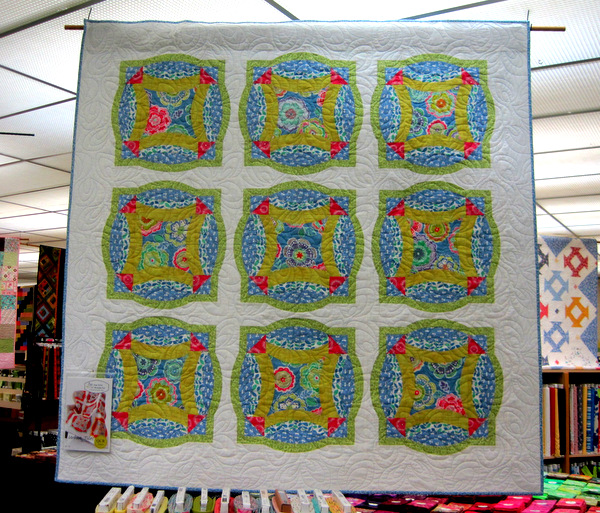
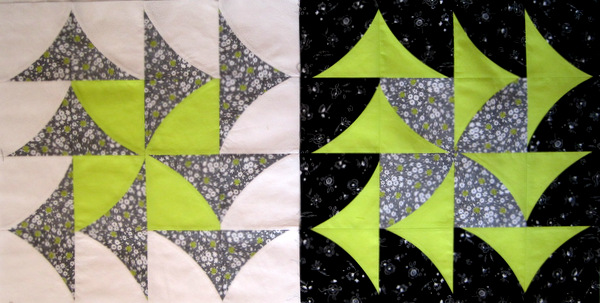
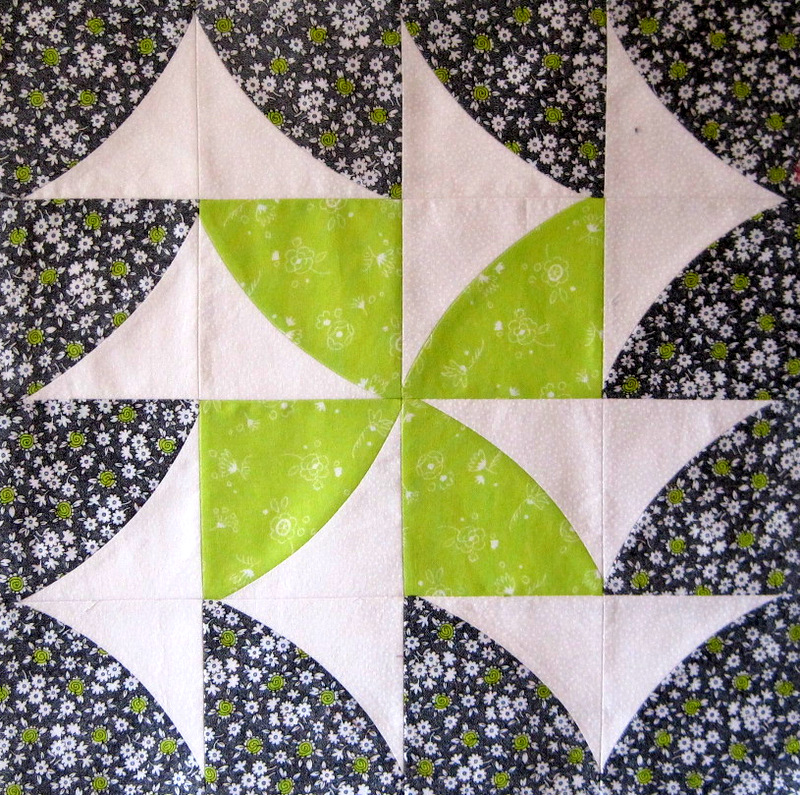
A few weeks ago I posted a picture of a couple of test blocks I made using Jenny Pedigo’s Curvy Geese design, introduced on her blog, Sew Kind of Wonderful. Here’s another look at those two blocks, which finish at 16″:
Since then, I’ve made a few more blocks. I just can’t help myself — they are so fun to make. I’m using fabrics from the Doodle line by Timeless Treasures with a few solids mixed in.
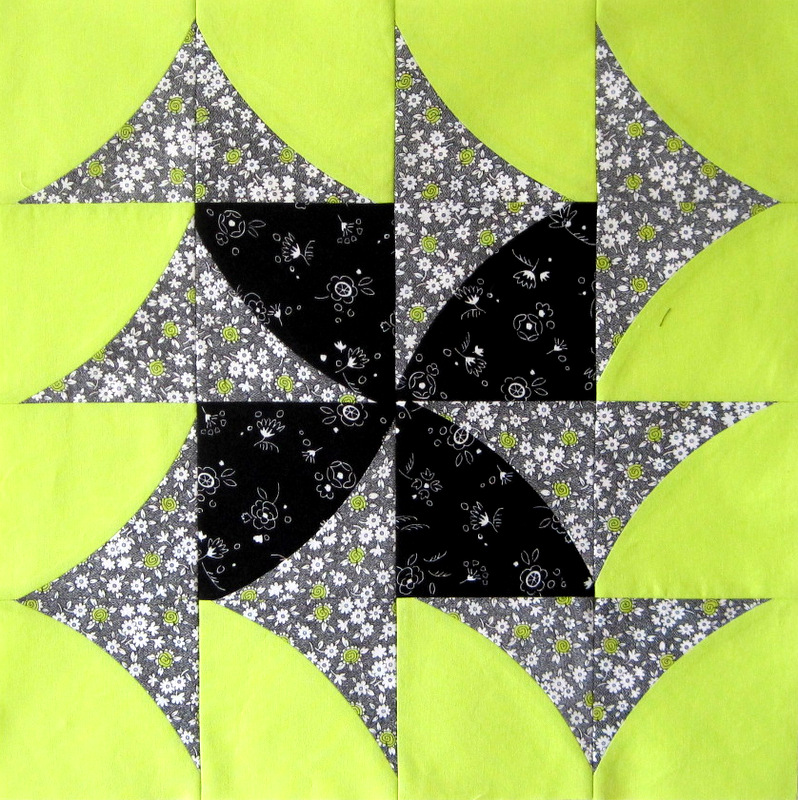
Here’s a new block:
And another:
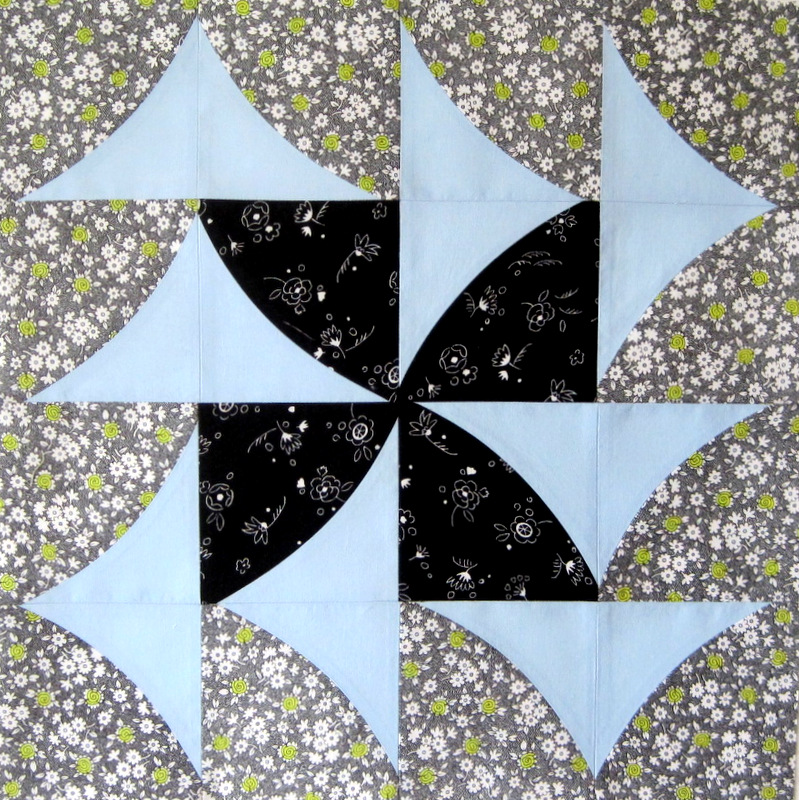
And another:
And another:
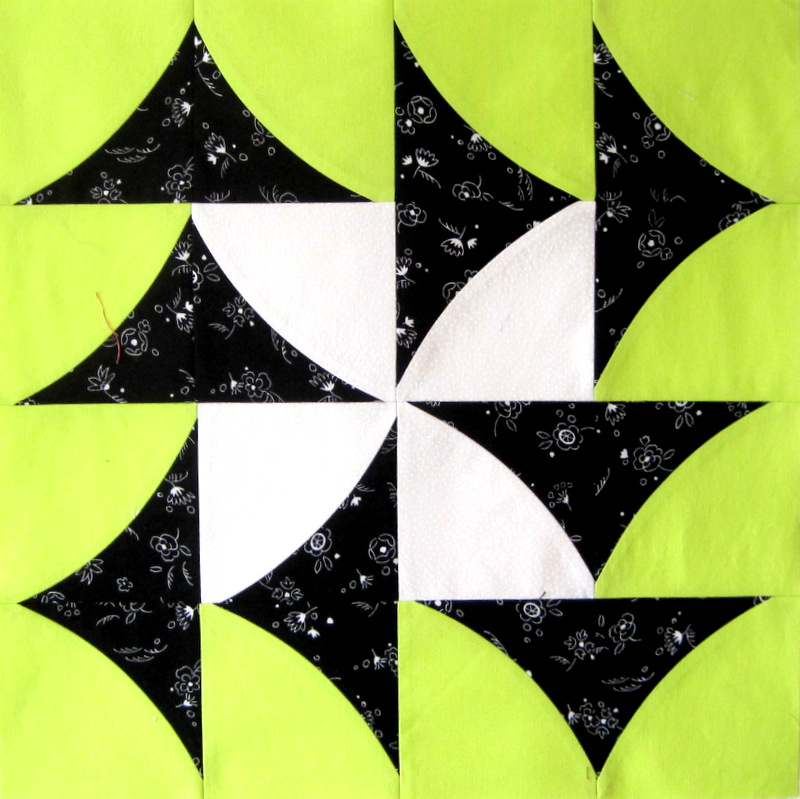
And another:
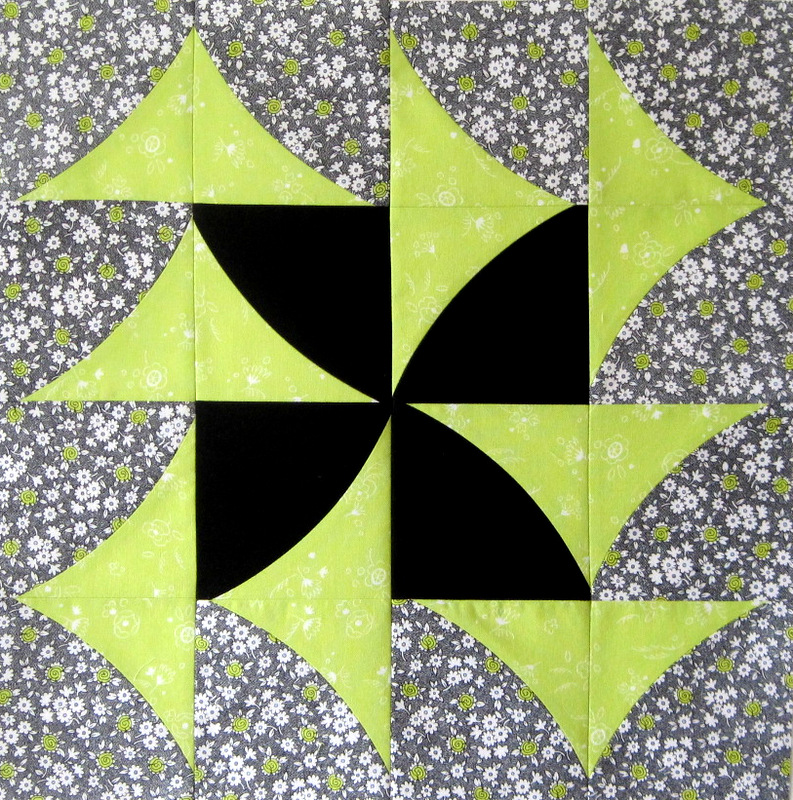
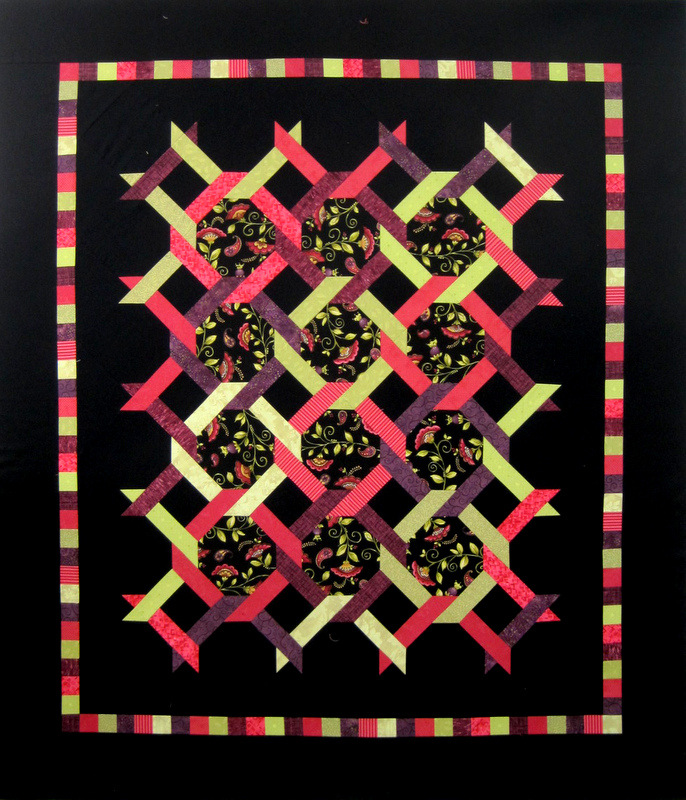
What is it about this block that I find so irresistible? It’s a very traditional block — a pinwheel in the center surrounded by flying geese — but it has a decidedly modern feel that comes from the curvy lines and larger finished block size. It goes together very quickly, thanks to pin-free curved piecing and smaller units that are trimmed to size before being sewn together into rows.
The color palette is pretty controlled but I’m mixing up the positions of the light, medium and dark values for a somewhat scrappy effect. A few more blocks and I’m going to have a quilt top!