Perfect Pillowcases: a Tutorial
I’ve been making pillowcases since 2005, when my quilt teacher Billie Mahorney first showed me how to make a “Magic Pillowcase” with French seams and a nifty way of enclosing the band on the inside with no raw edges showing. You’ve probably seen directions for other versions of this pillowcase, variously called the Burrito Pillowcase, the Hot Dog Pillowcase, or the Roll-it-Up Pillowcase.
Over the years I’ve made dozens of pillowcases — for friends and family, for charity, and for the Portland White House. Over the years I’ve tweaked Billie’s method, fiddling with seam allowances and incorporating ideas gleaned from here and there, winding up with what I think is the perfect pillowcase. Try my version and let me know if you agree!
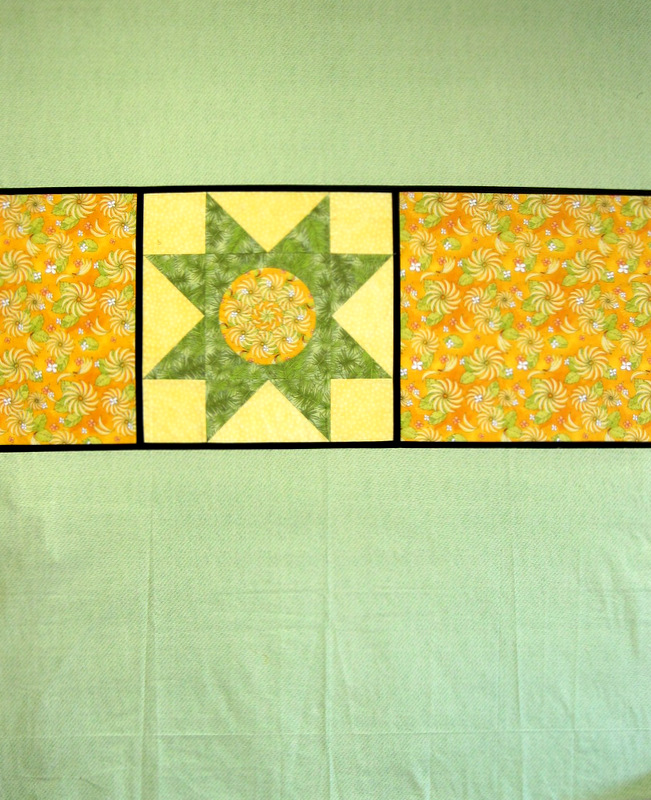
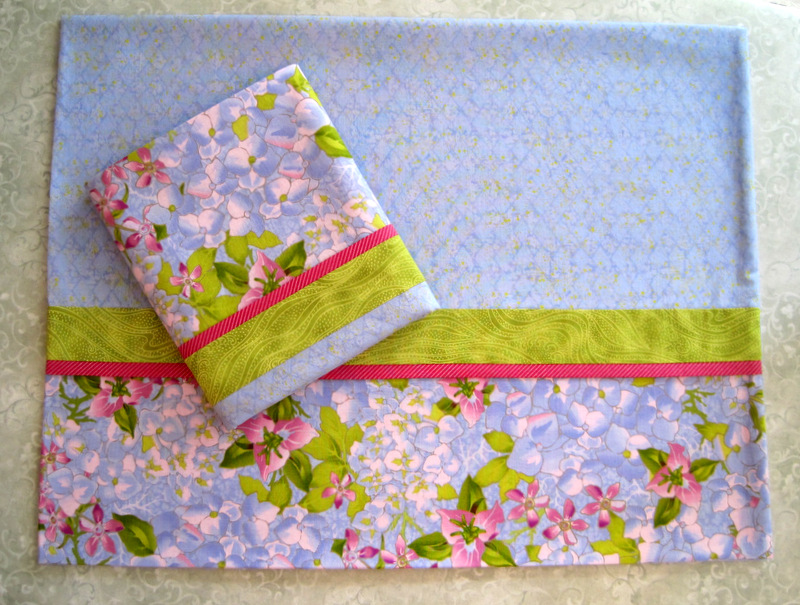
Perfect Pillowcases from First Light Designs
Finished size: @ 20″ x 31″ for standard/queen cases, 20″ x 37″ for king size cases
Fabric requirements for one pillowcase
Pillowcase body: 3/4 yd cotton (for king case, 1 yd)
Bottom band (goes at open end of pillowcase): 1/2 yd cotton
Accent strip: 4″ strip cotton
Flange (folded strip): 2″ strip cotton
Preparation
Wash and iron fabrics first. Why is this important? Two reasons. First, fabric does not come off the bolt evenly wrapped. If you don’t wash and iron it first, the fabric won’t be on the straight of grain when you cut it (and this will become obvious the first time you wash and dry it). Second, fabric comes with sizing, the chemical finish that gives it a crisp feel; washing removes the chemicals and makes the pillowcase ready to sleep on when it’s completed.
When you wash, dry, and iron fabric and then fold it so that the selvages meet, the cut ends (perpendicular to the selvages) rarely line up evenly, and you lose a bit of fabric when you trim the edges. The fabric requirements above take this into account.
Sewing supplies
Sewing machine with ¼” foot or other open-toed foot
New sewing machine needle (I recommend size 80/12 sharp)
Standard sewing supplies (thread, scissors, straight pins, measuring tape, seam ripper)
Rotary cutting equipment (large mat, rotary cutter, rulers short and long)
Point turner or other tool for gently poking out corners
Cutting instructions
WOF = width of fabric, usually 42″ – 44″ before selvages are removed
Pillowcase body: cut one piece 25″ x WOF. (For king case, cut one piece 31″ x WOF.)
Bottom band: cut one piece 13″ x WOF
Accent strip: cut one strip 2″ x WOF
Flange: cut one strip 1¼” x WOF
1. Fold flange in half lengthwise, wrong sides together, and press. With right sides together, align the raw edges of the flange along one long edge of the accent strip and machine baste with 1/8″ or 3/16″ seam.
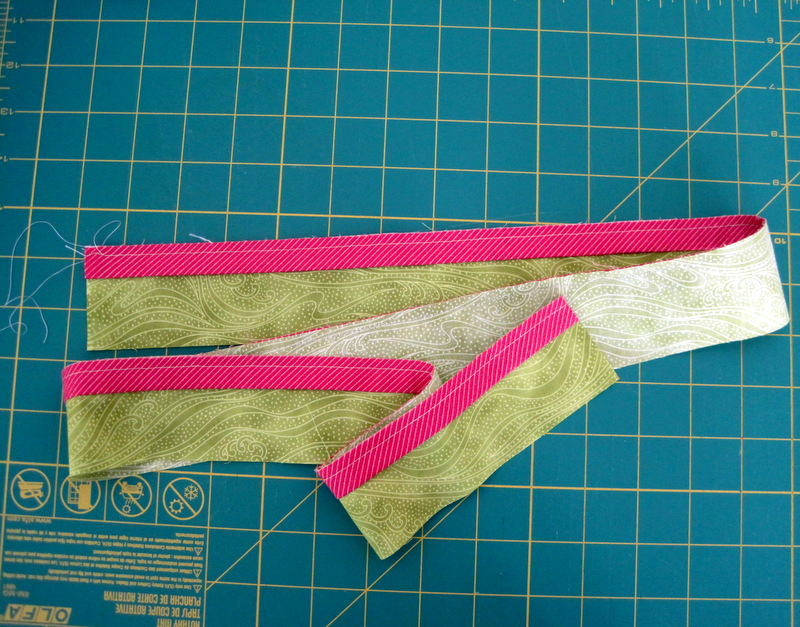
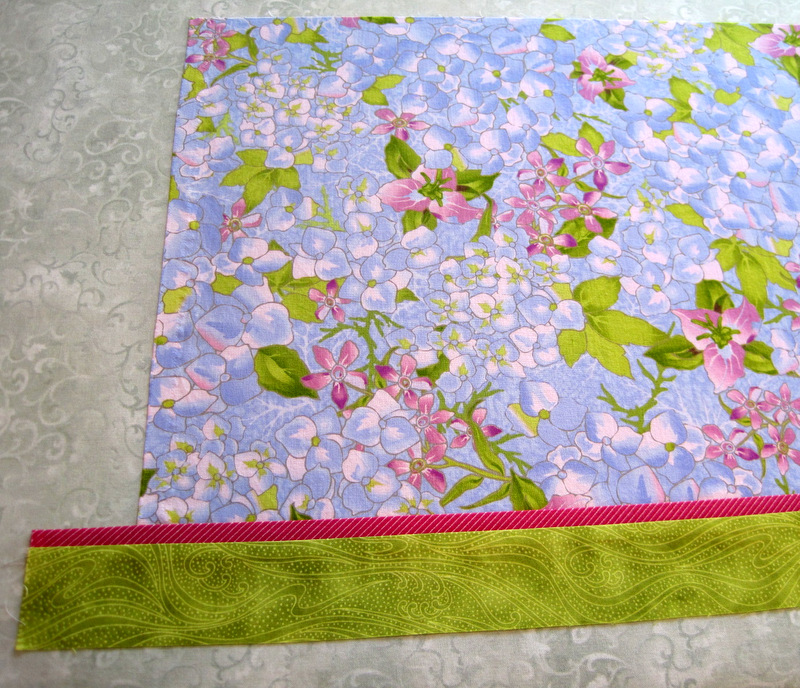
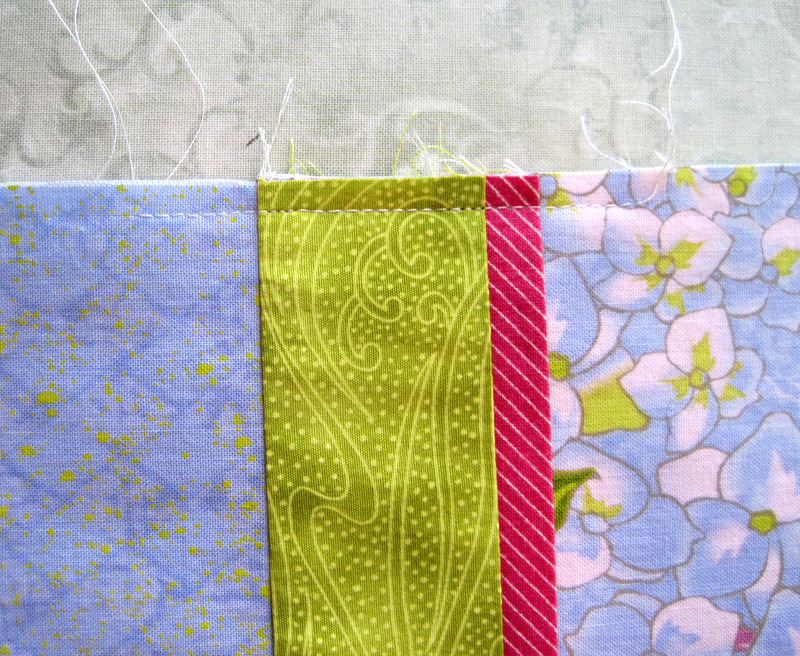
2. With right sides together, sew the flange edge of the accent strip to one long edge of the bottom band. Note that the basting stitches are in the seam allowance to the right of the seam you are sewing. (Don’t worry if the bottom band, accent strip, and flange are slightly different in length — you’ll trim them evenly in Step 3.)
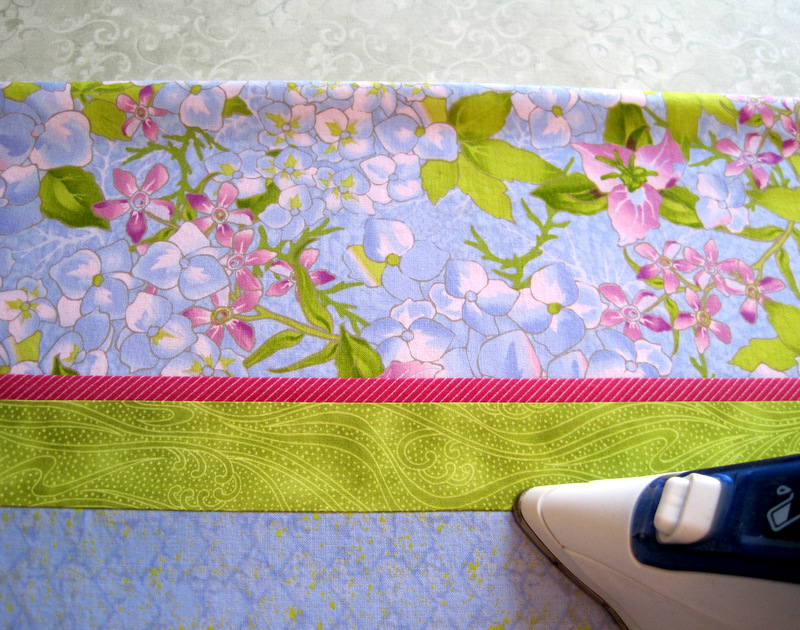
Press the line of stitching to “set the seam.” From the front, press the seam toward the accent strip, turning the flange toward the bottom band.
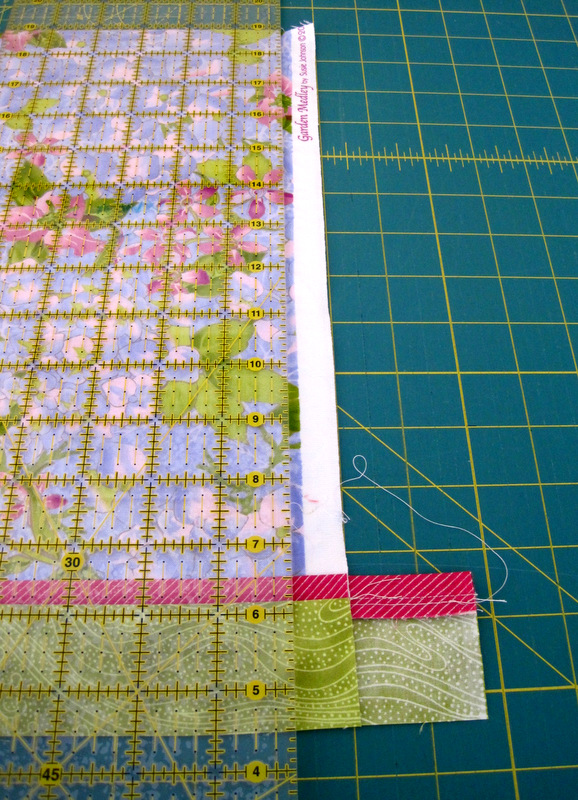
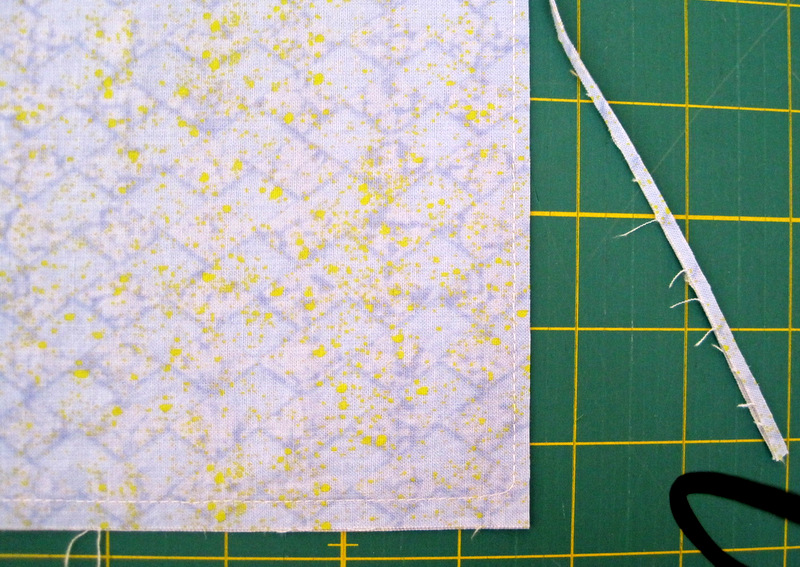
3. Fold the band/accent/flange unit in half as shown below and arrange it on a large cutting mat so that the fold is on the left and the selvages are on the right. Make sure the fold is next to one of the inch marking lines on the mat. Measure 20¼” from the fold — you should be within an inch or so of the selvage edges — and align an acrylic ruler on the 20¼” mark:

Trim the selvages. Your band unit should be 40½” wide.
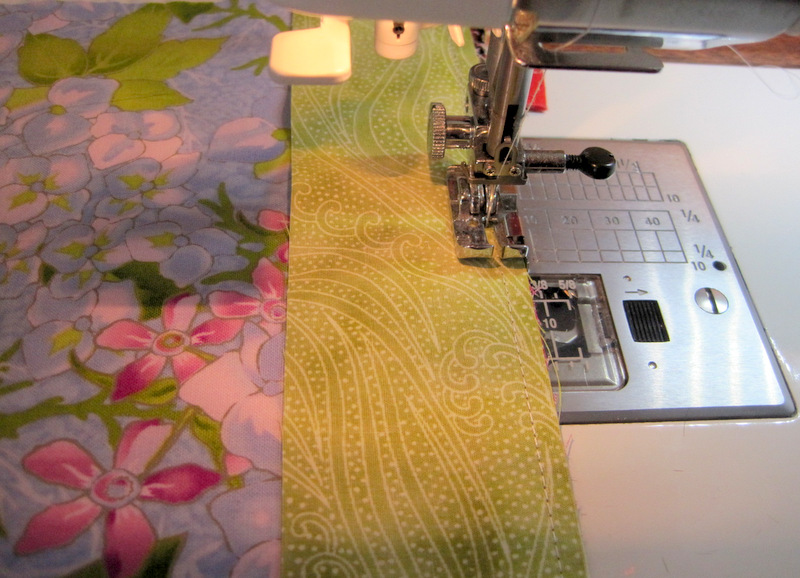
4. Trim the selvages from the pillowcase body in the same way, measuring 20¼” from the fold. The pillowcase body should also be 40½” wide. With right sides together, pin one end of the pillowcase body to the other long edge of the accent strip (the edge without the flange). Machine baste with a 1/8″ or 3/16″ seam. Do not press this seam.
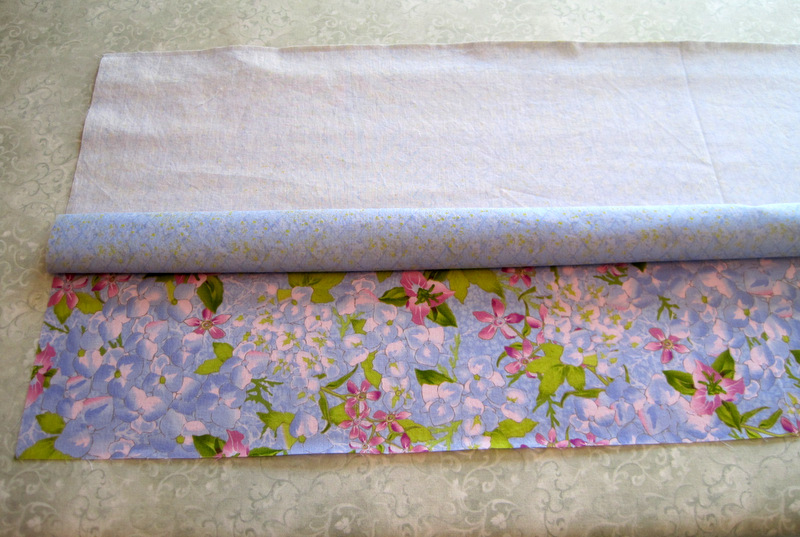
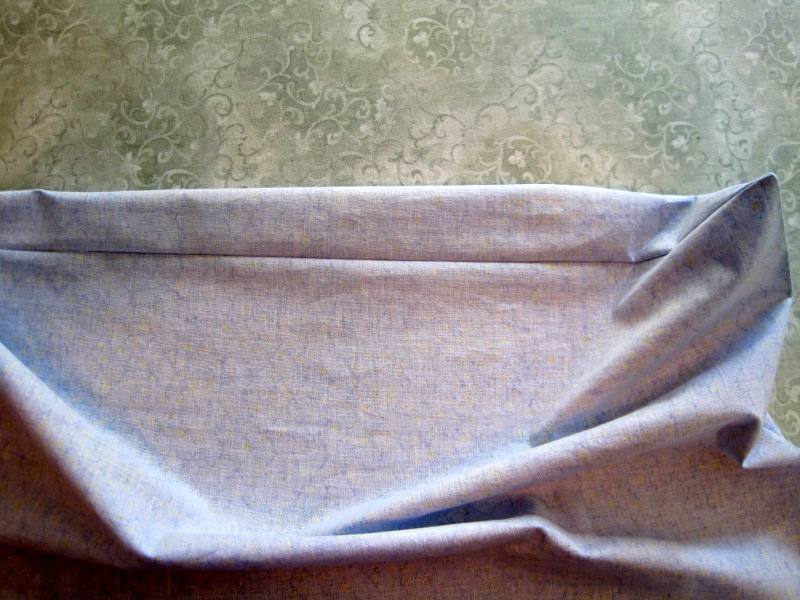
5. Lay the pillowcase on a flat surface (I like to use my ironing board) with the seam you just stitched at the top. The band should be underneath and the pillowcase body on top (right sides together):
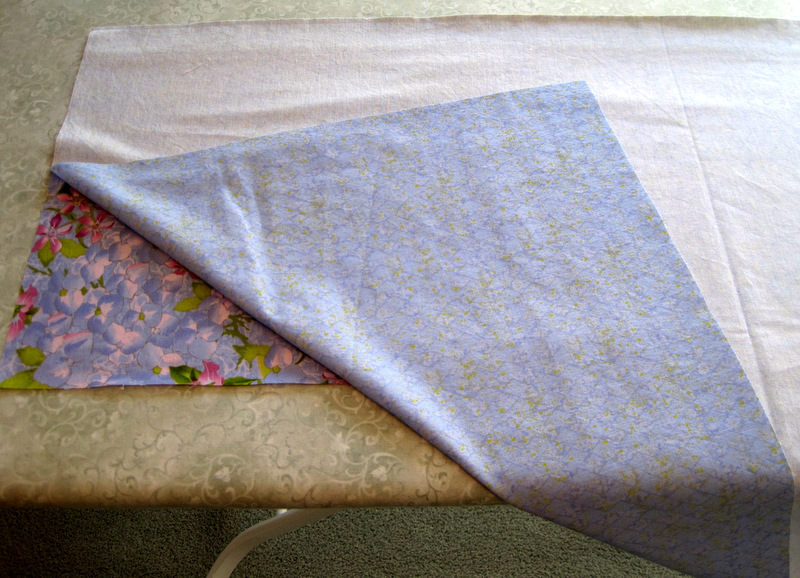
This is where the magic comes in. Let the edge of the pillowcase body dangle off the edge of the ironing board. With both hands grasp the end that is dangling and start rolling it from the bottom toward the top:
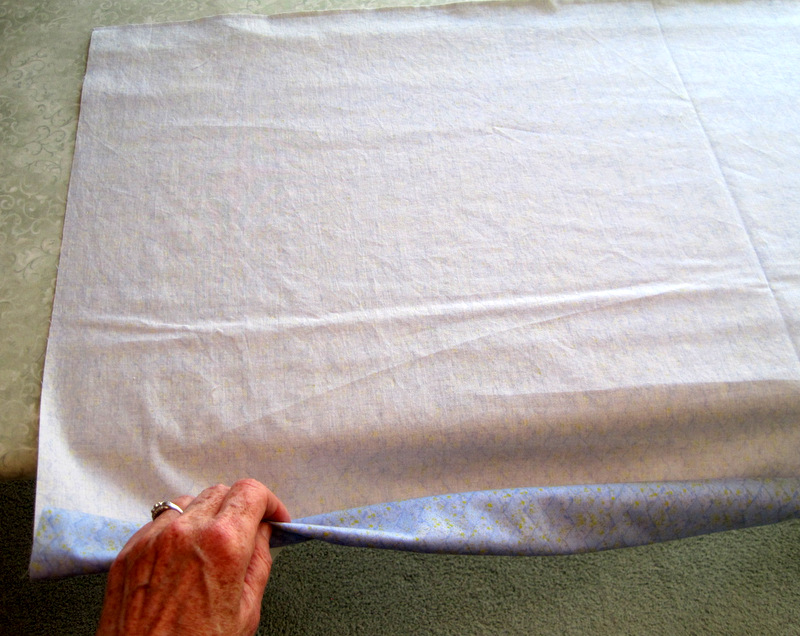
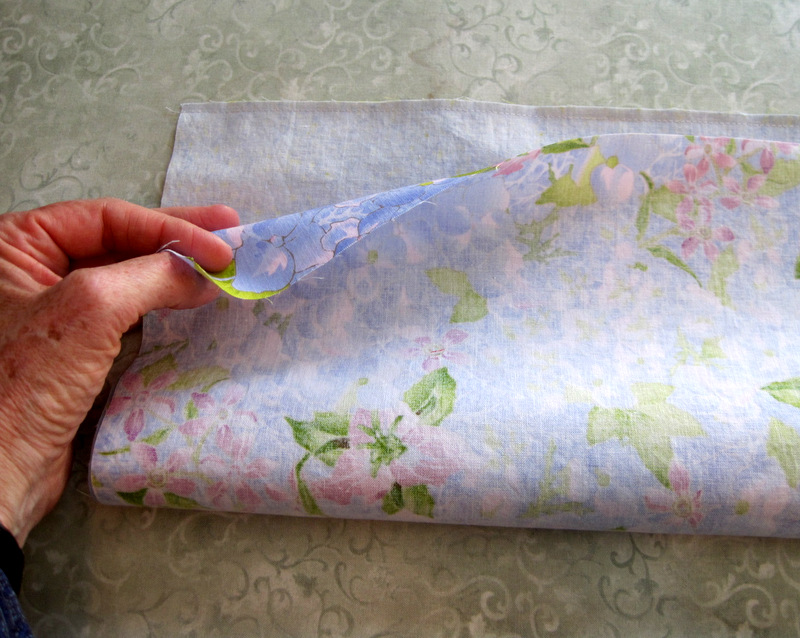
Stop when the roll is in the middle of the band unit:
Now bring the bottom of the band unit up and over the roll and align it with the top of the unit:
Pin the layers together along the top and stitch with a ¼”seam, backstitching at the beginning and end of the seam. You now have a tube with two open ends.
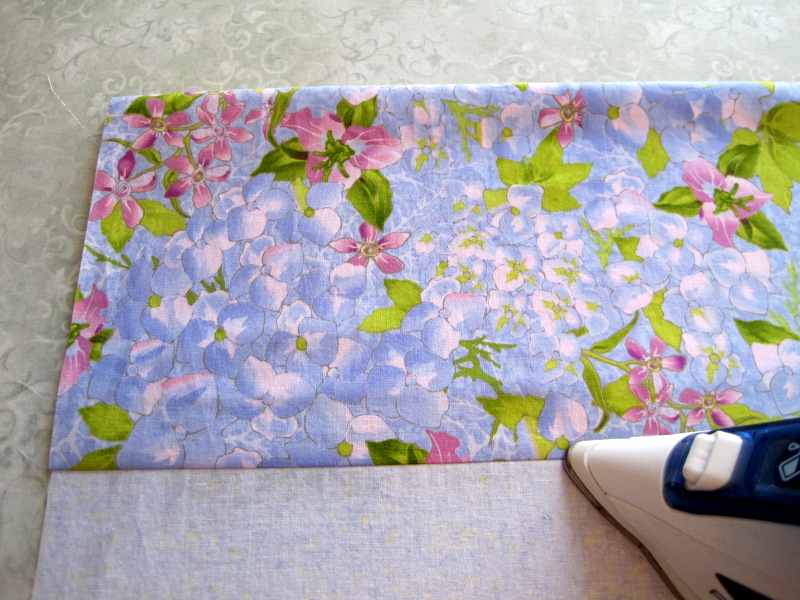
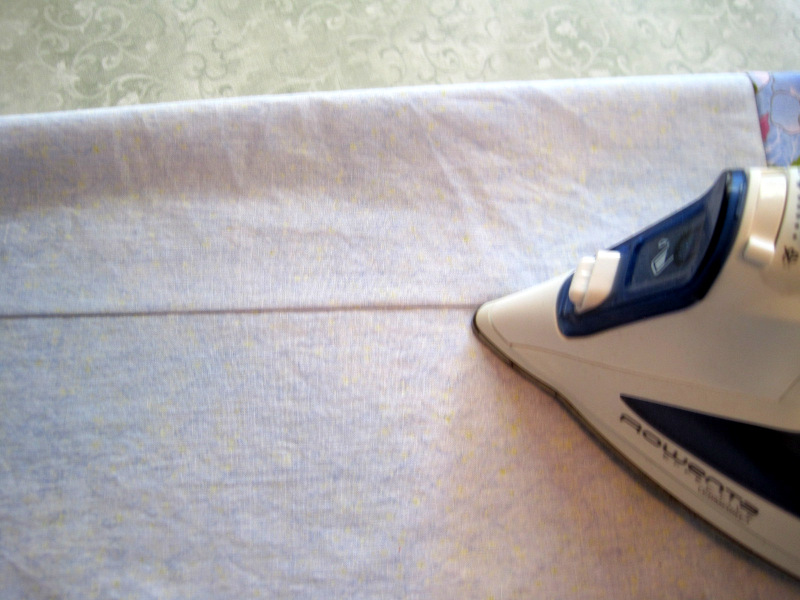
6. Pull the rolled up case out from either end and shake it out flat. Press the bottom band first from the wrong side of the case (don’t press all the way to the fold) and then from the front. Be sure to smooth the fabric away from the seam on both sides before you use the iron to make sure you don’t wind up with folds of fabric at the seamline.
Still with me? Good! Now it’s time to finish the pillowcase with French seams, a sewing technique in which raw edges of fabric are enclosed in a seam and then that seam is enclosed in a second one. French seams are often used on lightweight and sheer fabrics. Using them on regular weight cotton adds a bit of bulk, especially in one corner, but it gives you a beautifully finished pillowcase inside and out. Over time I’ve discovered a couple of trimming and pressing techniques that minimize the bulk.
7. Fold pillowcase in half with wrong sides together. Pin the raw edges and sew a ¼” seam, backstitching at both ends. I find it easiest to start at the fold at the top of the pillowcase and end at the bottom of the band. Slow down when you get to the band unit, as you are stitching through several layers of fabric. (This is why it’s smart to start out with a new sharp needle in your sewing machine.)
Note: before I sew the seam I match the seams on the band unit and machine baste them:
8. Using a rotary cutter and ruler, trim the seam to 1/8″. (This step trims off the small loose threads that can get caught when you sew the second seam and also allows the second seam to be narrower — hence less bulk.)
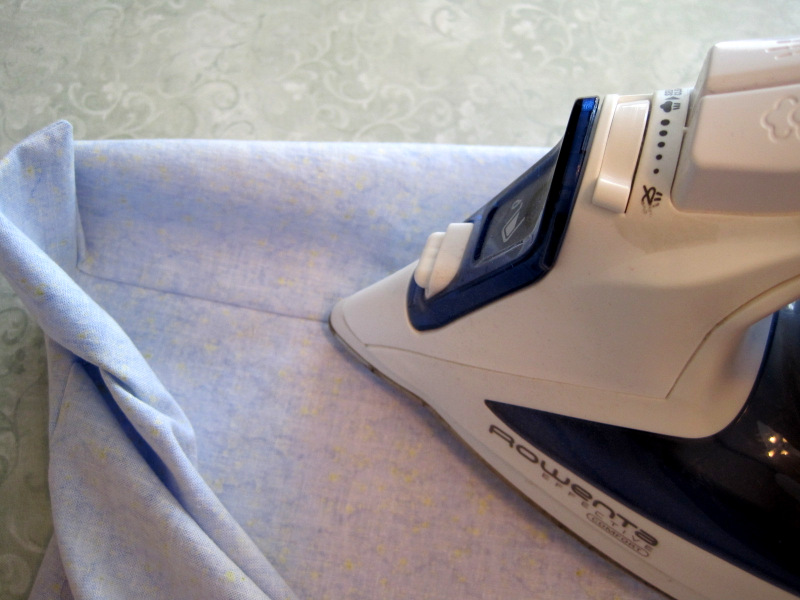
After trimming the seam, turn the pillowcase inside out and gently poke out the corners with a point turner. Before you press the edges of the pillowcase, press the seam to one side to flatten it. Look carefully at the next pictures to see what I mean:

See how I have pulled the top seam down a couple of inches from the top edge? I can flatten that seam by pushing it to one side (it doesn’t matter which way) with just the point of the iron. It’s not really clear from these pictures that I am holding the heel of the iron well off the pillowcase so only the point of the iron is touching fabric. I can get the point of the iron to within a couple inches from the corners.
Now do the same thing with the side seam. Pull the side seam toward you on the ironing board, making sure fabric underneath is flat. Use just the tip of the iron to flatten the seam by pushing it to one side:
Now press the entire pillowcase with the seam in its proper position at the outer edge. You should find that the seam can be pressed flat without any excess fabric forming folds at the seamline. Another way of getting the seam flat is to roll it between your fingers but I find this to be a very laborious and time-consuming process.
9. Stitch another ¼” seam all the way around, starting at the top of the pillowcase and ending at the bottom of the band, backstitching at the beginning and end. Go slowly where the flanges meet — going a stitch at a time, if necessary — to help your machine sew through the layers of fabric.
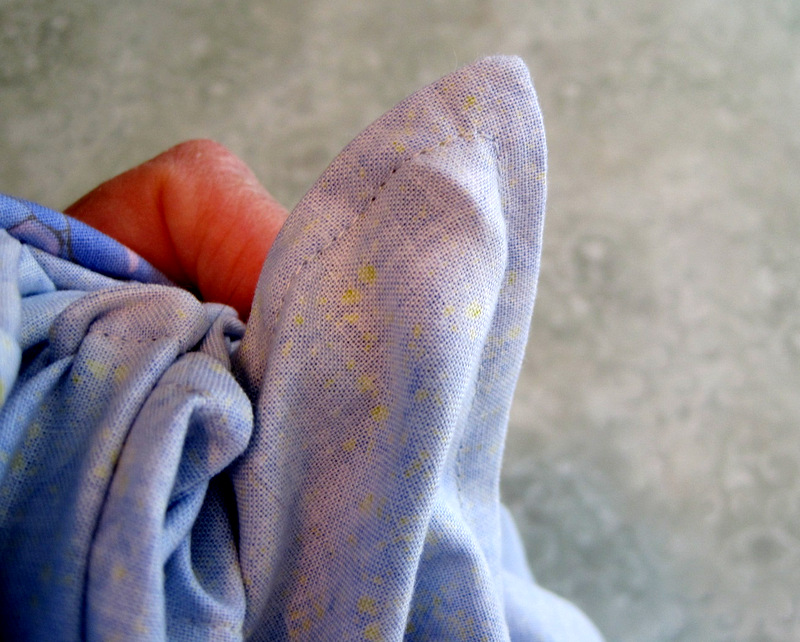
Turn the pillowcase right side out and gently poke out the corner at the fold using the point turner. The other corner is the slightly bulky one; you’ll need to manipulate it with your thumb and finger until it forms a gently rounded right angle when it’s turned to the right side. This is what it looks like on the inside . . .
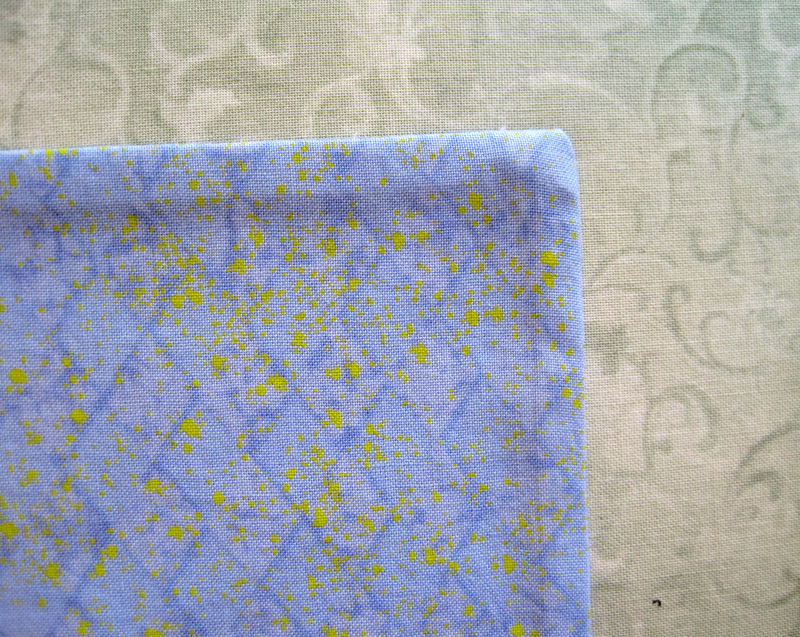
. . . and this is what it should look like on the outside:
Use the same pressing technique described above in Step 8 to flatten the seams. Give the pillowcase a final press. Voilà!