I’m smiling as I write the title of this post but I was down in the dumps earlier this week after taking my twin Diane to the airport for her trip home to Georgia. She had just spent six weeks with the Dear Husband and me, and during those six weeks she had devoted herself to helping me with some long deferred spring cleaning as well as various and sundry other domestic chores such as cooking, cleaning up the kitchen after meals, and doing laundry. I laughingly — and lovingly — dubbed her “my very own scullery maid.”
We also had fun working together every single morning on the New York Times Spelling Bee as we sat on the couch in our jammies with our first cup of coffee. We are still both Scrabble aficionados but on this visit we concentrated on achieving “Queen Bee” status on the Spelling Bee. That was high priority but getting to some cleaning projects and preparing the Portland White House for Thanksgiving and the holidays were at the top of Diane’s “to do” list.
Diane is one of those exceedingly rare creatures who actually enjoys cleaning. (I may have gotten the sewing gene in our family but she definitely got the cleaning gene.) I’ve been very focused this past year on taking care of the Dear Husband, working with him in the yard and garden, and trying to keep the household running smoothly, often at the expense of carving out time to read and sew and make quilts, three things I dearly love to do. Diane’s goal for this visit was to lighten my load and at that she succeeded admirably.
The biggest transformation was in the living room. One day when I was away teaching a quilt class, Diane took every item out of the china cabinet, which was jammed to the gills with vintage pieces and antiques accumulated over four decades. She washed and dried each item and then wiped down all the shelves of the cabinet. When I got home we worked together to edit the contents, creating a pleasing arrangement consisting mostly of my Spode china (the pattern is “Camilla” in blue) and Waterford crystal:
 She also took all of the books out of the two bookcases flanking the fireplace and not only wiped down all of the shelves but also washed the leaded glass windows inside and out. Here’s a close-up of one of the bookcases:
 We washed the curtains (made by moi many years ago) and all the remaining living room windows inside and out and then dusted all of the woodwork. There may have been a cobweb or two . . .
We have a very large sideboard in the dining room which also got emptied and cleaned, and those contents got edited as well. One of the things Diane found inside the sideboard was a vase containing several dozen marbles. I explained that they were all marbles Charlie had dug up in our yard over the 44 years we have lived here, and a few other marbles he dug up in the community garden plot he tended for well over 40 years.
Diane insisted we display the marbles and found a bottle in the sideboard that probably originally contained balsamic vinegar or olive oil. It was the perfect vessel for the marbles! It’s now on the sideboard opposite the front door:
 I can’t remember where that big marble on top came from but it makes a perfect stopper. And by the way, one of those marbles in the jar is one I myself dug up in our backyard this past summer.
Here’s a look at the living room with clean windows, shelves, and cabinets:
 Now we were ready to decorate for the holidays. (The green and gold balls surrounding the pillar candle in the foreground were left over from last Christmas. I liked the look so well I left them there year round.)
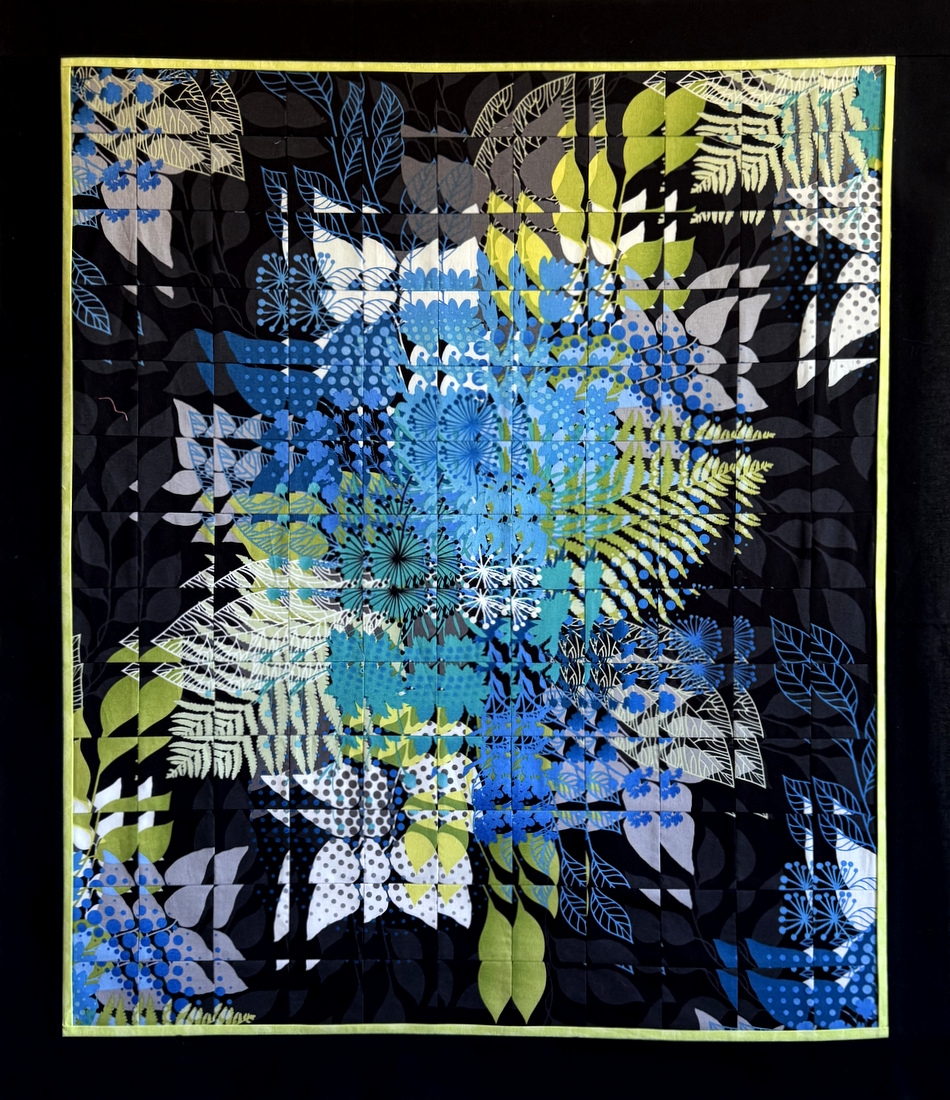
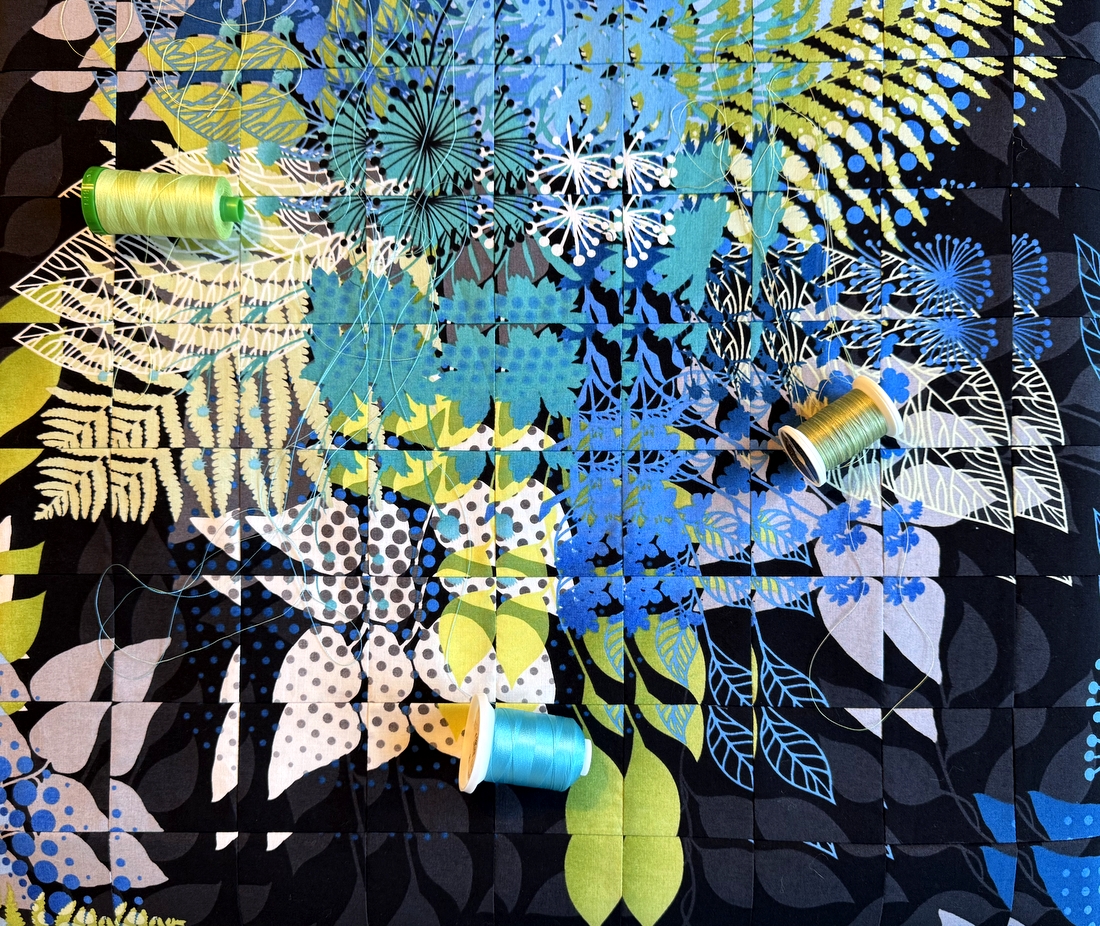
I hope you’ll come back for my next post when I show you how Diane and I decorated the house for Christmas. I was looking for a place to hang my lastest quilt, Enchanted Forest, shown here . . .

. . . and I found a rather unusual spot for it.


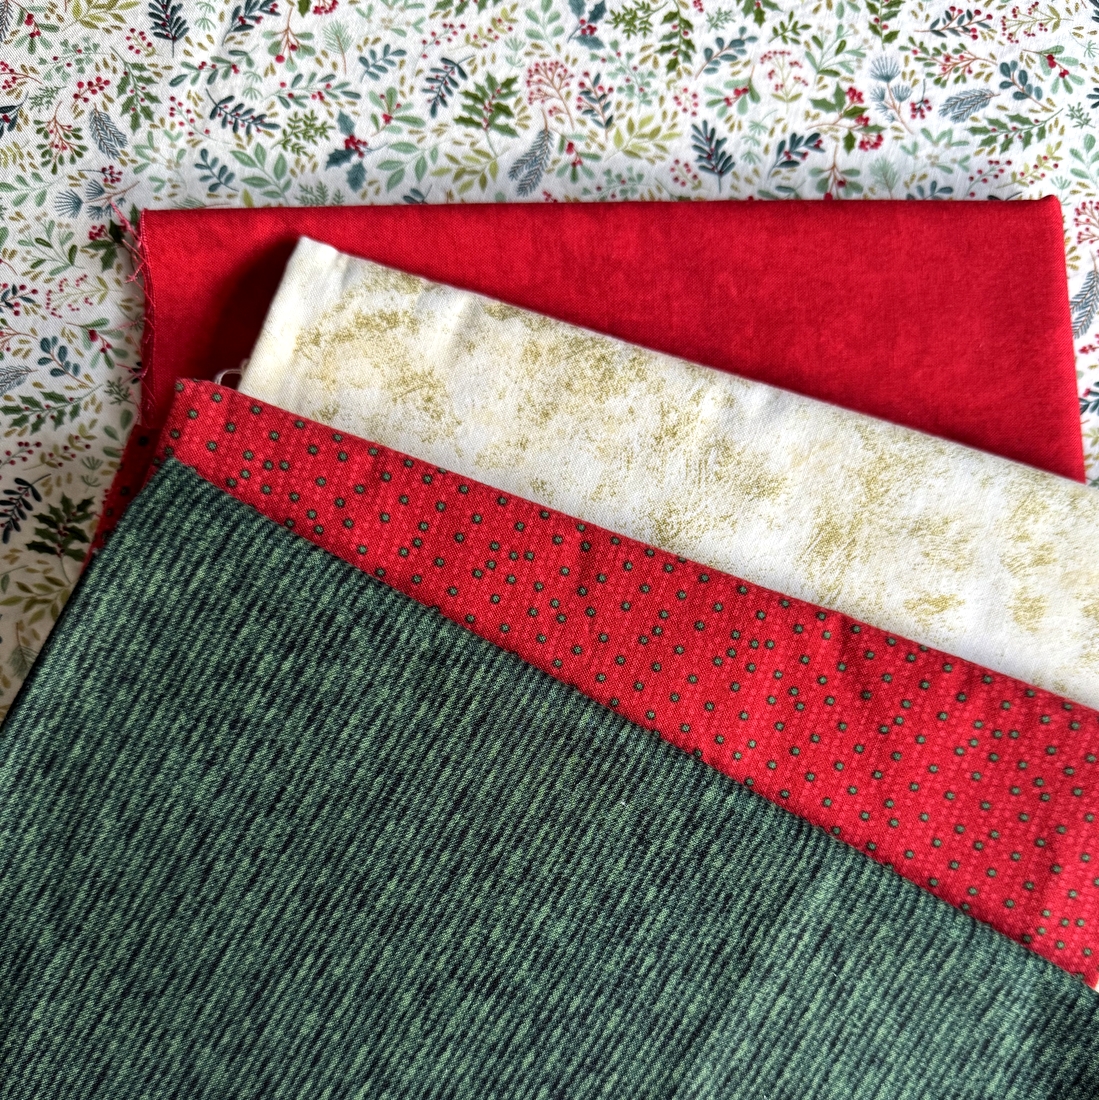
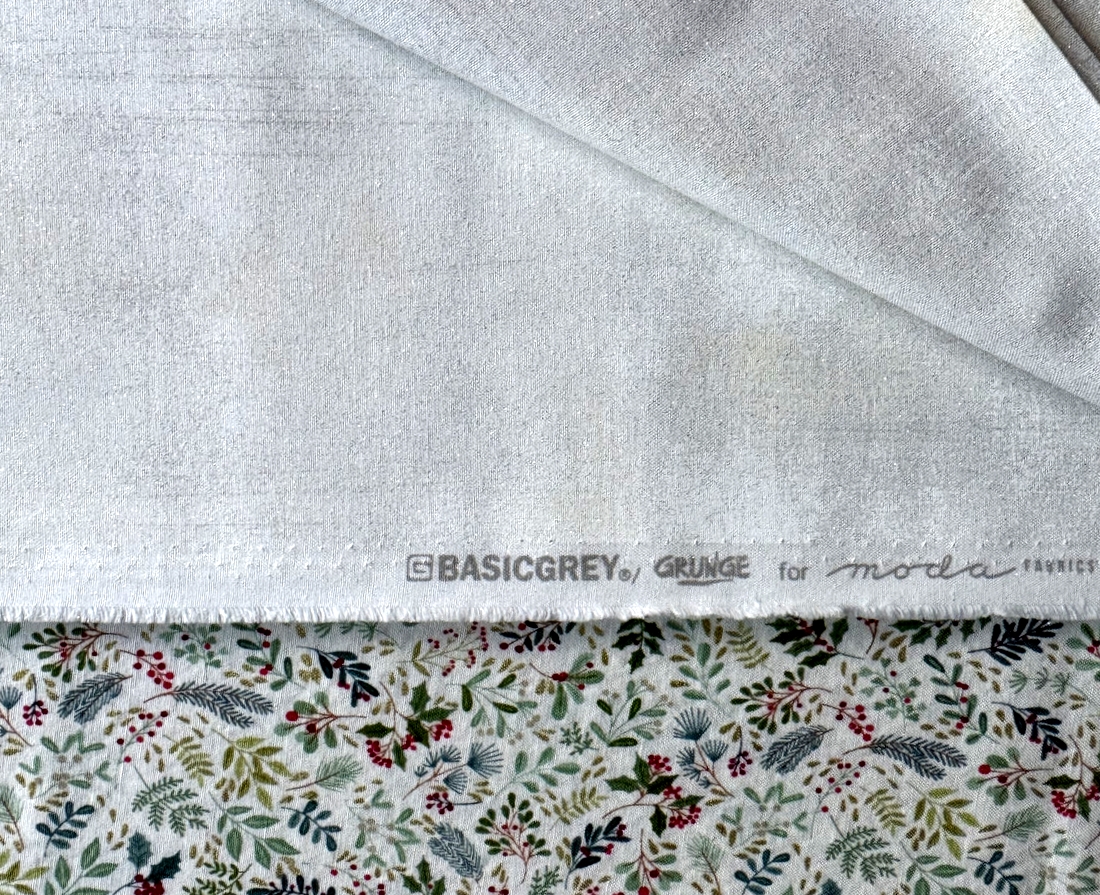
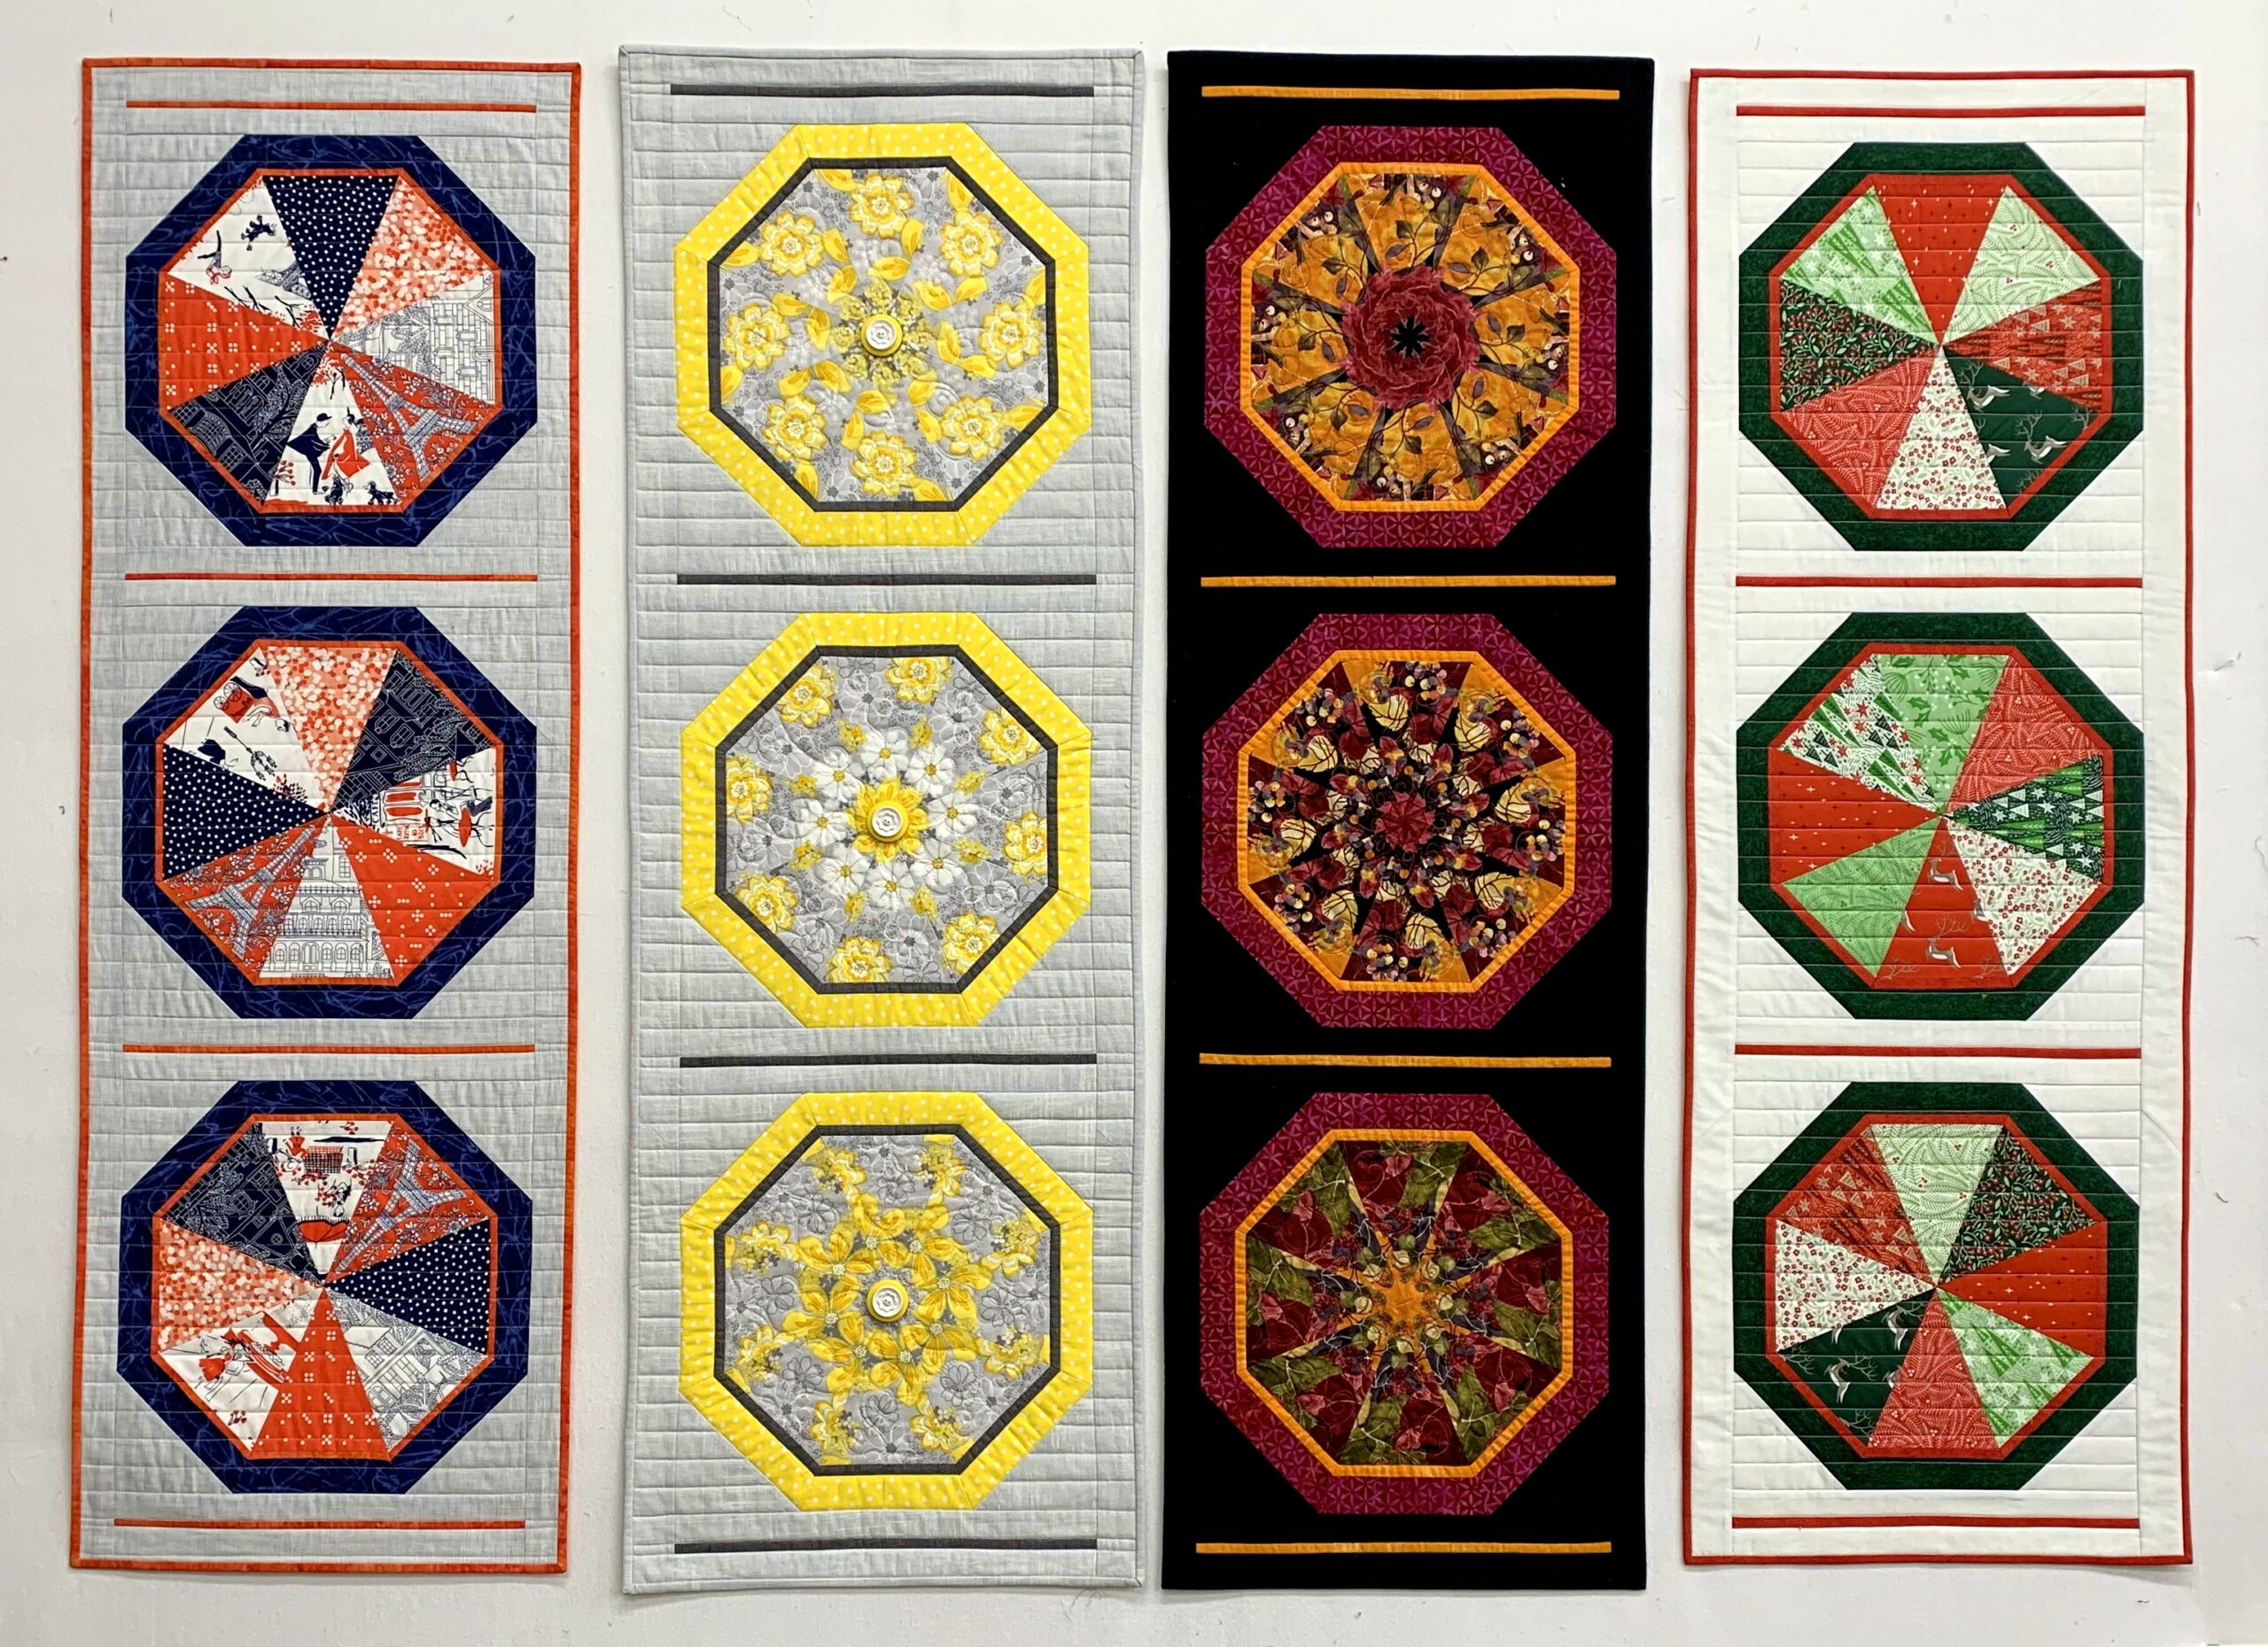
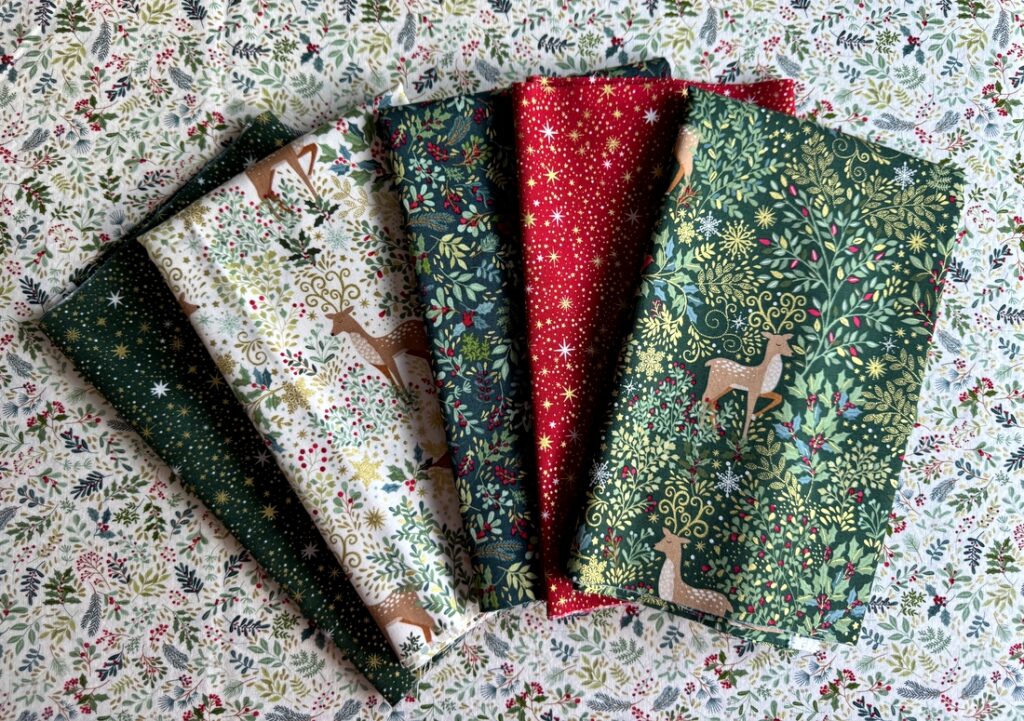 I could visualize these prints in a kaleidoscope quilt with the reindeer fussy-cut to show them off to best advantage. But I needed a few more fabrics. Back home in Portland I raided my stash and added these to the mix: