My First Quilt Market

Today was the final day of the three-day International Quilt Market, held right here in Portland, Oregon. It was open to the trade only, and as the owner and sole proprietor of First Light Designs I qualified for entrance as a “cottage industry.” So yesterday I spent the better part of the day at the Oregon Convention Center.

As much as I enjoyed roaming the aisles, admiring quilts on display, looking at new fabric lines and publications and notions and patterns and threads and all of the other accoutrements of the quilting and crafting world, the highlight for me was meeting some of the quilt and fabric designers I admire whose blogs I have been following.

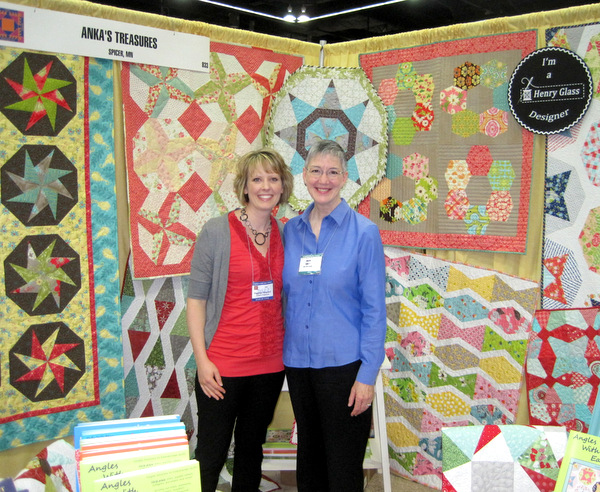
Heather Peterson of Ankas Treasures

Here I am with Heather Mulder Peterson of Anka’s Treasures. Her blog, Trends and Traditions, is one of my favorites. Heather is so talented: she sews, quilts, designs patterns, designs fabric for Henry Glass, publishes books — and she knits the most beautiful sweathers you’ve ever seen. All of the quilts you see in the background are from her latest book, Angles with Ease, and were made with her new tool, the Triangler, which makes all kinds of shapes including two of my favorites, kaleidoscopes and hexagons.

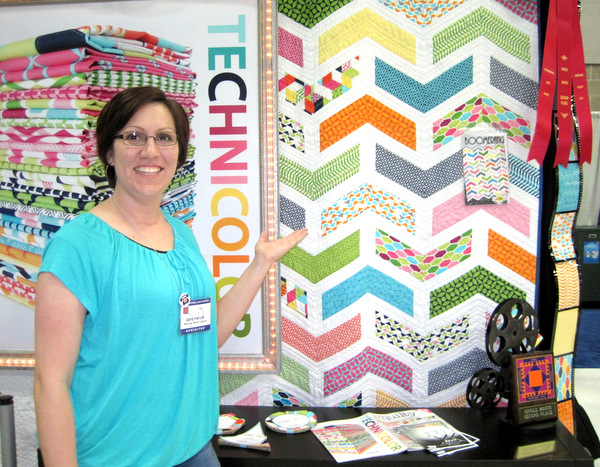
Here is Emily Herrick, showing her latest fabric collection, Technicolor, for Michael Miller Fabrics:

Emily Herrick with new quilt design

I don’t remember how I discovered her blog, Crazy Old Ladies, but it’s lively and fun, just like Emily and her quilts. I’m crazy about the quilt on the right, made from Emily’s newest pattern, Boomerang.

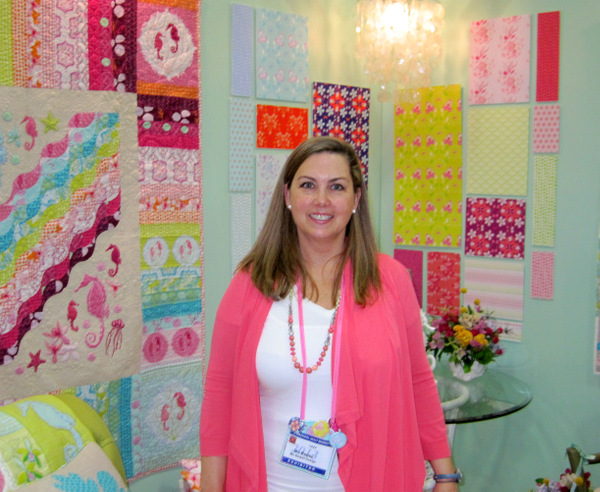
I was delighted to see fellow Portlander Mo Bedell, who designs fabric for Andover. One look at the fabric samples on the wall behind Mo will show you why I like her designs and fabric lines so much:

Mo Bedell

Both Emily and Mo won Best Booth awards, given for excellence in design and the over-all look of their booths. Congratulations, Emily and Mo!

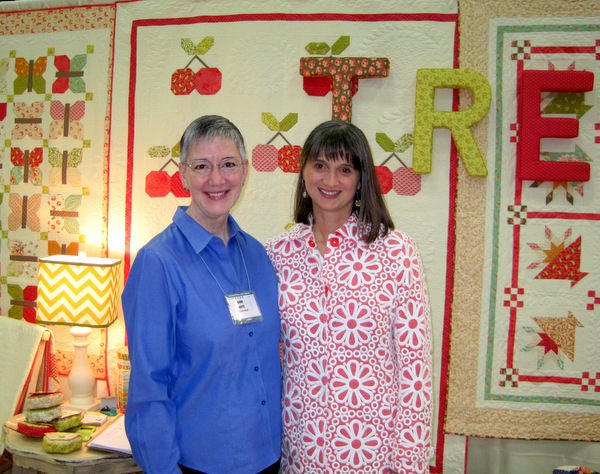
Joanna Figueroa of Fig Tree Quilts was kind enough to pose for a photo with me:

Joanna Figueroa of Fig Tree Quilts

Joanna’s blog, Fresh Figs, is always full of gorgeous photos of quilts and other crafted items made from her patterns and her fabric lines for Moda. We had a nice conversation about the new Moda Honeycombs — packs of 6″ hexagons. On the table behind me are a few mini-purses made from her new pattern, Hexies, and a pack of Honeycombs. Yep. Those are on my list now, too.

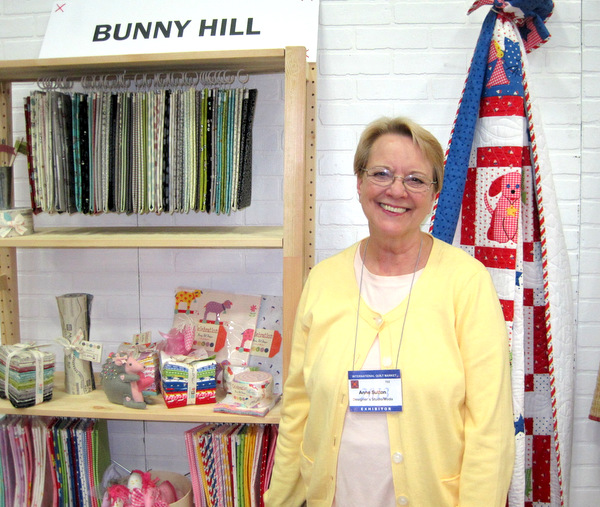
And what a delight to meet Anne Sutton of Bunny Hill Designs, who blogs at Bunny Tales:

Anne Sutton of Bunny Hill

Anne is well known in the industry for her quilt designs featuring appliqué, and she also designs fabric for Moda. When I introduced myself and told her that my friend Colleen and I are huge fans, she gave me a big hug.

Starstruck? Oh, yes. But you know what? These superstars of the quilting world are real people, just like you and me. And the ones I had the good fortune to meet yesterday were incredibly gracious and kind.


Posted in hexagons, kaleidoscope quilts, Quilt Market, update | 1 Comment

Bathroom Reno, Week 8

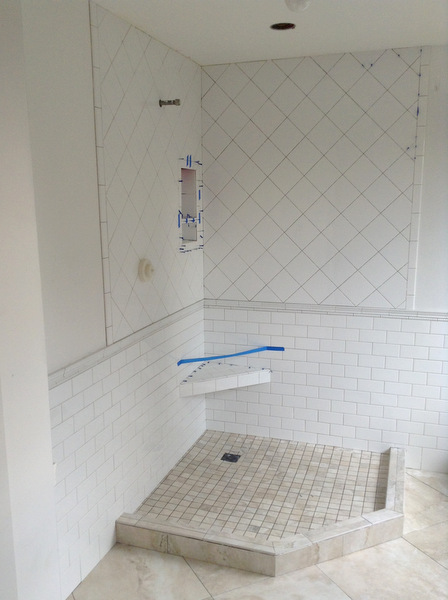
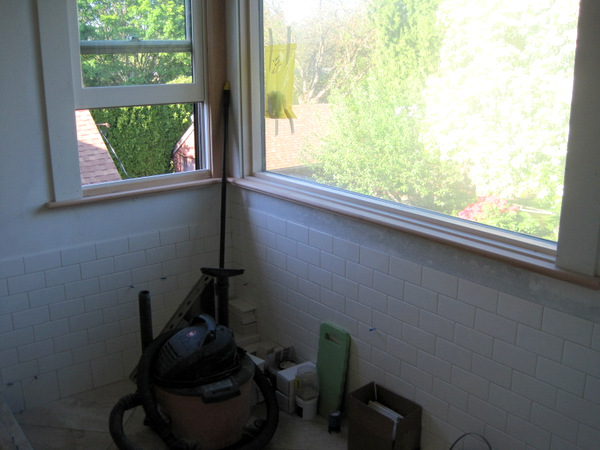
I was dazzled last week by the subway tile wainscoting and shower tile. The tilework is even more beautiful now that the grouting has been added. Take a look:

Week 8, shower tile grouted


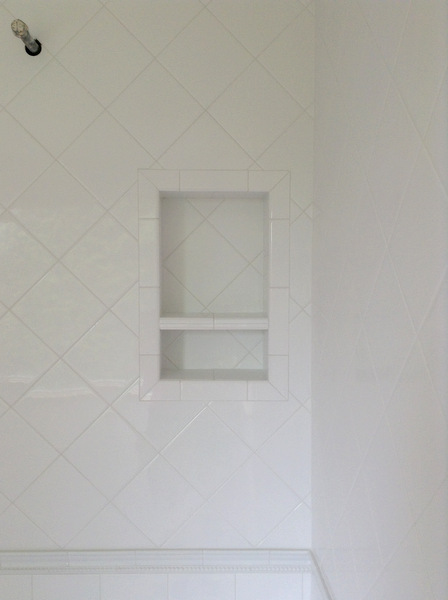
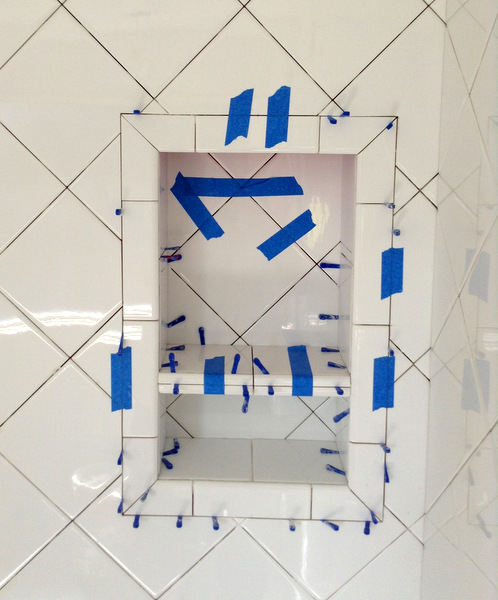
Here’s a close-up of the product niche:

Week 8, shower tile with grout

The photo above really shows off the skill of Erik, the “tile guy,” in particular the way he aligned the tile at the back of the niche with the tile on the outer wall.

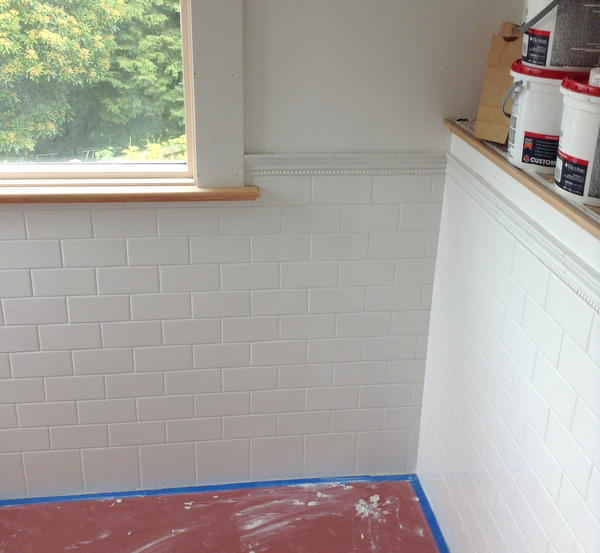
Here’s a shot of the tile wainscoting:

Week 8, tile wainscoting, grouted

In this photo you can see the “droplet” trim above the top row of subway tile. I was going for a classic look that will stand the test of time.

Erik actually grouted the floor tiles first but I neglected to take a photo when it was done. The next morning he covered every inch of the floor with paper to protect it while he grouted the walls, so I don’t have a photo to show you how wonderful it looks. All in good time.

Next came the painters, who covered all of the tilework as well as the windows and every other surface that is not going to be painted. An enormous amount of time goes into preparation for painting, and it looks like it will be midweek before all of the painting is done. I’m having the linen closet painted, too, and that required a lot of prep.

If you’ve been following the remodel, you can see how far we’ve come by clicking on the links below to the early weeks. New readers can start from the beginning if they wish:

March 16: Happy Birthday, House!
March 27: The Bathroom Remodel Begins
March 31: Bathroom Reno, Week 1
April 8: Bathroom Reno, Week 2
April 15: Bathroom Reno, Week 3
April 21: Bathroom Reno, Week 4
April 28: Bathroom Reno, Week 5
May 5: Bathroom Reno, Week 6
May 12: Bathroom Reno, Week 7

All of the wood trim will be white. To find out what color I chose for the walls, please stop by next week!


Posted in bathroom remodel, update | 2 Comments

Happy Birthday, Dear Viv!

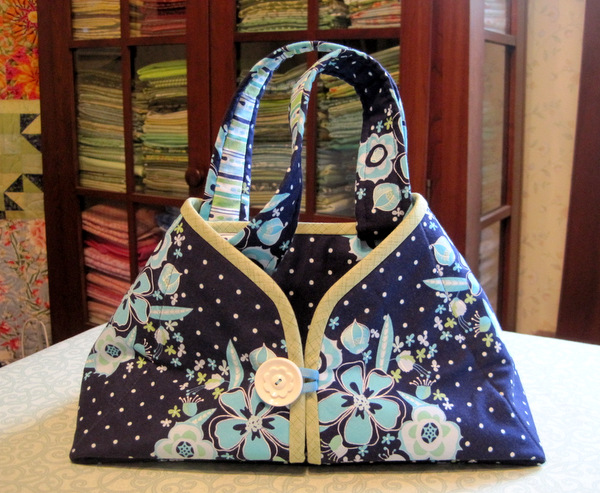
My quilt group, the Quisters, got together yesterday to celebrate Vivienne’s birthday. Her birthday is not until next month, but finding a day when all six Quisters are free can be a bit of a challenge. Happily, we found a day and yesterday was it. I made Viv an iron caddy:

2013-5, Viv's iron caddy

The pattern is “Caddy Pad” from Sisters’ Common Thread. The caddy doubles as an ironing pad when opened up because the inside is covered with a heat-resistant lining.

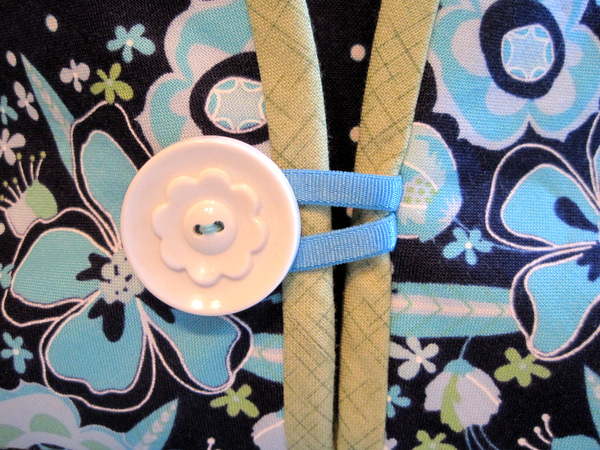
The floral and dot print and the striped fabric on the inside of the handles are made from Mo Bedell’s Party Dress line for Blue Hill Fabrics. I’ve been saving this fabric for three years, waiting for just the right project. Here’s a close-up of the button and loop closure:

2013-5, detail of Viv's iron caddy

I found the vintage buttons (there’s one on the other side of the caddy, too) at the Button Emporium in downtown Portland. Oh my, what a lovely shop for button lovers!
The fabric for the bias binding was also from my stash. It’s from the Serendipity Sunflowers line by Debbie Beaves for RJR Fabrics. The date on the selvage is 2007, so I guess I’ve had it a while.

I made this pattern for the first time in March, when I was on a retreat with the Quisters. I made a few modifications to the pattern which you can read about here.

The Quisters had a wonderful time, all the more so because Deborah brought homemade strawberry shortcake and lots of whipped cream.


Posted in iron caddy, Quisters (Quilt Sisters), update | 1 Comment

Bathroom Reno, Week 7

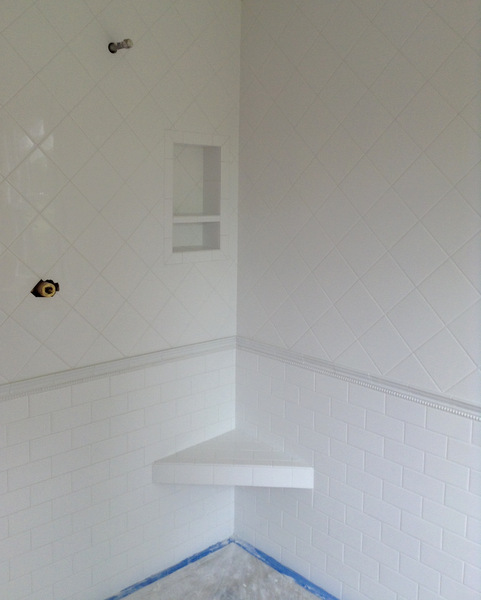
What a difference a week makes! The shower tiling is 99% done. Take a look:

Week 7, shower tiled

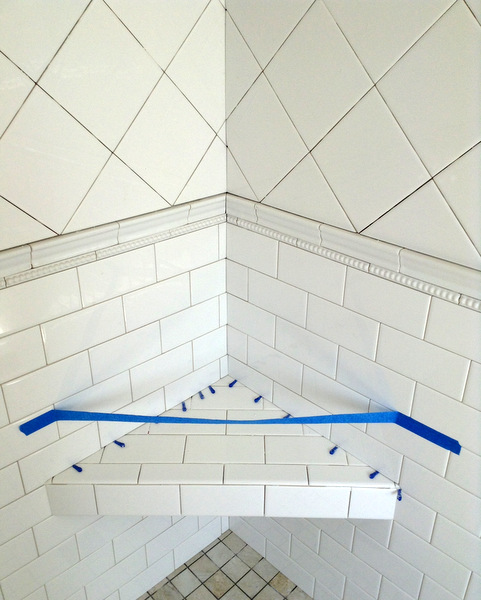
Here’s a close-up of the product niche:

Week 7, shower niche

I asked for a shelf inside the niche so that I could put soap on the bottom ledge and shampoo bottles on the shelf.

I’m sure you noticed the beautifully mitered corners. It’s enough to make a quilter’s heart sing! Did you also notice that the tiles on point at the back of the niche match the ones on the outer wall? Erik, the tile man, is a real craftsman.

Here’s a close-up of the bench, nice and symmetrical:

Week 7, shower bench

Notice how the tile wraps around the corner? You can also get a good look at the “droplet” tile accent and the dust cap, which go all the way around this side of the bathroom. A row of subway tile, the droplet accent, and the dust cap will also form the backsplash of the vanity, which will help tie the two sides of the bathroom together.

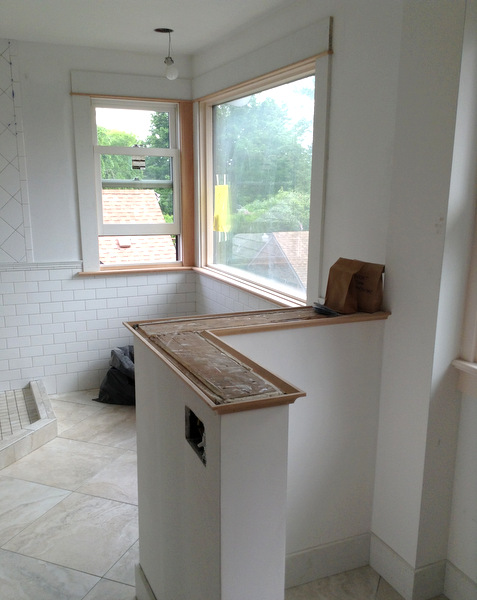
The half-wall that forms an alcove where the toilet goes will have the same quartz surface as the vanity top. Here’s the half-wall with its wood trim prep:

Week 7, looking toward ne

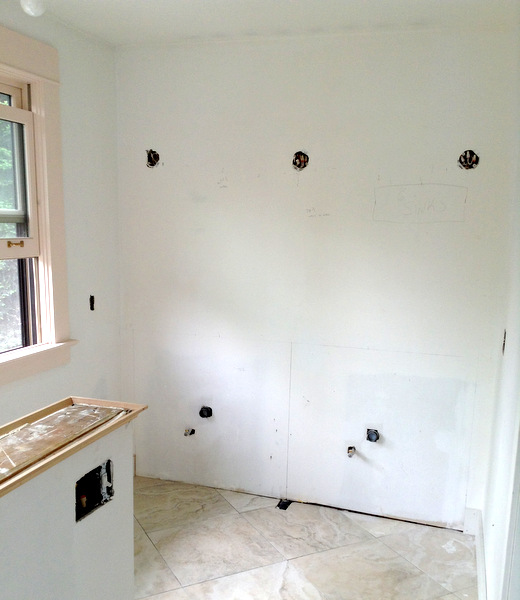
Here’s a look at the south wall, where the vanity, mirror, and sconces will go:

Week 7, south wall

Next up: grout and paint. I think the vanity may be installed in the coming week, too. As good as the bathroom looks now, it will look even better at the end of Week 8!


Posted in bathroom remodel, update | 4 Comments

Bathroom Reno, Week 6

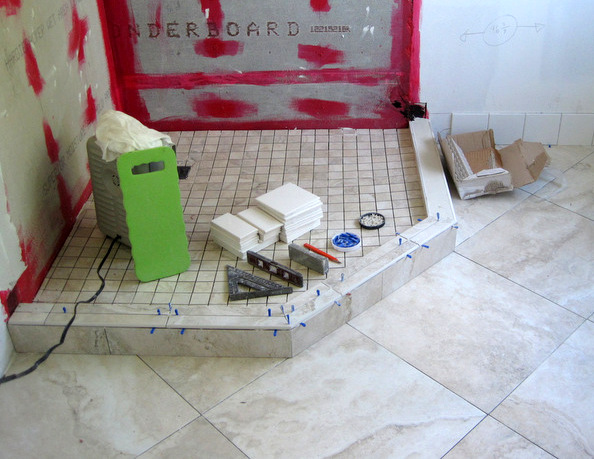
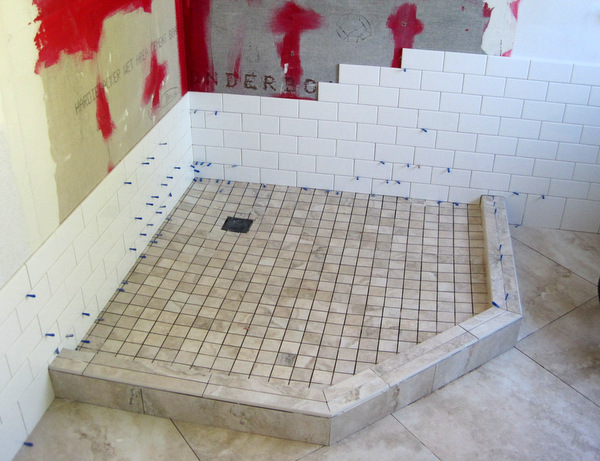
Updates on several fronts this week. First, a look at the shower curb underway:

Week 6, shower curb and base tile
Notice the base row of white wall tiles to the right of the shower.

Base row of tiles: done. Now the subway tile starts up the wall:

Week 6, tile in corner
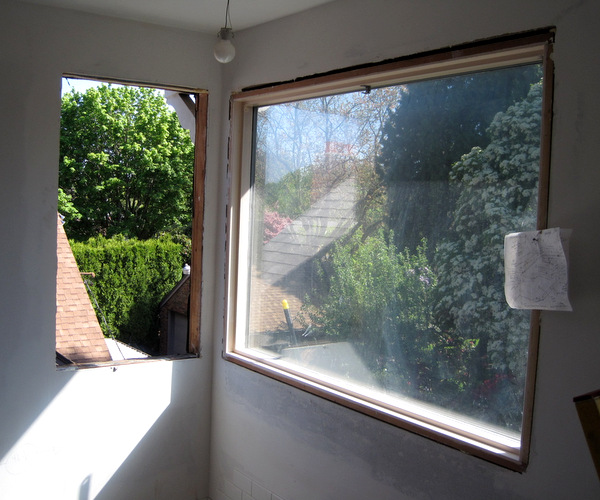
Tile work had to stop so that the window on the north wall could be removed . . .

Week 6, old window removed

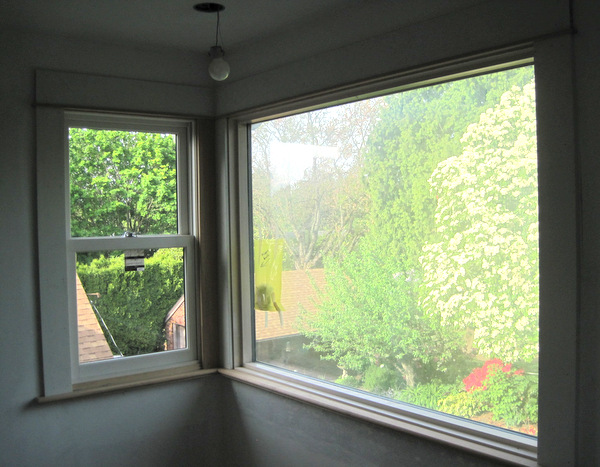
. . . and replaced with a new double-hung window:

Week 6, new window in and both windows trimmed

Both windows were trimmed to match the two double-hung windows on the other side of the bathroom.

With the new window in, the tile work could continue:

Week 6, tile going up the wall

Week 6, tile in shower
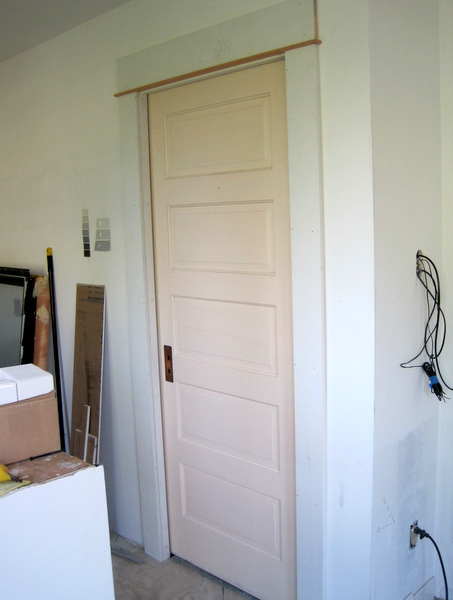
On the other side of the bathroom, the pocket door was framed:

Week 6, pocket door framed

As you can see, we were able to use the original five-panel door. (It will be painted white.)

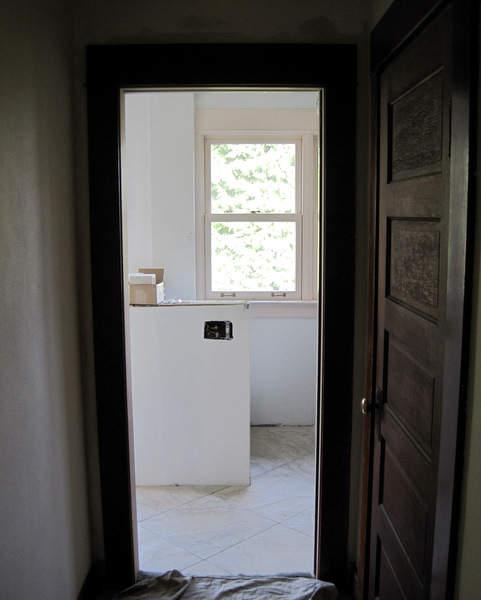
We were also able to use the original trim on the other side of the door. Here it is back in place:

Week 6, outside door frame replaced
That door you see on the right goes to the linen closet.

I’ll have a lot more to show you next week so please stop by!


Posted in bathroom remodel, update | 2 Comments

Test Block, Part Two . . .

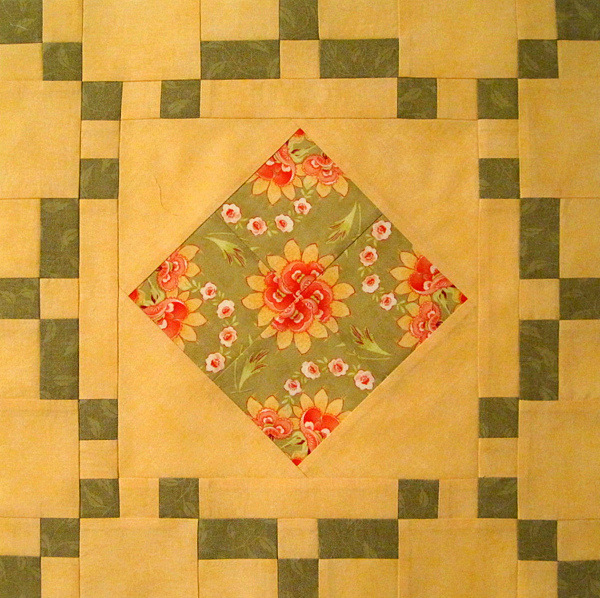
A few days ago I made a test block for a new quilt, using the classic Burgoyne Surrounded quilt block and a fresh floral print from Fig Tree’s Tapestry line for Moda Fabrics. I made a second block, added it to the first, stepped back to admire my handiwork, and took a photo.

Oops. Little problem there. Do you see it?

2013-4 Burgoyne blocks, ooops

It seems so obvious to me now but it wasn’t until I inserted the photo in this post that I noticed it:  at the top of the block on the right, the middle strip is upside down. Isn’t it funny how you can look at a block over and over and not notice until much later that something’s wrong with it?

Here it is, fixed . . .

Burgoyne, fixed

. . . and here are a few more faux-kaleido 4-Patch Wonder blocks:

2013-4, 4-PW Burgoyne blocks


This fabric has a very small repeat — only about 6″ — so there’s not a great deal of variety in the blocks. Still, I still find them very pleasing, especially against that wonderful butterscotch-y background fabric by Moda.


Posted in 4-Patch Wonder, faux-kaleido quilts, update | 3 Comments

Bathroom Reno, Week 5

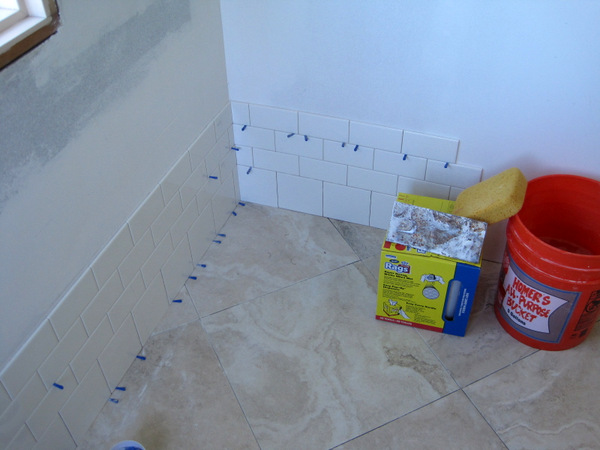
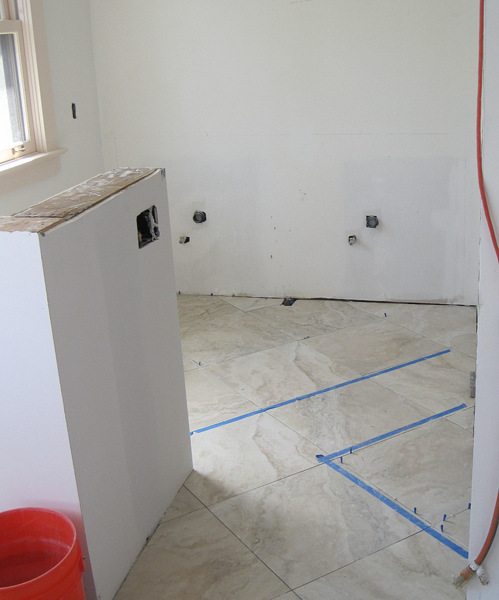
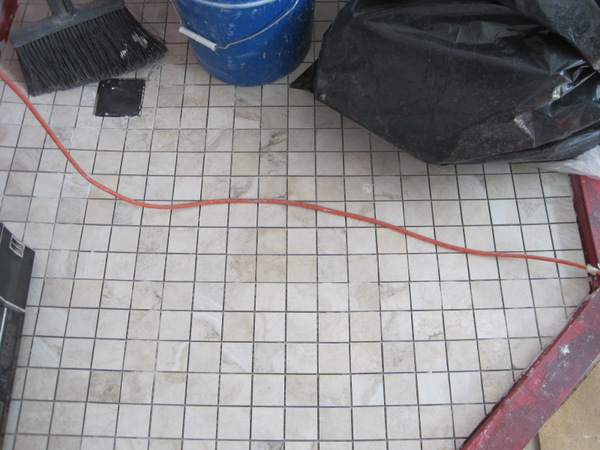
The tile is down on the bathroom floor. Here’s a view looking south . . .

wk 5, looking south

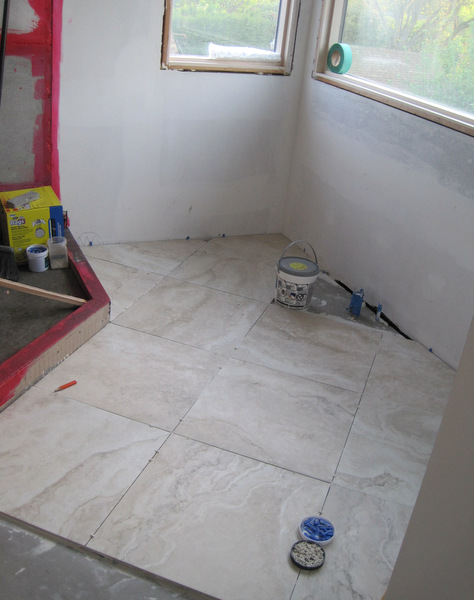
. . . and northeast:

wk 5, ne corner


Setting the 20″ x 20″ floor tiles on the diagonal — on point, as we say in the quilting world — was an easy design choice. I use that setting in many of my quilts.

Here’s another view looking north:

wk 5, looking north


The 2″ x 2″ tiles on the shower floor are the same product (Century Darwin porcelain tile in the Floreana pattern):

wk 5, shower floor


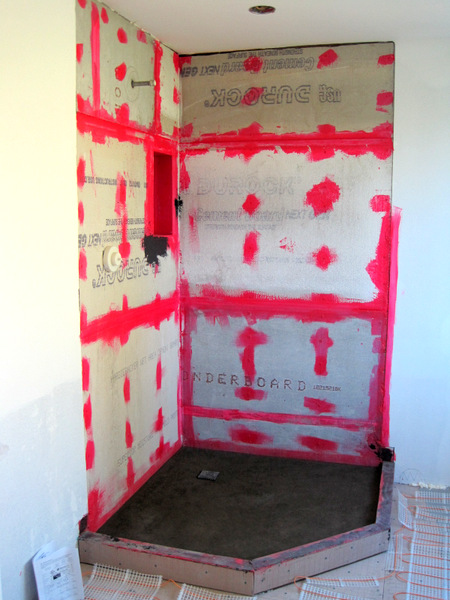
A few things had to be done before any tile could be laid. More prep work on the floor of the shower . . .
wk 5, Monday, shower floor

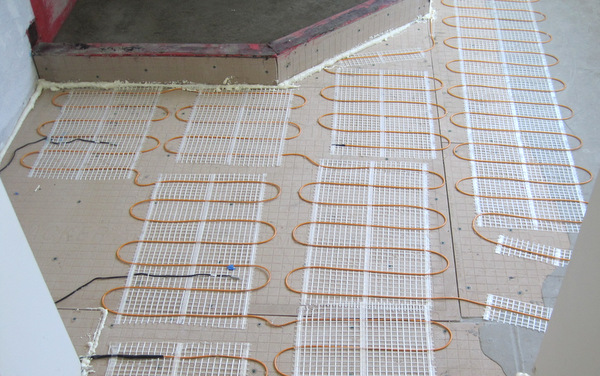
. . . and on the bathroom floor:

wk 5, heating element

Do you know what those curly things are? You’re looking at one of the splurges in this remodel: an electric heat mat. I think the investment will be well worth it on a cold day!

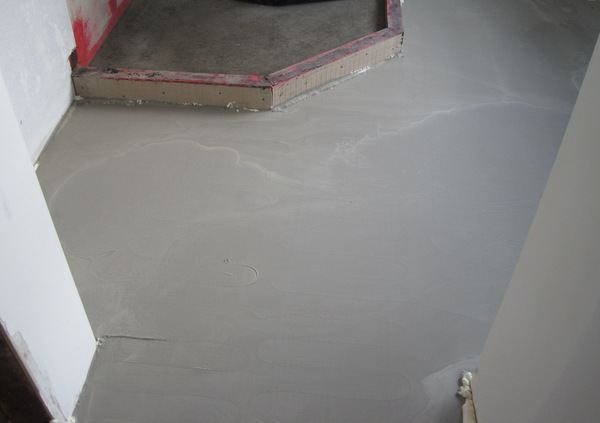
The heating mats were covered by some of that self-leveling compound:

wk 5, heating element covered


Next up: white subway tile wainscoting on the shower/tub side of the bathroom.

If you’re a new reader, you can catch up on previous posts relating to the remodel by clicking on the links below:

March 16: Happy Birthday, House!
March 27: The Bathroom Remodel Begins
March 31: Bathroom Reno, Week 1
April 8: Bathroom Reno, Week 2
April 15: Bathroom Reno, Week 3
April 21: Bathroom Reno, Week 4

Thanks for stopping by!


Posted in bathroom remodel, update | 1 Comment

Test Block

Yes, I know. I should be working on those UFOs and WIPs instead of creating new ones. But I just couldn’t resist trying out an idea for a new quilt. I’ve made just one 15″ block so far:

2013-4 test block 2


It’s a riff on the traditional “Burgoyne Surrounded” block. What do you think?


Posted in 4-Patch Wonder, update | 5 Comments

Bathroom Reno, Week 4

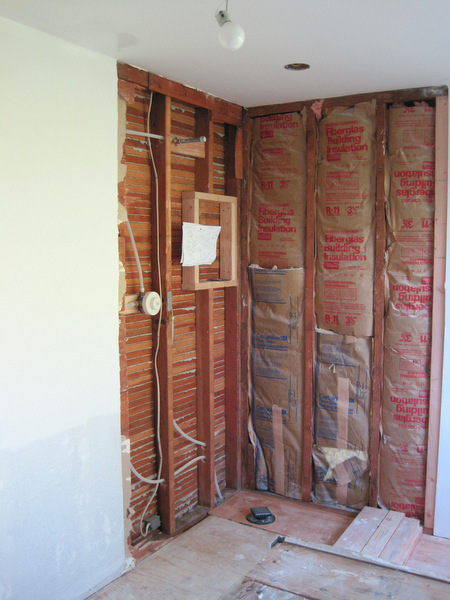
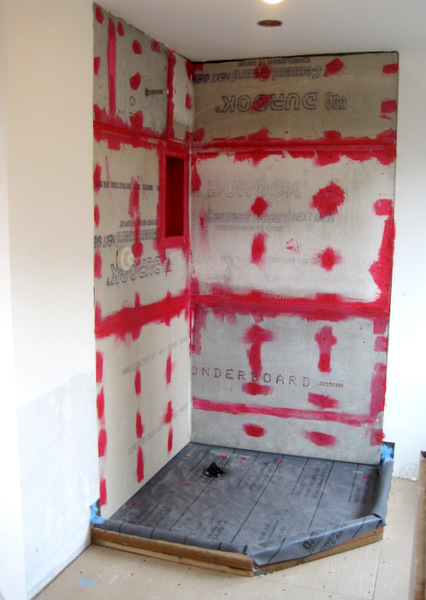
The most dramatic change in the bathroom during Week 4 of the renovation occurred in the northwest corner. We went from this . . .

2013-4, nw corner, sheetrocked

to this . . .

nw corner, wk 4

I can’t wait to see what it looks like at the end of Week 5!

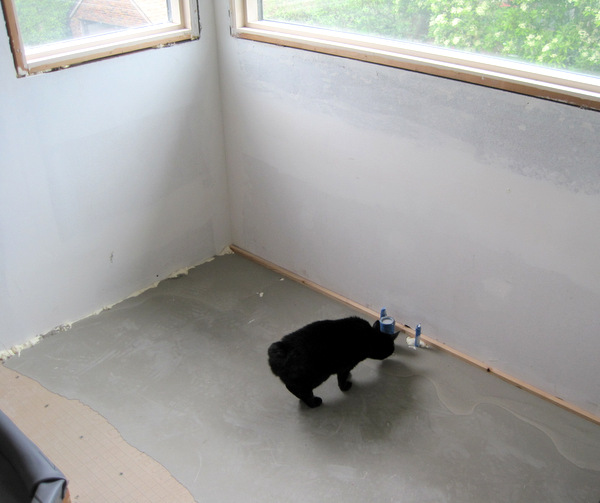
The subflooring has been covered with cement board in preparation for porcelain tile. The floor area under the windows on the northeast side is being filled in with a self-leveling liquid, as it is significantly lower than the rest of the room. Here is Theo exploring the area:

ne corner, wk 4

This half of the bathroom was originally a sleeping porch, measuring about 7½’ x 8′ and accessed by a door (no longer there) on the west wall. When we bought the house in 1981, this room had exterior siding on the two interior walls you see in the photo above. The sloping cement floor and ill-fitting windows rendered the room unusable, one of the reasons we incorporated it into a larger bathroom during the first remodel in 1985. (Oh, how I wish I had taken “before” pictures!)

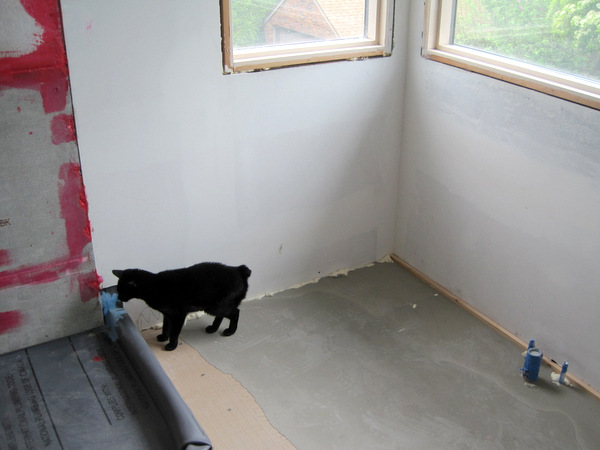
Now that all of the open spaces in the walls and floor have been covered up, it’s safe to let Theo have a good look around:

nw corner, wk 4, Theo investigating

I hope you’ll come back next week for a good look yourself!


Posted in bathroom remodel, cats, update | 2 Comments

Full Circle . . .

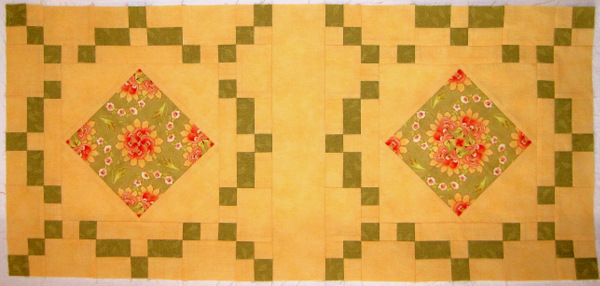
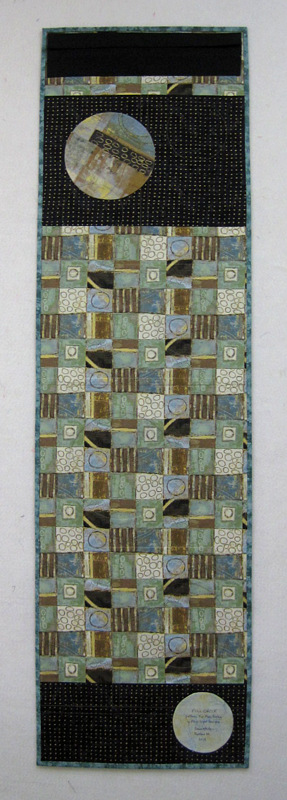
Full Circle table runner

. . . that’s the name I gave this table runner because every single fabric — even the strips and binding — has circles in it. I didn’t pick up on that until I was casting about for a name.

The pattern is Full Moon Rising, my first pattern, with a few minor changes. Most of the fabrics are from the Neutral Territory Line by Donna Becher for P&B Textiles. On the back I used a half-yard cut of different fabric from the same line, filling in the rest of the back with the black and metallic gold dot used for the moons on the front:

2013-4, Full Circle back 800

(That solid black fabric at the top is a sleeve for hanging.)

The circles on the front of the table runner were set in while the ones on the back were made separately and attached with fusible interfacing. There’s no batting in this particular version of Full Moon Rising, and the only stitching holding the layers together is around the circles and in the ditches of the strips between blocks.


Posted in update | 2 Comments