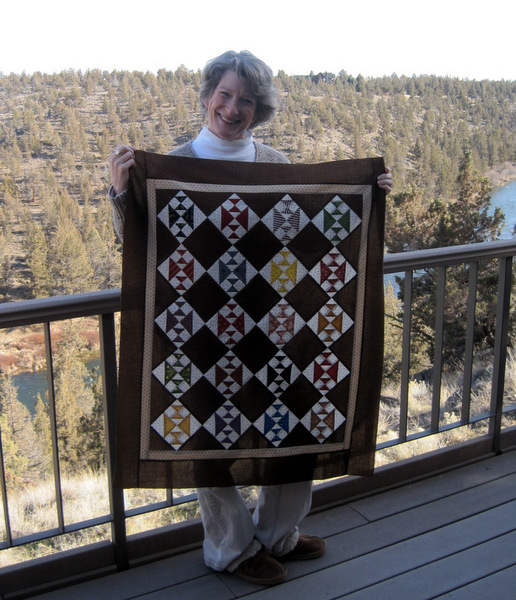
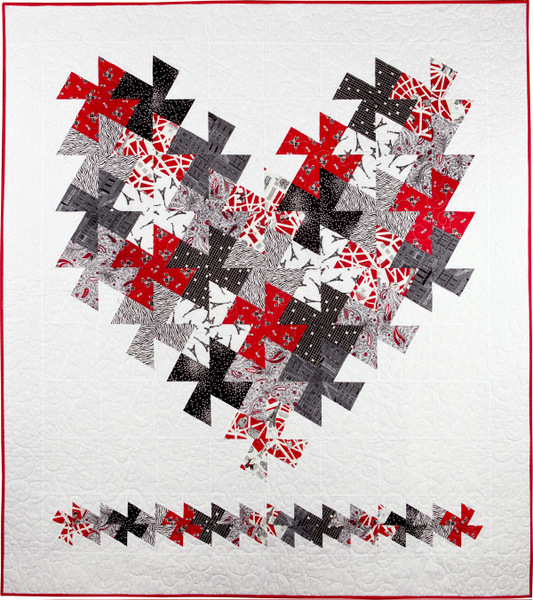
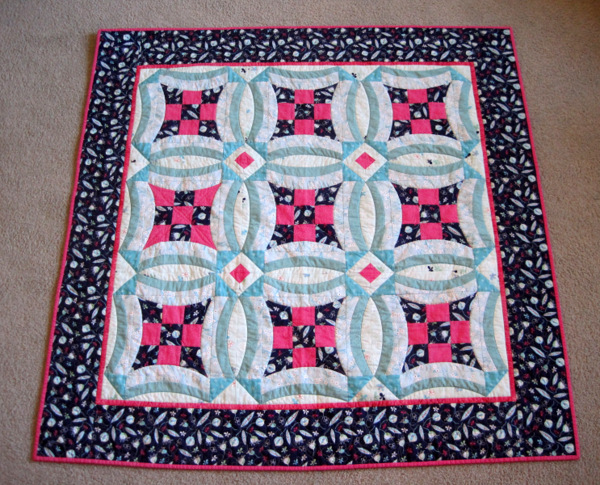
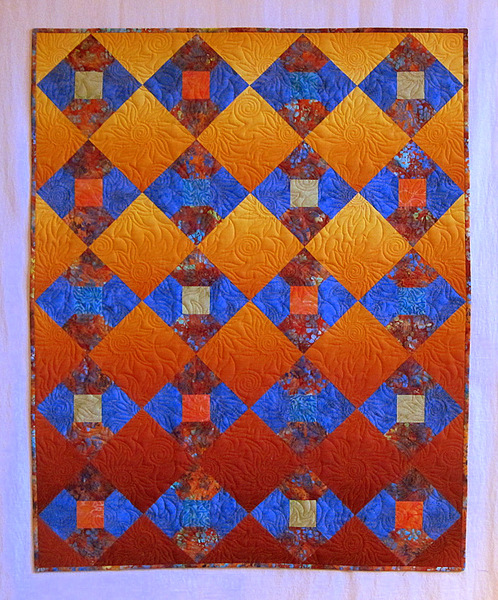
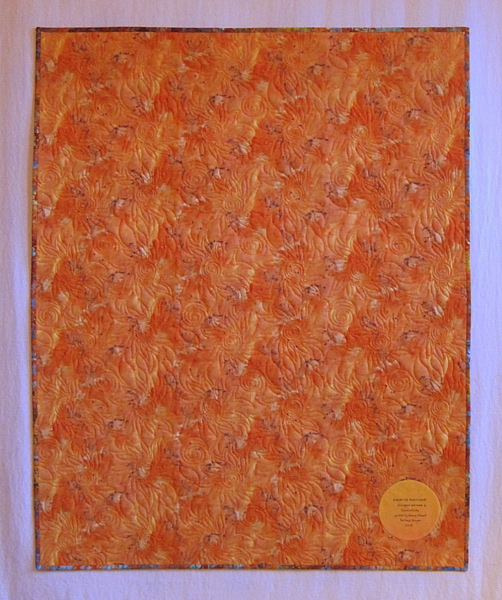
I’m at a quilt retreat in Central Oregon this week with three of my fellow Quisters (Quilt Sisters). Of course we all brought lots of projects to work on. Deborah was the first one to finish a project. She is embarking on a series of small Civil War quilts, and here is the first one:
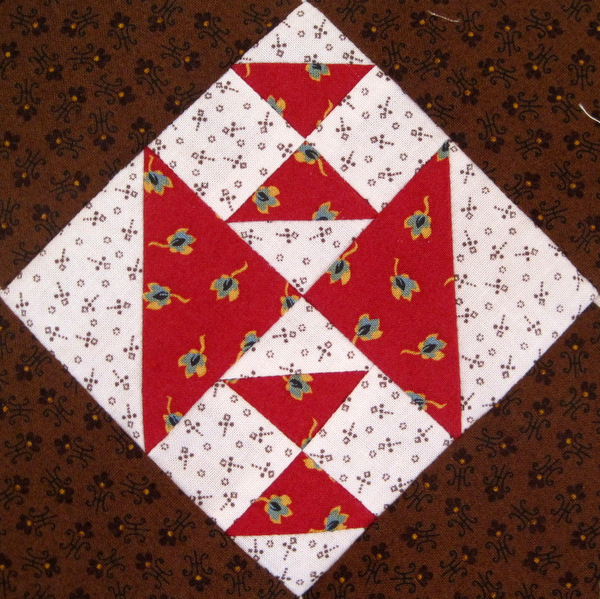
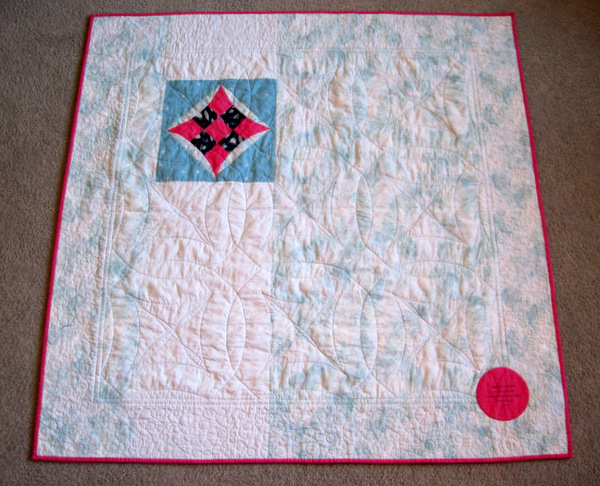
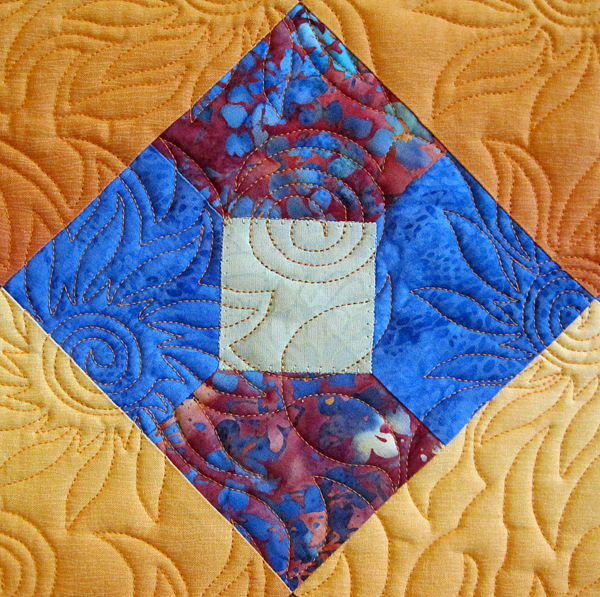
The quilt, made of 4″ blocks set on point, measures 31″ x 37″ with borders. The block is called Crosses and Losses. I especially like this one:
Deborah found the design in Civil War Legacies: Quilt Patterns for Reproduction Fabrics by Carol Hopkins (That Patchwork Place, 2012). Carol Hopkins named her design “Grandpap’s Cards” because her grandfather kept his playing cards arranged in perfectly straight lines, much like the way the Crosses and Losses blocks are lined up across this quilt top.
The book is full of charming small quilts — the one Deborah chose is the largest one in the book — made with beautiful repro Civil War fabrics and sporting whimsical names such as “Mo’s Suspenders” and “Alexander’s Bean Pot.” I can’t wait to see which one Deborah chooses next!
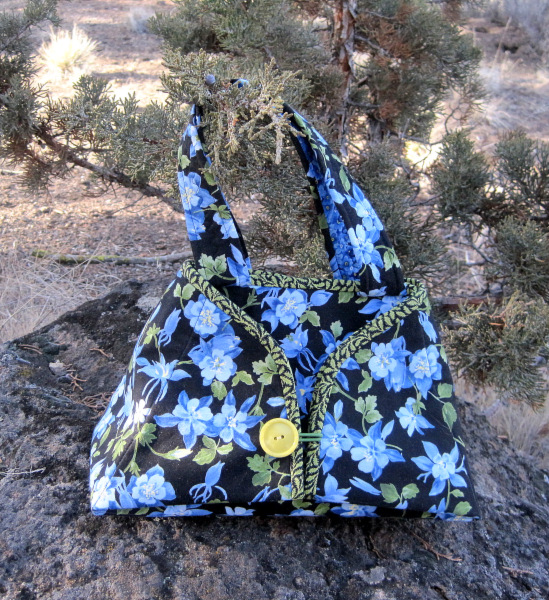
My first finish of the week is this iron caddy, the perfect container to transport a still-hot iron after taking a quilt class:
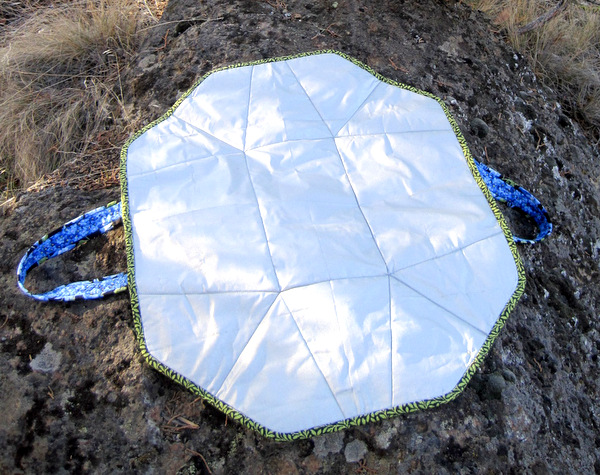
The caddy doubles as an ironing pad because the inside is lined with a silvery heat-resistant fabric like the kind you find on ironing board covers. When the tote is opened up, you have a nice little ironing surface measuring about 19″ x 25″. The pattern, “Caddy Pad,” was designed by Sisters’ Common Thread (http://www.sisterscommonthread.com/caddy/).
I bought the main body fabric a couple of years ago. It’s Wildflowers IV by Sentimental Studios for Moda. If you look carefully you can see a companion fabric from the same line on the inside of the handles. The binding fabric is more recent; it’s from the Ainsley line by Northcott.
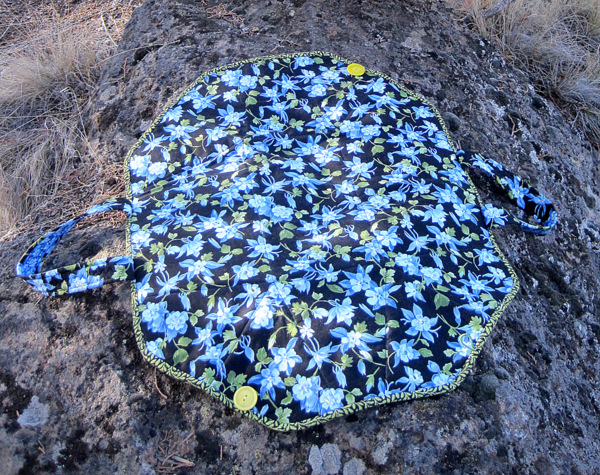
Here’s the outside of the caddy, laid out flat:
Here you can see the ironing surface on the inside:
I departed from the directions by 1) adding a different fabric to the inside of the handles, 2) inserting the handles in the seam allowance before adding the binding, 3) rounding off the angled corners, 4) applying bias binding instead of straight grain binding (because of the rounded corners), and 5) fusing the binding to the inside with Steam-a-Seam-2. I finished the caddy with vintage yellow buttons.
With four of us sewing and crafting, there’s going to be a lot of show and tell this week. I hope you’ll come back for a visit!

