
Most of my quilts sport round quilt labels on their backs. My go-to “pattern” to make a round label is a compact disc, which measures 4⅝” in diameter. It seems to be the perfect size to contain all the information I want to put on a label. I described my method in a couple of posts earlier this year but not with great specificity. That’s why I decided to write a detailed post about it.
This tutorial is a companion to my most recent tutorial on printing quilt labels on fabric. Whether you write your labels by hand or create them by computer, you can follow the directions below to make a perfectly round label.
(By the way, I first wrote about my method of using compact discs to make quilt labels in 2012. Back then I was writing my labels by hand. I’ve streamlined the label-making process since then and have also moved to creating labels on my computer rather than printing them by hand. If you are writing your labels by hand, you can follow steps 1-5 of my 2012 tutorial and pick up the finishing process below.)
My labels are made with quilter’s cotton. I use fusible interfacing on the back because I like to “baste” the label in place by lightly fusing it to the back of the quilt before appliquéing it in place by hand. You can also use non-fusible interfacing and simply pin the label in place to appliqué it.
Supplies
⦁ quilt label printed on fabric (or quilt label hand-printed on scrap of fabric at least 6½”square)
⦁ scrap of light to medium-weight fusible interfacing at least 6½” square (I use Pellon 911FF)
⦁ compact disc
⦁ #2 pencil with a very sharp point
⦁ temporary marking pen or pencil (I recommend the Frixion erasable gel pen)
⦁ pinking shears
Step 1. Print a test copy of your computer-generated label on a sheet of paper. In my example I have created two labels on one page using two different typestyles so I can decide which one I like better after seeing it printed on fabric:
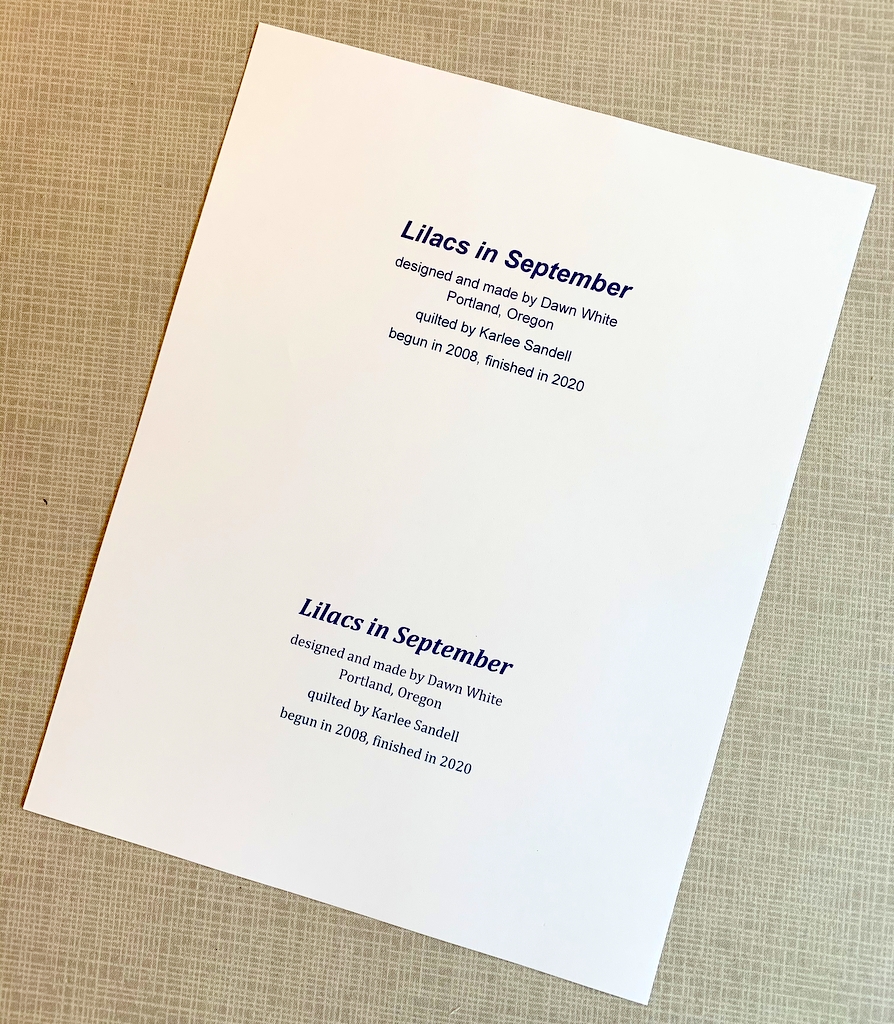
You might prefer to create just one label and center it on the page.
Step 2. Find the midpoint of the label by measuring the longest line and dividing by two, then by measuring from the bottom of the top line to the bottom of the last line. In my label below, the midpoint is the top of the stem on the letter “d” in the word “Portland.” Using a sharp #2 pencil, mark the center with a small dot.
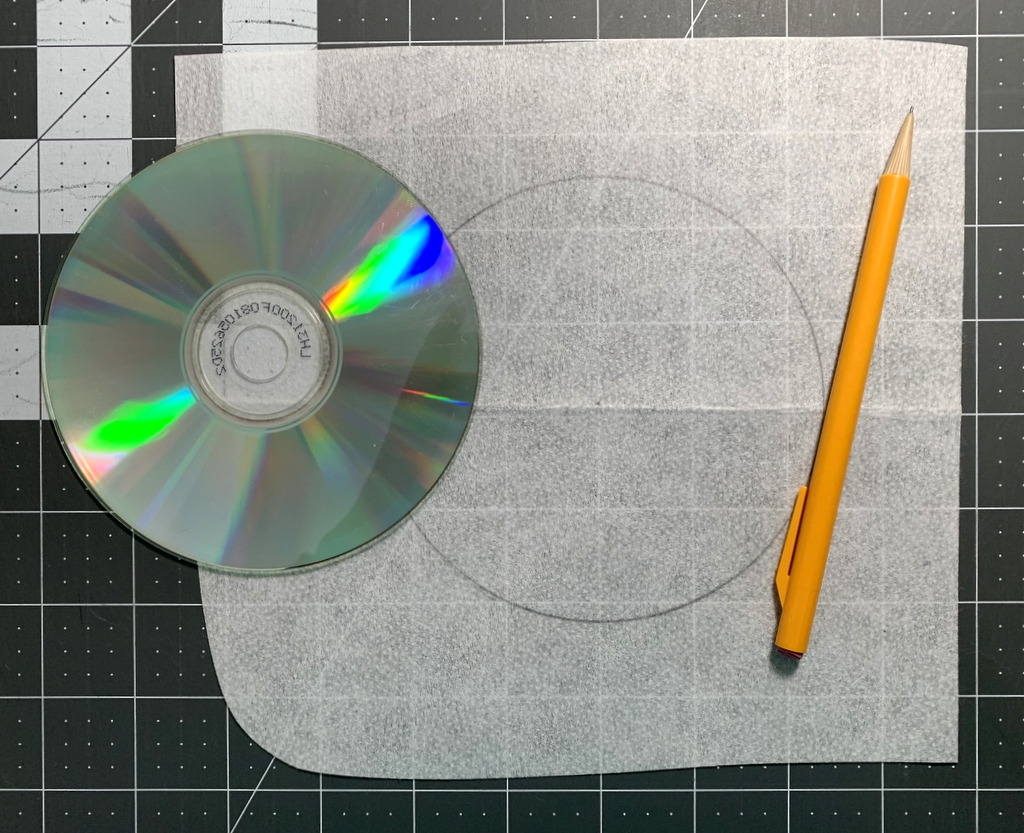
Center the hole in the middle of the compact disc over the dot you marked. Draw a complete circle around the disc:

This gives you a preview of what your finished label will look like. If your circle is slightly off, erase the lines and redraw.
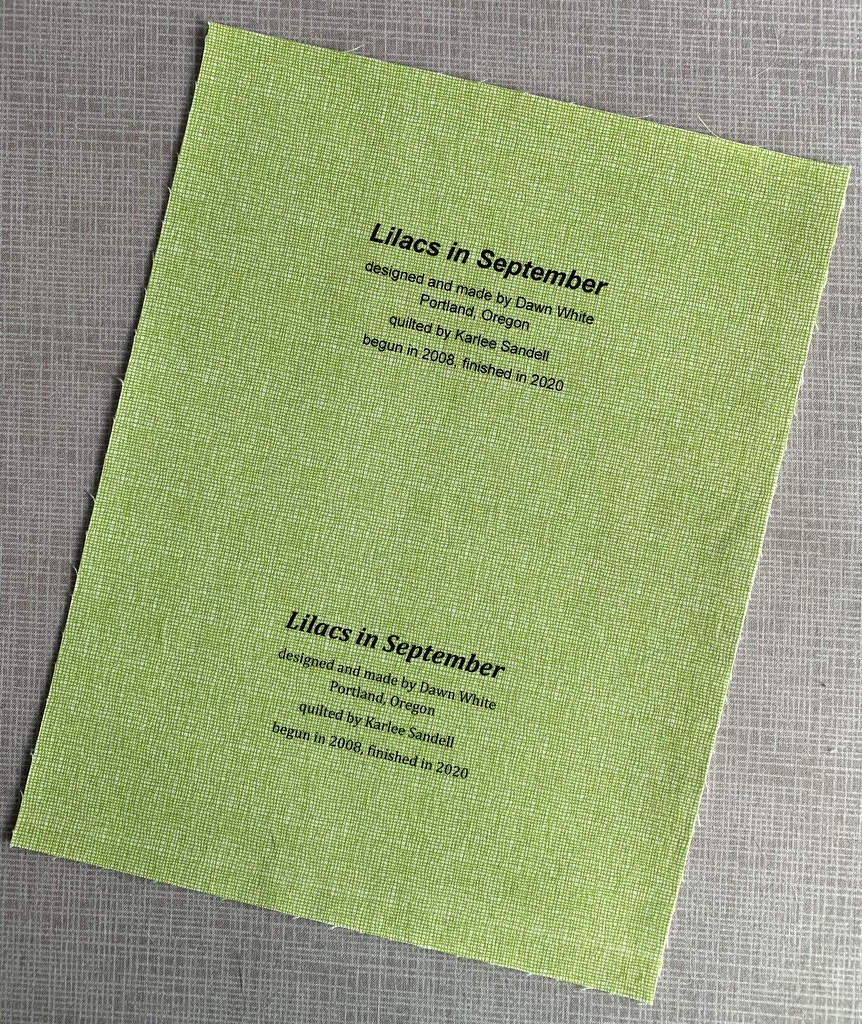
Step 3. Print your label onto fabric:
Step 4. Determine which label you plan to use and trim excess fabric. I decided to use the top label so I measured 6½” from the top of the fabric before making the horizontal cut:
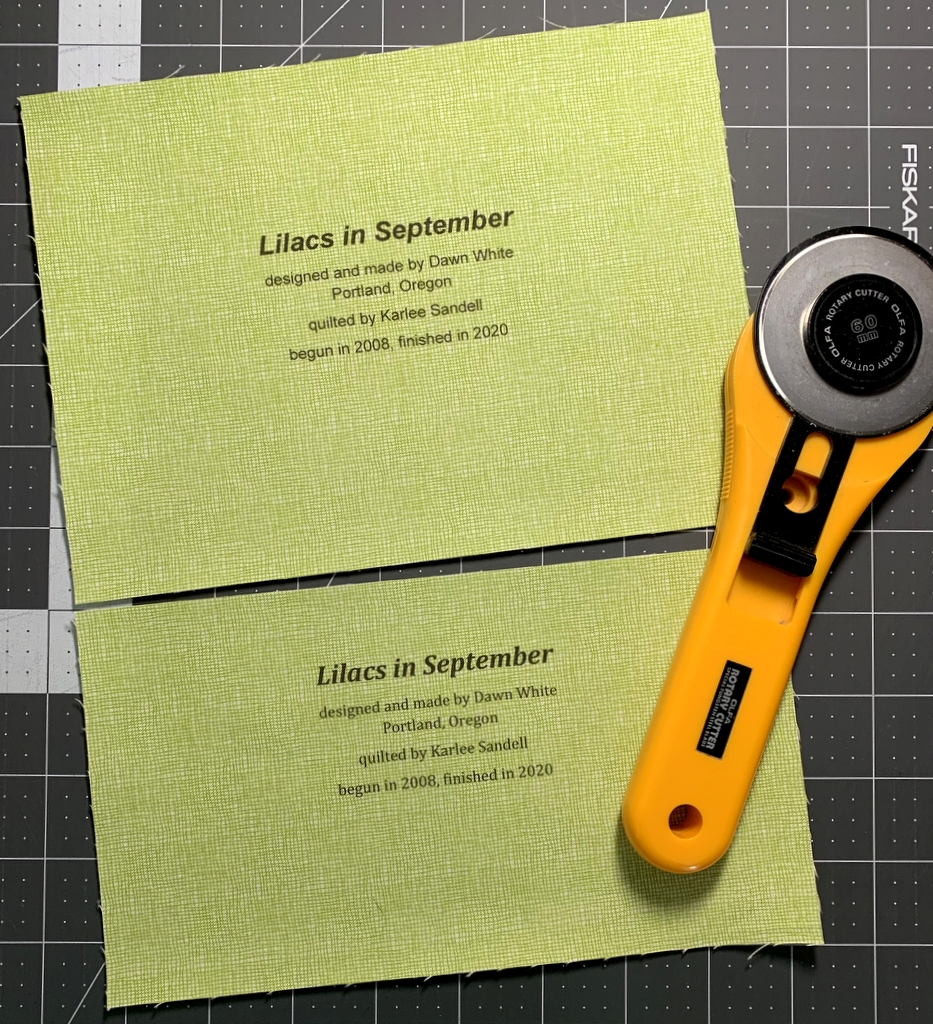 My label is 8½” wide — more than it needs to be — because it’s the width of a piece of paper. A label that’s been hand-printed need not be wider than 6½”.
Step 5. Fusible interfacing usually has a bumpy texture on the fusible side whereas the non-fusible side is flat and smooth. On the flat, non-fusible side of interfacing fabric trace around the compact disc:
 This is your stitching line so make sure it’s dark enough to see clearly. You can use a pencil like I did or a Frixion pen.
Step 6. Lay the interfacing over the label fusible side down and center it. You should be able to see the lettering clearly through the interfacing:
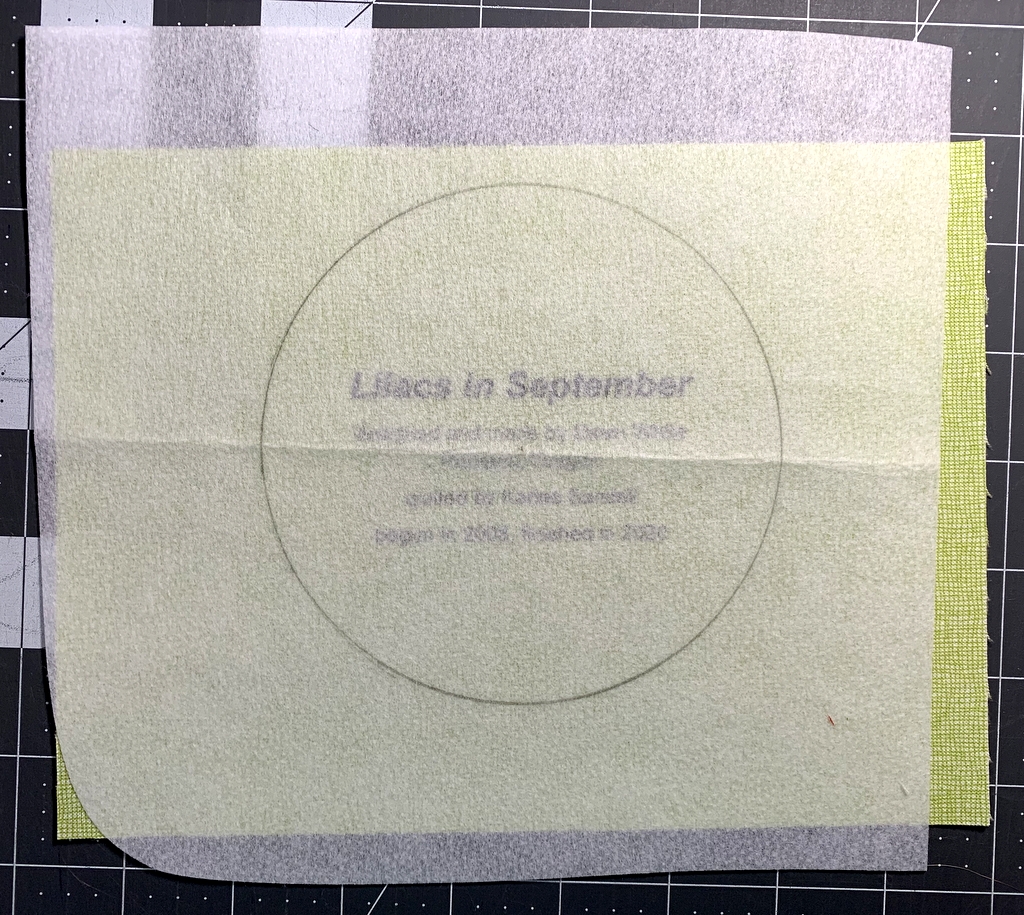 The circle you drew on the smooth non-fusible side is on top. When the label is turned right side out, the bumpy fusible side will be on the outside.
Step 7. Pin the layers in place:
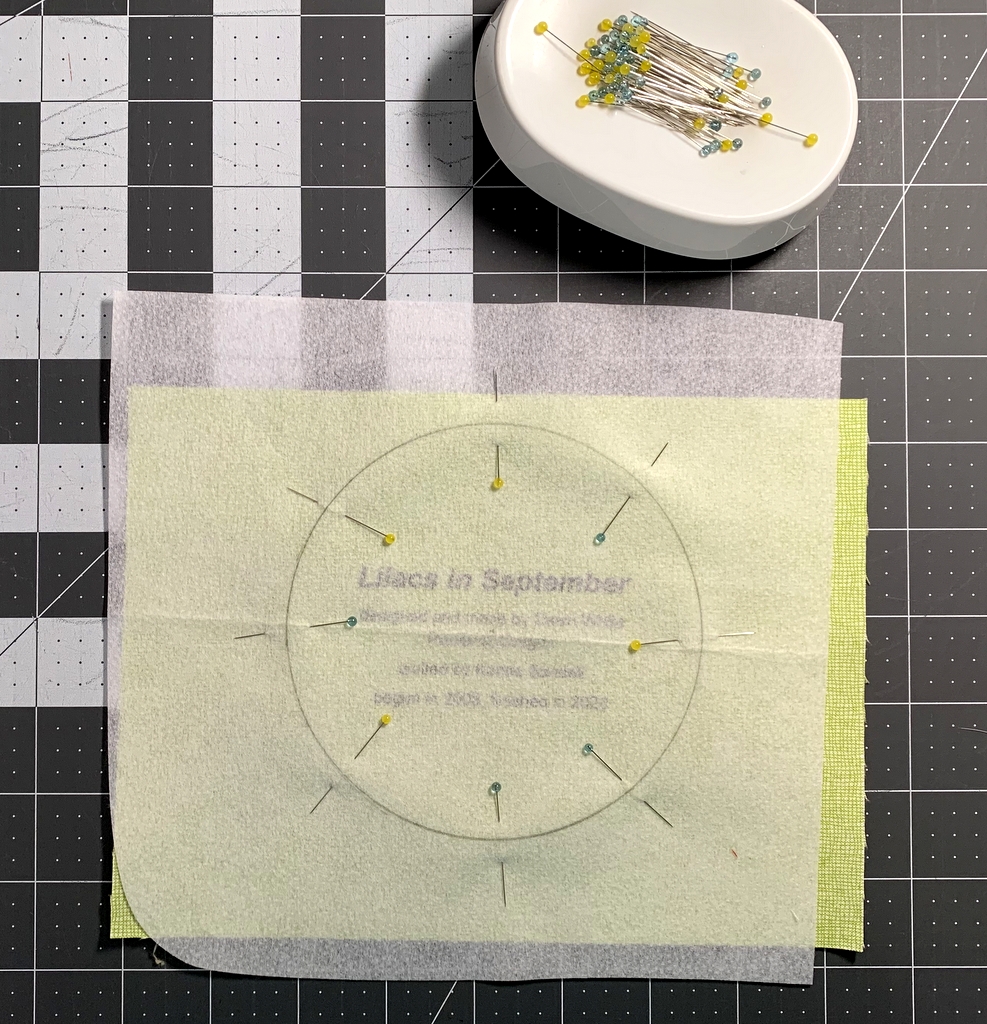 I like to put pins in the 3, 6, 9, and 12 o’clock positions first, adding four more pins evenly spaced. The thinner the pin the better because you want the layers to be as flat as possible.
Step 8. Using a small stitch (2.2 on a computerized machine or about 12 stitches to the inch), sew all the way around the circle, removing each pin as you come to it. Go five or six stitches beyond where you started so you don’t have to knot the thread:
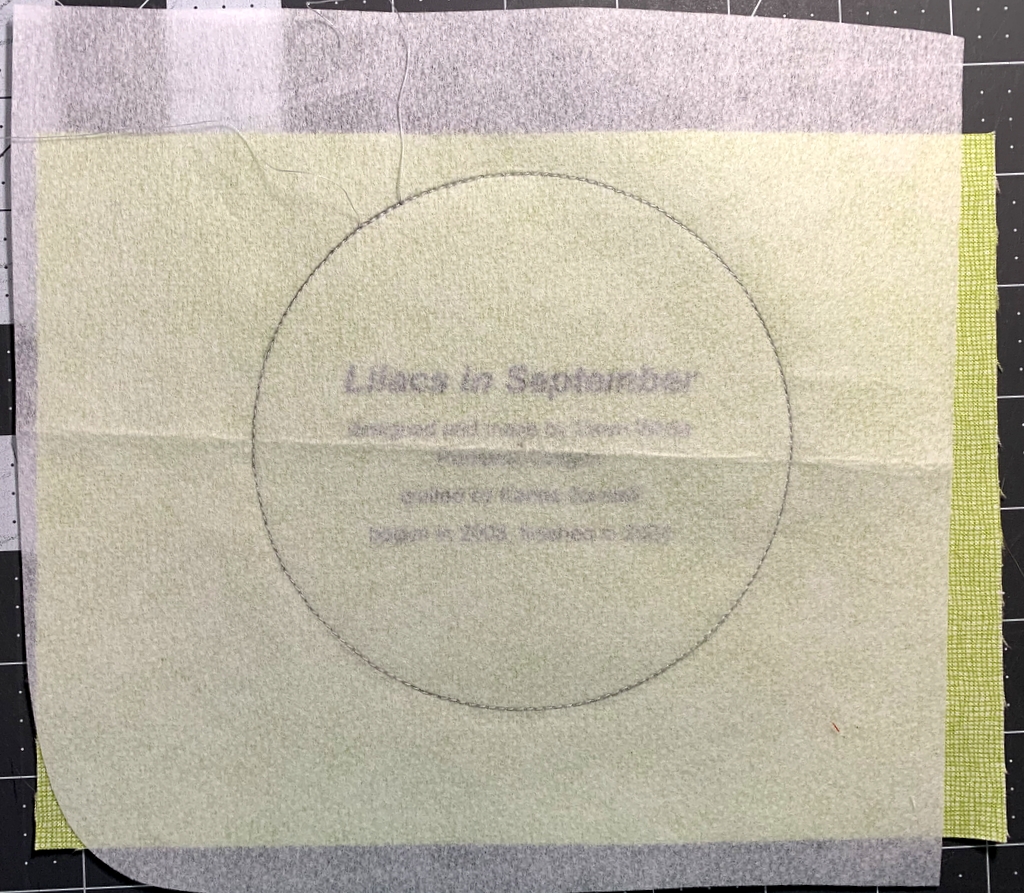 First Light Designs tip: Make sure you are using an open-toe foot on your sewing machine that allows you to see the needle going in and out of the fabric. You need to stitch precisely on the drawn line. If you stray even a stitch or two off the line your label won’t be perfectly round. Any sharp points in stitching will be visible when the label is turned right side out.
Step 9. Trim around the label with pinking shears. Notice that the inside point of the pinked edge is just a few threads from the stitching line:
 First Light Designs tip: If you don’t have pinking shears, trim around the label a generous 1/8” from the stitching line. You can probably get away with a scant 3/16” but a quarter of an inch is too much. Clip from the outside edge almost to the stitching line all around the label; the clips should be no more than a quarter of an inch apart.
Step 10. Pull the interfacing away from the label fabric and make a small snip in the middle. Cut across the middle of the interfacing to within a half-inch or so of the edges:
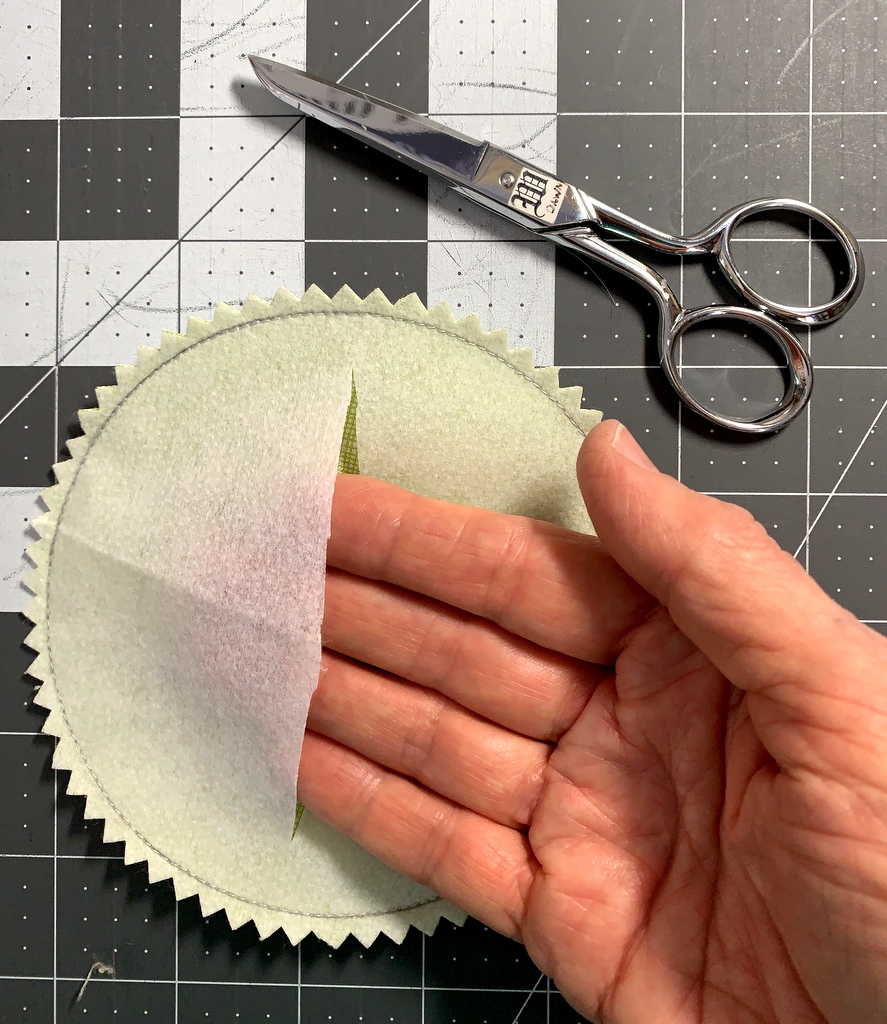
Step 11. Turn the label right side out. From the back side of the label run a softly pointed tool around the stitched line until the label attains its round shape:
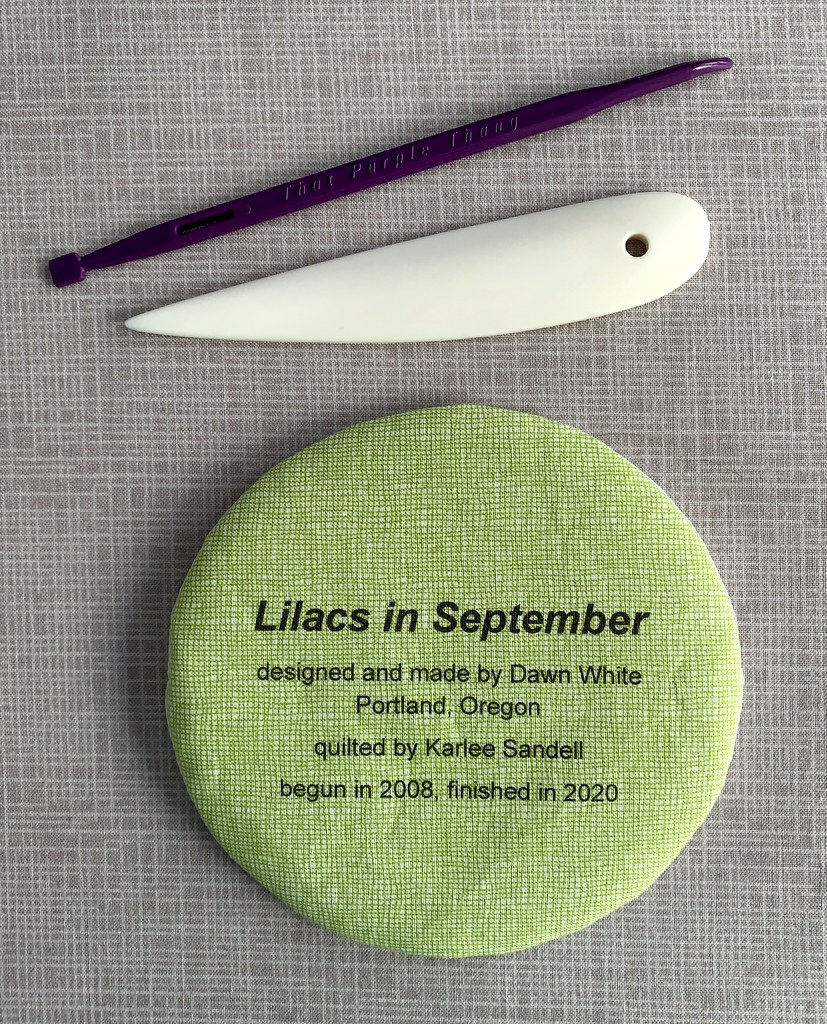
In the photo above you see a white point turner (also known as a bone folder) and a multipurpose quilter’s tool called That Purple Thang. Both tools work well for turning a round quilt label. So does a long fingernail.
Your label is now ready to be attached to the back of your quilt.
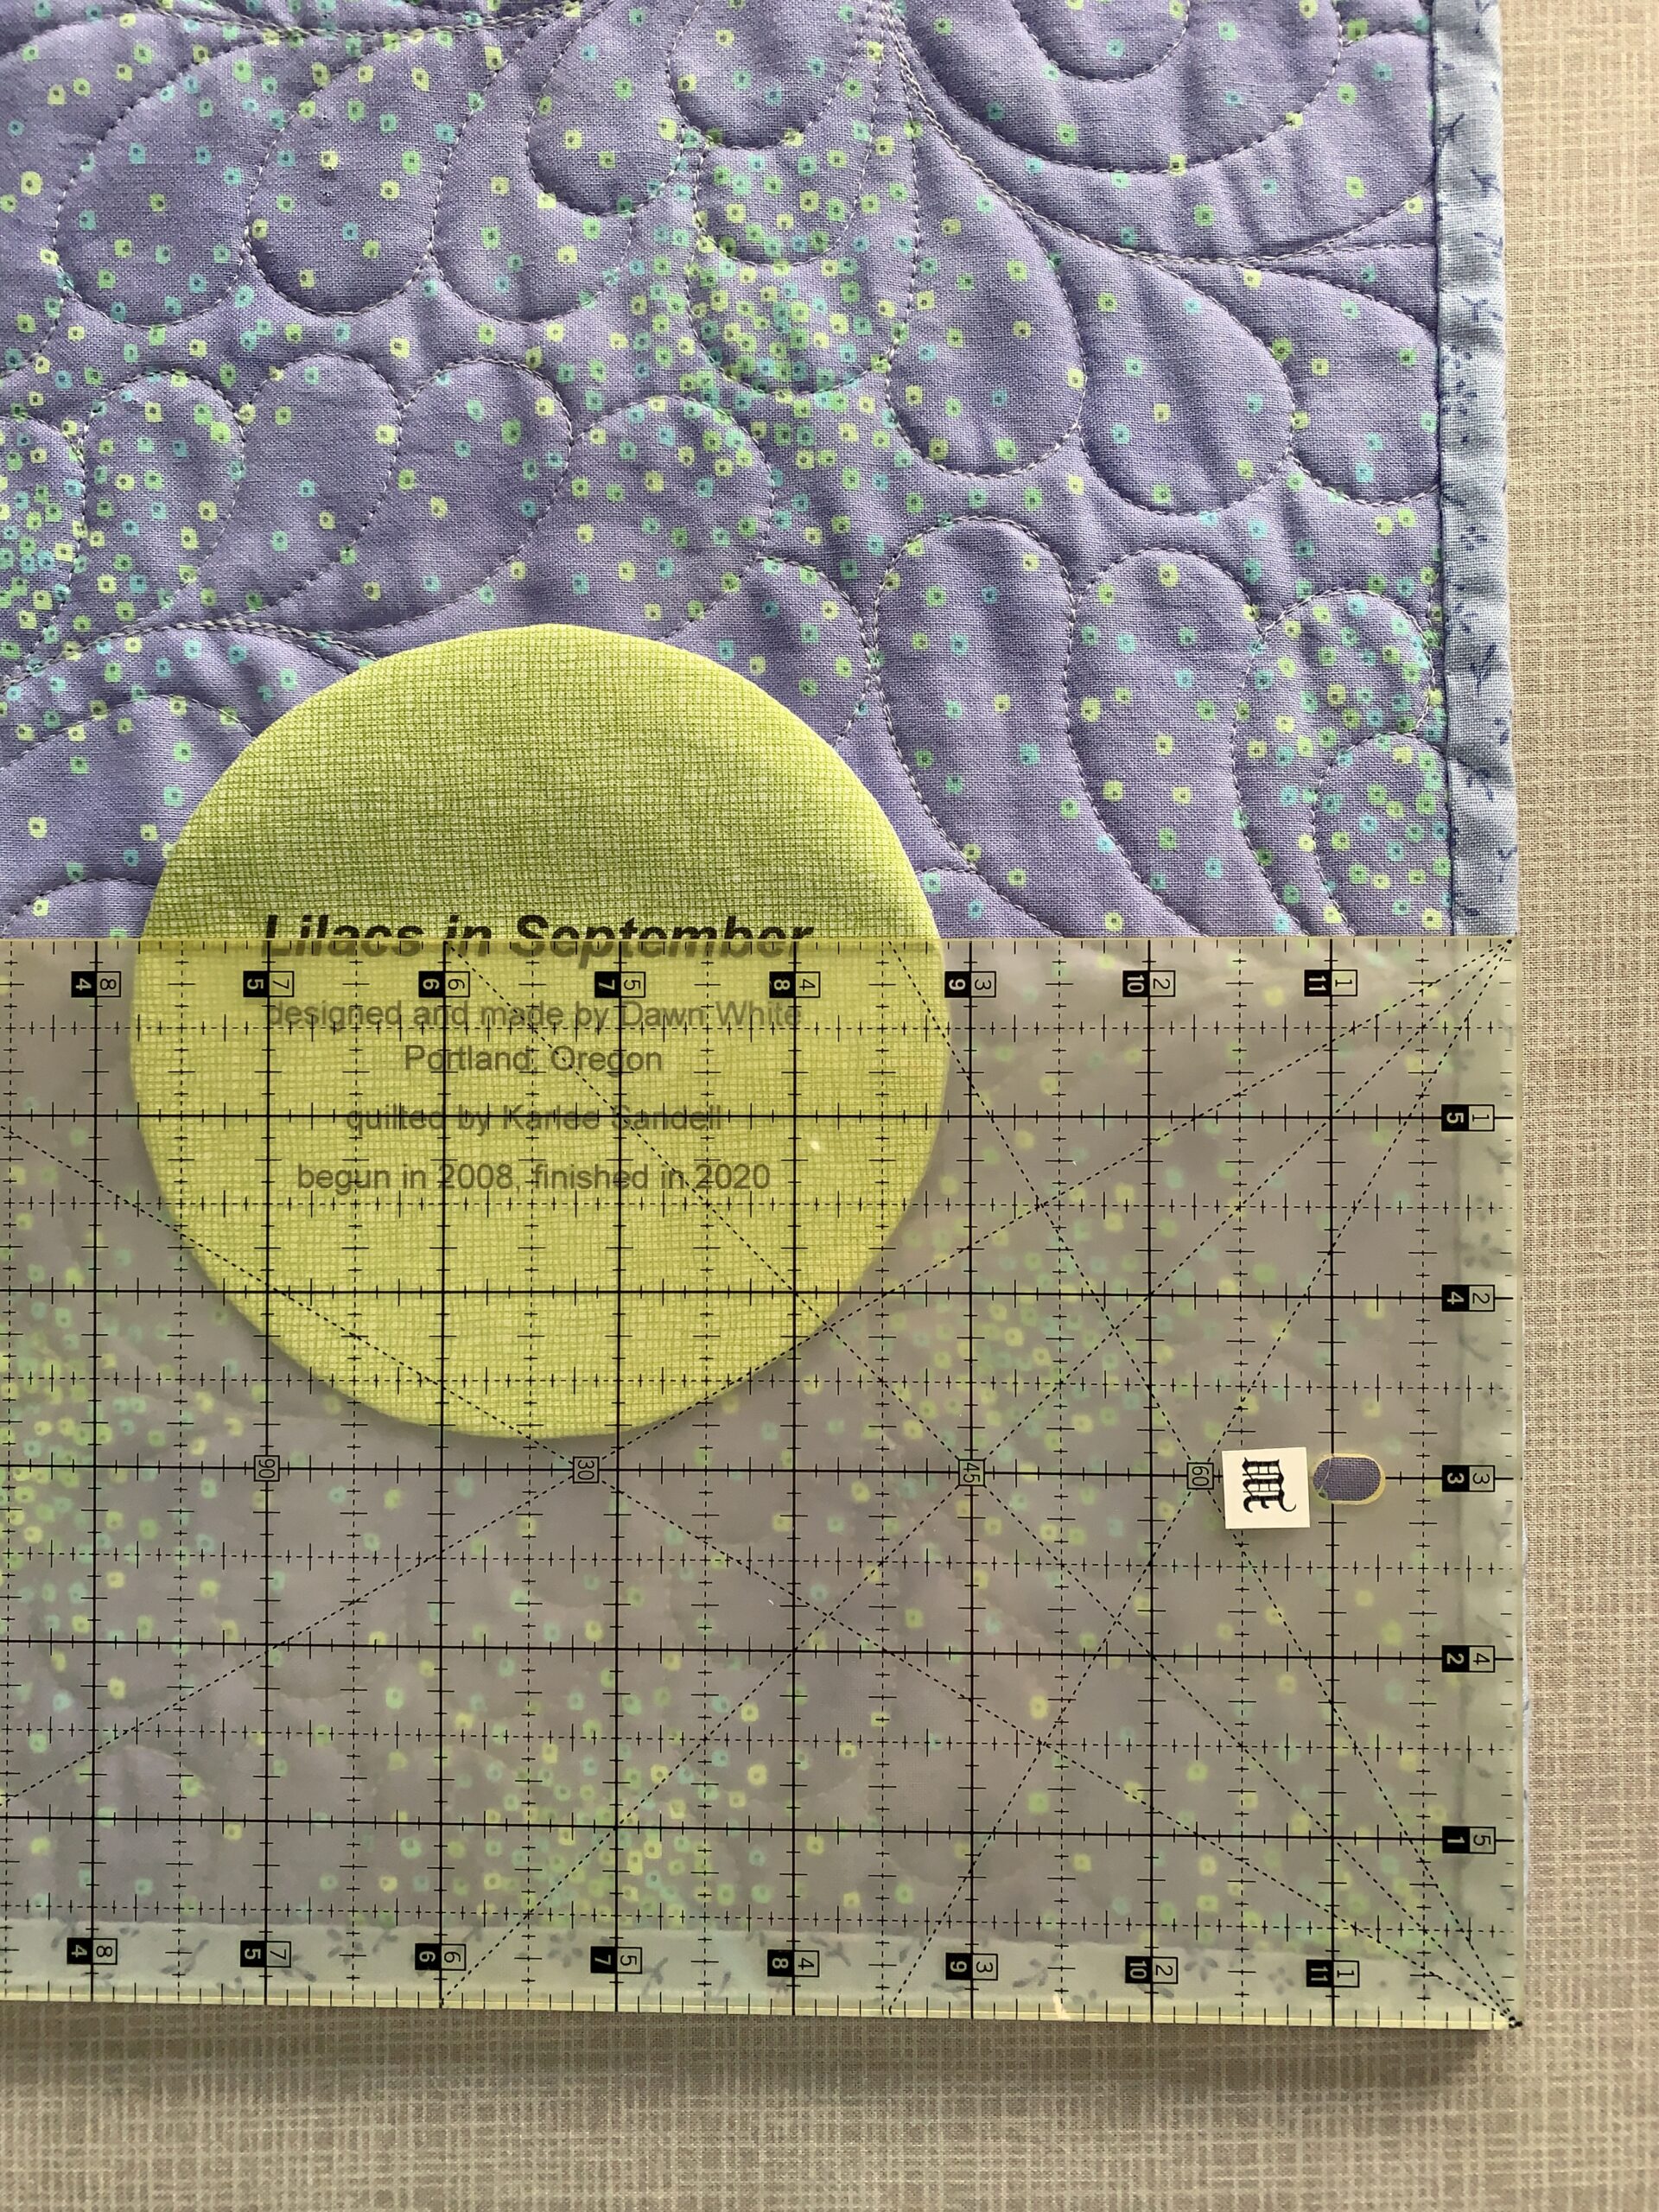
First Light Designs tip: After determining where you want the label to go — but before lightly fusing it in place — use a ruler aligned with two outside edges to make sure the lines on the label are parallel with a bottom edge.
Step 12. Fuse the label to the quilt lightly — enough to hold the label in place but not enough to completely melt the fusible. Use a press cloth and make sure to use the iron temperature specified by the directions that came with the fusible interfacing. You don’t want to scorch the label!
Allow the label to cool and appliqué it in place by hand:
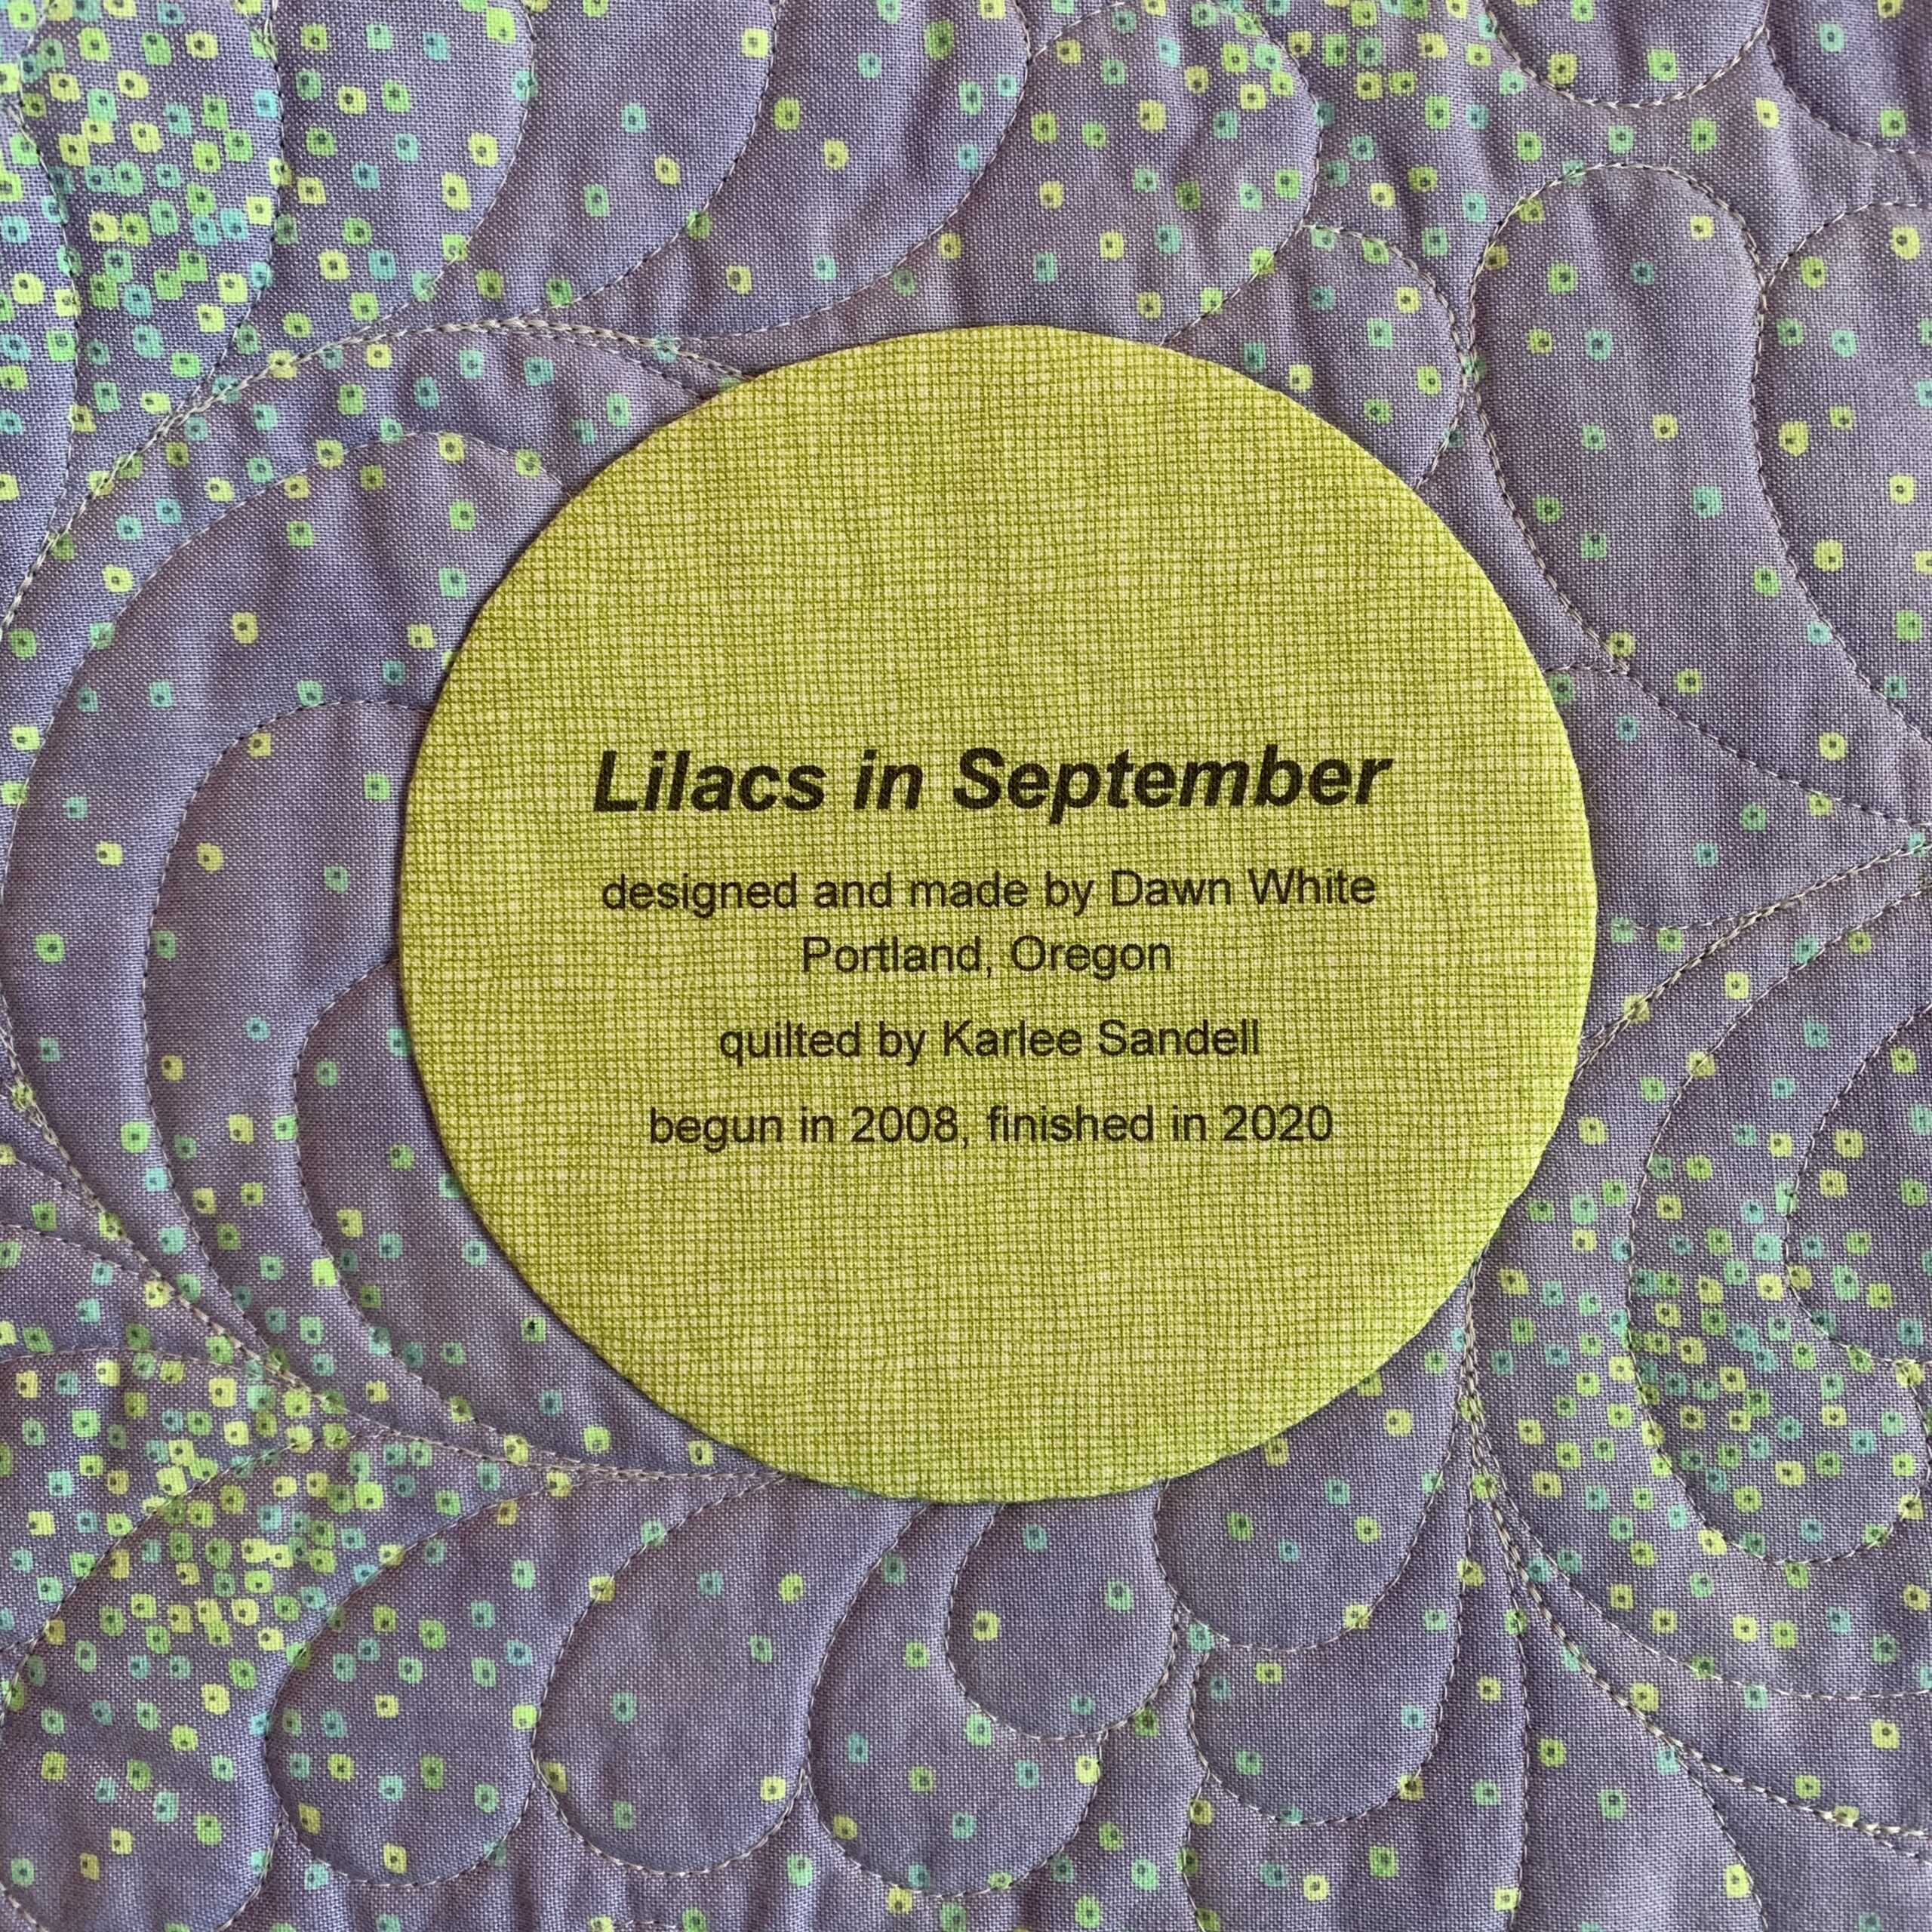
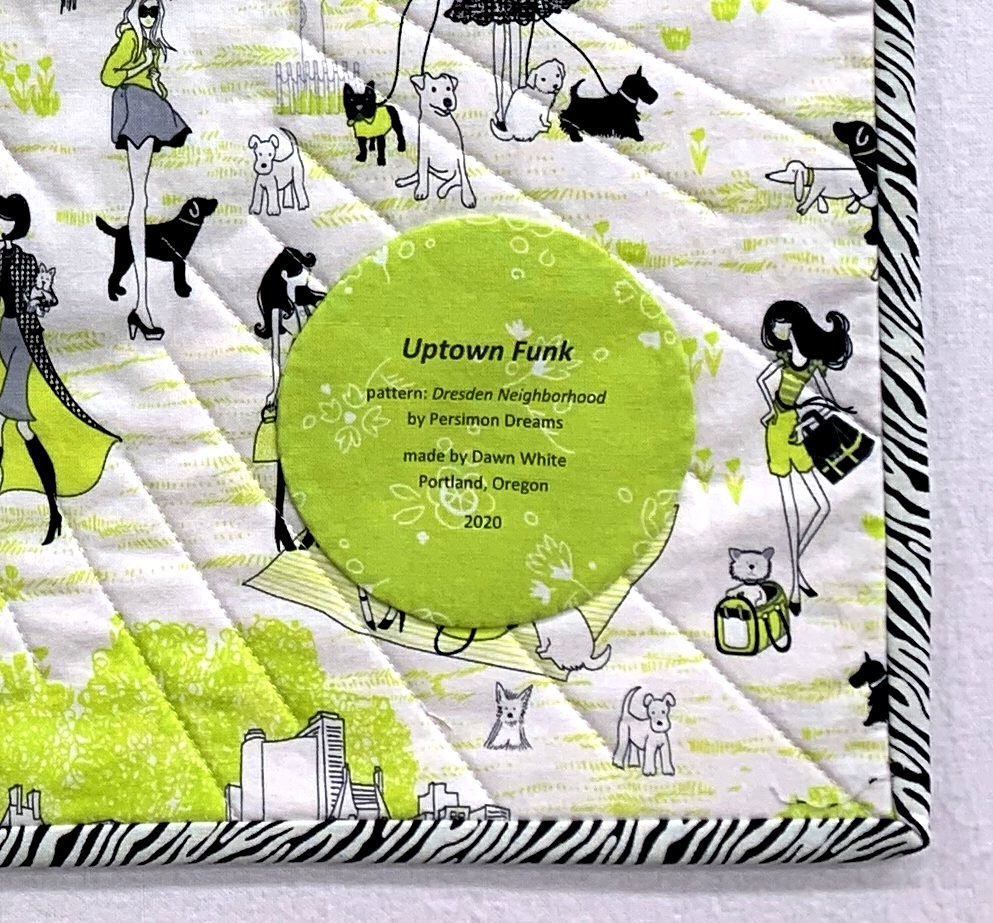
And there you have it: a perfectly round label securely attached to the quilt.
Be sure to let me know if you have any questions!
Thank you, Dawn. I love the look of your labels – will be trying this out on my next finished quilt!
Nubs, you know how highly I admire your precision and ever-so-carefully penned instructions, but I believe that some percentage of your precision is “in the genes”. How do I know this? As your twin, I too spent years sewing my own clothes under the exacting eye of our mother, who was an incredibly precise seamstress. Yet in all those years, exactly one and only one garment I made came out just as the instructions called for, fit me beautifully and made me feel good about my skill. Alas, the next effort was using the very same pattern on a different fabric and it turned out lumpy and ill-fitting. Aarrgghh! That was the precise moment I gave up sewing and preferred instead to enjoy your amazing successes, many of which I have been gifted. 🙂
I cannot wait to try this!
Thank you.
Janice
I really appreciated your tutorials on printing quilt labels on fabric and making perfectly round labels. There is one step I can’t quite wrap my mind around:
Step 2. Find the midpoint of the label by measuring the longest line and dividing by two, then by measuring from the bottom of the top line to the bottom of the last line.
I understand the part about measuring the longest line and dividing by two. My confusion starts with the next part. Why isn’t the height measured from the top of the top line to the bottom of the last line?
Thanks in advance for your time and attention to my question. I plan to give your method a try and want the labels to look nice on the first attempt.
Hi, Karen. That’s a very good question. I was harking back to my days (many years ago now!) as a proofreader/typesetter at The Oregonian newspaper in Portland. We were taught to measure from baseline to baseline — that is, the line on which the individual letters sit — because that measurement is a constant, whereas measuring from the top or bottom of letters would be inconsistent based on the font, or typestyle, being used. I could have written “measure from the top of the tallest letter on the first line to the bottom of the longest letter on the last line.” The midpoint would most likely be very close to the midpoint following the directions in my post.
In any case, when you lay the interfacing on top of the label, you can easily move it around until you are satisfied that the circle you drew on the interfacing is properly centered over the label.
Hope this helps! Let me know if you have any other questions.
Hi Dawn: I love this method and your tutorial. For my printer, I could not get the fusible to work; even using a piece of cardstock. Freezer paper seemed to do the trick to print on to my fabric. Then I just peeled off the paper and proceeded with Step 5. I attached the round label to a Christmas quilt and added a little applique to make it look like an ornament.
Thanks!