Compact discs are permanent fixtures in my sewing room. I listen to music all the time when I’m sewing. Sometimes the radio is on, set to an FM station that plays oldies, but most of the time I listen to songs I’ve compiled myself on CDs, eclectic mixes of everything from folk music to jazz to country to the Great American Songbook.
What do my musical tastes have to do with quilt labels? Simply this: CDs do more than just produce beautiful music. These slender silvery discs, measuring 4⅝” in diameter, make great circle patterns for quilts and home sewing projects. They’re lightweight, portable, and very easy to trace around. And they’re the perfect size for quilt labels.
I use fusible interfacing as the backing fabric, so the labels actually get fused to the backs of my quilts. Labels can be made just as easily with a non-fusible interfacing or other lightweight fabric and then appliquéd to the back of the quilt by hand or machine. Either way, they are easy to make and give the back of the quilt a nicely finished look as well as added visual interest.
Here’s a tutorial on how I make quilt labels using a compact disc. For this demonstration I’m making a label for a little quilt called Wonderful Town that I made a couple of years ago. (It’s in my Quilt Gallery, about halfway down, if you’d like to take a look. You’ll notice it doesn’t have a label yet.)
Supplies
Scratch paper
Pencil with a fine point
See-through ruler
Compact disc
Scrap of freezer paper about 6½” square
Piece of cotton about 6½” square for the label
Piece of light to medium-weight fusible interfacing about 6½” square
Temporary marking pen or pencil (I recommend the Frixion erasable gel pen)
Fine point permanent marker
Painter’s tape
Pinking shears
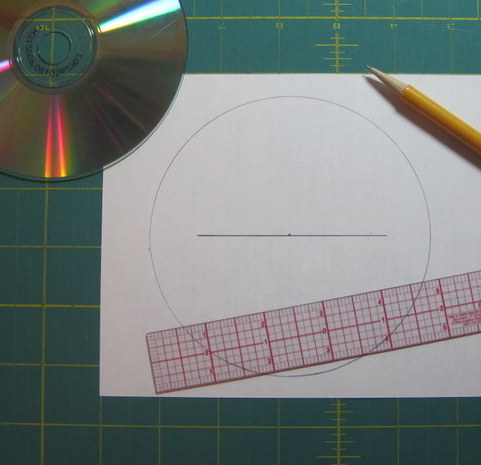
1. Start with a piece of scratch paper and a pencil with a fine point. Trace around a compact disc and put a dot in the center. Draw a line across the dot to establish the baseline rule.
2. Decide what your label will say and how many lines it will take. Write the label information on scratch paper first to make sure it’s what you want. Center each line, just as it will appear on your label. This is good practice before you record the same information on fabric with permanent ink. Using a see-through ruler, draw lines ⅜” apart in the circle.
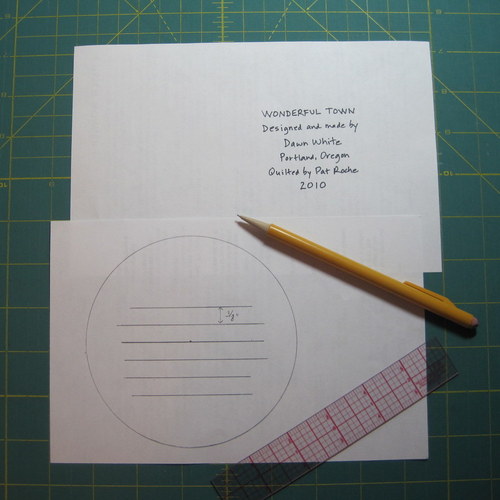
In my example, I drew two lines above my baseline rule and three below it, for a total of six lines. If I were making a label with five lines, I would have drawn two above the baseline and two below.
3. Using a hot dry iron, press the shiny side of the freezer paper to the wrong side of the label fabric. This keeps the fabric taut, making it easier to write on with a pen. Press from the front to make sure the fabric is flat with no bubbles. The freezer paper will be removed later.
Note: many quilters use cotton muslin for their labels. I usually choose a cotton fabric that was used in my quilt top or one that goes well with it. Here I am using a scrap of light gold fabric that picks up the same shade in the quilt.
4. Center the compact disc on the right side of the label fabric. Trace around it with a temporary marking pen or pencil and put a tiny dot in the center. Draw a baseline across the dot. As with the scratch paper version, draw lines ⅜” apart above and below the baseline.
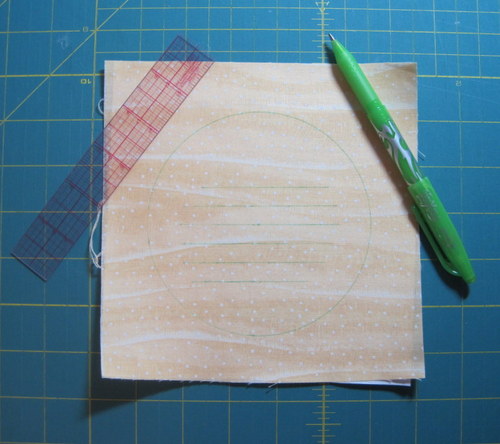
I absolutely love the Frixion erasable gel pens by Pilot. The ink vanishes at the touch of an iron. Frixion pens come in a rainbow of colors. Here I used green ink, pressing lightly to get just enough of a line to see where I needed to write.
Option: Instead of drawing the rules on the front of the label fabric with a temporary marker, you could draw them on the back of the freezer paper with very dark ink so that they show through from the right side.
5. Tape the label to your work surface with painter’s tape. Test the permanent marker on a corner of your label fabric to make sure the ink doesn’t bleed. Carefully write the information on your label. Don’t worry if your lettering isn’t perfect; mine certainly isn’t. The label just needs to be neatly written and easily read.
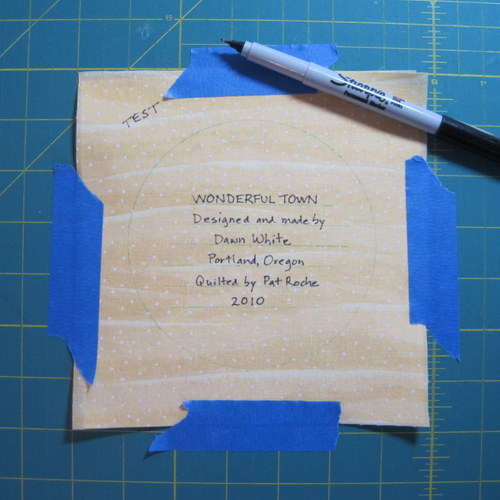
I used a Sharpie Ultra Fine Point here but you may prefer an archival quality pen such as the Pigma Micron, which uses an acid-free pigment-based ink.
6. Remove the tape and peel the freezer paper off the back of the label. On the right side insert a pin at the spot where you marked the center of the label. Is the writing centered in the circle? If not, adjust the pin.
7. Turn the fabric over. Center the compact disc over the pin and trace around the disc with the pencil (not the permanent marker). The line you traced is your stitching line.
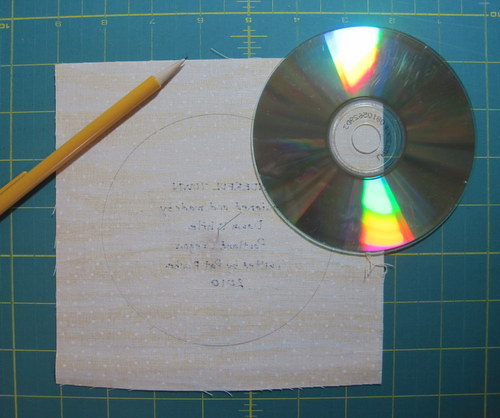
8. From the right side press the label with a hot iron. This sets the ink of the permanent marker and removes the Frixion ink, if you used it. If you used some other type of temporary marking pen or pencil, you may need to remove it before applying heat to the label.

9. Place the interfacing on a flat surface with the fusible side up. Lay the label fabric right side down on top of it. Imagining the circle as a clock, insert four pins at the 12, 3, 6, and 9 o’clock positions. Place the pins across the seam line, with the tips pointing toward the outside edges; this helps keep the two layers flat. Insert four more pins evenly around the circle.
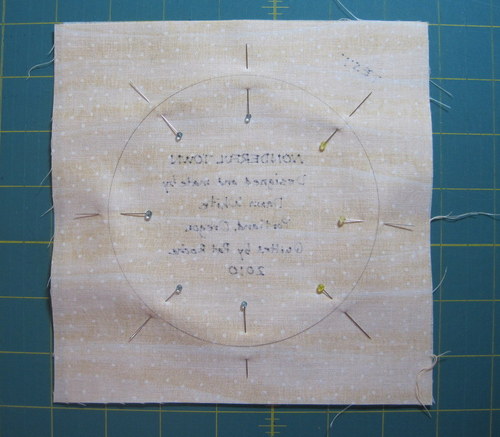
10. Using a small stitch (about 12 stitches to the inch), sew completely around the circle, gently turning the fabric as you sew to keep the curve line smooth and removing the pins as you come to them. Stitch beyond your beginning point by five or six stitches (no need to knot). Clip threads.
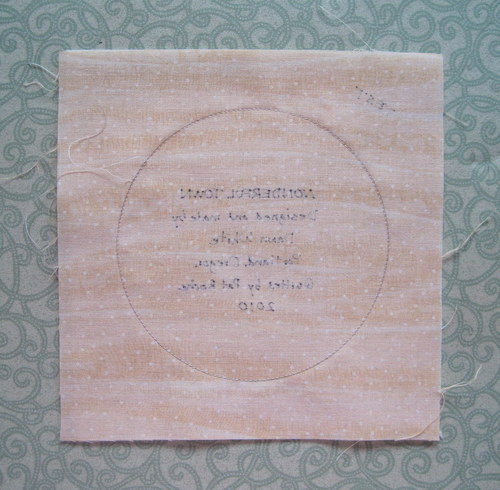
11. Using pinking shears, trim closely next to the line of stitching.

12. Gently pull the interfacing away from the label fabric and make a small slit in the center of the interfacing. With scissors extend the slit to about ¾” from the stitching line on either side.
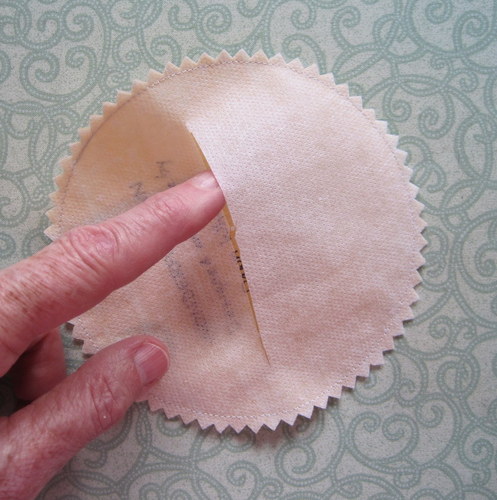
13. Carefully turn the label inside out through the slit. Insert your fingers through the slit and gently run a fingernail around the edges to smooth out the circle shape. Fusible interfacing tears fairly easily, so be gentle.
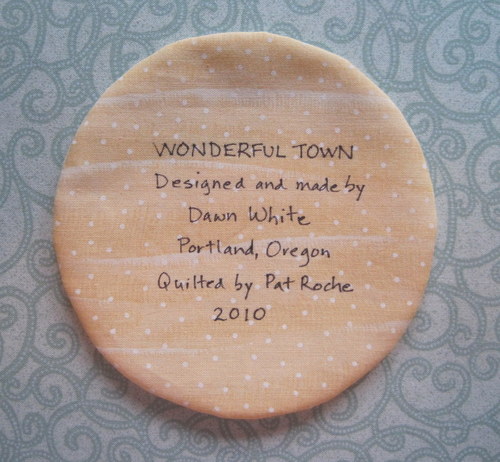
14. The label is now ready to be pressed to the back of the quilt. Remember that the fusible side of the interfacing is on the outside. Be sure to position the label exactly where you want it before following the manufacturer’s directions for fusing. After the label is attached, you can stitch around it if you wish to give it that appliquéd look.


Nicely presented!
What a neat way to do this….never thought “ROUND” before. This is the technique I use when I do facings for garments….it’s very slick and creates such a smooth line…. great idea… great tutorial as well…. THANKS. cheers su “-}
Nubs, it was such great fun catching up on your blog. Everything is so INTERESTING! I sure would like to know why I didn’t get any of these genes!!
Wow, what a great way to make labels. I can’t wait to try this out. I am also a music lover and have music going all the time while I’m sewing, so CD’s are plentiful in my sewing room.
We must be kindred spirits, Janet! Hope you have fun making labels.
Thank you Dawn! Great ideas and a very clear presentation. I will have to give your method a try.
Vickie