Bathroom Renovation: Before and After
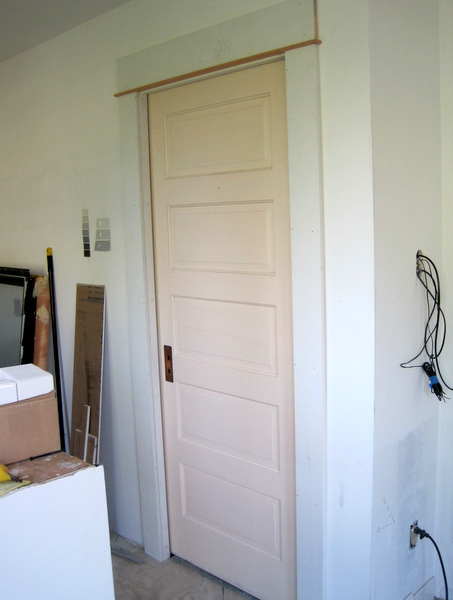
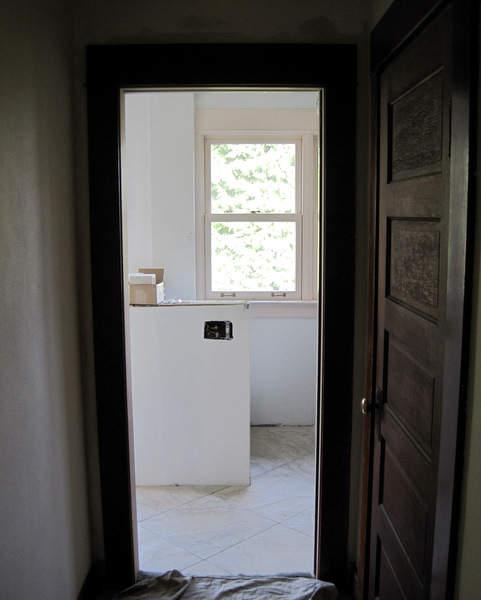
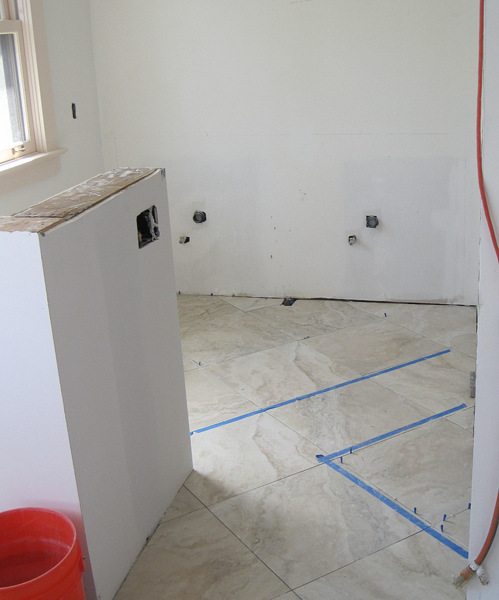
This post is long overdue. After all, the contractors finished our master bath renovation almost a year ago. When I posted the Week 12 photos last June, the bathroom was complete except for the plantation shutters and wall décor. My plan was to show before-and-after photos as soon as the shutters were installed. That day came and went, and now – lo! these many months later – I am ready for the final reveal.
In a way I’m glad I waited. It was great fun revisiting the renovation process as I scrolled through all of the photos taken during the 12 weeks of the renovation.
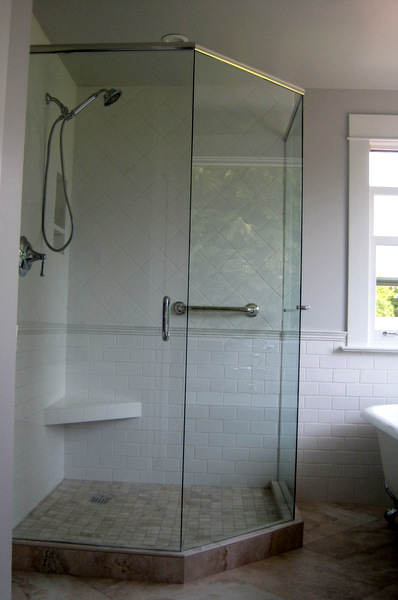
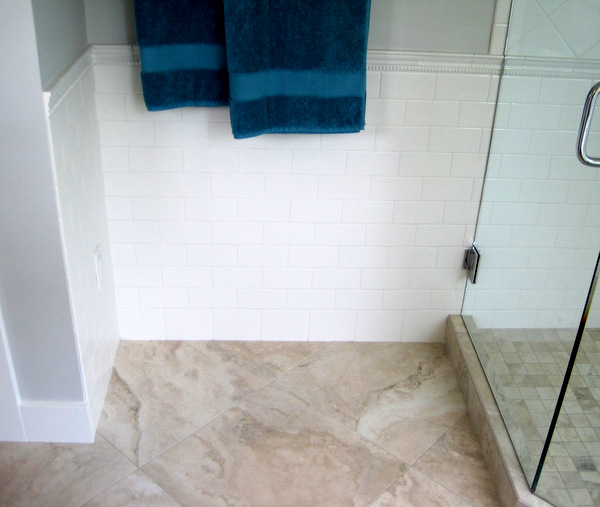
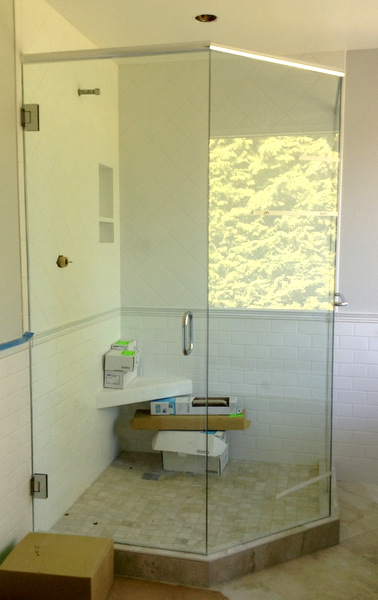
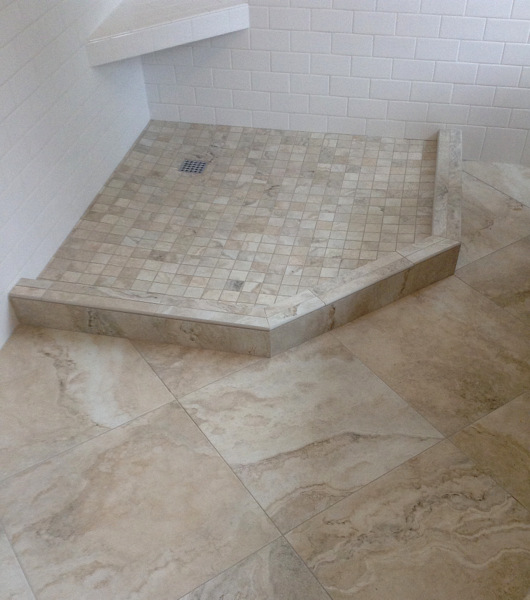
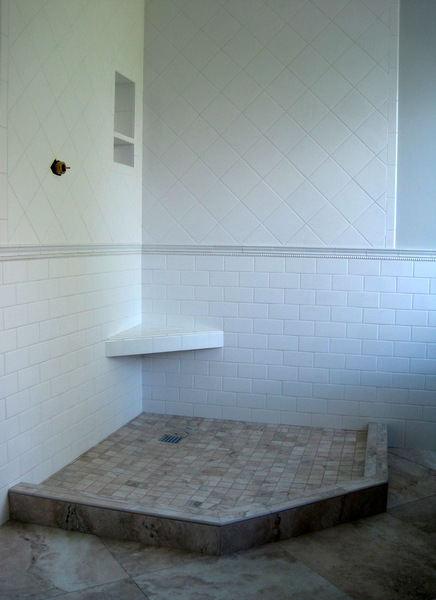
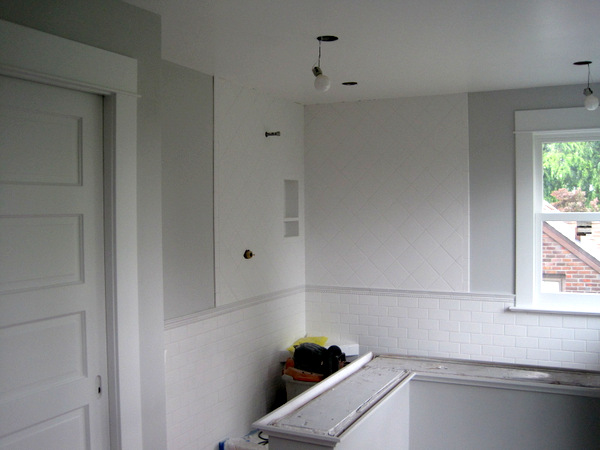
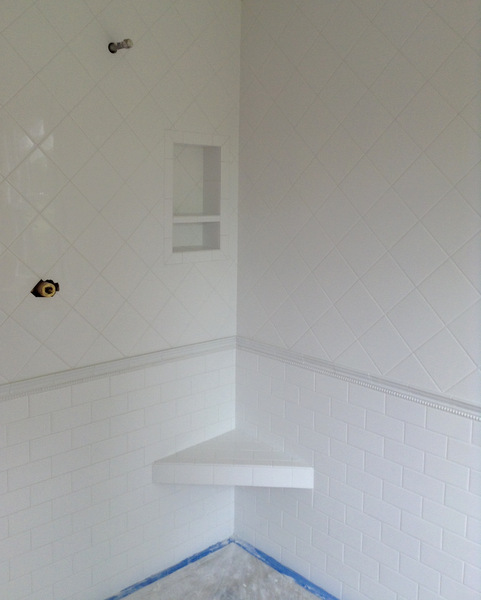
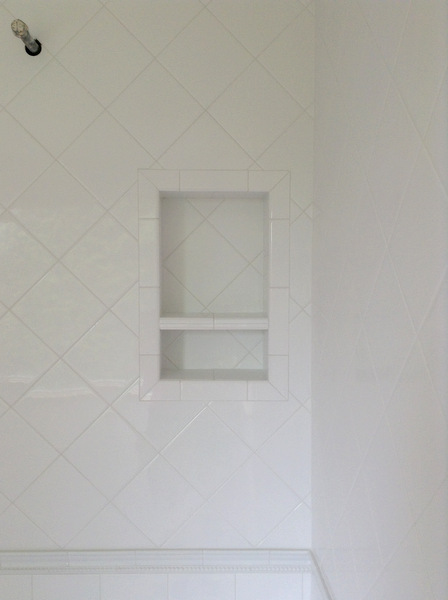
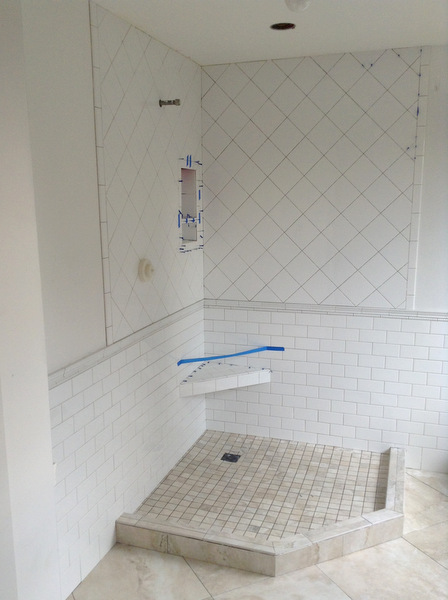
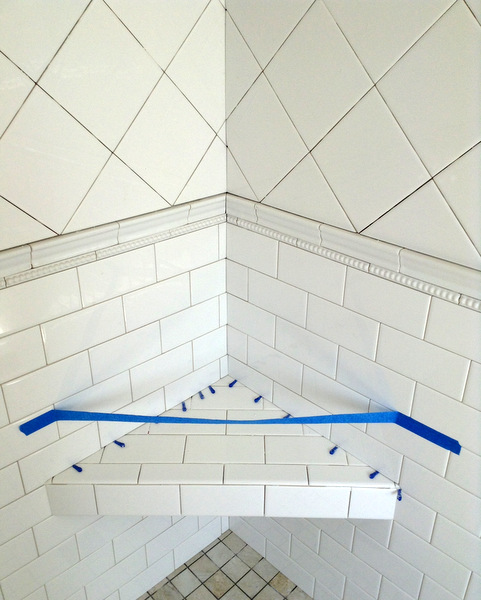
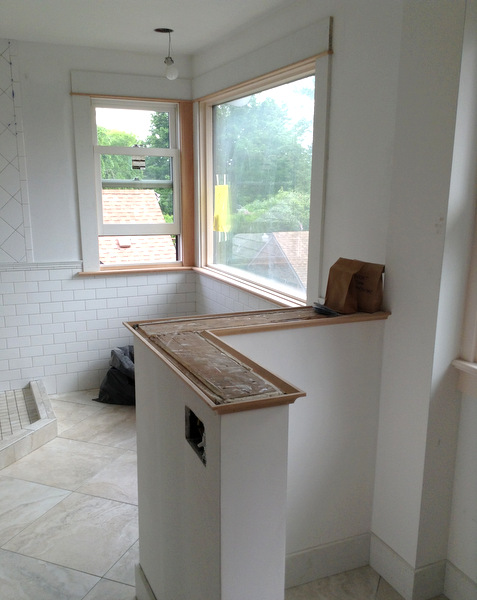
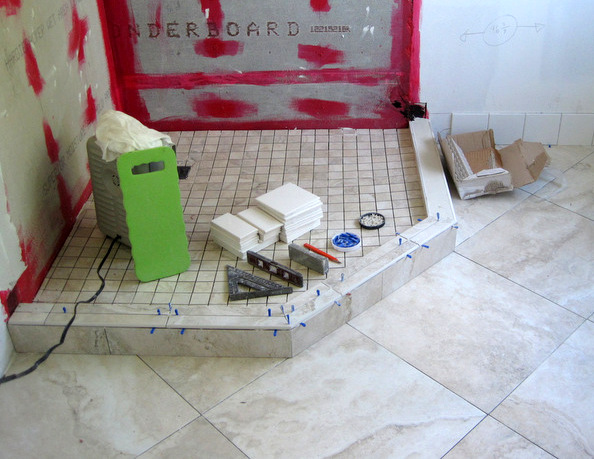
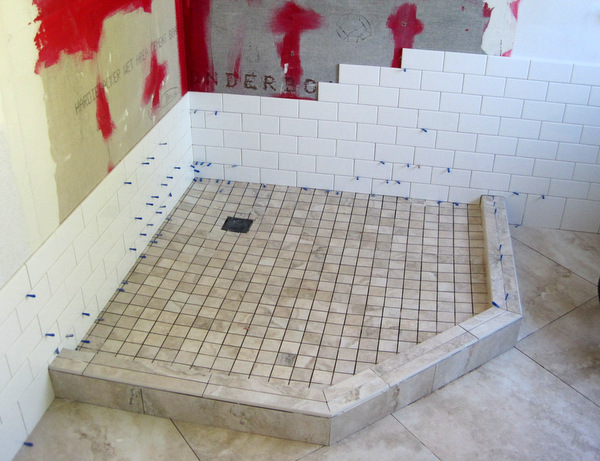
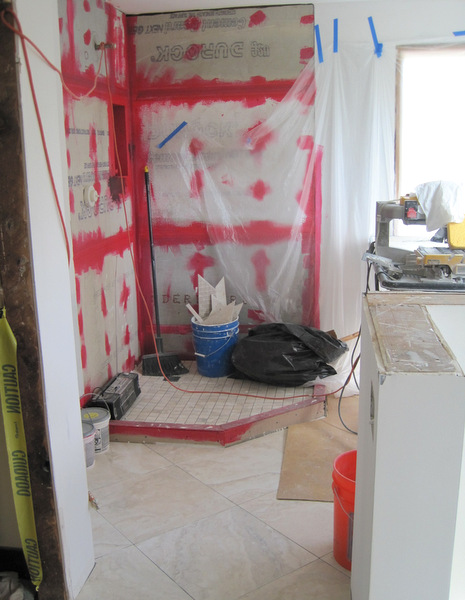
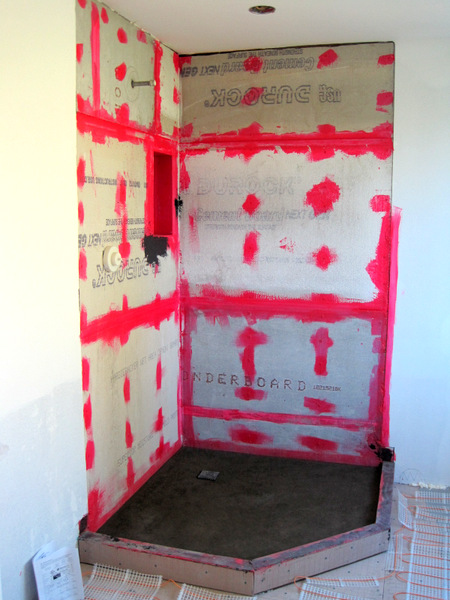
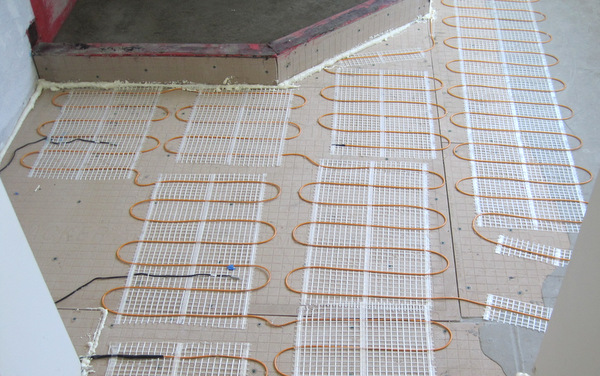
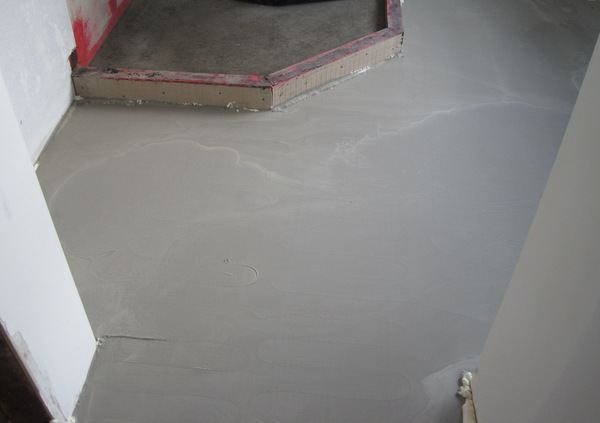
The biggest change was adding a custom shower in the northwest corner:
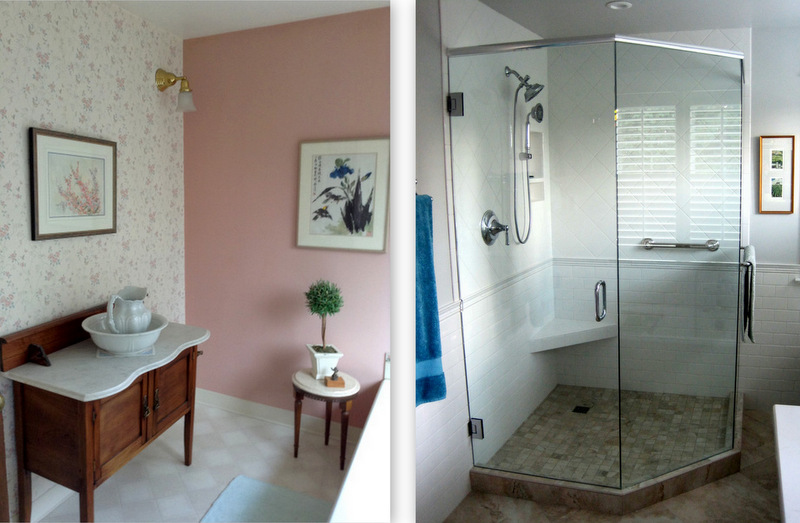
The shower was an important addition to the bathroom. (Whoever heard of a master bath without one?)
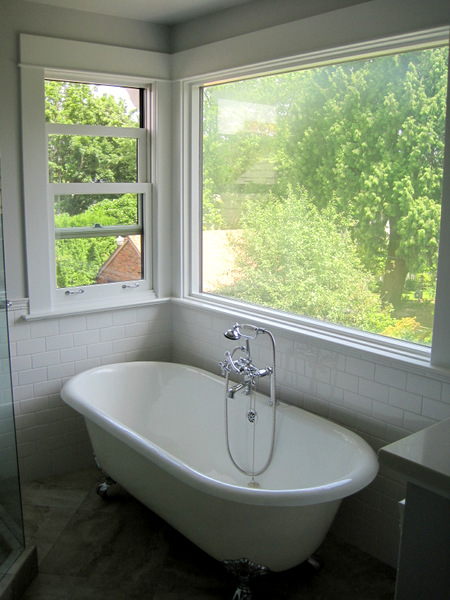
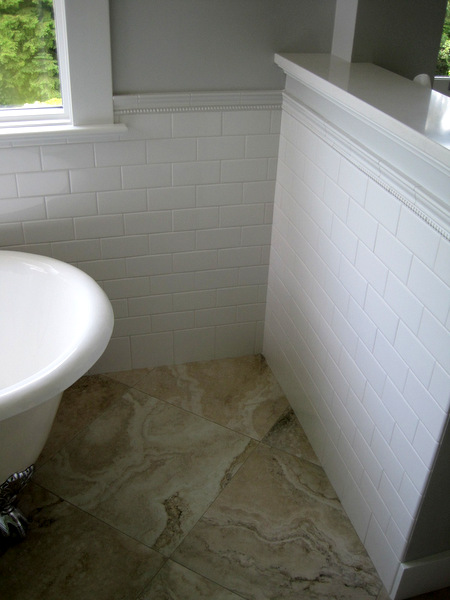
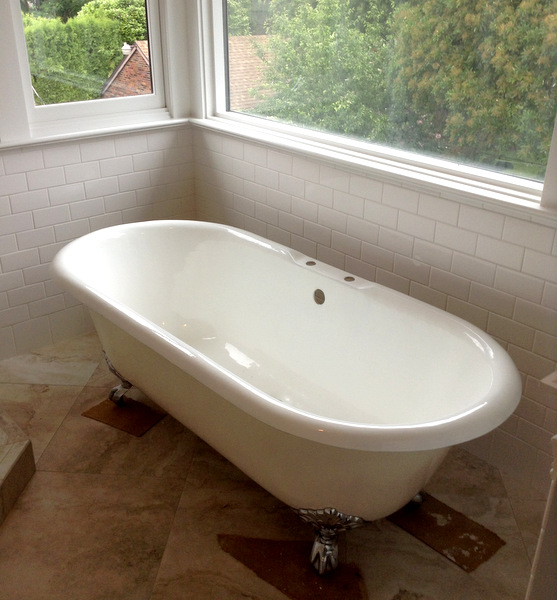
Opposite the new shower, on the northeast side, we removed the big Jacuzzi tub and installed a vintage clawfoot tub:
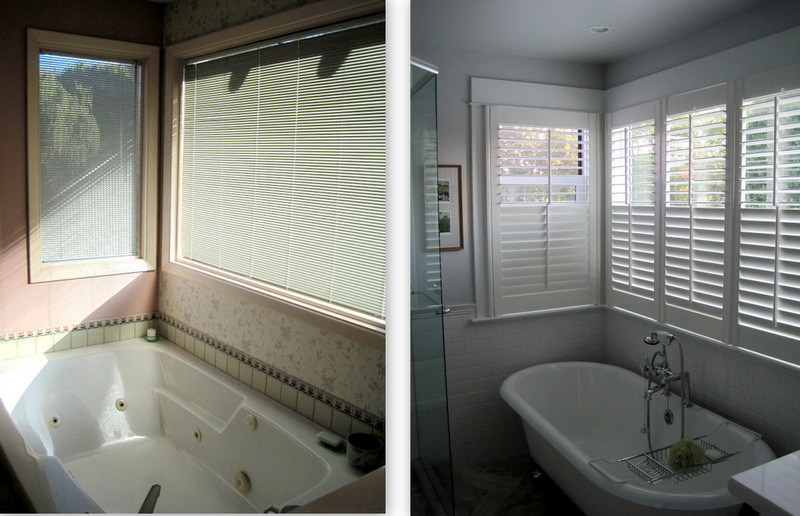
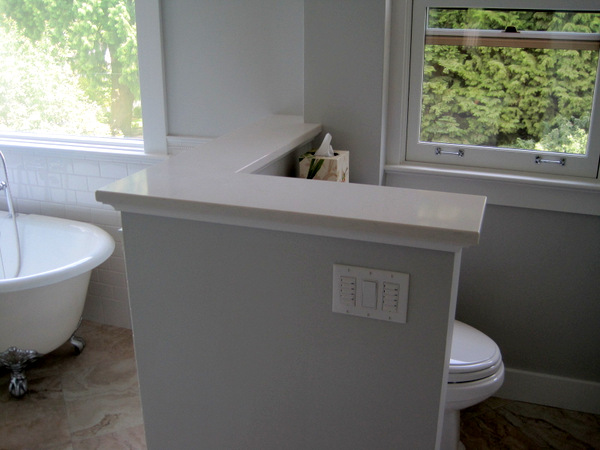
Much more befitting a home built in 1913, don’t you think? And the new single window opens, providing a delicious cross-ventilating breeze.
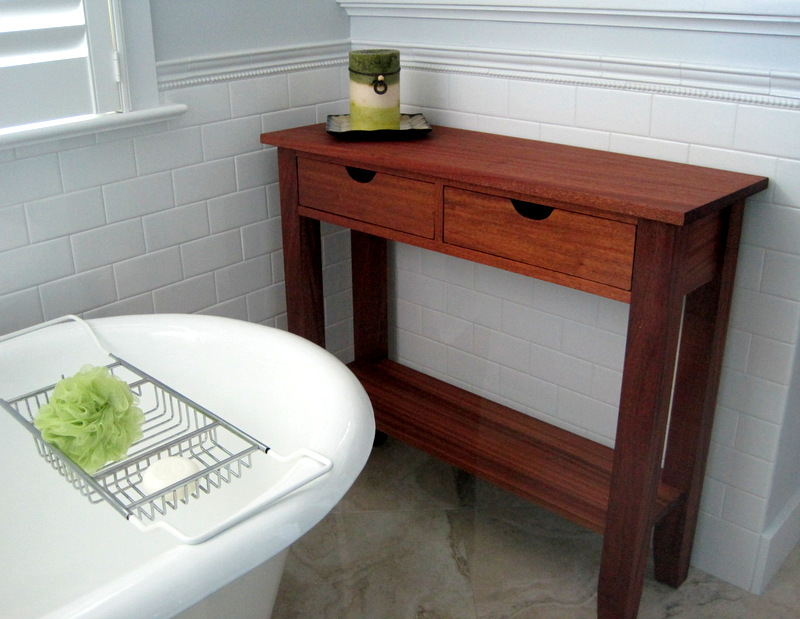
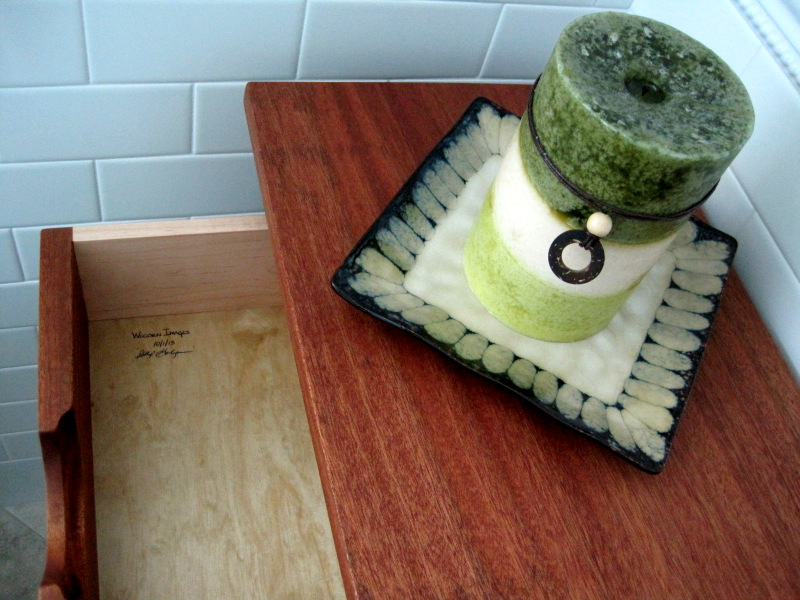
I was hoping to position the marble-topped vintage washstand (see first photo, above) against the half-wall opposite the clawfoot tub but it turned out to be a few inches too deep. After searching in vain for a narrow vintage table that would fit in that space, I had one made:
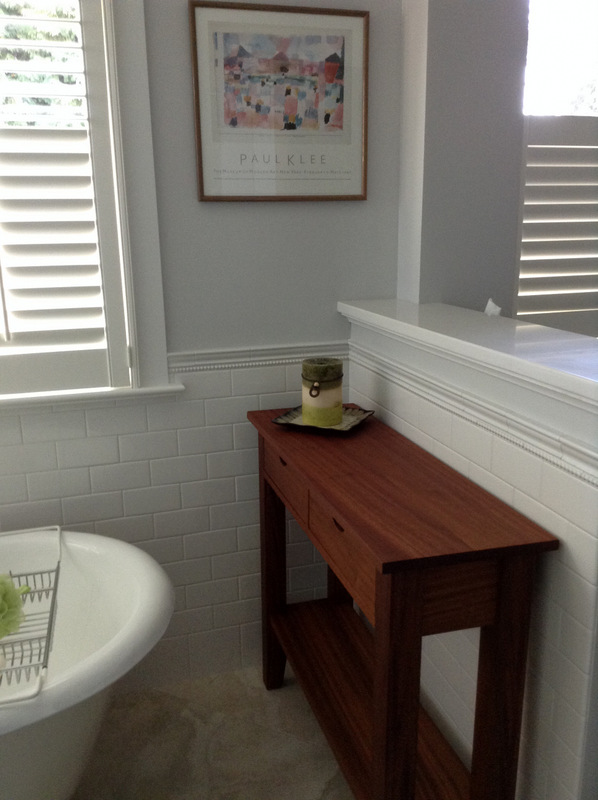
On the wall opposite the table is a small stool made by the same craftsman:

The wood is African mahogany.
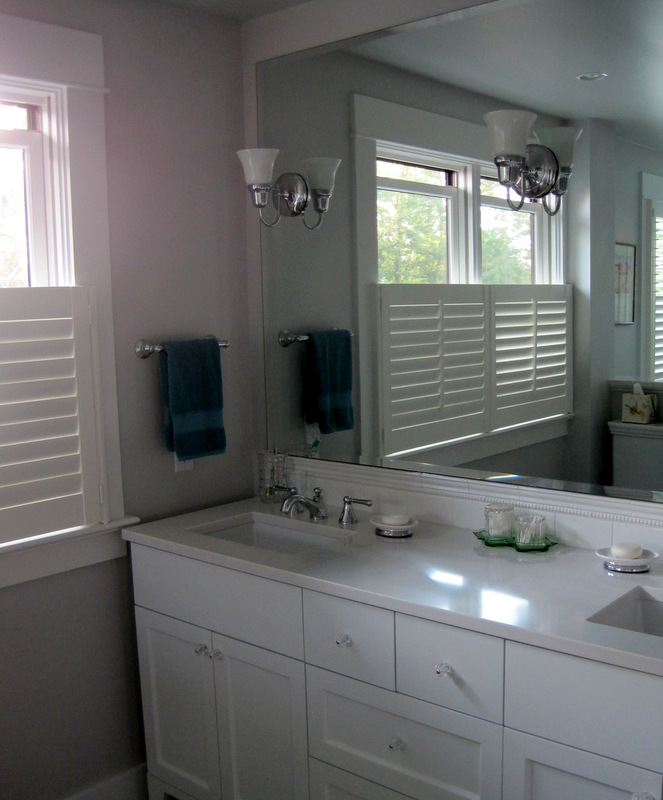
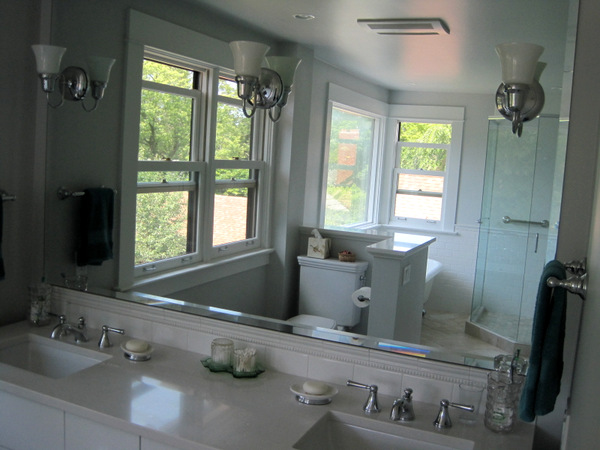
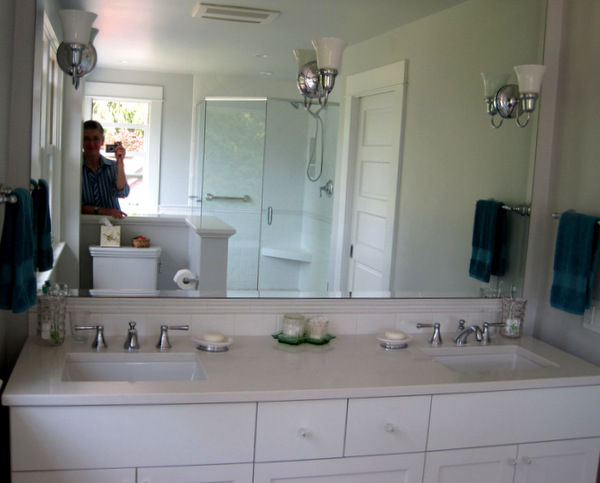
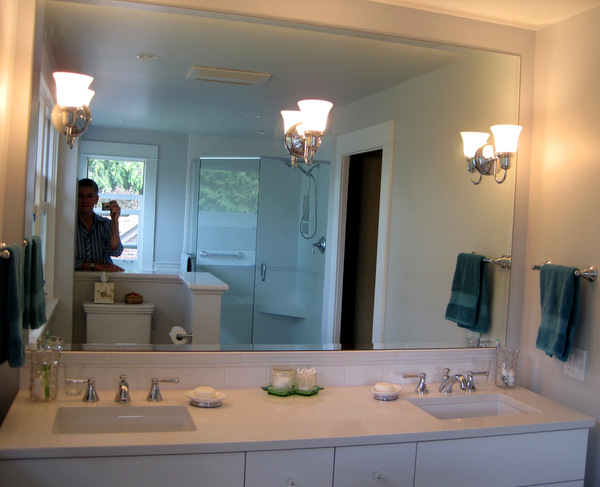
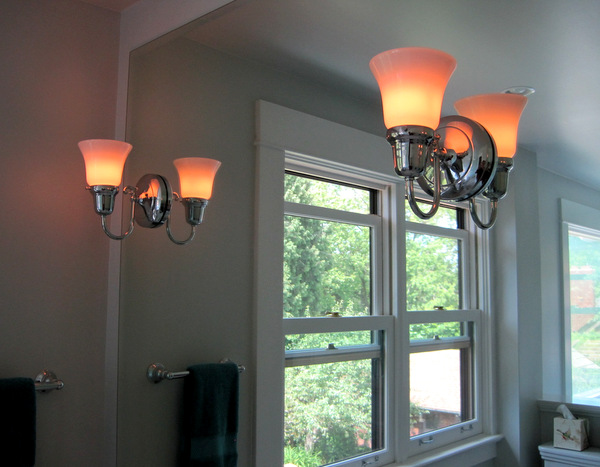
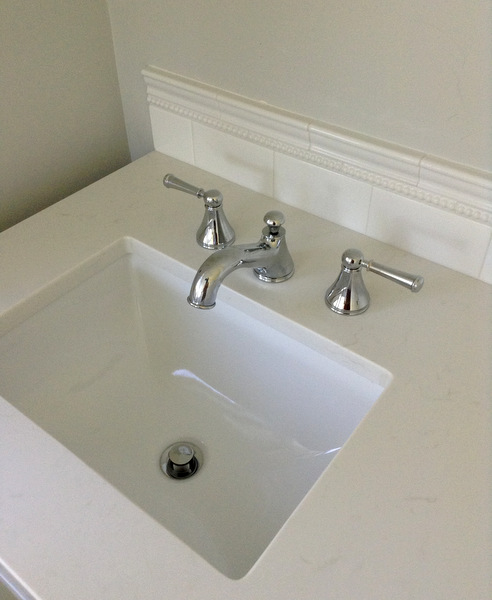
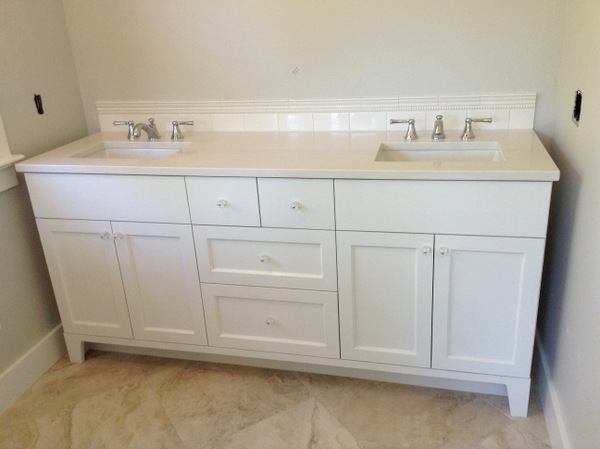
A new custom vanity, mirror, and light fixtures updated the south end of the bathroom:
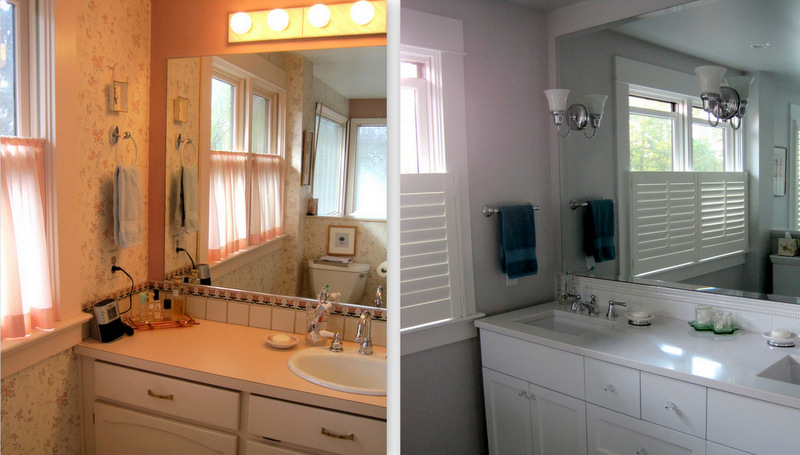
Much less fussy.
The wall on the right between the towel rack and the door is the perfect space to hang one of my table runners (in this case Purple Haze, from my pattern Full Moon Rising II).
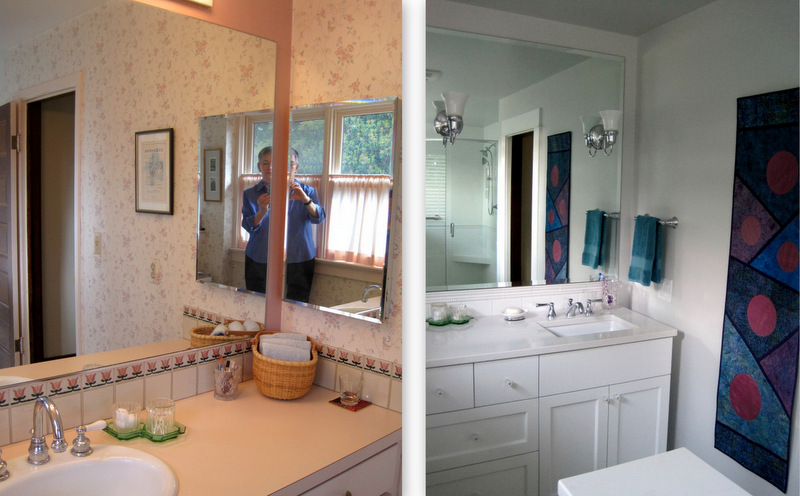
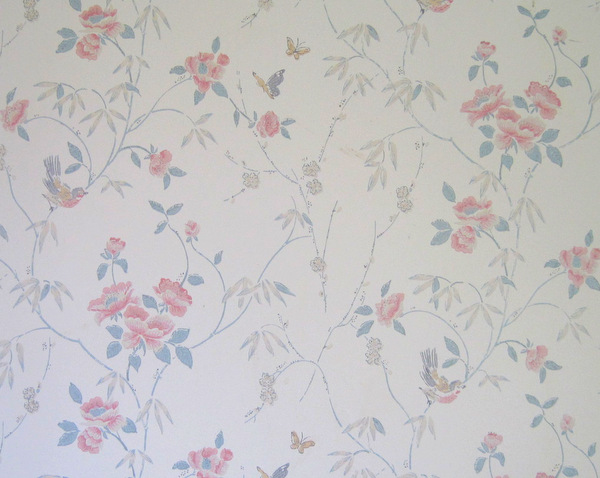
Even after a year, the novelty of having a renovated bathroom hasn’t worn off. Do I miss anything about the old bathroom? Surprisingly, yes. I feel a twinge of nostalgia for that floral wallpaper:
I had a partial roll left over — can you believe I saved it for over 25 years? — so I lined the drawers of the vanity with it.