A Near Finish and a Fresh Start
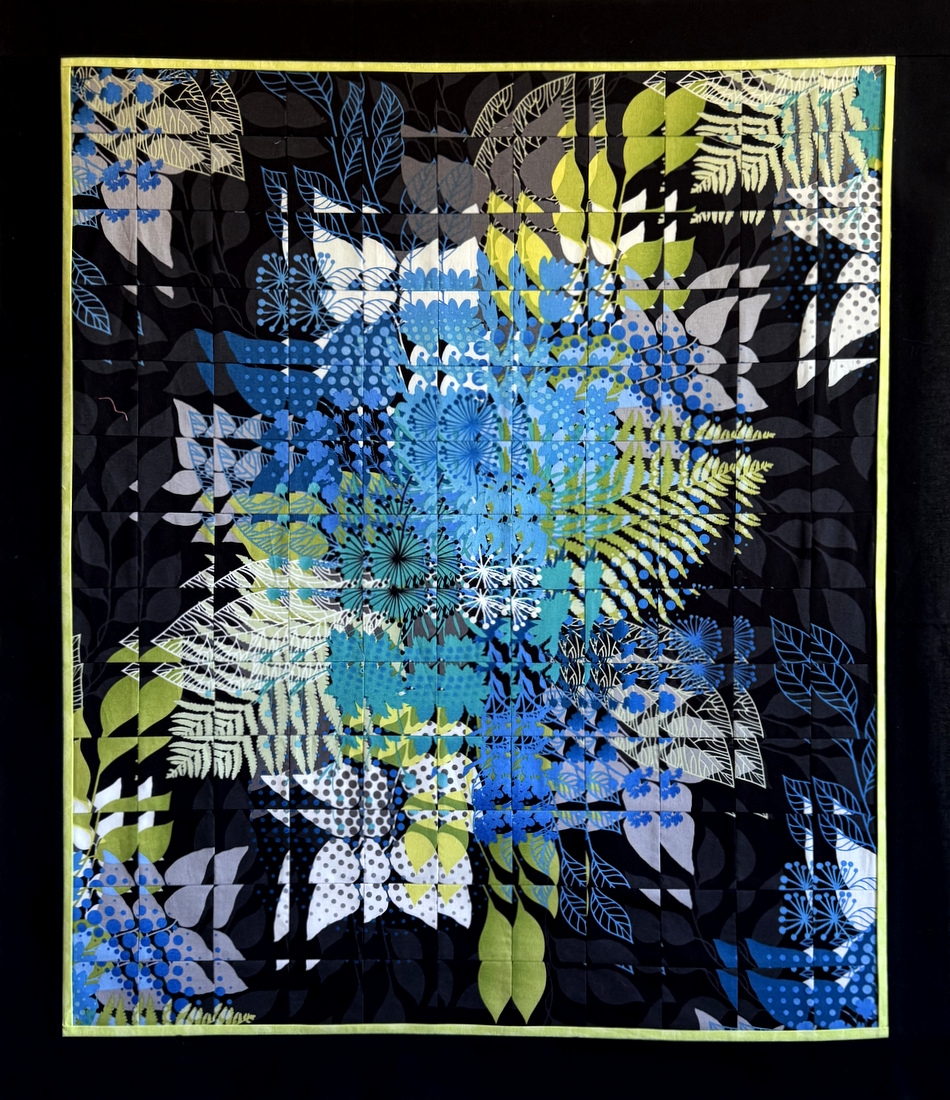
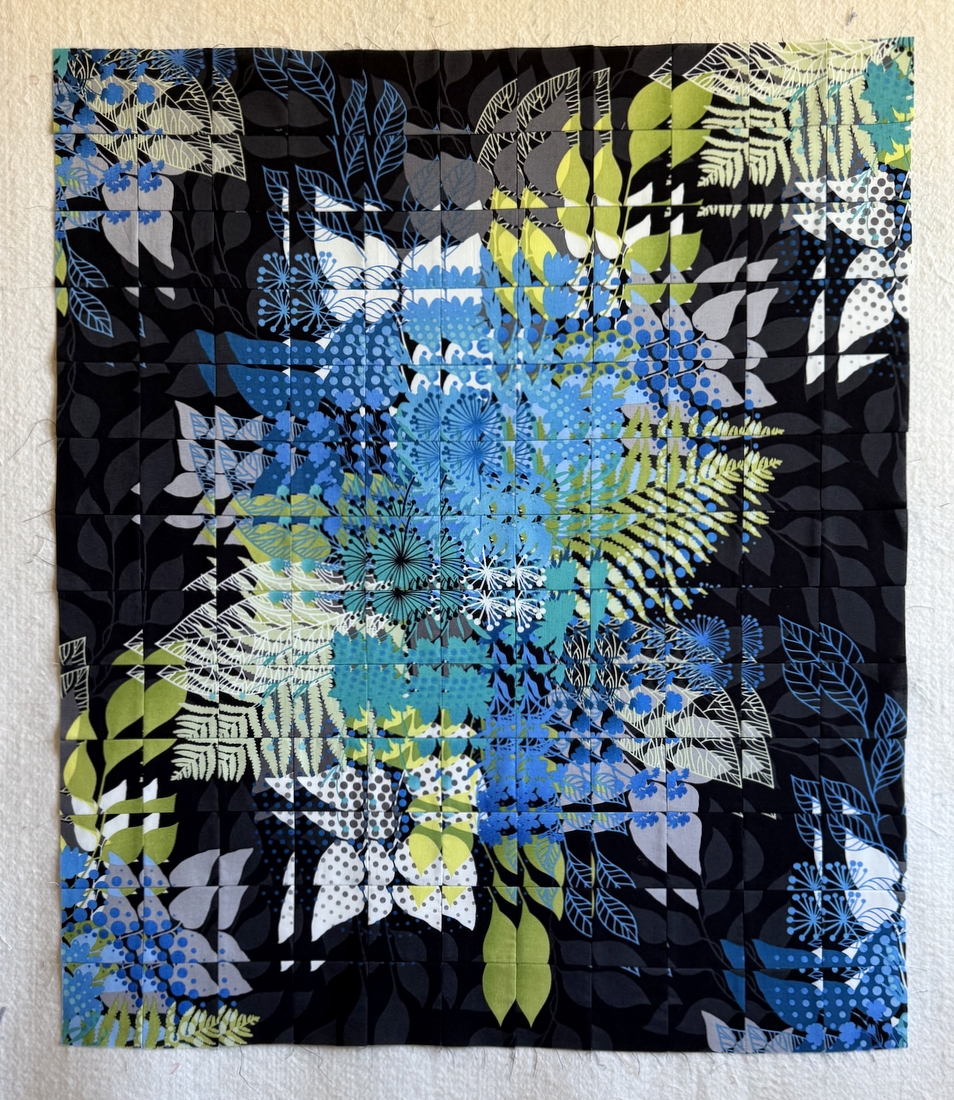
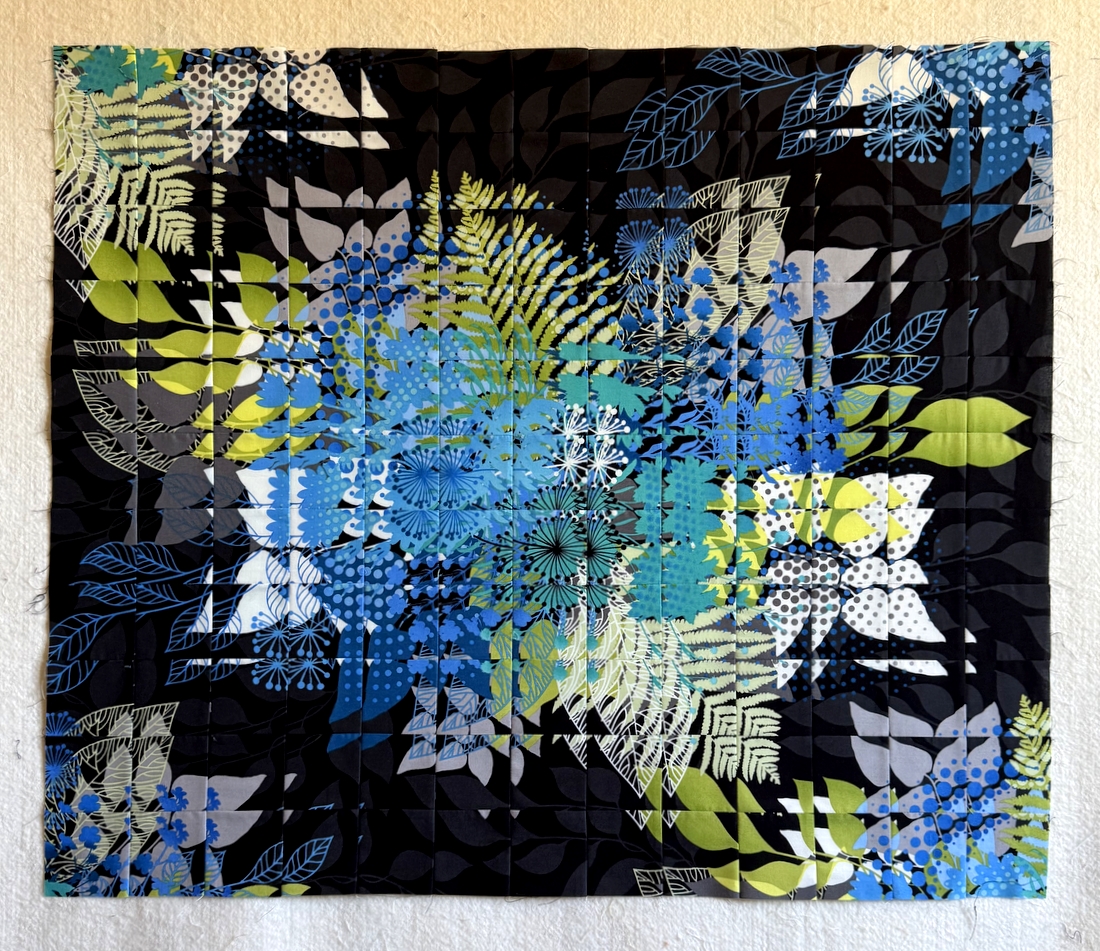
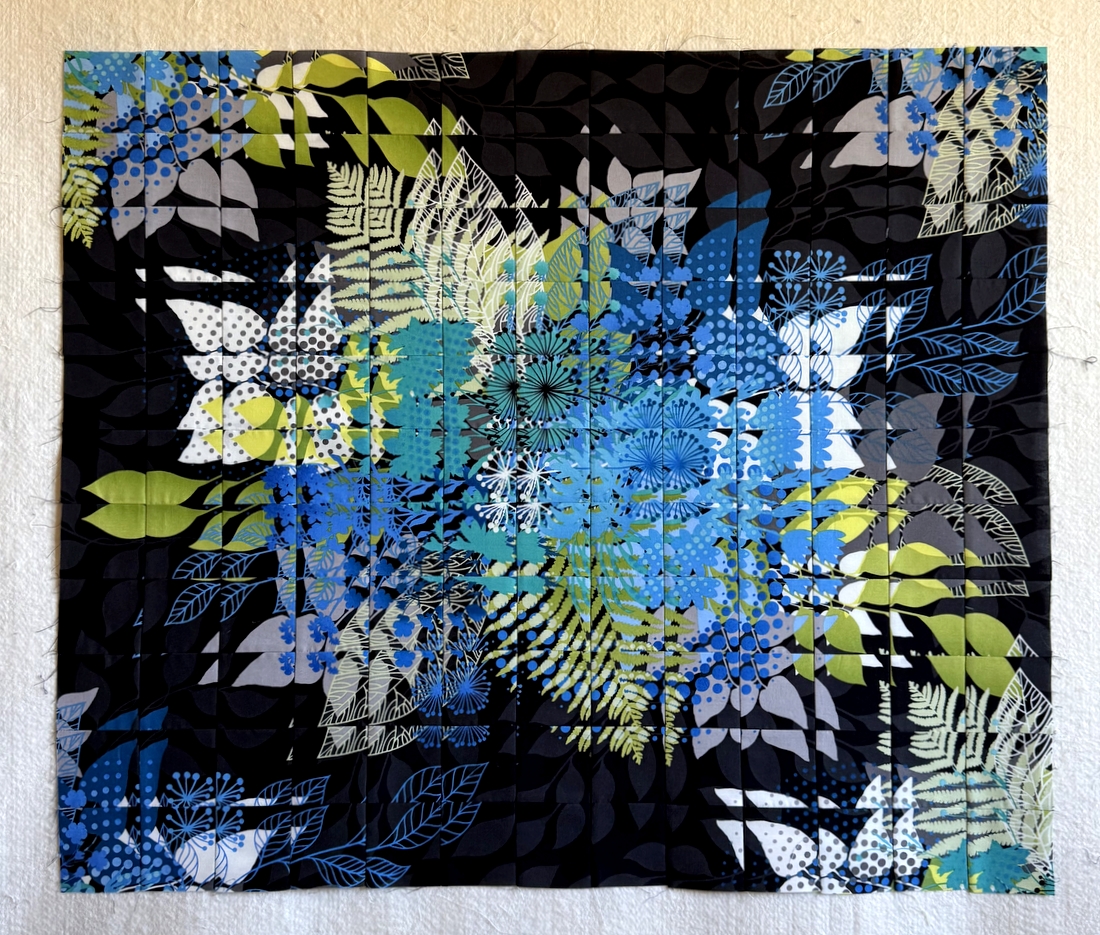
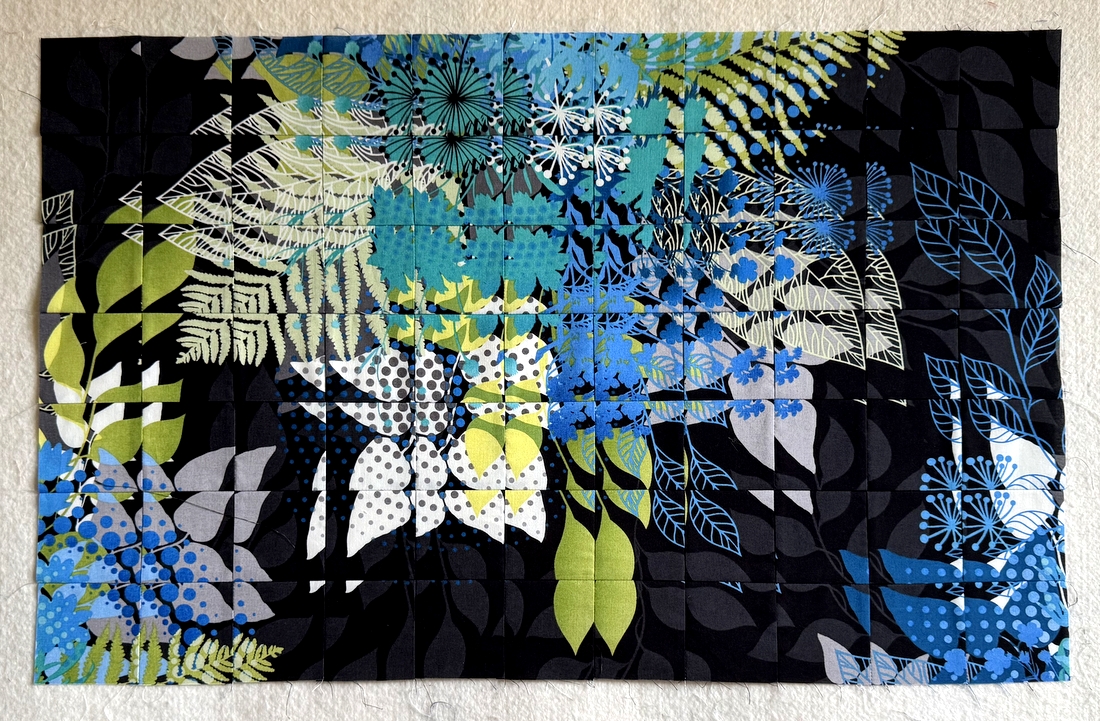
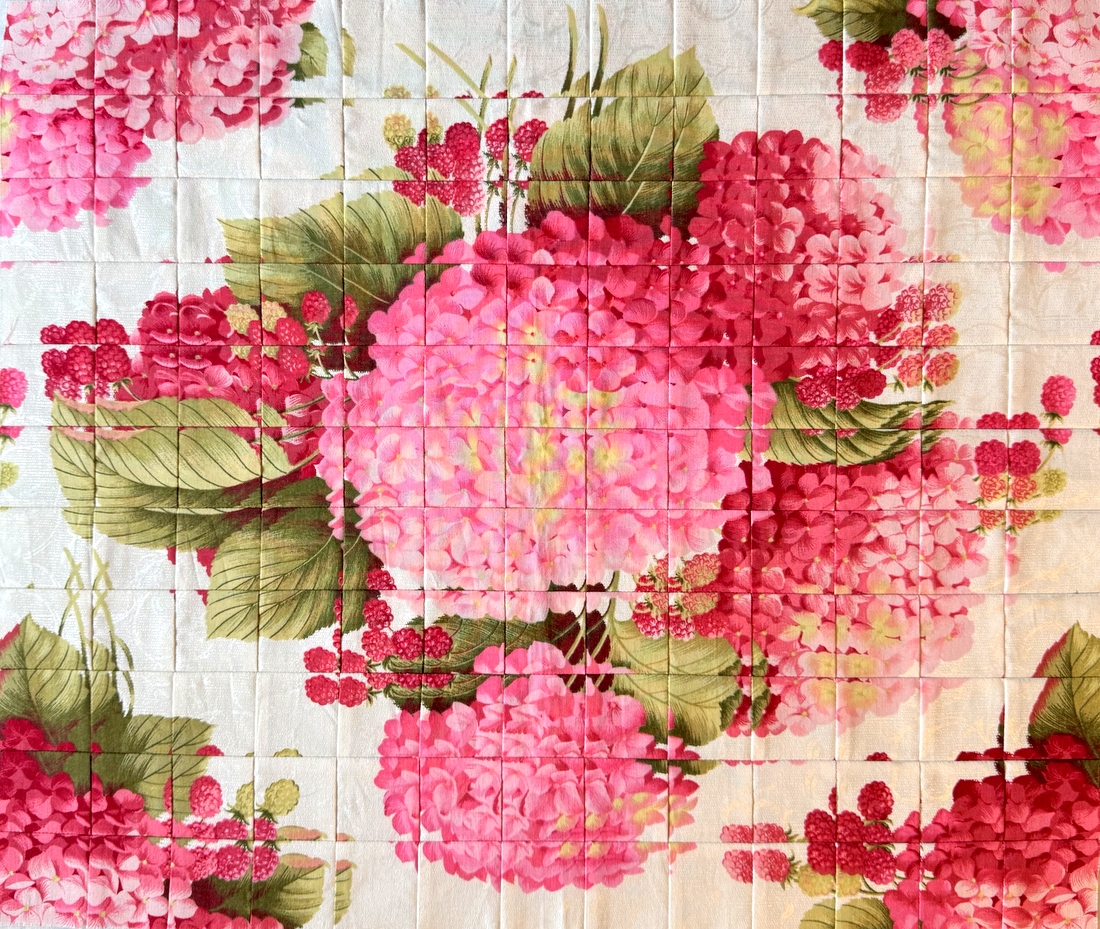
My fractured image quilt, now officially named Fractured Ferns and Flowers, is all done (except for the label, that is):

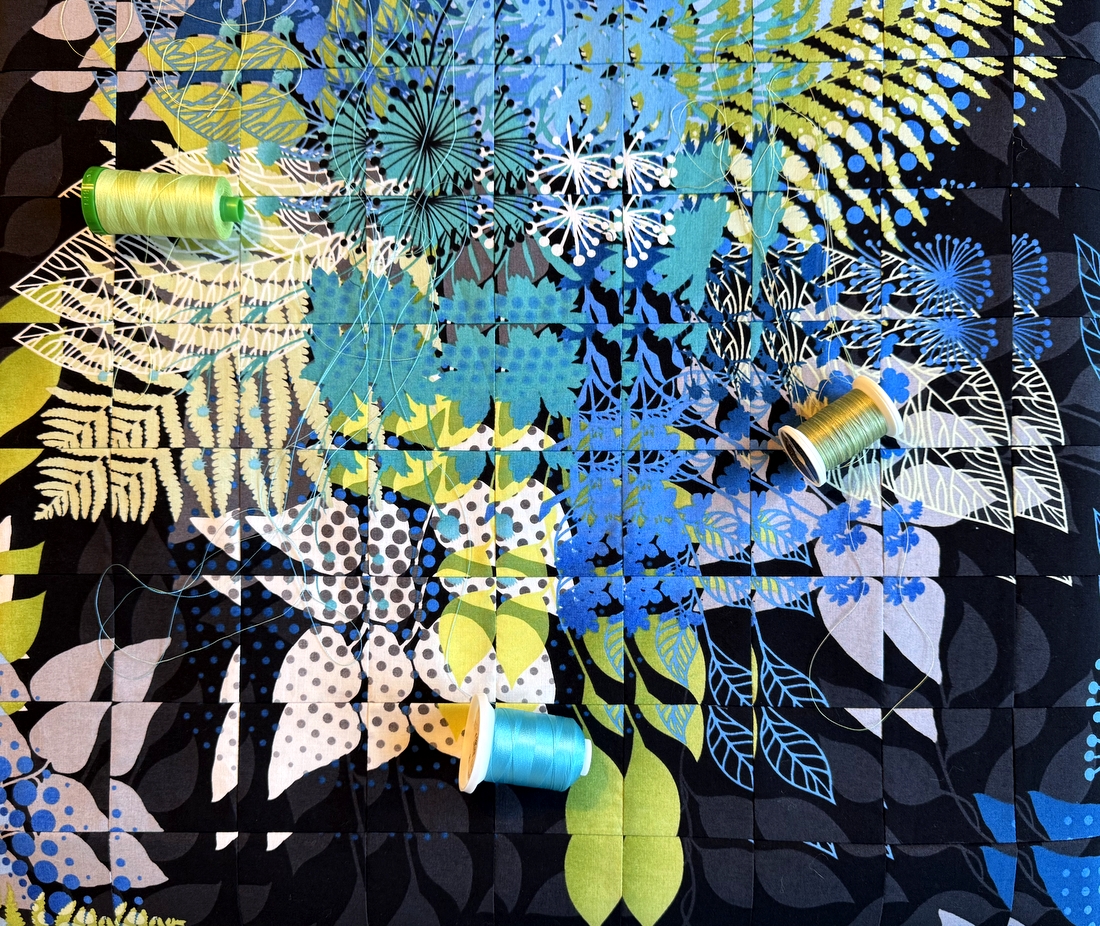
I’m in a hurry to show it to you because I’ve already jumped to the next project (more on that below). Here’s a closer look at the quilting on my fractured image — random wavy lines stitched diagonally from corner to corner with a walking foot:

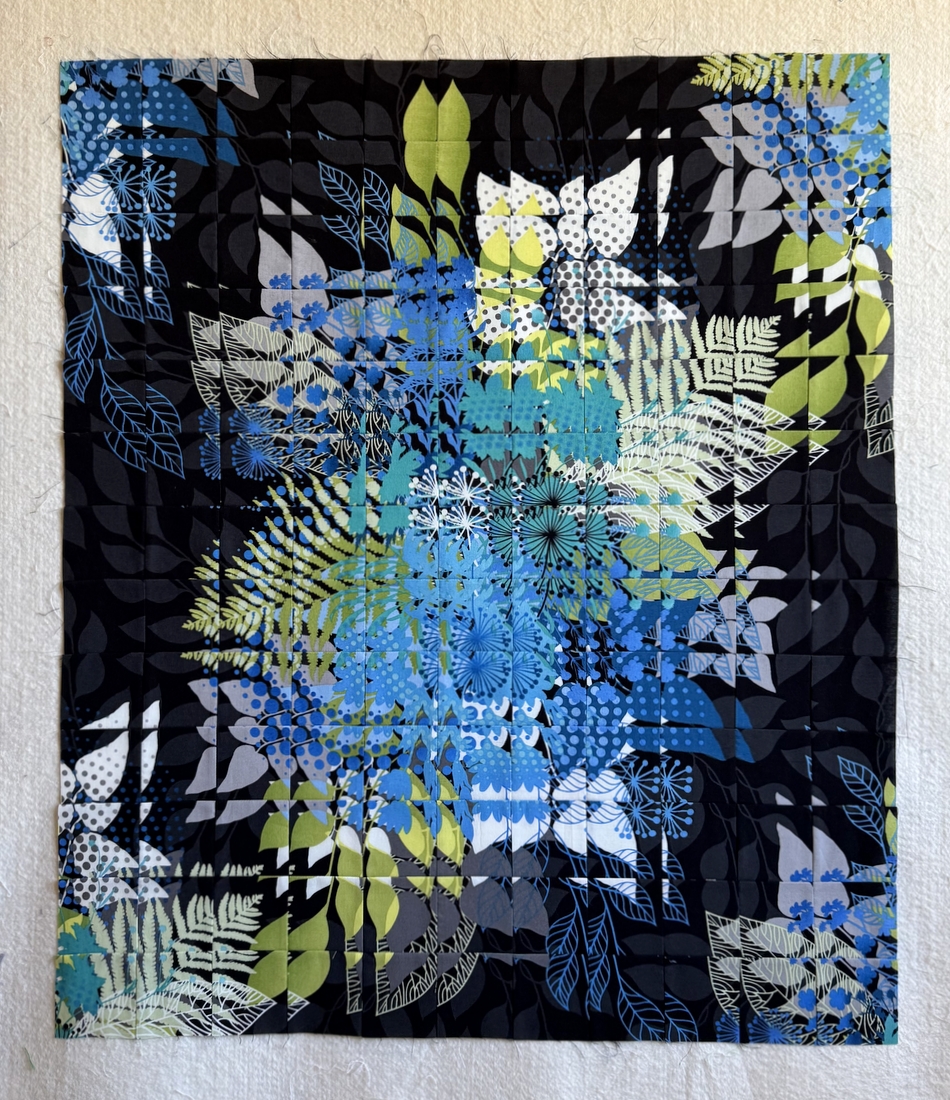
A close-up of one corner:

Can you tell I used two threads, a pale green and a medium blue? That wasn’t intentional. I started with the light green and quilted two curved lines. Then I tried a green variegated thread that I really liked but took out because it was a heavier weight thread and showed up on the fabric more than I wanted. I decided to test the blue thread after removing the variegated thread. I really liked the look of that and probably would have quilted the entire top in blue if I’d started with it. That’s when it occurred to me to use two different colors. Why not? Every third curve is stitched with blue. Not exactly random but the effect is random. By the way, Fractured Ferns and Flowers measures 31½” x 36½”.
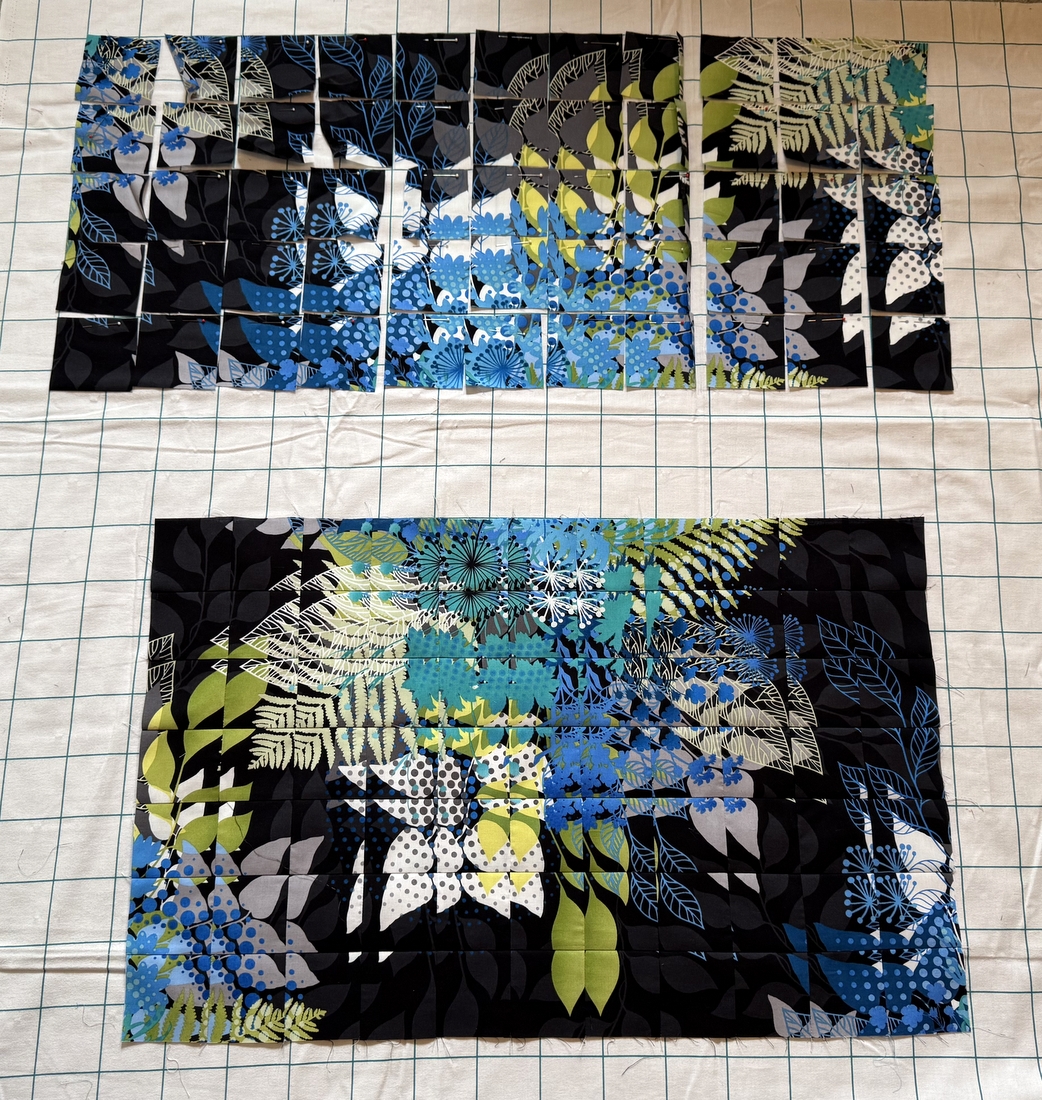
I vowed to finish this project before starting another but . . . my resolve slipped and over the last several days I have been stealing up to my sewing room, cutting 45 degree triangles from the holiday fabrics I showed you in my last post . . .
 . . . and playing around with their positions in kaleidoscope blocks:

 There is one change from my original fabric pull: I replaced a dark green print with a medium light green print after discovering that three dark green triangles overpowered the block. Sometimes you just have to play around with color, scale, and value to get the right balance. That’s part of the fun — and for me, the challenge — of quiltmaking.
I’m still playing around with placement possibilities but I couldn’t resist going the next step: adding the sashing strips and sewing the the triangles together:
 How festive is that??