Monthly Archives: February 2022

Susan’s Star Meets Dawn’s Sometime Sea Sampler

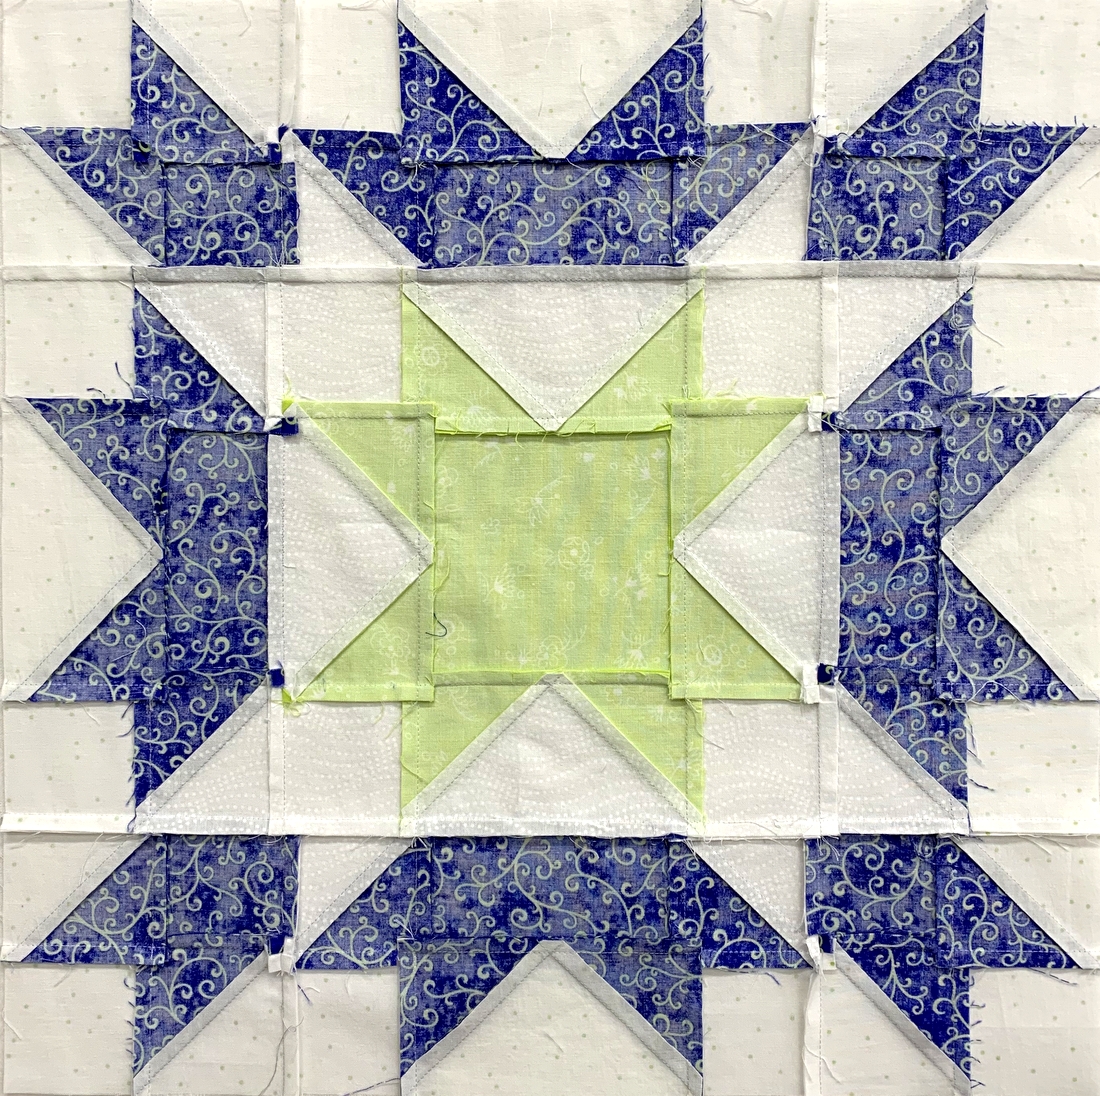
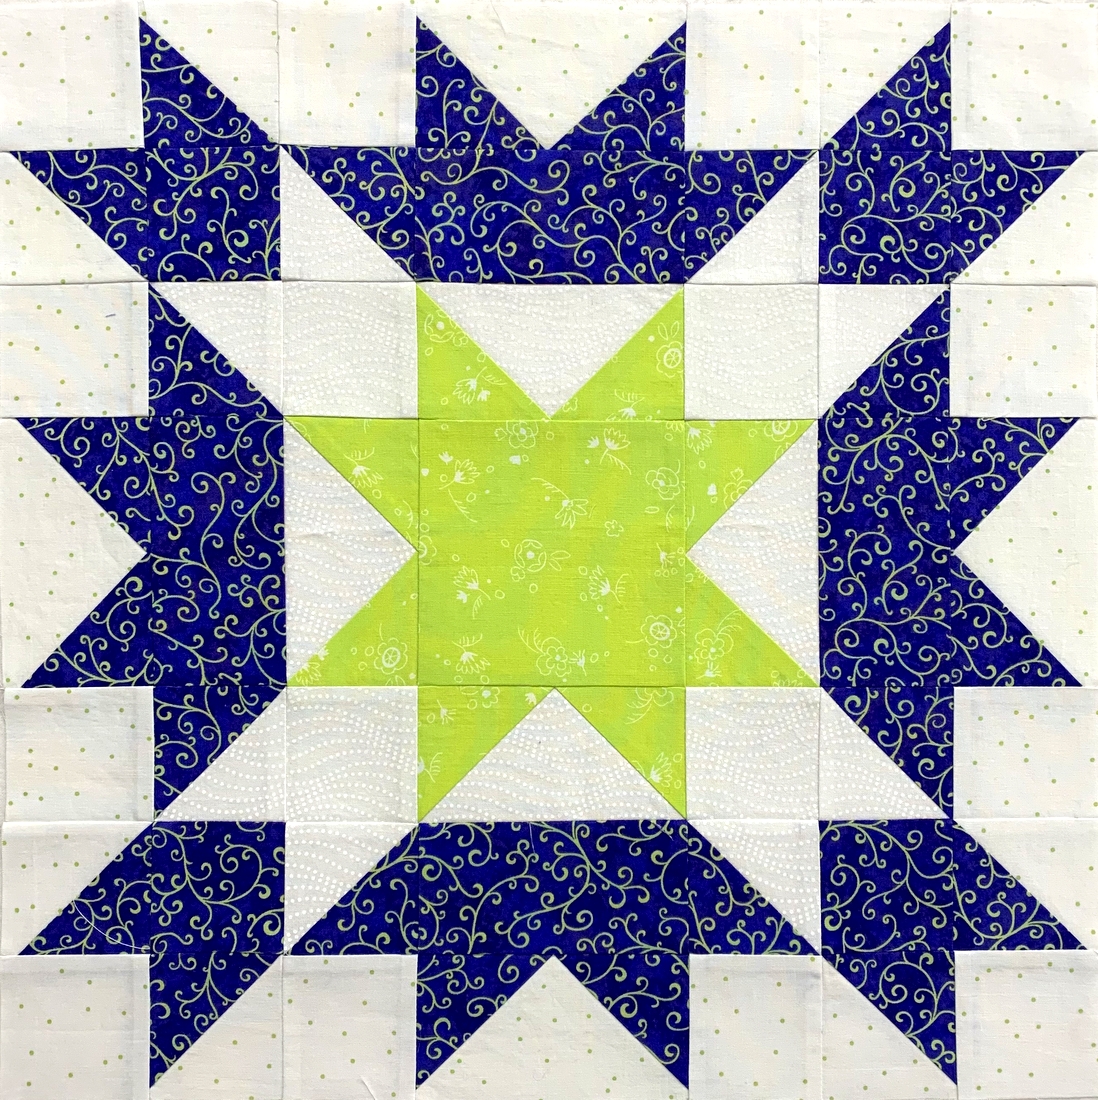
Isn’t this a fabulous block? I call it Susan’s Star.

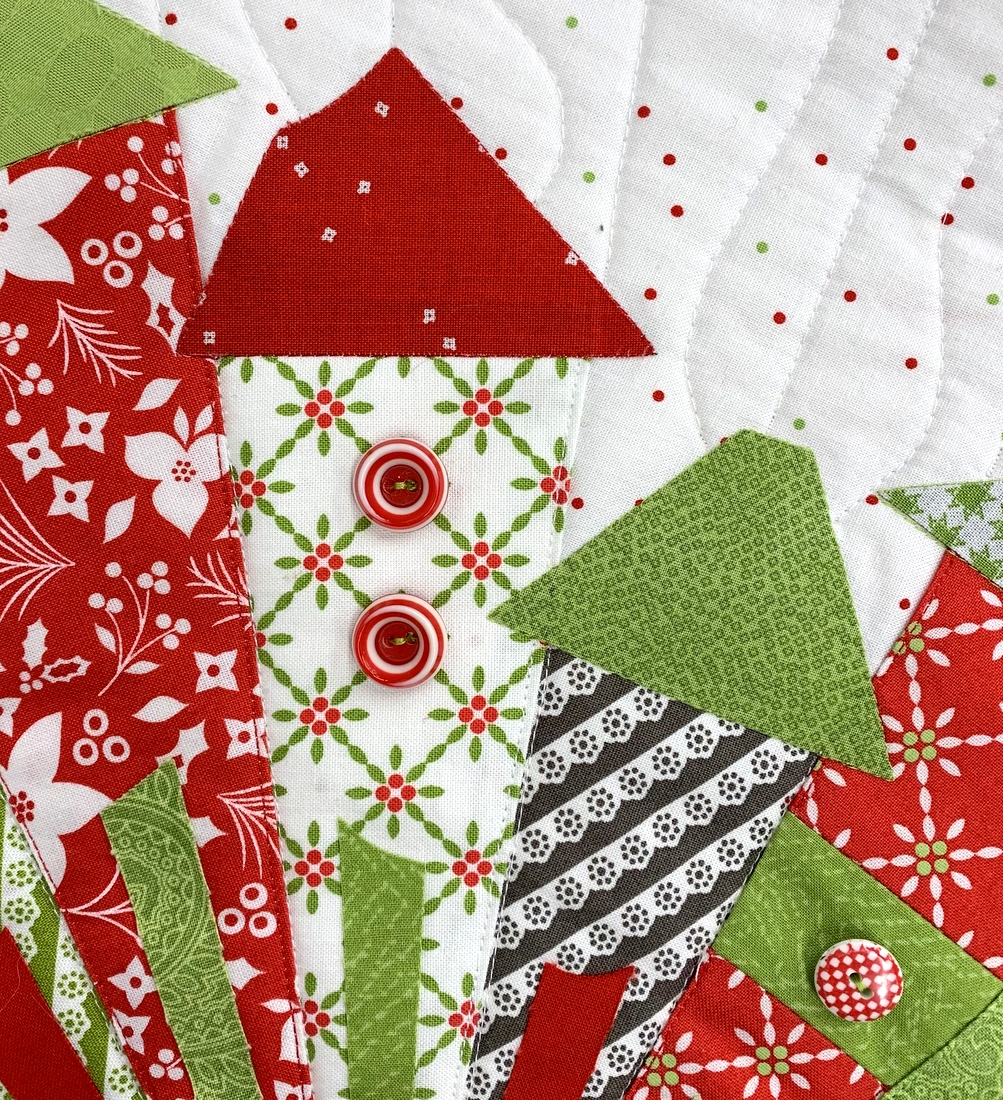
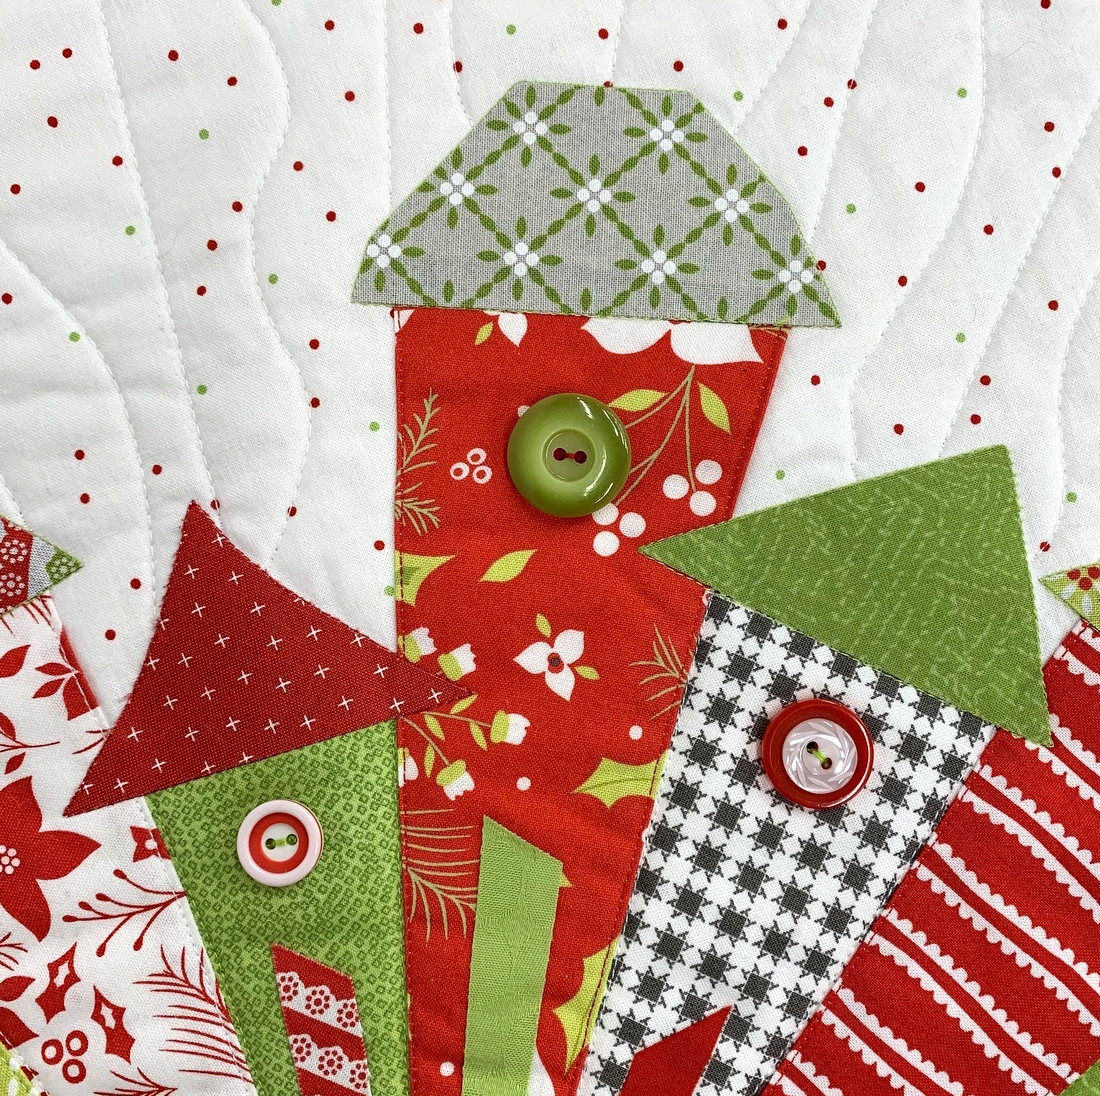
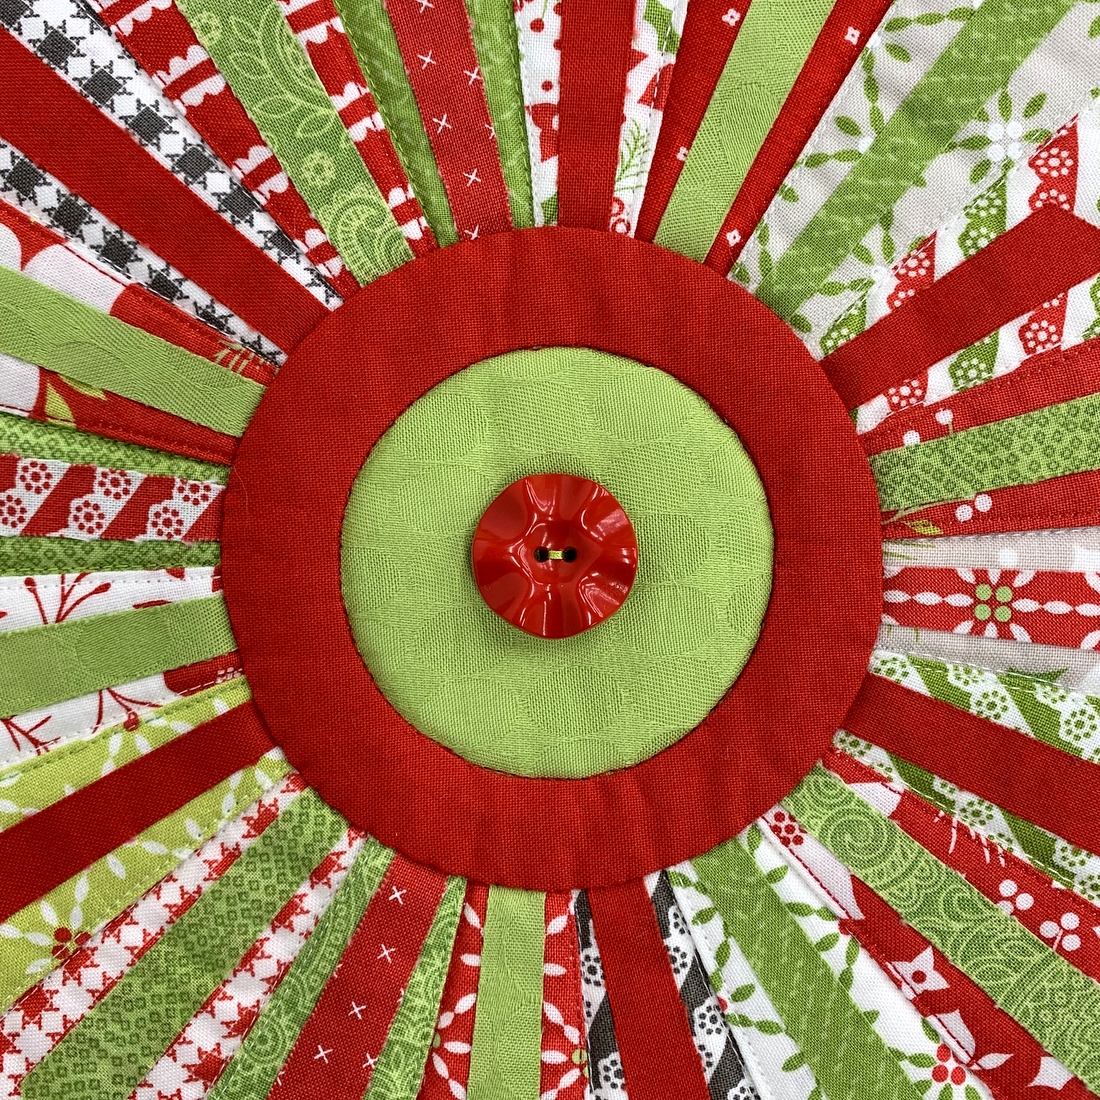
If you follow Susan Ache — her Instagram handle is yardgrl60 — you may have seen her rendition of this block on her post of Nov. 29 last year. Susan is fond of taking orphan blocks and creating fabulous sampler quilts. She made her version of this block in red, green, and white. I was instantly enchanted when I saw it, so much so that I kept coming back for repeat views.

I wondered if it was her own design or perhaps a traditional block, so I contacted her this week to find out. Susan told me she hasn’t done any research to see if it’s an existing traditional block; she was just playing around when she created it. I asked her if it would be all right if I posted my version and if I could also post a picture of her original version. She kindly said “yes” to both questions.

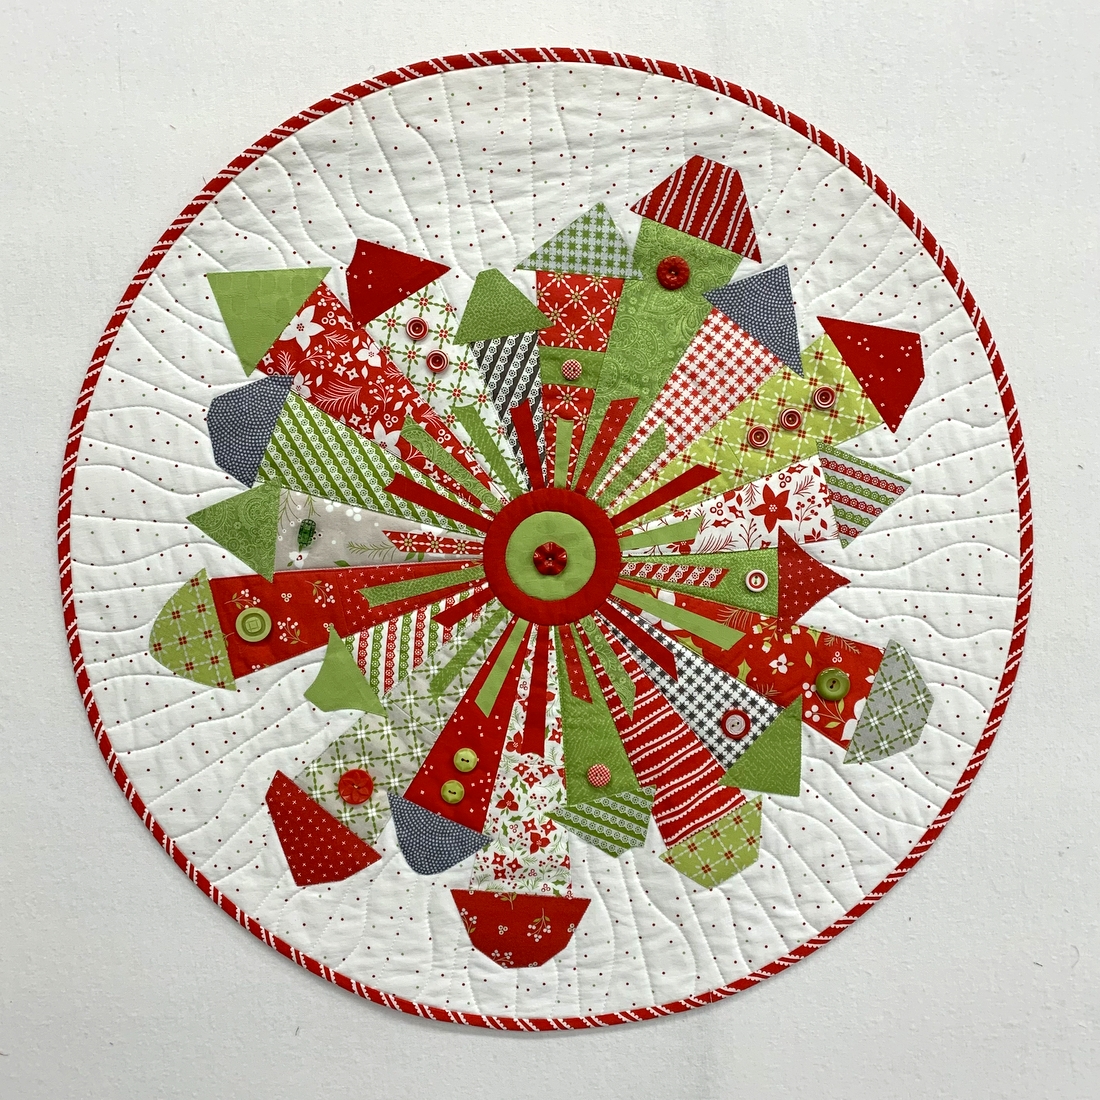
Here is Susan’s original version:

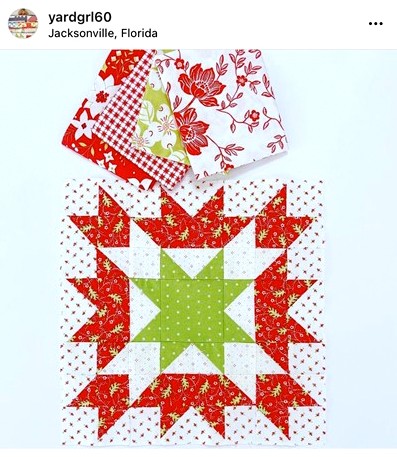
I think you can see why I was inspired!!

I thought the design might fit well with one of my Works-in-Progress (WIPs) dating back to May of 2021. To refresh your memory, that was when I started making blocks using this initial fabric pull:

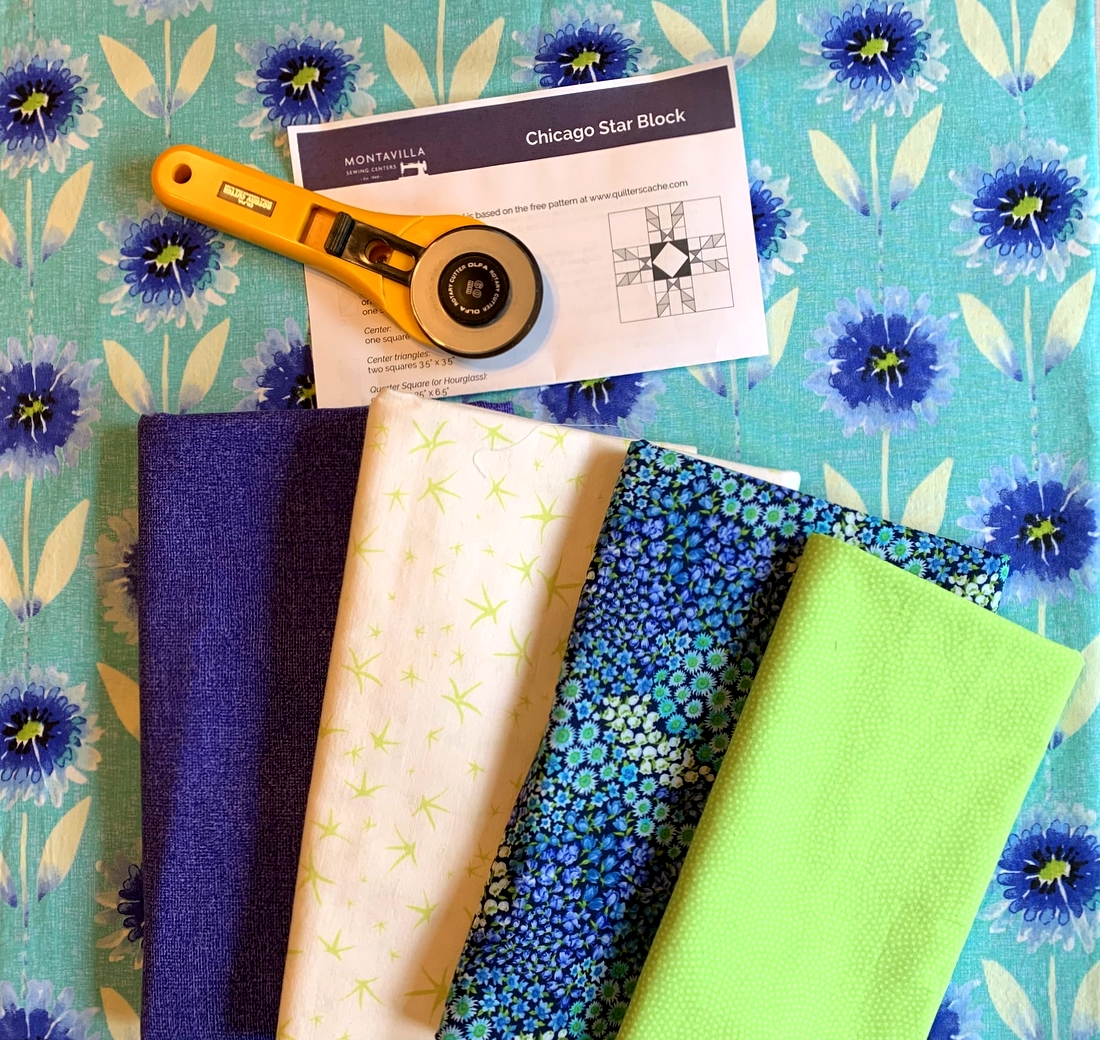
The pull was for a very informal Block of the Month program via Zoom that Montavilla Sewing Center, where I teach, had created for me and some of my students while in-person classes were suspended due to Covid. When in-person classes resumed in September, the Zoom classes sort of petered out but I decided to forge ahead, making my favorite blocks from the BOM design but branching out to include others, with the idea of coming up with my own sampler quilt.

When I saw Susan’s block, I just knew I had to include it. The blocks I have made thus far measure 18″, 12″, and 6″ square. (That’s the finished size; the unfinished size is ½” larger.) I’m not sure what size Susan made her block but I made mine to finish at 18″ square.

Many of the fabrics I’m using suggest waves, tidepools, and starfish so I have come to think of this project as my “Sea Sampler.” Because I’ve worked on it off and on, this has morphed into my “Sometime Sea Sampler.” (Could that be the final name of the quilt? Perhaps!)

Oh, one more thing. I clipped quite a few seams on the back to achieve the flattest seams. I thought you might like to see what that looks like:

In the next few days I’ll post photos of the blocks I’ve made so far. Maybe that will help me decide how to move forward.


Posted in Block of the Month (BOM), sampler quilt, update | 7 Comments

Fraternal Twins

I’m enjoying the inside view of one of the front windows at Montavilla Sewing Center in Lake Oswego. I taught a class there this evening, and as the sky darkened my two versions of Dresden Neighborhood were set off very nicely, with the reflected view of the shop adding a lovely touch.

Do you ever like a quilt design so much you make it twice? I can think of at least four designs I’ve made twice. It’s always fun to see how two quilts from the same design look alike but also differ — sort of like fraternal twins. I should know: I am one! My twin Diane and I don’t look alike but our voices are so similar her daughters can’t tell us apart on the phone.

The pattern Dresden Neighborhood was designed by Kim Lapacek of Persimon Dreams. I’m delighted to be able to teach her design in my class called “Wonky Dresden Neighborhood,” scheduled Saturday, April 23, at Montavilla Lake Oswego.


Posted in appliqué, table topper, update, wall hanging, wonky Dresden neighborhood | 7 Comments

“Mirror Mirror on the Wall . . .

. . . which is the fairest button of all?” Not exactly a fair question, is it? After adorning my Holliberry Circle mini quilt with vintage buttons and showing off the result in my last post, a few people commented on ones they especially liked so I thought I’d offer close-ups of all of the buttons:

The clear green glass button on the right above is certainly unusual, and I love the one on the left that reminds me so much of a Churn Dash block.

In the photo below, notice the secondary star shape in the round green buttons. And does the red button on the right make you think of the Canadian Maple Leaf? It doesn’t have as many points but still . . .


The basketweave pattern in the red button below charmed me:


My friend Vickie really loved the red and white “gingham” buttons — there are two on the quilt, one of which is shown below right. The red and white button on the left below is actually two buttons. I centered a small white button with an interesting design on top of a plain red one, thinking the combo set off the grey and white background print very nicely:


I think of the buttons you see below as “the peppermint candy buttons.” They appear on another house, too:


Here’s another look at that double button along with its two neighbors to the left:


And finally there’s that red ruffle button smack dab in the center of the quilt:

Did you happen to notice that I attached the red buttons with green thread and vice versa? Just a little fun touch to make the quilt more interesting.

Here’s a look at the entire quilt:

And here’s a look at the simple label on the back, printed on the computer and appliquéd by hand in the center of the circle:

I added a sleeve on the back (so it can hang at Montavilla Sewing Center in Lake Oswego) but changed my placement of the sleeve after reading a question from reader Linda, who asked, “How do you hang a circle quilt? I have one and I put a hanging sleeve on it but it droops.” I’ve never made a round quilt before but because of the smart question Linda posed I raised my sleeve more toward the top of the quilt:

I tested the sleeve using a spring tension rod and it seemed to hold the quilt properly, with the curve at the top seeming to stay in place above the rod. I haven’t seen the quilt hanging at Montavilla yet but I am hopeful it doesn’t droop above the rod.

My friend Colleen responded to Linda’s question with two thoughts about how to keep a round quilt from drooping. Colleen wrote, “. . . I was wondering if you made an X with very thin dowels with tiny pockets for them to plug into on the perimeter if that would work? Kind of along the theory for how a kite is stabilized. Or maybe a thin wire circle around the perimeter? That could even fit inside the binding . . .” Both of those ideas sound like they could work. Ingenious, Colleen! Something along those lines would most likely be a necessity on a quilt larger than this one, which measures 25″ in diameter. If it turns out my quilt at Montavilla is drooping, it’s nice to know I have some options.

Another question was posed by my twin sister Diane (a non-quilter), who said, “This inquiring mind wants to know how you sew on buttons without leaving telltale threads and knots showing on the back.” Ah, my twin knows me so well. I like my backs to look as good as the fronts and she knew I would not like to see “telltale threads and knots” in full view. I inserted my knotted thread behind the button on the front of the quilt, passing the thread through the button holes three times before adding the finishing knot behind the button as well. It was a bit on the fiddly side but you can’t argue with the results.

I declare myself ridiculously pleased with the result and can now say: “Holliberry Circle is a wrap!”


Posted in appliqué, table topper, update, wall hanging, wonky Dresden neighborhood | 9 Comments