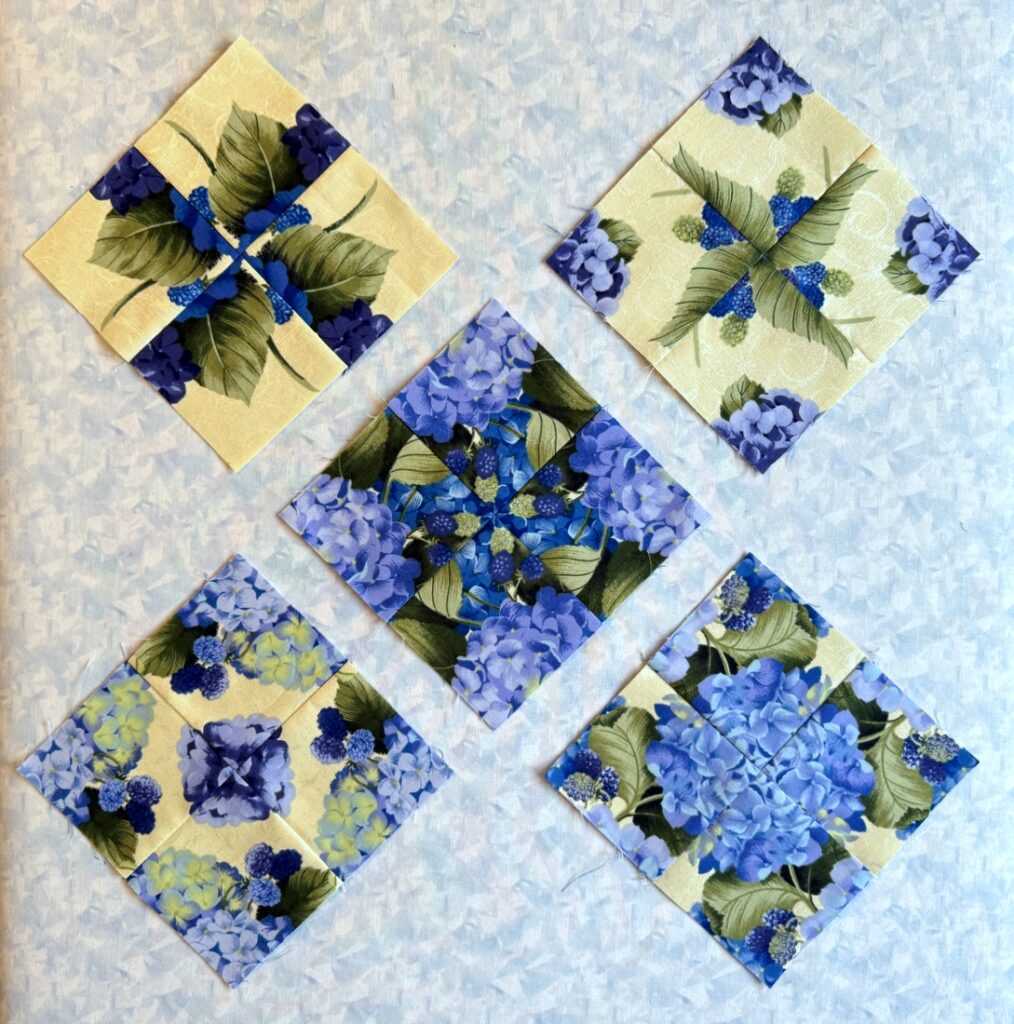
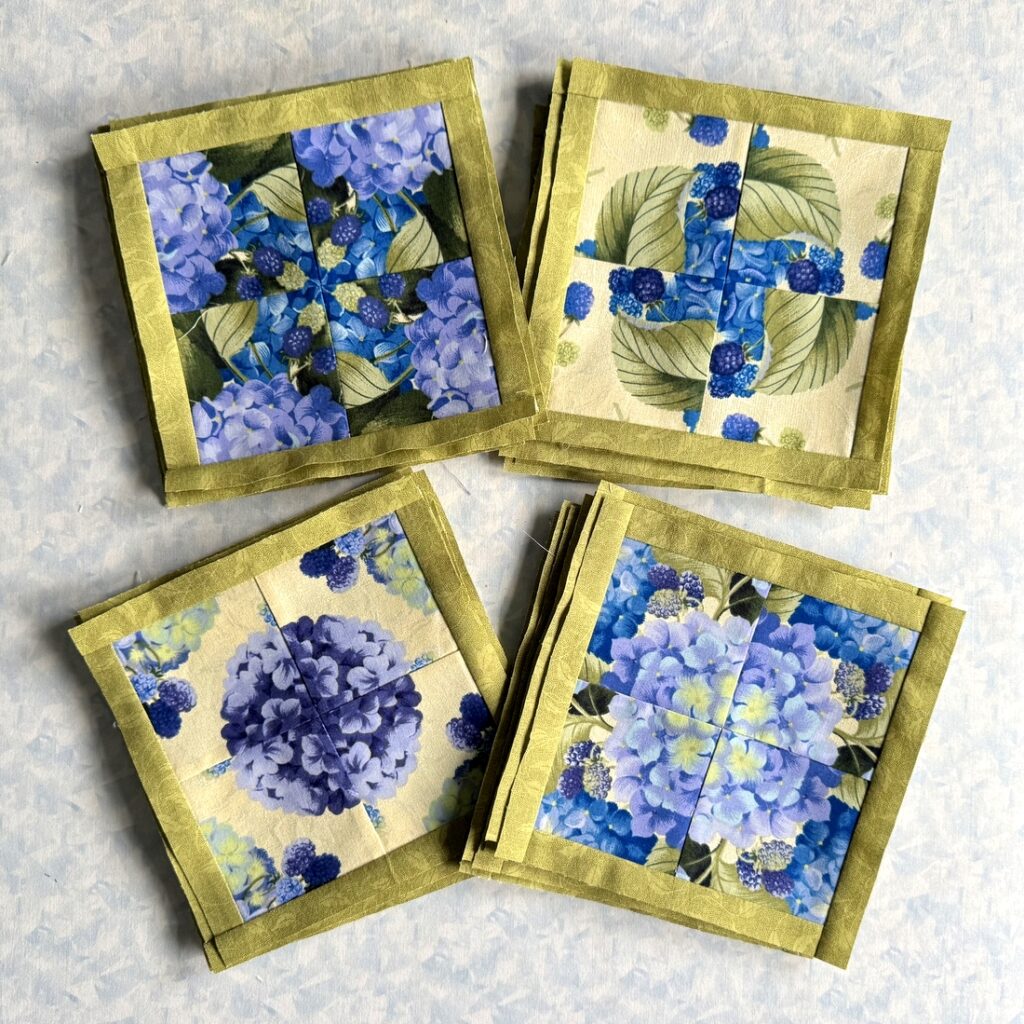
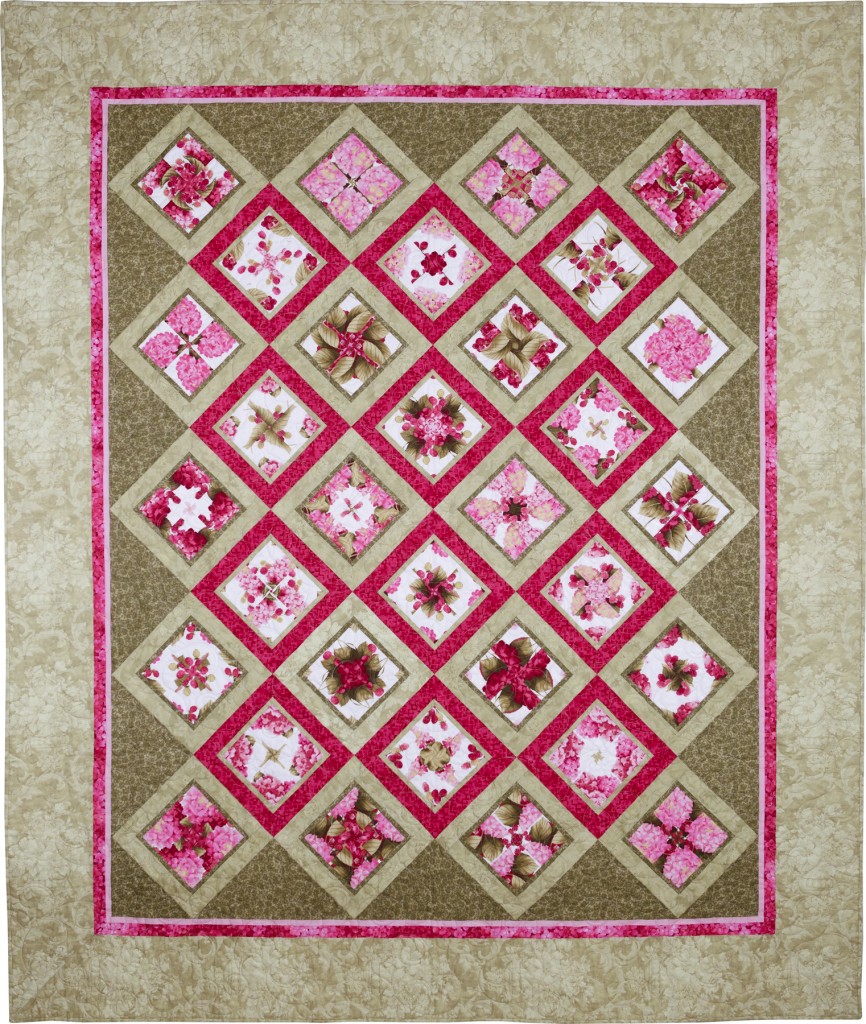
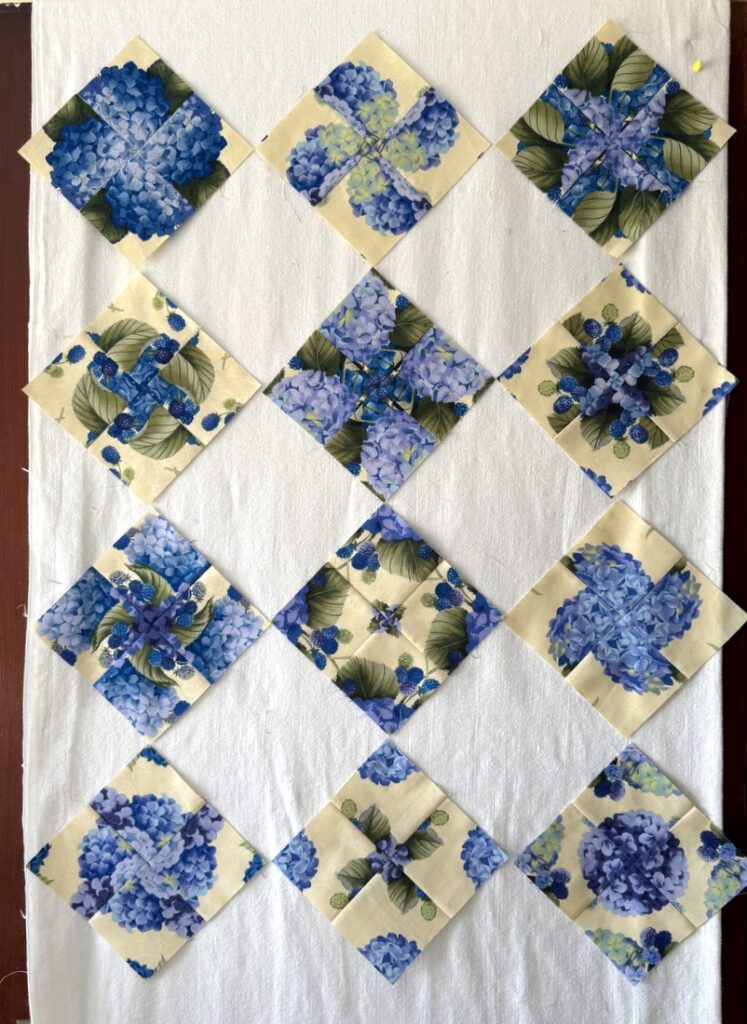
Category Archives: 4-Patch Wonder

Throwback Thursday: Early Quilts

When I showed a picture on my blog a couple weeks ago of a stack of six quilts I had donated to Hopewell House, a hospice care facility in Southwest Portland, some of my readers asked to see pictures of the full quilts. Three of the quilts pictured above were made before starting my website/blog in 2012 so I thought it would be fun to do a “Throwback Thursday” post and show you these early quilts as well as the more recent ones.

We start with the the quilt at the top of the stack — Swinging on a Star, the quilt I pieced in 2005 under Billie Mahorney’s tutelage in Quiltmaking III, the third installment of the Quiltmaking class she taught for so many years at the Pine Needle Quilt Shop in Lake Oswego (current home of the Lake Oswego branch of Montavilla Sewing Center):

Swinging on a Star, 46″ x 58″ (2006)

In this class Billie taught us how to draft blocks (including some from Quiltmaking II) that finish at 9″ square, and how to set them in a “Twist ‘n Turn” technique described by Sharyn Squier Craig in her 1996 book of the same name. At the time I started this quilt my focus was on using up cottons I had accumulated in the 1980s while making charity quilts for babies. Little did I know that setting foot in a quilt shop 20 years later would cause me to abandon all hope of using up that old fabric as I quickly began accumulating a much larger amount of new fabric that would become known as “my stash.”

Swinging on a Star was the first of my quilts that included free motion quilting (FMQ). Billie insisted that we learn how to do that. I stitched in the ditch around the star blocks and did free motion quilting in the borders. Happily the ditsy print in the borders hid a multitude of FMQ sins.

The fourth quilt I am holding in the first photo is Starry 9-Patch, finished in 2007. I took Billie’s Quiltmaking series out of order, starting with the second class. I learned so much in Quiltmaking II and III that I decided to take Quiltmaking I when she offered it again. The basic design was a combination of 9-Patch and Rail Fence blocks but I threw in some Sawtooth Stars to jazz it up a bit:

Starry 9-Patch, 56″ x 63″ (2007)

The bottom quilt in the stack pictured is based on Billie’s original design called Maisie’s Garden. She taught this class at the Pine Needle in 2007 and I happily jumped in, using a palette of blues, greens, and yellows, a combination I still love to this day:

Star Garden, 44″ x 62″ (2007)

The next quilt in chronological order is V8, a quilt I designed to highlight my discovery of kaleidoscope blocks and inset circles:

V8, 55″ x 64″ (2010)

Every circle is a revelation! You don’t know what a block will look like until you have sewn eight 45-degree triangles together. I named my quilt V8 because the colors reminded me of the vegetables that go into the making of the vegetable juice blend.

One thing I can definitely say after posting these photos is that digital photography has certainly improved over the last 15 years!

Number 5 in the grouping of quilts is Simply Dashing, also an original design, this one focusing on four-patch kaleidoscope blocks, the ones I call “4-Patch Wonder” or “faux kaleidoscope” blocks:

Simply Dashing, 55″ x 64″ (2010)

In this quilt the centers of the Churn Dash blocks (on point) and the alternating blocks (also on point) are 4-Patch Wonder blocks.

The final quilt I donated to Hopewell House is a recent one, Tea Time on High Street, finished in 2021:

Tea Time on High Street, 55″ Square (2021)

Was it hard to part with these quilts? To be honest, yes. The first three have a lot of sentimental value because of their association with my teacher and mentor Billie Mahorney. The other three represent steps I took in trying out my own designs and/or moving outside my comfort zone. The hospice patients and their families who become the recipients of these quilts may never know their significance in my quilting journey but the fact that they are helping people on a different kind of journey makes it all worthwhile.


Posted in 4-Patch Wonder, faux-kaleido quilts, free motion quilting, kaleidoscope quilts, Throwback Thursday, update | 11 Comments

In Praise of Pink and Green

If you’ve ever wondered about the timeless appeal of pink and green quilts, you have only to look to Mother Nature:

I snapped this photo on May 24, the day the first peony on our three bushes opened up. Since then all three bushes have exploded with blossoms.

This peony is from the darkest of the three bushes:

It’s the Dear Husband’s favorite but it’s the lighter shade I’m swooning over:


The dogwood trees this spring were the loveliest in recent memory. Everyone I’ve spoken to agrees. This shot was taken from our front porch one recent morning when the sun lit up the dogwood belonging to our neighbors two doors down:


Even the lilacs in our backyard, which are actually light purple, looked pink the morning in late April when this photo was taken:

Then there is this unusual succulent — update: identified by a reader as Lewisia — growing in a pot in our backyard:

I’m reminded of the most recent pink and green quilt I finished, the one for Baby Isabella . . .

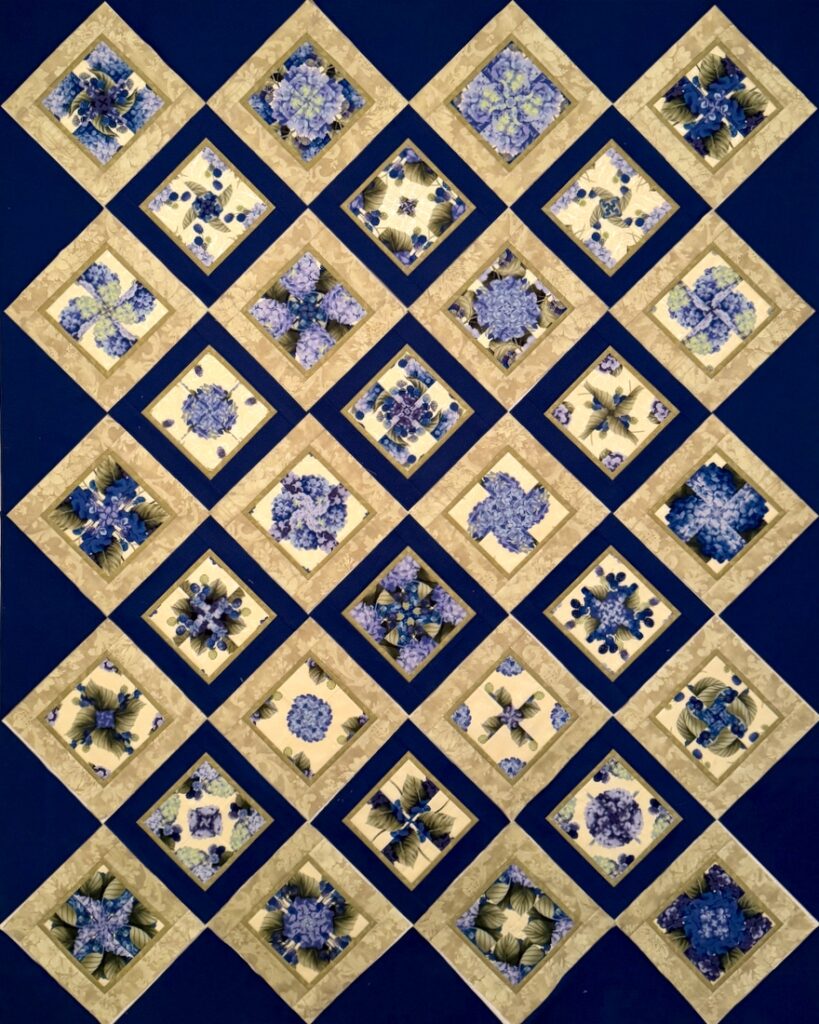
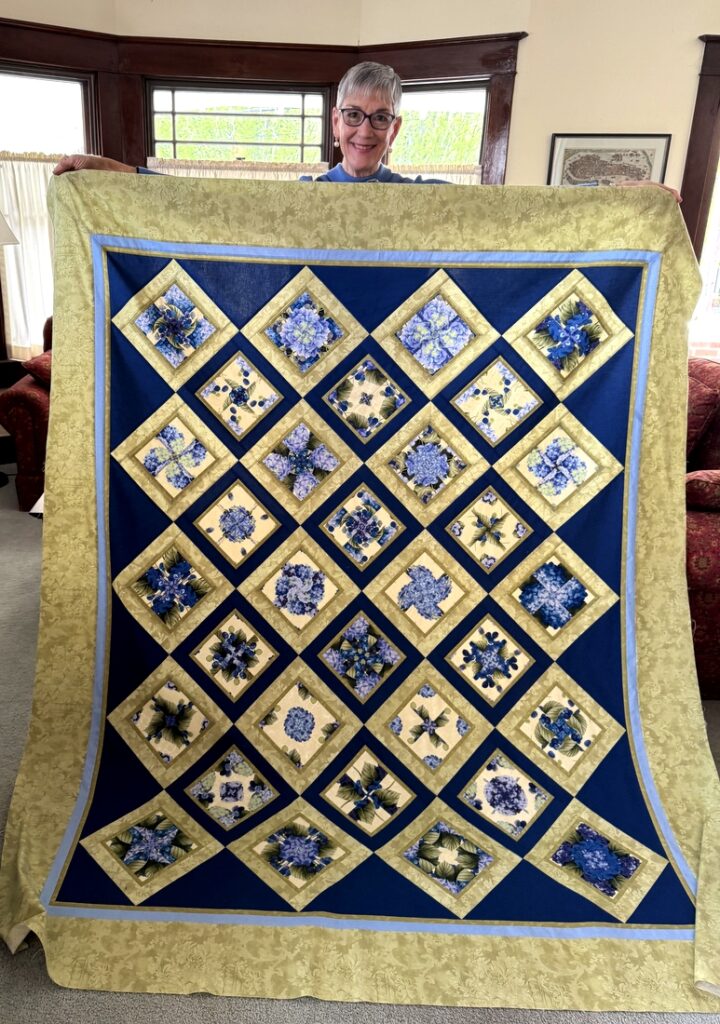
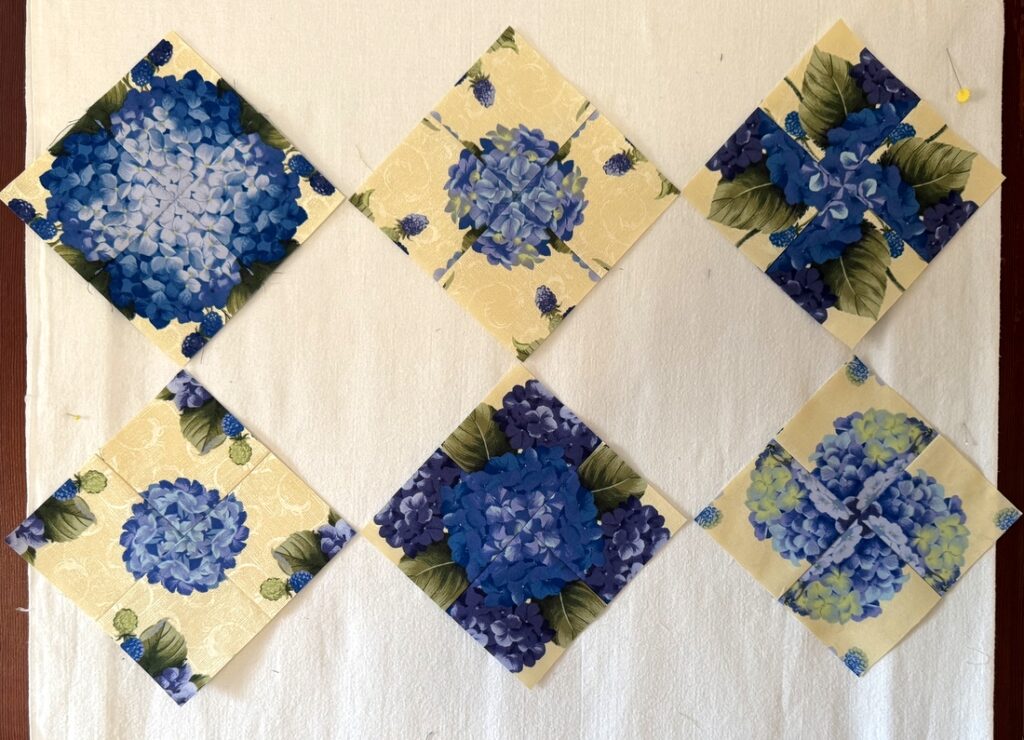
. . . and this kaleidoscope quilt, made for a great niece in 2013 from a fabulous hydrangea print:

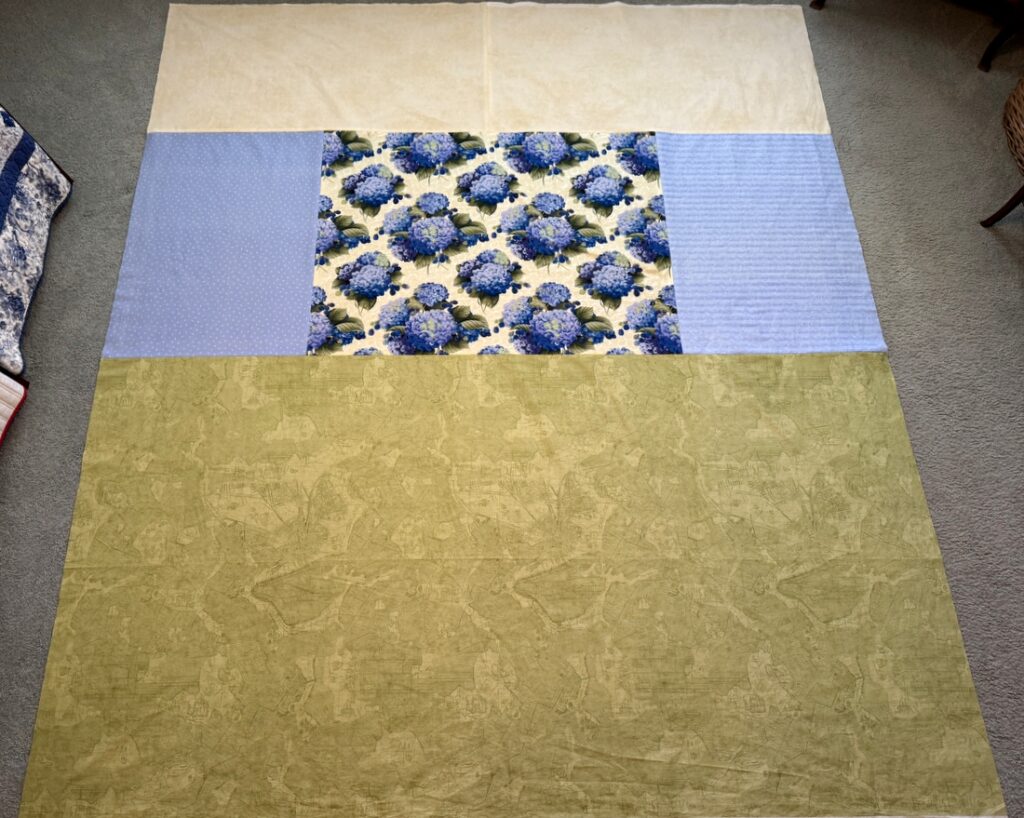
This is the back of the quilt, so you can see what the focus fabric looked like before I turned it into kaleidoscope blocks:

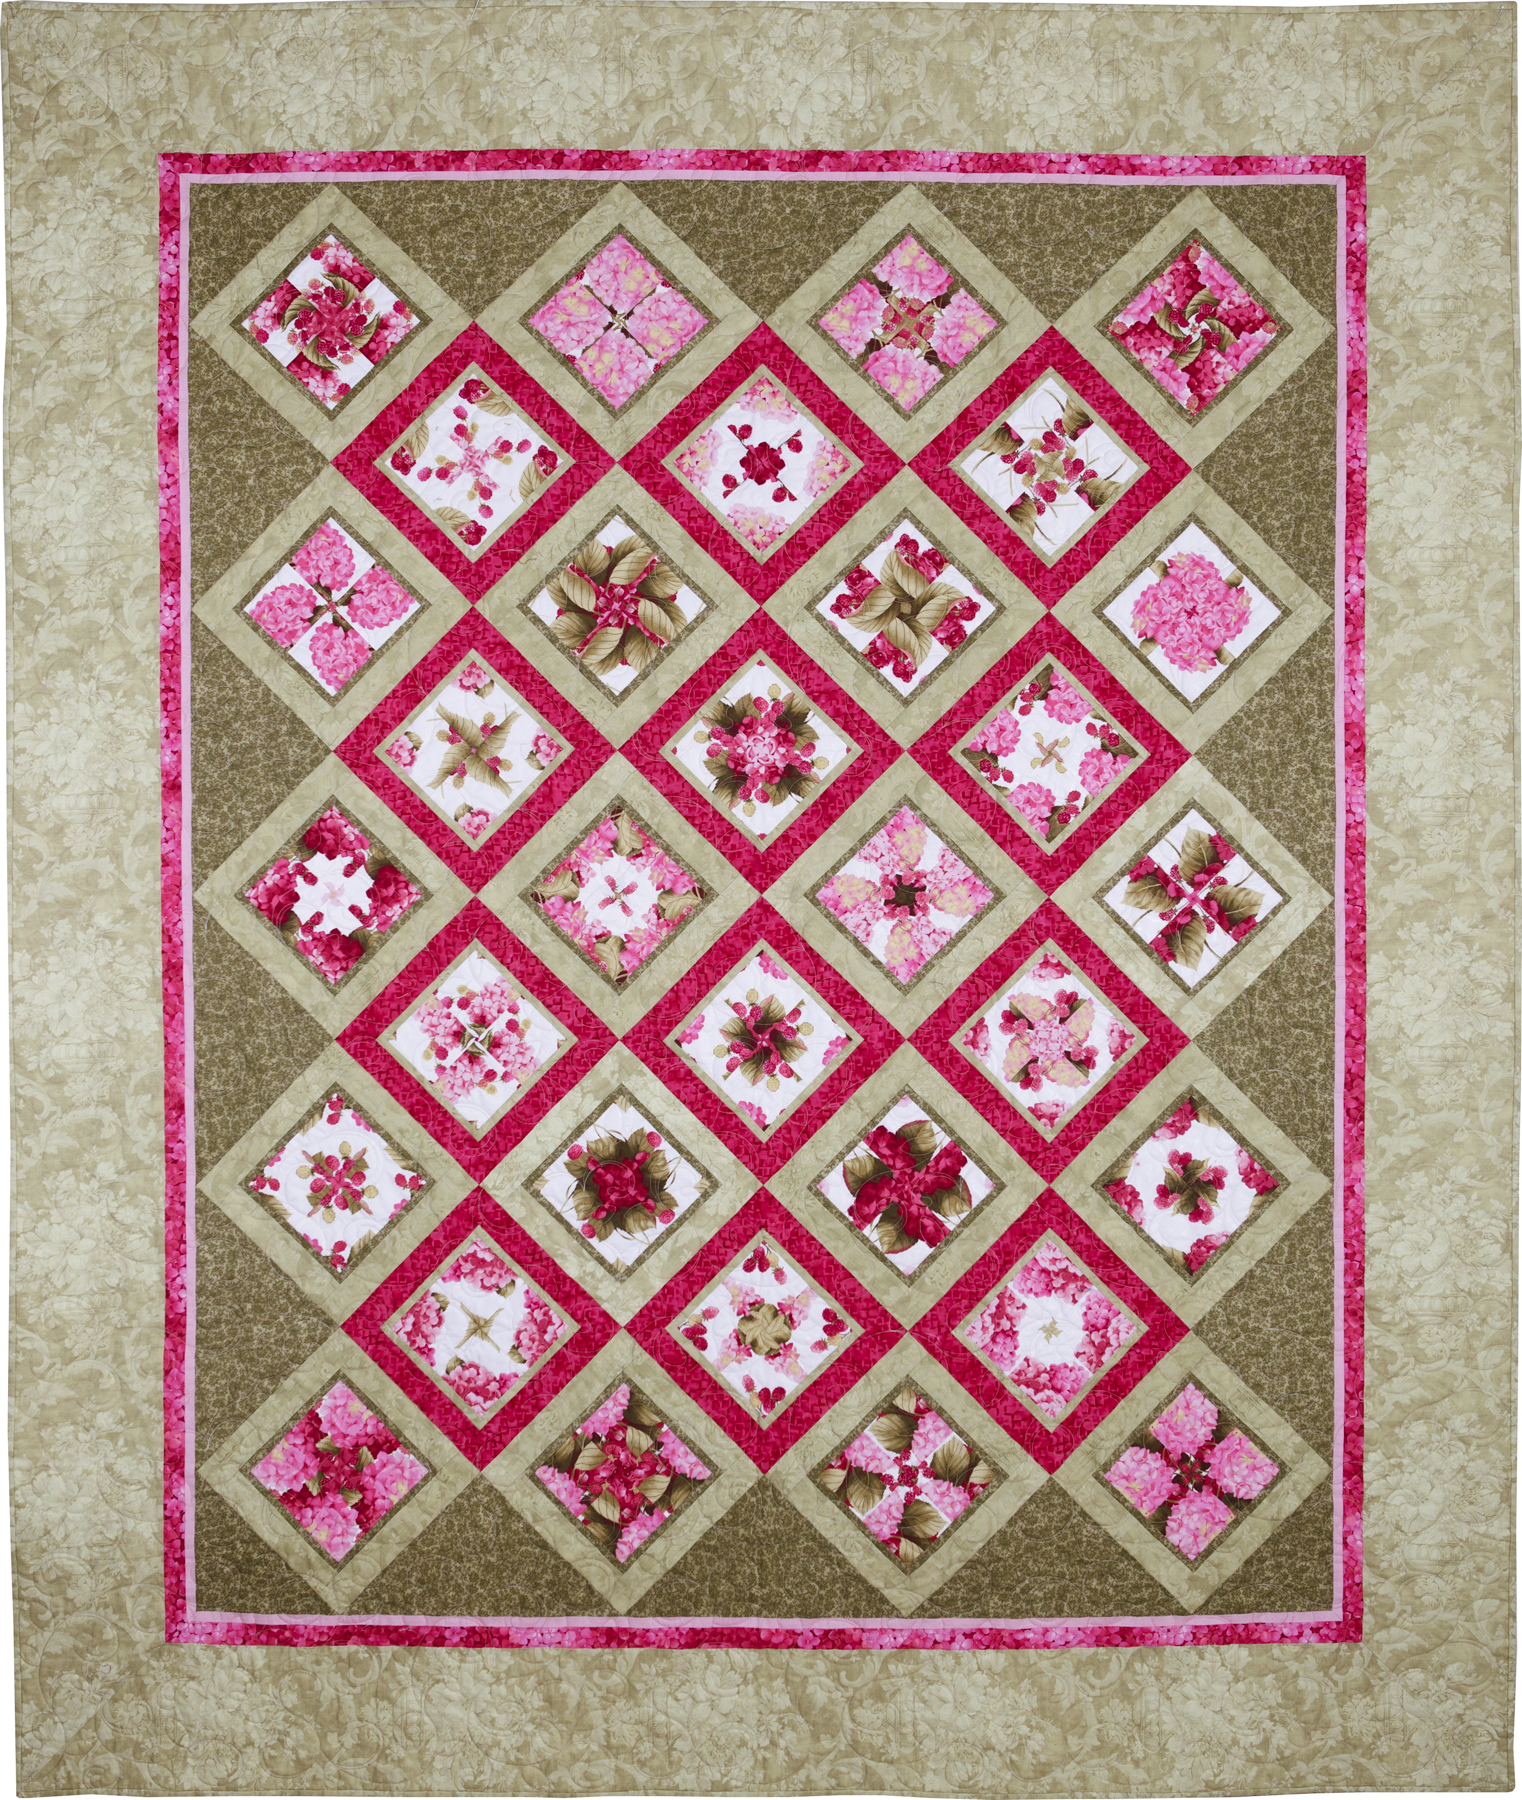
And this is my first pink and green quilt, completed 10 years ago, made from my pattern Four-Patch Wonder:

I named the quilt Framboise, the French word for raspberry. You can read more about the making of it here. Here’s another shot of Framboise au naturel, surrounded by even more green:

Speaking of raspberries, the vines in our backyard will be producing those small deep pink edible jewels in a month’s time, adding to my continuing enjoyment of pink and green.

Do you find the combination of pink and green as irresistible as I do? In nature as well as in quilts?


Posted in 4-Patch Wonder, baby quilt, faux-kaleido quilts, kaleidoscope quilts, update | 12 Comments

Toile Pillowcases, Take 3

This is the third and final pair of queen-size pillowcases made from a lovely toile fabric from Timeless Treasures that’s been in my stash for a few years:

The first two pair were made last year, the first pair as a gift and the second for my own home. I made these pillowcases last week as a hostess gift, planning to deliver them to my twin sister Diane when the Dear Husband and I make our annual Thanksgiving trip to Georgia in November. (Of course we will be taking every precaution while traveling during the coronavirus pandemic.)

I made the mistake of telling Diane about the pillowcases and she cajoled me into sending them in advance. I’m glad I did because she promptly put them on the pillows in the main floor guest room and sent me pictures. Here’s a close-up of the cases:


There’s something special about toile. I was really sorry to use up the last of that fabric. I actually searched for more on the Internet but came up empty-handed.

I did not make the accent pillow on the bed; Diane had it made at a specialty shop using fabric left over from the bedskirt. But I do spy four things in the photo above that are “me made”: the pillowcases, the quilt at the foot of the bed, the bedskirt, and — hard to see but look at the reflection in the mirror in the bathroom for a glimpse — the shower curtain, made in 2011 and embellished in 2012. You can read about that here.  (There’s one more thing I made that you can’t see in the photo: tailored valances. I wrote about that project in this post, also from 2012. By the way, the pillowcases were made using my photo-laden Perfect Pillowcases tutorial.)

The DH and I will be sleeping on these pillowcases soon! This year’s trip is a very special one as Diane and I will be celebrating an important birthday, one of those big ones ending in a zero. Here’s a hint: we will become septuagenarians.


Posted in 4-Patch Wonder, bedskirt, family, faux-kaleido quilts, home dec, roll-it-up pillowcases, shower curtain, update, valance | 3 Comments

Who Knew?

Who knew that playing around with computer-generated quilt labels could be so much fun? Well, not everyone’s kind of fun, I suppose. But I was delighted to learn from comments on my last post that my accidental method of making labels with fusible-backed fabric worked for other quilters using different fusibles and printing their labels on different computers. As promised, I will work on a tutorial for my website to show the method step by step.

One quilter, Marge, noted that she starches her label fabric and sends it right through the printer. No interfacing, just one layer of fabric. Of course I had to try it! I decided to make a new label for Ramblin’ Rose, another kaleiodoscope quilt from 2009 that needed more information:

Ramblin’ Rose, 53″ x 59″ (2009)

I’m happy to report that Marge’s method worked beautifully. Marge did say she “starches the heck” out of her fabric so I made sure I did too. As a matter of fact, I spent more time starching the fabric than I would have just fusing interfacing to fabric. You really have to iron the fabric after each application of starch until it’s completely dry. The weight and feel of the “page” of starched fabric felt almost identical to the fused layer I experimented with earlier.

Unfortunately, when I printed my starched page I realized that the top line of the label was too close to the top of the page, not allowing enough room to draw around a compact disc for my preferred round label. I had to prepare a new one. Instead of starching a new piece of fabric, I went back to my method of fusing interfacing to the label fabric.

Here’s the old label still on the quilt and the one I just made:

In my last post I described how I used a piece of quilter’s cotton for the back of my label. My friend Arden suggested I try using fusible interfacing instead. That’s what I use for my label backing when I make hand printed labels. With those I have only two layers: the label fabric and the interfacing used for the backing instead of fabric. With a computer-generated label, though, I have three layers: the label fabric fused with interfacing and the second piece of interfacing used as the label backing. Would two layers of interfacing plus the label fabric make the finished label too stiff, I wondered?

Worth a try. Yes, the label did feel a little stiff and I found it very challenging pushing the needle through the layers when I hand appliquéd the label in place. I’m wondering if washing the quilt would soften the label a bit. Ramblin’ Rose has been displayed on a quilt rack in my sewing room for over a decade so it could probably use a trip to the laundry room. I’ll toss it in the washer and dryer and report back.

By the way, here’s a look at the back of Ramblin’ Rose (with the old label still in place — and the hanging sleeve so it could hang in a quilt show):

Update

Ramblin’ Rose has made her trip through the washer and dryer, and I’m delighted to report the label turned out beautifully: it has body but is still supple like the rest of the quilt:

This method is definitely a keeper!


Posted in 4-Patch Wonder, appliqué, kaleidoscope quilts, quilt labels, tutorial, update | 2 Comments

Throwback Thursday: Catch a Falling Star (2015)

Today marks Week Six of Throwback Thursday. Each week since the beginning of the year I’ve highlighted one quilt made in successive years beginning in 2010. This week we’re up to a quilt made in 2015.

Choosing my quilt for 2015 was easy. It had to be Catch a Falling Star, my version of Terri Krysan’s Reach for the Stars:

Catch a Falling Star, 84″ x 105″ (2015)

Often when I finish a quilt, there are one or two things I would have done differently. Not with this one. I love every block, I’m happy with every modification I made to Terri’s original design, and I’m thrilled to pieces with the combination of computerized and free-motion quilting done by Loretta Orsborn.

Instructions for Reach for the Stars appeared in seven consecutive issues of Quilters Newsletter Magazine, beginning with the Oct./Nov. 2013 issue and ending with the Oct./Nov. 2014 issue. Sadly, QNM is no longer in publication.

Almost every month I receive a request from a quilter wanting to know how to get directions for Reach for the Stars. A few years ago I could point to eBay or Etsy for the needed issues but copies are getting harder to find. My advice nowadays is to check with a local quilt guild to see if any member has these seven issues and would be willing to lend or sell them to the person wanting to make the quilt.

Catch a Falling Star was my first ever sampler quilt. I wasn’t sure I would ever make another one. But I did. You’ll see that one when I reach Week 10 of Throwback Thursday.

Thanks for joining me on my weekly trip down Memory Lane!


Posted in 4-Patch Wonder, faux-kaleido quilts, free motion quilting, mitered corners, Reach for the Stars sampler quilt, Sew-Along, Throwback Thursday, update | 4 Comments

Throwback Thursday: Dianthus (2010)

First things first:  Happy New Year!! Can you believe it’s 2020?

I’m taking a look back at some of the quilts I’ve made over the last 10 years, starting in 2010. (I got the idea from Thelma at Cupcakes’n’Daisies who posted on Instagram yesterday with photos of 10 gorgeous quilts she made between 2010 and 2019. Check out her beauties at instagram.com/thelmacupcake.

For 2010 I chose this quilt, Dianthus:

Dianthus, 57″ x 67″ (2010)

The pattern is 4-Patch Stacked Posies by HD Designs. I had recently discovered the four-patch kaleidoscope block and was having great fun investigating the possibilities with other fabrics and other settings. Here you see a large strip of the focus fabric as well as the blocks that didn’t make the cut for the front of the quilt:

I quilted this one myself and I don’t mind telling you I was a bundle of nerves during the process. Here are a couple of close-ups:

I used a variegated thread of green and lavender. The color variation is very subtle, which is just what I wanted.

Why the name Dianthus? The fabric is a gorgeous melange of blossoms including tulips, hydrangeas, and carnations. Dianthus is the Latin word for carnation. The quilt wound up at the home of my twin sister, Diane. ‘Nuff said.

When Diane’s grandson Edward was a baby, the quilt was used in his bedroom at her home:


Edward is now 10 years old. (How did that happen?) He’s still a frequent overnight visitor but as you might imagine his room looks very different today. The crib has been replaced with a trundle bed, for one thing.

And the quilt? Nowadays it’s folded at the bottom of the bed in the first floor guest room and is often pulled into service for a lap quilt while watching TV. The 57″ x 67″ size makes it a good candidate for that.

Thanks for stopping by on this second day of the New Year. Do come back for next week’s Throwback Thursday to see a quilt I made in 2011.


Posted in 4-Patch Wonder, baby quilt, family, faux-kaleido quilts, free motion quilting, home dec, kaleidoscope quilts, Throwback Thursday, update | 4 Comments

Christmas Pillowcases All Year ‘Round

Now that Christmas is over, I can show you the pillowcases I made for my twin sister Diane and her husband Ed:


The cases are made for a king size bed so they measure a generous 20″ x 33″. I am so in love with that floral fabric; it’s from a 2010 line for Henry Glass Fabrics called “At Home for Christmas” designed by Heather Mulder Peterson of Anka’s Treasures. It’s been in my stash for years. Knowing I would be using most of it, I scoured the Internet looking for more and even contacted Heather to see if she still had some in her shop; alas, it is gone.

I confess it was really hard to cut into that fabric but I knew that pillowcases made from it would look wonderful in Diane and Ed’s master bedroom:

The colors are Christmas-y but the prints are not, making the pillowcases appropriate for use all year round.

I had one other thing in mind when I chose the fabric. In the picture below you can just get a glimpse of a quilt on the wall:


It’s Midnight in the Garden, one of my very favorite quilts, made from my pattern 4-Patch Wonder:

I gave the quilt to Diane for her 60th birthday a few years ago and I get to see it whenever I travel to Georgia to visit her. I figured the pillowcases would complement her quilt very nicely. And they do, don’t they?!


Posted in 4-Patch Wonder, family, faux-kaleido quilts, home dec, kaleidoscope quilts, roll-it-up pillowcases, tutorial, update, wall hanging | 10 Comments

Friday Finish: Junior Billie Bag #9

Well, friends, many a Friday has come and gone since my last Friday Finish so I am extra happy to show off my latest Junior Billie Bag. First one side . . .

. . . and then the other:

I’m not sure which one I like better! How about you?

In the next two photos you can see (sort of) the exterior pockets on each side:

I sure do like how the striped binding frames the front and back panels. You can see that I used it on the straps and exterior pockets on one side, too.

It’s so much fun to customize these quilter’s totes. I’ve used a variety of 12″ blocks in the nine Junior Billie Bags I’ve made and I’ve also played around with the size and number of exterior pockets. Speaking of pockets, here’s a shot from the top down that shows the interior pockets as well as the second set of handles, the smaller ones that allow you to carry the JBB like a satchel:

Here’s a shout out to Billie Mahorney, the designer of the Junior Billie Bag and my mentor. It’s easy to see why I often refer to the JBB as “the quintessential quilter’s tote.”

If you’d like to see the other ones I’ve made, clicking here will take you to the Junior Billie Bag page in my Gallery.

Happy Friday!


Posted in 4-Patch Wonder, Billie Bag, Junior Billie Bag, tote bags, update | 6 Comments

My Favorite Part . . .

. . . of making a Junior Billie Bag is that moment when the bag, until now a series of flat panels . . .

. . . becomes three-dimensional:

You are looking at the inside of my Junior Billie Bag, with the side panels/bottom unit pinned to one of the front/back panels. You may not be able to tell from the photo that there are 14 pockets showing. The other front/back panel (not shown) has five pockets.

Combined with the pockets on the outside of the bag . . .

. . . this JBB has 23 pockets. Now you know why I call it the “quintessential quilter’s tote!”

It’s a lot of fun playing with pocket design for the outside of the bag. For the pockets on the left side above, I trimmed them in the same striped fabric I’m going to use for the binding. (While I love the look of striped binding cut on the diagonal, I opted to cut my strips on the straight of grain for this one.)

For the pocket on the right side, I started with a four-patch kaleidoscope (what I call a Four-Patch Wonder block) and made a double inset circle.

I sure do like that vivid blue against black and white!


Posted in 4-Patch Wonder, Billie Bag, faux-kaleido quilts, Junior Billie Bag, tote bags, update | 3 Comments

More Quilty Inspiration . . .

. . . coming to you from the streets of Portugal.

It’s been a week since we flew back to the states from Portugal. Fortunately, I have many memories and lots of photos to remind me of the delightful time my husband and I spent cruising the Douro River and the many shore excursions we took to medieval hill towns and modern cities. Everywhere we went, images appeared that made me think of quilt blocks, appliqué designs, and even free motion quilting motifs.

When we got to Lisbon, our final destination in Portugal, the amount of gorgeous tile work I was seeing made my head spin. These three designs were on the walkway outside our hotel:


This one was on the floor of the main entrance to the hotel:


On the north bank of the Tagus River near the Monument to the Discoveries there’s a huge tile wind rose and map of the world charting Portuguese explorations. The map is embellished by wonderful designs that would look right at home on a quilt:

We visited the National Tile Museum dedicated to the azulejo, a glazed colored tile traditionally used in Spanish and Portuguese buildings. The museum houses examples dating from the 15th century to today. With the battery in my cell phone running low I took very few pictures but they’re enough to give you a sense of what I was seeing:

Tile work from the 21st century evoking a sampler quilt (a modern take on Dear Jane, perhaps?):

Half square triangles! Four-patch kaleidoscope blocks!

Inside the cafe at the museum:

Looking for the restrooms? They’re in this hallway:

Taking a city bus back to our hotel, we spied more contemporary tile work that may well have been made by the same artists whose work we saw at the museum:

Looking at these photos makes me very eager to get back to my various and sundry quilting projects. I hope to have something to show you very soon.


Posted in 4-Patch Wonder, appliqué, Dear Jane, faux-kaleido quilts, free motion quilting, kaleidoscope quilts, machine applique, needleturn appliqué, update | 10 Comments