Berried Treasure Is Back from the Quilter
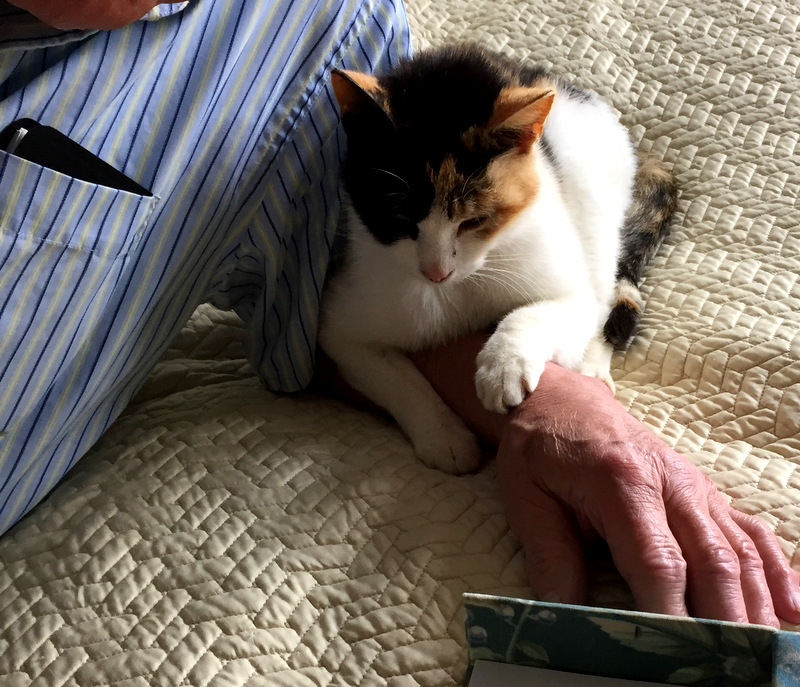
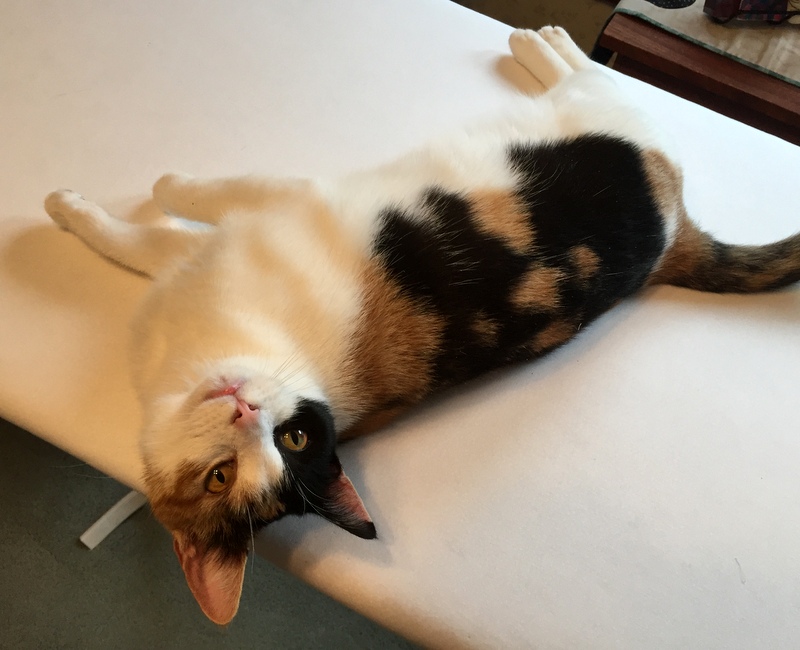
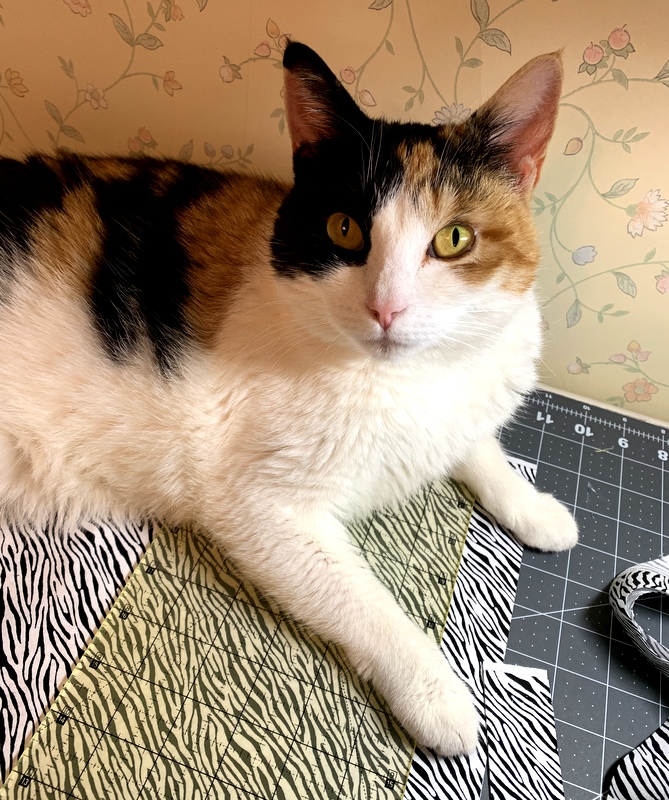
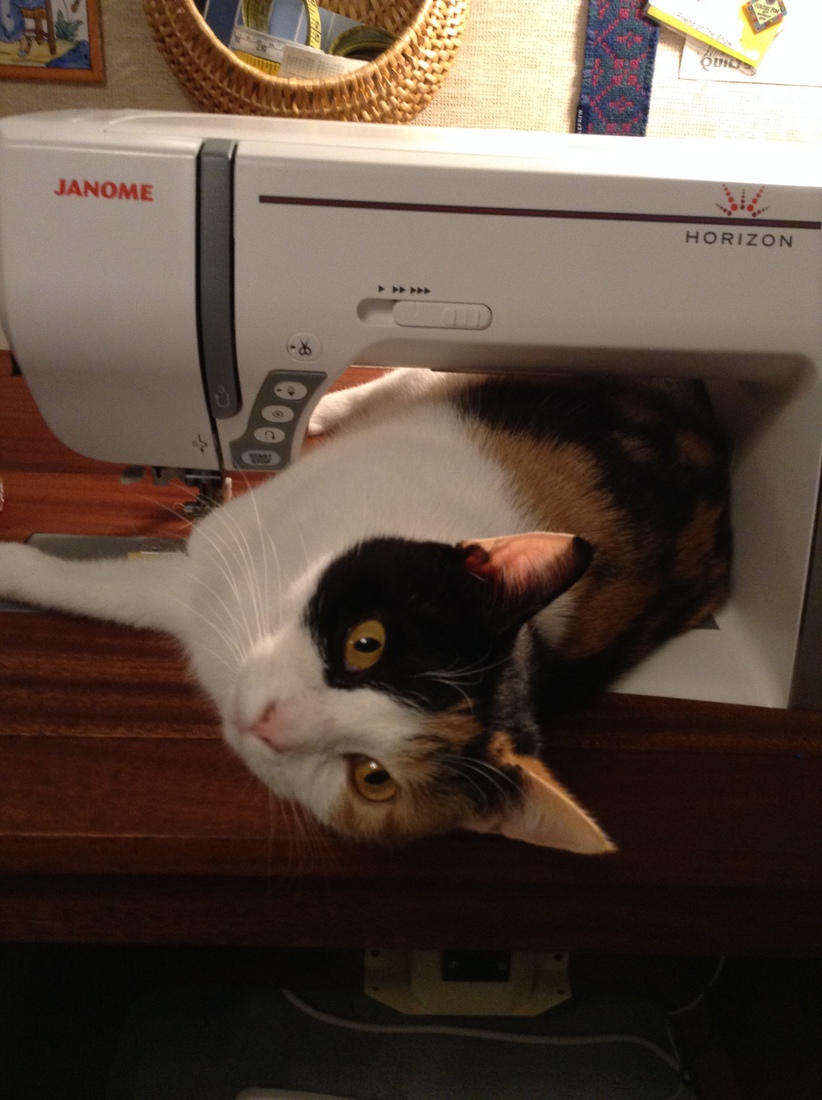
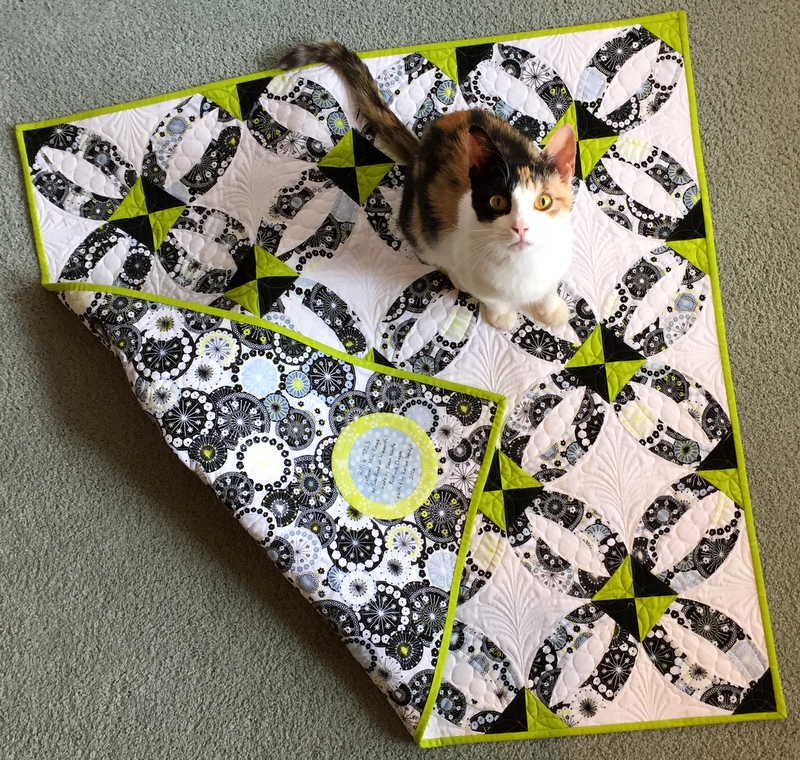
A heartfelt thank you to all my friends and followers who responded with words of condolence and comfort following my last post about our beloved cat Coco’s departure from this world. So many quilters are also pet owners and they love their furry friends as much as the Dear Husband and I loved our Coco. We want you to know how much we appreciate your messages. We miss her so much.
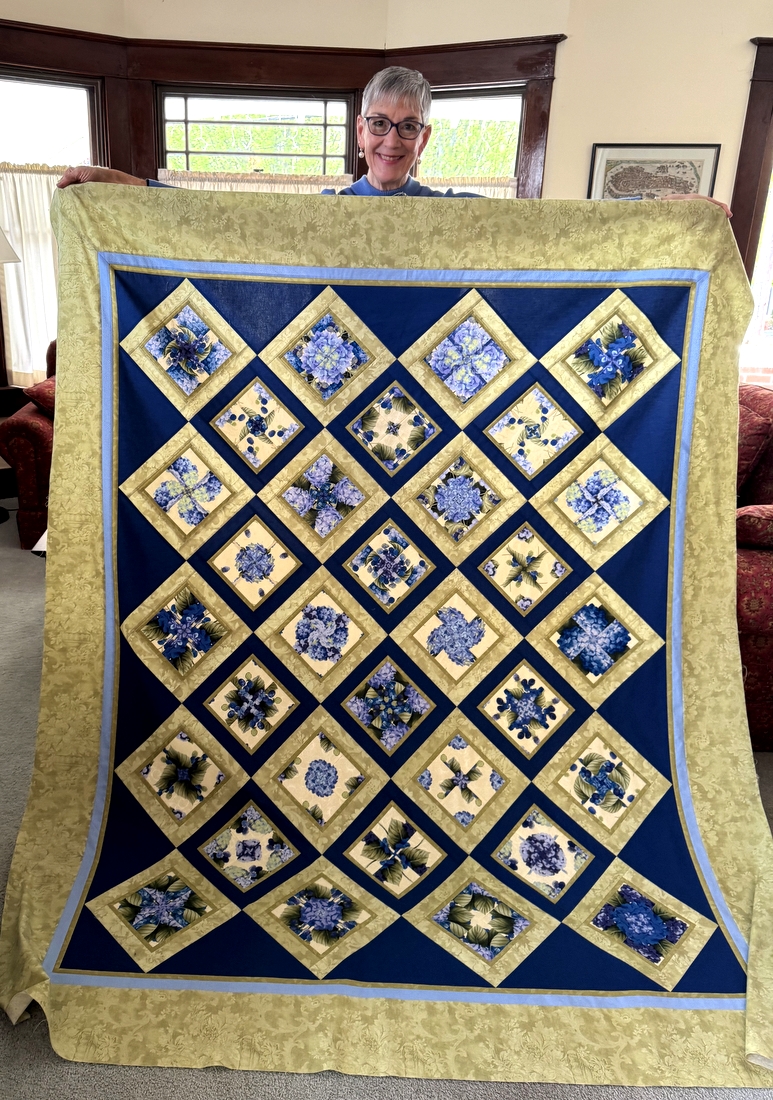
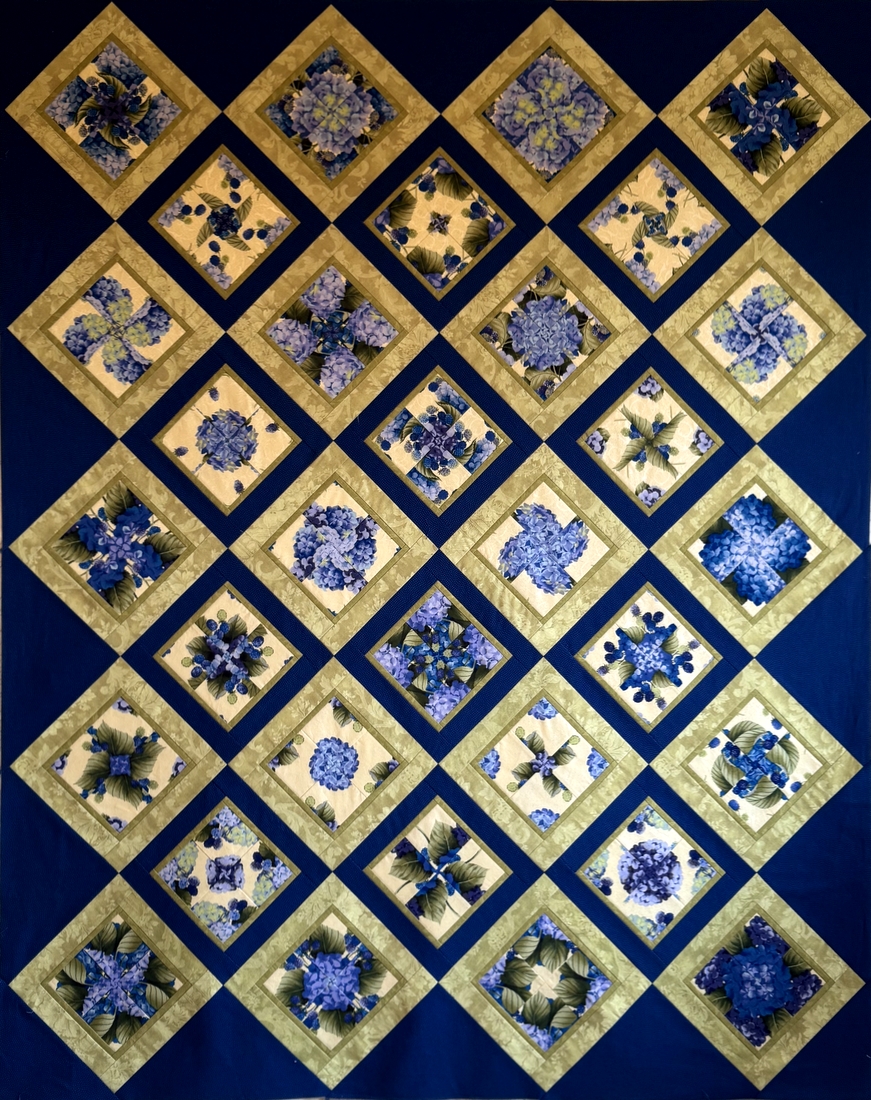
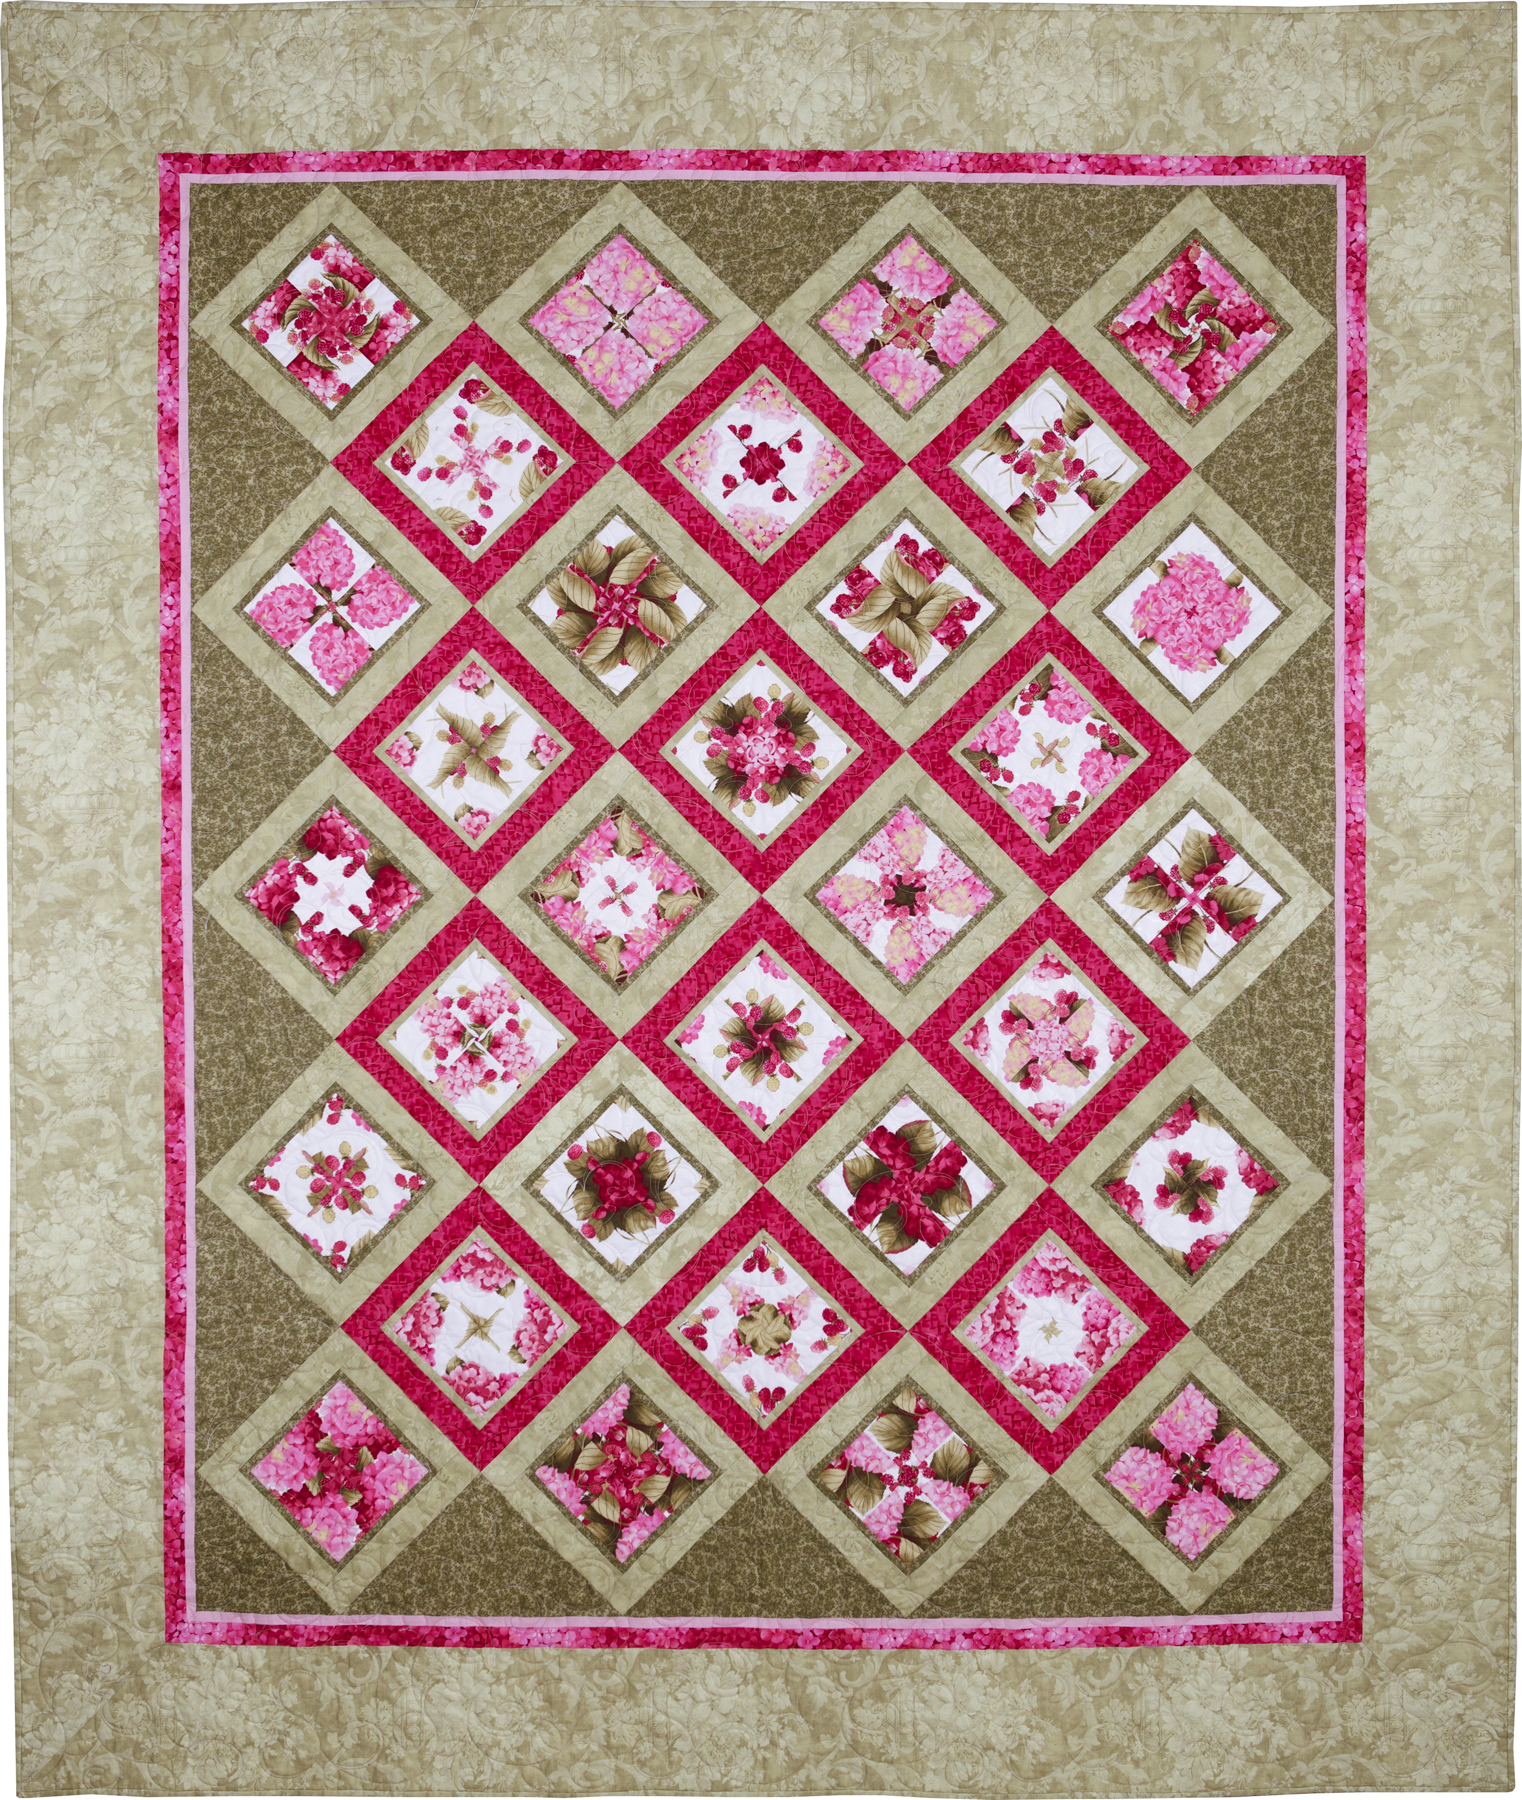
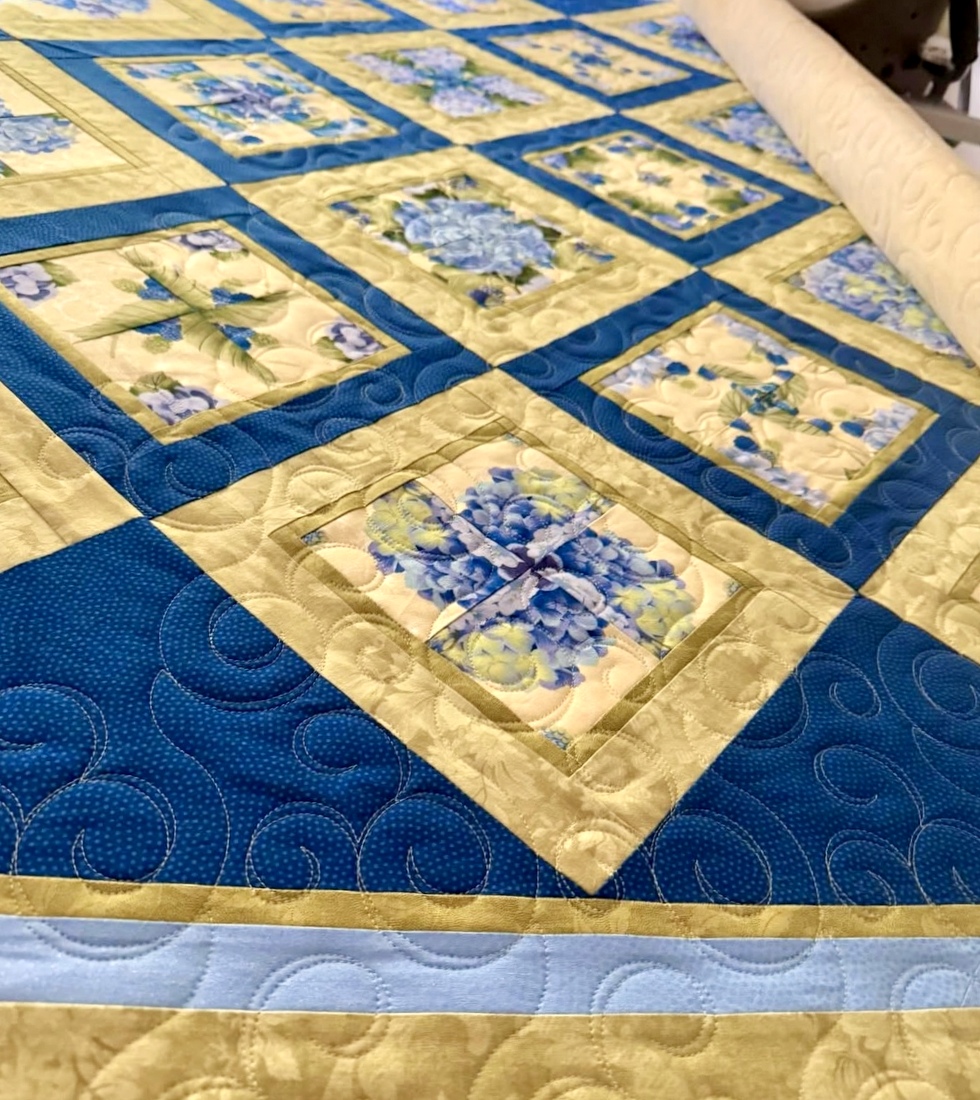
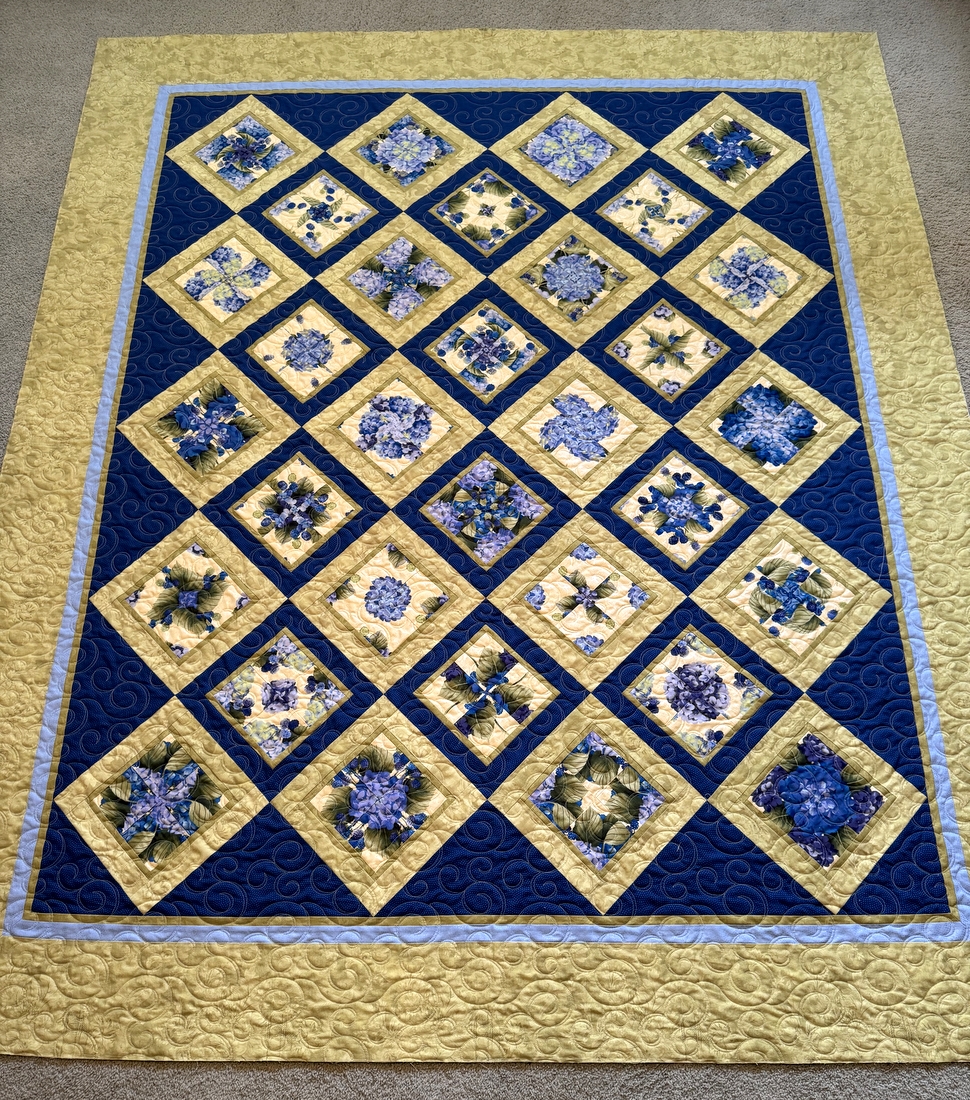
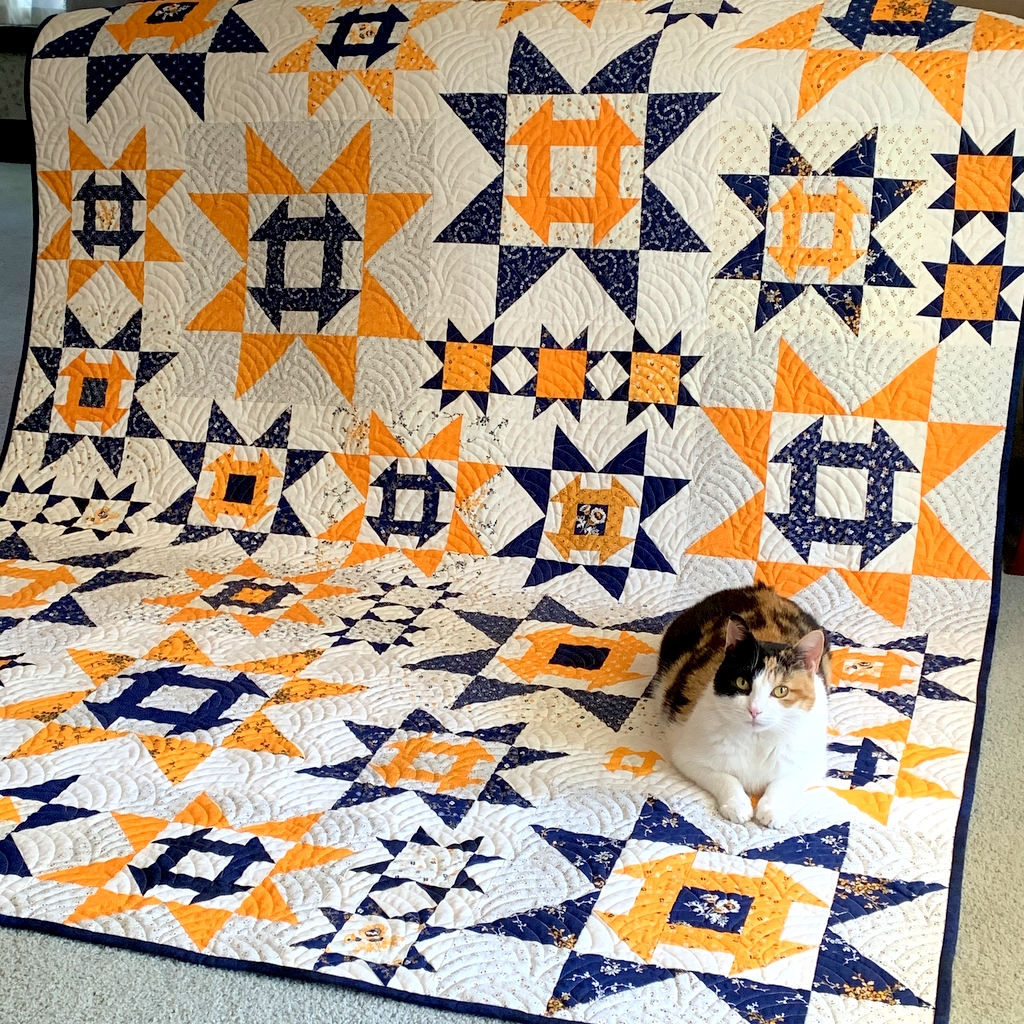
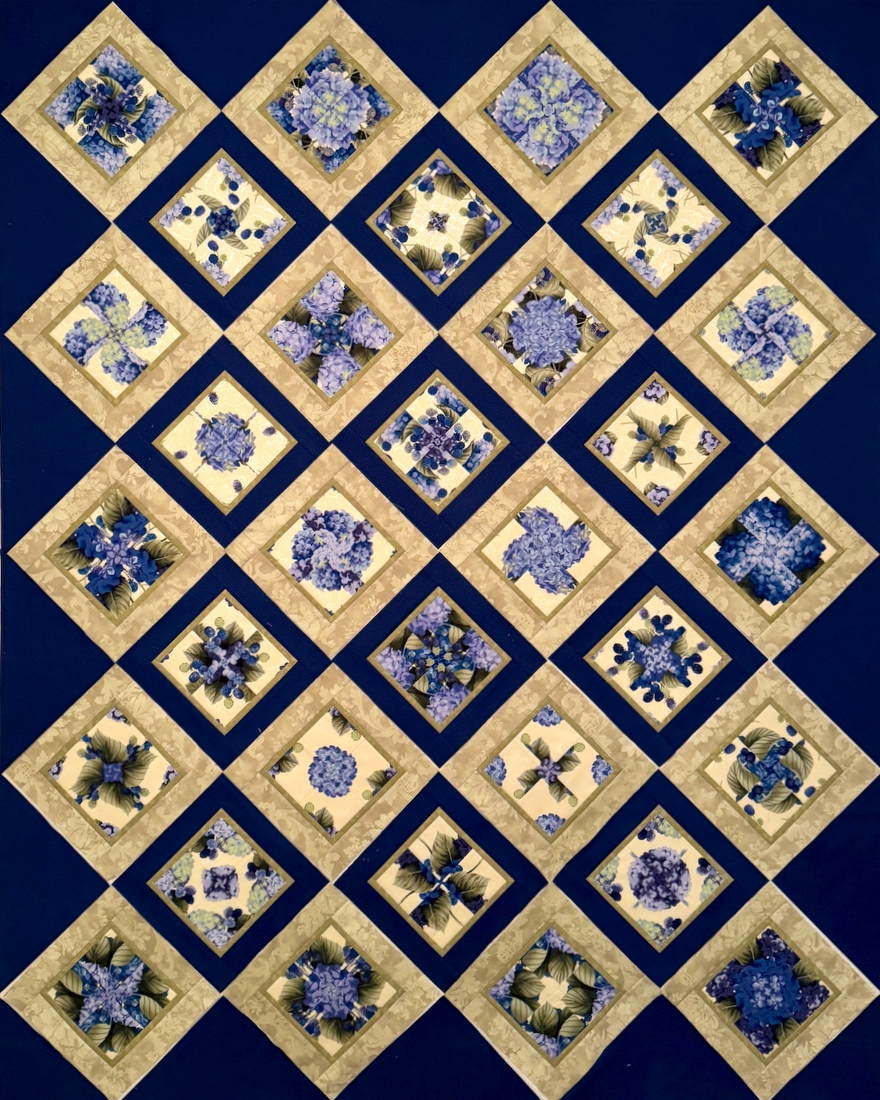
Last week I picked up my Berried Treasure quilt from longarmer Karlee Sandell at SewInspired2Day. Karlee sent me a teaser shot of the quilt while it was still on her longarm quilting machine:
As usual, I am thrilled with the result!
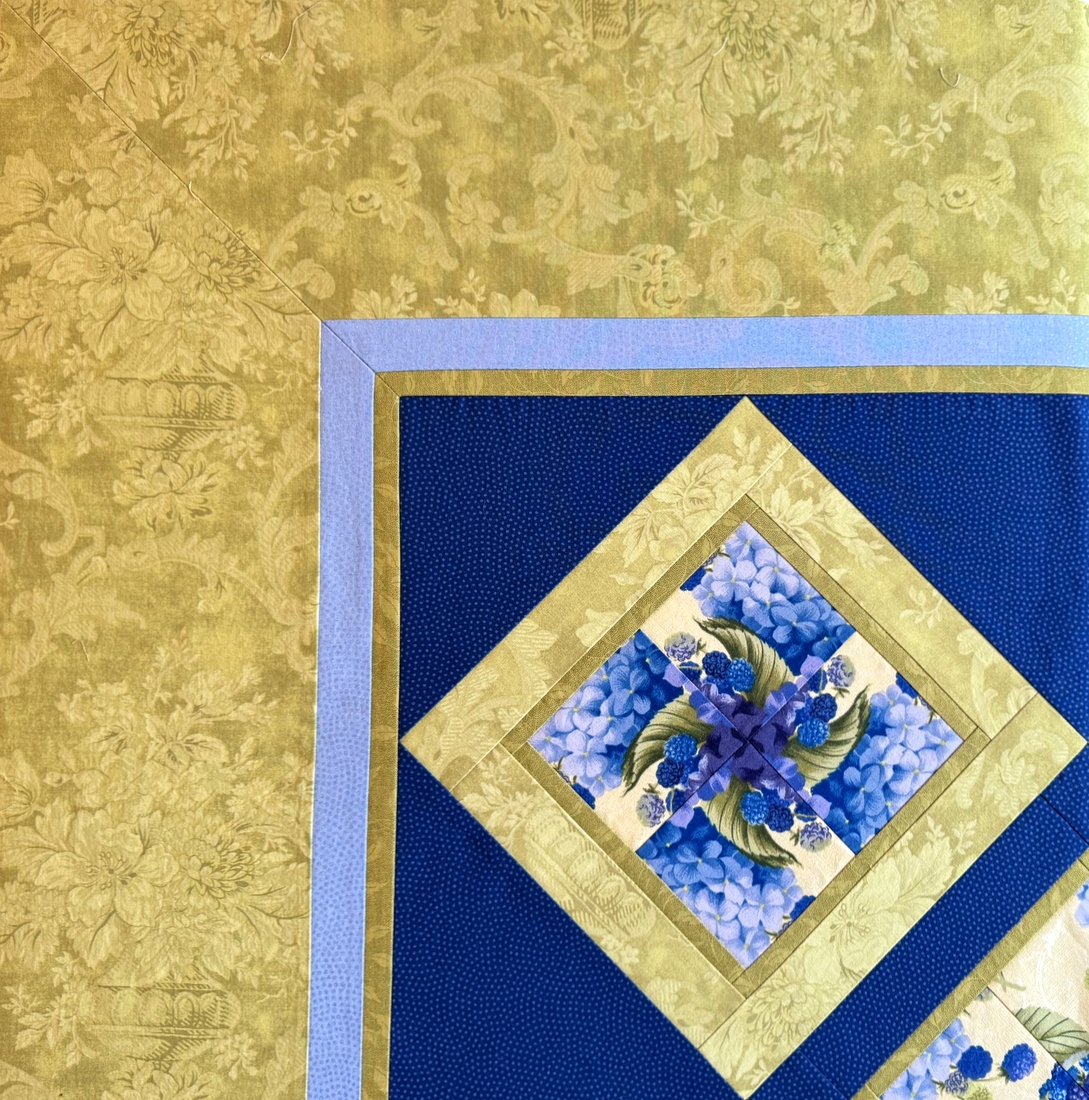
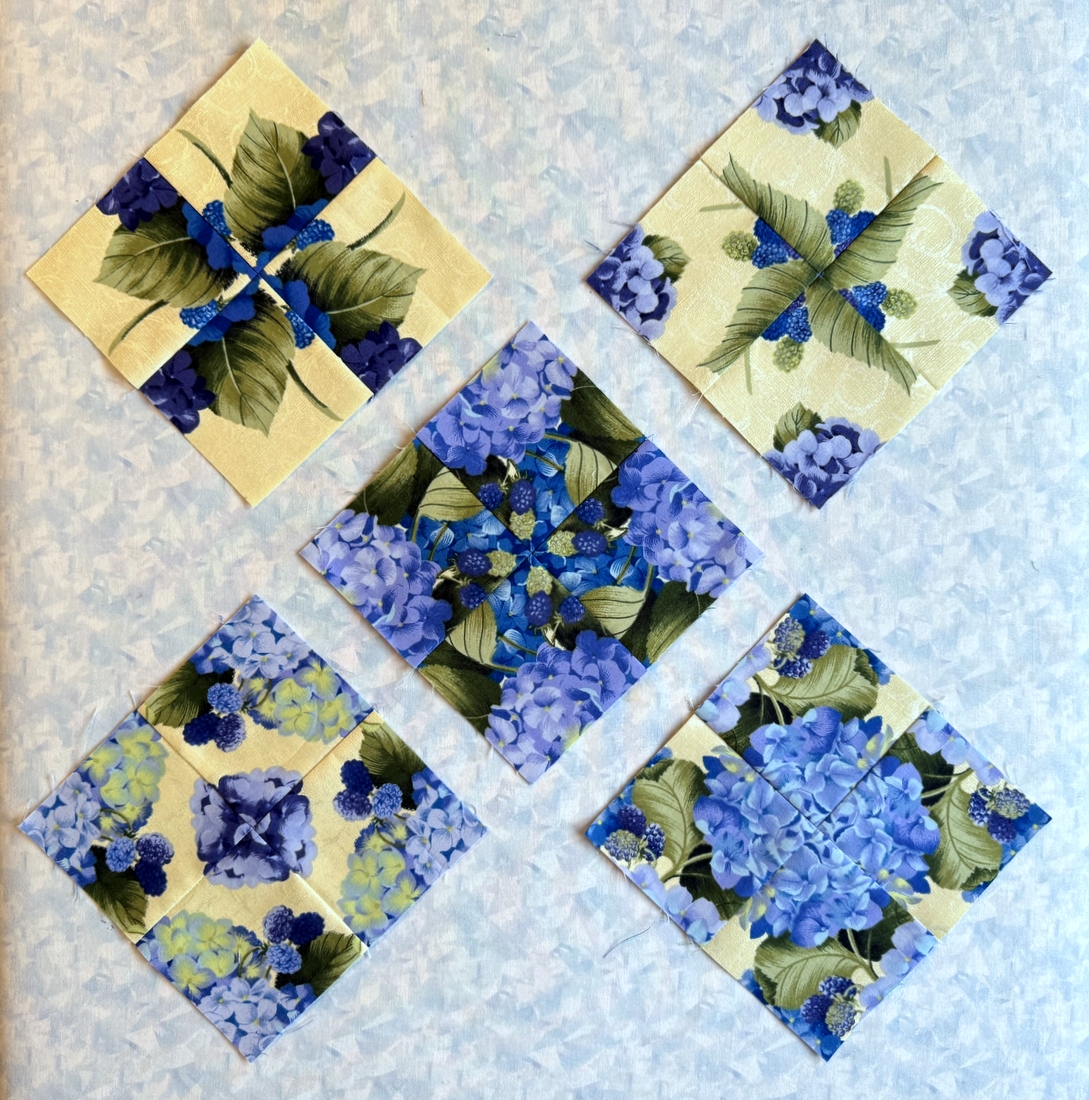
I chose “Embellish” by Quilts Complete as the quilting motif. It’s the fourth time I’ve asked Karlee to use this quilt design; it seems it is becoming my “go to” motif. At my request she used a pale green thread to blend with the outer border. It also blends well with the yellow background in the 4-Patch Wonder blocks and looks good against the vibrant blue in the sashing strips and setting triangles.
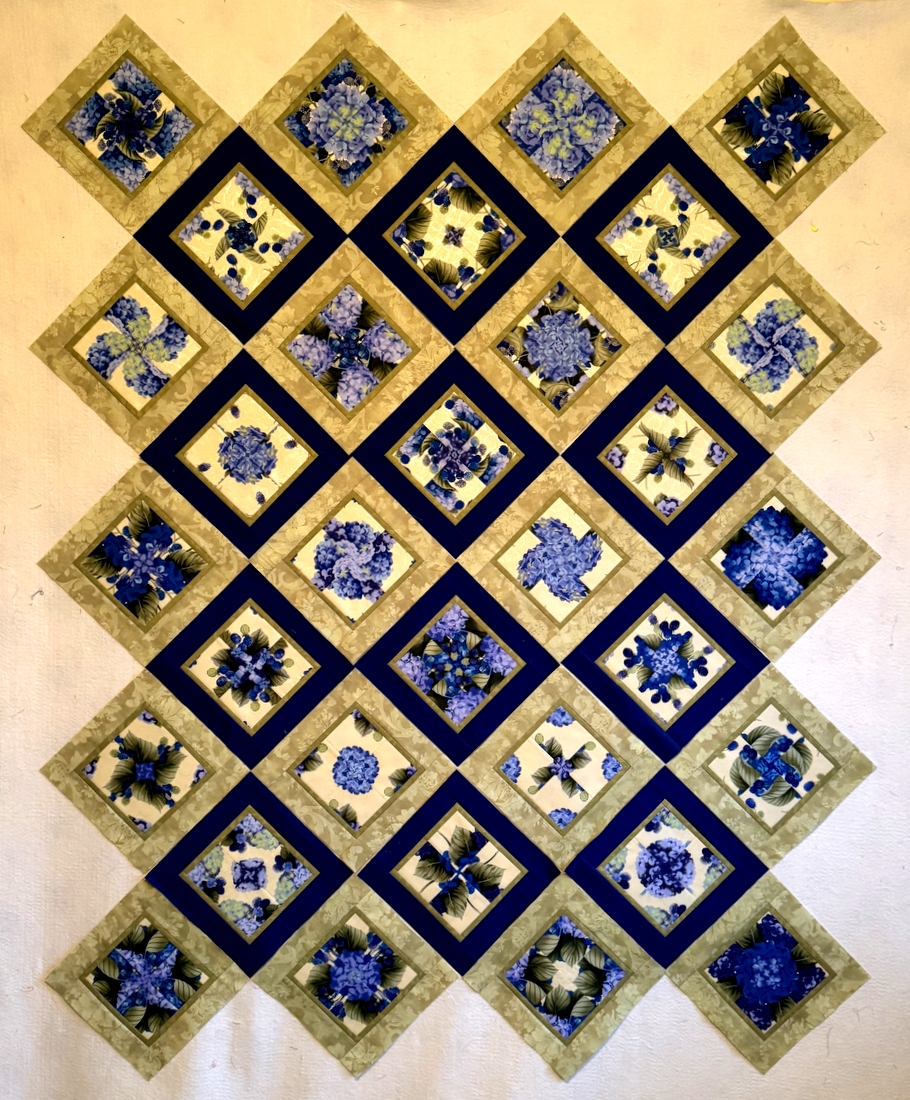
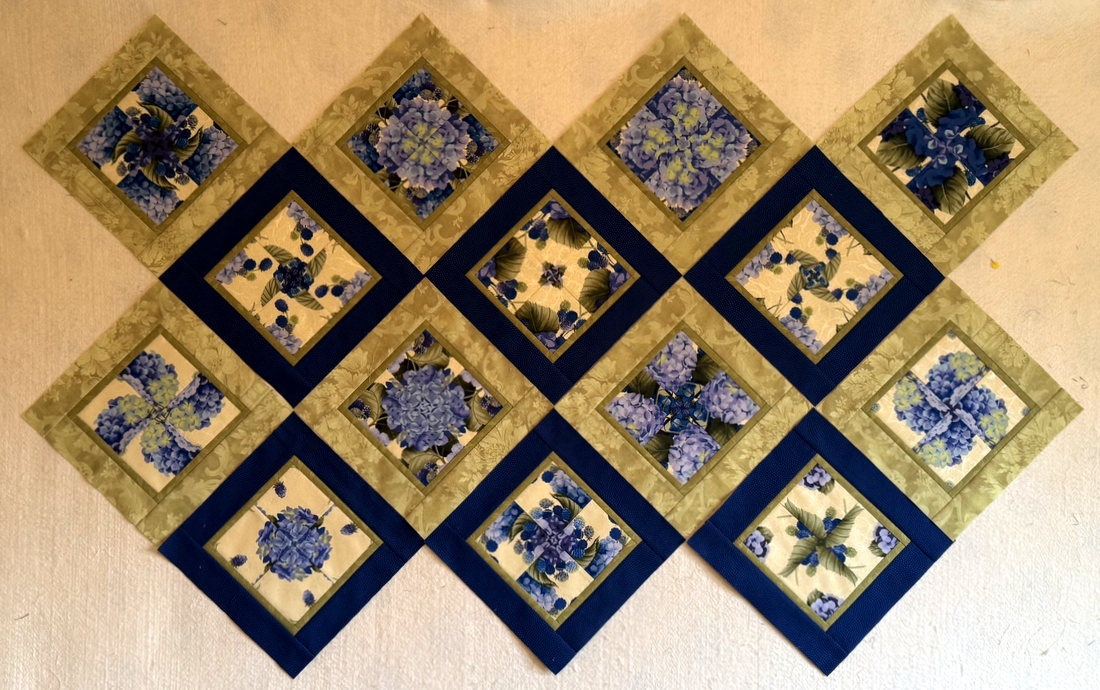
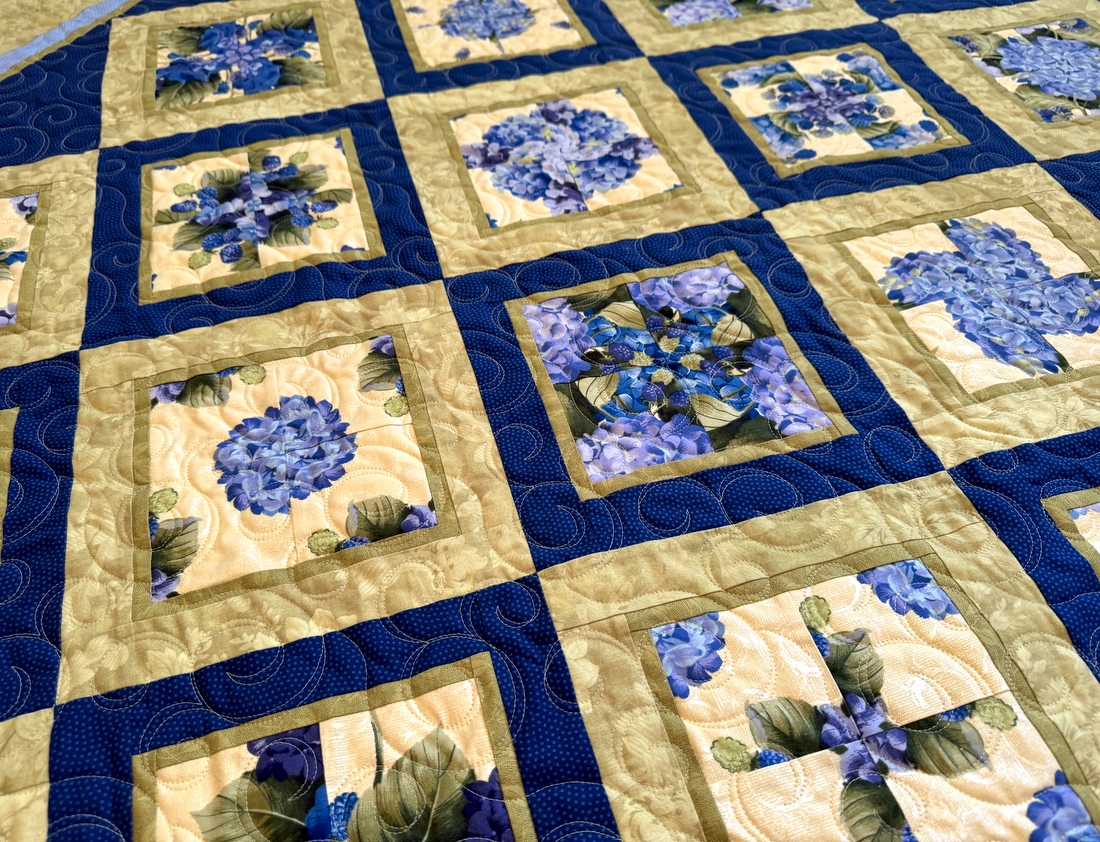
Here are a few shots of the quilting:

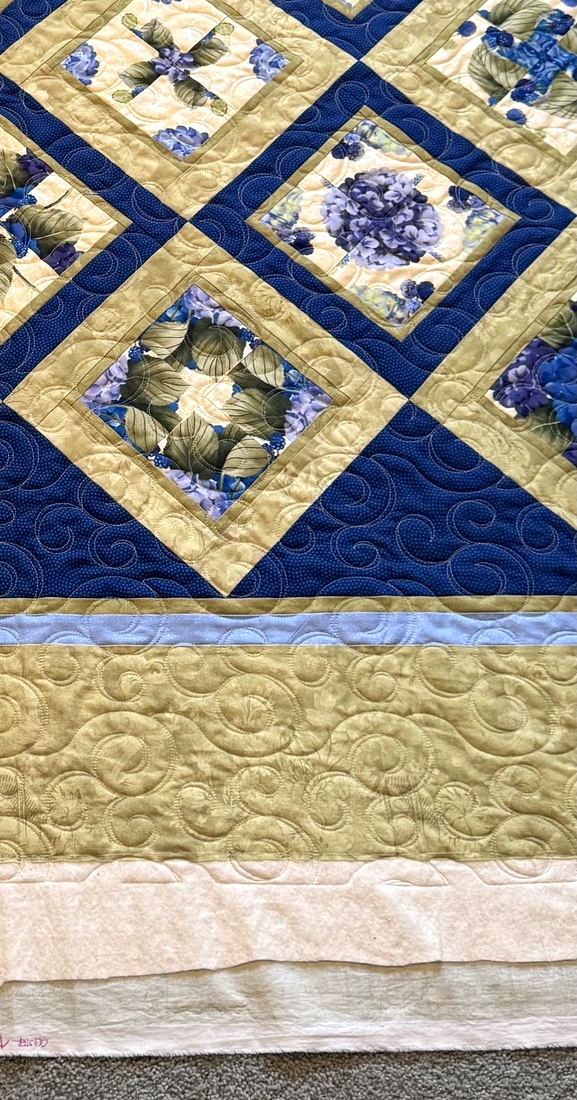
Notice in the photo above how the quilting goes beyond the raw edges of the quilt top? I always ask Karlee to do that. The main reason is that the quilting stitches hold all three layers together after the quilt is trimmed, making it much easier to apply the binding. There’s another reason: I often cut my outer borders an inch or so wider than my planned border width. That gives me the option to keep that extra width in the final quilt, trim the excess batting and backing right at the raw edge line, or trim the borders to make them a little narrower. I like to have options.
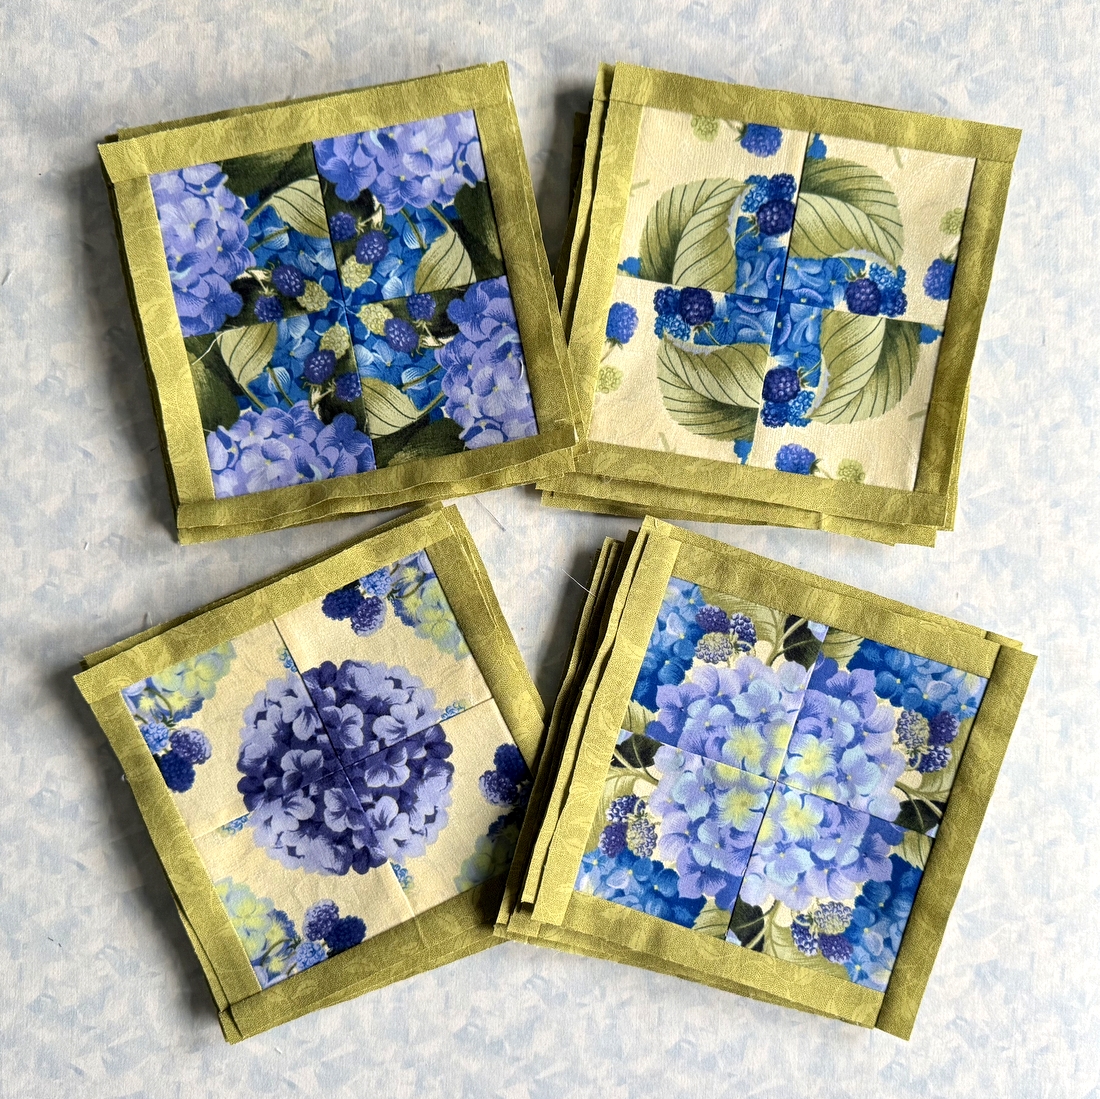
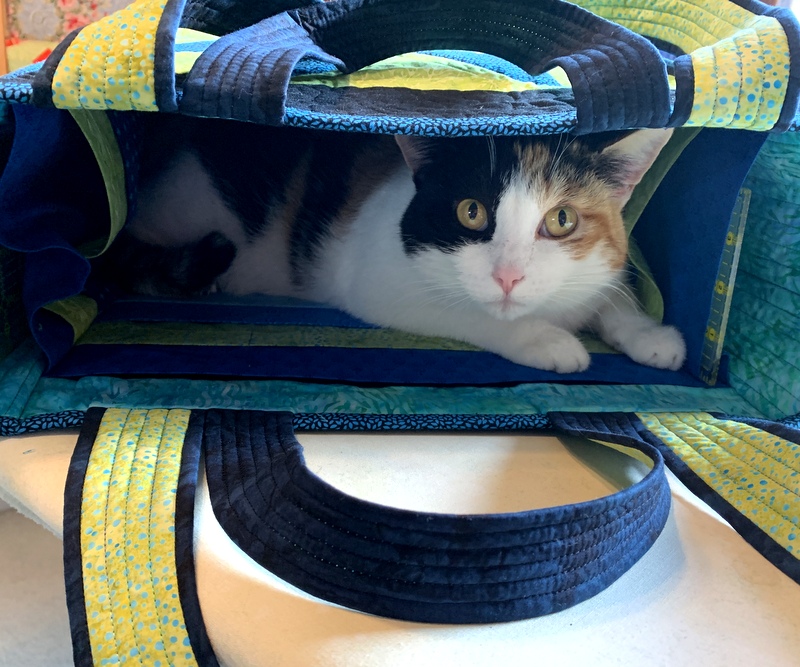
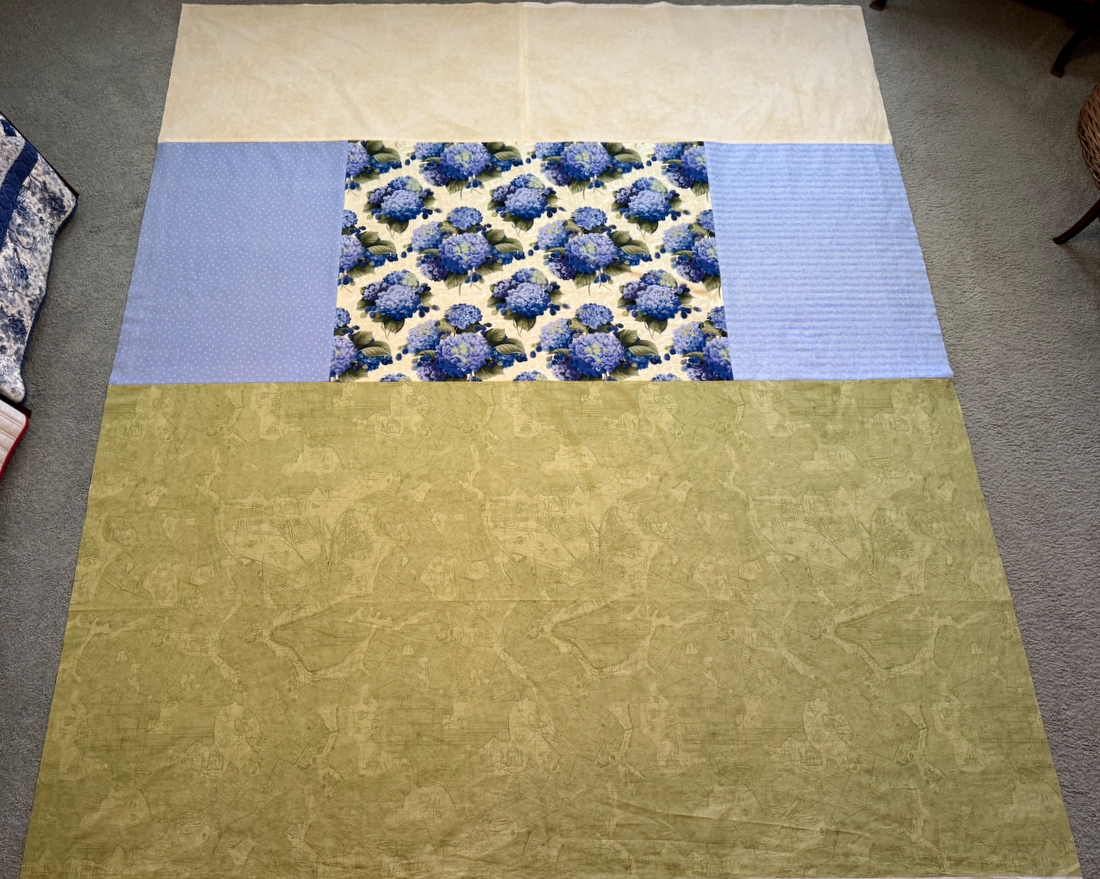
Here’s a look at the back of the quilt with the focus fabric on display:
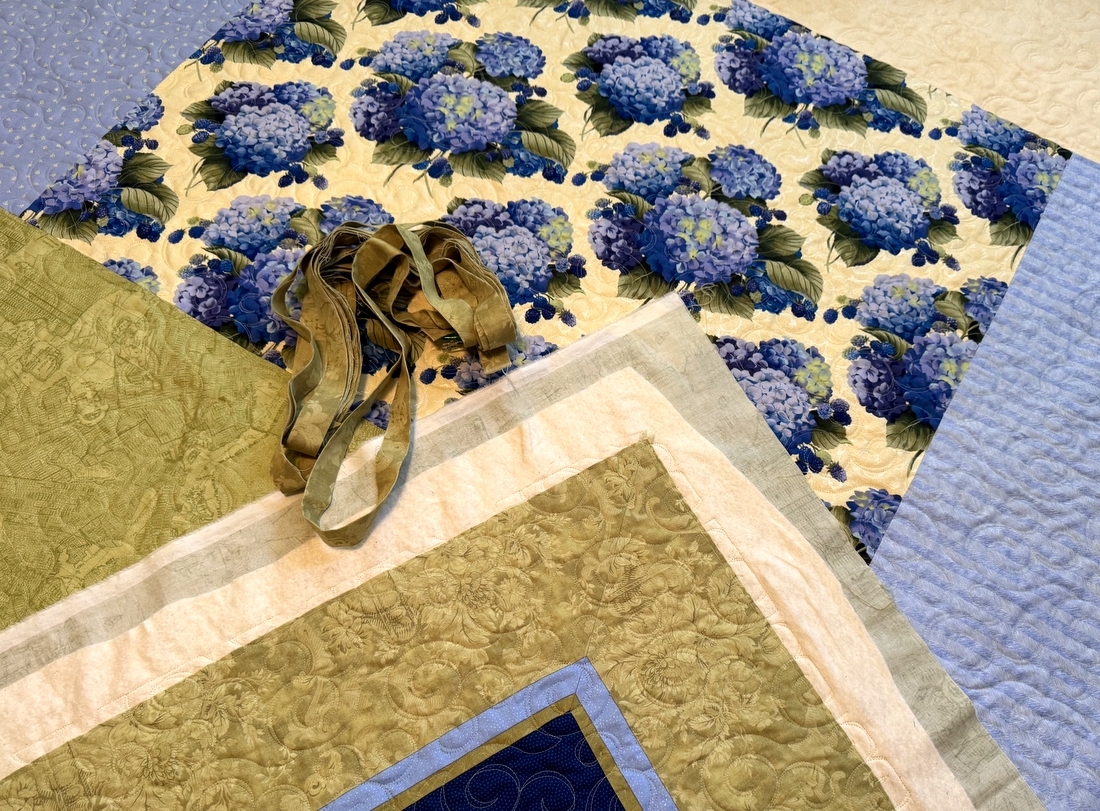 You can see that I have the binding ready to go. It’s the same green floral print as the outer border. With Berried Treasure I didn’t have enough border fabric to cut my strips a bit wider because I needed to save a few inches for the binding strips. I used up every last bit of that green floral fabric!
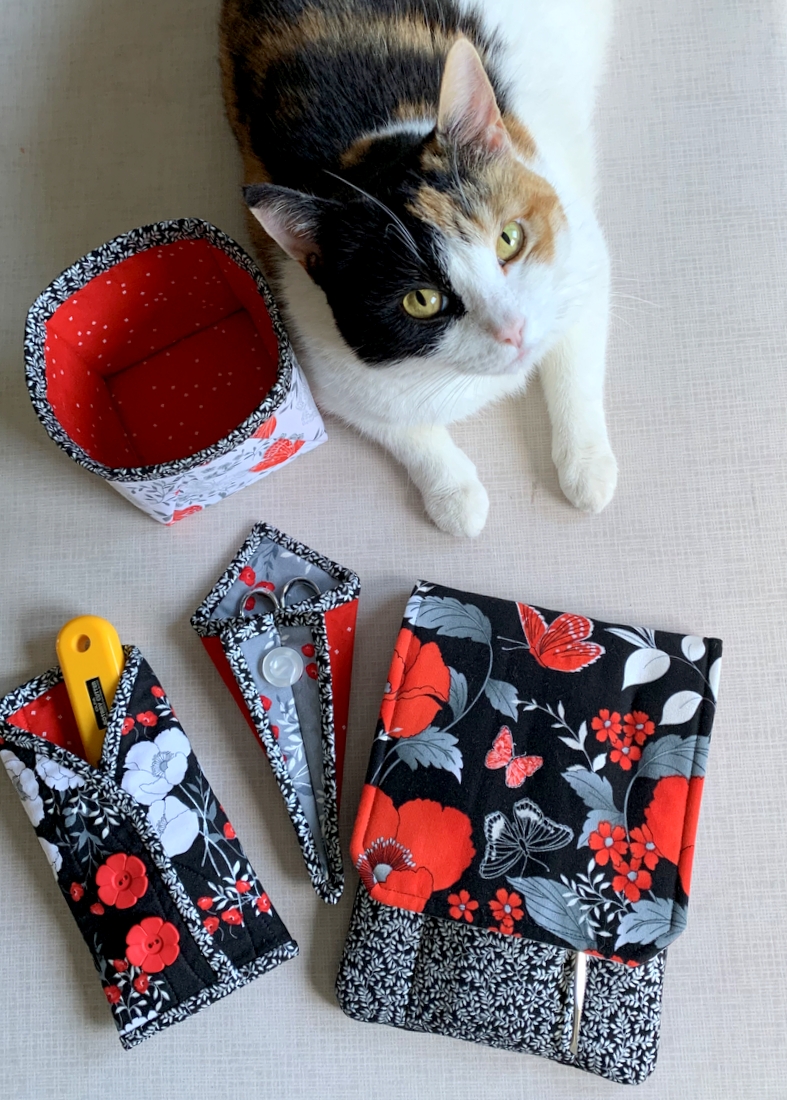
Now the quilt has been trimmed . . .
 . . . and the binding is ready to go:
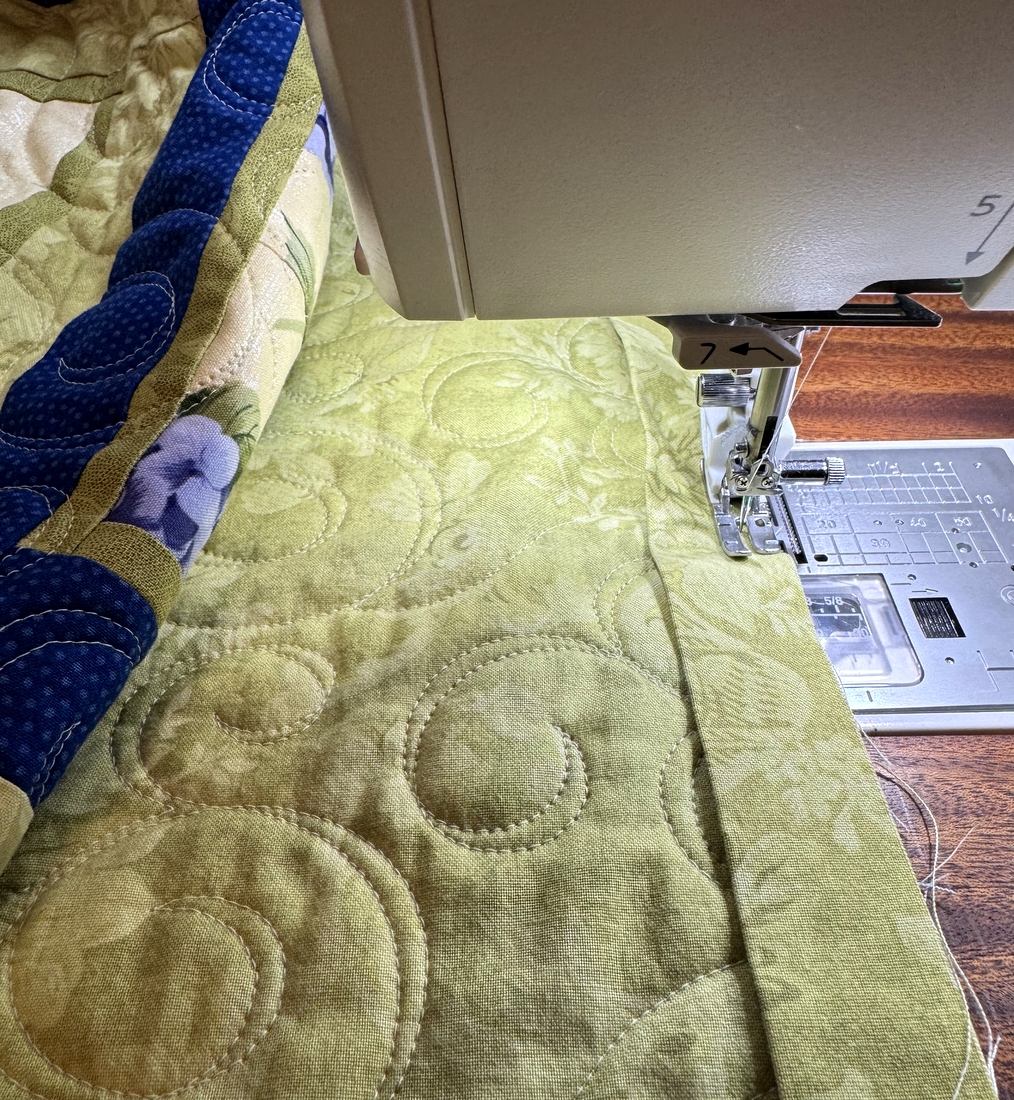 Oh, how satisfying it is to pen the words “Binding has commenced!”


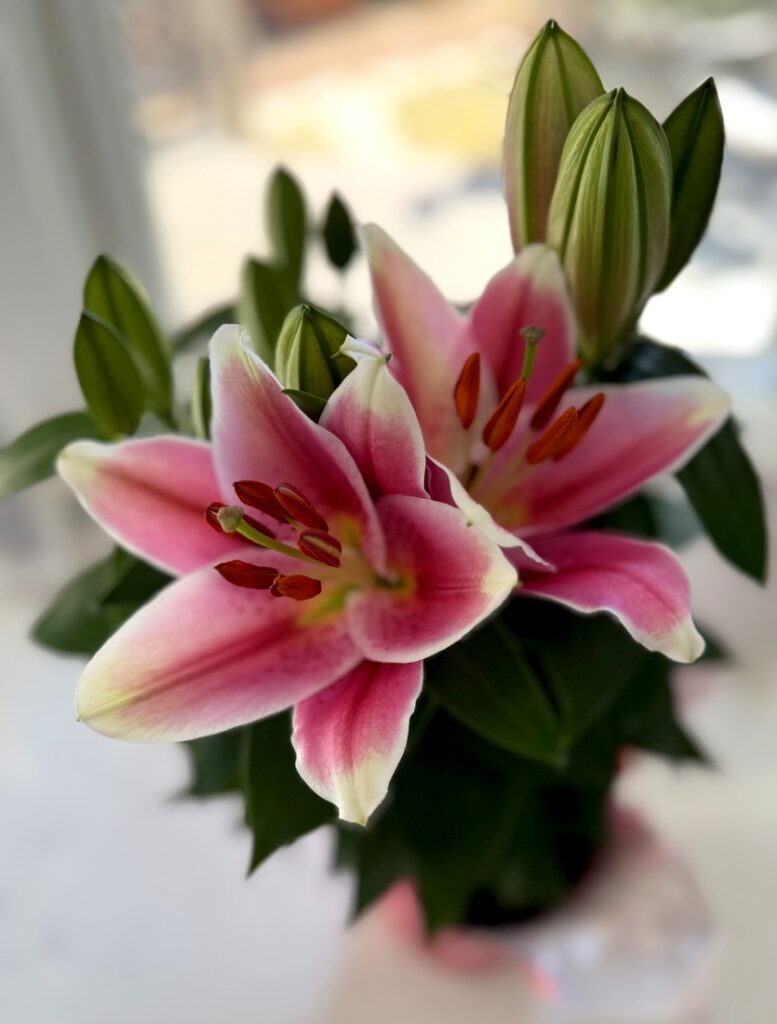 She predicted the buds would be open by Sunday but this morning when I got up I discovered the first two blooms had already unfurled. I’m pretty sure a third one will open up this afternoon.