Petting fabric? If you’re not a quiltmaker, “petting fabric” may be a foreign concept but I can assure you it’s a real thing — for me, at least. Earliest this month while thinking ahead to the projects I want to undertake in 2026, I decided to pull some of my most beloved fabrics from my stash to see what I wanted to use and what I needed to add to the pull to get the right mix for the designs I have in mind.
And by “the right mix” I mean that magical combination of color and value and texture that printed designs on fabric bring to a finished quilt. The combination that makes this quilter’s heart sing. There’s nothing quite so satisfying as running your hands over crisp quilter’s cotton (otherwise known as petting fabric) and imagining what beautiful things you can create from it.
I may be waxing philosophically but this past November was a milestone for me. I turned 75 – three quarters of a century! — and I got to wondering how many quilts I have left in me. I have accumulated a virtual (I won’t say literal even though it’s true, ha ha) mountain of fabric, and there’s no way I can use all of it in my lifetime.
So I asked myself: what are some of the fabrics I love so much I want to make something with them before I die? I’m not being morbid here; I simply want to acknowledge the desire to prioritize my quilt projects according to the fabrics I adore the most while taking into account the fact that I am not immortal.
So here’s a short list of projects I want to embark on in 2026. (You just have to promise not to hold me to this list because who’s to say a fabric line won’t debut in the next few months that totally takes my fancy, turns my head, and causes some of the quilts I have in mind to drop down on the list? This is the eternal dilemma for quilters, no?)
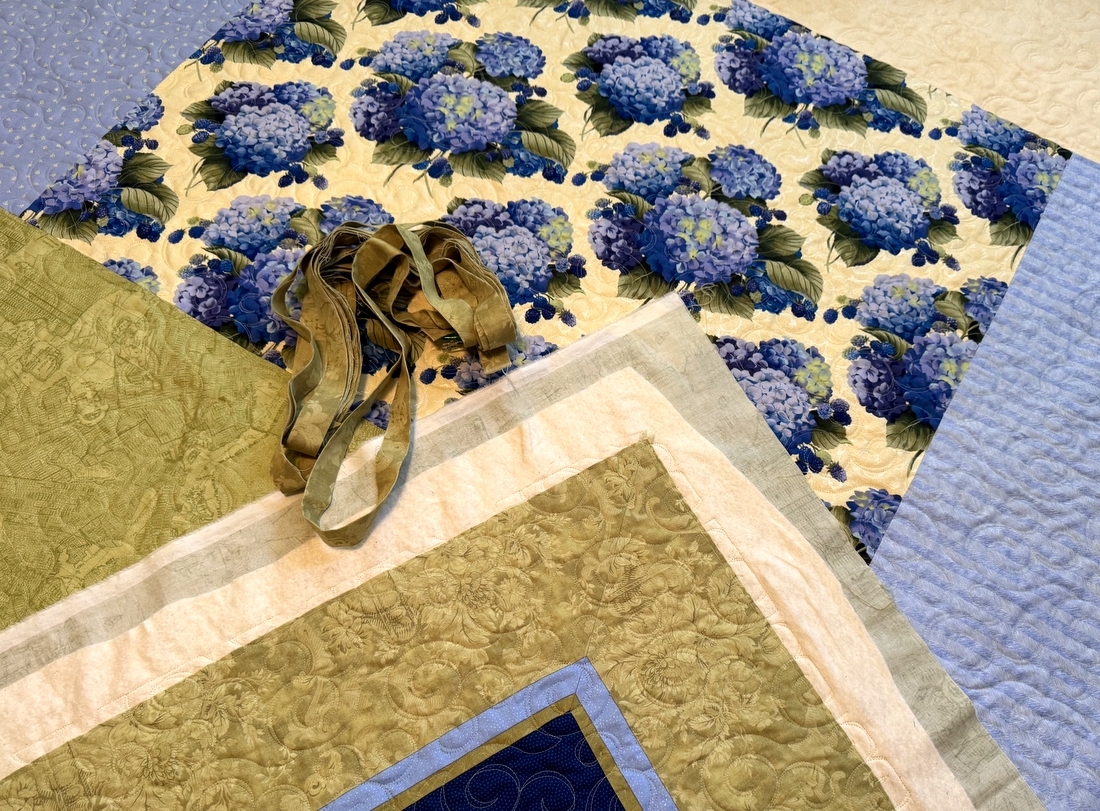
At the very top of my list is a quilt showcasing a gorgeous floral print from the “Jolie Jardin” line by Lakehouse Dry Goods:
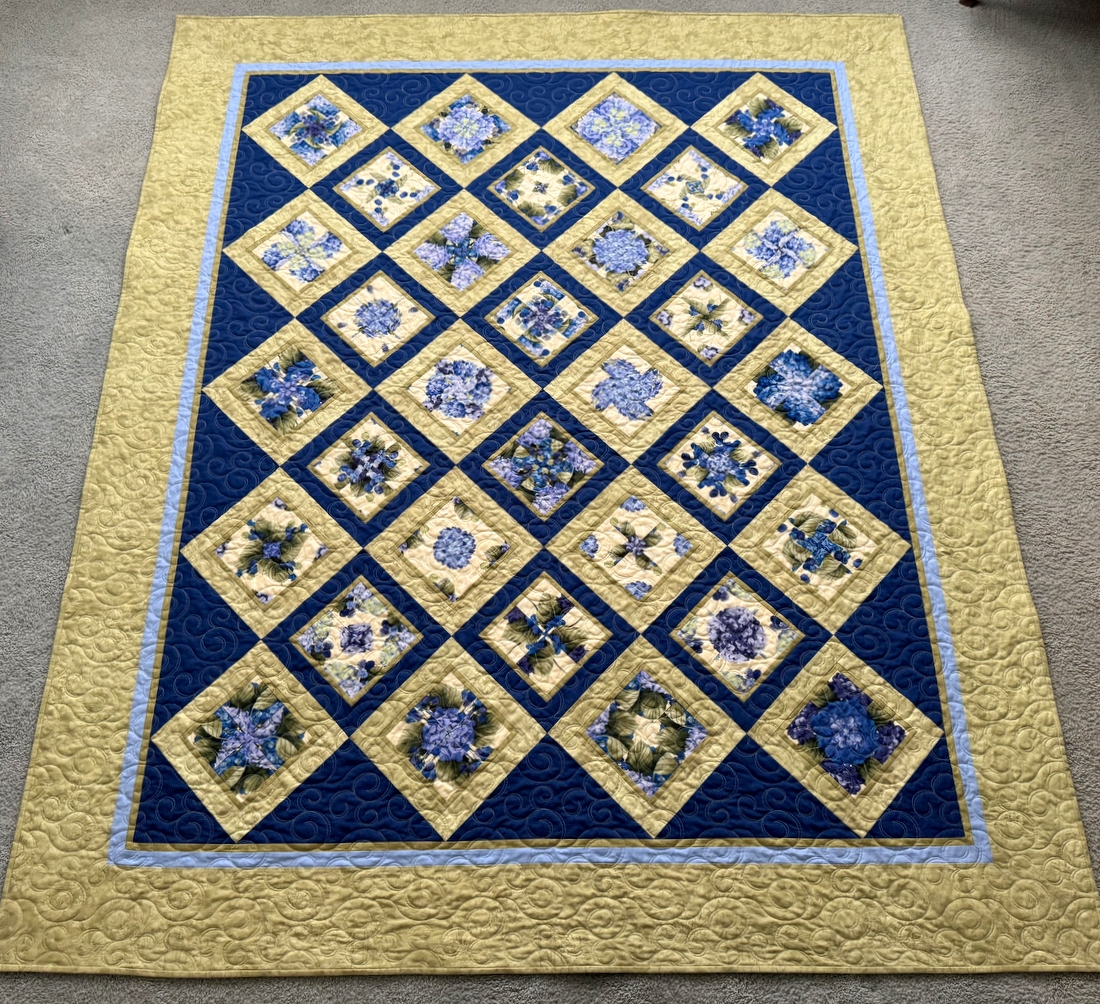
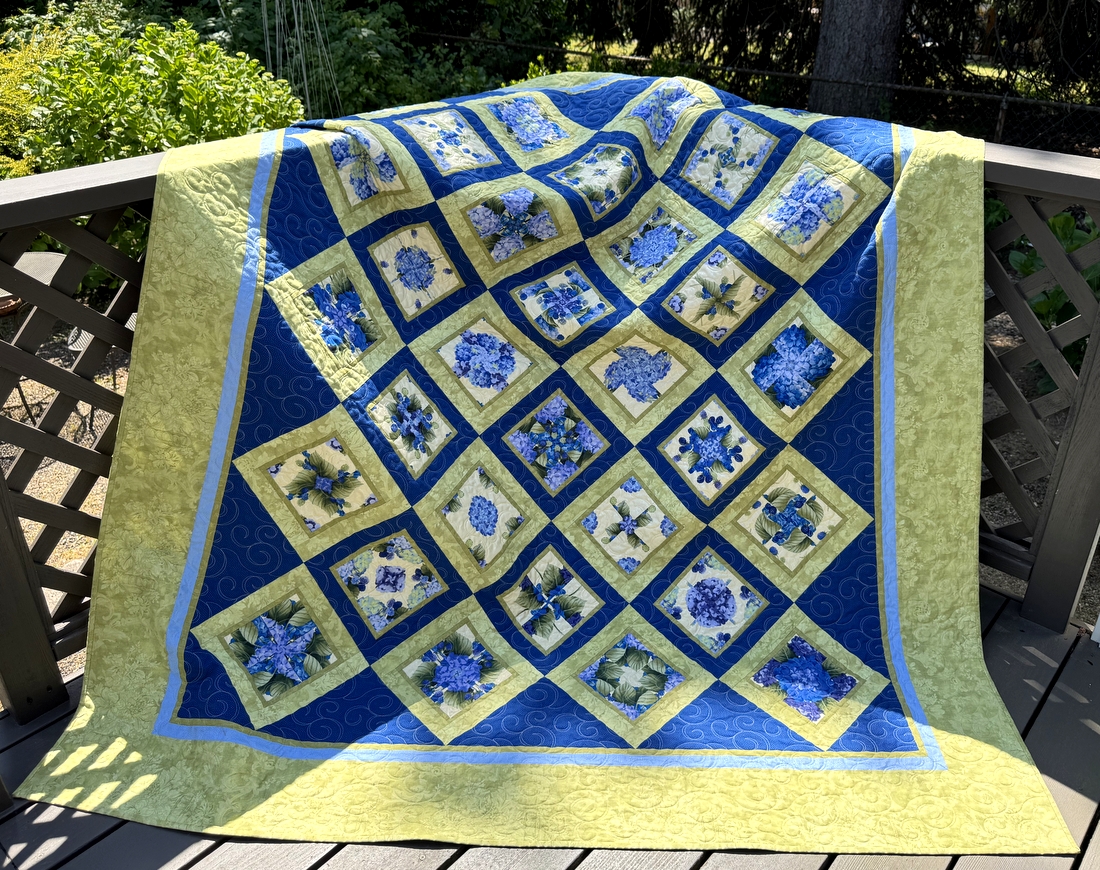
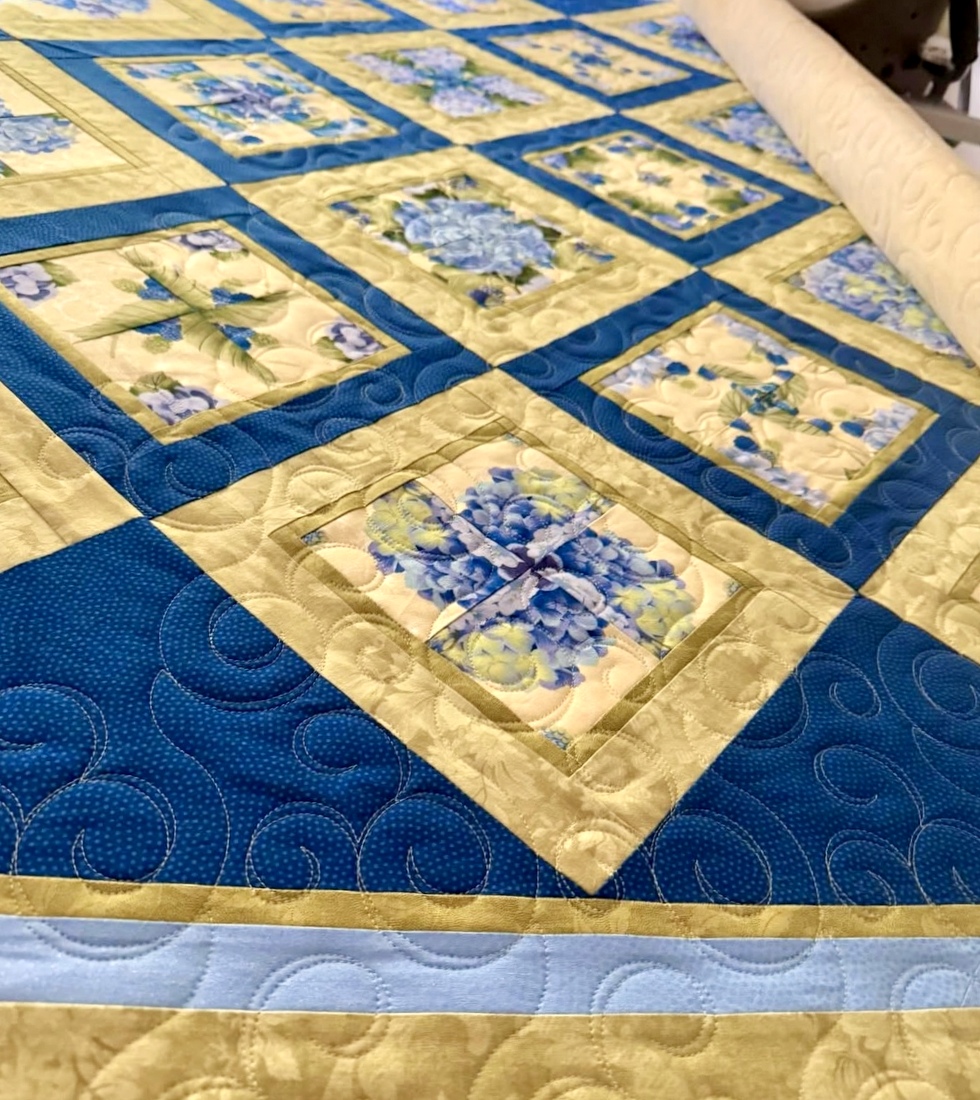
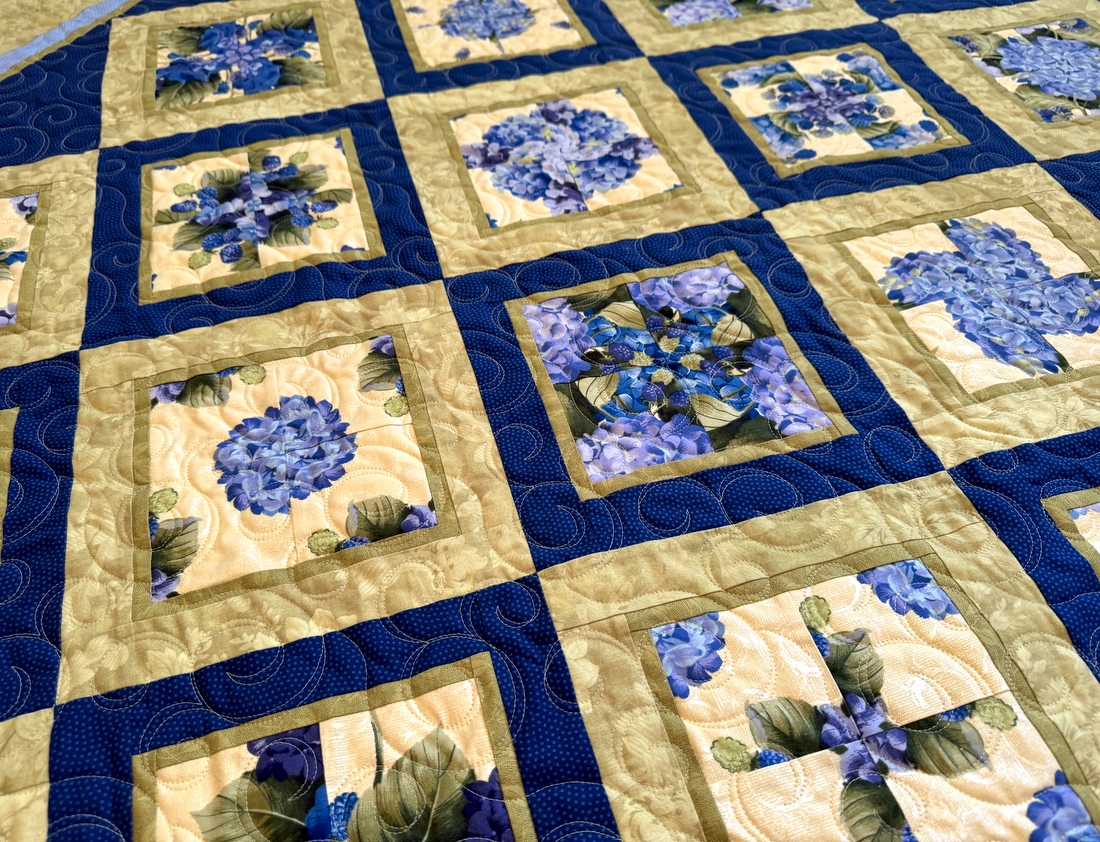
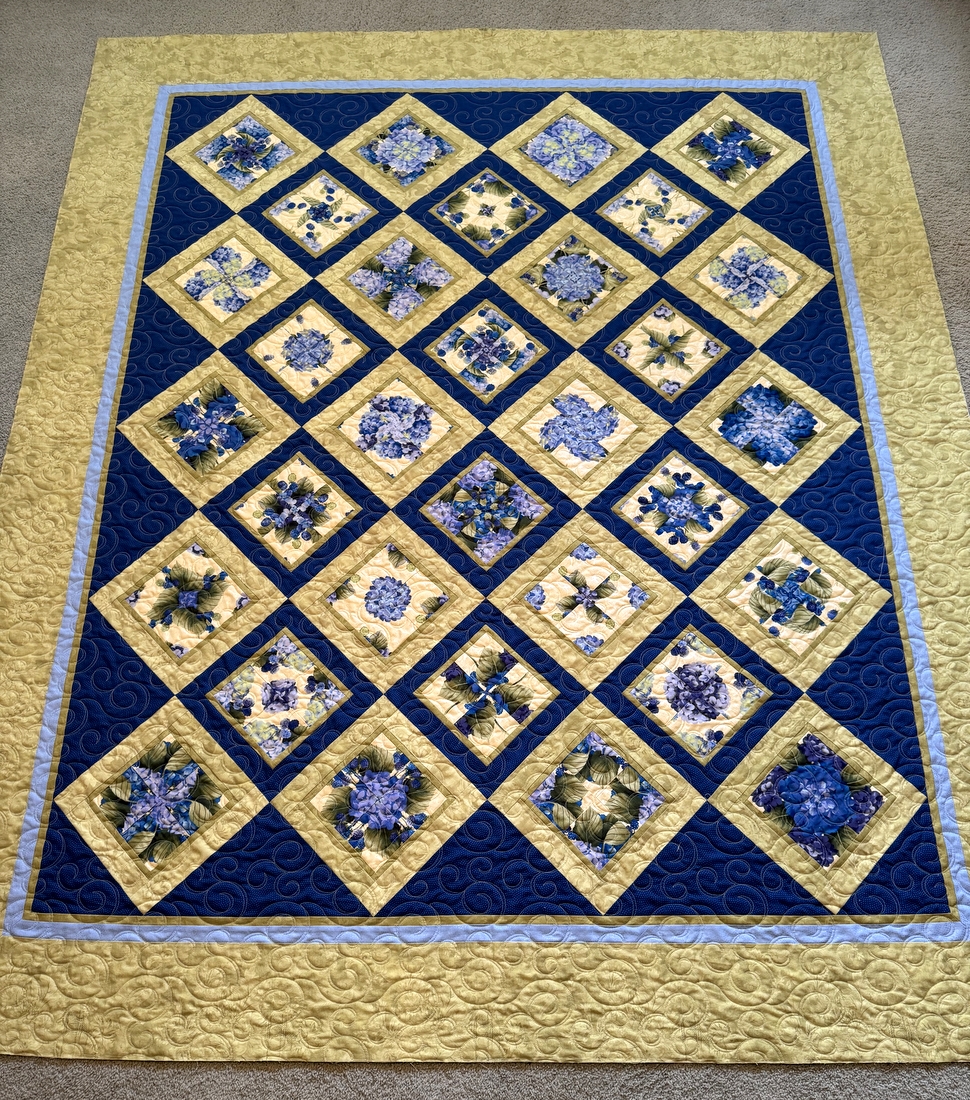
 I’ve paired it with fabrics that I think will go well with the pattern shown, Dandelions at Dusk by Blue Bear Fabrics. That Lakehouse focus fabric has been in my stash for at least 16 years. I know this because I used some of it in a quilt I made in 2010 called Dianthus, which you can see right here:
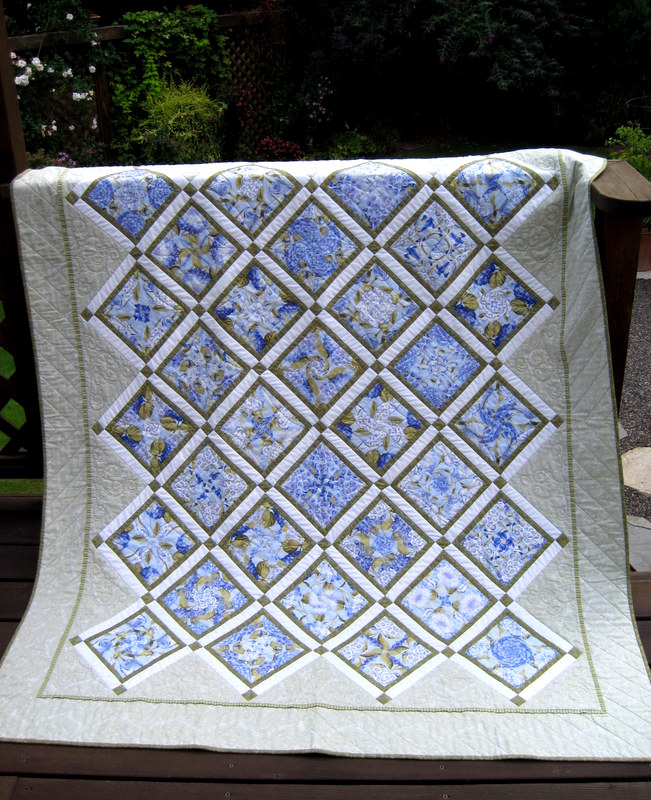
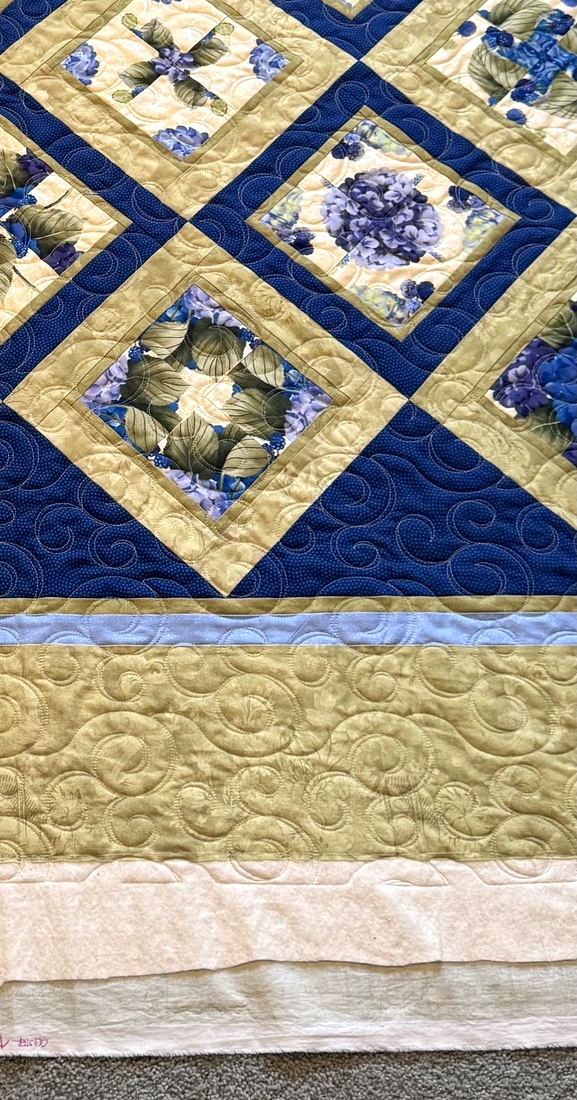
The pattern is 4-Patch Stacked Posies by HD Designs. Back then I had recently discovered the four-patch kaleidoscope block and was having great fun investigating the possibilities with other fabrics and other settings. At this point I haven’t decided whether I will make four-patch kaleido blocks for this next quilt or cut squares directly from the fabric. My plan is to make a test block or two tomorrow.
I have two quilts in mind for this next group of fabrics:

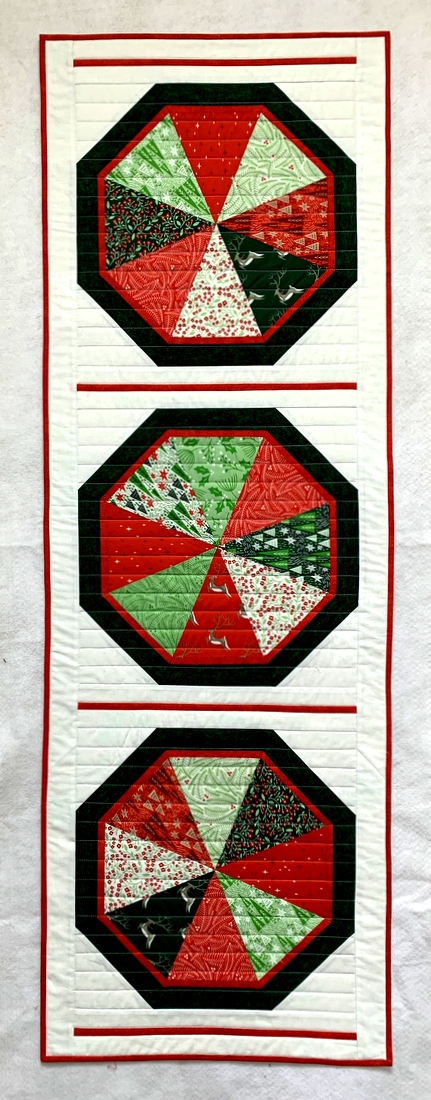
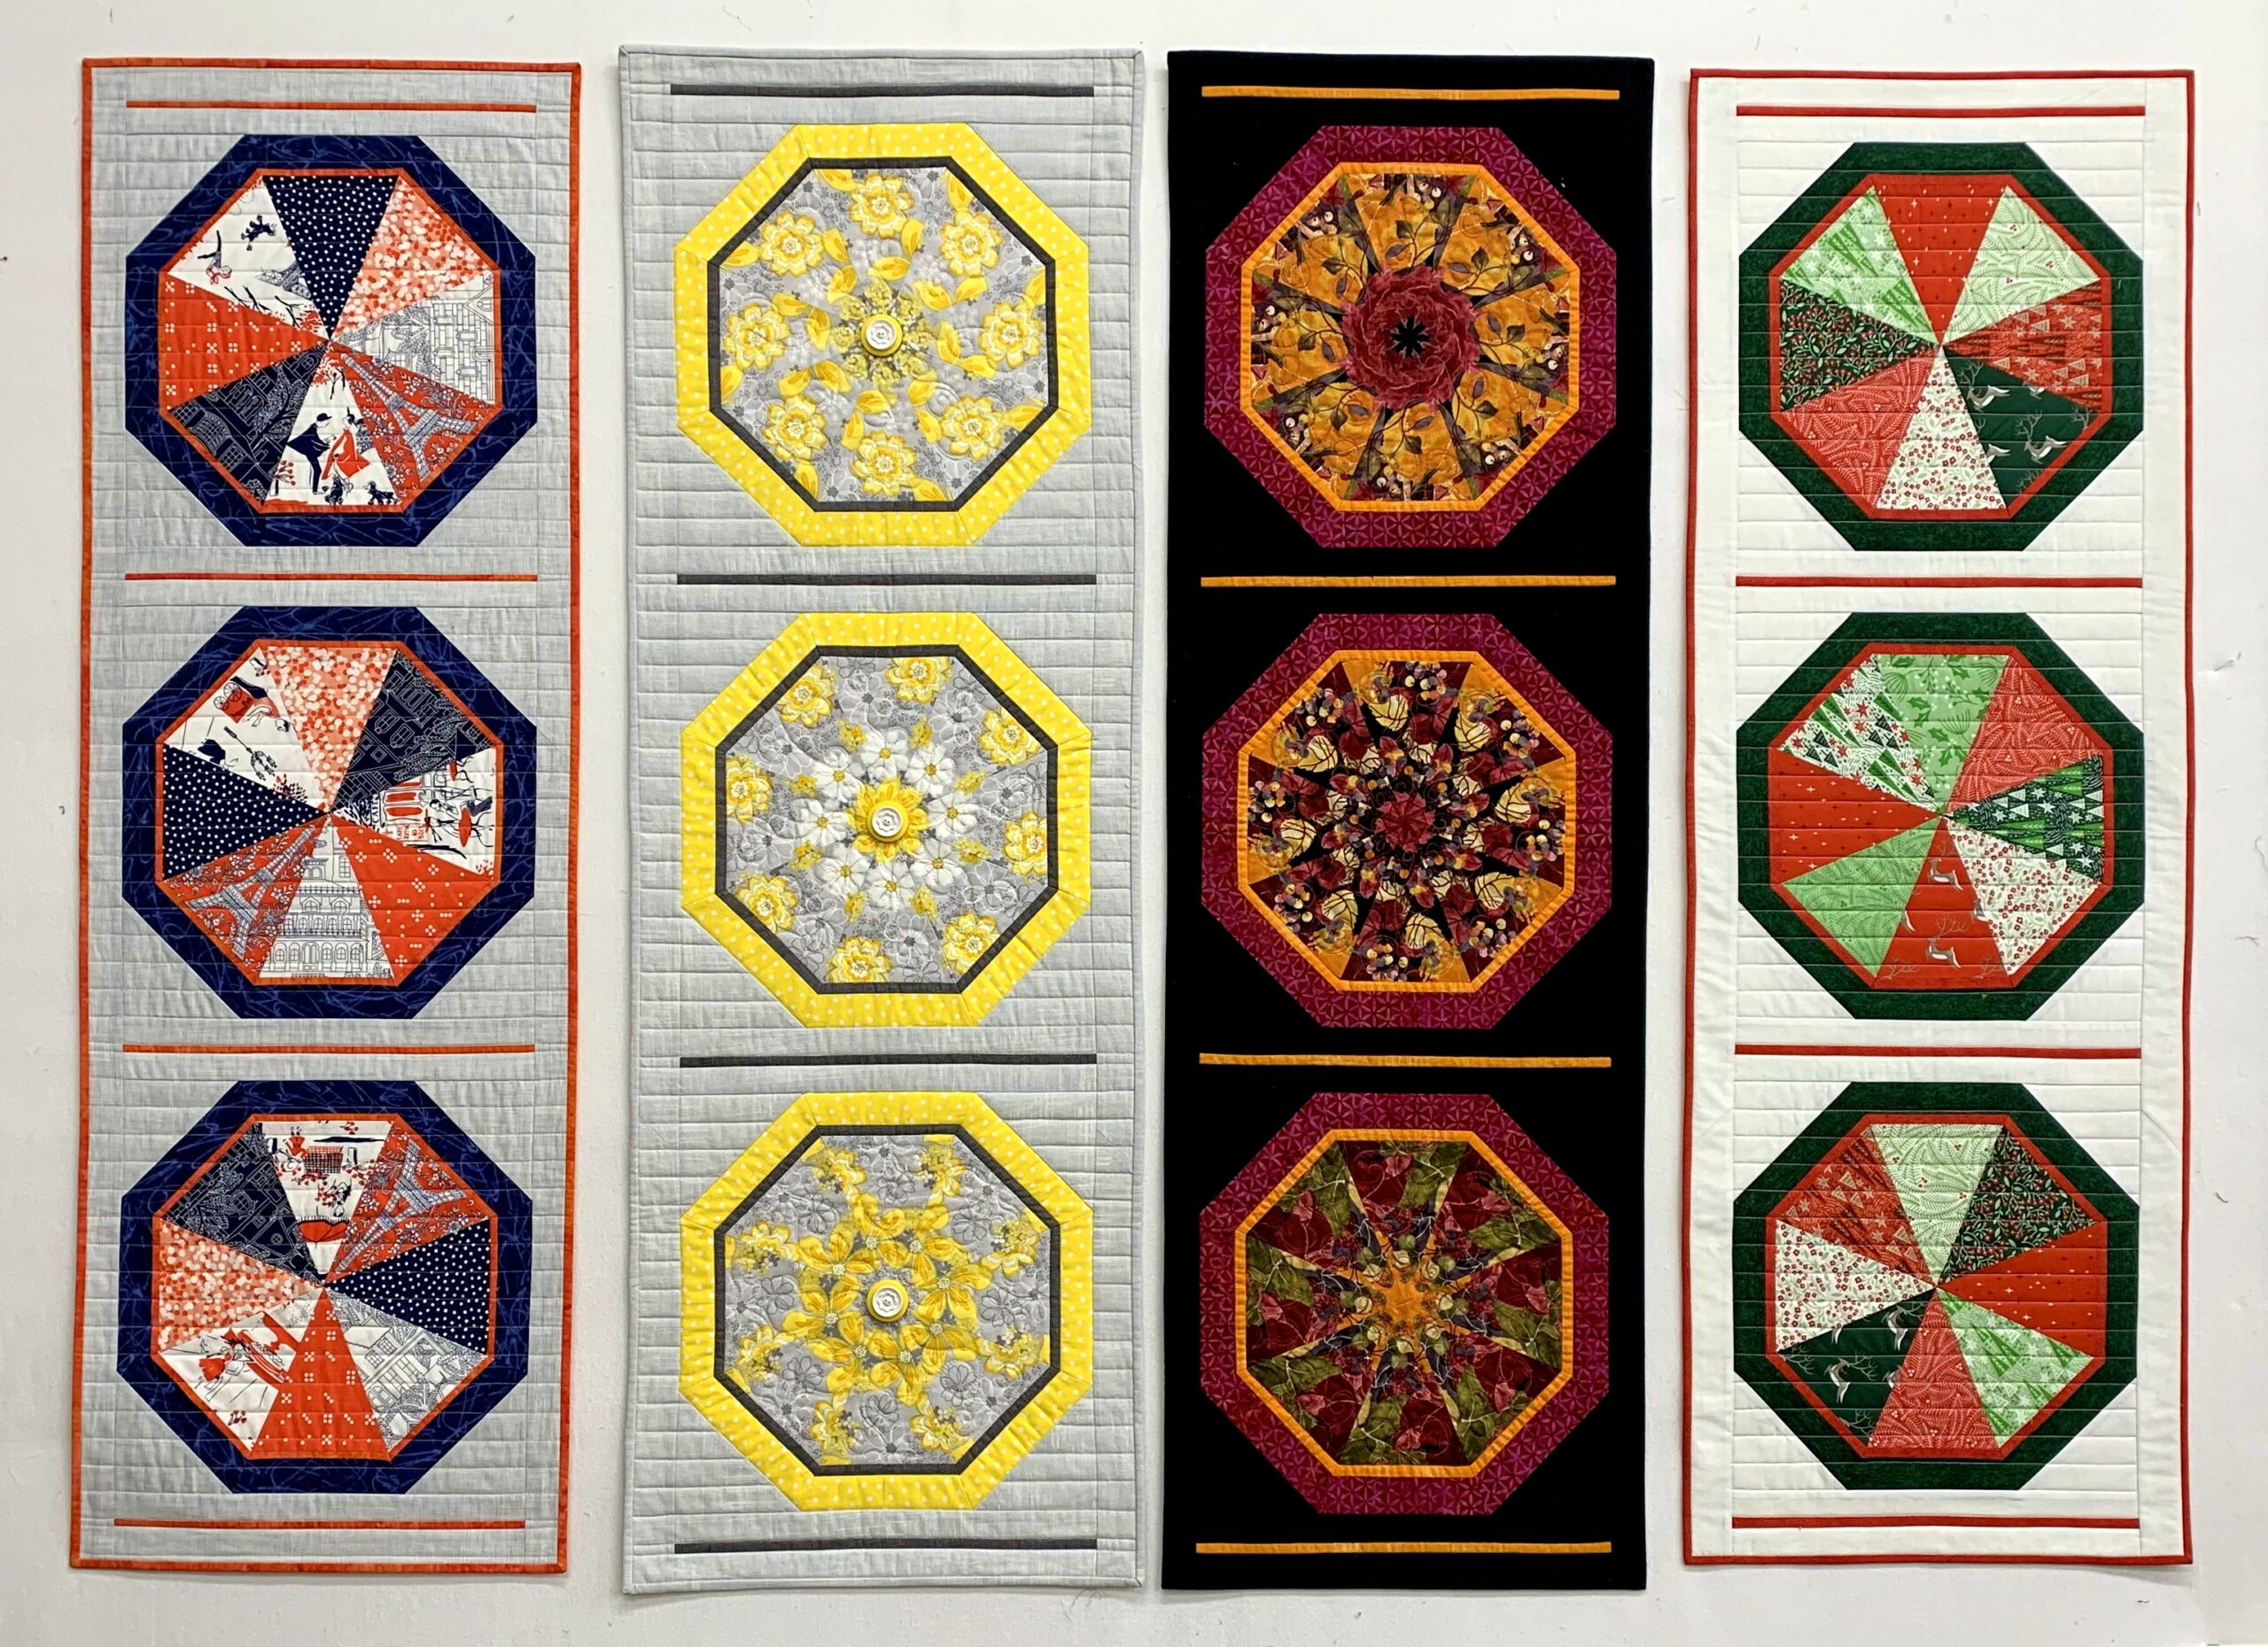
The first is a true winter version (as opposed to a holiday version) of my pattern Season to Taste. Here you see my spring, summer, fall, and winter versions:
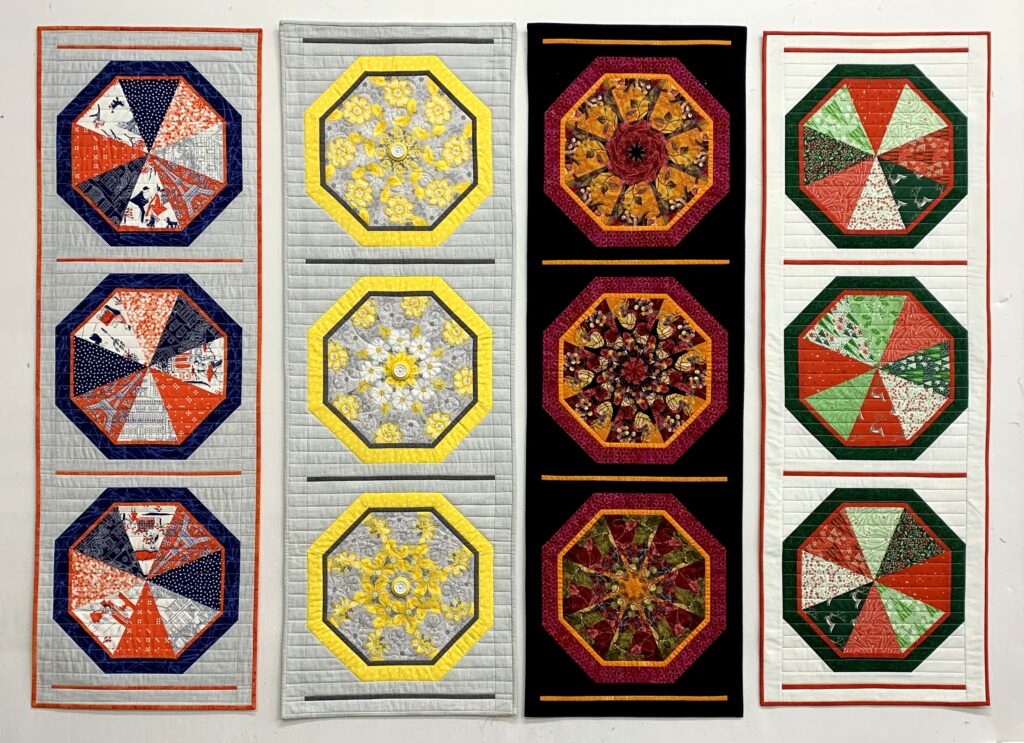 The winter version (far right) was given to my twin Diane as a Christmas gift a couple of years ago so I made a second holiday version for myself this past year:

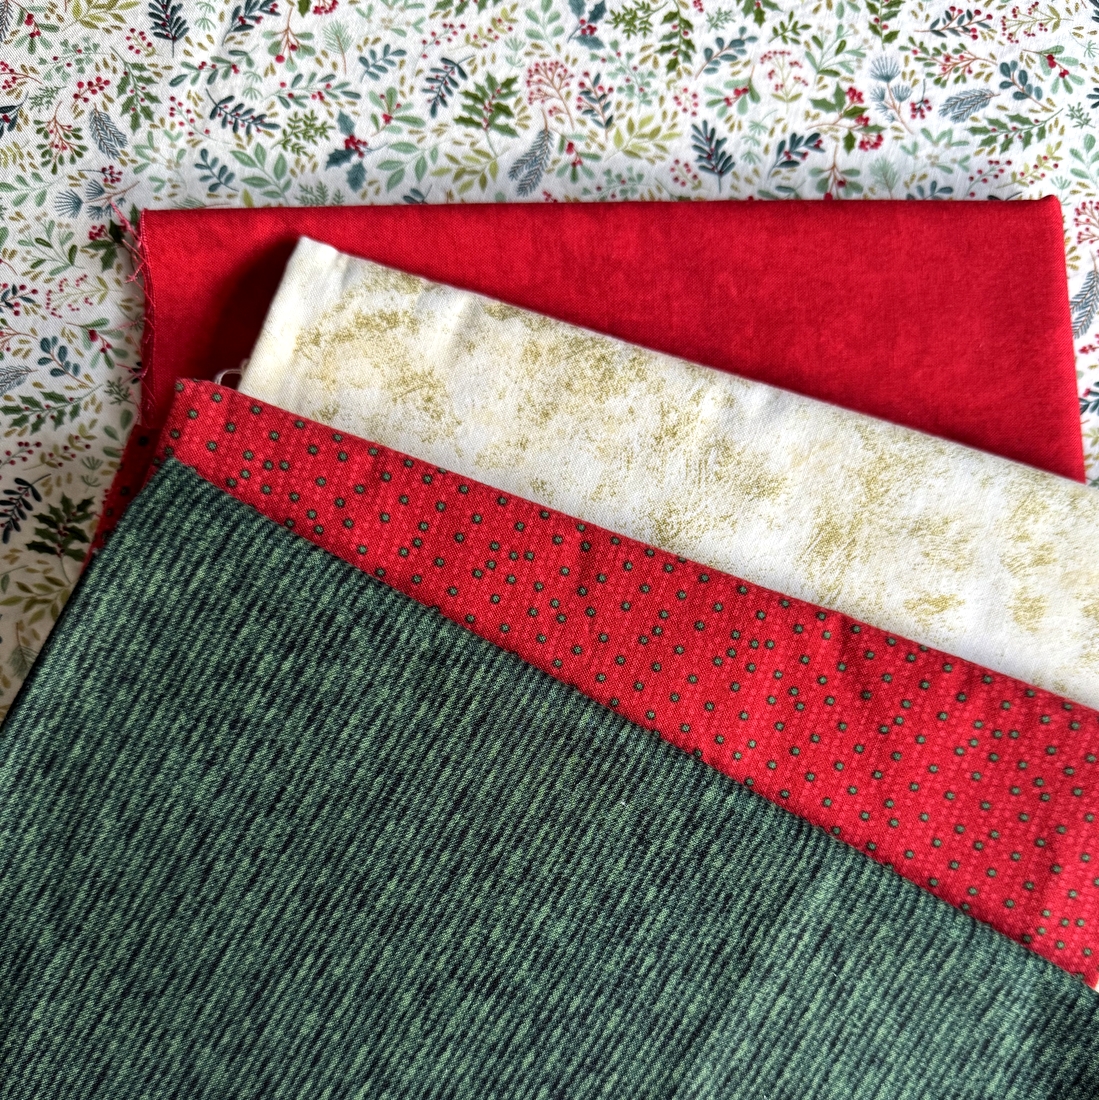
I’ve been rotating my Season to Taste quilts on a wall in the master bath but I don’t necessarily want to keep the winter version you see above on display during January and February. That’s why I need a true winter version, and I am totally in love with the fabrics in the grouping I have put together that speak “winter” to me. I have already cut out more than enough 45˚ triangles for the three blocks needed for a wall hanging:

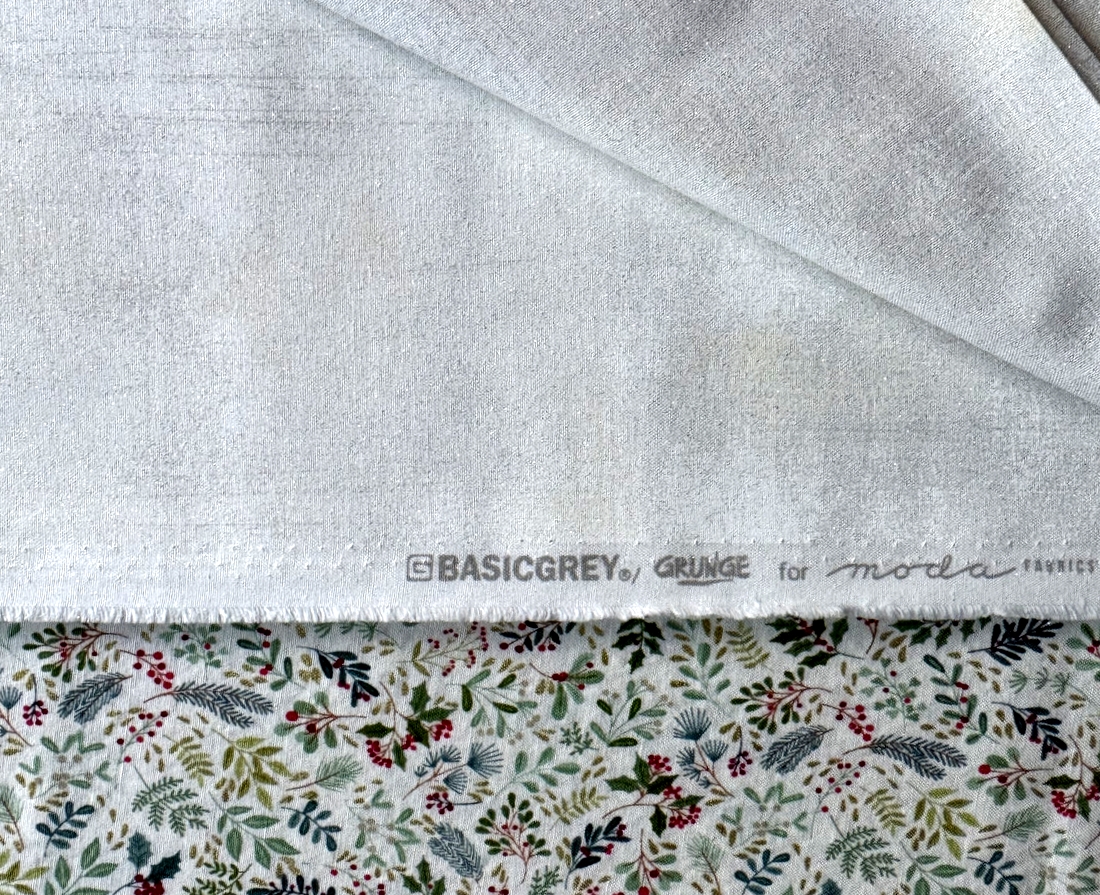
The background fabric is a light gray “Grunge” from BasicGray for Moda. Very appropriate for a typical rainy winter in Portland, Oregon but the prints are lively enough to dispel the winter blahs (or is that winter blues?).
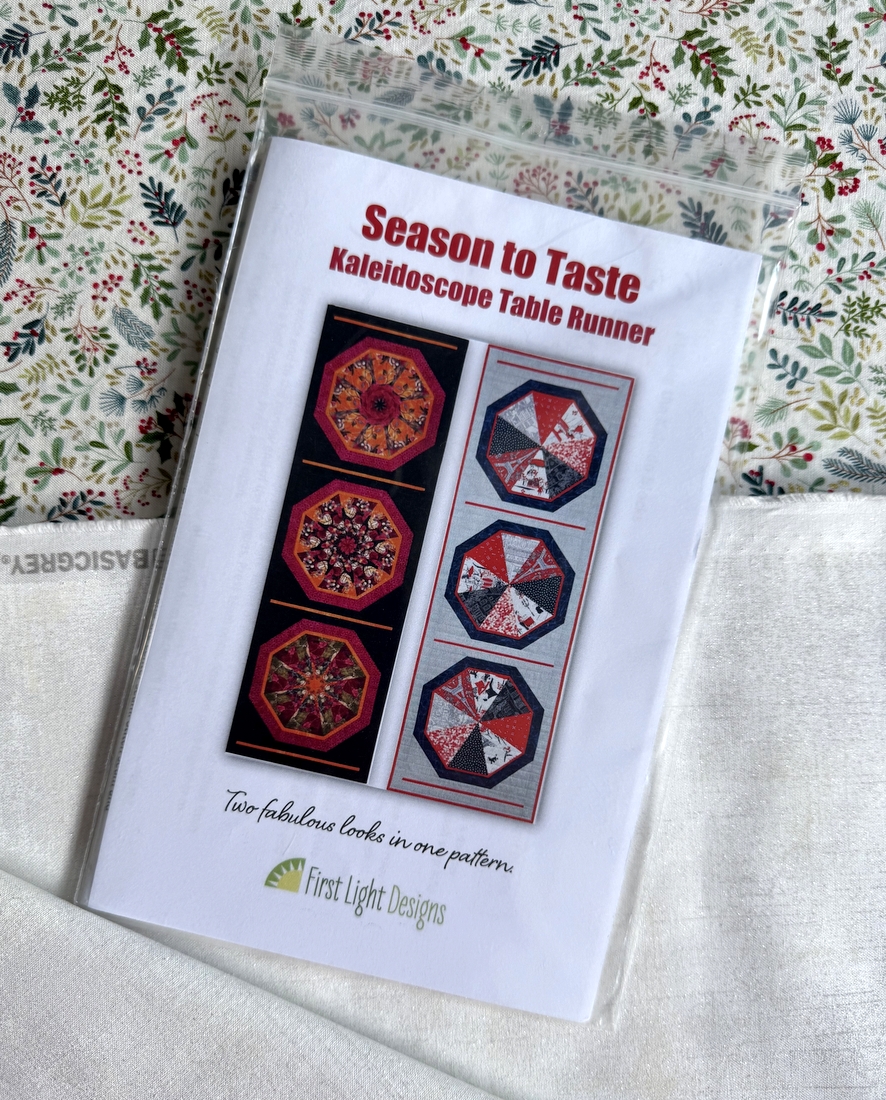
And what about the second version with these fabrics? Well . . . regular readers will recall my obsession with the free Ribbon Box pattern from Cloud 9 Fabrics. I made three versions in 2024. (You can see them here in my Quilt Gallery.)
In the photo below you can see the front page of the Cloud 9 pattern. My plan is to transform it into a bed runner. I tested my idea by simply folding the paper to create a quilt with two vertical ribbons and four horizontal ones. By reducing the width of the ribbons from 5″ to 4″, I’ll wind up with a bed runner that measures 28½” wide.

I have a length of very pale aqua fabric with just a hint of texture and sparkle for the background of this quilt. I think it will be lovely!
I hardly know where to start but as Scarlett O’Hara famously said, “Tomorrow is another day.” There is nothing on the agenda tomorrow so I hope to have a test block to show you very soon.
Thank you for stopping by. And by the way, Happy New Year!

 Aren’t they pretty?
 Can you see the very subtle herringbone design? It has to be cut and sewn in two different ways for the design to be in the correct position in each block. One really has to pay attention! I confess there has been some “unsewing” and “corrective sewing” going on.


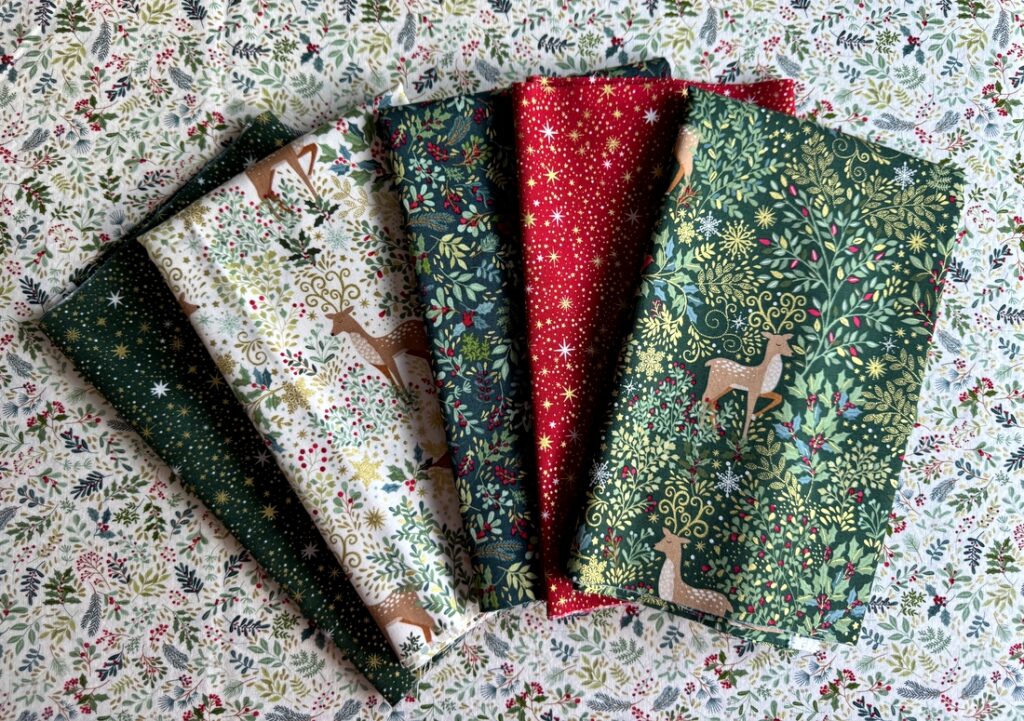 I could visualize these prints in a kaleidoscope quilt with the reindeer fussy-cut to show them off to best advantage. But I needed a few more fabrics. Back home in Portland I raided my stash and added these to the mix: