. . . is not as easy as it looks.
I’m talking about the places on my red and white windmill quilt where the points of the windmills meet. Matching my points turned out to be much more challenging than I had anticipated.
Here’s why. Take a look at a complete block:
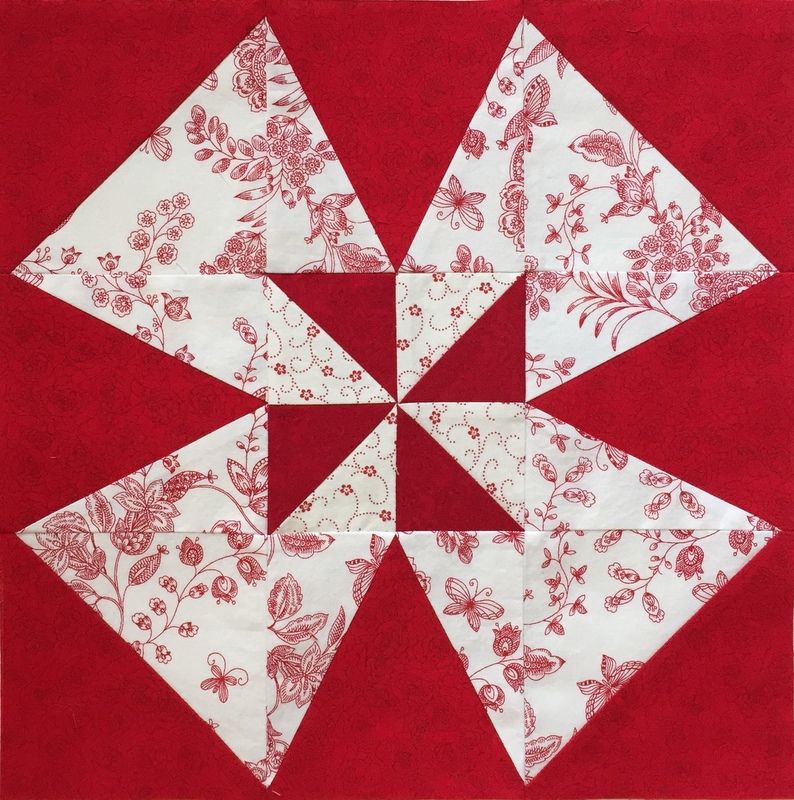
The seams in the Half Square Triangle (HST) corner blocks and in the center pinwheel are sewn at 45° angles . . .
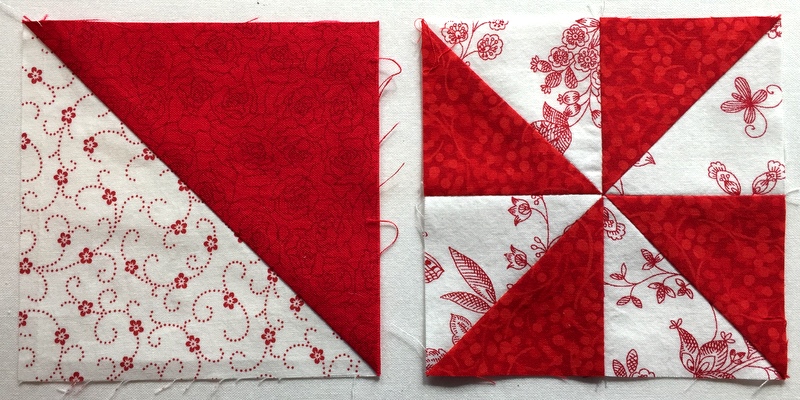
. . . whereas the seams in the V blocks are sewn at sewn at 60° angles:
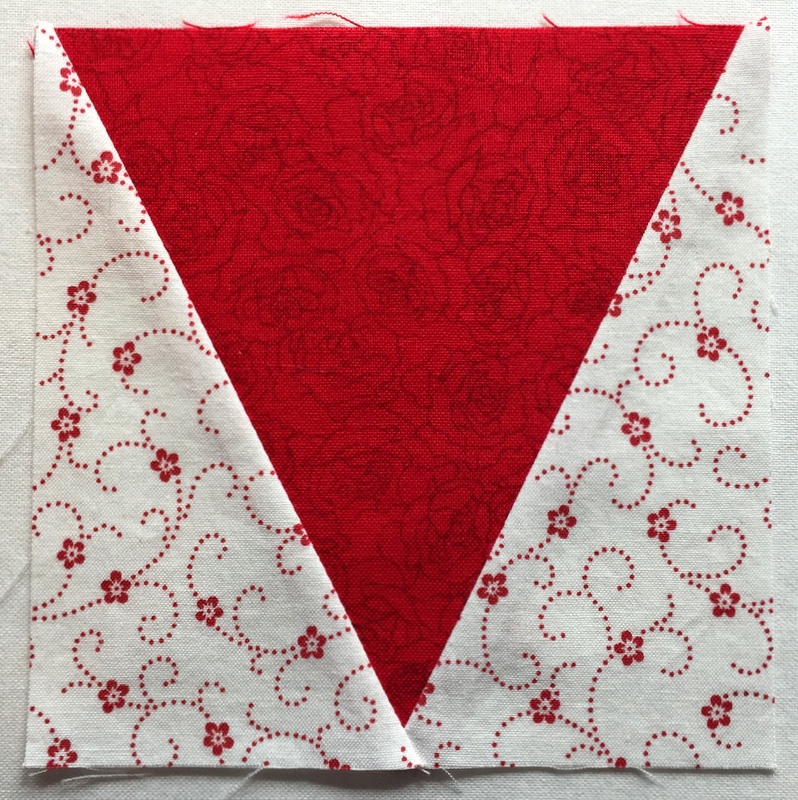
When a V block is sewn to an HST or pinwheel block, the seams don’t naturally “nest,” even when the seams are pressed in opposite directions. Accuracy in pinning and sewing is essential.
My individual blocks went together nicely. Joining the blocks to form rows and then sewing the rows together was where I ran into problems. I’m a pretty precise piecer but I found that getting my points to line up properly was not just a matter of careful pinning and stitching.
Eight seams come together where the outer points of the windmills meet in adjacent blocks. It’s very difficult to sew them together without some of the seams shifting ever so slightly. With the amount of contrast between light and dark fabrics, points and seams that are even a stitch or two out of alignment are going to stick out like sore thumbs.
The seam between Rows 1 and 2 gave me absolute fits. There was much ripping out and resewing of small sections, accompanied by much gnashing of teeth (and some unpardonable language). I finally resorted to pinning and basting two rows together, then going back to do corrective sewing on the problem points (ripping out, repinning, rebasting . . . multiple times) before sewing the entire seam with a shorter stitch length.
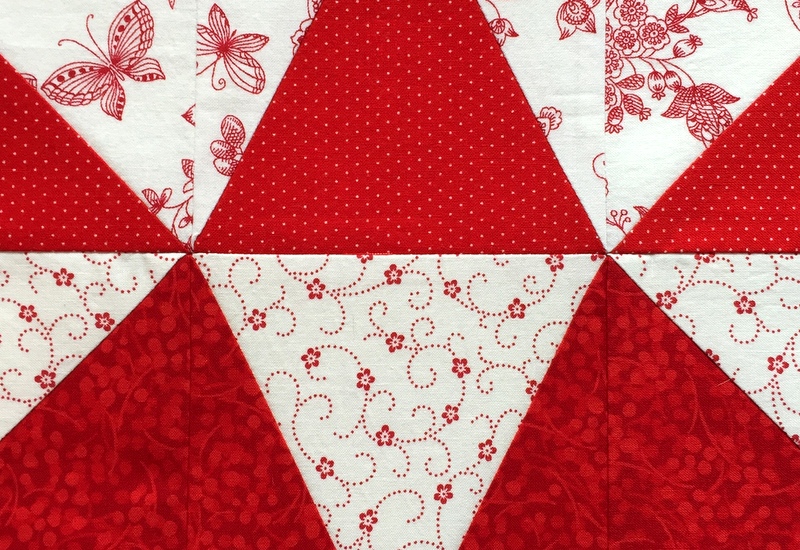
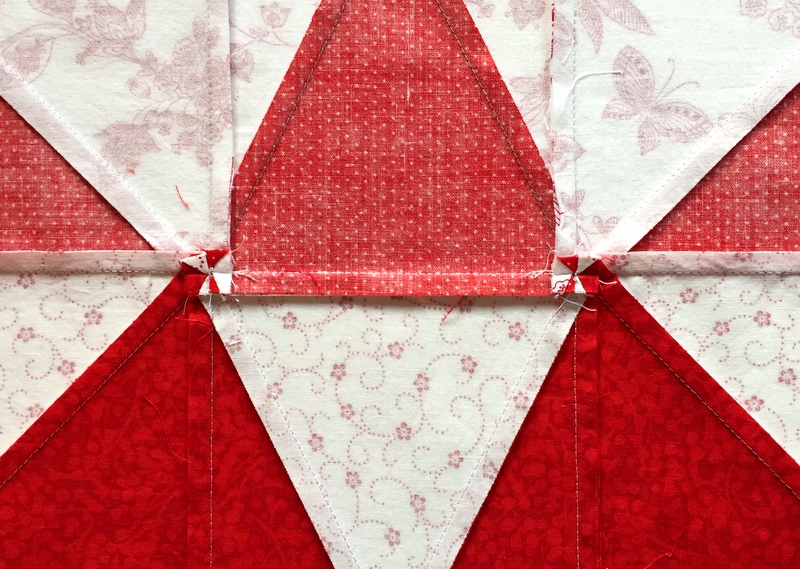
The horizontal seam in the center of the picture below shows two properly joined blocks:
On the back where the eight seams come together, the row seams were popped open to distribute the bulk, forming ½” square pinwheels:
I can now happily report that all of the frustration was worth it. Take a look at my finished quilt top:
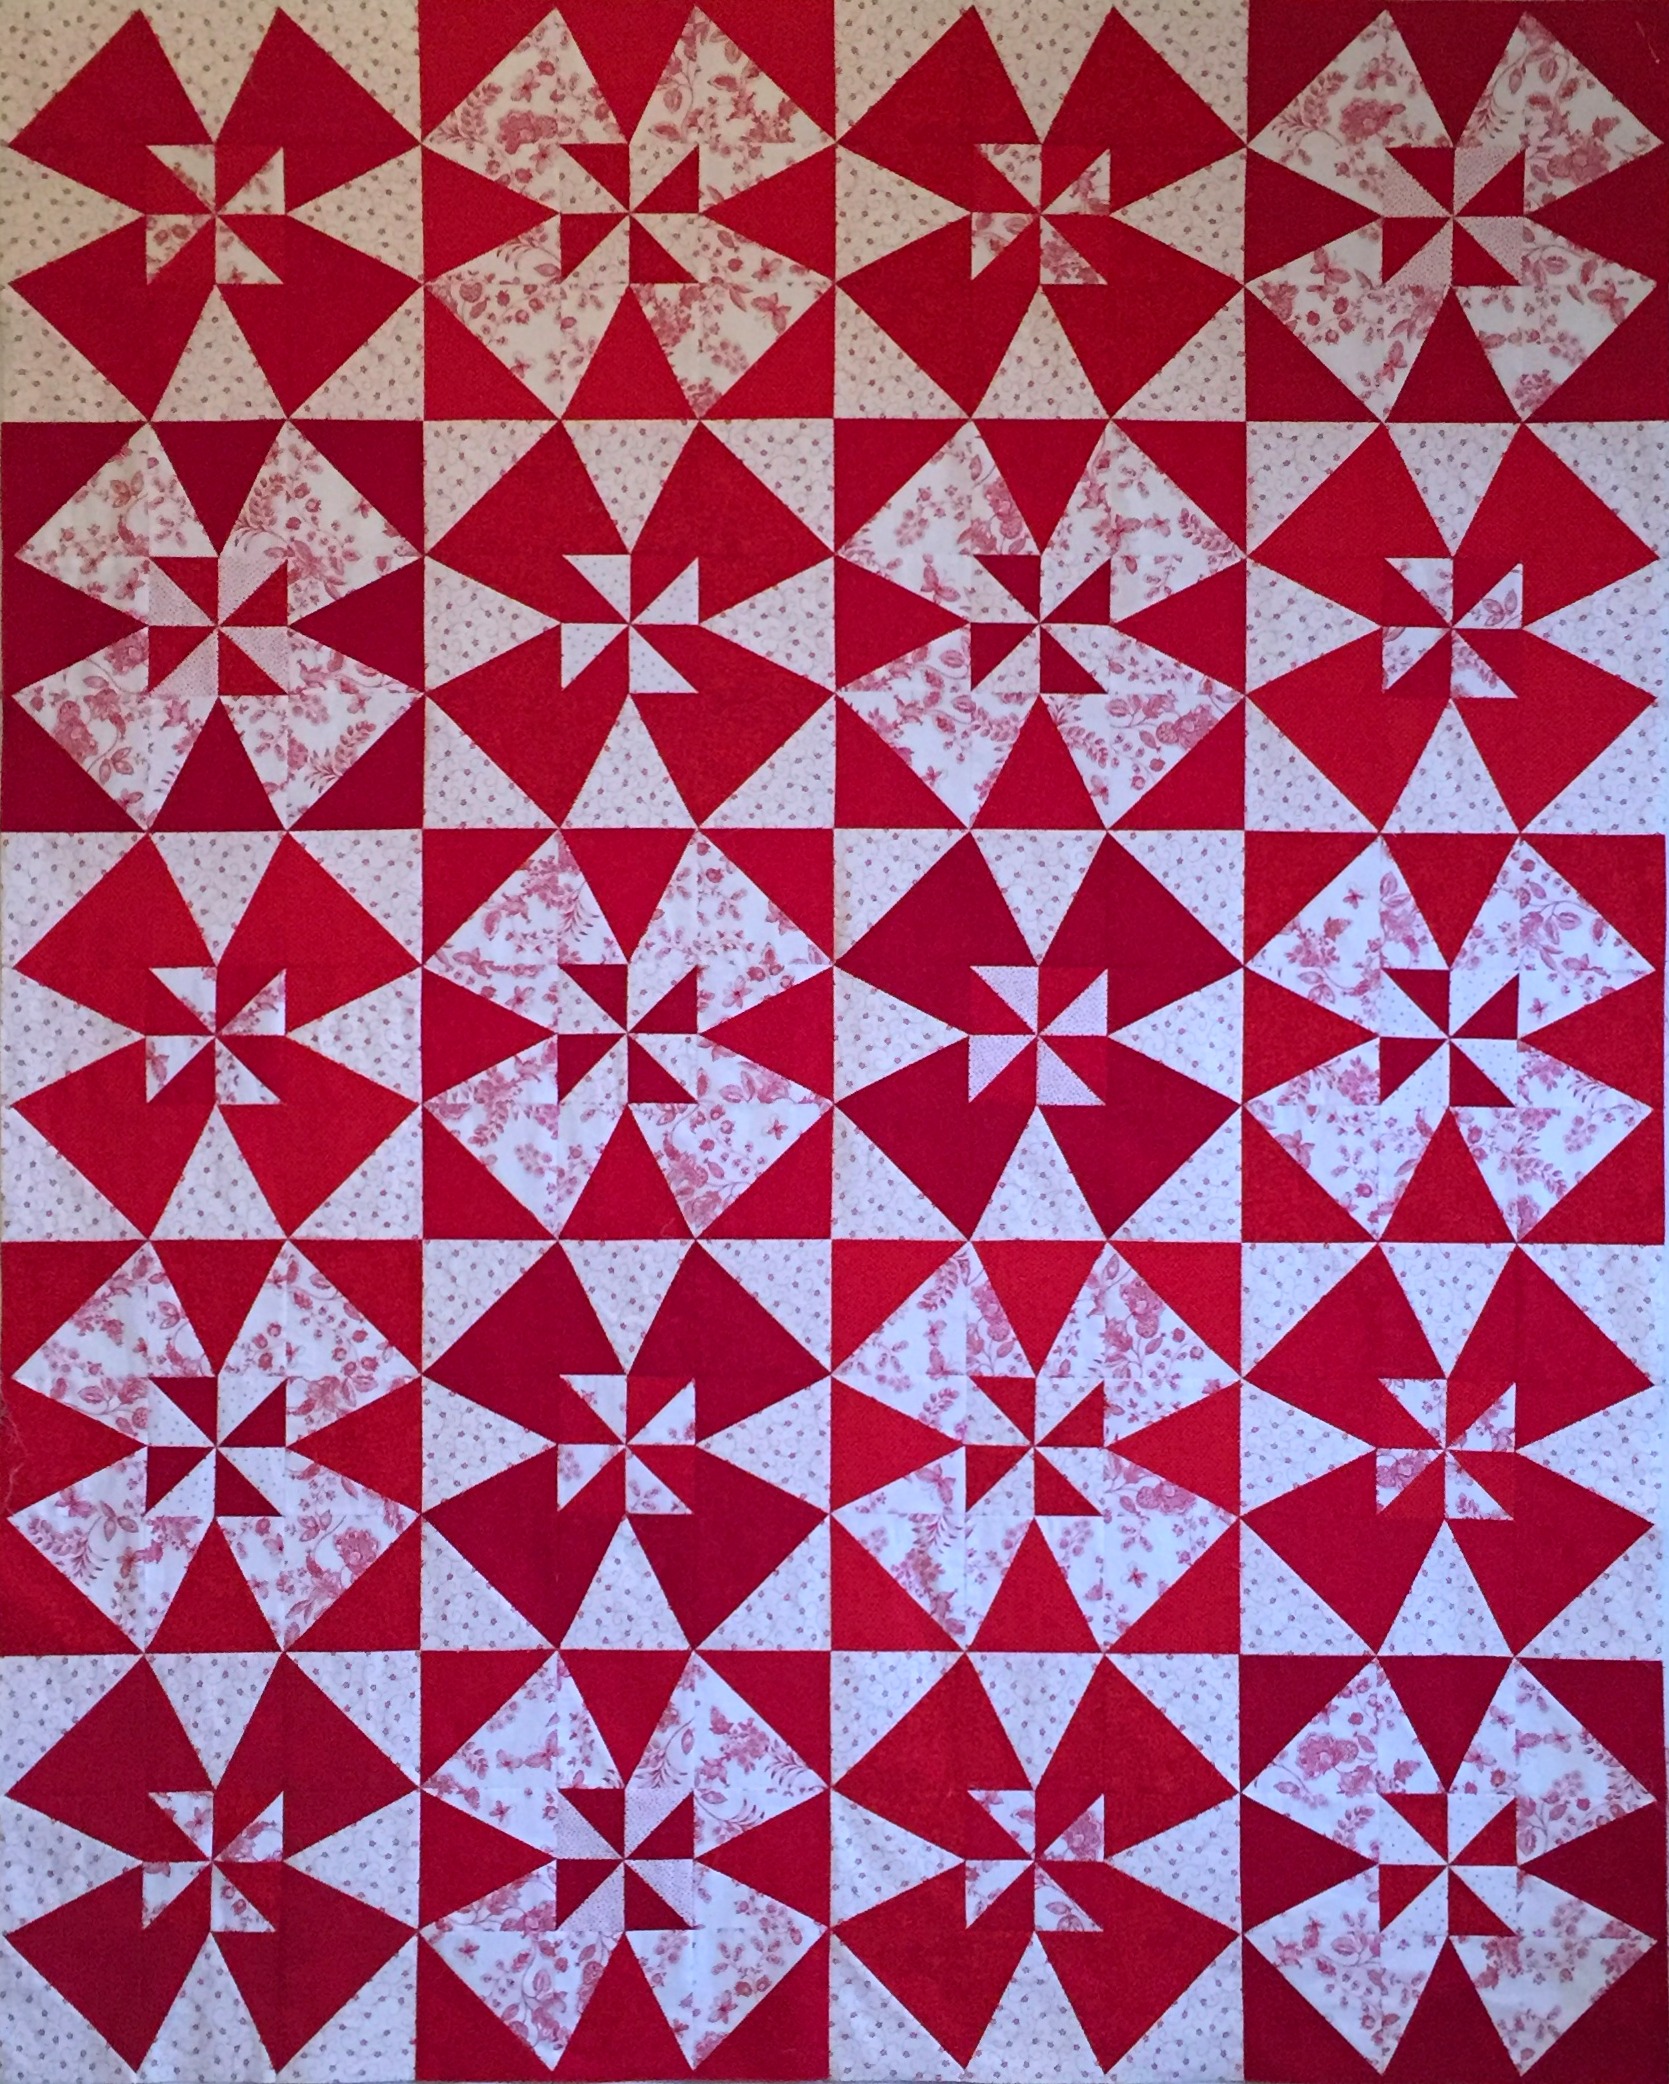
Now that all of the blocks are joined, can you see the overlapping circles? You should be able to see both light and dark circles. They are illusions, as there are no curved seams in this quilt top. The quilt block is a variation of the classic Winding Ways block, which employs curved seams to form overlapping circles.
The pattern (A Midwinter’s Night by Cottage Rose) calls for borders with pieced cornerstones but I like the look of this without any borders at all. It measures 48½” x 60½”, a nice sized throw.
And I have a name for it. Because I think of the blocks as windmills, I’m going to call this quilt Dutch Treat. Some of my readers suggested I call it Coco’s Valentine, since my calico kitty seems to like it so much. Truth be told, Coco likes every quilt I make, never missing an opportunity to lounge on a quilt under construction or a finished one.
Linking up with Kelly of My Quilt Infatuation.

Very nice. Aptly named.
That is one beautiful, incredible quilt! Great job…as always.
So cute. Good job persevering with those uncooperative seams.
Love the implied circles.
Outstanding! Absolutely beautiful :).
I completely appreciate your frustration, but your tenacity really paid off! Your pic of the finished quilt top really highlighted the overlapping circles, which just may be my favorite aspect of this outstanding quilt!
I completely agree that precision in cutting, piecing and sewing are essential in creating a quality result. You have brilliantly illustrated this over and over! Elegantly simple and simply elegant!
Like the name – Dutch Treat . . . aka Coco’s Valentine! 🙂
Absolutely gorgeous!
This is absolutely beautiful, and so worth the effort! I love the secondary circular designs.
If you still have a few places where white and red fabrics are too stubborn to line up, a fine-tip pen with permanent red ink can sometimes work miracles to fill any itty bitty spots. (not that I’ve ever had to resort to such a thing! LOL! )
Auntie Em, I have resorted to that wonderful little trick in the past. Thanks for the reminder! There is one spot on my quilt top that could benefit from a touch of red ink . . .
Hi my friend, love how this is turning out. Yes it did take me some time to make a comment. I was stunned that you would ever use any inappropriate or salty language. I had to recover from that shock. So, when going for precise points would glue work better than pins? Or is there something else to use?