
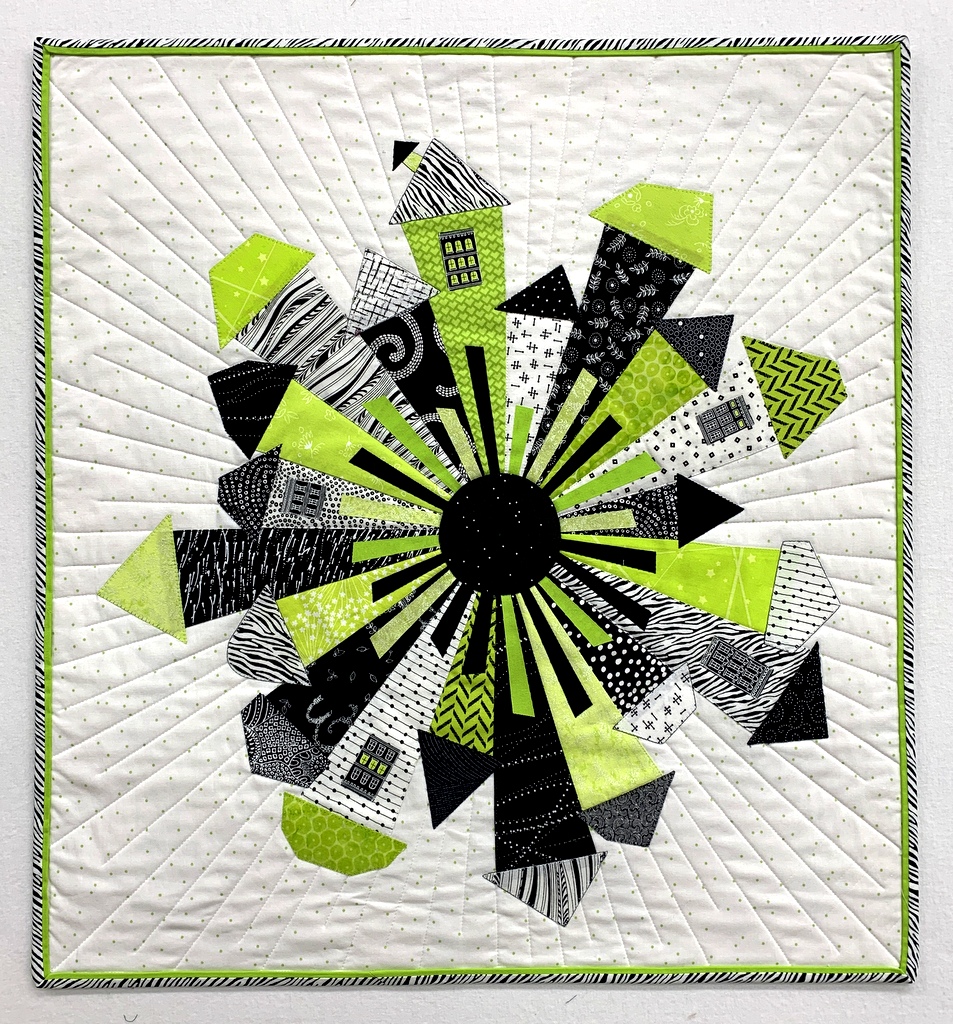
And now you know, if you’ve been following along as I pondered four binding options, that Option #1 — the lime green faux flange with the zebra fabric — was the winner.
But guess what? It wasn’t my first choice. Nope. I was going with Option #4, the green flange with the white background fabric as the binding. Here’s the mockup I showed you in my last post, with paper strips made from photocopied fabric:
Why this choice? I liked the idea of the white background fabric extending to the edges, almost as if the quilt were faced rather than bound, with that thin flange as a bright but understated accent. Plus it was an unexpected choice. (I have to thank my friend Deborah for suggesting white fabric. It never would have occurred to me, as I was gravitating to the black prints used in my quilt.)
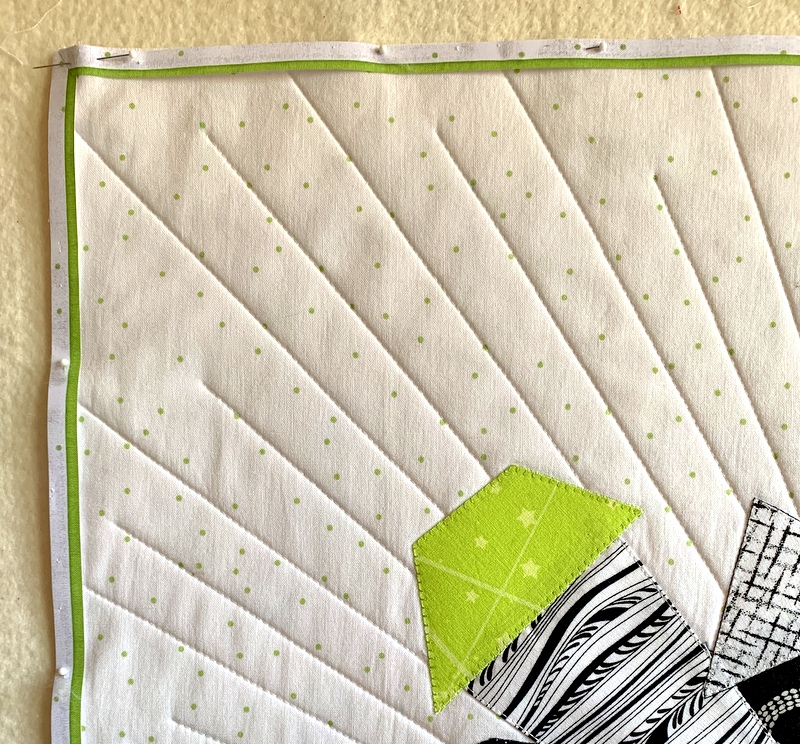
I made my binding accordingly and started to apply it. Normally binding is stitched to the right side of the quilt and turned to the back. With this faux flange method, however, you sew the binding to the wrong side of the quilt and turn it to the right side to expose the flange. When I got ready to miter the first corner, I turned the binding to the right side. And this is what I saw:

Oh no! You can clearly see the green fabric through the white fabric in the binding. With this particular treatment the seam allowance must be pressed toward the binding fabric for the flange to lie flat. I tried pressing it the other way but it was a “no go.” There was no way I could see to remedy this problem.
Back to the drawing board — er, cutting table. My second choice for the binding was the zebra fabric. That was my husband’s first choice and also my twin sister’s. Some of my readers liked it too so I figured it was a keeper. (Thank you, Vickie R., for suggesting the zebra fabric. Like the white background fabric, it wasn’t even on my radar initially.)
I started cutting more binding strips . . . until a certain feline came to investigate:
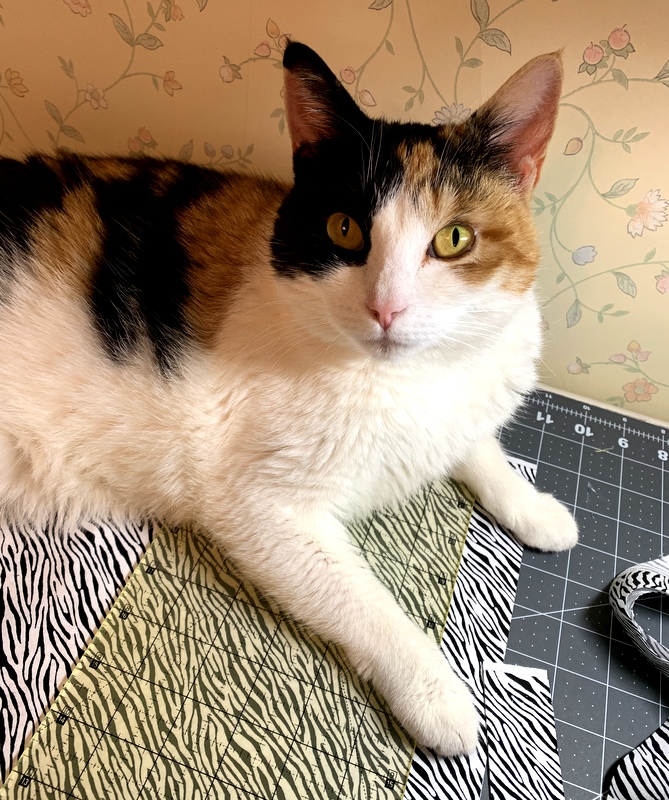
Princess Cordelia (Coco for short) was gently ejected from my sewing room so I could proceed. The binding went on very nicely.
The conventional way to finish a faux flange binding is to machine stitch in the ditch where the flange meets the binding fabric. Instead of doing that I fused the binding down with Steam-a-Seam-2, a double-sided fusible web.
Here’s the back of Uptown Funk:
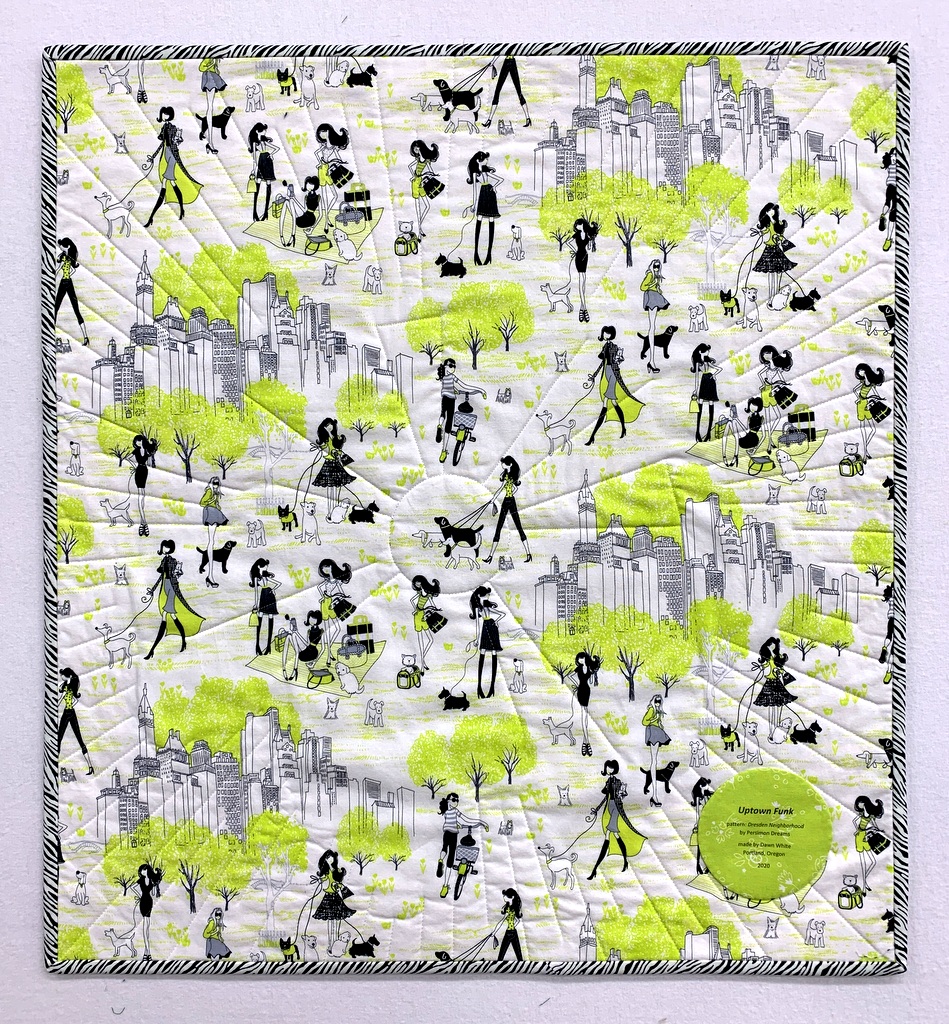
I love the way the binding looks with the backing fabric.
Here’s a close-up of the label:
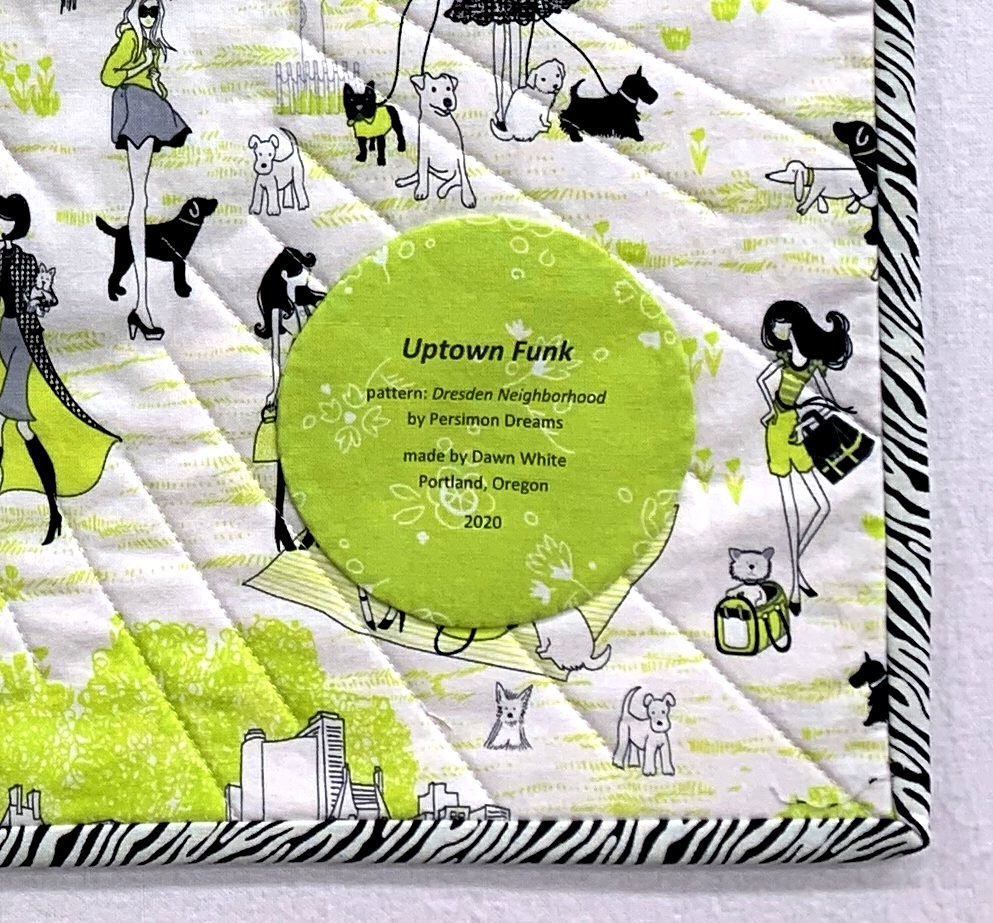
Thank you, Kim Lapacek of Persimon Dreams, for designing Dresden Neighborhood! It was such a fun little quilt to make.
Excellent choice of binding, from the back as well as the front! It adds so much to the total quilt.
I just love it when events conspire in a way that makes my wish come true! Even Coco looks satisfied with the results! 😉
Great job!
I think this little quilt is charming, and I do like the final choice ( the winner! ) for the binding! Sew cheery! Suzette in Bend
I love this mini! You did such a great job on it!
Did you buy the pattern or is it a free one?
Hi, Diane. If you read down to the bottom of the post (and check out my quilt label), you will see the name of the pattern and the designer. Her pattern can be purchased from her website, and a lot of quilt shops carry the pattern as well. Definitely a fun one to make!