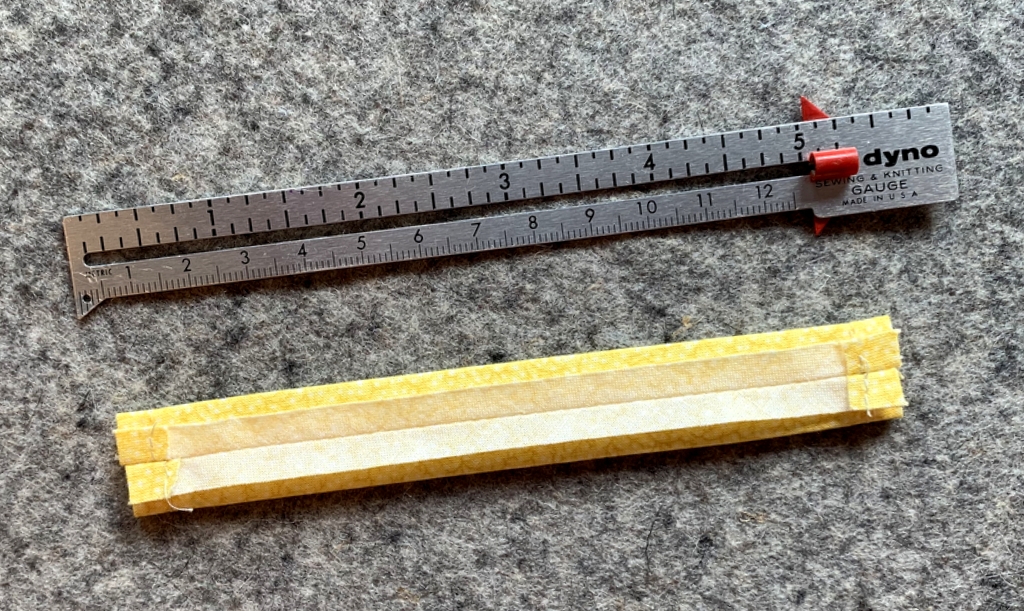
 Haha! Just kidding. That’s actually a sleeve for a face mask nose wire. It’s for the mask I made for myself yesterday and goofed on.
The mask looks just fine from the front:
It’s the same lemon fabric I used to make a mask for my twin a couple weeks ago. (We have a thing about lemons.)
Here’s the inside of the mask:
See that line of stitching about 3/4″ down from the top of the mask? That’s where the bottom of the nose wire sleeve is supposed to be . . . on top of the lining fabric, not sandwiched between the lining and the mask where it will never see the light of day. Oops.
My solution was to make a new sleeve and attach it by hand. The sleeve is made just as if it were for the back of a quilt . . .
. . . except it’s miniature. It’s not necessary to turn the sleeve inside out because the seam is going to be on the underneath part of the sleeve when it’s stitched on, forever out of sight.
Oh, there is one other difference from a regular quilt sleeve: this sleeve is cut on the bias rather than the straight of grain so that it molds nicely around the curve of the mask:
I’m using my wonderful little red sticky thimble (official name: Poke-A-Dot by Jillily Studio) to push my needle through the layers of fabric:
It took just a few minutes to stitch the sleeve in place. (I could have stitched it by machine but then the stitching would have shown on the front of the mask.)
Here’s what the mask looks like from the inside now:
I didn’t want to attach the new sleeve on top of the old one — too much bulk — so I stitched it to the opposite side. The bottom of the mask is now the top.
And looky here: I found the perfect place to store my Poke-A-Dot until I need to use it again:
All’s well that ends well!


I really enjoy your posts. Thanks for writing them.
What kind of wire do you like best for your masks?
Maybe I missed that post.
Thanks.
Hi Carolyn. My favorite wire so far is the one that comes on a small bag of coffee. It’s about a quarter inch wide and 5” long, and it’s both strong and flexible. You can also use pipe cleaners, floral wire, twist ties — things like that that are flexible and thin enough to insert in the sleeve.
Hi! Good fix so you could have a nose adapter. You are so clever!
Ingenuity! 🙂
I have been using the little leather dots by ThimblePad for a couple years. I love their flexibility and re-usability. I couldn’t have done the Passacaglia, Wheels, without them!
I have used those in the past too, Virginia. I find the Poke-A-Dots are stronger and I love the bright red color. If I ever attempt a Passacaglia project, I will definitely have sticky thimbles on hand. Your Passacaglia quilt is so stunning!
Thank you, Dawn. I’ve been trying to figure out how to make a casing for a nose wire with this mask pattern. This is much easier than anything I’d come up with – thanks!
Hi Linda. You don’t have to wait till the mask is done to attach a sleeve by hand. You can actually attach the sleeve by machine which is faster and easier. Cut your sleeve 2″ x 6″ on the bias. Turn the short ends under 1/4″ and stitch. Fold the sleeve in half lengthwise and press. Align the raw edges of the sleeve to the top of the mask lining — the right side of the mask lining!! — and baste in place. Machine stitch the bottom edge of the sleeve to the lining, backstitching at each end.
I’m wondering if we will ever be finished making masks. I’ll be making a gob for the G-sons for school. Don’t ya know they will lose them, leave them in mommy’s car or daddy’s car (or g-ma’s car). I found one on the sidewalk in front of the front door yesterday. So, I’ll make some, too. 🙂
Your problem solving skills are SO refined it is really quite amazing and inspiring!