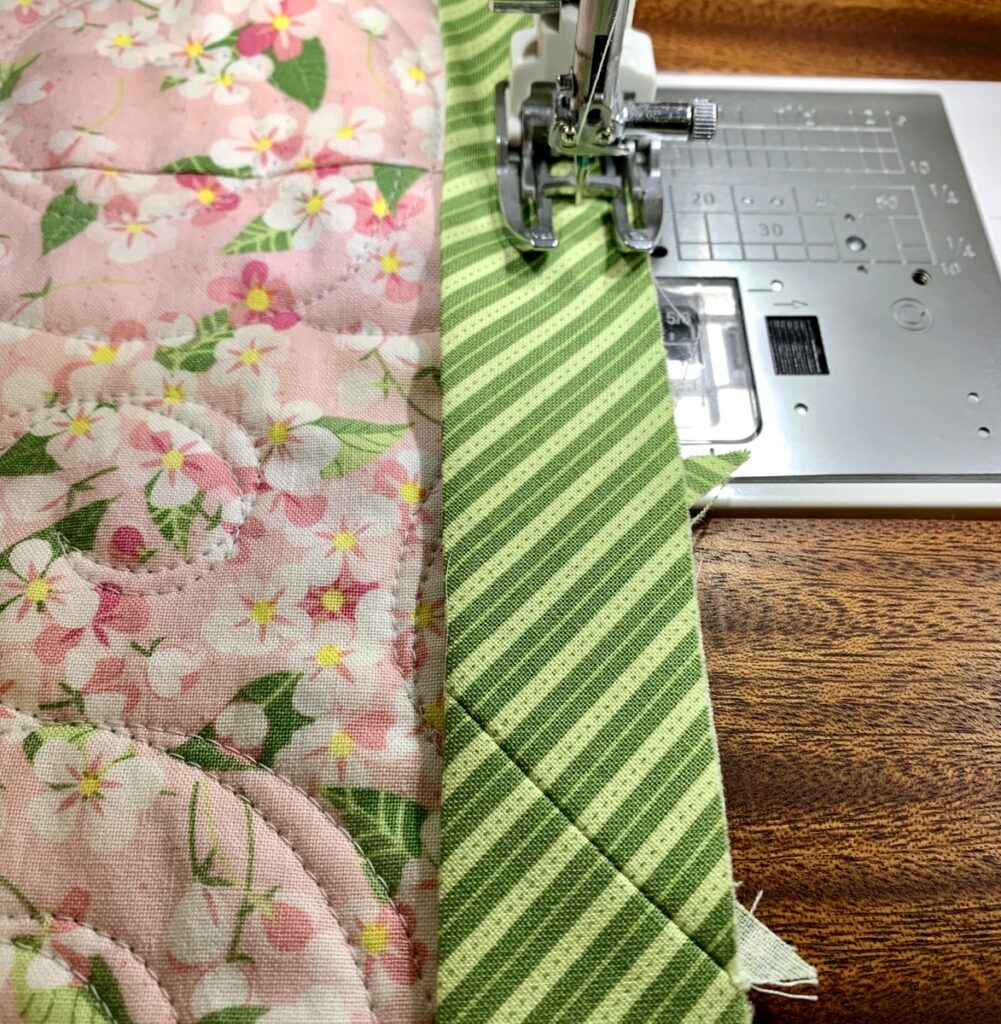
 I love reaching this stage in quiltmaking. My cherry blossom quilt has been pieced, quilted, and trimmed. Now it’s time for the binding. For this quilt my bias binding strips were cut 2½” wide and I’m sewing the binding on with a ⅜” seam. I usually favor a quarter-inch binding but I wanted this lovely green stripe to stand out a bit more. The stripes remind me of blades of grass — yet another reminder of spring and very fitting for the name I have given this quilt, Celebrating Spring.
When it came time to join the ends of the binding, I figured it would be possible to match the stripes with careful cutting and stitching, especially because the stripes are very narrow. Notice where I made bias cuts in the left and right hand tails of the binding:
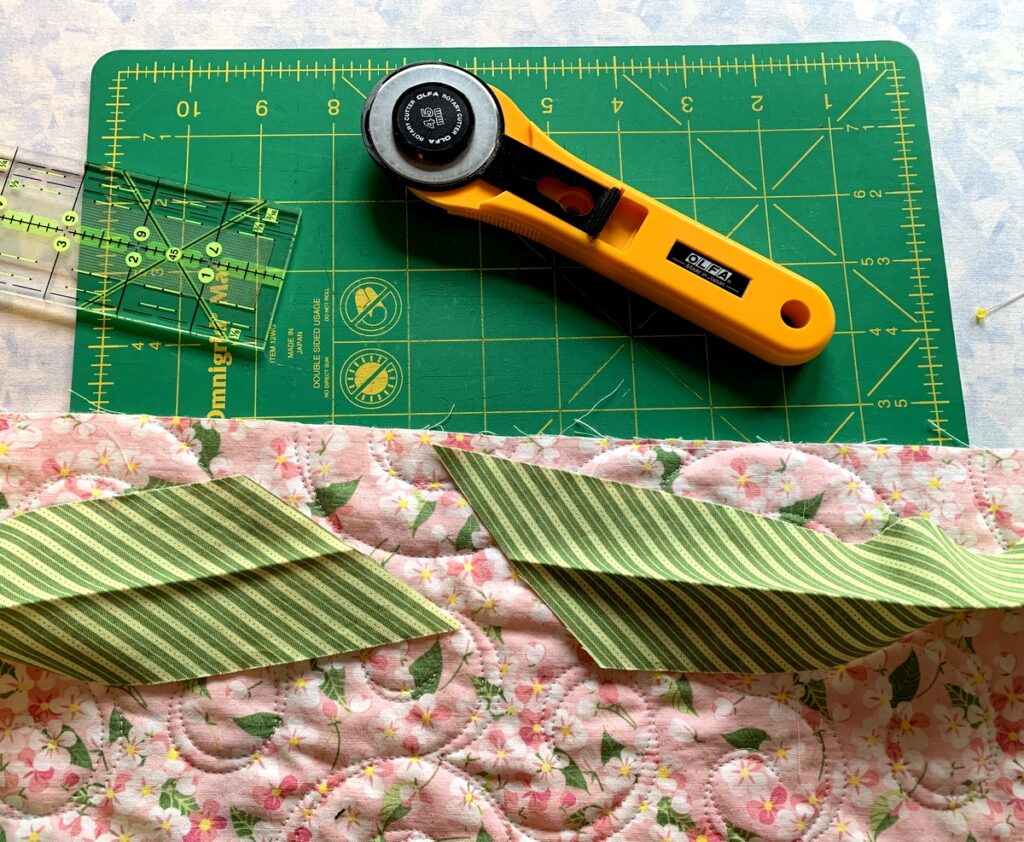 By playing around with binding scraps beforehand, I determined that the tails, when cut this way, would produce an almost invisible seam without interrupting the design. See what you think:
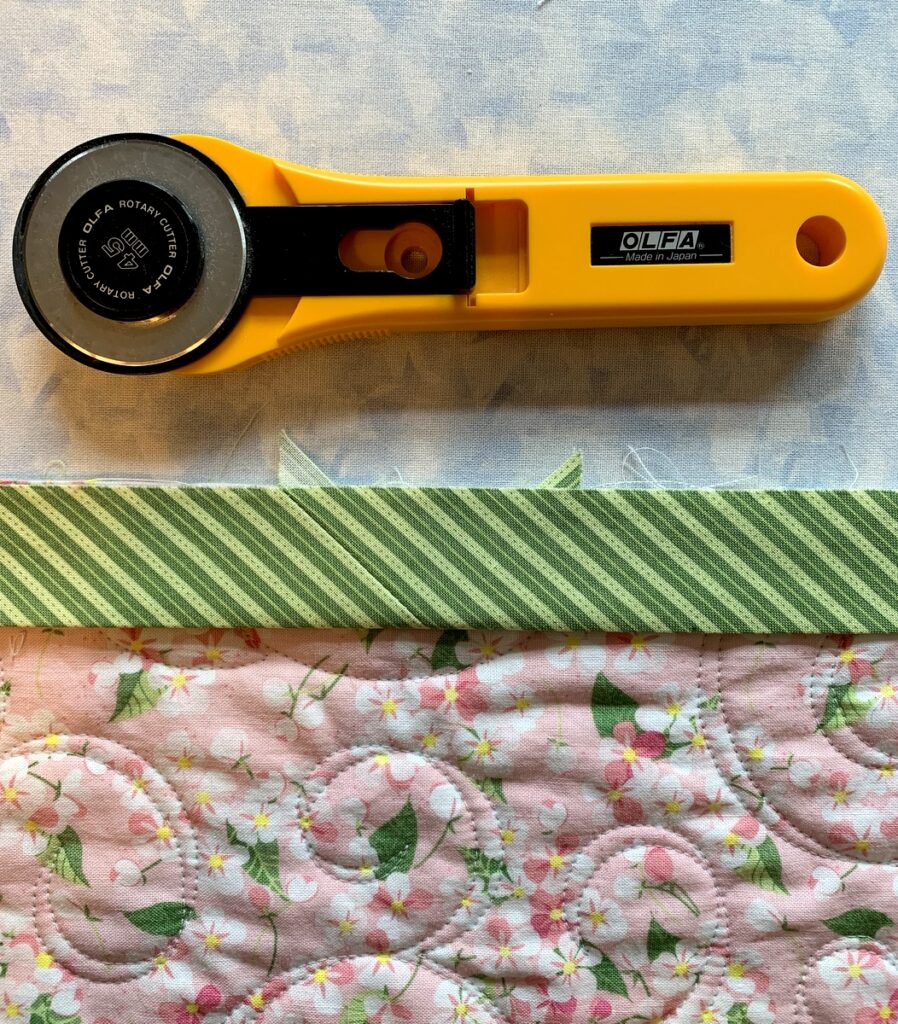 The seamline should be subtle but obvious. If you don’t see it right away, look at the left “dog ear” — that triangle sticking up along the raw edge.
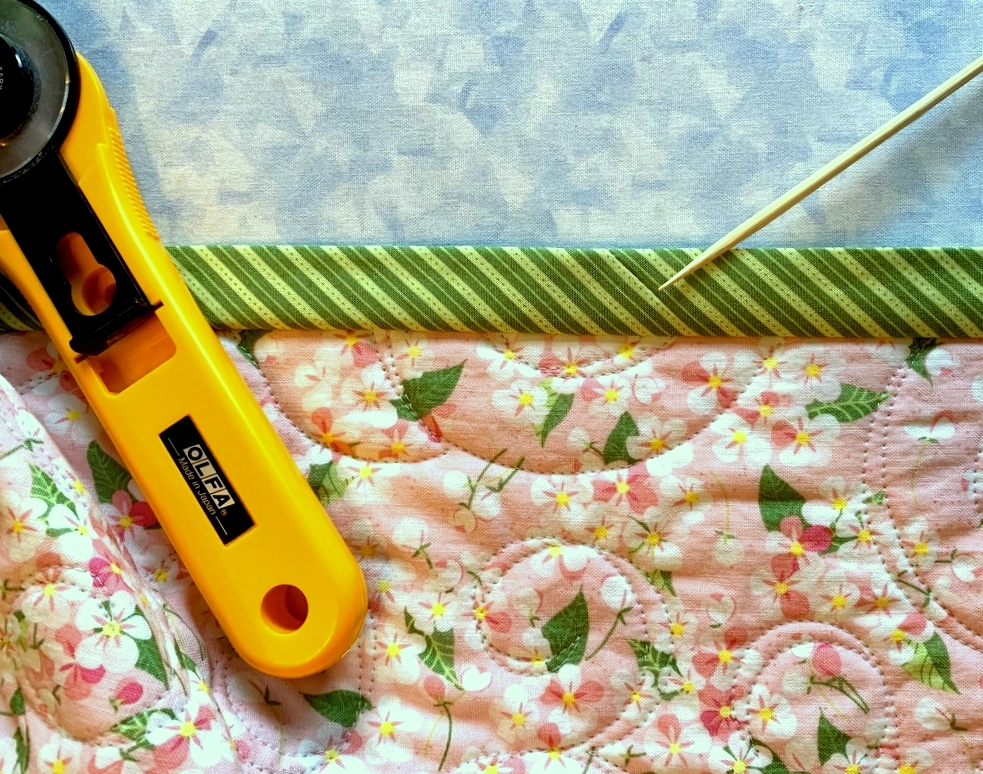
After stitching the rest of the binding to the quilt and then turning the binding away from the quilt, the seamline is even harder to see:
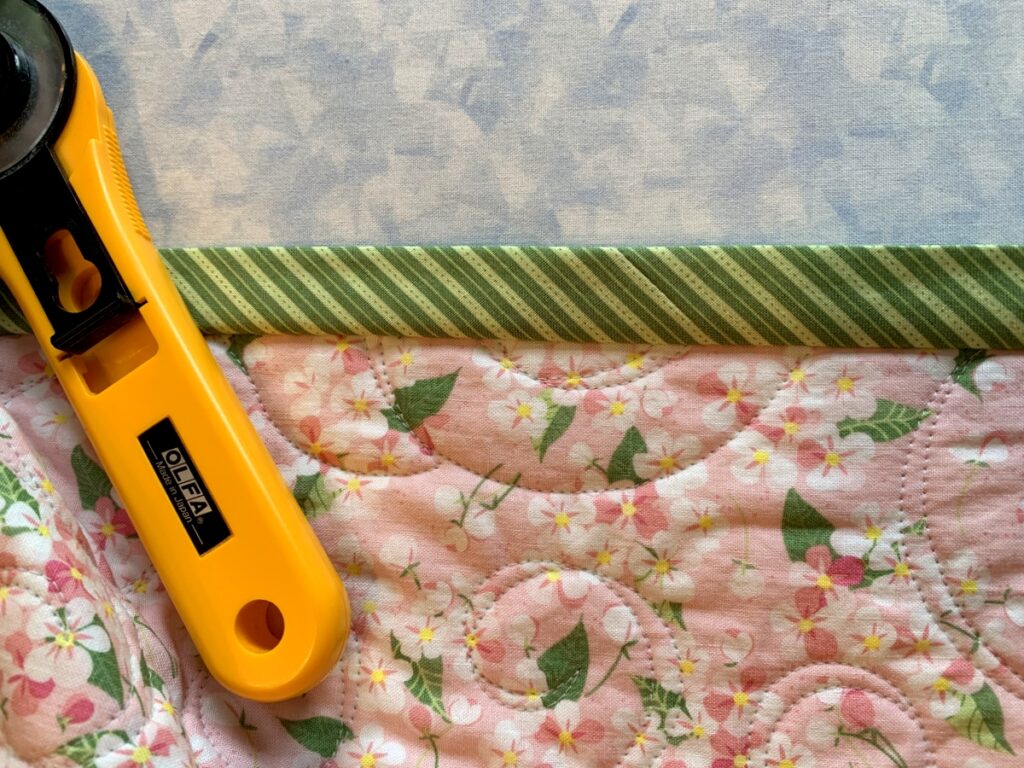 Just in case you don’t see it, look at the very tip of the bamboo stiletto:
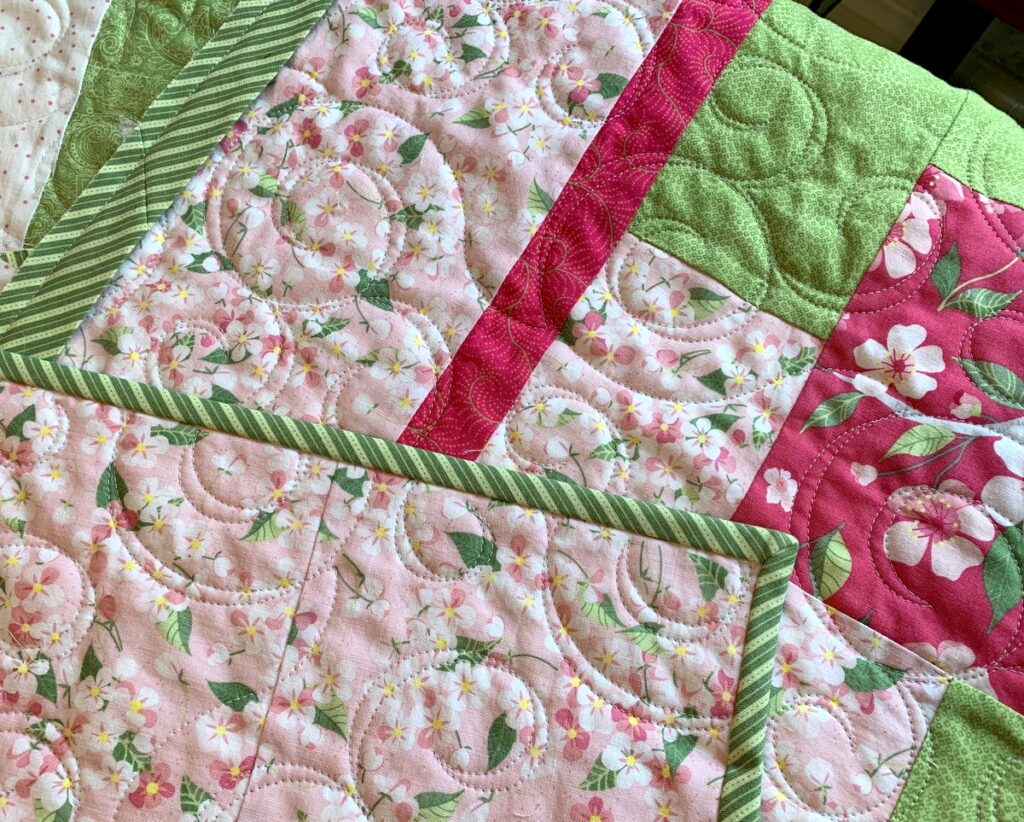
Now I can sit back and enjoy the slow process of tacking the binding by hand to the back of the quilt:

Love the invisible seam! You are the best!
Adorable quilt
Your sewing techniques are pure wizardry and the outcome is just wonderful!
OMG! That is incredible. Your precision makes me smile.
I’m so impressed! I also love a bias binding, especially a stripe. This is ingenious. Thanks for the great idea.
You never cease to amaze me…precision always! Beautiful.
Absolutely impeccable, as always, dear Dawn!
Another triumph