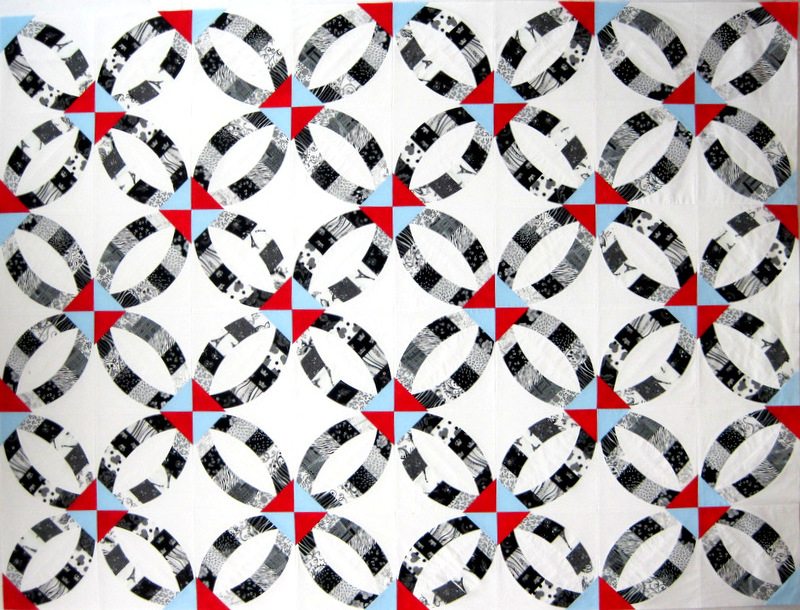
Step One: make a quilt top. In this case it’s my version of Sew Kind of Wonderful’s Metro Rings pattern:
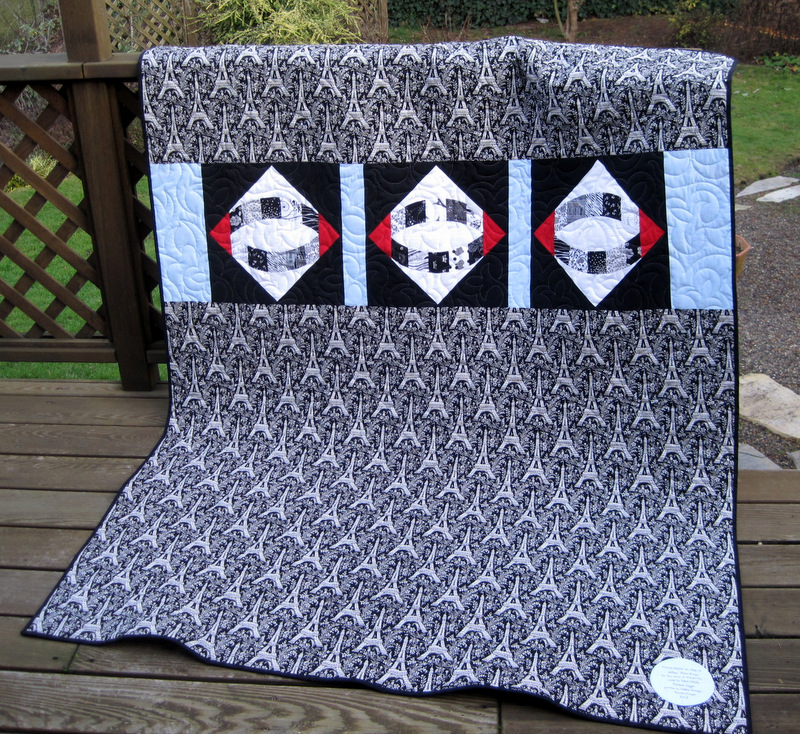
Step Two: make a back for it. I incorporated some leftover blocks and used Michael Miller’s Eiffel Tower fabric:
I had to piece two widths of Eiffel Tower fabric for the back. To match the design, I used a tip I learned from Elizabeth Hartman in her free class, Creative Quilt Backs, on Craftsy.com. In Lesson 4, Elizabeth demonstrates her technique for matching large-scale prints. Even though the print on my quilt back isn’t large-scale, her technique worked just fine.
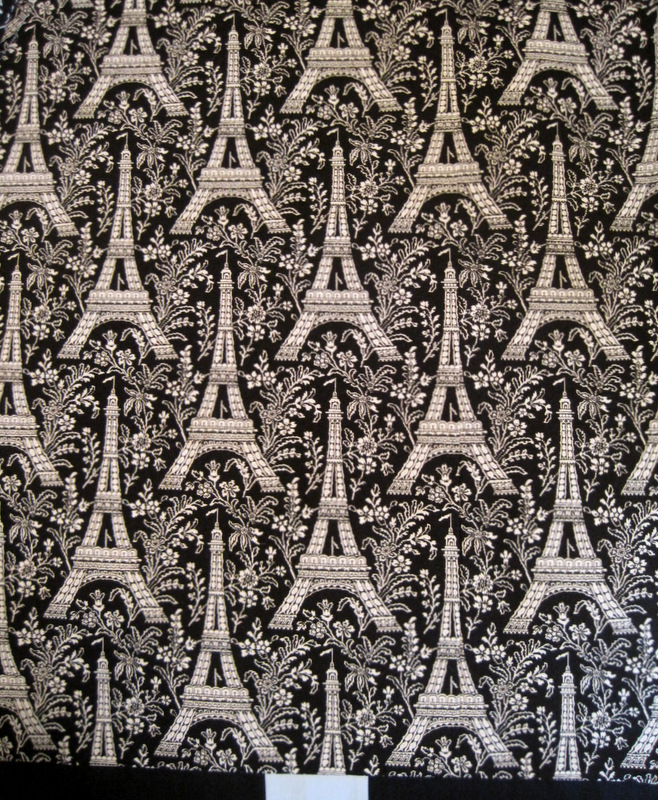
See if you can find the seam in this close-up of the back:
Even if you spotted it, I think it will be virtually invisible by the time the quilt is quilted and washed.
Step Three: send it off to be quilted. It’s at the longarmer now, and I can’t wait to get it back!
By the way, when I chose the fabric for the backing, the name of this quilt suddenly came to me: Honeymoon in Paris. Why? Three reasons. One: two of the fabrics I used in the rings on the front are Paris-themed. Two: the pattern is based on the traditional wedding ring block. Three: there are Eiffel Towers all over the back. Choosing a name was as easy as . . . un deux troix!


In the quilt league, “one, two, three” is a home run, not a strikeout.
Hi my friend, the back looks as great as the front. I really enjoyed Elizabeth’s class and really laughed at the comments. The class is called Creative Backs and one of the comments wondered why Elizabeth didn’t just use a sheet, that struck my funny bone. Don’t you just love getting quilts back from the longarmer?
See you soon,
Vickie
Great name for your quilt and I think I need the class on matching prints. Maybe after my Christmas sewing.
Very striking! I couldn’t spot the seam in the back at all.
This is so charming and wonderful. The name is the cherry in the cake of this quilt. I’m swooning in French now….
Absolutely amazing! Both sides!
Peg