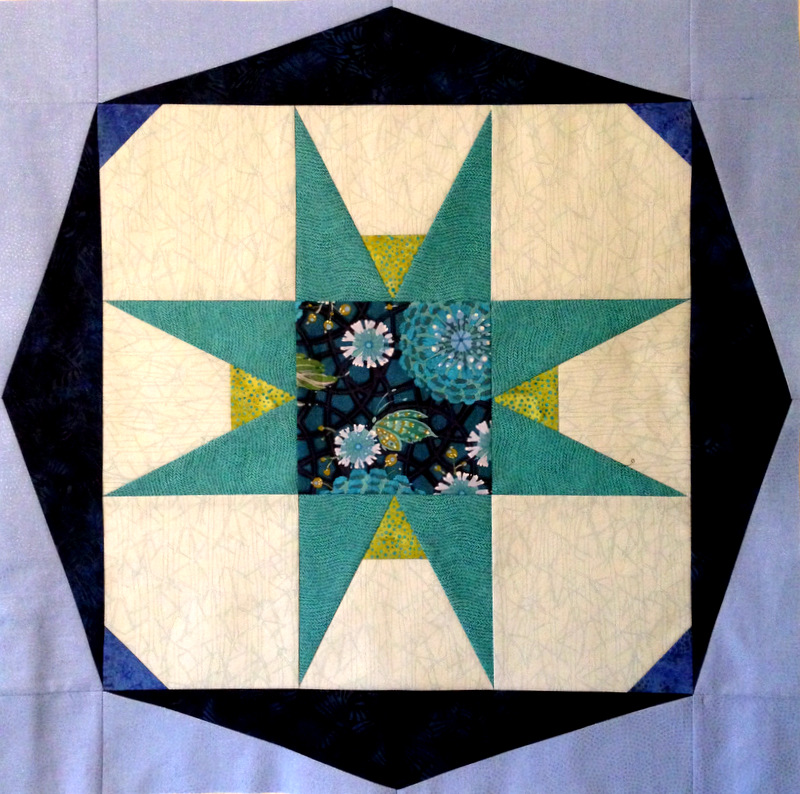
Step 1. Make an 18½” star block. Why? Oh, just for fun. And to use up focus fabric left over from another project.
Step 2. Put a ring around it. Now it measures 24½”.
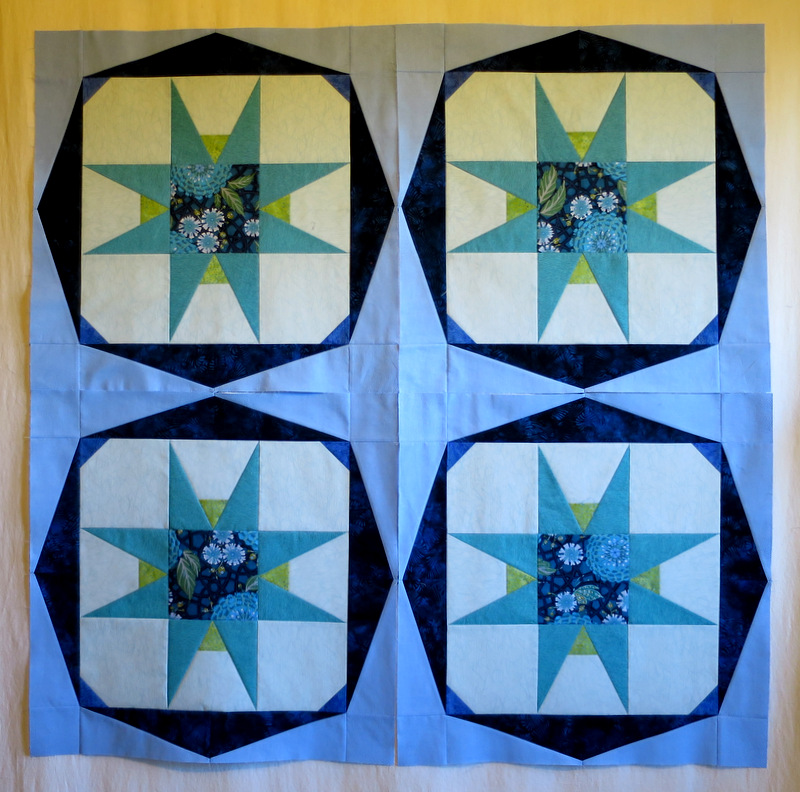
Step 3. Make three more blocks and put all four up on the design wall:
Step 4. Decide that it needs “something in the middle” to draw attention to the secondary star formed when the blocks are put together.
That’s where I was when last I posted about this project. Here’s where I am now:

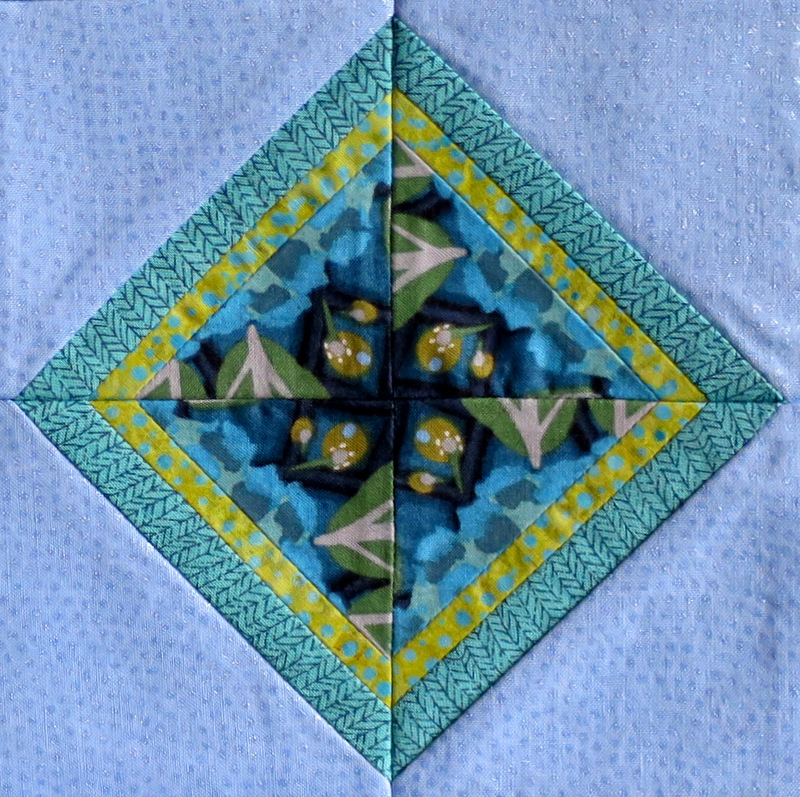
Isn’t that a fun addition? Using triangles instead of squares, I made a 4-Patch Wonder block (my term for four fabric repeats layered, cut, and rotated to form a symmetrical design) and then added ¼”and ⅜”-wide sashing strips.
Here’s a close-up of that little faux-kaleidoscope block. With the sashing strips it measures 4″ square:

So what’s Step 5? Borders! I want to float those blocks so I’ll add border strips in the same blue background fabric. When I’m done my quilt top will measure 56½” square. Then it’s on to Step 6: piecing a backing.
And I vow not to start something else “just for fun” until I’ve finished the three quilts that got moved to the back burner when I started Seeing Stars.


Love, love, love it!! Cannot wait to see it finished with borders.
Everything looks stunning! Love the baby block that makes the secondary star pop! Do you honestly believe that you can keep your vow?
I will do my best, Vickie! (but it will be difficult . . .)
The addition of the center square is brilliant. How did such a wonderful idea hatch?
Now I see the star made by the four blocks! How fun! Adding a center to that star was brilliant. This quilt is quite different than others you have made but no less stunning or to-die-for!! I keep saying it but it is so true – it’s true art!!
A sweet little jewel.