Embellishment

“Something more.” That’s what one of my sampler blocks needed. Here’s the “before” shot:


I started with Cluck Cluck Sew’s No Point Star design (a free pattern!) and set it on point. I really like this block but as I pointed out in my last post, it wasn’t quite holding its own with the other sampler blocks made to date:


I decided to embellish the block with a flower fussy-cut from my focus fabric, seen here:

Now take a look at the block with the flower appliquéd in the center:

Better, yes? I’m especially liking that touch of green in the very middle of the blossom.

Here’s a shot of the embellished block with its companions:

I think it’s safe to say it’s holding its own now.


Posted in appliqué, Block of the Month (BOM), Quilt-Along, sampler quilt, update | 5 Comments

Dawn’s Star Block

Here’s the latest addition to my current sampler project. It’s basically a glorified Sawtooth Star but I’m calling it Dawn’s Star because I’ve never seen this particular version anywhere before — except in one of my own quilts. I dreamed it up in 2014 to replace a basic Sawtooth Star block in the very first sampler quilt I ever made, Catch a Falling Star, based on Terri Krysan’s Reach for the Stars quilt. (I still get queries almost every month from quilters looking for her pattern; more on that below).

So why did I choose this block for my current project? Happenstance. You see, Catch a Falling Star is arranged on a quilt ladder in the Annex (the room across the hall from my sewing room) in such a way that Dawn’s Star is the only block you see in its entirety. My eye fell on it the other day and made me want to make it again.

This is my first version of the block, the one made for Catch a Falling Star:


It was designed to be set on point:

My current version looks good set on point, too:

Setting it on point is still an option as my current project features blocks that will finish at both 12″ and 18″ square. I could easily convert this 12″ block to an 18″ block by adding triangles at the corners. No need to decide yet. It’s still early days in the making of this quilt.

Here’s a glimpse of the blocks so far, arranged randomly on my design wall in the Annex:

The 18″ block in the upper left (Chicago Star) and the 6″ blocks I call Atomic Stars are part of an optional Block of the Month quilt project organized by the kind folks at Montavilla Sewing Center in Lake Oswego for my students and me as we participate in monthly Zoom calls till my in-person classes resume next month.

I’m adding other blocks of my own choosing along with the ones Kristin at Montavilla selected when she designed the quilt. Montavilla has a Zoom call scheduled for next week. My plan is to get one or two of Kristin’s other block choices completed before then. And now that I’ve revisited Catch a Falling Star, I’m thinking about making yet another block I swapped out for one in Terri Krysan’s original design.

Speaking of which, here’s a photo of Terri’s beautiful quilt . . .

Reach for the Stars by Terri Krysan

. . . and here is my version:

Catch a Falling Star by Dawn White (2015)

Now on to the PSA for people asking about a pattern for Reach for the Stars. This is what I tell them:

“There is no stand-alone pattern for Reach for the Stars. Instructions for Terri Krysan’s quilt appeared in seven consecutive issues of Quilters Newsletter Magazine (QNM), beginning with Oct/Nov 2013 and ending with Oct/Nov 2014 (issues 436-442). QNM ceased publication a few years ago.

“Occasionally you can find single issues for sale on eBay or Etsy. You might also check with a local quilt guild to see if a member has copies of the magazine to sell or loan.

“Recently I learned that a website called Quilting Daily (quiltingdaily.com) sells digital copies of individual issues of Quilter’s Newsletter Magazine. If you go to quiltingdaily.com, click on the search icon (a magnifying glass) and search for those issues. Good luck! — Dawn”
Now, let’s take another look at my current blocks:

Hmmm. See that block on the upper right side? That’s a 12″ block that I set on point and turned into an 18″ block. I really like the block but it needs something more . . . and I think I know exactly what that “something more” is.

Stay tuned!


Posted in Block of the Month (BOM), Quilt-Along, Reach for the Stars sampler quilt, update | 5 Comments

Baby Goose in the Pond Block

The name of this block is really Far West but I saw a version of it online recently and was struck by the notion that it looks like a greatly simplified Goose in the Pond block.

Take a look at this Goose in the Pond block I drew in the EQ7 software program and tell me what you think:


Better yet, take a look at the two blocks side by side:

See what I mean?

Far West is a variation of the traditional Shoo Fly block. It can be made as an equal nine-patch but I think it’s much more interesting the way I made it, as an “unequal nine-patch with a small center square,” a category in Barbara Brackman’s Encyclopedia of Pieced Quilt Patterns.

My block — maybe I should call it Gosling in the Pond? — will finish at 12″ square and be added to the sampler quilt started a few months ago as an optional Block of the Month project offered by Montavilla Sewing Center in Lake Oswego. I’m departing from the original quilt design by substituting some blocks of my own choosing. I have no idea how the quilt will ultimately turn out — but that’s part of the fun of it, right?

Here’s my Gosling in the Pond block with the most recent companion blocks:

My plan is to make several more of those “Atomic Star” blocks you see in the middle. They finish at 6″ square and will fill in the spaces nicely when it’s time to start playing with the final arrangement of the 12″ and 18″ blocks. But I’m really getting ahead of myself here. Several more blocks need to be made before I get to that point.

I haven’t been motivated to spend much time in my sewing room lately. It’s just “Too Darn Hot,” as the Cole Porter song goes. Yesterday I managed to produce that one block while dressed in my shortie pajamas with a wet towel draped around my neck. Portland is in the midst of its second major heat wave of the summer, with temperatures hitting triple digits again.

Coco has decided the coolest spot in the house is on the tiles in the master bath shower:

She’s just chilling out here but that’s a typical sleeping pose for her.


Posted in Block of the Month (BOM), cats, Quilt-Along, sampler quilt, update | 6 Comments

Presenting “Currant Affairs”

No, that’s not a typo. It’s Currant with an “a,” not Current with an “e” as you might expect. Let me tell you how I came up with the name Currant Affairs for my newly finished quilt.

It started with the name of the fabric line: “Black White and Currant 5” by Color Principle for Henry Glass & Co Fabrics. The fabric company came out with four previous versions of “Black White and Currant,” all featuring beautiful prints in black and white accented with the deep currant red you see above. I’m not sure how I missed the first four lines but when #5 came out I scooped up the border print and a larger Jacobean floral that has already found its way into another quilt top (still a Work-in-Progress).

The black and white and red fabric reminded me of a riddle from my childhood, which you may recognize if you are Of A Certain Age:

Question:  What’s black and white and red all over?

Answer:  A newspaper.

The real question, you see, is “What’s black and white and read all over?”

It’s just the kind of wordplay that appeals to this English major. When I was a kid, black and white were the only colors of a newspaper. Colored ink didn’t start appearing in newspapers until the 1970s.

In one of those thought progressions that begin with one image and end with a different one, my brain traveled from a newspaper to Current Affairs, a regular part of the social studies curriculum in my youth in which my classmates and I delved into the stories behind the headlines in the local newspaper. “Current” morphed into “Currant” (I can’t resist a good pun) and I had my quilt name.

Nowadays many young people don’t pick up a newspaper to find out what’s happening in the world. The latest news (or some version of it) is available on their smartphones with the tap of a button or swipe of a finger. Me? I’m old fashioned. I want to hold a newspaper in my hands when I read the news in the morning. I want to read a book by turning real pages and I want to smell the ink on those pages.

But I digress (and I’m sounding like an old fogey in the process, aren’t I?). So let’s get back to my quilt. Here are a few pictures of Currant Affairs taken in lovely Laurelhurst Park this afternoon:

The back is very simple: two pieces of a subtle light grey floral print sewn together and a light grey with white polka dots added along the bottom. It wasn’t necessary but I matched the seams of the floral print. Can you spot the seam?

It’s really hard to see in that photo. Here’s a close-up of the backing before it was quilted:

The seam is about two-thirds of the way over running vertically. Can you see it now?

Here’s a close-up of the label:

This quilt was started six years ago in a class taught by Joyce Gieszler. Her book Then and Now Quilts (Kansas City Star Quilts, 2014) had come out the year before and this design, Grandma’s Surprise, was one of the quilts featured in the book. On the left is Joyce’s traditional version and on the right is one of her updated versions that inspired my fabric choices:

I added a border to make my quilt a bit larger, and then I decided to add a flange and binding treatment that visually extends the outer border:

With the addition of the border, Currant Affairs finishes at 66″ square.


Posted in kaleidoscope quilts, update | 6 Comments

Grandma’s Surprise, Revisited

It’s been two months since I worked on my kaleidoscope quilt based on the pattern Grandma’s Surprise. The quilt top was finished in 2015 but not quilted until this May. When I got it back from the quilter, I decided to add a narrow red flange to the outer border before binding the quilt. My thought was to add a wider than usual binding using the outer border fabric so the red flange would float.

Trouble was, I didn’t have enough of the red fabric left, a paisley tone-on-tone print from P&B Textiles. The search was on for a few extra inches of that print. In my last post about this project I was eagerly awaiting the delivery by USPS of the very fabric I needed, offered by a very kind quilter in Pennsylvania named Nancy. The coveted piece of fabric arrived quickly. Alas! Although it was a red paisley tone-on-tone print from P&B textiles, it wasn’t the correct shade of red.

So near yet so far . . . Nancy and I were both philosophical about it. As she wrote, “The story made us smile for a few days so it was well worth it.” The only choice left was to find a solid red that was a good match. Happily, I found it a few days later at Montavilla Sewing Center in Lake Oswego: “Scarlet” from the ColorWorks Premium Solid 9000 line by Northcott Studios. In the shot below you can see how close the solid red is to the red paisley and how well it goes with the border fabric:

Instead of getting right to work on the flange and binding, I put the project on the back burner while working on other things. Now I’m back at it, eager for a finish. Here’s a shot of the flange strips attached to the quilt:

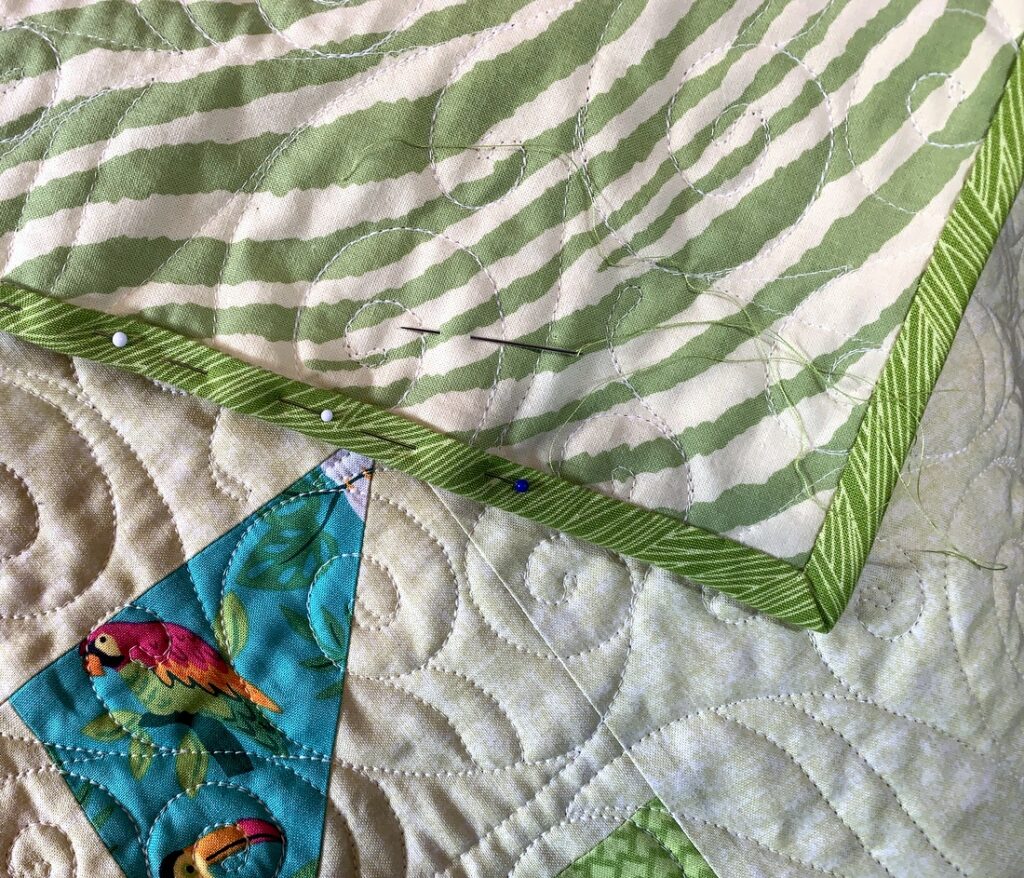
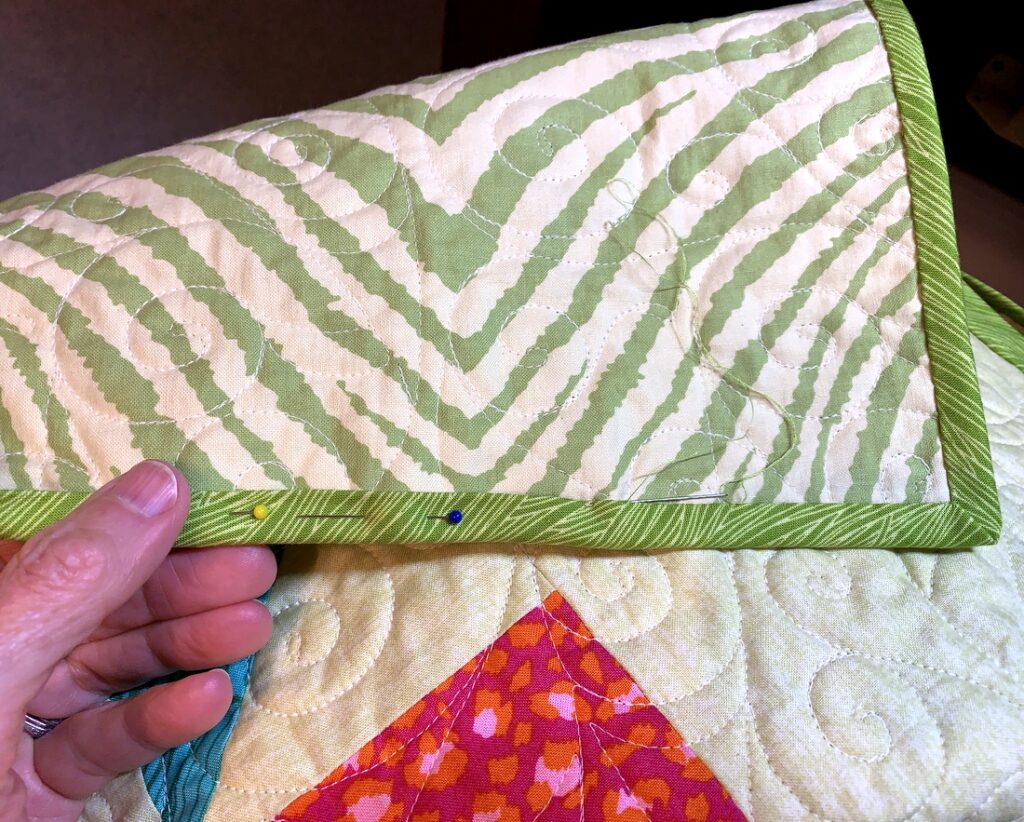
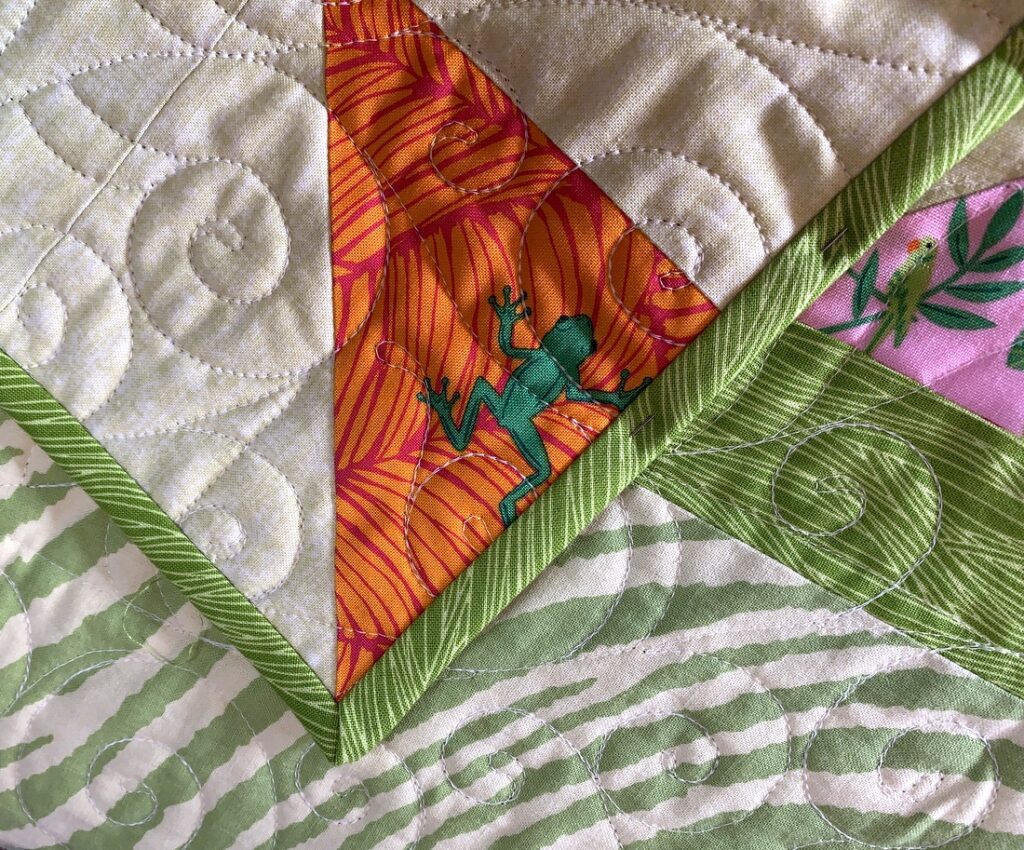
The flanges will finish at ⅜” so the strips were cut 1¼” wide. When I trimmed the quilt I allowed for a ¾” finished binding. After attaching the flanges I decided to go with single-fold binding (rather than the more traditional double-fold or French binding) to reduce bulk at the corners. I’m in the process of tacking the binding now. Here’s a sneak peek at the first corner:

Just as I envisioned!


Posted in kaleidoscope quilts, update | 7 Comments

Atomic Stars

Why, hello there! Can it really be almost three weeks since my last post? The summer is speeding by much too fast and I haven’t spent nearly enough time in my sewing room. All I have to show you since my last appearance are these two little curved blocks:

But aren’t they sweet? I think of them as “atomic stars.” Finishing at 6″ square, they will either be stand-alone blocks or wind up in the center of 12″ star blocks in my current Work in Progress.

A few months ago Kristin at Montavilla Sewing in Lake Oswego designed a Block of the Month sampler quilt for me and some of my students as an optional project we can work on and share via monthly Zoom meetings until classes resume (which they will in the fall!). Kristin provided templates for the curved blocks but I wanted to see if I could get the same result using my Wonder Curve Ruler from the Sew Kind of Wonderful sisters (Jenny, Helen, and Sherilyn) and instructions from their companion book Text Me:

The four curved units that make up the atomic star needed to finish at 3″ square (so when they are sewn together they fit into a 6″ finished block). The curved units in Text Me finish at 1½”, 2½”, and 3½” respectively so I had to add a marking line to the ruler to make my block the proper finished size. My marking line is the dark pink one:

It took a couple of tries to get the points of the atomic stars right where I needed them: a few stitches away from the quarter-inch seam allowance. That way there’s no danger of the points disappearing into a seam.

The aqua floral fabric is one of my all-time favorite prints so I’m using it sparingly. It’s from Portland designer Mo Bedell’s debut line of fabric dating from 2010 called “Party Dress” for Blue Hill Fabrics.

Here’s a look at the atomic stars next to my 12″ Stargazer Lily block (subject of my last post):

Although they lose their atomic star vibe, I really like the way these blocks look on point, too:

I also like the positive-negative effect. Really, I could tinker endlessly with these blocks but the end of July is fast approaching and I want to get a couple of other WIPs finished by then. Wish me luck!


Posted in Block of the Month (BOM), Quilt-Along, sampler quilt, update, Wonder Curve Ruler | 4 Comments

My Stargazer Lily Block

What do you think of my Stargazer Lily Block? This is the block Lisa Jo Girodat designed for Moda’s 2021 Summer in the Garden Quilt-Along. She offered directions for a 6″ and 12″ finished block. I made the larger one and in retrospect I am glad I did. It looks like a rather simple design but don’t you believe it! This block was quite a challenge to make.

For starters, look at the center of the block. Do you see that it’s a square within a square and that the smaller square (set on point) contains two flying geese blocks? Those flying geese blocks finish at 2⅛” x 4¼”. I made mine oversize and used my regular 6½”- square ruler to trim them to the correct (but unusual) size. I wound up fussycutting the darker floral fabric surrounding the lime green triangles to eliminate lighter shades in the print; the point of that was to maintain maximum contrast with the green.

The aqua fabric is an older Lonni Rossi print that looks a bit like seaweed. It’s a directional print so I had to pay attention to placement when I sewed the individual triangles in their assigned spots. I wanted the direction of the seaweed to rotate as your eye travels around the block. (Think of seaweed undulating underwater.)

Finally, there are four intersections in the block where seven seams come together. I eliminated a seam at those intersections so I only had to match six. My points lined up very nicely, although I will allow that a couple of seams required some corrective sewing. A seam ripper may have been involved.

I drew Lisa Jo’s block in my Electric Quilt software program because I wanted to test my ideas for color and placement before cutting into my fabrics. In this next picture you can spot where I was able to eliminate seams in the block design:

Here’s the Stargazer Lily block in EQ with my final color placement:

I am loving the way my block turned out!


Posted in Block of the Month (BOM), Quilt-Along, sampler quilt, update | 3 Comments

Website, Weather, and Wonky Star Woes

If you visited my website a couple of days ago and wanted to leave a comment on my Wacky Wonky Star post, you were met with an “access denied” message. That must have been frustrating. Bloggers love getting comments so I was frustrated as well. This issue occurred as part of a process I initiated in May to migrate my website to a new server, never dreaming it would take the better part of two months to complete and that several issues involving access to my blog would surface. This latest one occurred when a firewall was added to my site at the conclusion of the migration process, blocking comments. While the issue has been resolved, it has left me feeling sorely vexed.

Or was it the heat? My previous post was published June 27 while Portland was in the midst of an unprecedented heat wave – now being called a “heat dome” – with temperatures hitting 108 on Saturday, 112 on Sunday, and 115 on Monday. That 115-degree day was roughly 40 points above our average for this time of year. Sewing was out of the question, as my sewing room is on the second story of our Craftsman-style house, which is not air-conditioned. The Dear Husband and I slept in the guest room in the basement, which usually stays deliciously cool on hot days. It was definitely not “deliciously cool” this week but at least we were able to sleep.

Yesterday it was “only” 92 degrees so I made my second attempt at a Wonky Star block. I liked it even less than the first one. Really, the result is not even worth showing here. Being a bit on the stubborn side, I was determined to give it one more go – and then I saw a new star block in an email from Moda that so piqued my interest I decided to make it instead:

This is the third block in a new Summer in the Garden Quilt-Along offered by Moda Fabrics. Named Stargazer Lily, the block was designed by Lisa Jo Girodat. It’s available as a free download (three pages) which you can find right here. I’m not going to join the Quilt-Along but I am going to make that block. Right now, in fact. It feels so much more “me” than that ole Wonky Star anyway!


Posted in Block of the Month (BOM), Quilt-Along, update | 5 Comments

My Wacky Wonky Star

I admit it:  I flunked the Wonky Star block. I like the idea of a Wonky Star but I am just not loving the way this one turned out. I made it a few days ago as part of a Block of the Month (BOM) project designed and taught by Kristin at Montavilla Sewing Center in Lake Oswego, the quilt shop where I teach. Of course there have been no in-person classes there since March of last year (although chances are very good they will resume in the fall).

Kristin is teaching this class via Zoom for me and some of my students. It’s a way for us to interact with each other while we wait for the coronavirus pandemic to wind down. A huge bonus is that Kristin and her colleagues at Montavilla LO give us previews of newly arrived fabric and tools, and we get to see the rotating quilts on display in the shop.

The BOM design calls for this Wonky Star to finish at 12″ square. I made mine to finish at 6″ square, planning to make four of them so I would wind up with a 12″ block. But I was so dissatisfied with my first effort that I stopped right there. While waiting for my wacky Wonky Star to grow on me (it never did), I made a different star block:

This one was made using Cluck Cluck Sew‘s pattern No Point Stars . . . 

. . . so called because the star points don’t go all the way to the edge of the block. The happy result of this design element is that there is much less bulk when the blocks are joined to their neighbors. That’s because the angled seam allowances of the star points are a good inch from the outer edge of the block.

I intended to make this block finish at 12″ square but I forgot to resize it, as it was designed to finish at 10½” square. I ended up adding a strip around the block and setting it on point so I would wind up with a block that finishes at 18″ square:

What tickles me about this block is the combination of the star point fabric featuring little fishies (from the “Kaikoura” line by Jessica Zhao for Cotton + Steel) and the outermost fabric (from Victoria Findlay Wolfe‘s “Light Work” line) featuring what look like starfish. I guess I have a bit of an ocean theme going here that may be reflected in the name I eventually choose for the quilt when it’s finished.

This block joins the one I made last month . . .

. . . and wrote about here. Hmmm . . . does that floral fabric on the outer edges of the block remind you of sea anemones?

Anyway, I want you to know I’m not giving up on that Wonky Star block. Making the No Point Stars block has given me an idea of a different way to approach it. My goal is a star that is wonky, not wacky wonky.


Posted in Block of the Month (BOM), Quilt-Along, sampler quilt, update | 2 Comments

“Just So”

In my last post I promised to explain my method of getting the narrow accent strips on my kaleidoscope blocks to line up just so:


In this example I’m starting with a 45˚ triangle cut from a 6½” strip of fabric using the Marti Michell Kaleido-Ruler . . .

. . . but this technique will work with other sizes of triangles and strips.

Eight of these triangles (from a 6½” strip) sewn together result in a 12″ kaleidoscope block. With the addition of the narrow and wide accent strips, the block will finish at 15″ square:


The narrow accent strips finish at ⅜”. This calls for ⅞”-wide strips, to allow for ¼” seams on either side but I find it difficult dealing with strips less than an inch wide, especially when it comes to pressing. For this reason I cut my strips a quarter of an inch wider — 1⅛” — and trim them to size after sewing them on to the wider accent strip.

So:  my narrow accent strips are cut 1⅛” x WOF (width of fabric). The wide accent strips are cut 1¾” x WOF. The narrow and wide accent strips are sewn together with a scant ¼” seam:

Before pressing the seam open, the strip is subcut into five 8″ lengths:

(I need eight of these strips for one kaleido block so a second strip set is needed.)

Why do I subcut the strip set before pressing? Because it’s extremely difficult to press a seam on a 45″ length of fabric without creating a curve. By cutting my long strip into shorter pieces, I can carefully press the seam on each piece open using just the tip of my iron without much distortion:


The next step is to trim a quarter inch off the narrow strip. I do this by aligning the ⅝” line on my ruler with the seamline . . .

. . . and trimming the excess quarter inch:

Now I can chain piece the triangles to the trim pieces, centering each triangle on its trim strip:

I press this seam open as well, taking care to use the point of the iron (no steam) and not letting the iron touch the bias edges of the triangle:

Note that with both seams pressed open, the seam allowances on the narrow trim overlap each other slightly.

Now I can lay the Kaleido-Ruler over the triangle and trim the right side:

I’m cutting this one on a rotating mat, which means I can turn it around and trim the other side just by moving the mat. If you don’t have a rotating mat, it’s very easy to butt up a second ruler right next to the Kaleido-Ruler . . .

. . . slide the Kaleido-Ruler out of the way, and make the second cut.

Here’s the trimmed triangle:


Now to sew it to another triangle! Here’s how I pin the two triangles:

After lining up the seams on the two triangles, I place pins to hold the seams in place. Note that the points of my pins are toward the outside edge. When I flip the triangles over and pull one side back from the edge, I can clearly see that the trim seams on my triangles match exactly:


I can repin if necessary (and sometimes must) to make sure the seams are properly aligned.

When I’m ready to sew the seam — starting from the wide end and going toward the point — I can pull each pin back slightly so that the point is not in the seam allowance, leaving the pins in place until the seam is completely sewn.

The seams are pressed open — again without steam and again using just the tip of the iron to nudge the seams open:


Once the block is complete and I’m satisfied my center points match, that’s when I move the iron setting to steam! I sometimes use a bit of starch or starch alternative (like Mary Ellen’s Best Press) to make sure my finished block lies nice and flat.

I hope you found this post helpful! I’m going to add it to my Tutorials page as a companion piece for my Season to Taste pattern.

Thanks for stopping by — and happy first day of summer!


Posted in home dec, kaleidoscope quilts, table runner, tutorial, update | 5 Comments