No, I haven’t dropped off the face of the earth. I even posted an entry on March 16 that mysteriously vanished along with its comments after I had agreed to a month of website design services – for a fee, or course — provided by my website host, GoDaddy.com.
Here’s the backstory:
In late February I notified GoDaddy that some of my readers reported they couldn’t leave comments on my blog posts, and my latest post wasn’t showing up unless I rebooted my computer. GoDaddy convinced me to pay for a month of website design services to address these issues and make my website even better. Much to my dismay, the marketing team introduced a series of errors in the appearance of my website, including extra spaces between blog titles and text, missing spaces between words in random blog posts, and weirdly enlarged and cropped photos replacing my standard logo at the top of every page and post.
At the end of the month of so-called design services, my blog was back to its previous normal look – but the blog post of March 16 and its comments were still missing, despite my repeated requests to GoDaddy to restore them. The comments on my post of Feb. 23 also mysteriously disappeared, never to be seen again.
When GoDaddy emailed me on March 27 that “we’ve completed your request,” I immediately responded that it had NOT been completed and I wanted the missing blog post restored. This is the message I got in response: “Thank you for reaching out to us. Your email has been received and will be responded to on a first-come-first-serve basis.” That was well over a week ago. As you can imagine, I’m not holding my breath waiting for a response.
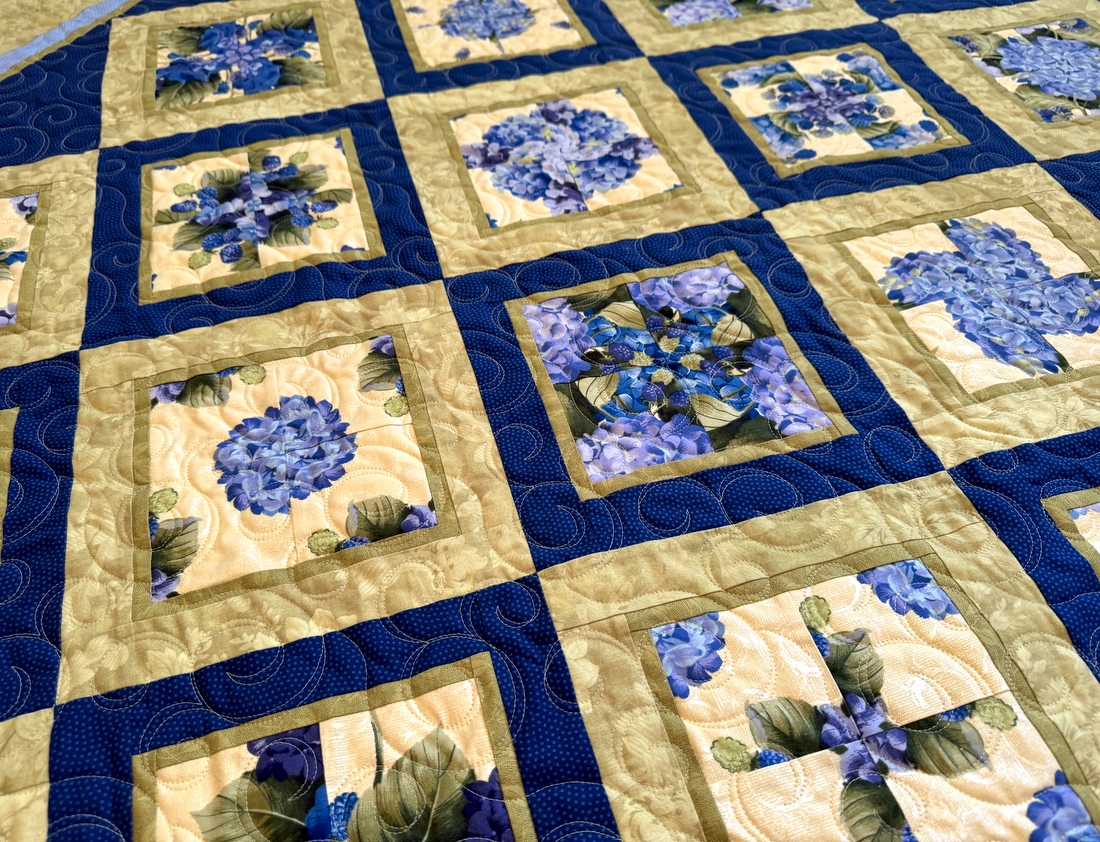
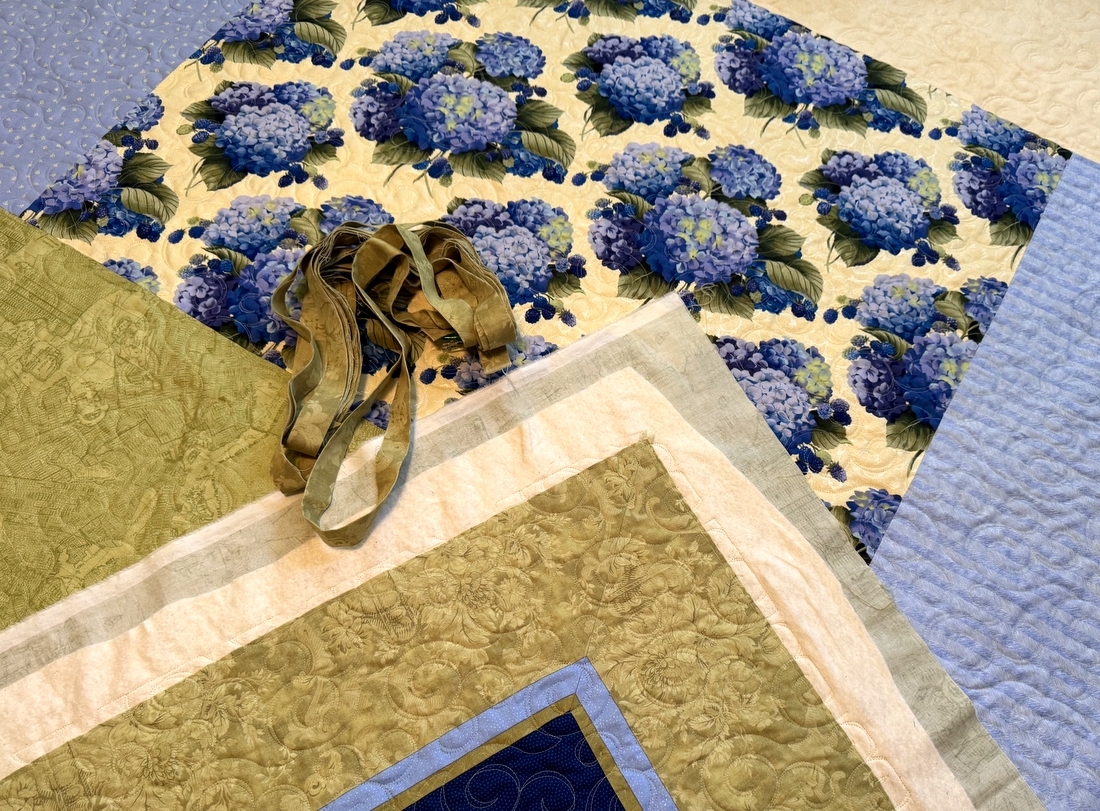
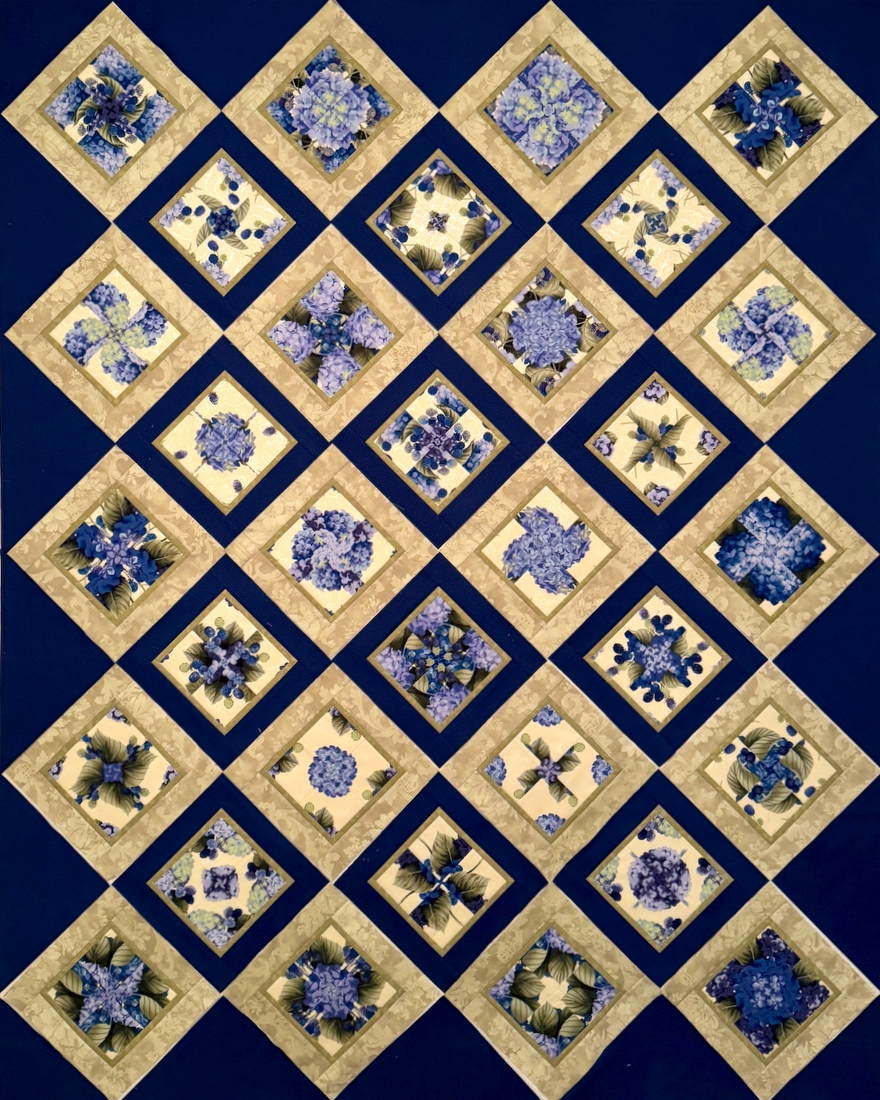
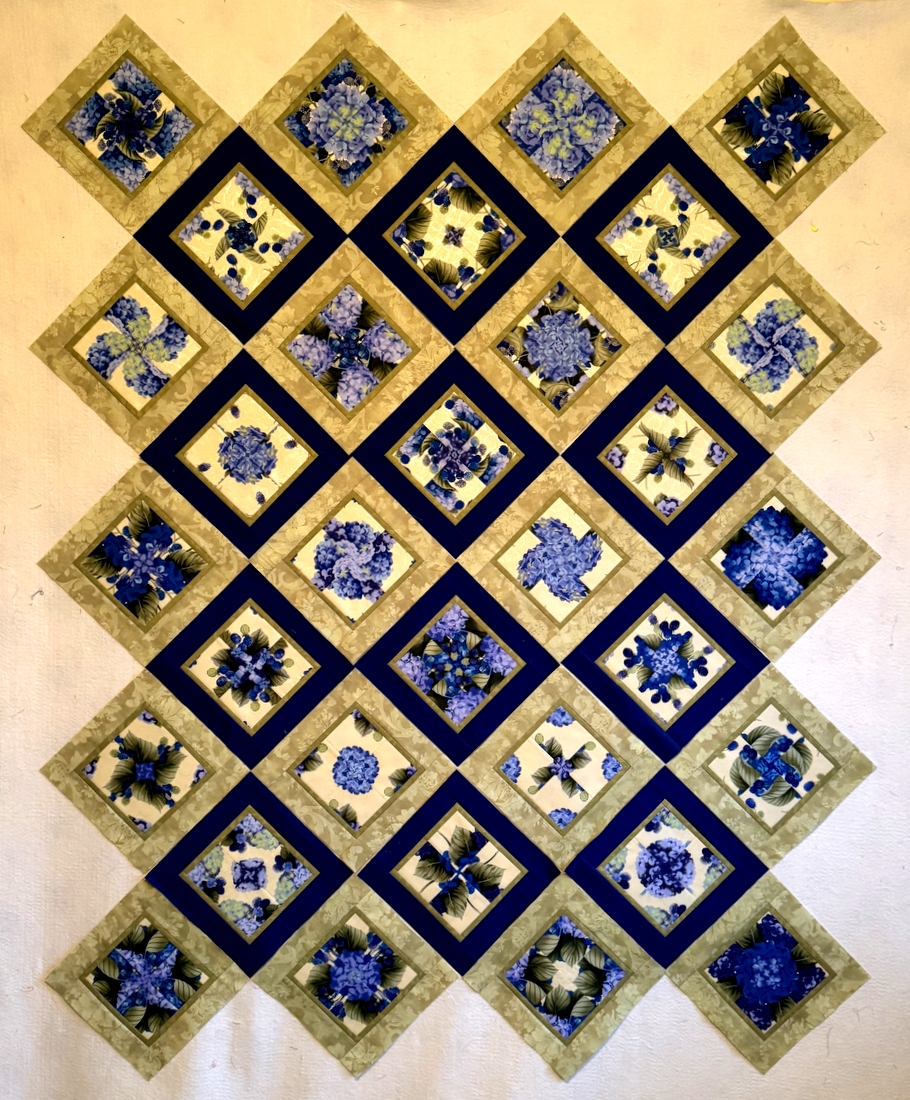
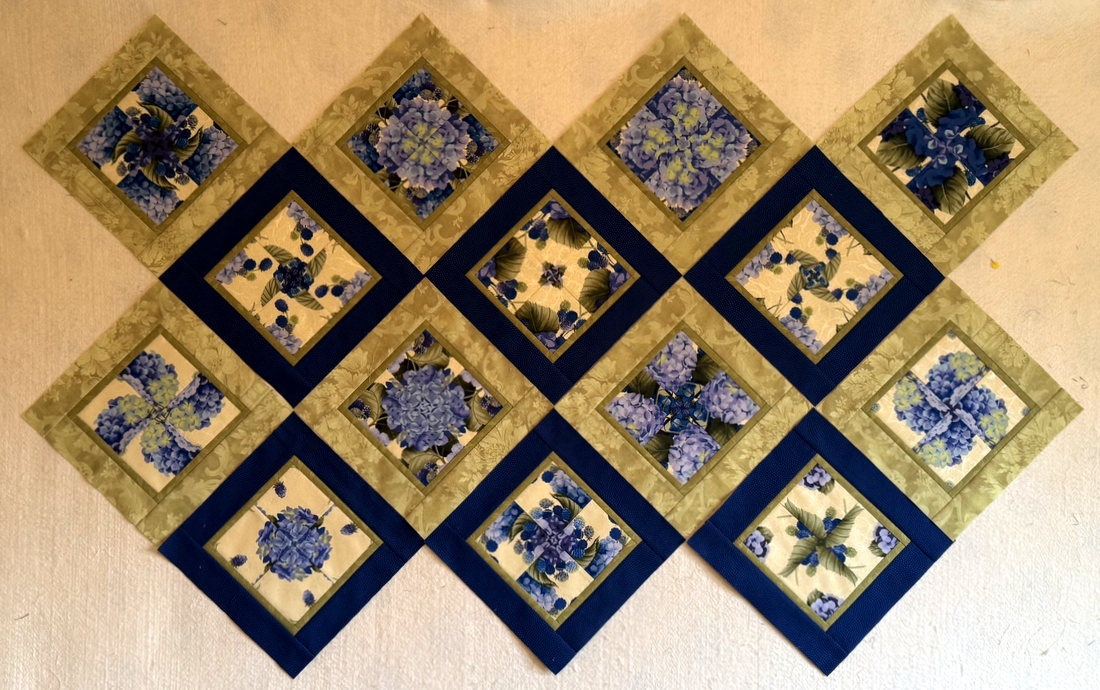
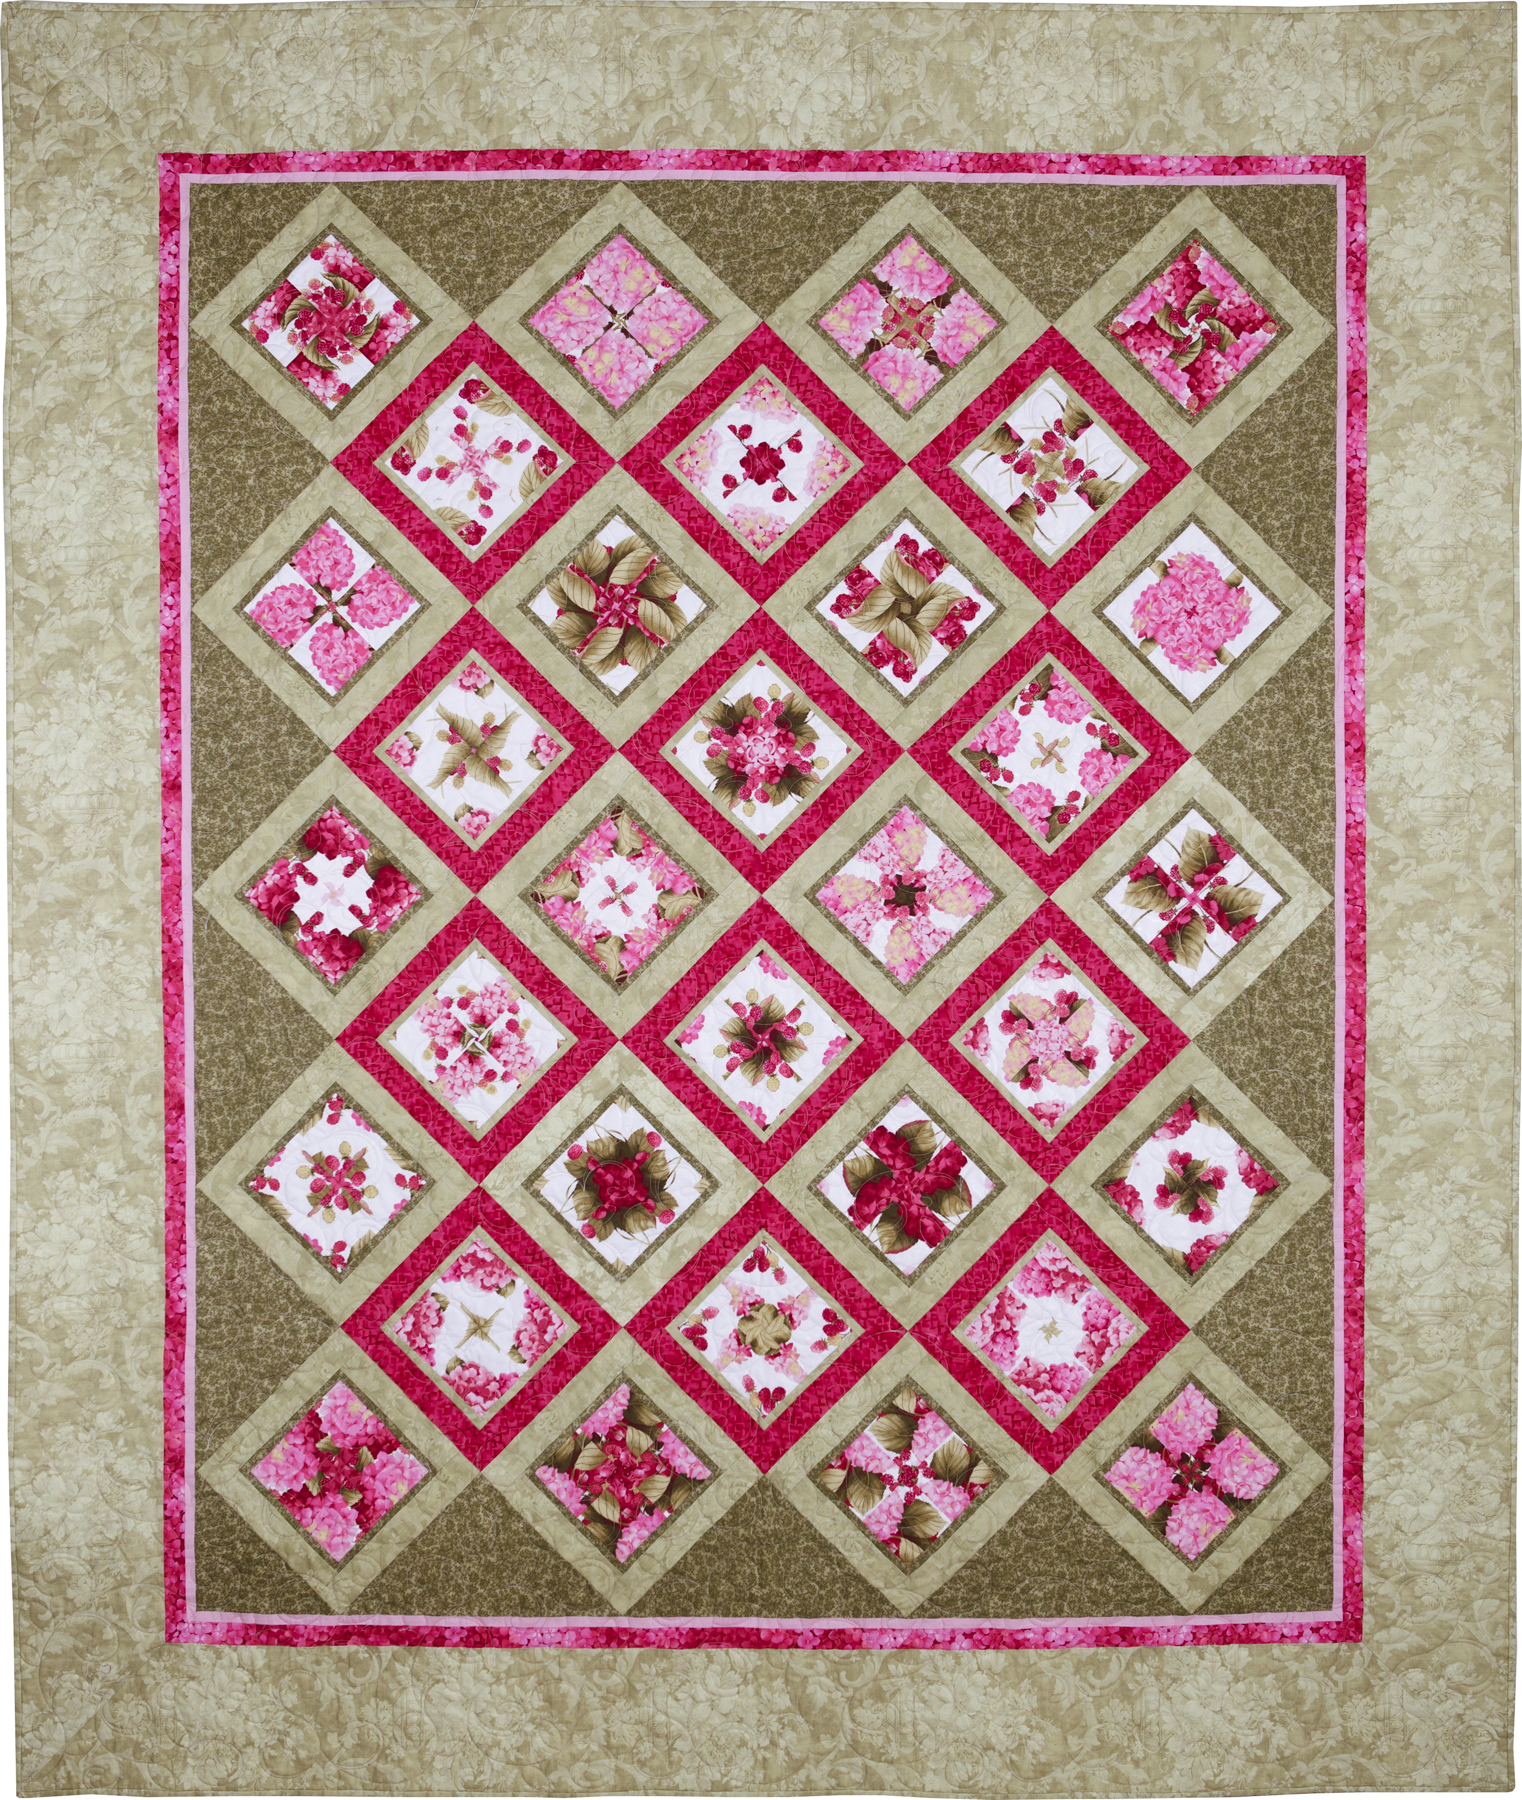
So what was in that March 16 post that disappeared? It was titled “Website Woes” and included a brief description of what was happening to my website posts. It also included a photo of my current Work in Progress, Berried Treasure, taken after the blocks were sewn into rows, the rows joined, and the setting triangles added. Take a look:

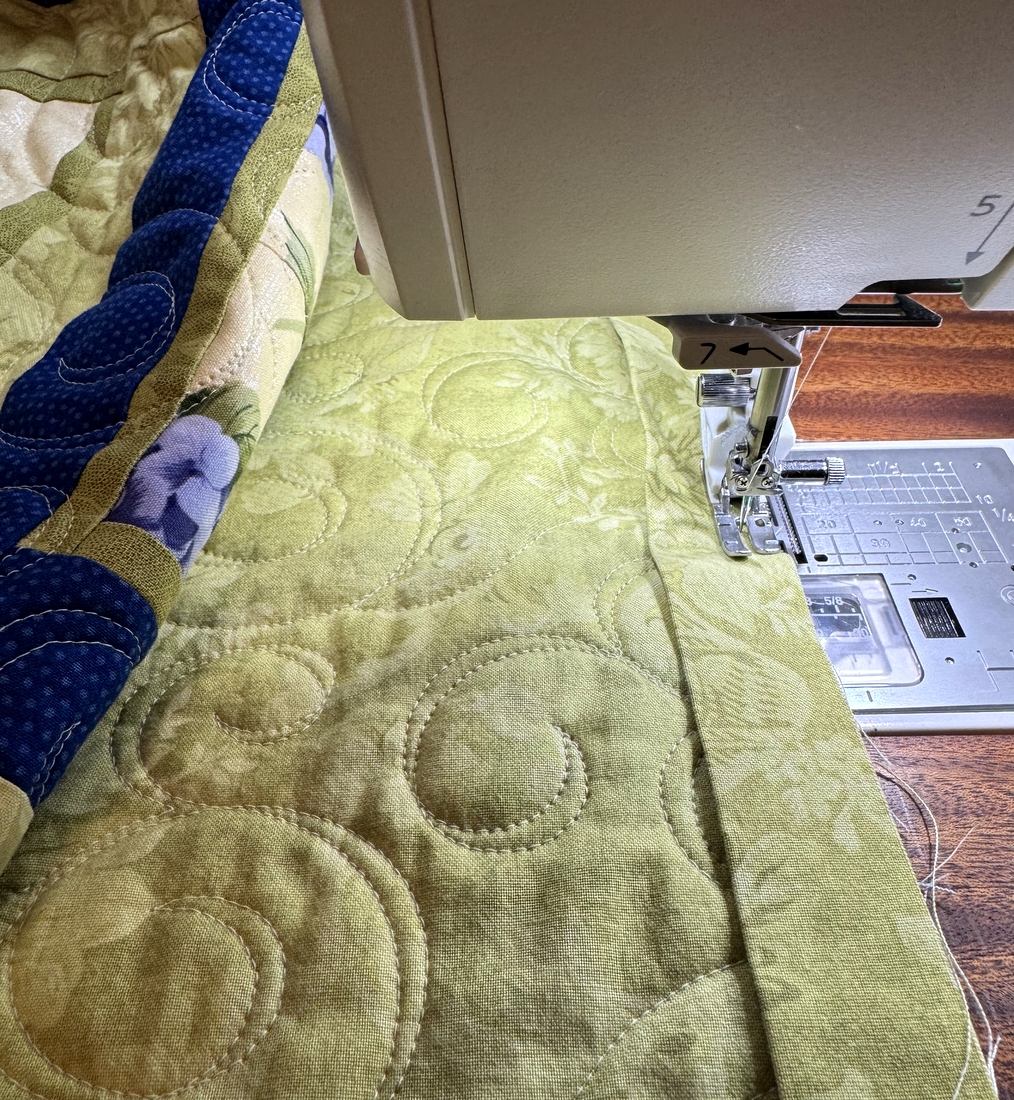
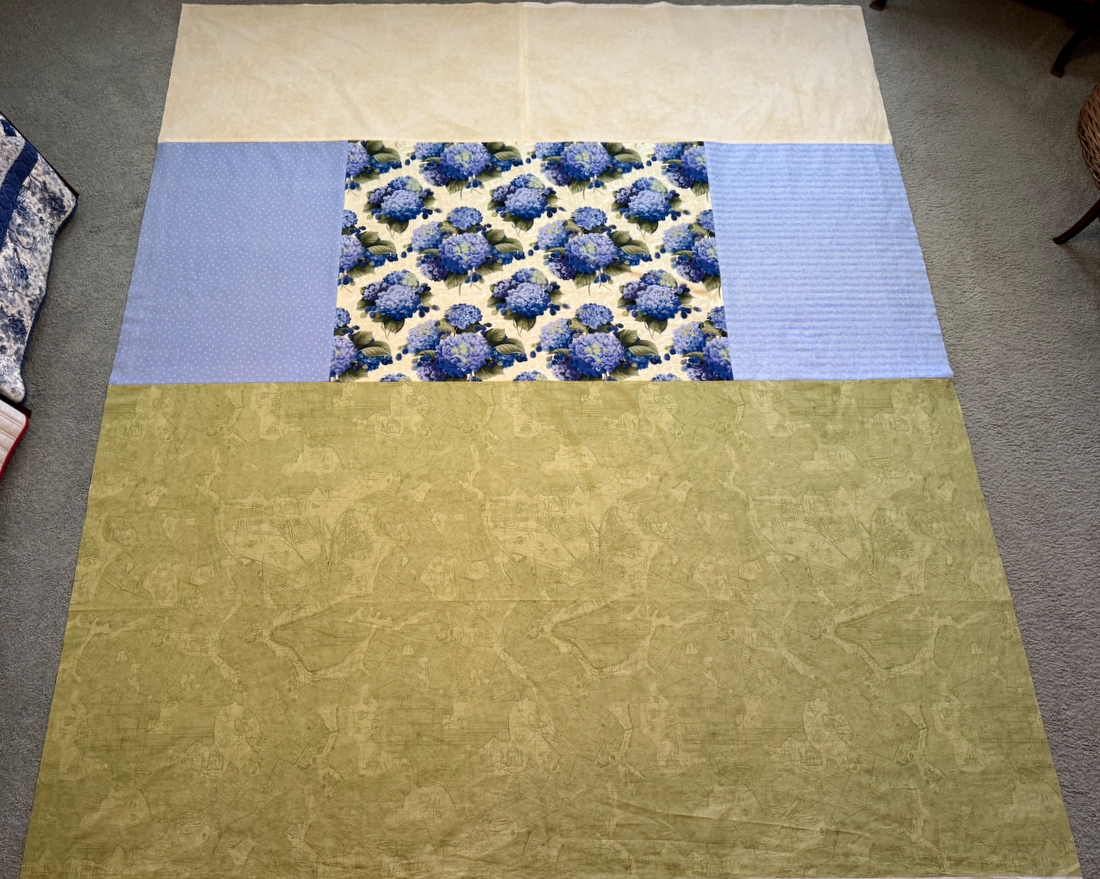
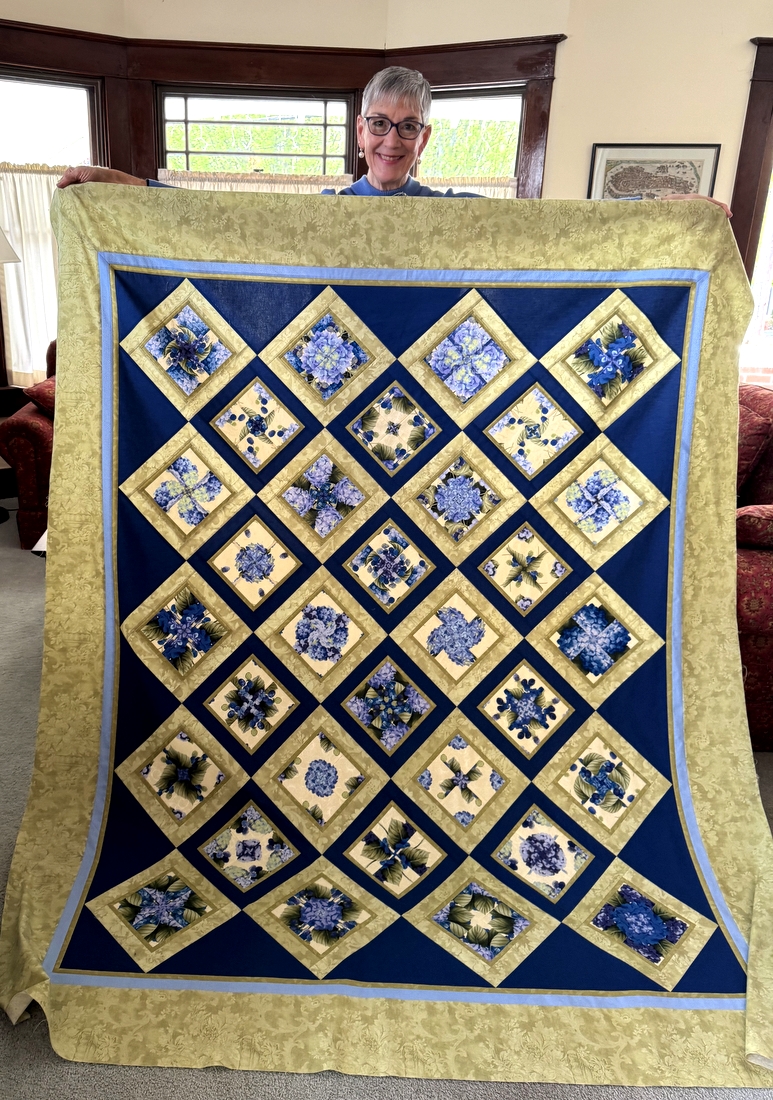
Yesterday was the first time in weeks that I’ve spent a significant amount of time in my sewing room. I’m working now on the borders (three of them) for Berried Treasure and should have something to show you very soon.

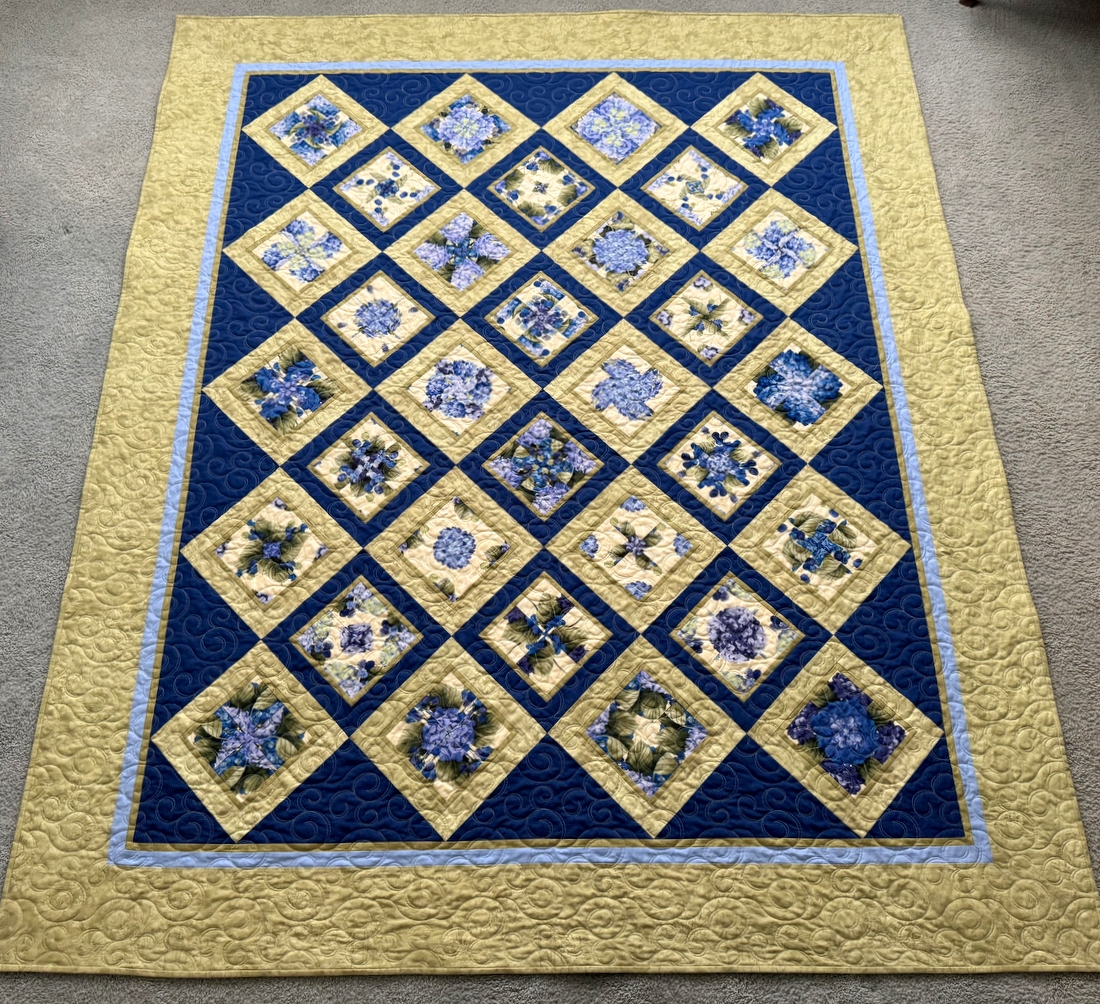
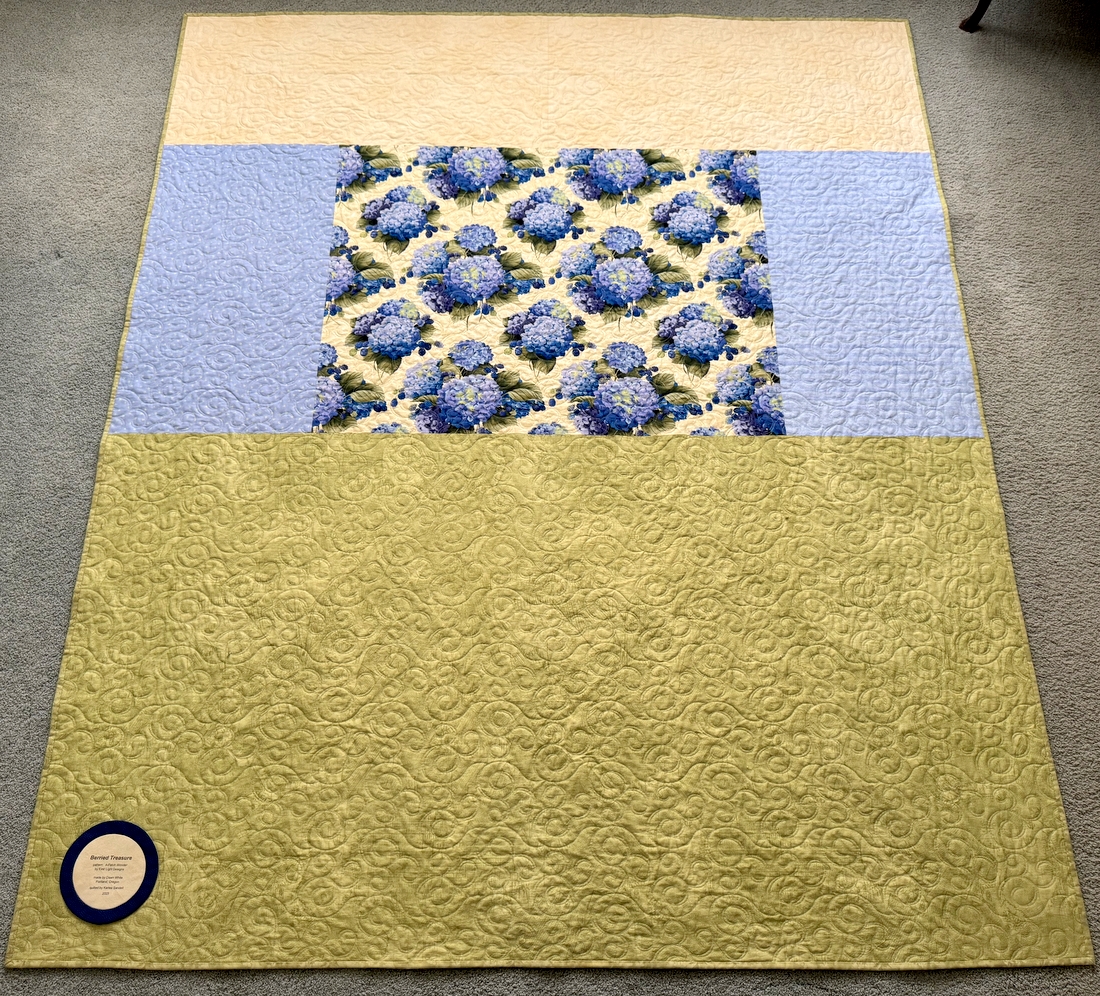
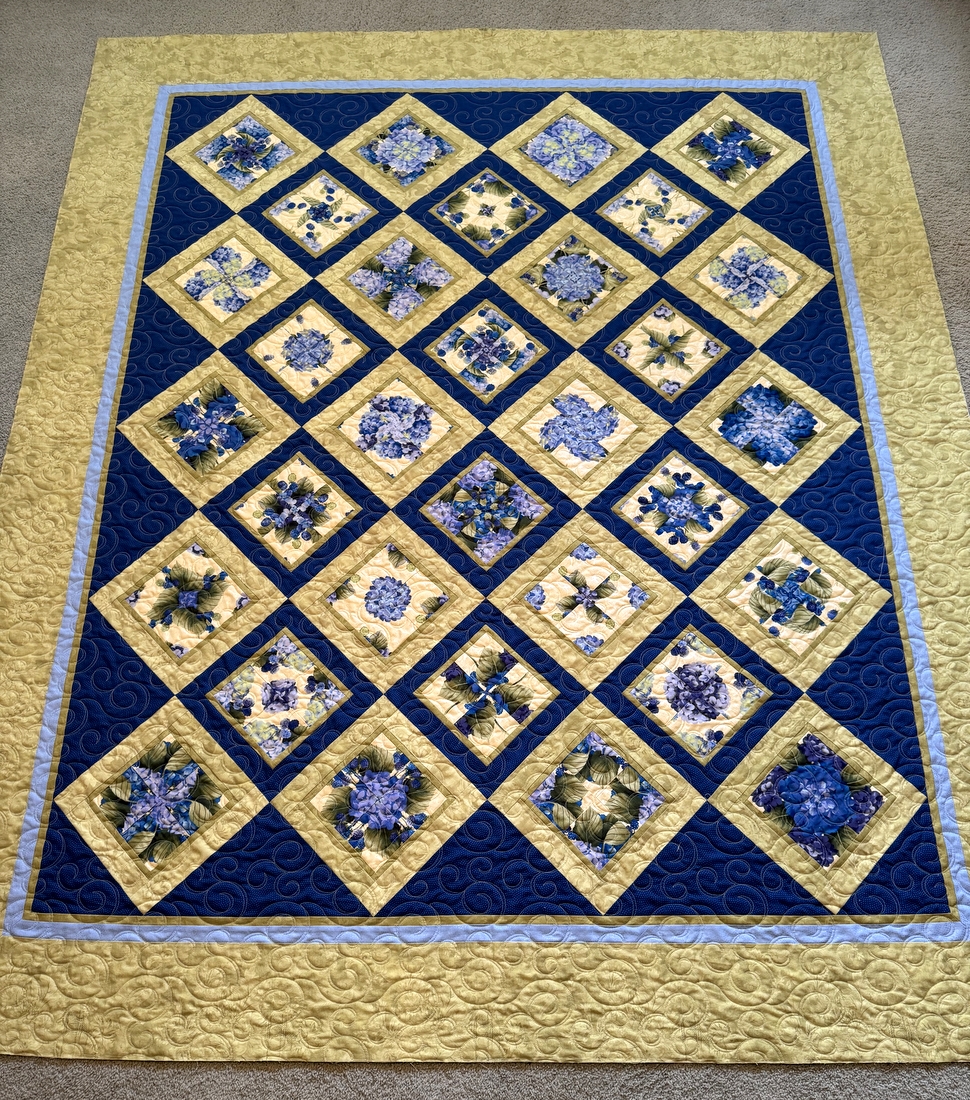
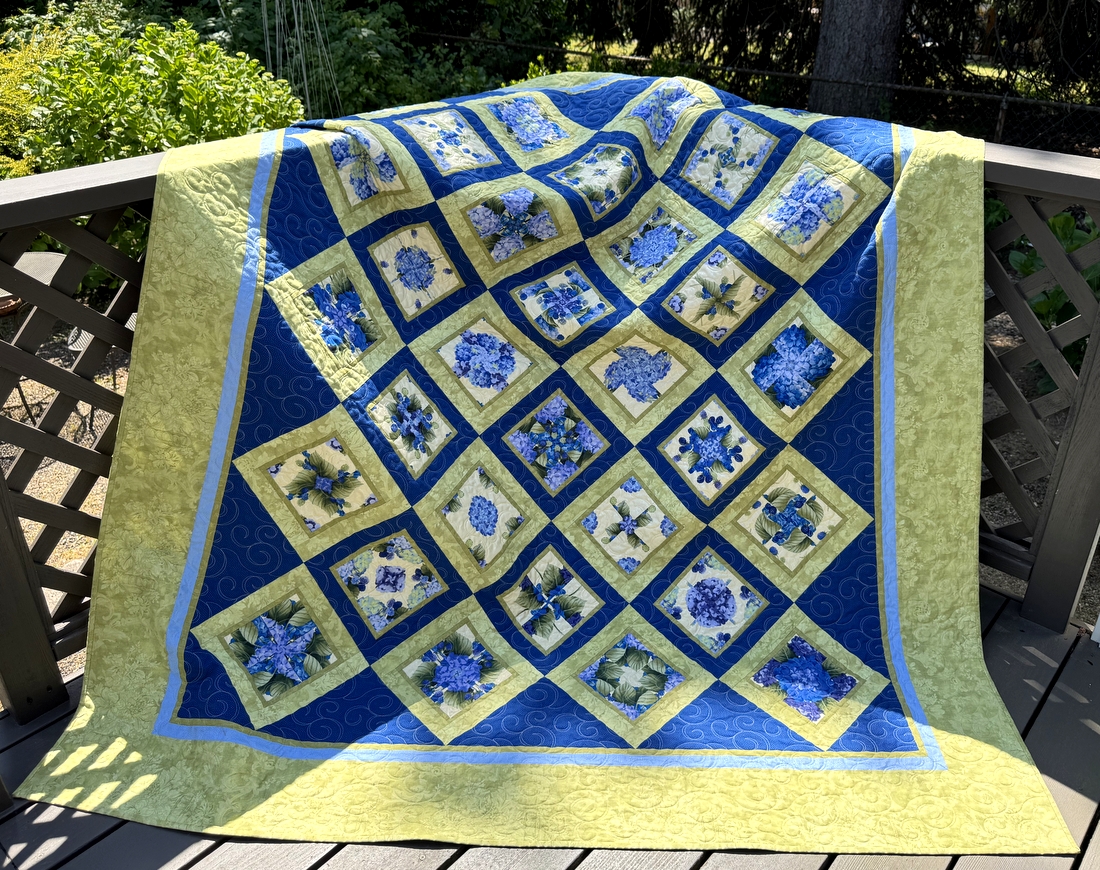 Berried Treasure measures 68″ x 81″ but will shrink a bit after being laundered. After being dragged around the back deck, it definitely needs a trip through the washer and dryer.
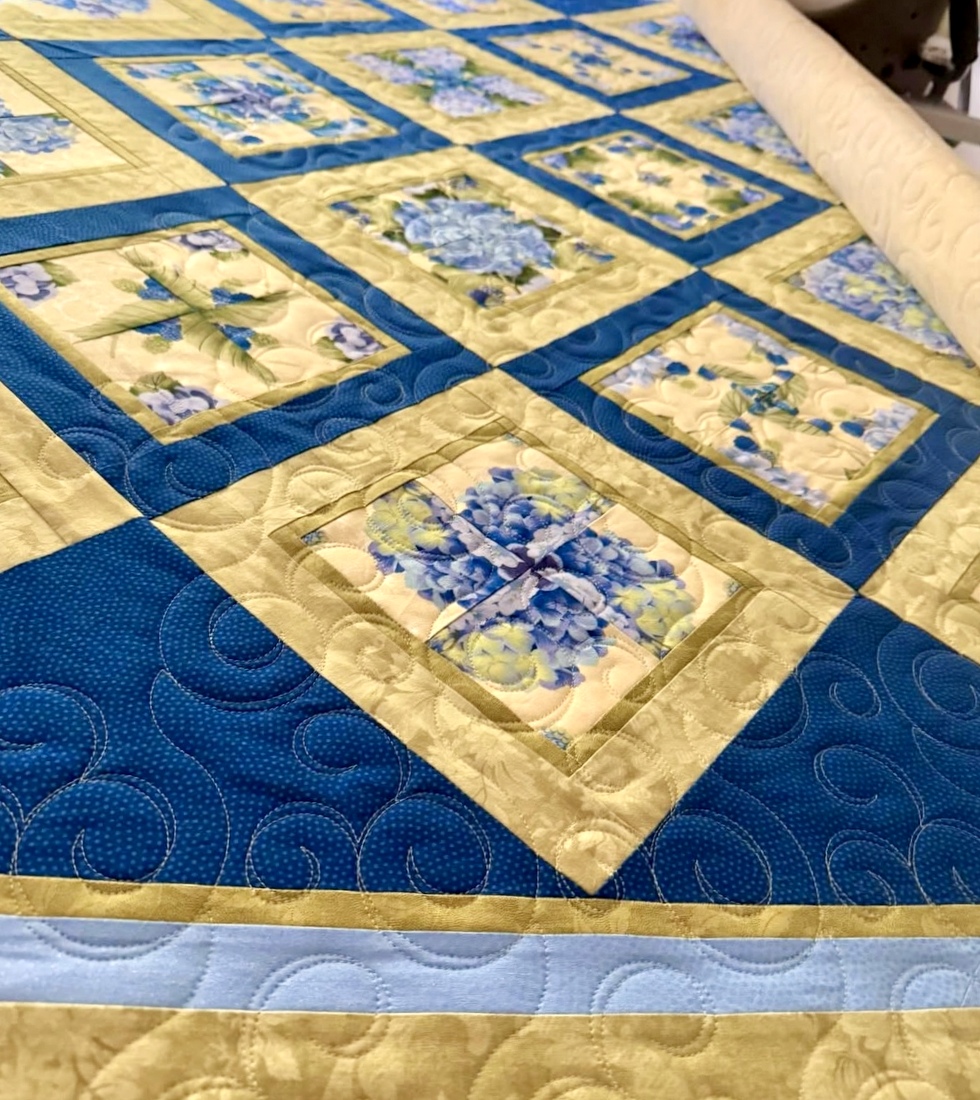

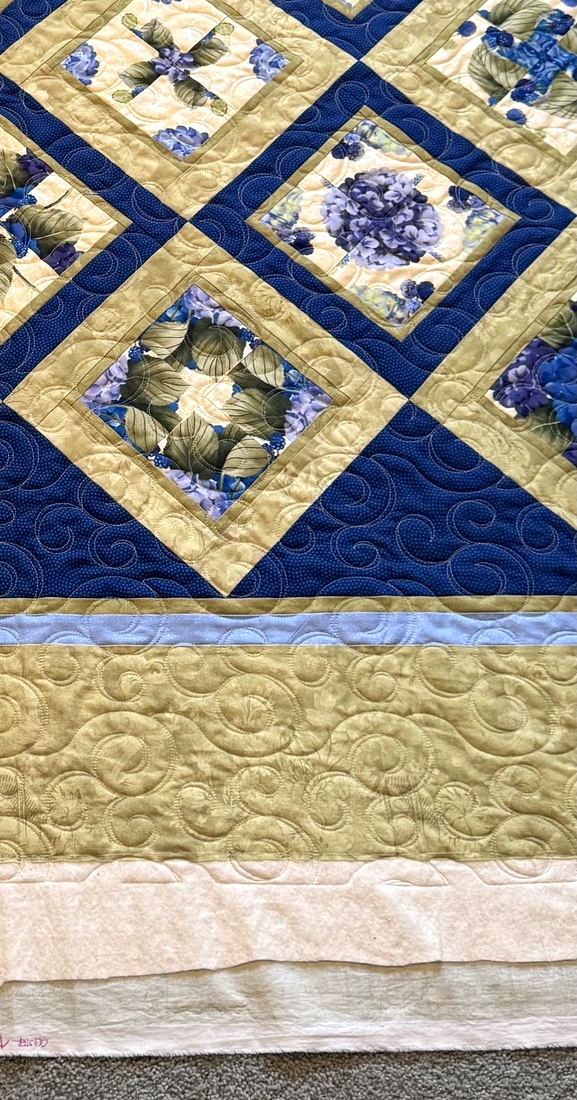
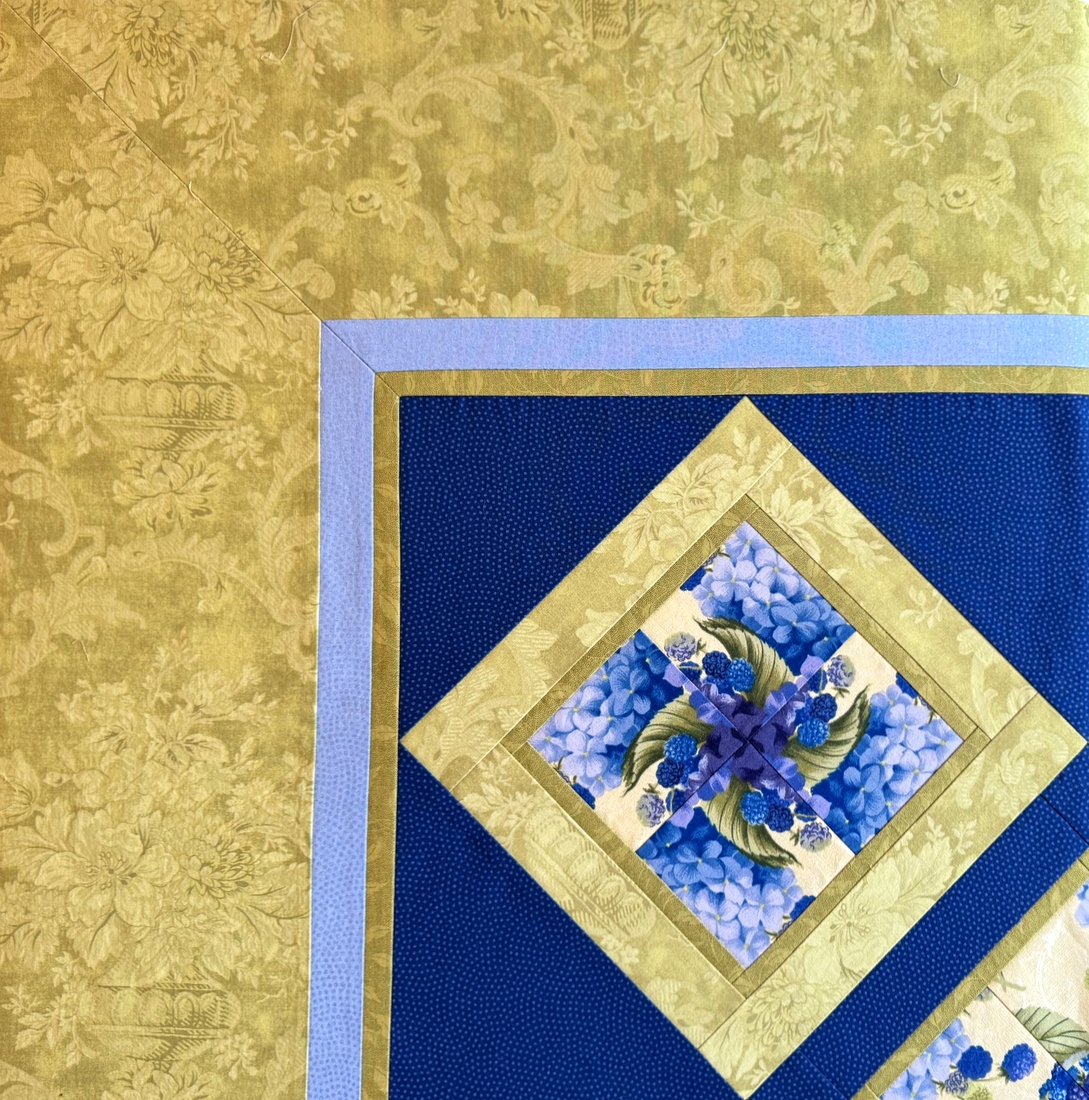

 Can you even tell?