Today was the final day of the three-day International Quilt Market, held right here in Portland, Oregon. It was open to the trade only, and as the owner and sole proprietor of First Light Designs I qualified for entrance as a “cottage industry.” So yesterday I spent the better part of the day at the Oregon Convention Center.
As much as I enjoyed roaming the aisles, admiring quilts on display, looking at new fabric lines and publications and notions and patterns and threads and all of the other accoutrements of the quilting and crafting world, the highlight for me was meeting some of the quilt and fabric designers I admire whose blogs I have been following.
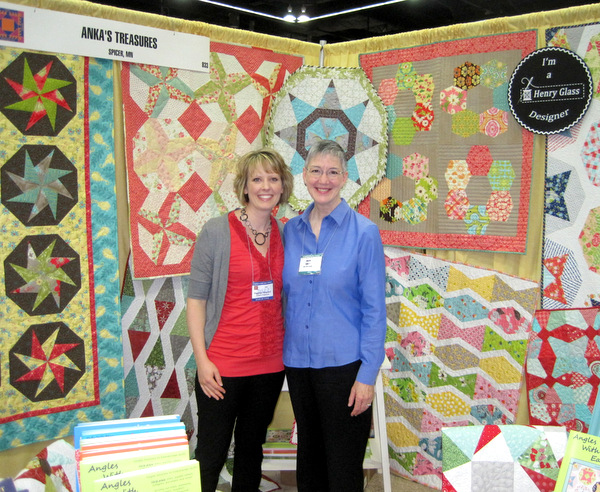
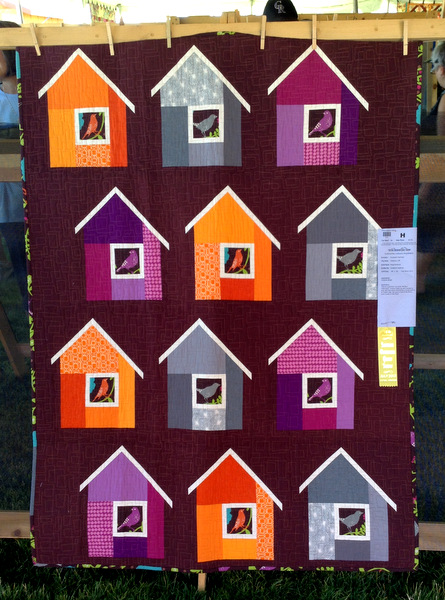
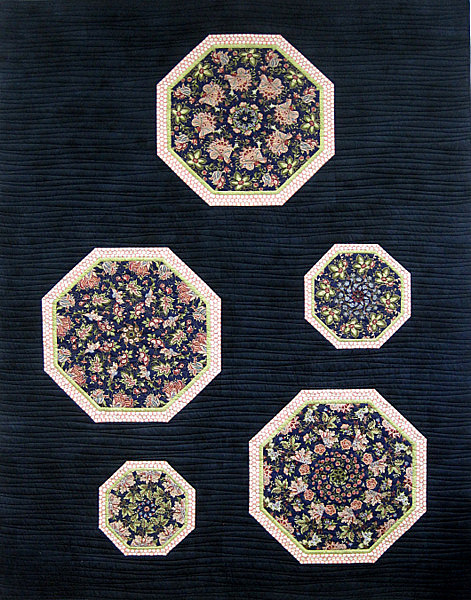
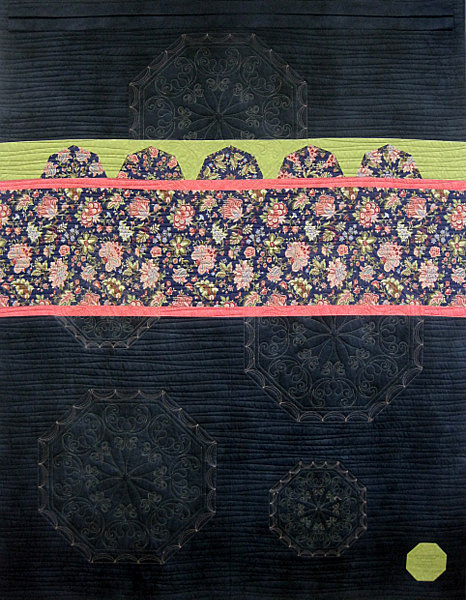
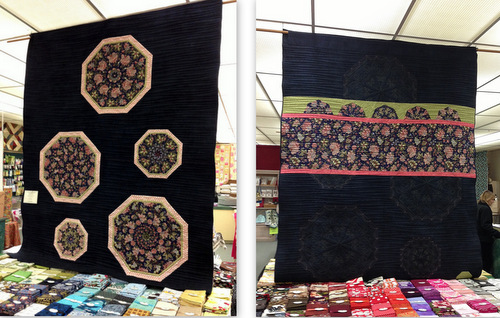
Here I am with Heather Mulder Peterson of Anka’s Treasures. Her blog, Trends and Traditions, is one of my favorites. Heather is so talented: she sews, quilts, designs patterns, designs fabric for Henry Glass, publishes books — and she knits the most beautiful sweathers you’ve ever seen. All of the quilts you see in the background are from her latest book, Angles with Ease, and were made with her new tool, the Triangler, which makes all kinds of shapes including two of my favorites, kaleidoscopes and hexagons.
Here is Emily Herrick, showing her latest fabric collection, Technicolor, for Michael Miller Fabrics:
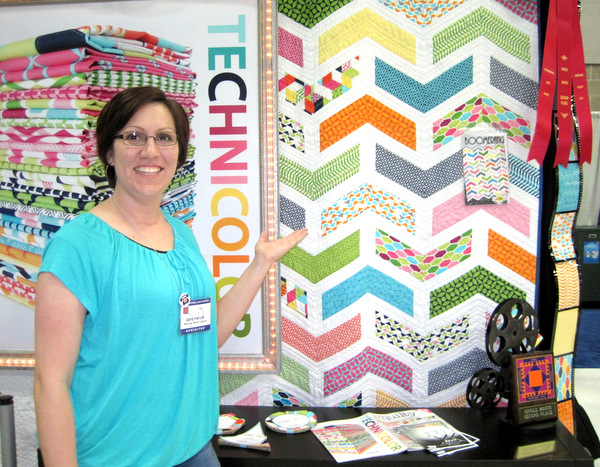
I don’t remember how I discovered her blog, Crazy Old Ladies, but it’s lively and fun, just like Emily and her quilts. I’m crazy about the quilt on the right, made from Emily’s newest pattern, Boomerang.
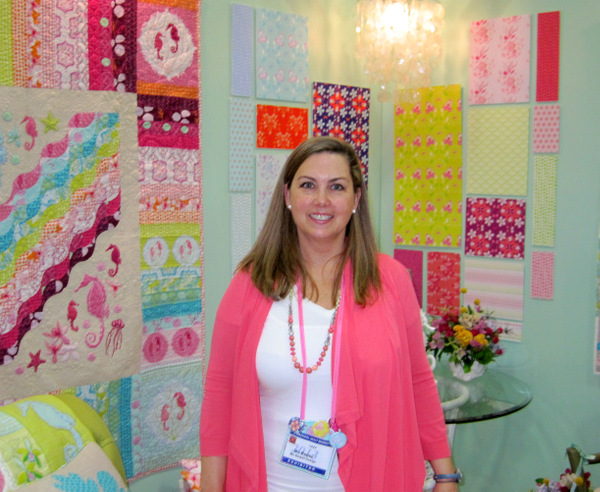
I was delighted to see fellow Portlander Mo Bedell, who designs fabric for Andover. One look at the fabric samples on the wall behind Mo will show you why I like her designs and fabric lines so much:
Both Emily and Mo won Best Booth awards, given for excellence in design and the over-all look of their booths. Congratulations, Emily and Mo!
Joanna Figueroa of Fig Tree Quilts was kind enough to pose for a photo with me:
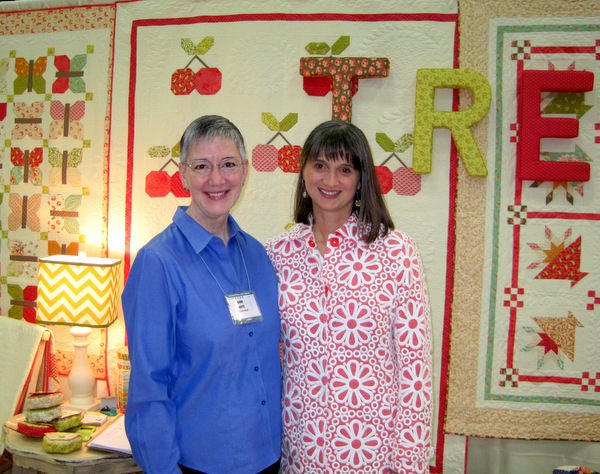
Joanna’s blog, Fresh Figs, is always full of gorgeous photos of quilts and other crafted items made from her patterns and her fabric lines for Moda. We had a nice conversation about the new Moda Honeycombs — packs of 6″ hexagons. On the table behind me are a few mini-purses made from her new pattern, Hexies, and a pack of Honeycombs. Yep. Those are on my list now, too.
And what a delight to meet Anne Sutton of Bunny Hill Designs, who blogs at Bunny Tales:
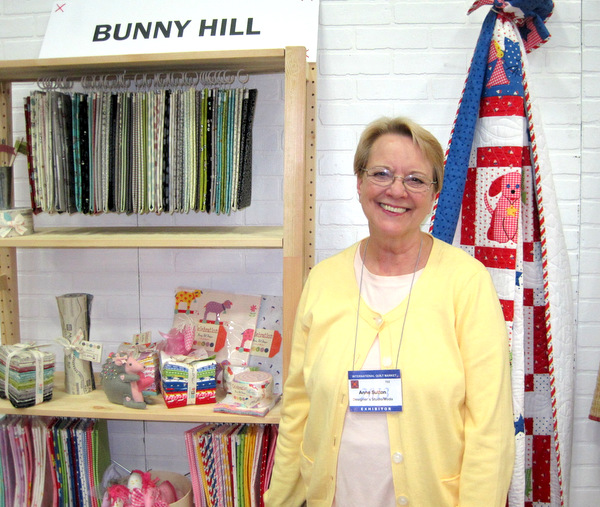
Anne is well known in the industry for her quilt designs featuring appliqué, and she also designs fabric for Moda. When I introduced myself and told her that my friend Colleen and I are huge fans, she gave me a big hug.
Starstruck? Oh, yes. But you know what? These superstars of the quilting world are real people, just like you and me. And the ones I had the good fortune to meet yesterday were incredibly gracious and kind.