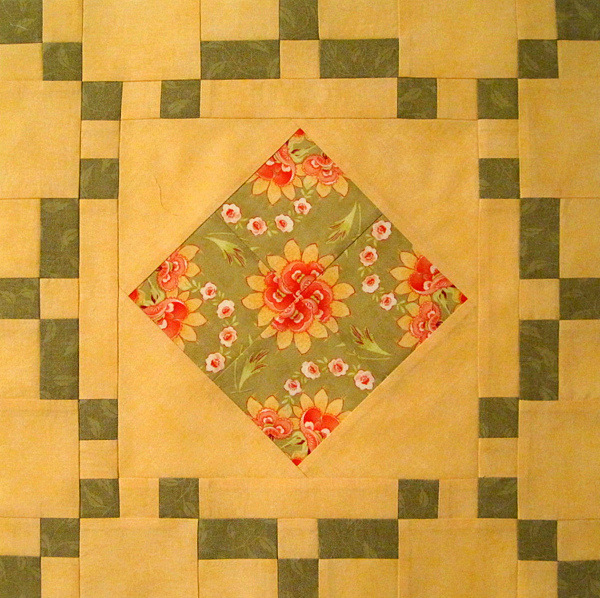
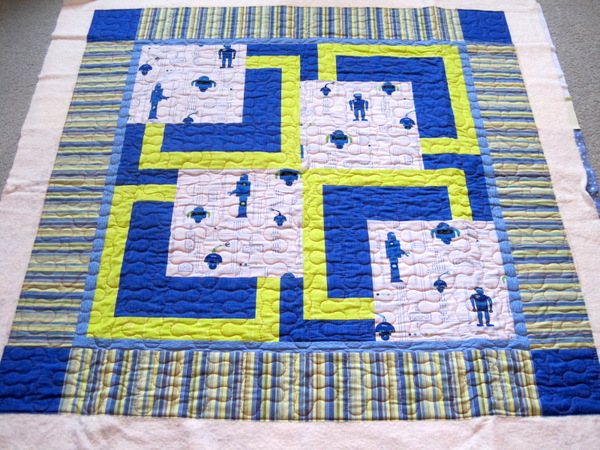
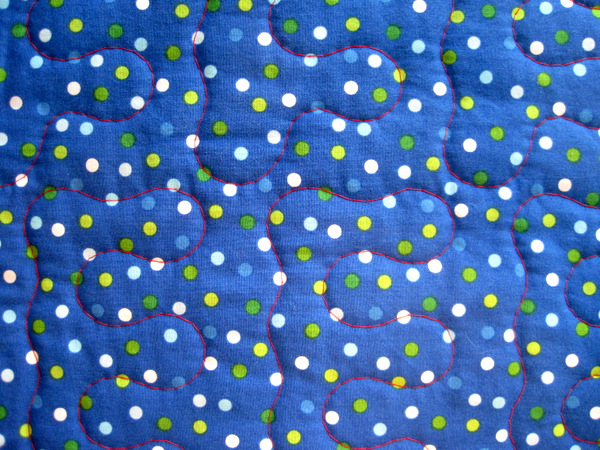
Yes, I know. I should be working on those UFOs and WIPs instead of creating new ones. But I just couldn’t resist trying out an idea for a new quilt. I’ve made just one 15″ block so far:
It’s a riff on the traditional “Burgoyne Surrounded” block. What do you think?
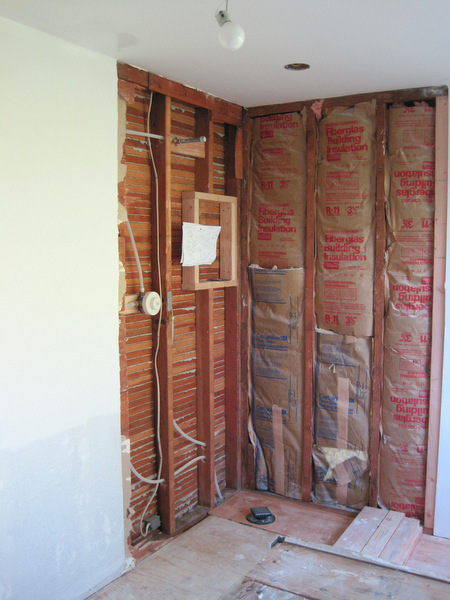
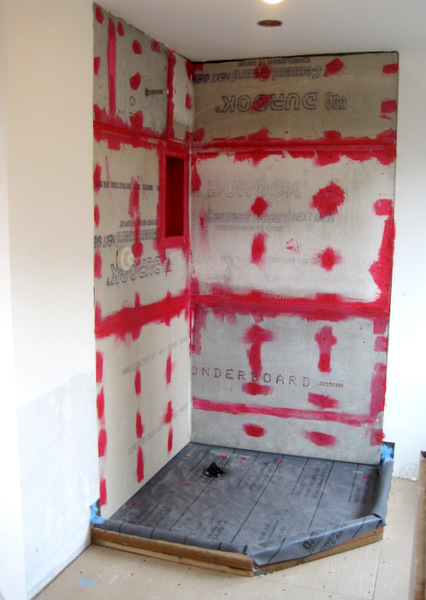
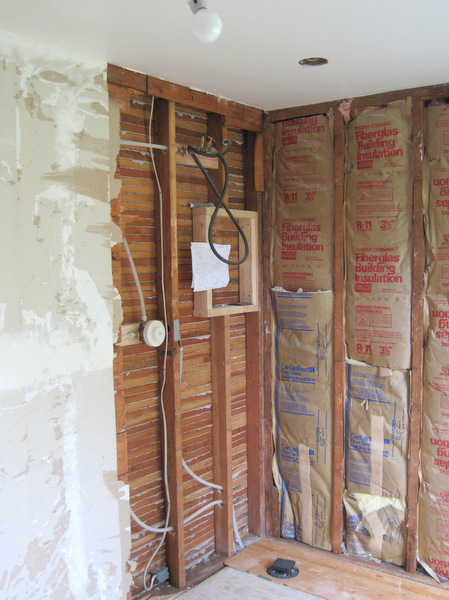
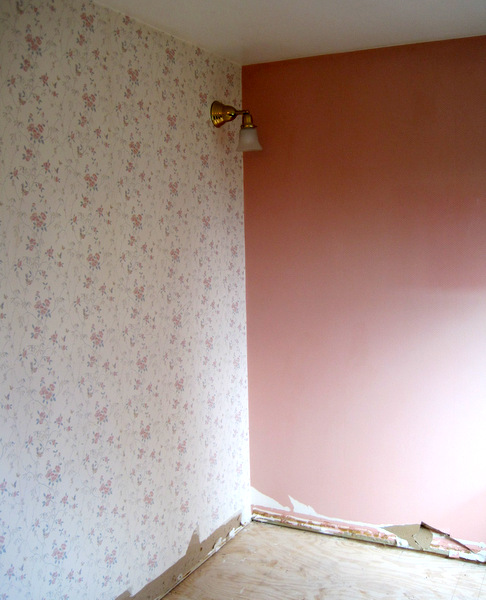
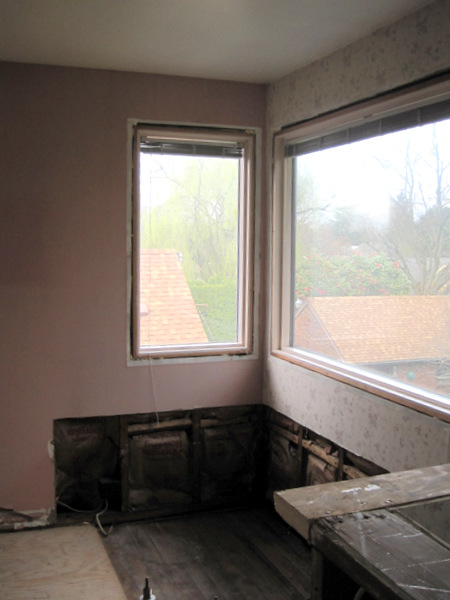
The most dramatic change in the bathroom during Week 4 of the renovation occurred in the northwest corner. We went from this . . .
to this . . .
I can’t wait to see what it looks like at the end of Week 5!
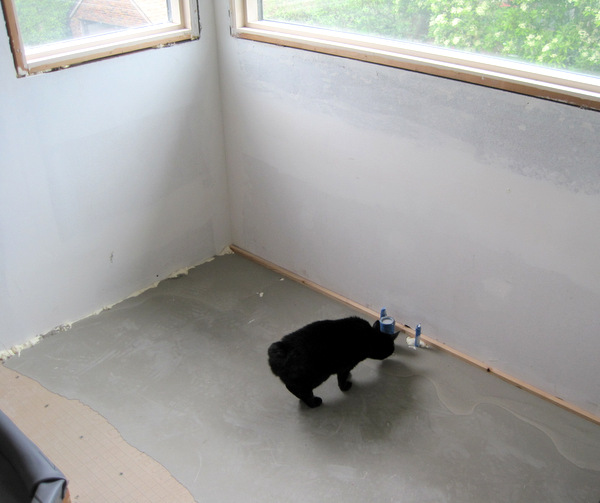
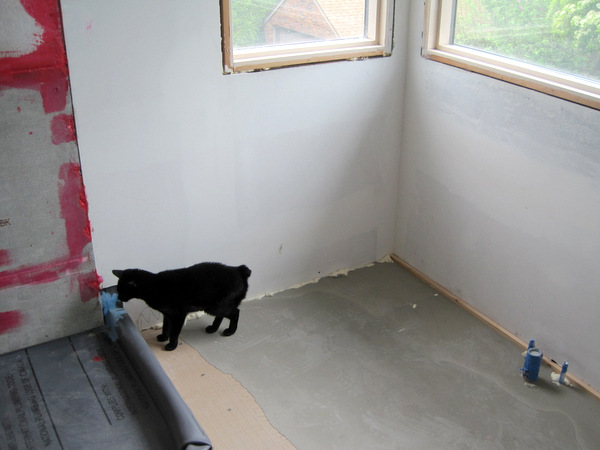
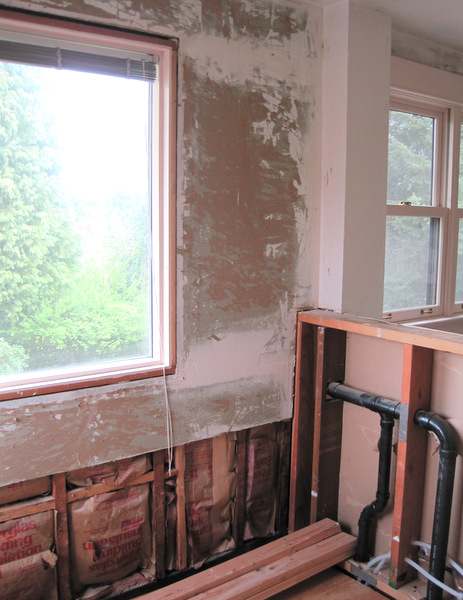
The subflooring has been covered with cement board in preparation for porcelain tile. The floor area under the windows on the northeast side is being filled in with a self-leveling liquid, as it is significantly lower than the rest of the room. Here is Theo exploring the area:
This half of the bathroom was originally a sleeping porch, measuring about 7½’ x 8′ and accessed by a door (no longer there) on the west wall. When we bought the house in 1981, this room had exterior siding on the two interior walls you see in the photo above. The sloping cement floor and ill-fitting windows rendered the room unusable, one of the reasons we incorporated it into a larger bathroom during the first remodel in 1985. (Oh, how I wish I had taken “before” pictures!)
Now that all of the open spaces in the walls and floor have been covered up, it’s safe to let Theo have a good look around:
I hope you’ll come back next week for a good look yourself!
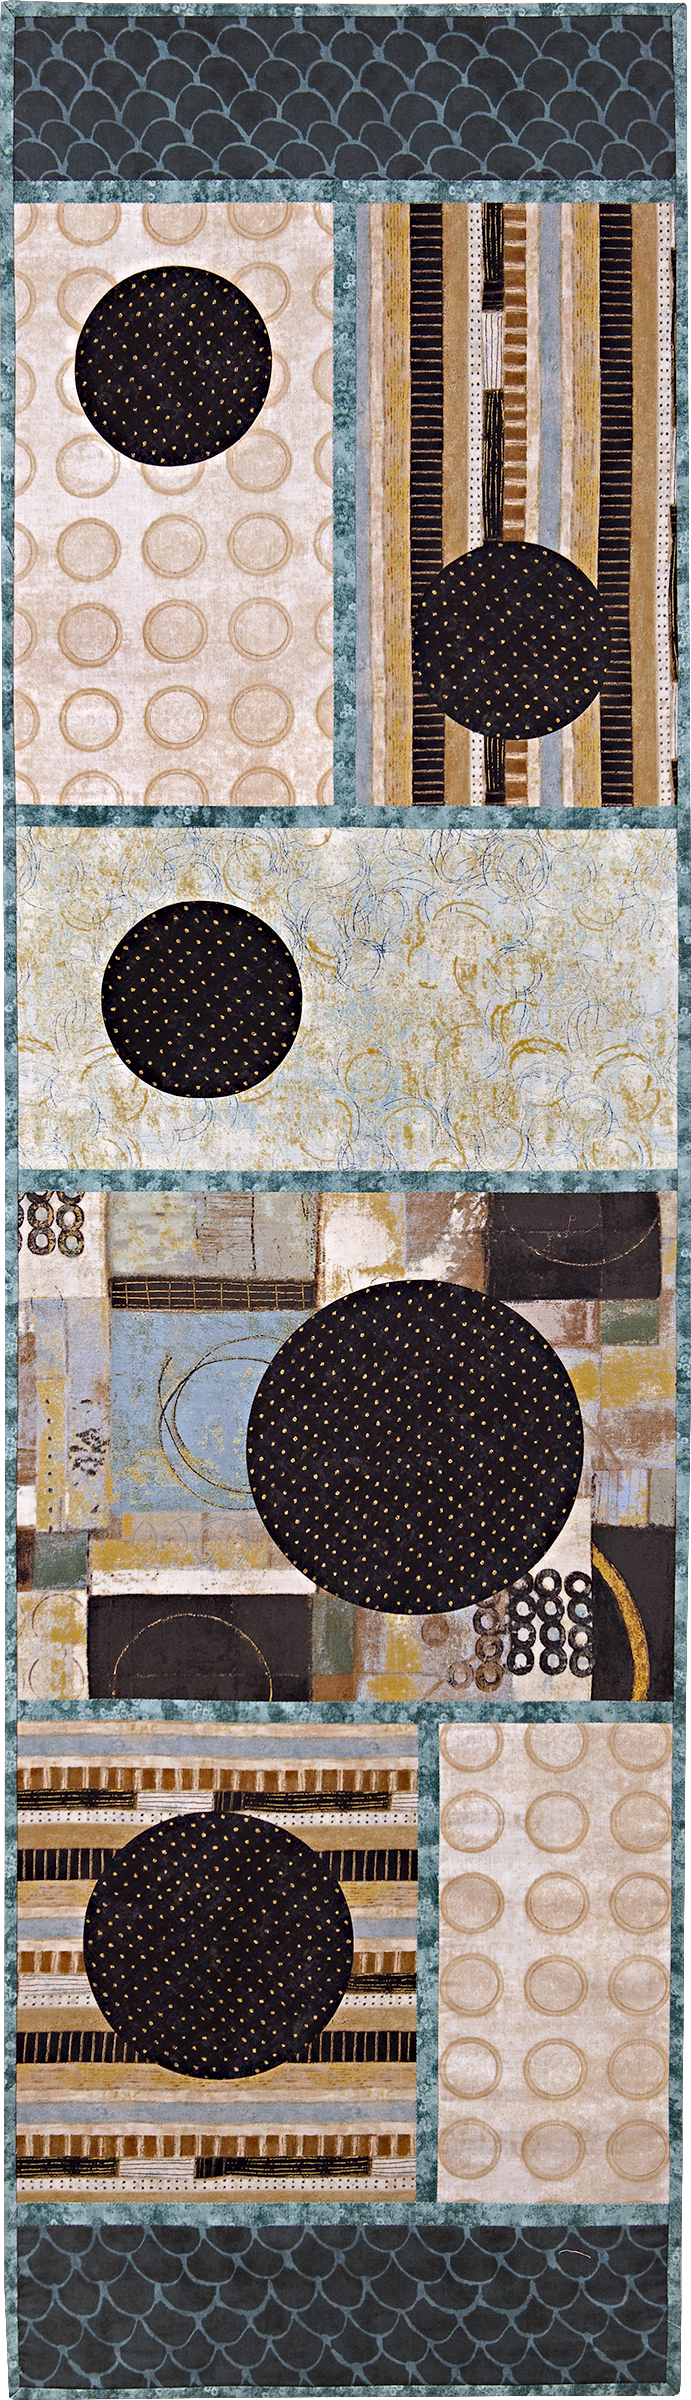
. . . that’s the name I gave this table runner because every single fabric — even the strips and binding — has circles in it. I didn’t pick up on that until I was casting about for a name.
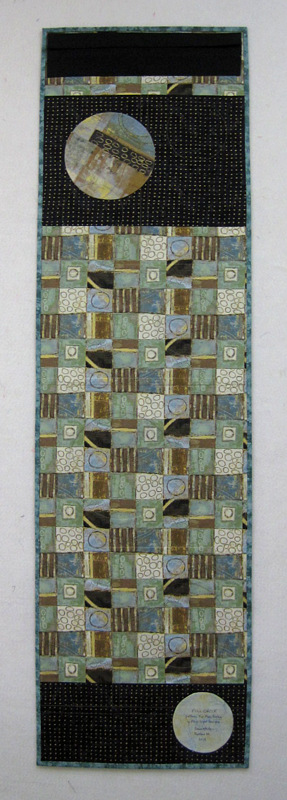
The pattern is Full Moon Rising, my first pattern, with a few minor changes. Most of the fabrics are from the Neutral Territory Line by Donna Becher for P&B Textiles. On the back I used a half-yard cut of different fabric from the same line, filling in the rest of the back with the black and metallic gold dot used for the moons on the front:
(That solid black fabric at the top is a sleeve for hanging.)
The circles on the front of the table runner were set in while the ones on the back were made separately and attached with fusible interfacing. There’s no batting in this particular version of Full Moon Rising, and the only stitching holding the layers together is around the circles and in the ditches of the strips between blocks.
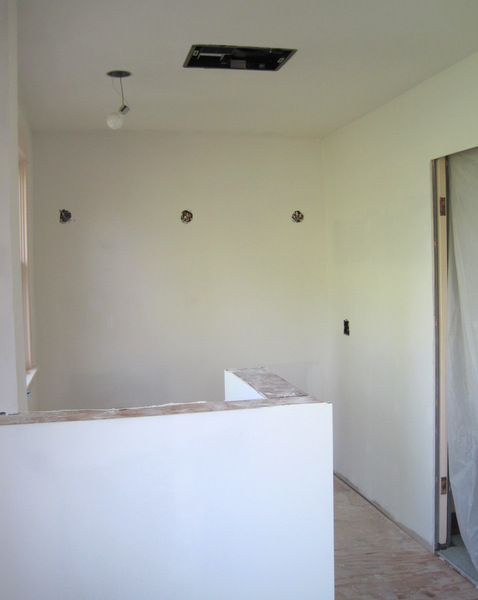
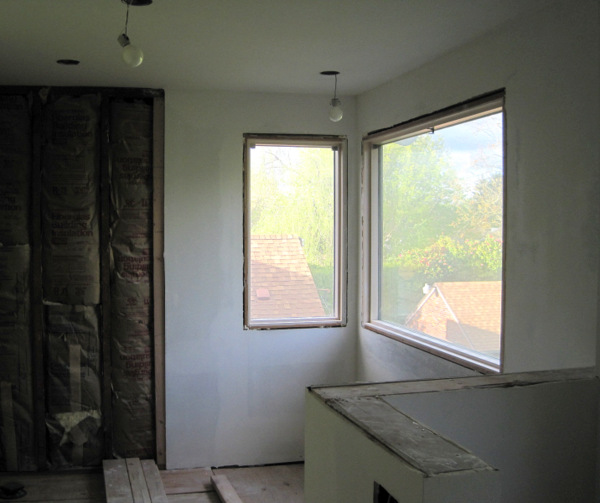
The walls in the White House bathroom are looking good. All of the open spaces in the walls have been filled with sheetrock, and the only lath and plaster you can see now is in the area where the shower will go. After the walls had been mudded and were dry, the crew sanded and vacuumed. They did such a careful job that almost no dust escaped into other rooms in the house. Now, after priming, the walls look almost good enough to hang pictures on!
South Wall and SW CornerNE CornerNW Corner
The work this coming week will focus on the shower area, above, beginning with building the shower pan. Then the tilework begins!
Of the six women in my quilt group, the Quisters, three have March birthdays. We all lead busy lives so it wasn’t until yesterday — well into April — that the six of us were available to celebrate together. We congregated at the Portland White House for lunch, laughter, gift-giving, and dessert. (Dessert was so good it deserves a special mention: Lemon Sour Cream Pound Cake served with Blueberry-Lemon Sauce and whipped cream.)
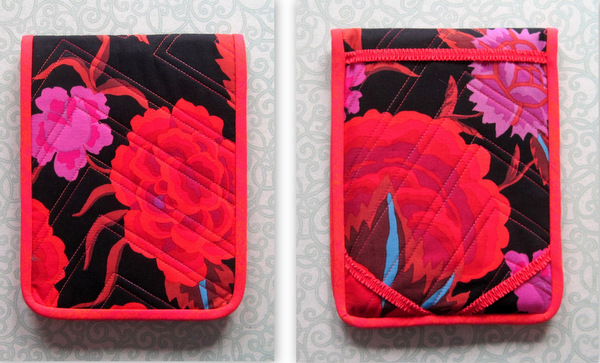
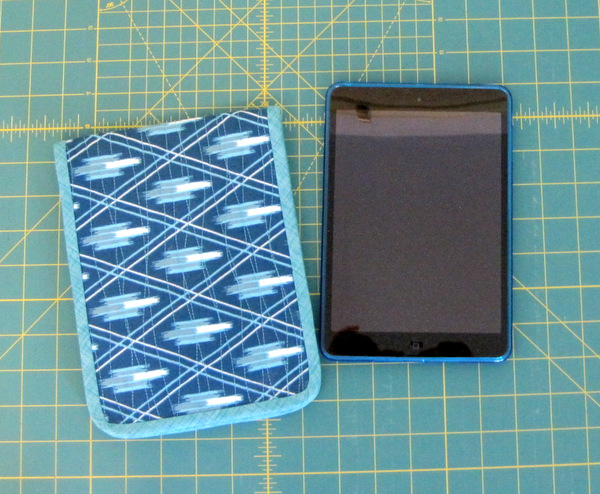
Now I can show you what I made for the birthday girls. For Lee and Peggy, I made iPad Mini covers. Here is Lee’s:
Lee’s iPad Mini Cover, Front and Back
The three elastic strips on the back hold the iPad in place on a padded surface when in use. The elastic strips also wrap around to the front, holding the outside flap securely in place when the iPad Mini is being carried around.
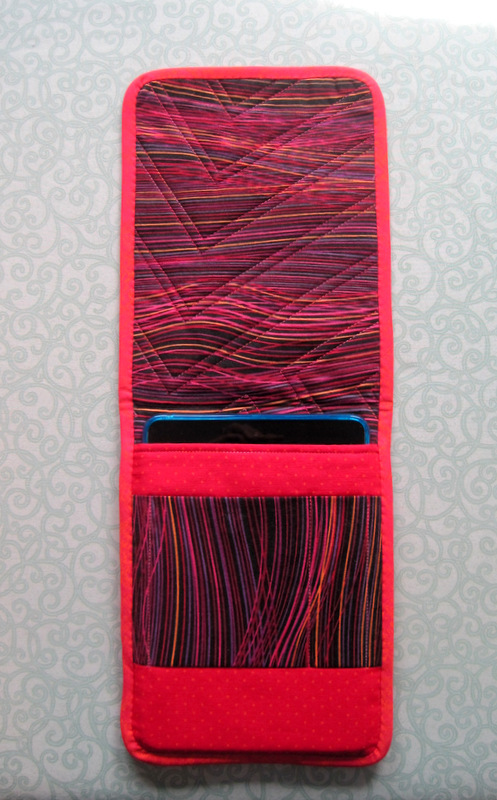
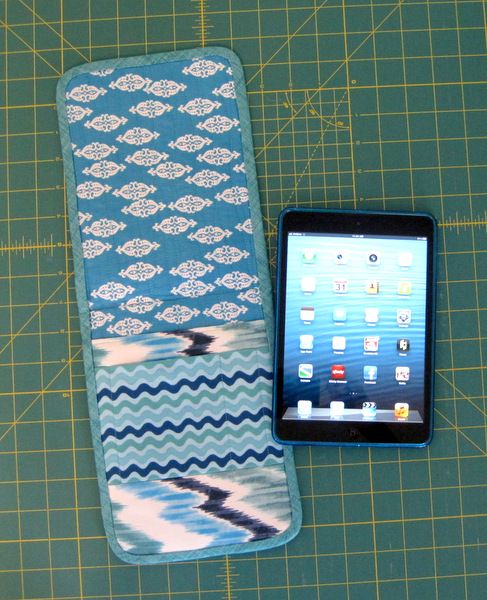
This is what Lee’s cover looks like on the inside:
iPad Mini Cover, Open
Here is Peggy’s:
Peg’s iPad Mini Cover
This is what Peggy’s looks like on the inside:
iPad Mini Cover, Open
It’s a little hard to see in the photos, but the iPad Mini covers have an accessory pocket on the inside to hold earbuds and a stylus.
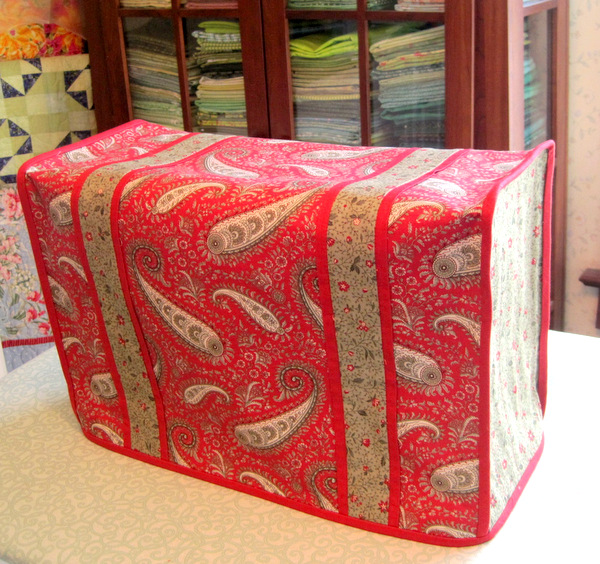
For Deborah I made a custom sewing machine dust cover:
Deborah’s Dust Cover
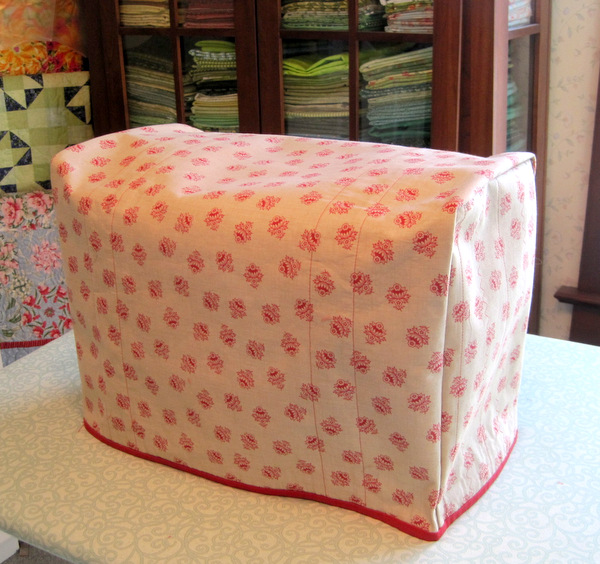
It’s hard to get a good look at the lining fabric so for the next photo I turned the dust cover inside out:
Almost Reversible!
I’m working on patterns for both the iPad Mini cover and the sewing machine dust cover, so if you’re interested in making one for yourself or a friend, please check back with me.
While electricians and plumbers were working their magic last week in the bathroom that’s being renovated (see previous posts), I was at work down the hall in my sewing room. As planned, I quilted two baby quilts — but the quilting didn’t go as planned. I wanted to do free motion quilting (FMQ) using a large-scale boxy geometric design. Alas, it was not to be. My up and down lines looked fine but I lacked control on the side to side lines.
After several attempts, each of which was followed by picking out stitches, I gave up on the FMQ and resorted to quilting straight lines in both directions using a walking foot. I randomly spaced the lines from three to six inches apart. It wasn’t necessary to mark the quilts as I used the straight lines in the print fabric and the seamlines as my guides.
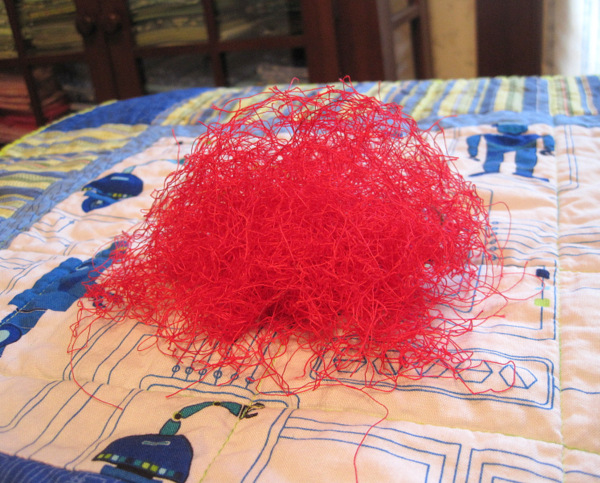
You may remember that Nancy Stovall of Just Quilting basted the quilts for me on her longarm machine. The big red basting stitches were extremely easy to remove — but even so, it took a bit of time to remove the thread.
A Nest of Thread
My friend Pam Raby, who blogs at Quilts and Paws, suggested using water-soluble thread next time. Brilliant! I’ve already passed the suggestion on to Nancy.
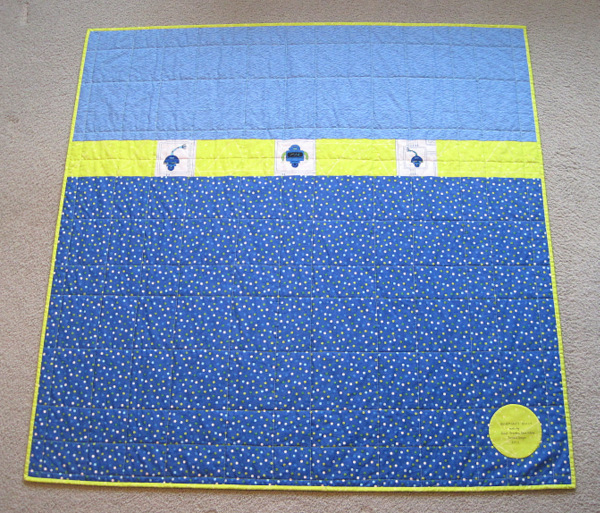
Bound, labeled, and washed and dried, this quilt is ready to be delivered to its rightful owner. Here’s a photo of the back of baby Nehemiah’s quilt:
Baby Nemo’s Quilt, 46″ x 47″
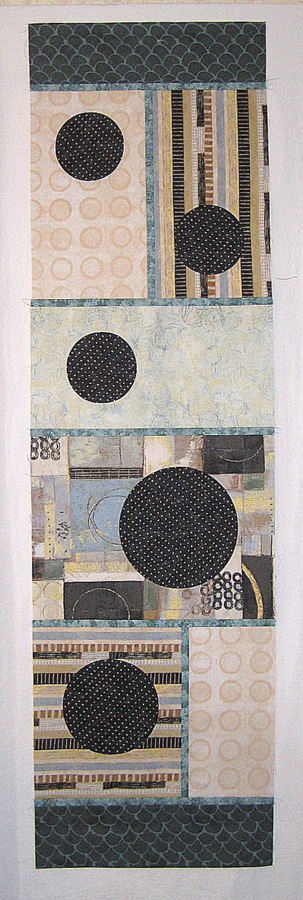
I also found time to work up a wall hanging using my own Full Moon Rising pattern:
In Progress: Full Moon Rising, 16″ x 57″
In addition to four metallic fabrics from the Neutral Territory line by Donna Becher for P&B Textiles, I used a beige circle fabric from the Earthtones line by Norman Wyatt Jr., also for P&B Textiles — those two lines are a match made in heaven! — and a Marcia Derse scallop print for the end pieces. The strips between blocks, which I’ll use for the binding, are from an Andover blender that I have in several colorways.
And finally, just because it’s spring — my favorite season — and I’m rejoicing in every blooming thing, I have to show you what’s on display in front of the Portland White House:
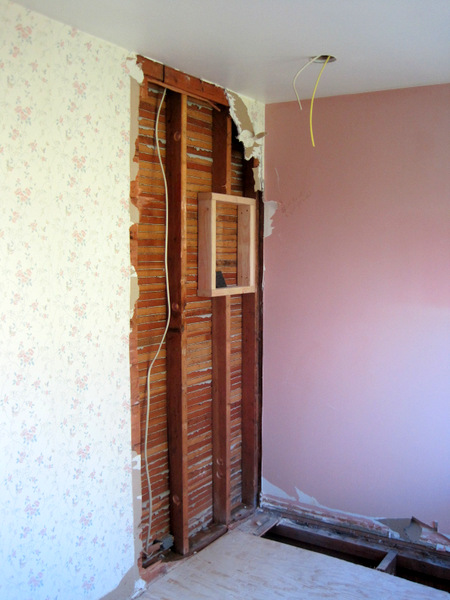
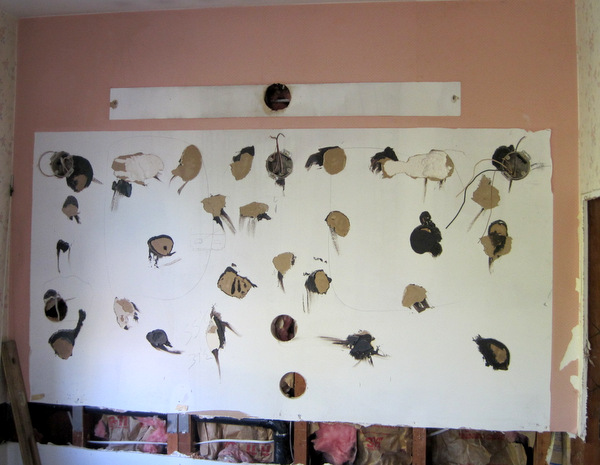
At the end of Week 2, the northwest corner of the bathroom is looking more like the future site of a shower. The sheetrock has been removed from the north wall and the water lines are in. The plumbing has been inspected and approved.
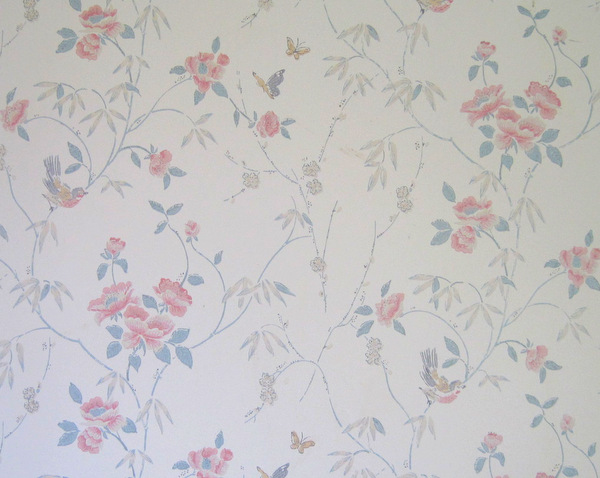
On Friday the wallpaper was removed. It turned out to be quite a task because of the glue that was used on wallpaper back in the 80s. A whole lotta scrapin’ going on!
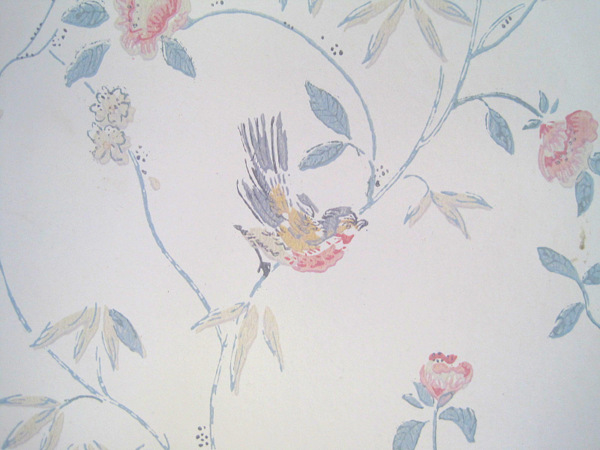
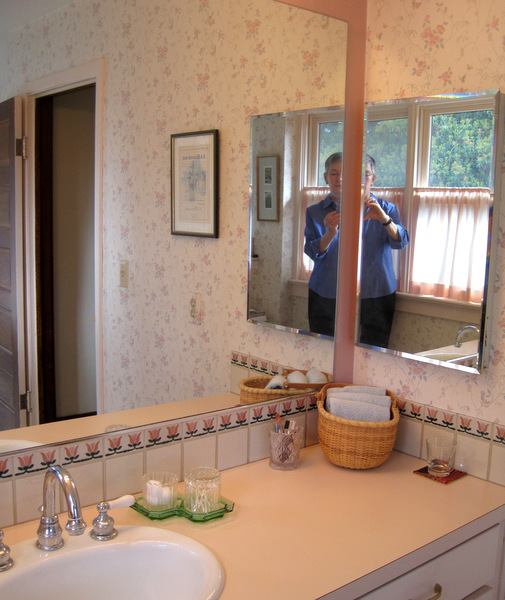
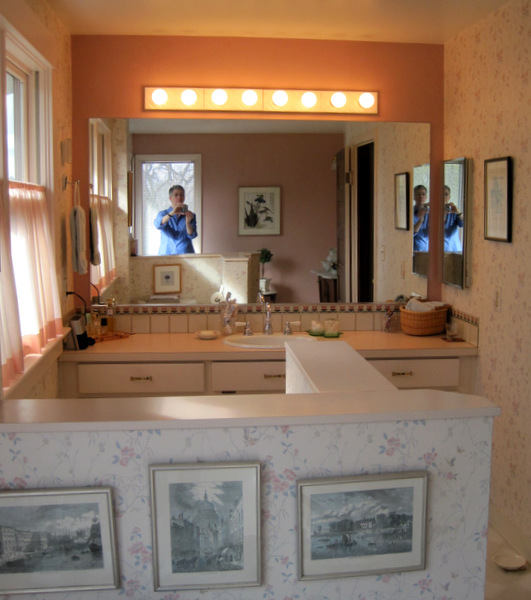
I was a little sorry to see that wallpaper go. I really liked it:
If it were a fabric, I think I would have some in my stash!
I’m gearing up to quilt two baby quilts this week. I had them basted in February by Nancy Stovall of Just Quilting, and they languished the entire month of March. I usually pin baste my small quilts but decided to have these basted on a long-arm machine, thinking it would spur me to action. Alas, March came and went with no quilting.
Now here it is the first of April, and no fooling: I’m going to get them done. Here is one of the quilts, basted by Nancy:
It almost looks like it’s been quilted instead of basted, doesn’t it? Nancy used an allover pattern with very large stitches. The thread is red, so it most definitely won’t pass muster for quilting. Here’s a close-up of the back:
The stitches are ¼” long and very easy to remove, I’m told.
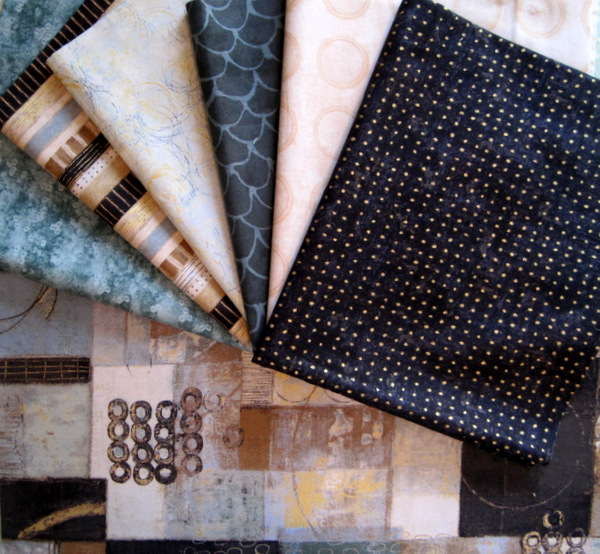
Also on the docket this week is a project for the Pine Needle Quilt Shop, using these luscious fabrics:
Some of these prints are from the Neutral Territory line by Donna Becher for P&B Textiles. So beautiful! I’m eager to get started.
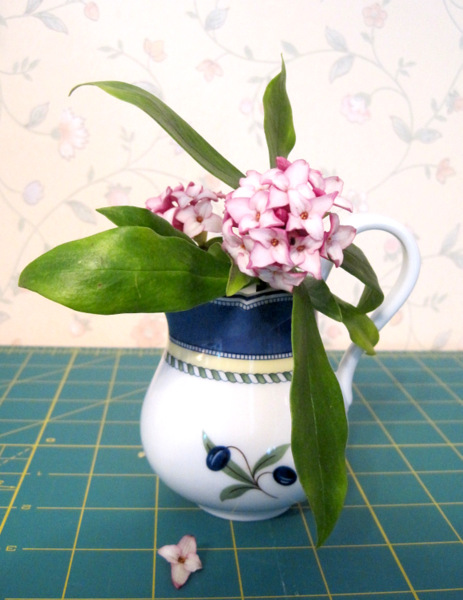
Speaking of beauty, the daphne in our backyard has been in bloom for a few weeks. I couldn’t resist importing a few sprigs into my sewing room. That heady fragrance — the essence of spring!
At the end of Week 1, some of the plumbing lines are in and most of the electrical work is done.
More lath and plaster, original to our 1913 home, was uncovered at the northwest end . . .
Northwest Corner
. . . in preparation for the shower. That rectangular frame is for a product niche.
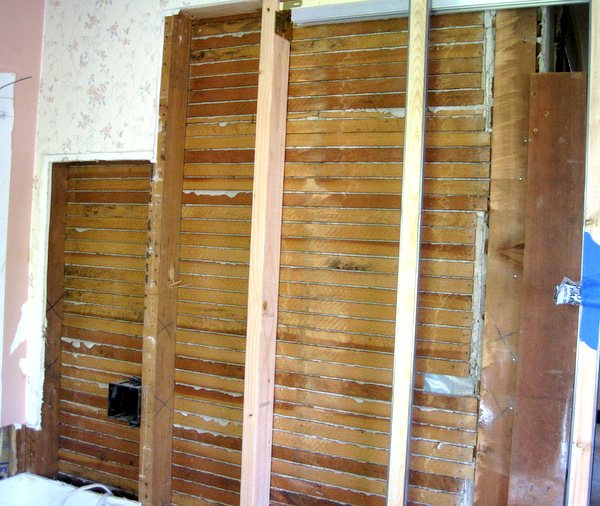
At the opposite end of the room, the west wall has been framed for a pocket door:
The West Wall
We’re using the bathroom’s original five-panel door, I’m happy to say. The door used to swing to the inside, toward the north wall. Converting to a pocket door is really going to open up that side of the bathroom.
It’s a little hard to see in the next photo, but the south wall is now wired for three sconces:
The South Wall
The biggest challenge so far has been keeping our little black cat Theo away from the site. At the moment there are openings in the walls and, over where the tub used to be, a large open space between the subfloor and the downstairs ceiling. Theo is insatiably curious and would like nothing better than to investigate every nook and cranny in the bathroom. She is tiny — she weighs just 6 pounds — and can wiggle into extremely small spaces. This is the cat that’s already used up one of her nine lives by going down the hot air vent in the kitchen and coming up the one in the living room — via the furnace.
When we remodeled the upstairs bathroom in 1985, I neglected to take “before” photos. Not this time around! I want to capture every moment in the bathroom’s transformation.
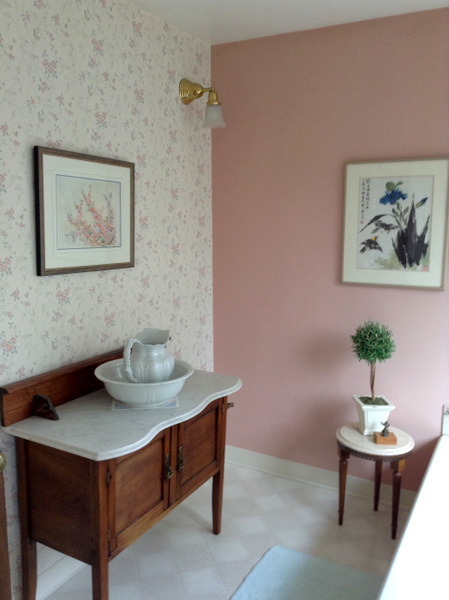
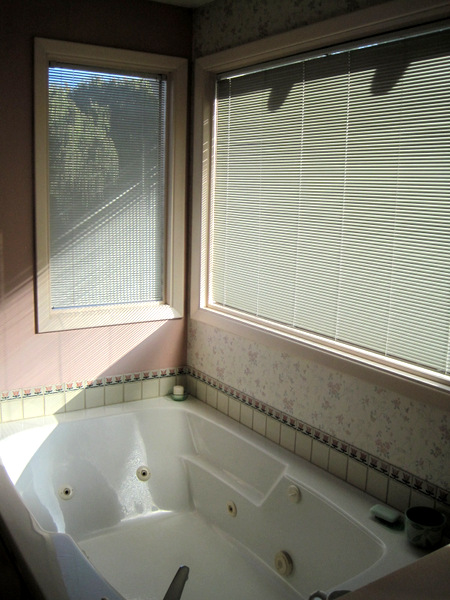
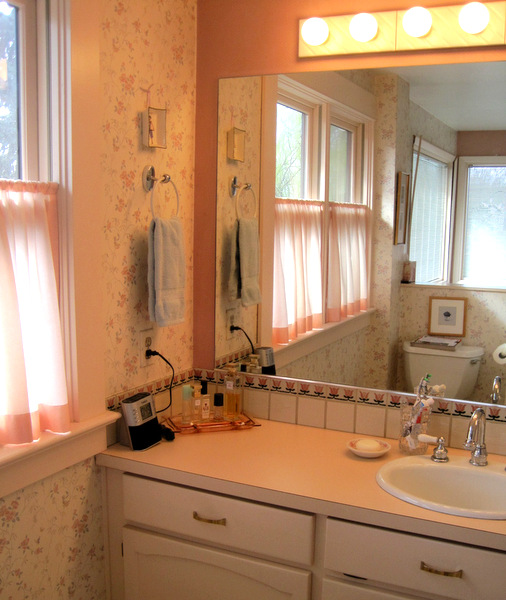
Here are some pictures of the bathroom before the crew arrived last week and emptied it of most of the fixtures.
NW Corner
NE Corner
SE Corner
SW Corner
In the photo below, I am standing in the tub facing south.
Facing South
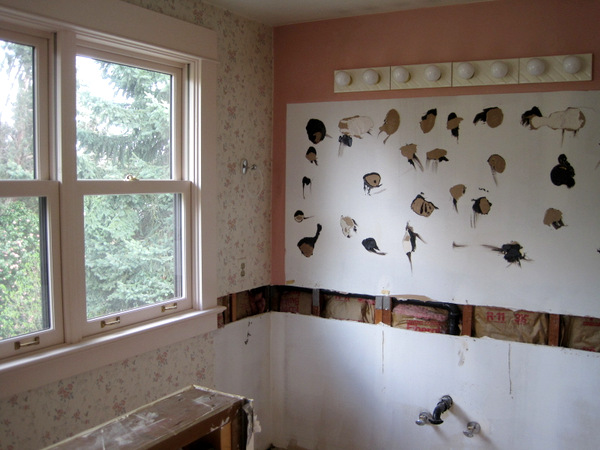
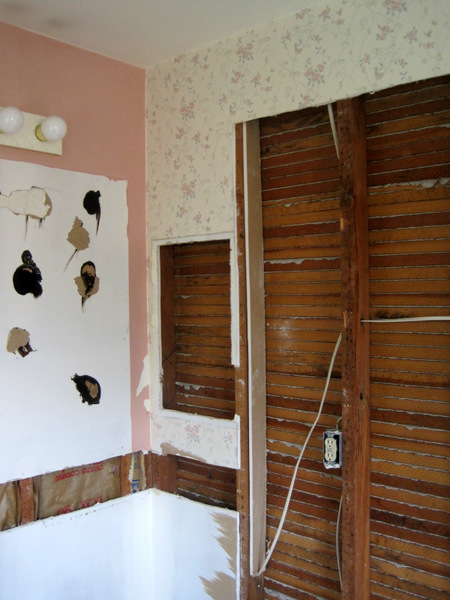
Do you want to see what the bathroom looks like now? Take a look! This is the northwest corner, where the shower will go:
NW corner, empty
This is the northeast corner, where the clawfoot tub will go:
NE Corner, Empty
The southeast corner:
SE Corner, Empty
The windows you see above, installed in 2004, are just about the only things in the bathroom not being replaced.
The southwest corner:
SW Corner, Empty
See that lath and plaster? It’s original to the house — the bathroom walls were sheetrocked during the 1985 remodel. On the other side of the lath and plaster is a linen closet that’s going to get a fresh coat of paint.
There’s still a little demo left: the wallpaper has to come off and the remaining light fixtures removed. But things are rolling along. The clawfoot tub was delivered today, and the plumber arrives bright and early tomorrow morning.