
As promised in my last post, here is a quick and easy method of making a little carrying case out of a man’s necktie. My inspiration is an eyeglasses case I bought years ago at a holiday sale. I wish I knew the name of the crafter, as I would certainly credit her if I could.
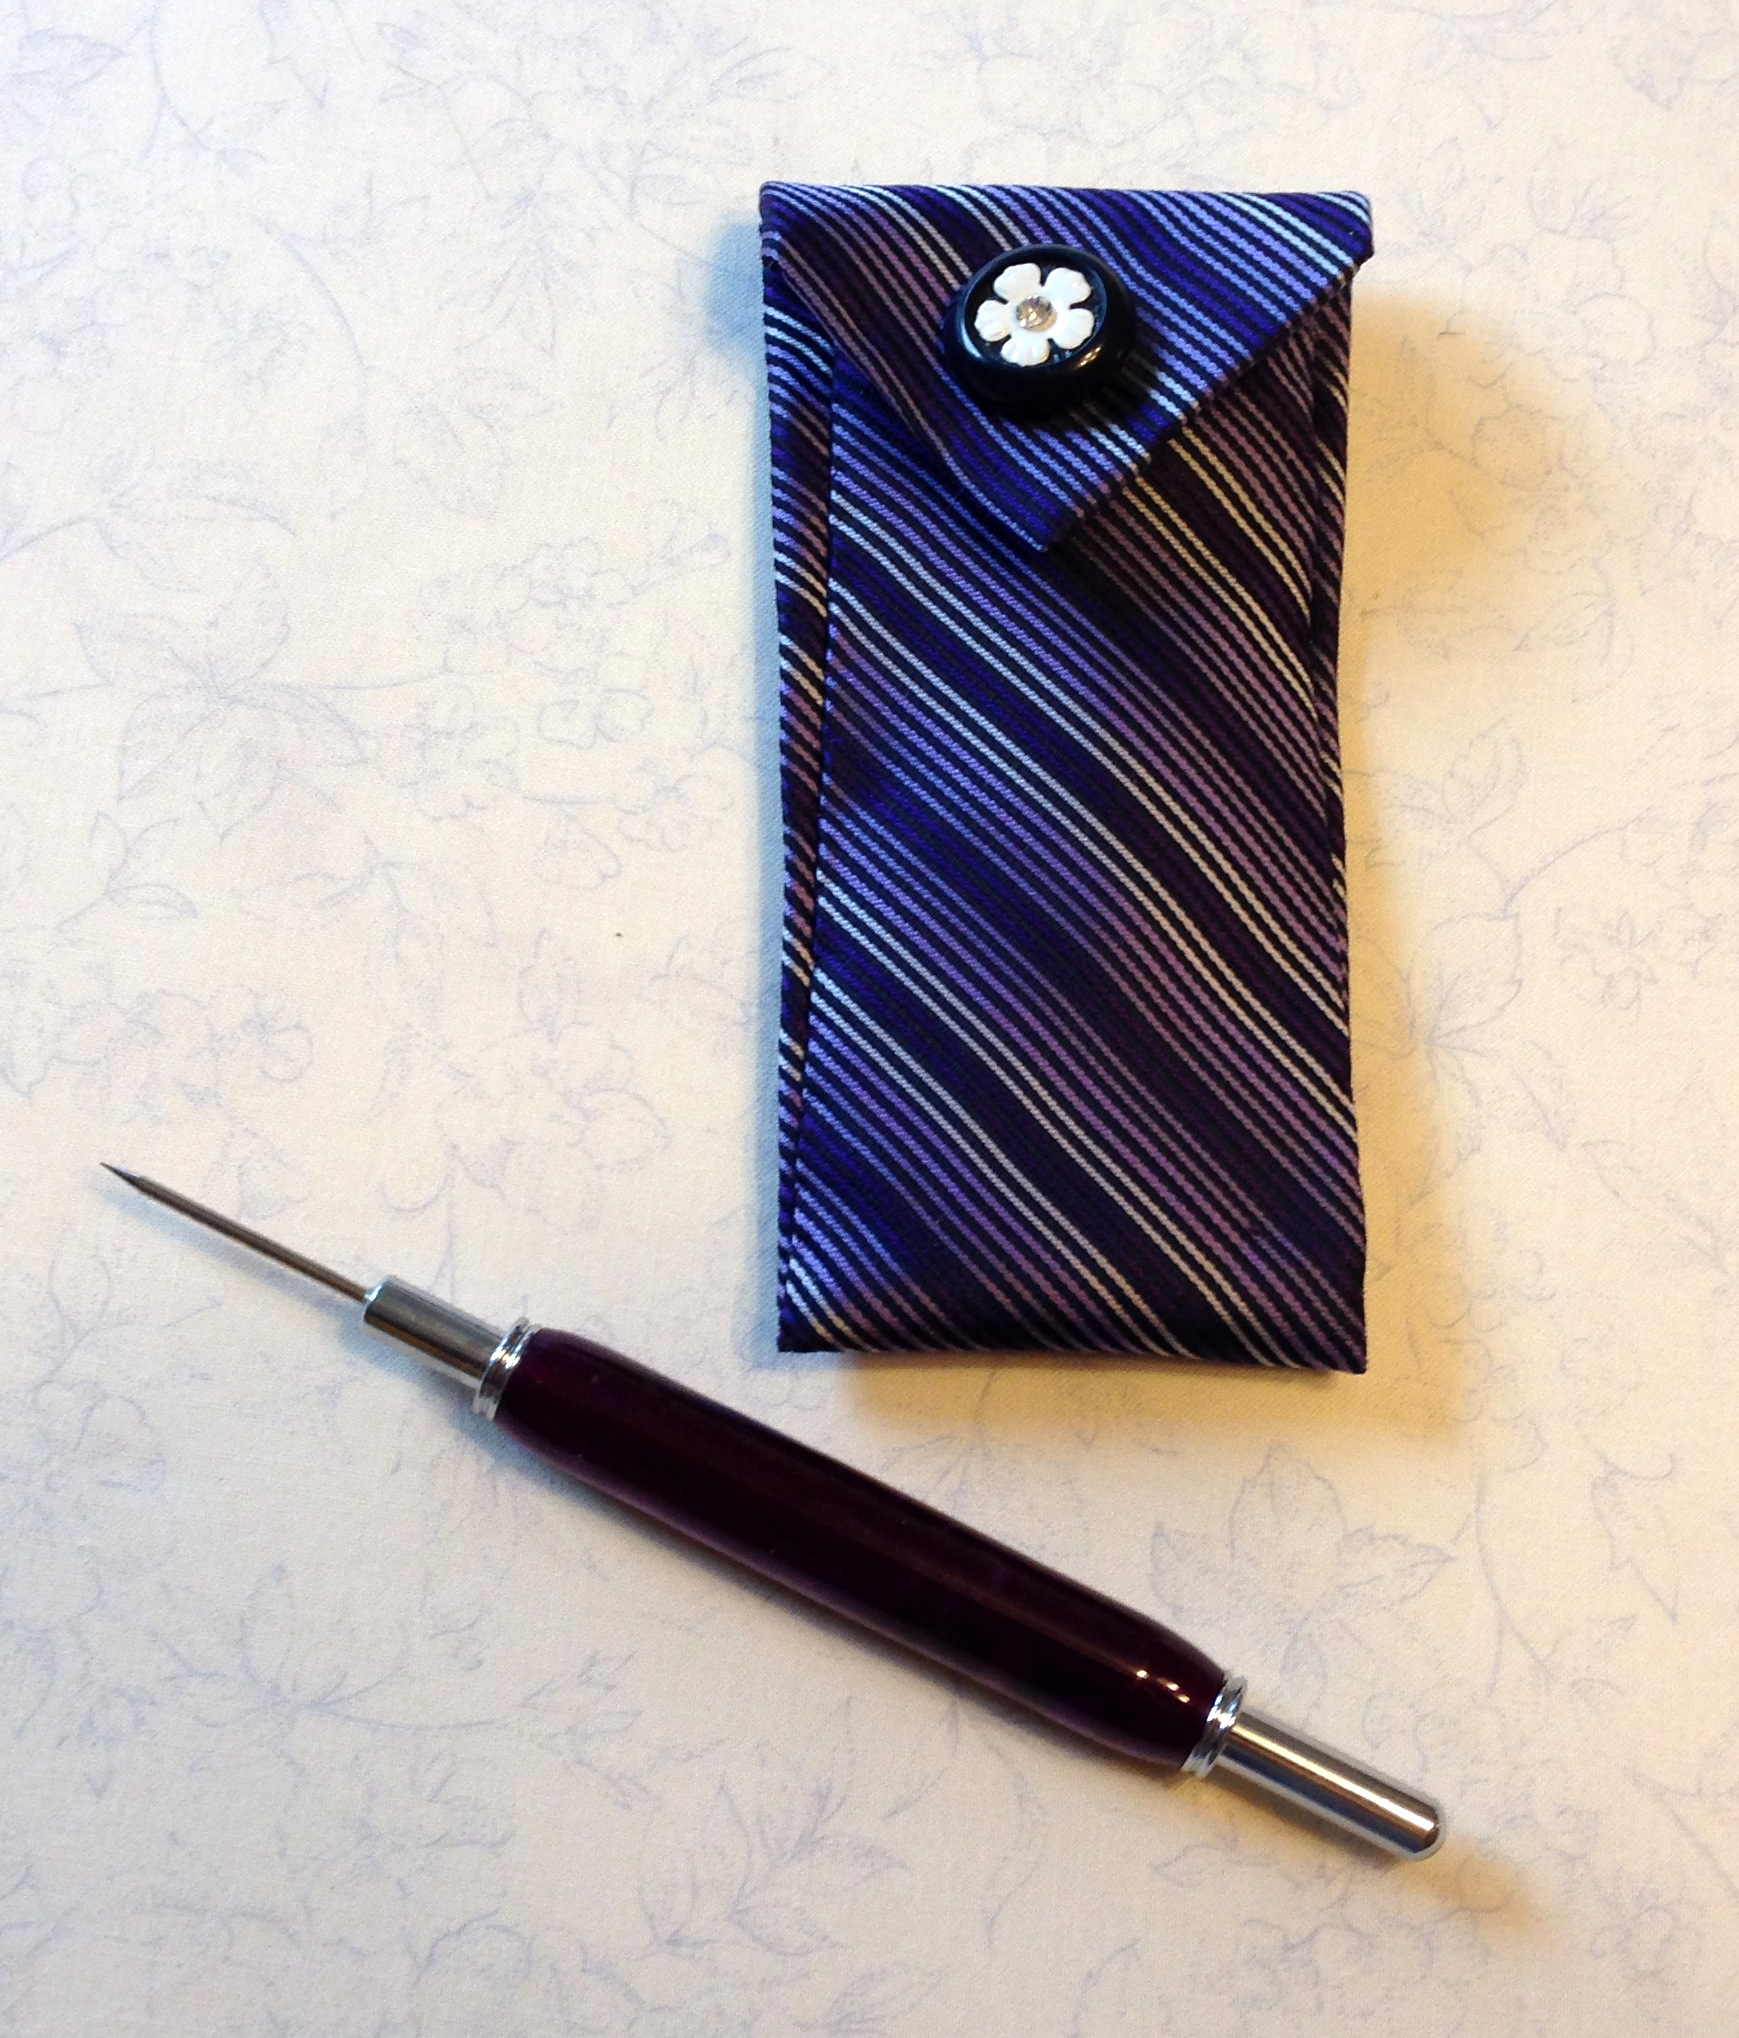
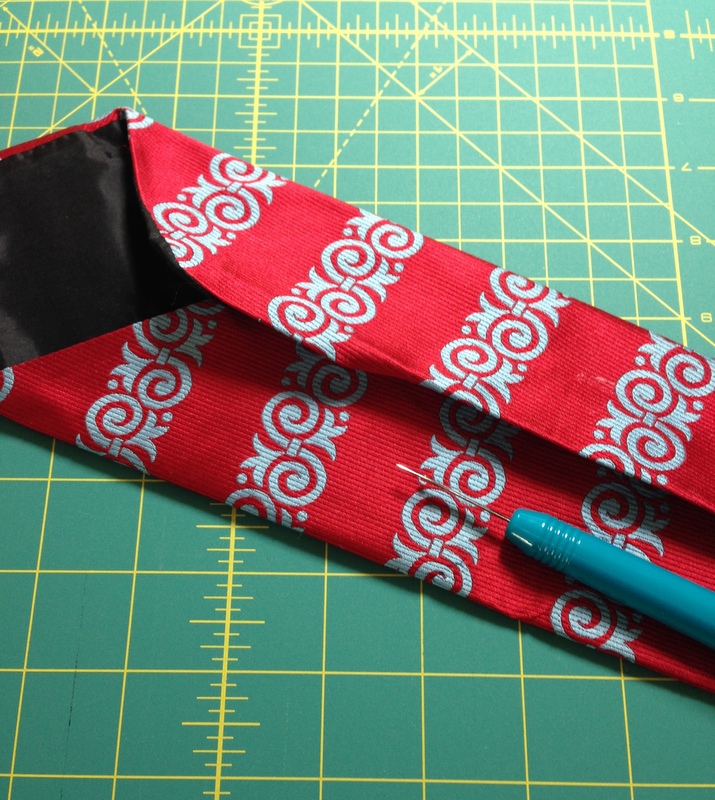
A case made from a necktie can hold an item about 4″ to 6″ in length. But how wide an item? Ah, that totally depends on the width of the tie. The wider the tie, the wider the item it can hold. The case you see below, made to hold my friend Vickie’s special seam ripper/stiletto tool, came from a tie that measured about 2½” at the widest point:
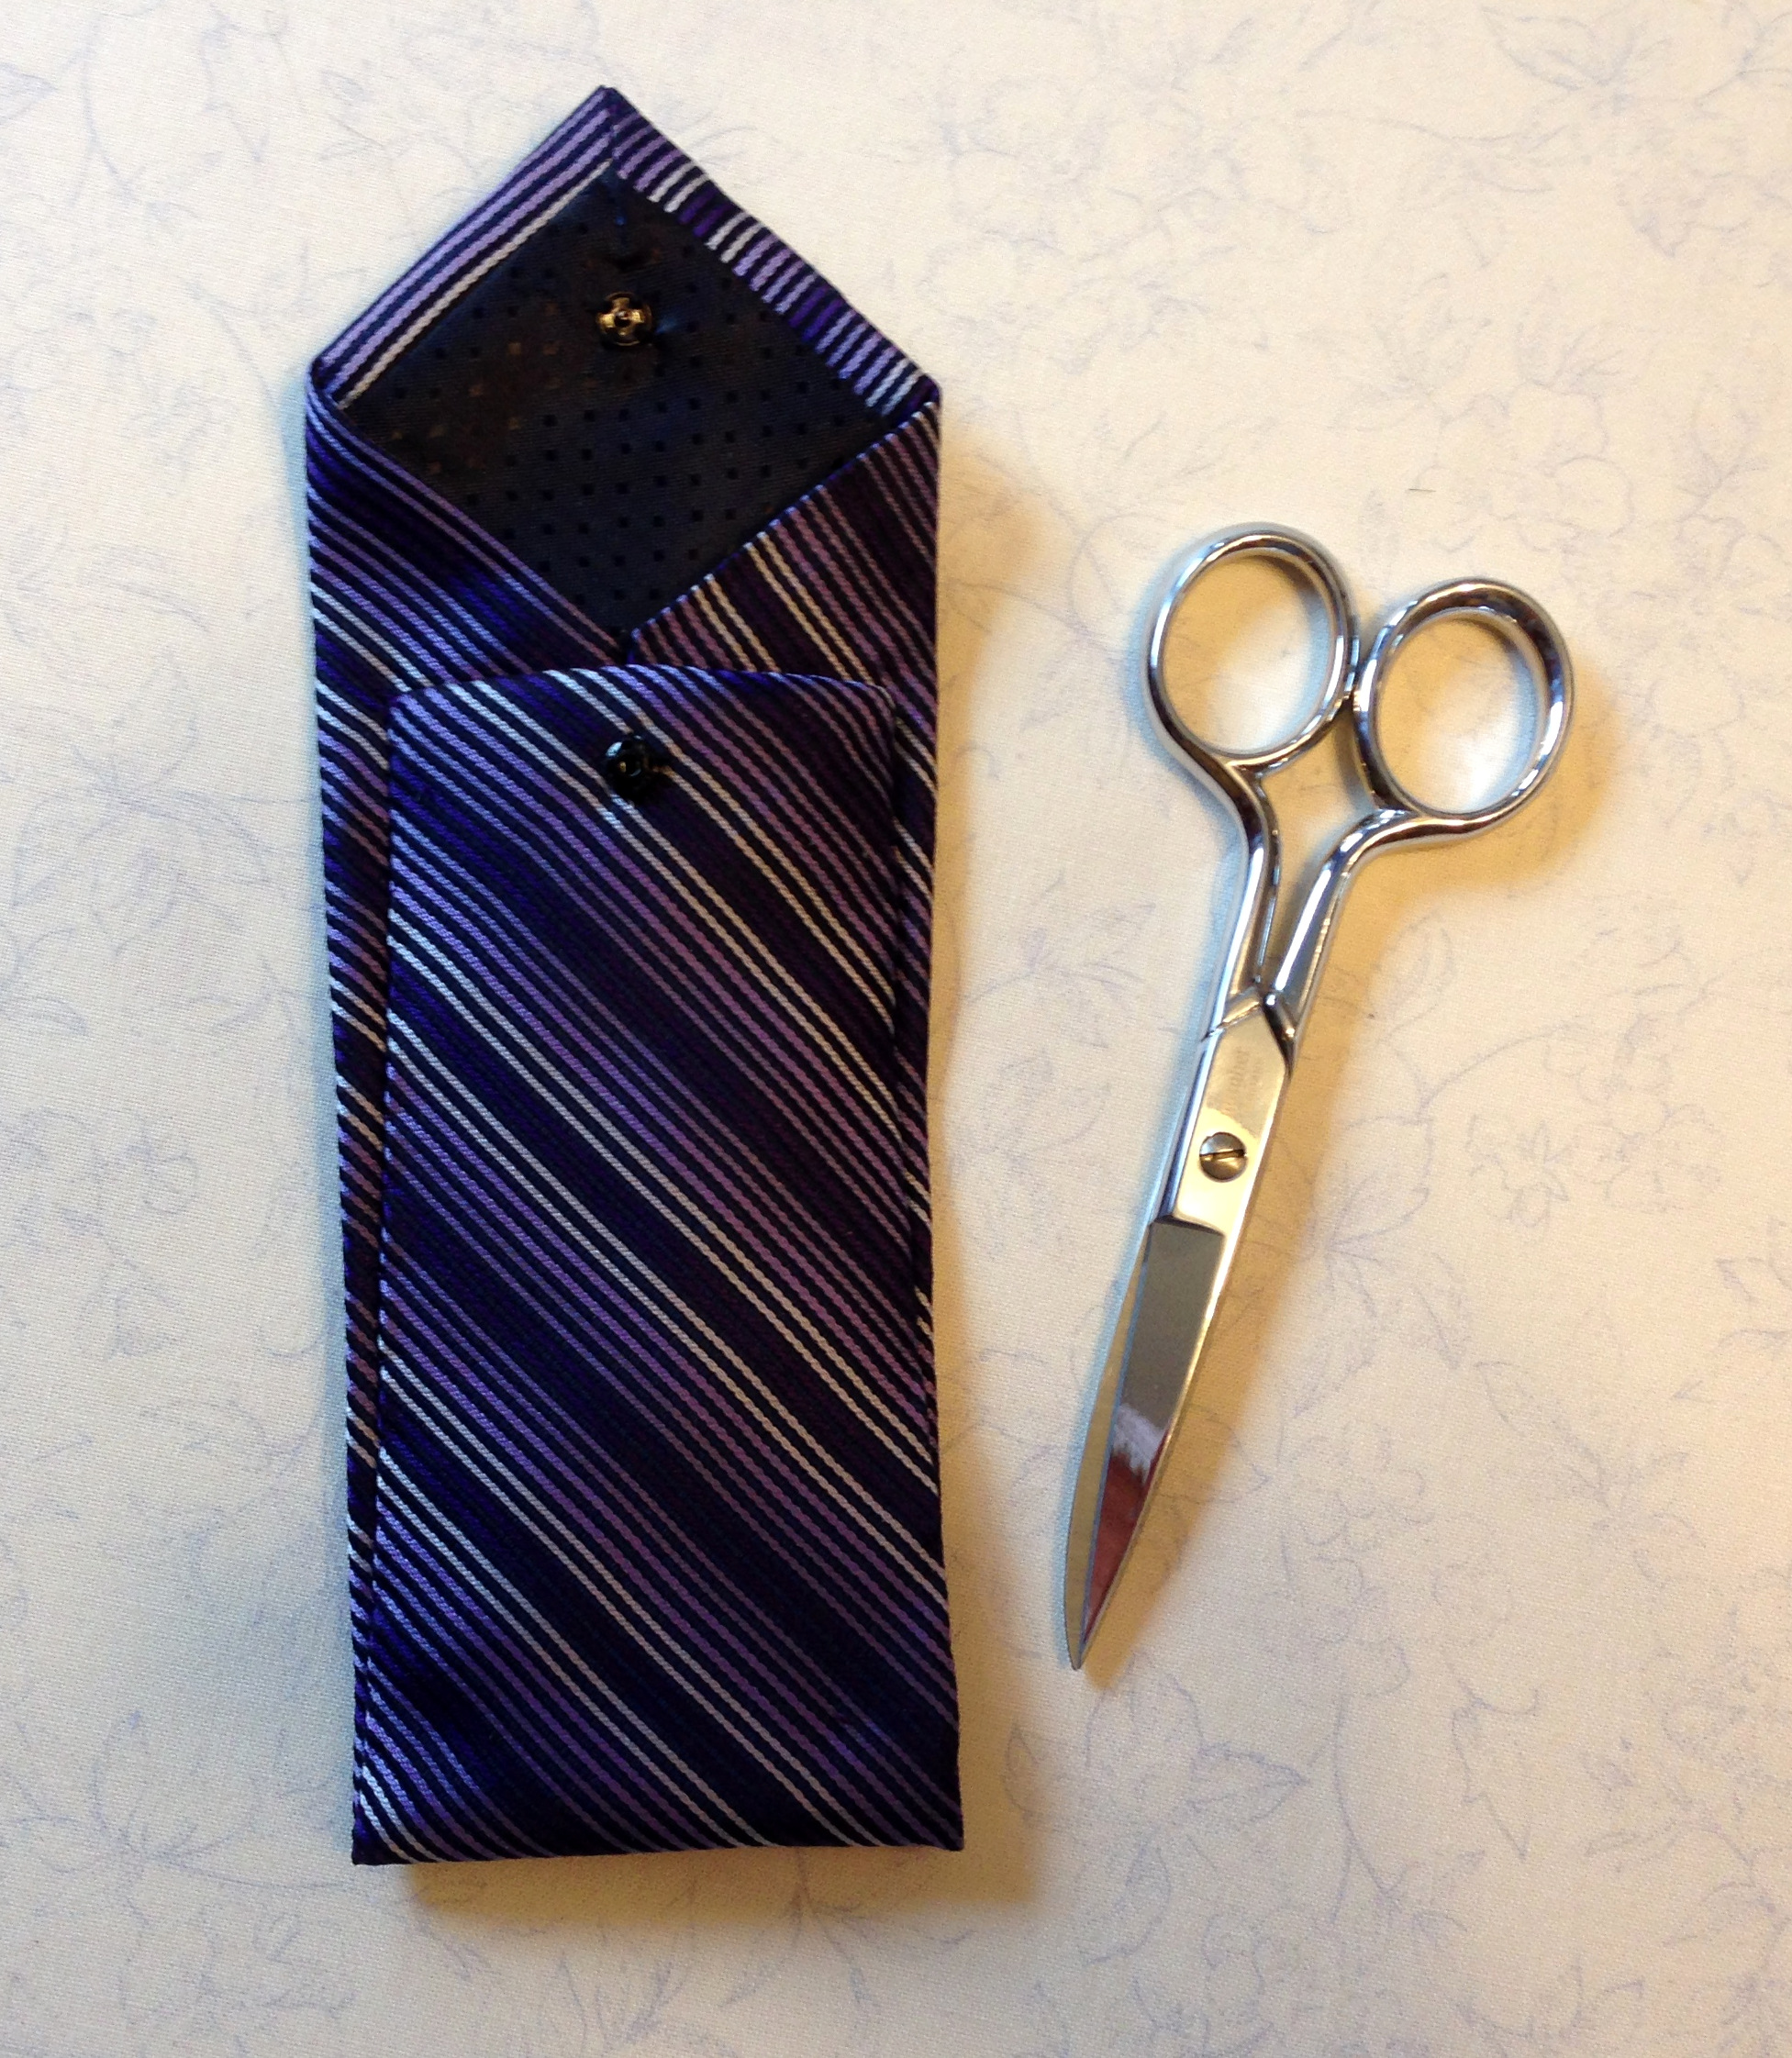
It would also hold a pair of 5″ sewing scissors, with some batting tucked into the bottom to protect it from the tips of the scissors:
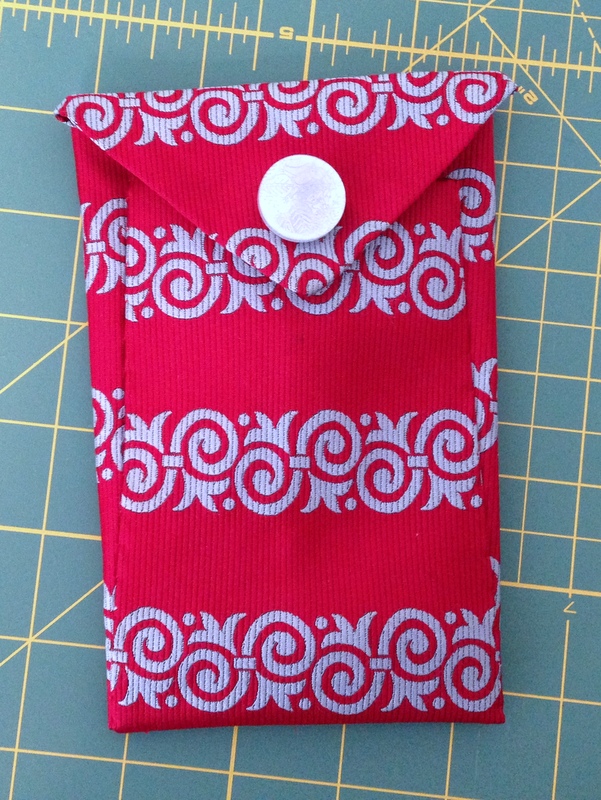
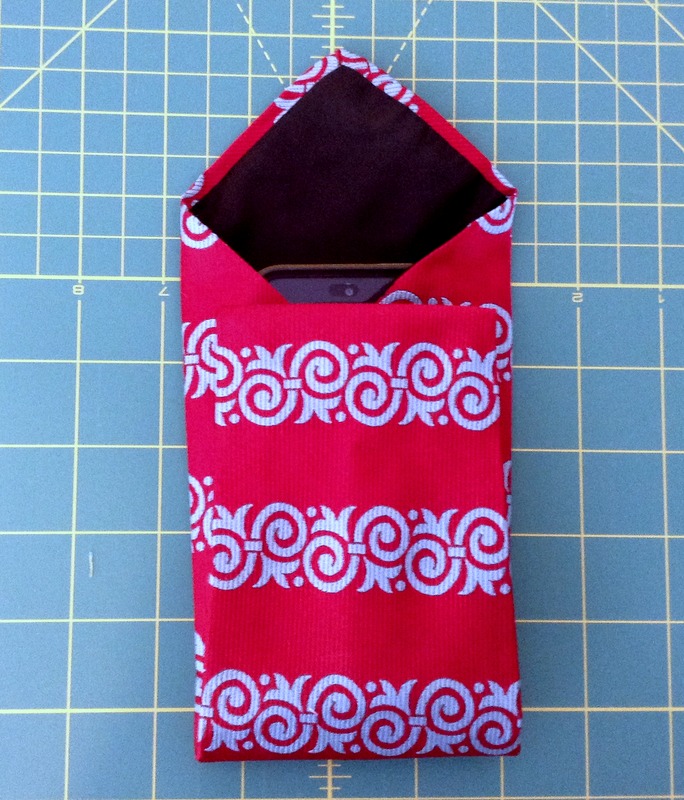
For this tutorial I worked with a vintage tie that measured about 4″ at the widest point — wide enough to serve as a carrying case for my cell phone:
Here’s what you need to make a case:
— a man’s necktie
— sewing scissors
— a seam ripper
— a hand sewing needle
— thread to match the main tie fabric
— a snap fastener
— a decorative button
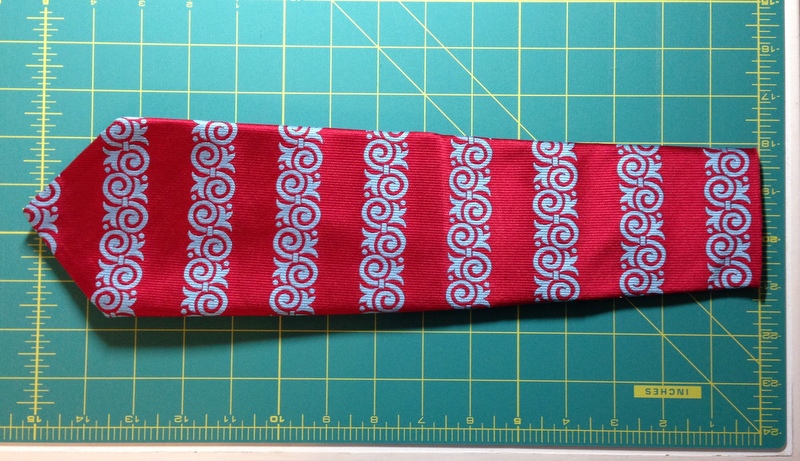
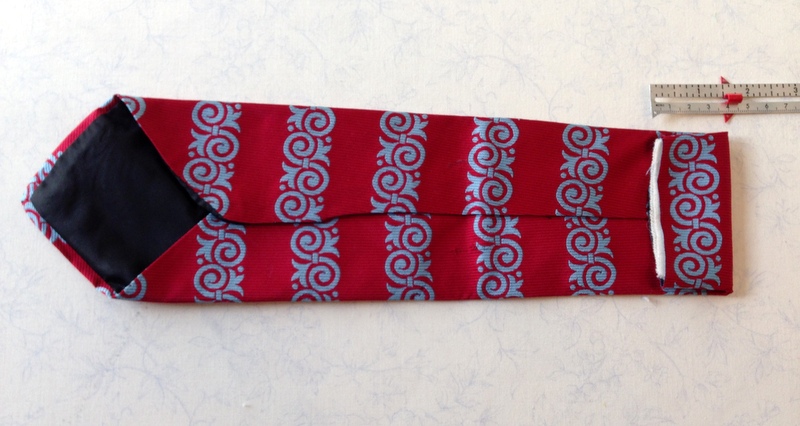
1. Trim the tie so that it measures about 15″ from the cut end to the tip:
2. On the inside of the tie, use a seam ripper to remove the stitching that holds the edges together:
 Two reasons for that: first, to remove the stitching where the tie is tacked to the lining, and second, to see if there is interfacing or other fabric inside the lining that would keep an item from sliding easily in and out of the finished case.
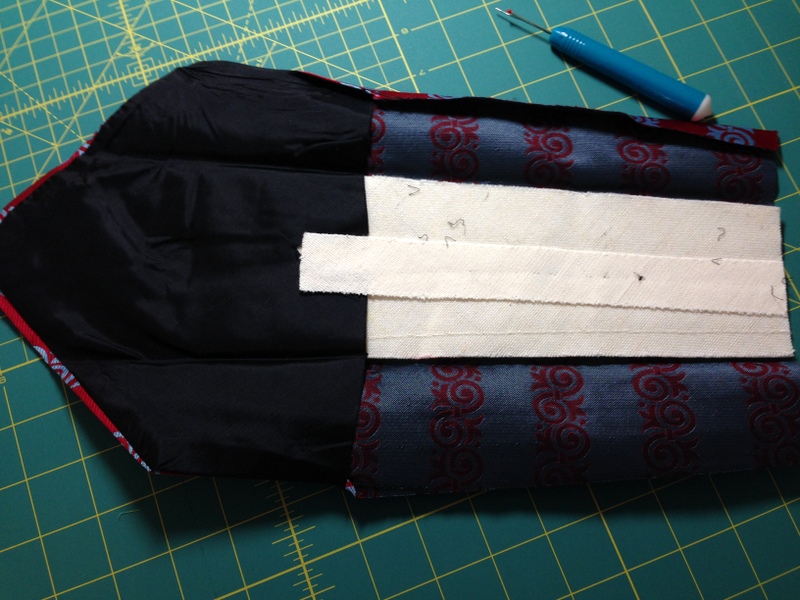
With this particular tie I needed to remove the narrow strip of interfacing that went down the middle:
3. Hand stitch the edges back together to within a couple inches from the top, using a single thread and taking large stitches, since they won’t show when the case is finished.
4. Fold over a generous 1½” at the bottom of the tie as shown:
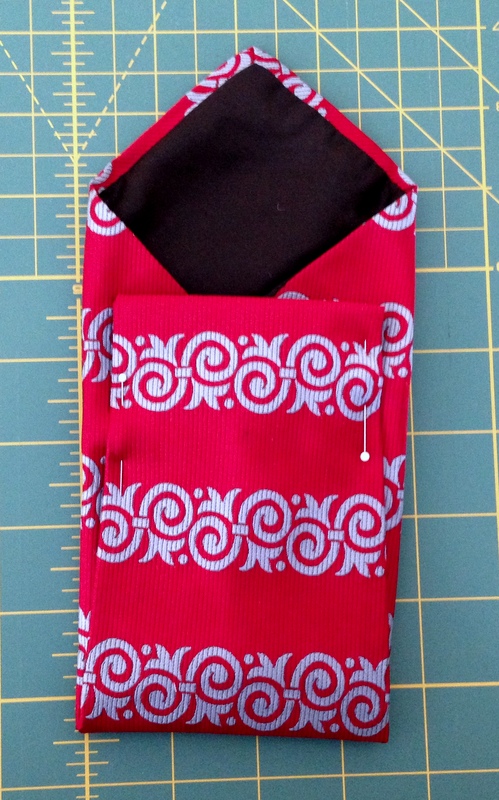
5. Bring the folded bottom edge of the tie up near the top and adjust it to fit the item you are planning to put in the case:
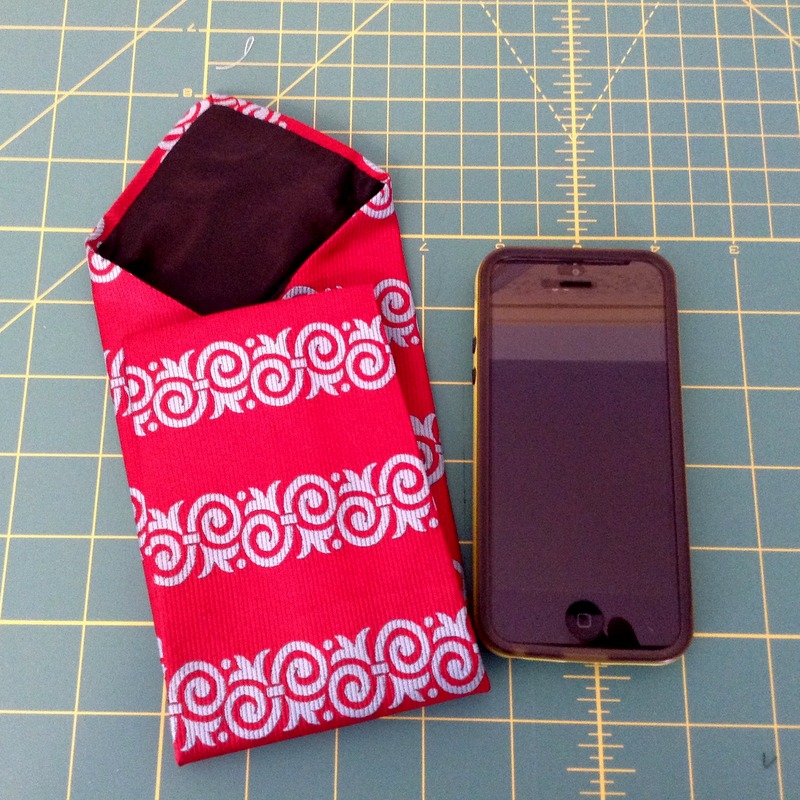
I tested mine by slipping my cell phone inside the case, making sure there was room to close it by pulling the flap down:
6. Place a straight pin on each side to hold the layers in place:
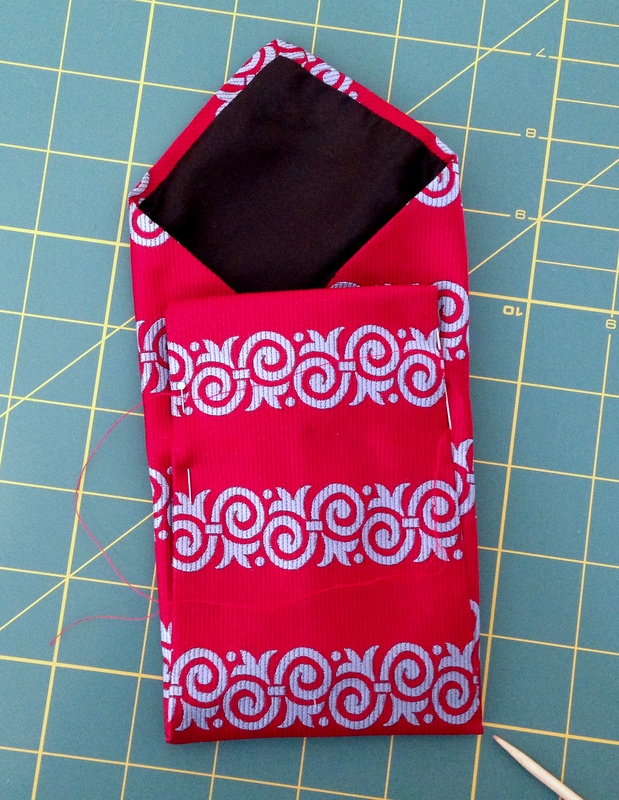
Using a single thread and starting at the fold on the lower right side (see the point of the stiletto in the photo below), hand stitch up that side, across the top (skip the spot along the top middle where the folded edge has no tie fabric underneath it — just slip the needle through the fold so the thread doesn’t show — and down the left side to the fold:
7. Sew the two pieces of a snap on as shown . . .

. . . and finish the case by sewing a decorative button on the outside flap:
As the Barefoot Contessa would say, “How easy is that?”
Yesterday I searched in vain for one of my favorite red ties; alas, in vain. Then I happened to see one of my wife’s December blogs. Eureka, I had found my tie. Wearing it again was the only problem. I guess that’s life in a creative quilter’s home.
Charlie, you rogue! You know I would never cut up one of your ties (especially one I had chosen!). Makes me wonder, though: any you would care to part with??
How incredibly clever! Even though I have the luxury of seeing your creations up close and personal (not to mention those you have gifted me), I never can get over the precision of your work. Nicely done!!