Category Archives: cherry blossom quilt

It’s a Wrap: Celebrating Spring

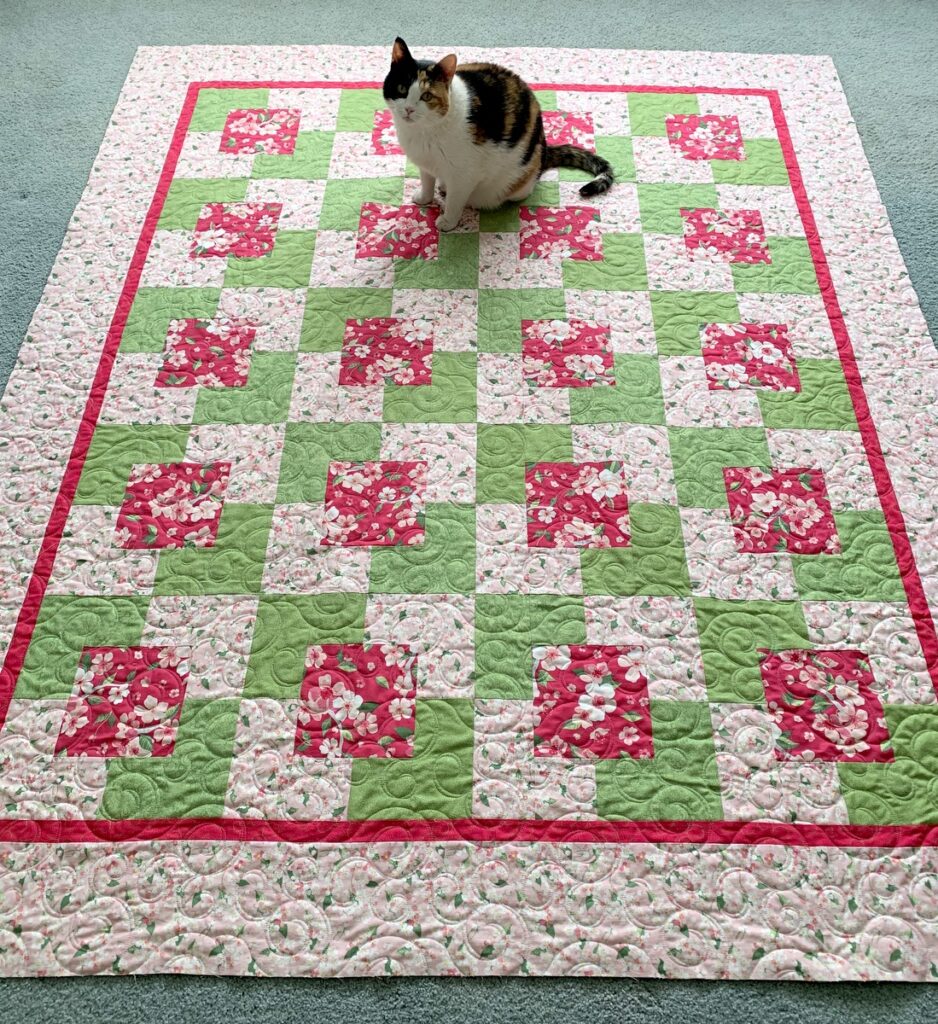
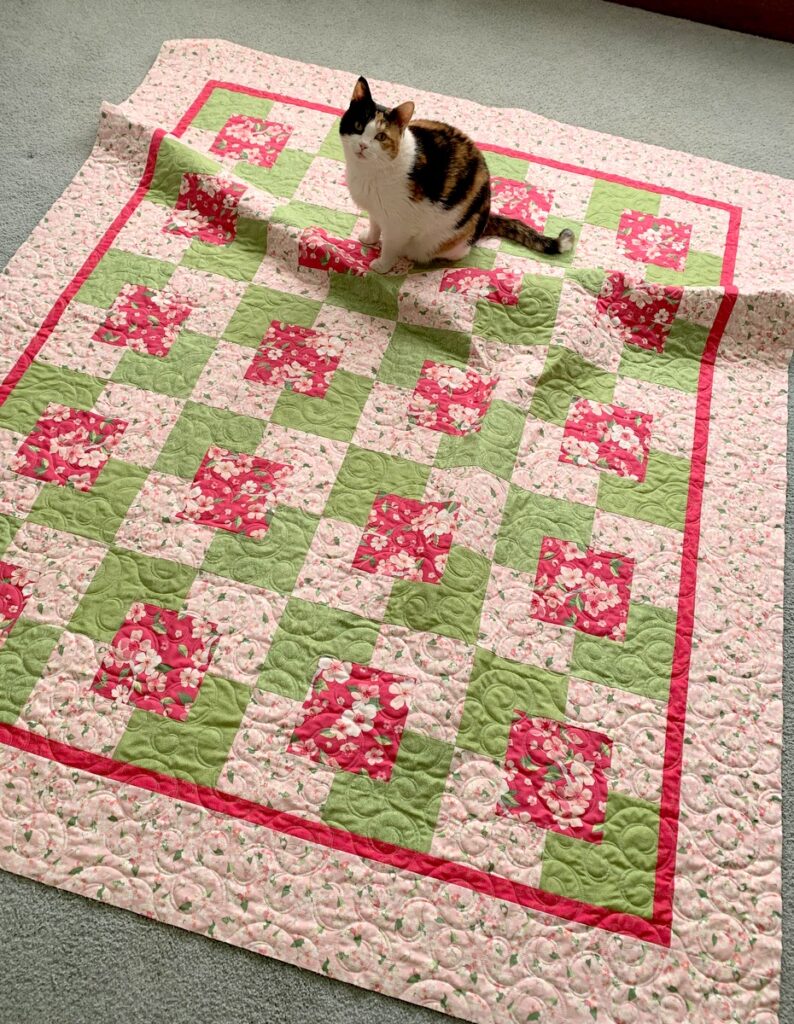
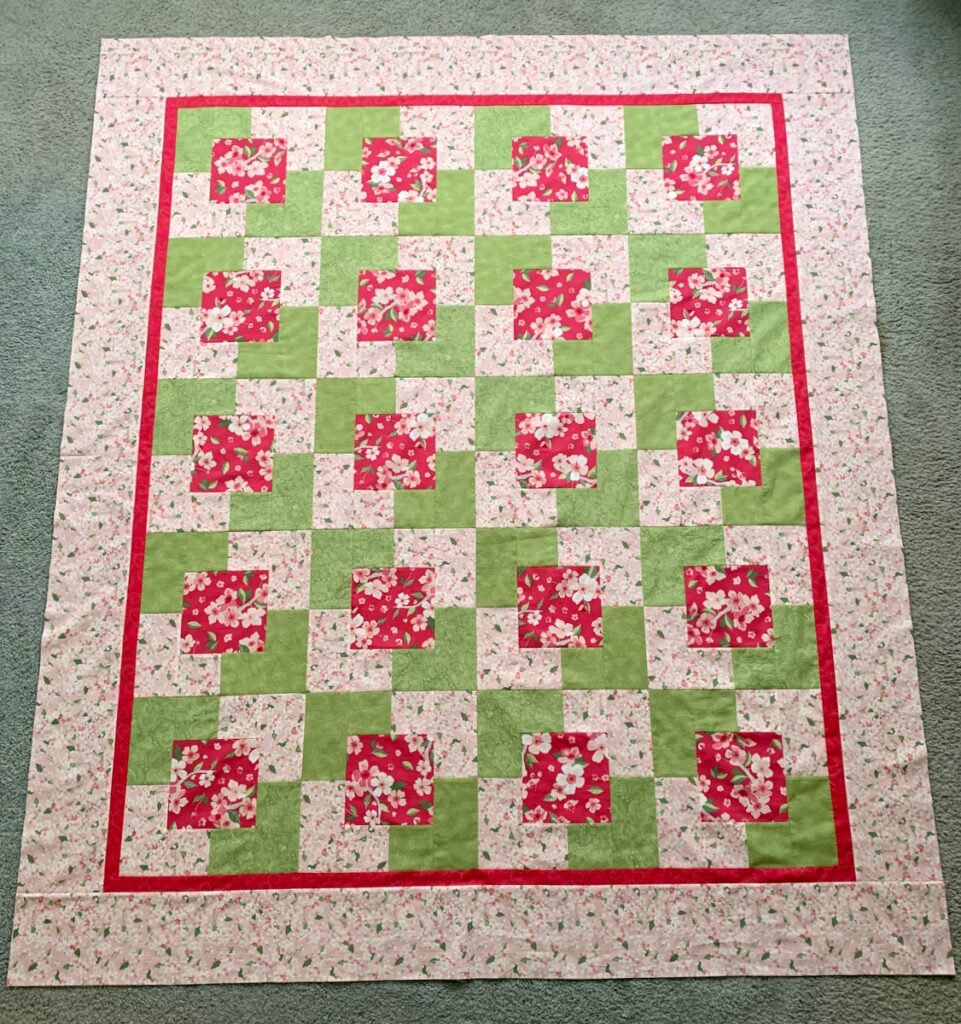
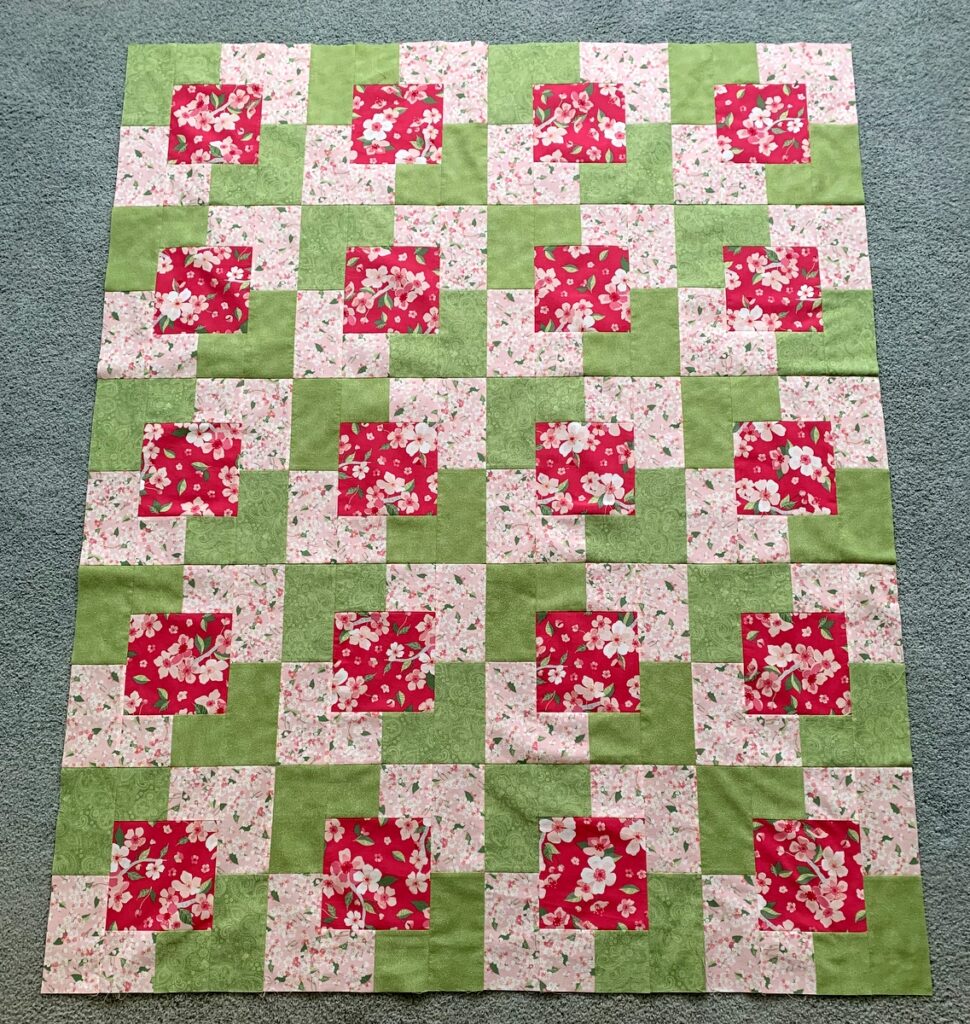
Finally — a quilt finish! May I present Celebrating Spring, a tribute to my favorite season of the year:
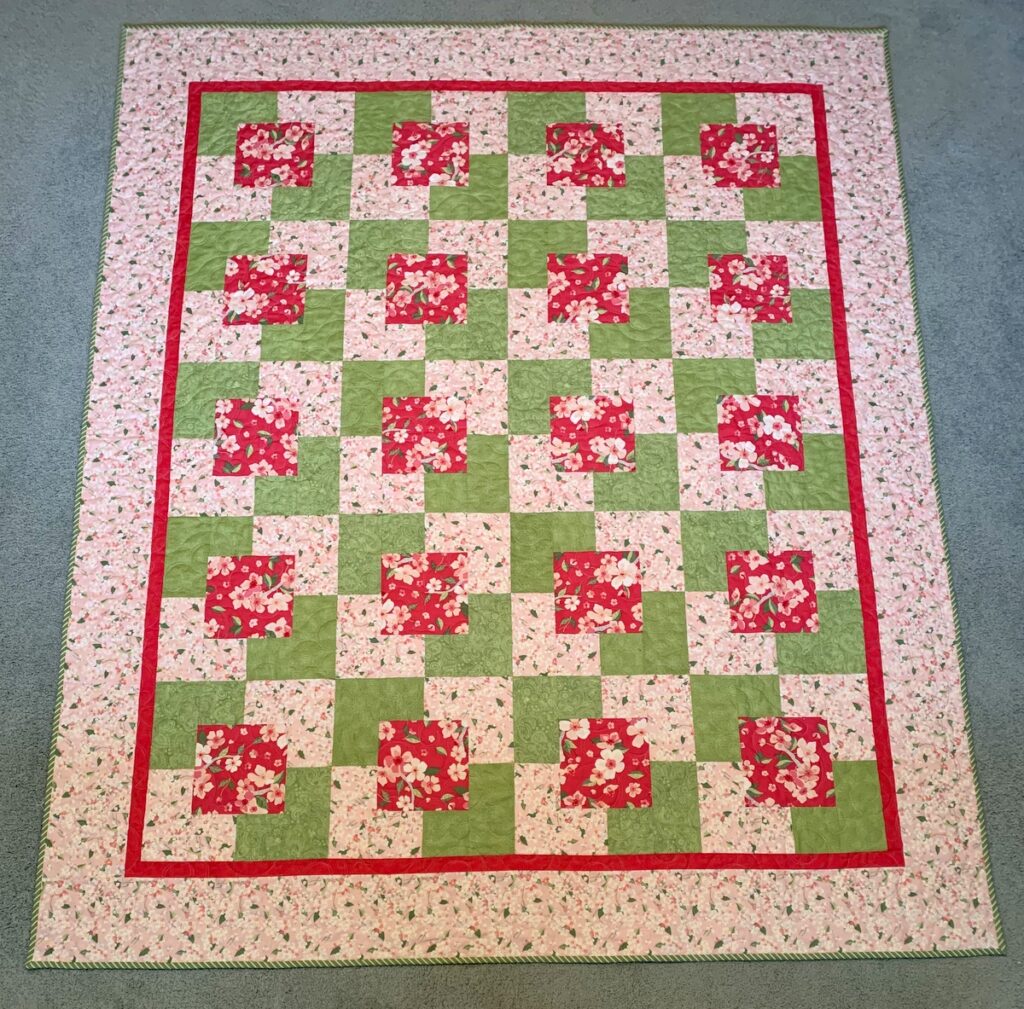
I started this project in early March, anticipating that my enjoyment of working with two lovely cherry blossom prints would be enhanced when the real things burst into bloom in Portland later in the month. Friends, I was not disappointed.

Weeks after the real cherry blossoms had faded, I finished the piecing and sent the quilt top off to a talented longarm quilter:
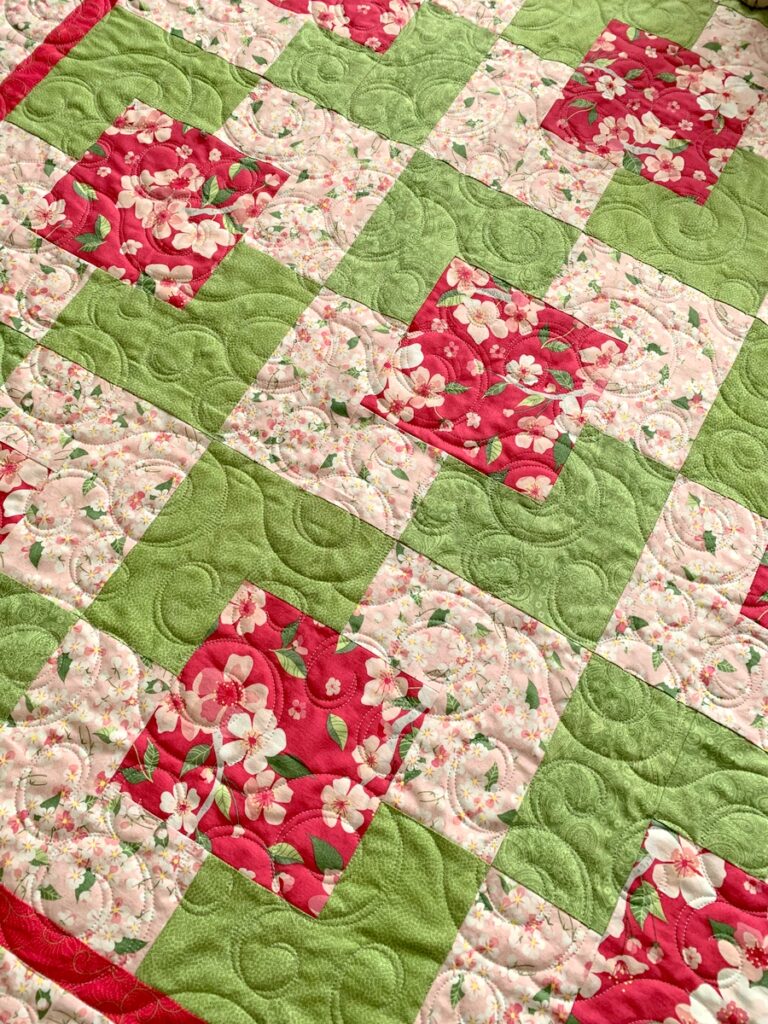
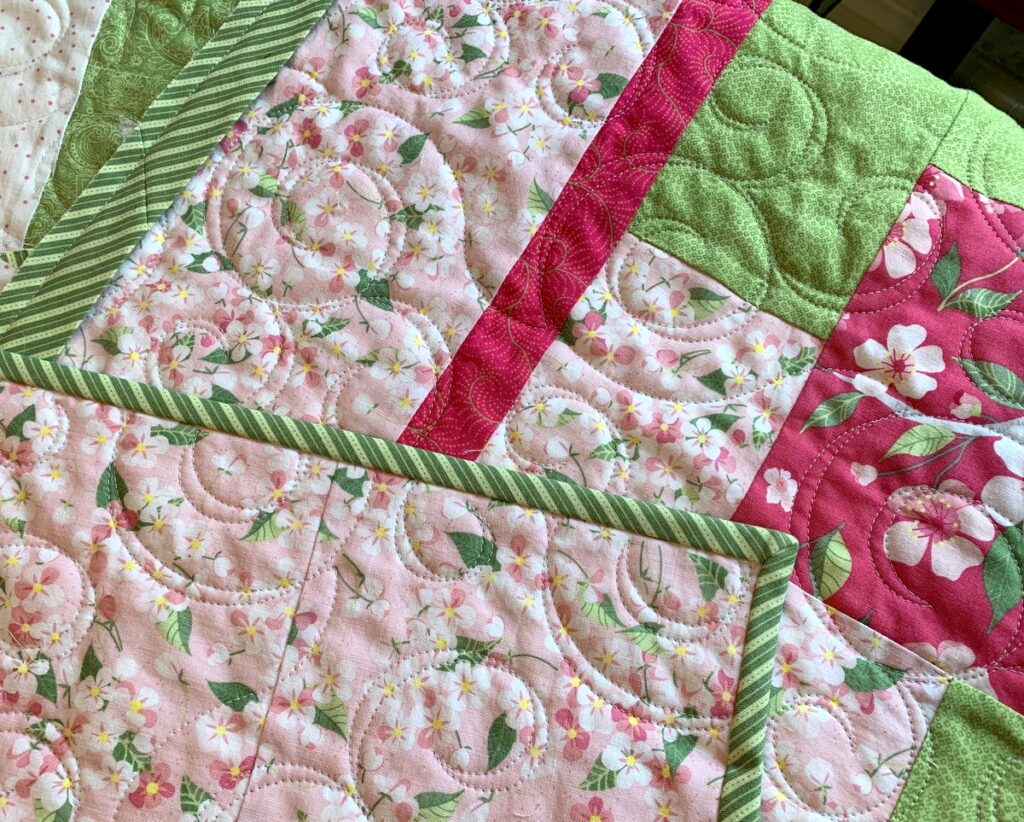
I made a bias striped binding to frame the quilt. . .
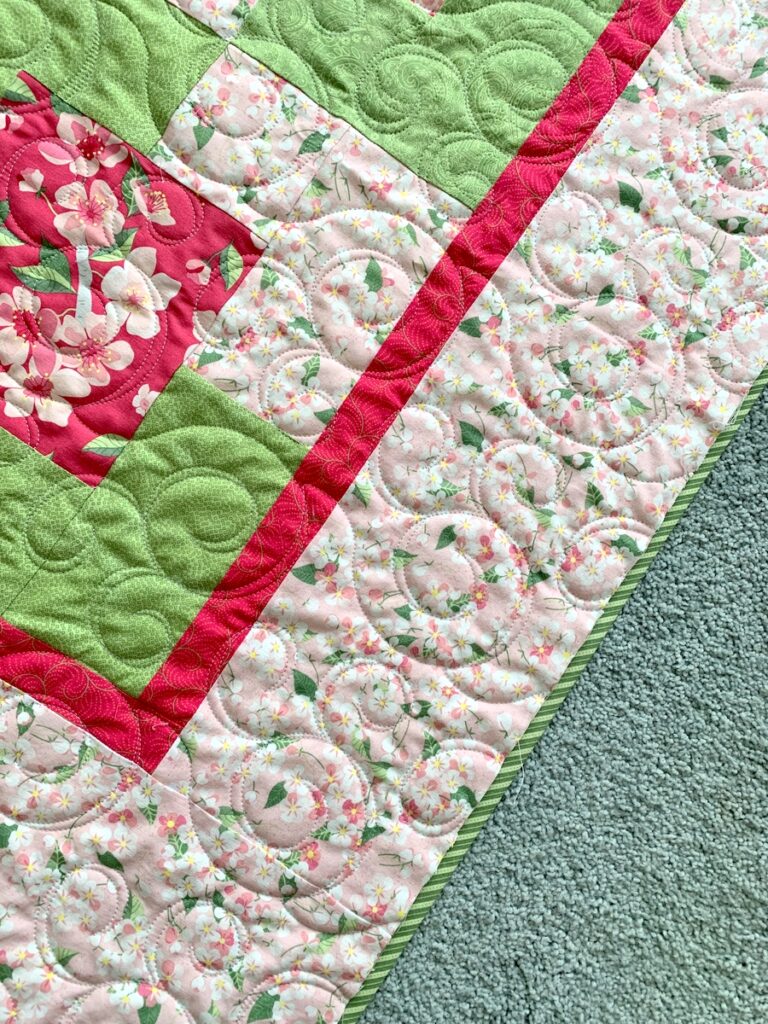
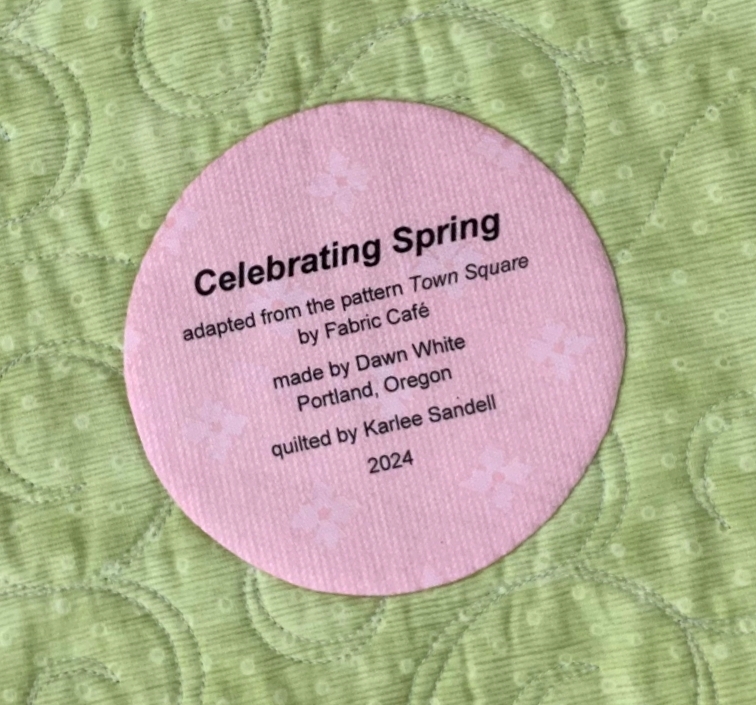
. . .and added my signature round label:
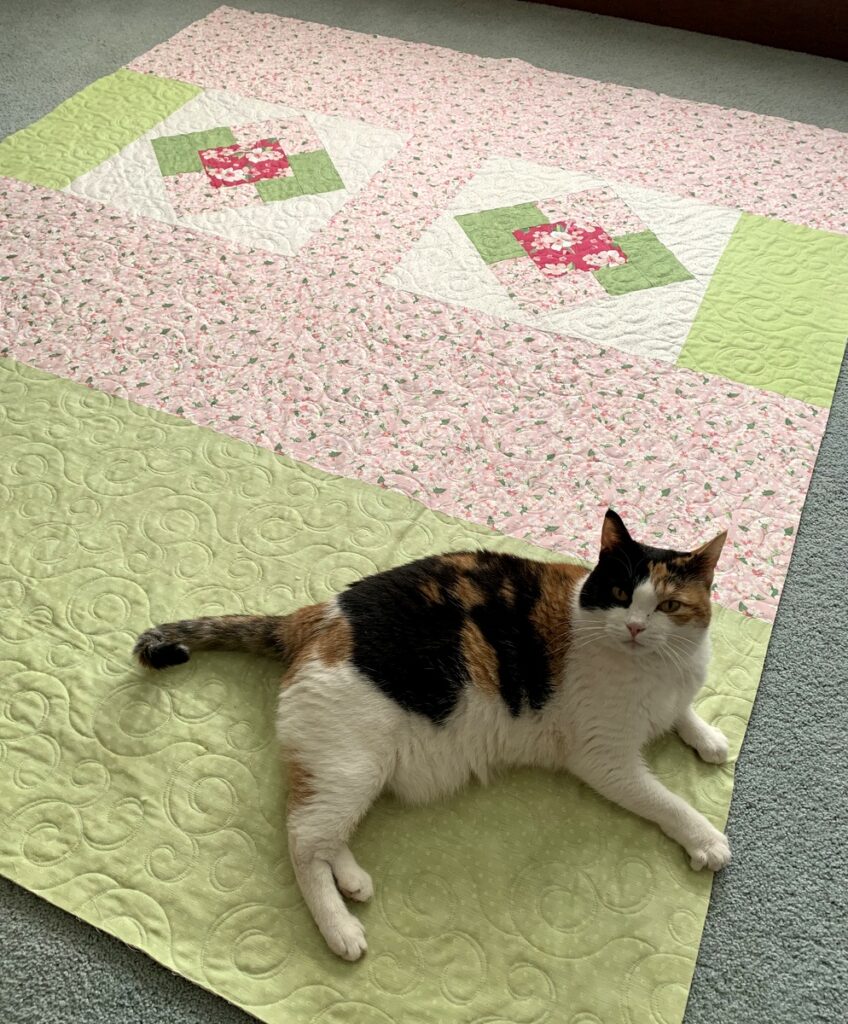
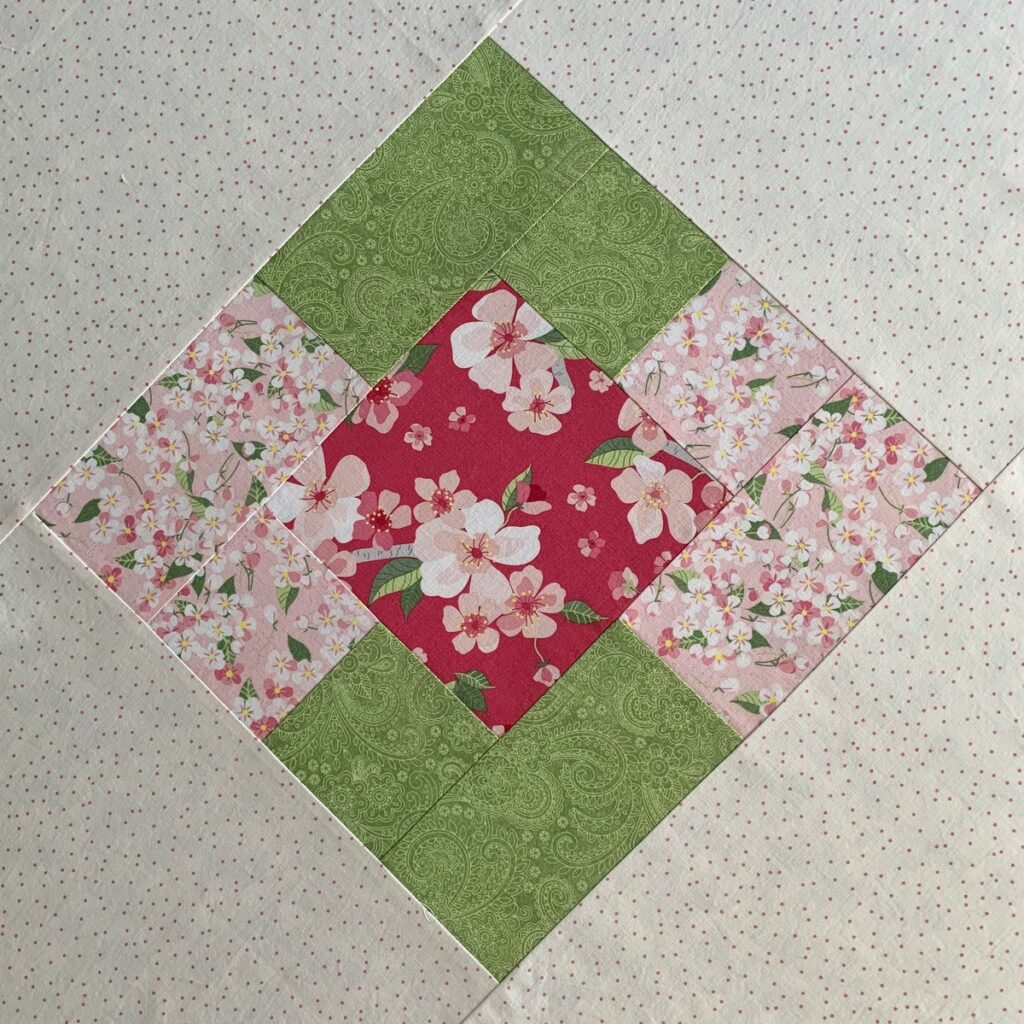
Here’s a look at the back, which features two leftover blocks set on point:
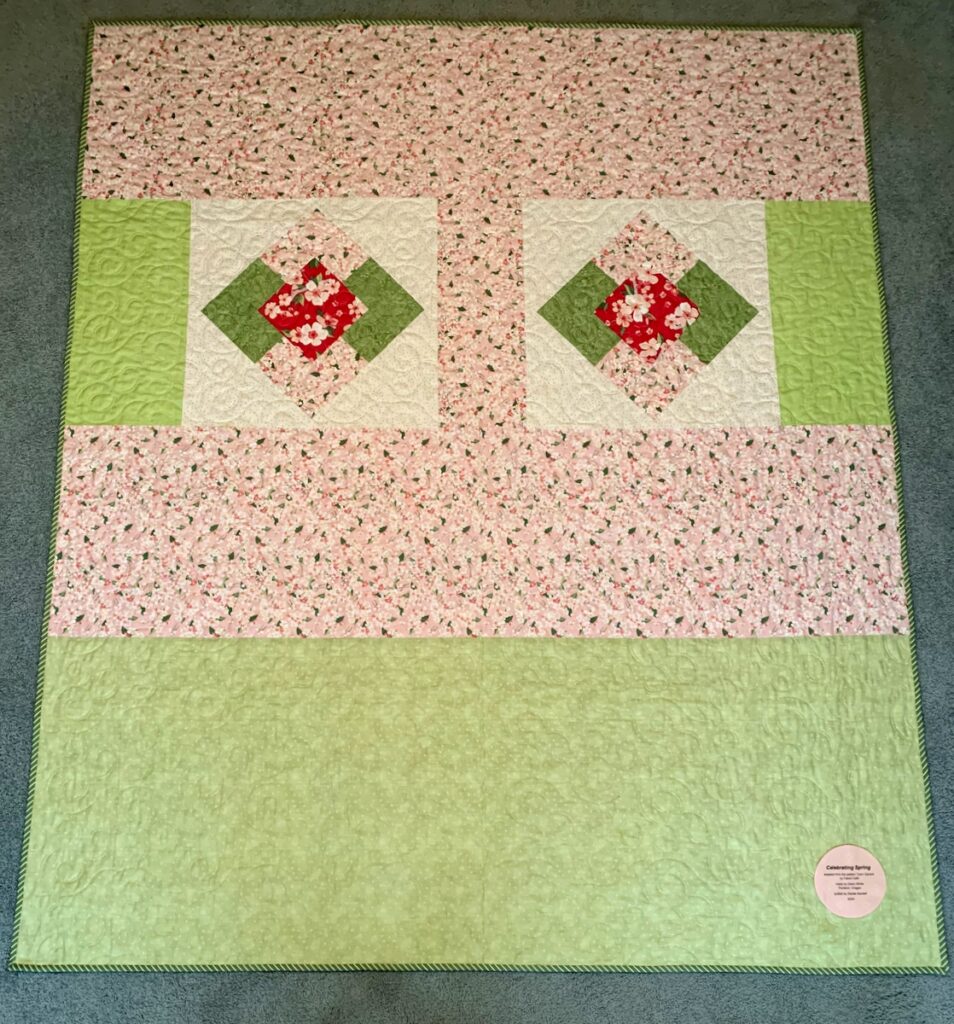
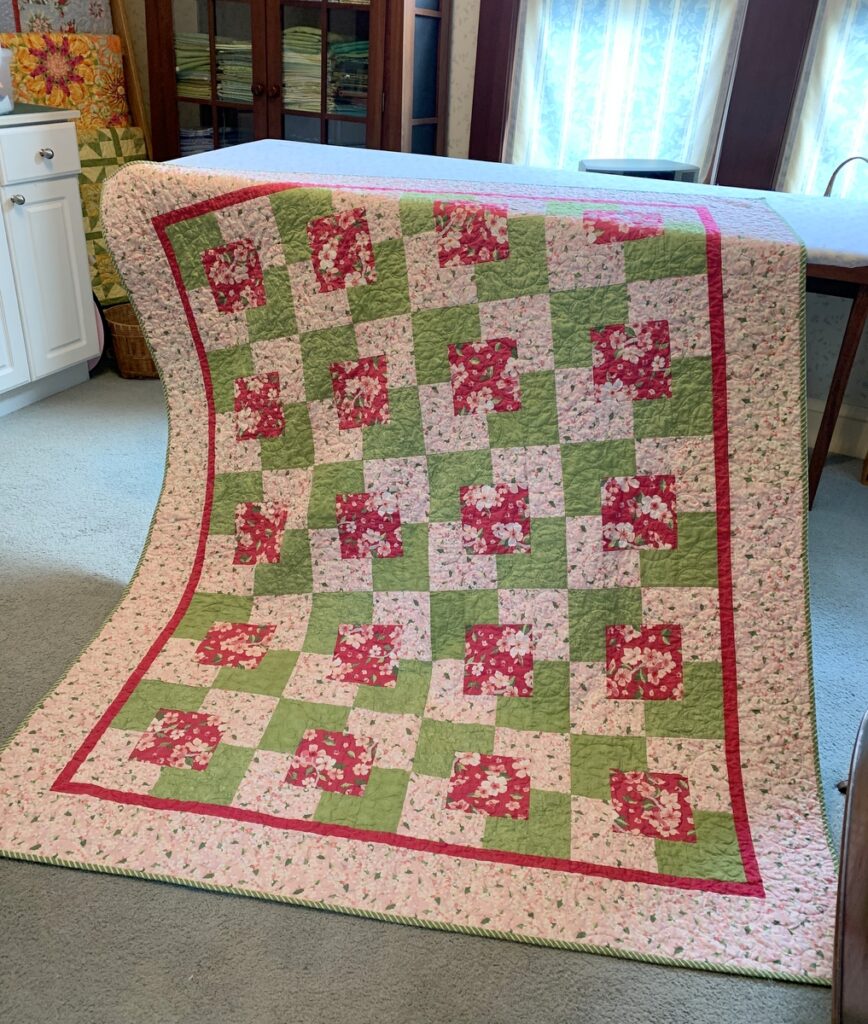
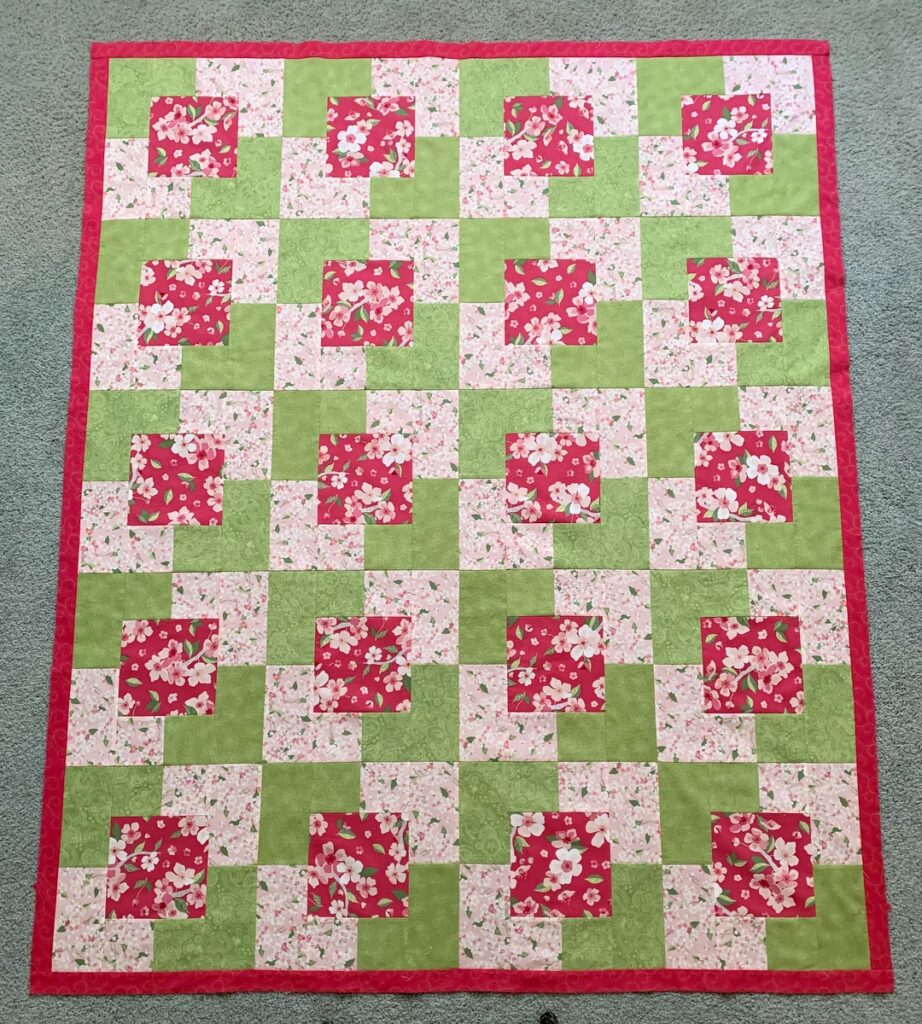
It’s been a challenge photographing this quilt because the colors look so different depending on the light and time of today. This afternoon I took this picture after Celebrating Spring had made its way through the washer and dryer:

To sum up:

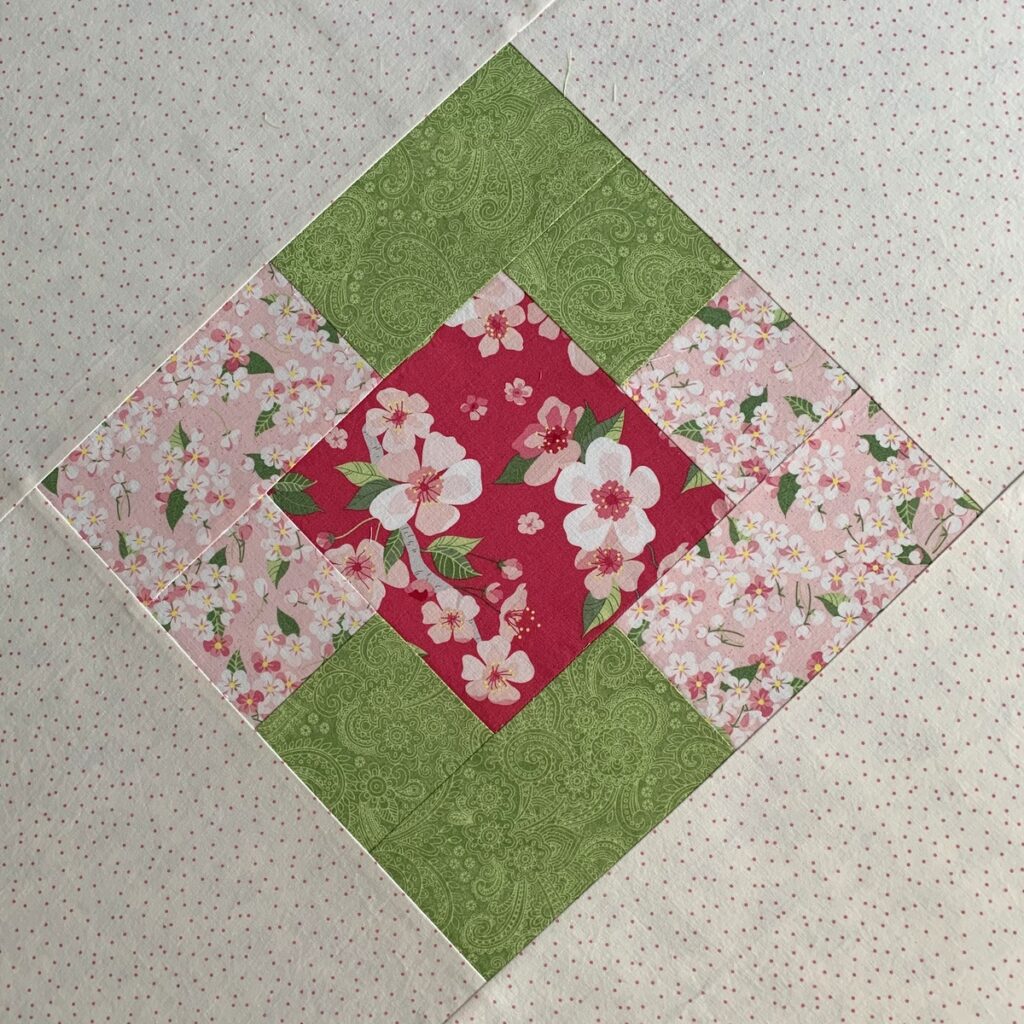
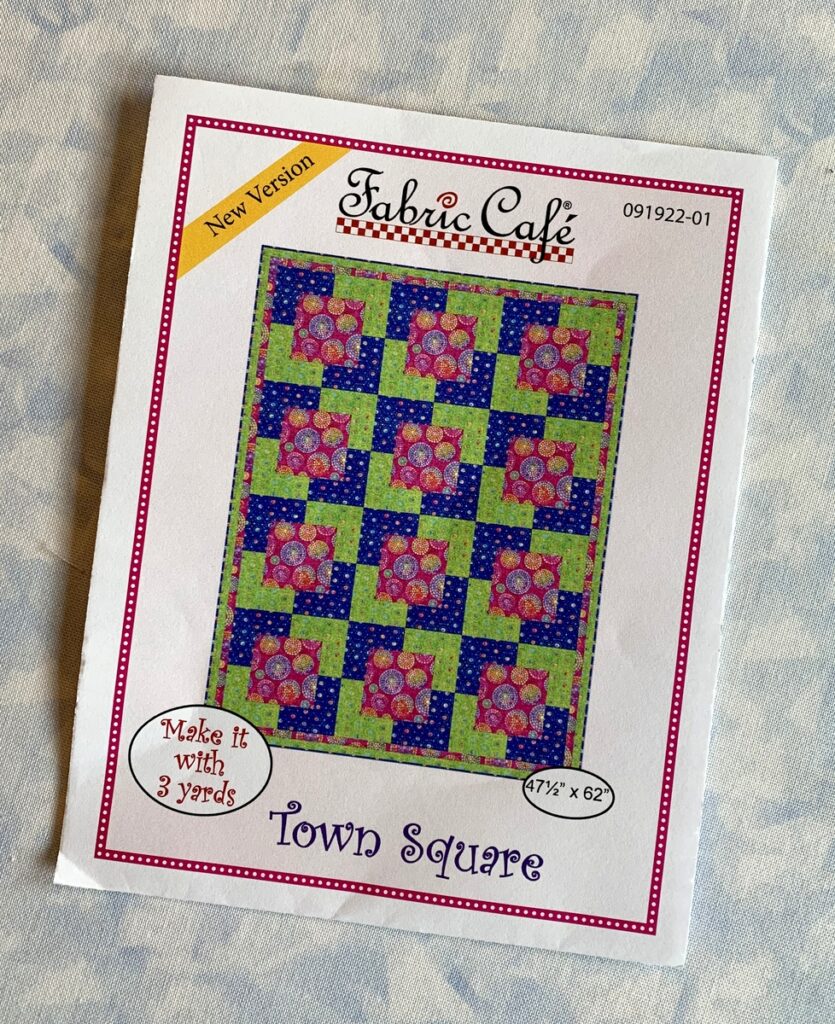
Celebrating Spring is based on the pattern Town Square by Fabric Café. I made the quilt larger and downsized the block from 15″ to 12″

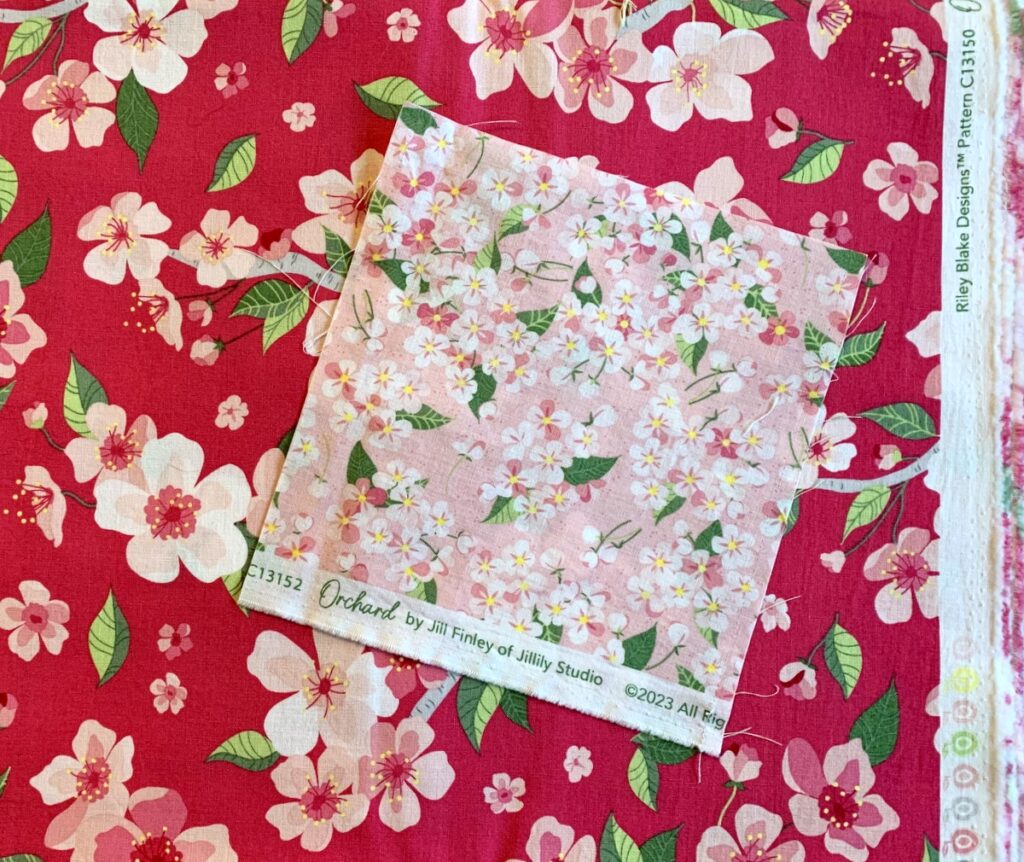
• The two cherry blossom fabrics and the striped binding are from the “Orchard” line by Jill Finley of Jillily Studio for Riley Blake Designs

• The two green fabrics were pulled from my stash

•Karlee Sandell of SewInspired2Day quilted Celebrating Spring with an edge-to-edge motif called “Embellish” by Quilts Complete

•The quilt finishes (after laundering) at 60″ x 71″

Happy Spring!


Posted in cherry blossom quilt, update | 4 Comments

Binding Has Commenced!

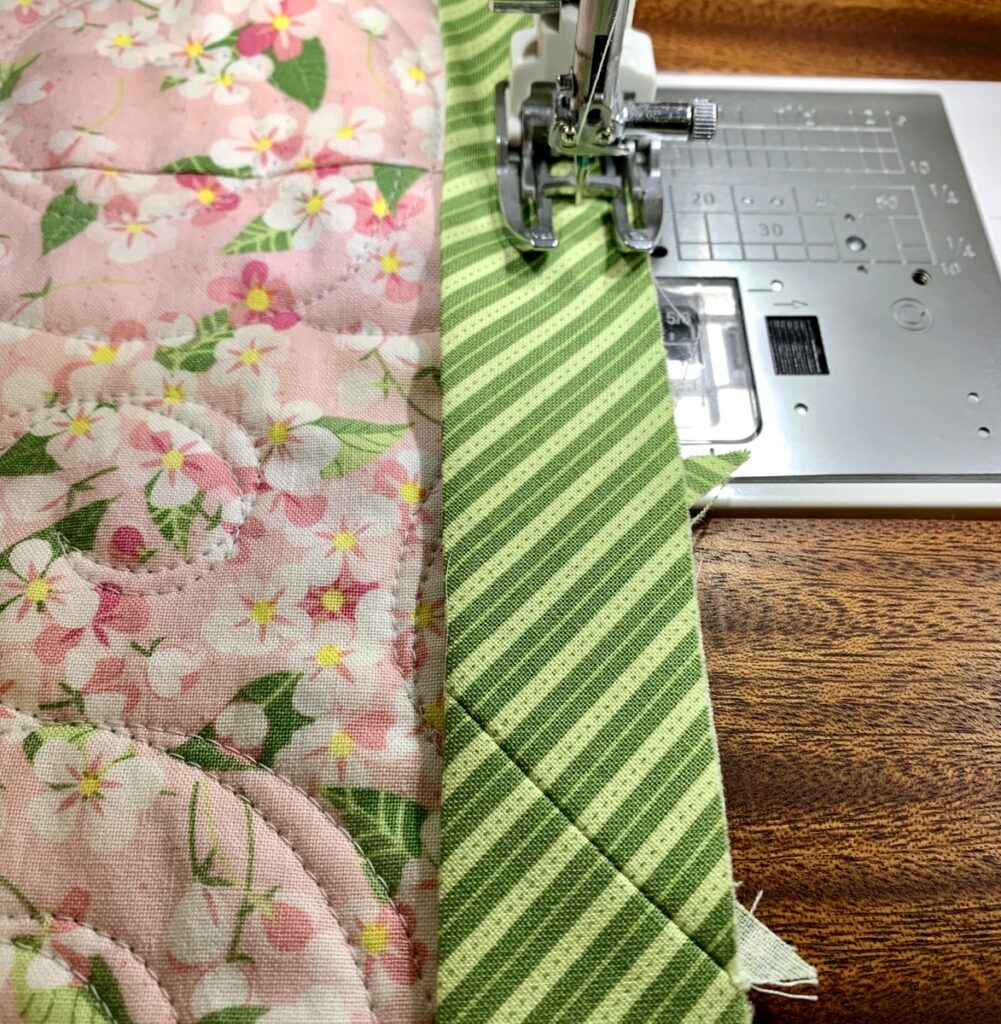
I love reaching this stage in quiltmaking. My cherry blossom quilt has been pieced, quilted, and trimmed. Now it’s time for the binding. For this quilt my bias binding strips were cut 2½” wide and I’m sewing the binding on with a ⅜” seam. I usually favor a quarter-inch binding but I wanted this lovely green stripe to stand out a bit more. The stripes remind me of blades of grass — yet another reminder of spring and very fitting for the name I have given this quilt, Celebrating Spring.

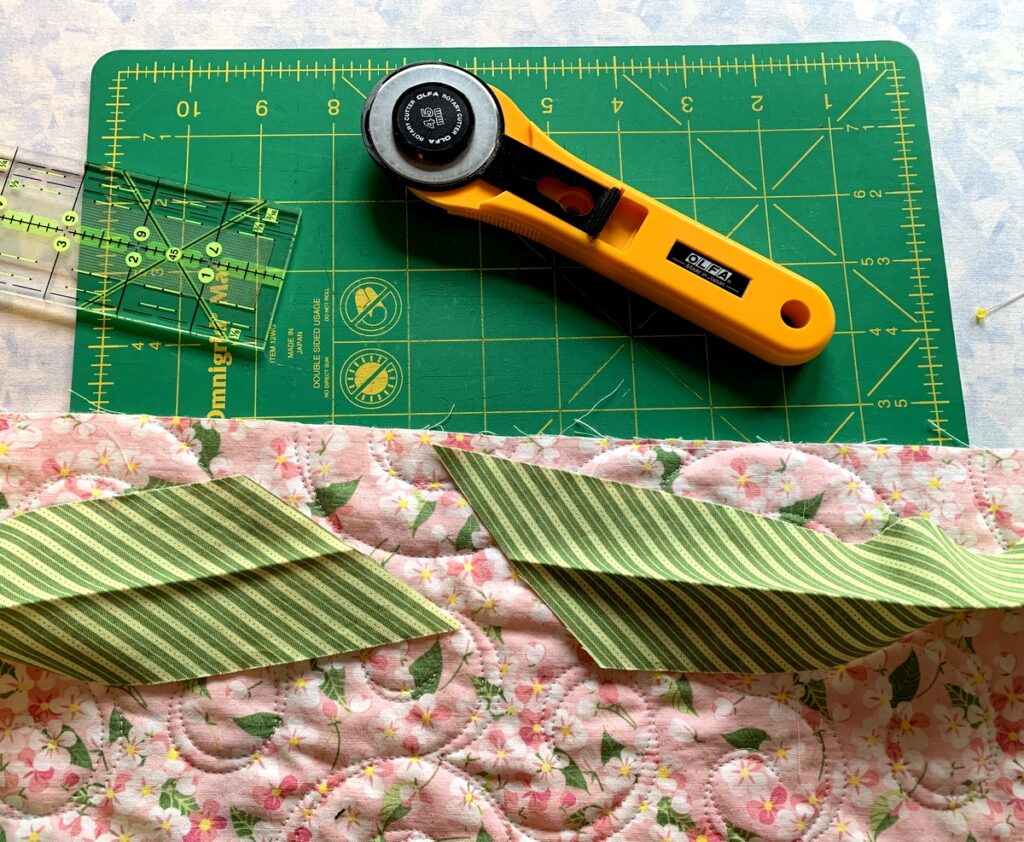
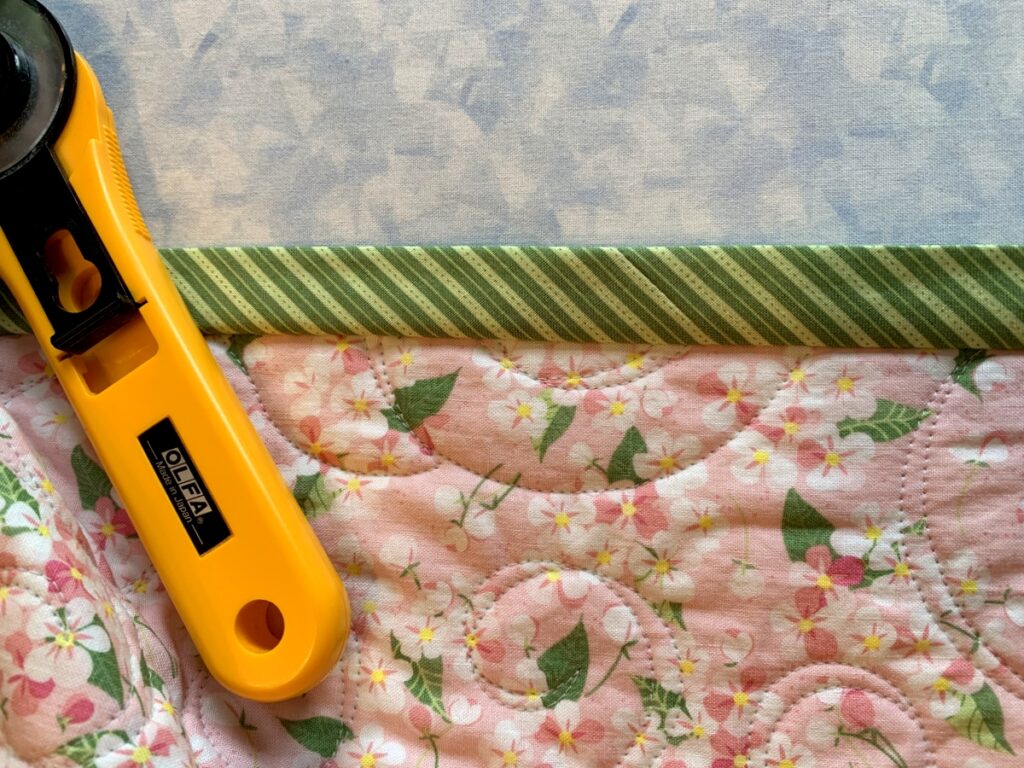
When it came time to join the ends of the binding, I figured it would be possible to match the stripes with careful cutting and stitching, especially because the stripes are very narrow. Notice where I made bias cuts in the left and right hand tails of the binding:

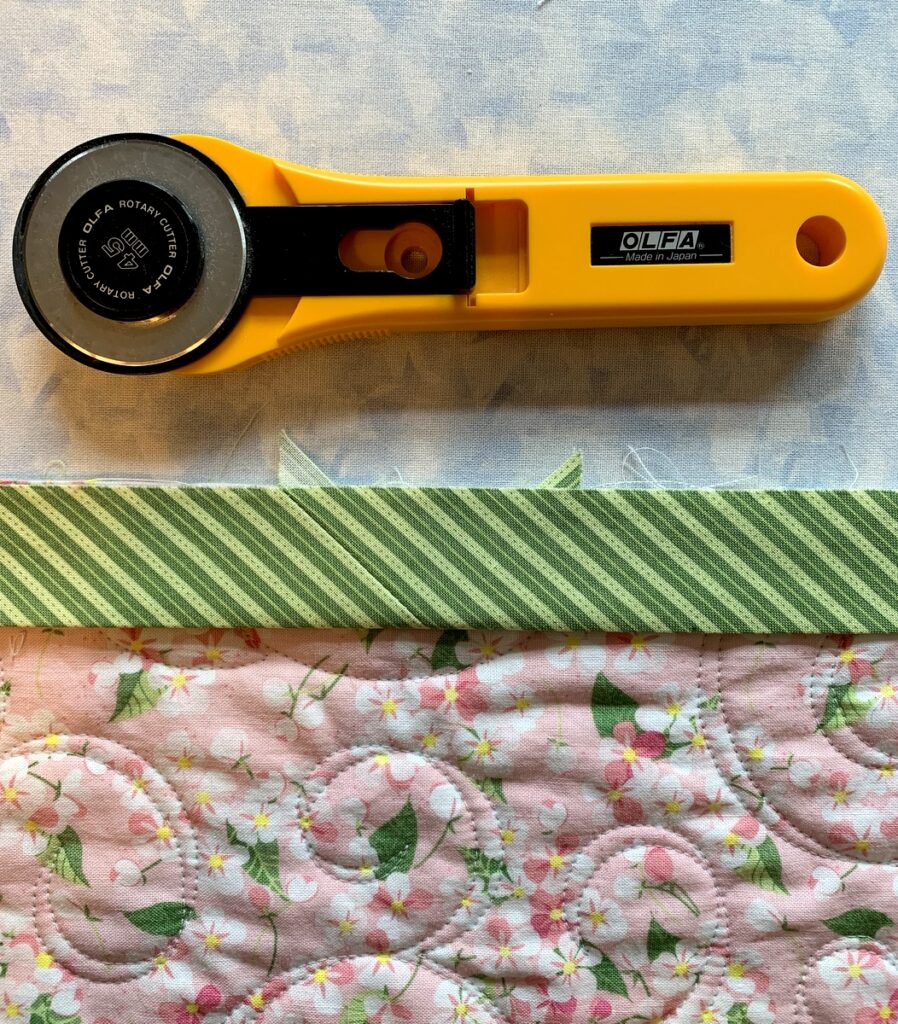
By playing around with binding scraps beforehand, I determined that the tails, when cut this way, would produce an almost invisible seam without interrupting the design. See what you think:

The seamline should be subtle but obvious. If you don’t see it right away, look at the left “dog ear” — that triangle sticking up along the raw edge.

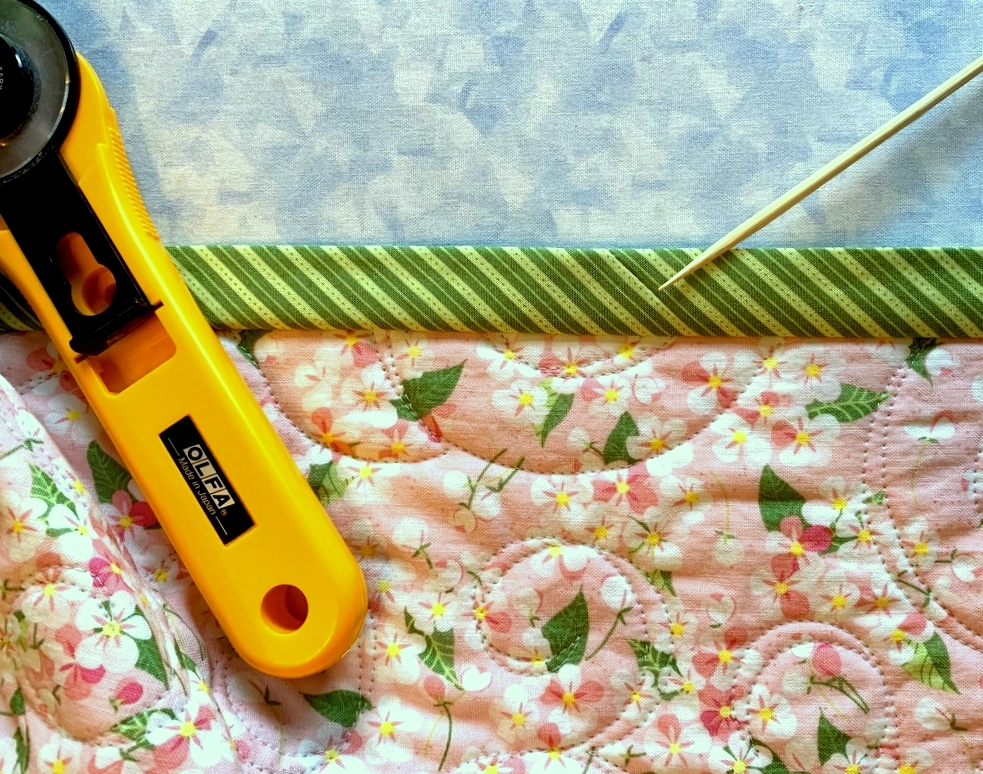
After stitching the rest of the binding to the quilt and then turning the binding away from the quilt, the seamline is even harder to see:

Just in case you don’t see it, look at the very tip of the bamboo stiletto:

Now I can sit back and enjoy the slow process of tacking the binding by hand to the back of the quilt:


Posted in cherry blossom quilt, update | 8 Comments

No Contest

My cherry blossom quilt is back from the longarm quilter and the quilting on it is oh so pretty! My thanks to Karlee of SewInspired2Day for another lovely job.

As soon as the quilt was trimmed, I spread it out to take some photos. Look who came along at just that very moment:

She was under the quilt just before this was taken:

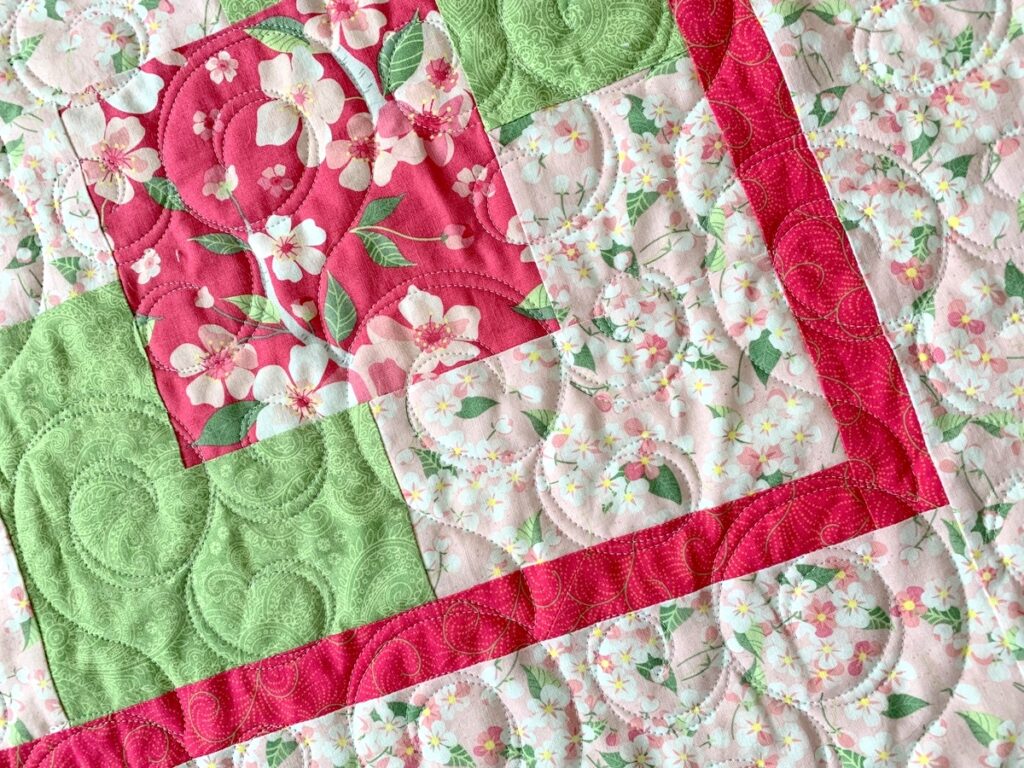
How about a  close-up? No, not of Coco! Look at the loops and swirls dancing across the surface of the quilt. Doesn’t it make you think of cherry blossoms caught in a breeze? The very essence of spring, right?

The quilt design is called “Embellish” by Quilts Complete. Notice how it echoes the swirls in two of the four fabrics: the green tone-on-tone paisley and the bright pink fabric used in the first border:

I asked Karlee to quilt this with a very pale grey thread. My reasoning? White thread would show up too much on the green fabrics. I always want the quilting to provide subtle texture so I tend to choose thread colors that blend rather than stand out. For me the fabric is always the star.

Here’s a look at the back of the quilt, featuring two leftover blocks on point and one complacent cat:

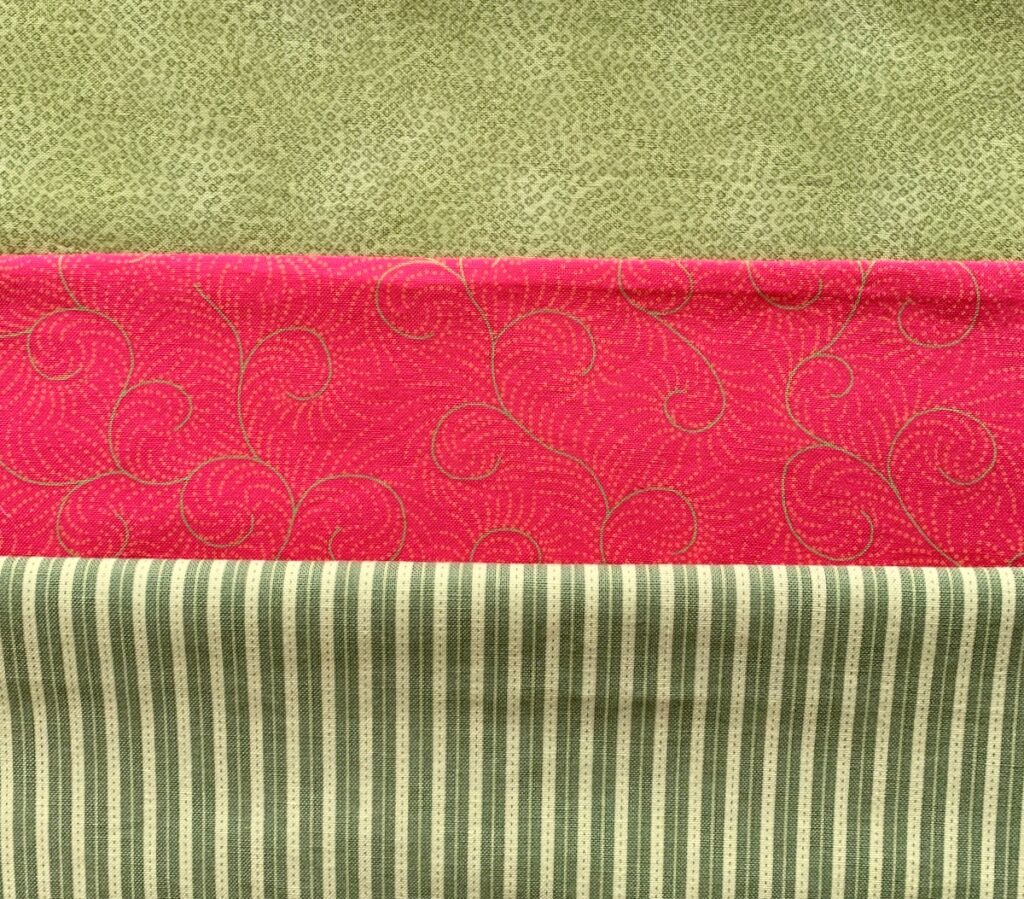
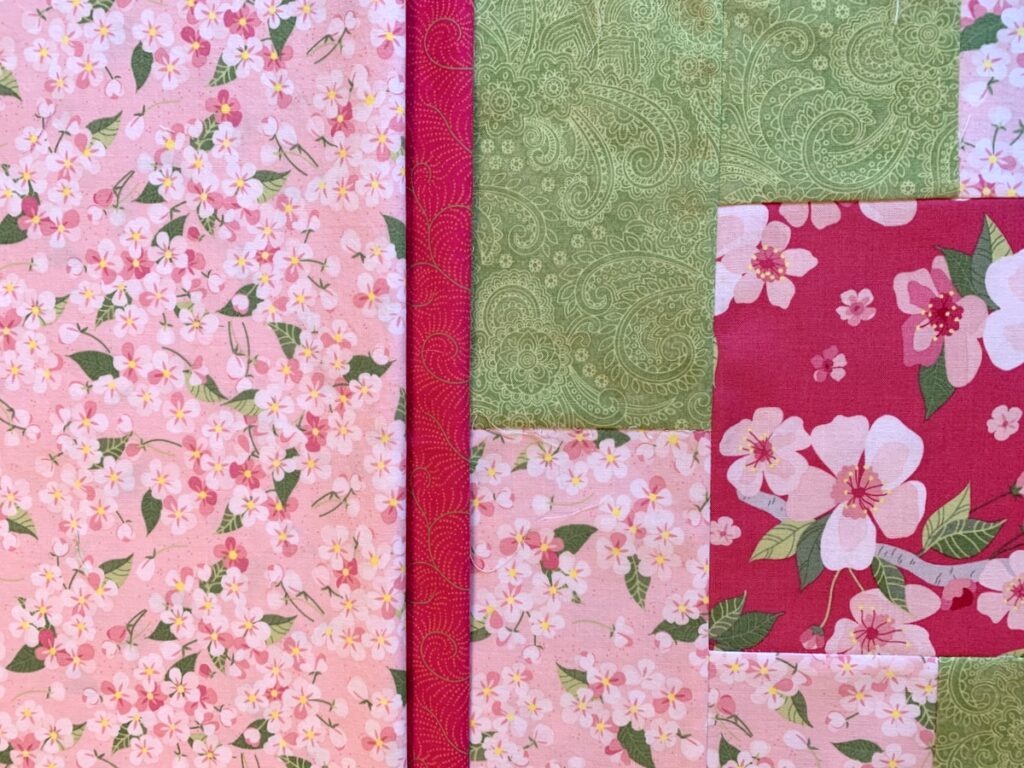
What about the binding? I auditioned these three fabrics:

The top two are already in the quilt. The third is a stripe from the same line as the cherry blossom focus fabrics, namely “Orchard” by Jill Finley of Jillily Studio. She designs for Riley Blake Designs. Now I happen to like a striped binding. In fact, the only thing I like better than a striped binding is a bias striped binding. So I cut a bias strip and placed it along one edge to get a better sense of how it would look:

The verdict? No contest!


Posted in cats, cherry blossom quilt, update | 6 Comments

Off to the Quilter!

The borders are on my cherry blossom quilt . . .

. . . and it’s ready to be delivered to my longarm quilter.

Don’t you love the freshness of the cherry blossom fabrics against the two spring green tone-on-tone prints? I sure do. The simplicity of the pattern (Town Square by Fabric Cafe) really lets the fabrics take center stage, which is always my goal.

I made a simple pieced backing incorporating two quilt blocks that were too similar to ones on the front. Celebrating Spring is the leading contender for my new quilt’s name but I’m open to other suggestions. Just sayin’.

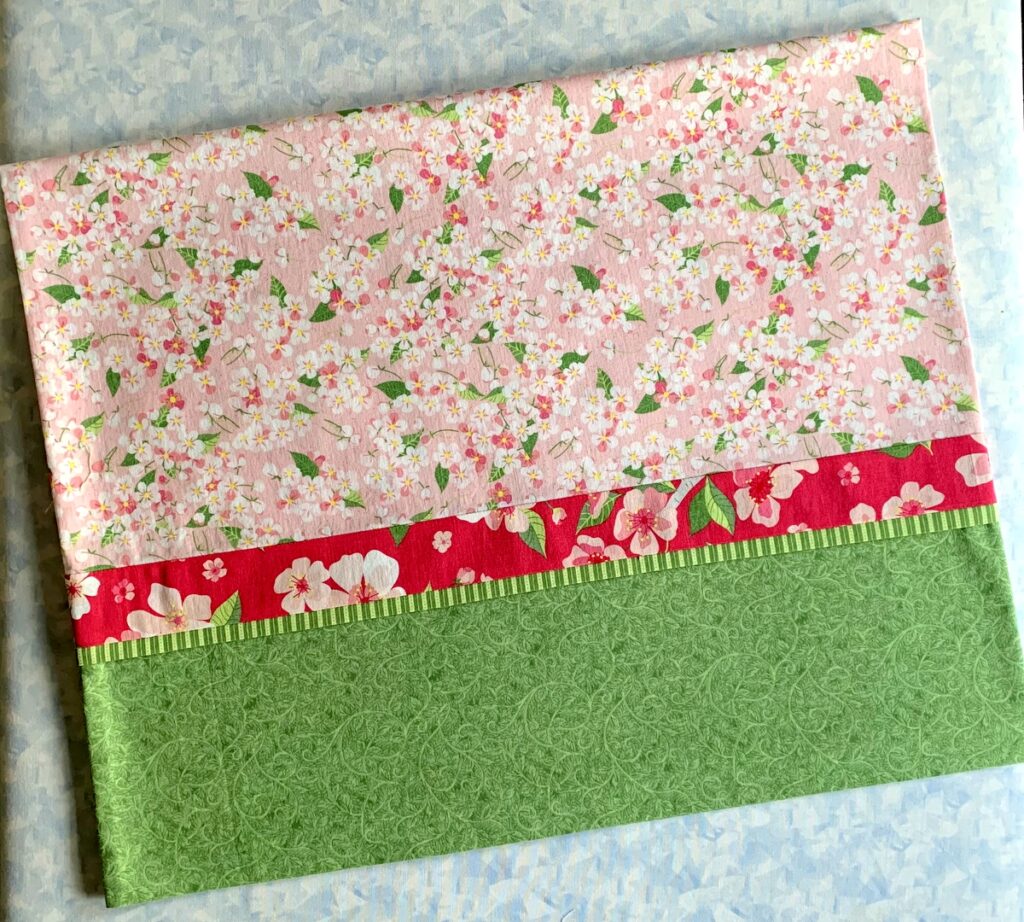
There was enough of the small focus fabric print left to make a pillowcase for a loved one to go with her new bed linens:

It was made with my own tutorial, which you can see here.

I like this pillowcase so much that I’m sorely tempted to order more fabric to make a pair for the Portland White House. But seriously, the Dear Husband and I have enough other cases to sleep on. If I made pillowcases for every line of fabrics I fall in love with, we’d be sleeping on different cases every night.

Anyway, I’ve embarked on yet another new project that I’m eagerly looking forward to showing you. I hope you’ll stop by to see what it is!


Posted in cherry blossom quilt, family, home dec, pillowcases, roll-it-up pillowcases, tutorial, update | 3 Comments

Celebrating Spring

Happy First Day of Spring!

The vernal equinox in the Northern Hemisphere occurs tonight at 11:06 pm EDT. (Thanks to this being a Leap Year, the equinox is earlier than usual. Since spring is my favorite season, having it come early makes me very happy.)  And what a glorious day it has been: sunny in Portland OR with a few scattered clouds and a high of 70 degrees Fahrenheit. I celebrated indoors and out.

Outdoors? The Dear Husband and I spent a few hours weeding in the back yard garden. Telling the truth now: I really wasn’t celebrating. I am, after all, a Reluctant Gardener. But the beds we cleared look so good now that I can’t help but be glad about that. And the DH planted potatoes!

Indoors, I added the narrow border to my current Work-in-Progress. Check it out:

Right now my quilt top measures 51″ x 63″. The additional light pink floral I need for the outer border should arrive in the next day or so.

In the meantime, I started working on my pieced backing. I put those two duplicate blocks I wrote about yesterday on point and added setting triangles, using a pink polkadot fabric I found in my stash:

I made the setting triangles oversize in case I want to float the blocks (which I probably will).

By the way, I’m not the only one enjoying cherry blossoms. Mine are on my fabric but featured on the front page of today’s daily Oregonian newspaper is a photo of the beautiful blooms “popping with color” along Portland’s waterfront park.

Hmm. I named this post “Celebrating Spring.” Maybe that should be the name of this quilt. . . What do you think?


Posted in cherry blossom quilt, update | 5 Comments

Coming Right Along

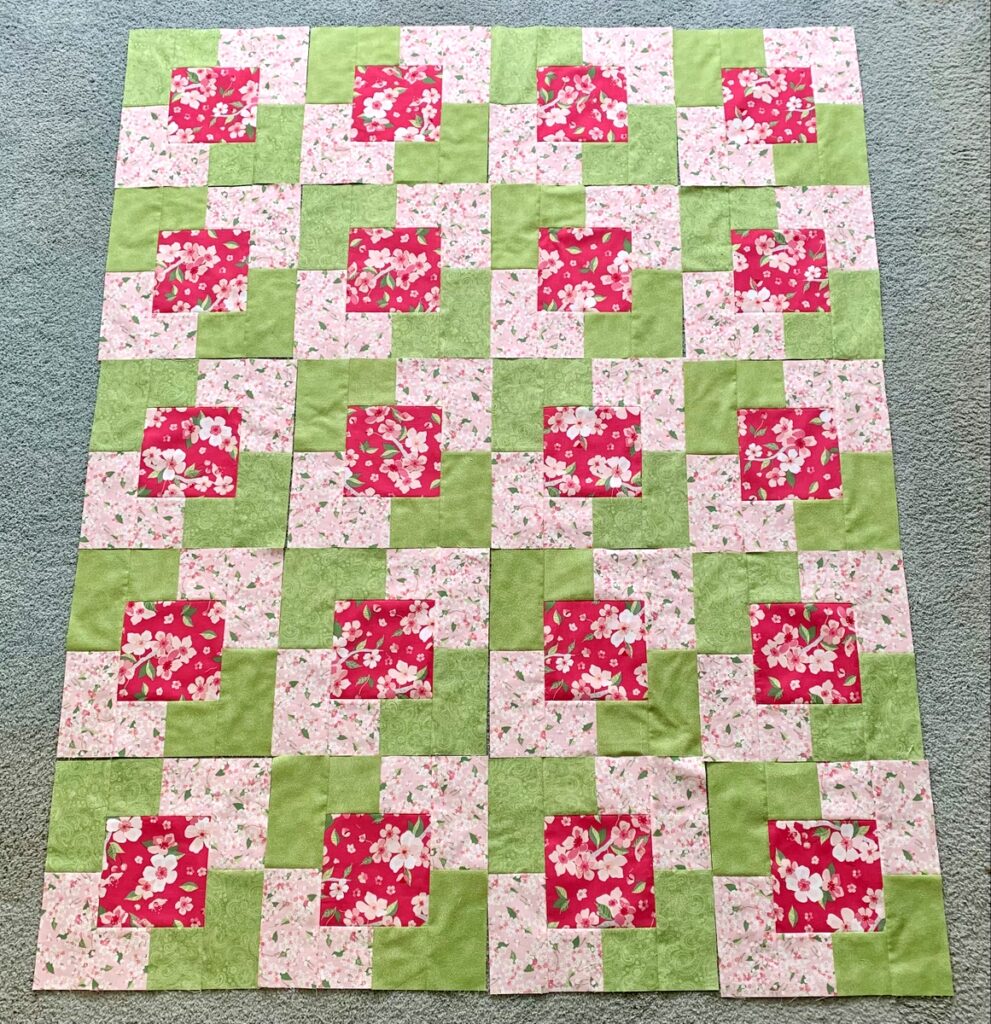
The interior of my current WIP is complete. Take a look:

How pretty is that? I am loving the springtime vibe of these cherry blossom prints.

As I was laying out the blocks, I noticed a few of the center squares were cut from the same part of the pattern repeat. It was easy enough to simply rotate a block or move it to another part of the quilt. Before I started sewing, I looked again across each row, up and down each column, and even on the diagonal. I was sure I had a good distribution all around.

However . . . after sewing the blocks into rows and then sewing the rows together, I could see duplicates in one vertical and one horizontal row. The blocks weren’t touching each other and perhaps no one would ever notice but . . . I did. So of course I made two more blocks to replace the duplicates. I’ll probably put the dupes on the back of the quilt.

I ordered more of the light pink floral for the outer borders because I want a wider strip than the pattern calls for. The instructions also call for a narrow first border of the larger floral print but I want something that reads more lilke a solid. I just happened to find a good candidate in my stash, one that I’ve had for oh, at least 20 years. I auditioned it with the other fabrics . . .

. . . and I think it works perfectly. I hope you do, too!


Posted in cherry blossom quilt, update | 8 Comments

Not So Fast

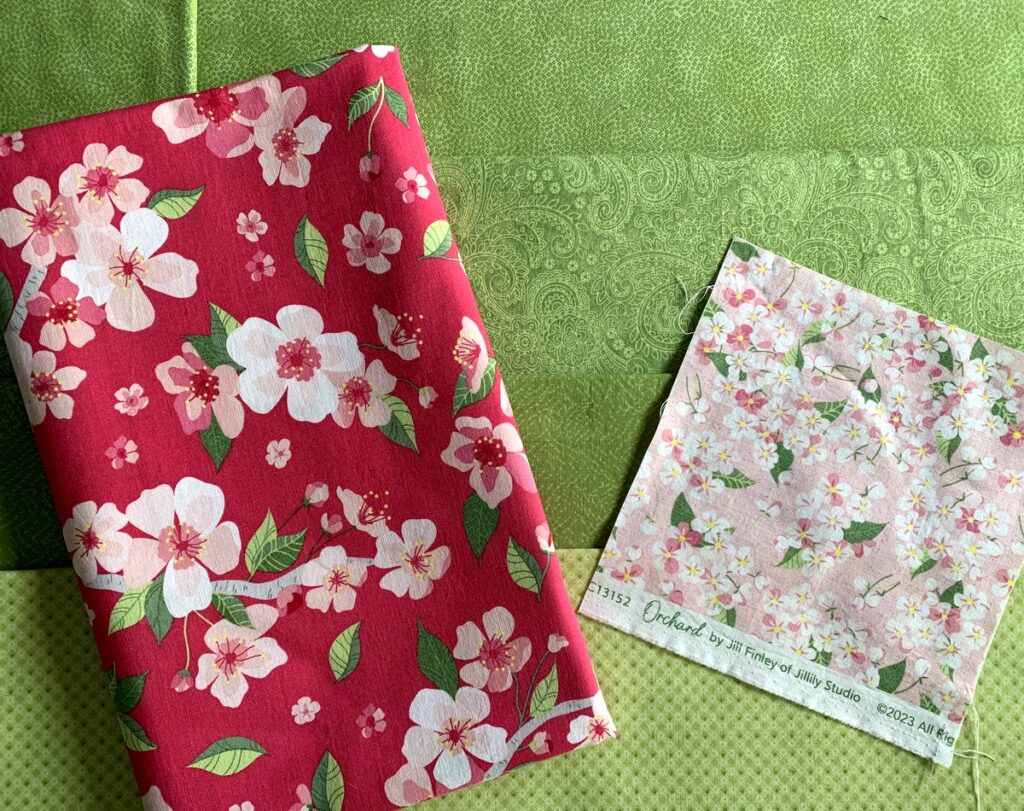
The plan was to make a fast quilt top last weekend. My starting point was this luscious pair of fabrics from the “Orchard” line by Jill Finley for Riley Blake Designs:

(I ran off in high spirits last year and bought several pieces from the line, not knowing what I would do with the fabrics, just knowing that I had to have them.)

I picked this pattern . . .

. . . because it called for just three fabrics and I could tell it would be fast and fun to make, just the ticket because I’ve been in a bit of a sewing slump.

The pattern calls for one yard each of three fabrics and is made of 12 blocks that finish at 15″. Two slender borders complete the quilt. I immediately decided to make a larger quilt. I downsized the block to 12″ and chose a 4 x 5 layout, which would yield a top measuring 48″ x 60″ before borders. The outer border will definitely be wider than the one in the pattern; my plan is to create a top that measures 60″ x 72″ or thereabouts, a good size for a throw or lap quilt.

I also decided to make the quilt a wee bit scrappy by choosing four green fabrics that are very similar in color and value. Here they are with the focus fabrics:

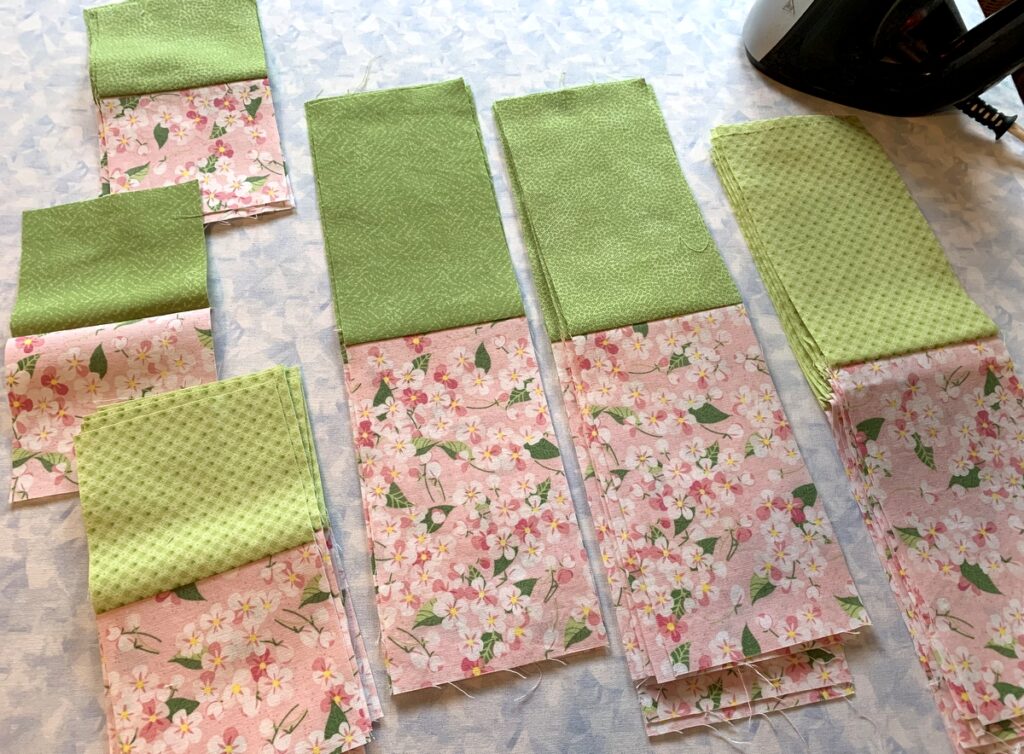
I was so sure of my fabric choices that I didn’t make a test block before cutting my strip sets from the four greens and the smaller floral print. Uh-oh. Big mistake. I was definitely not loving the first four scrappy blocks:

My favorite green was the tone-on-tone paisley so the plan was to proceed with that one. I was preparing to take the stacks with the remaining greens apart so I could salvage the pink floral . . .

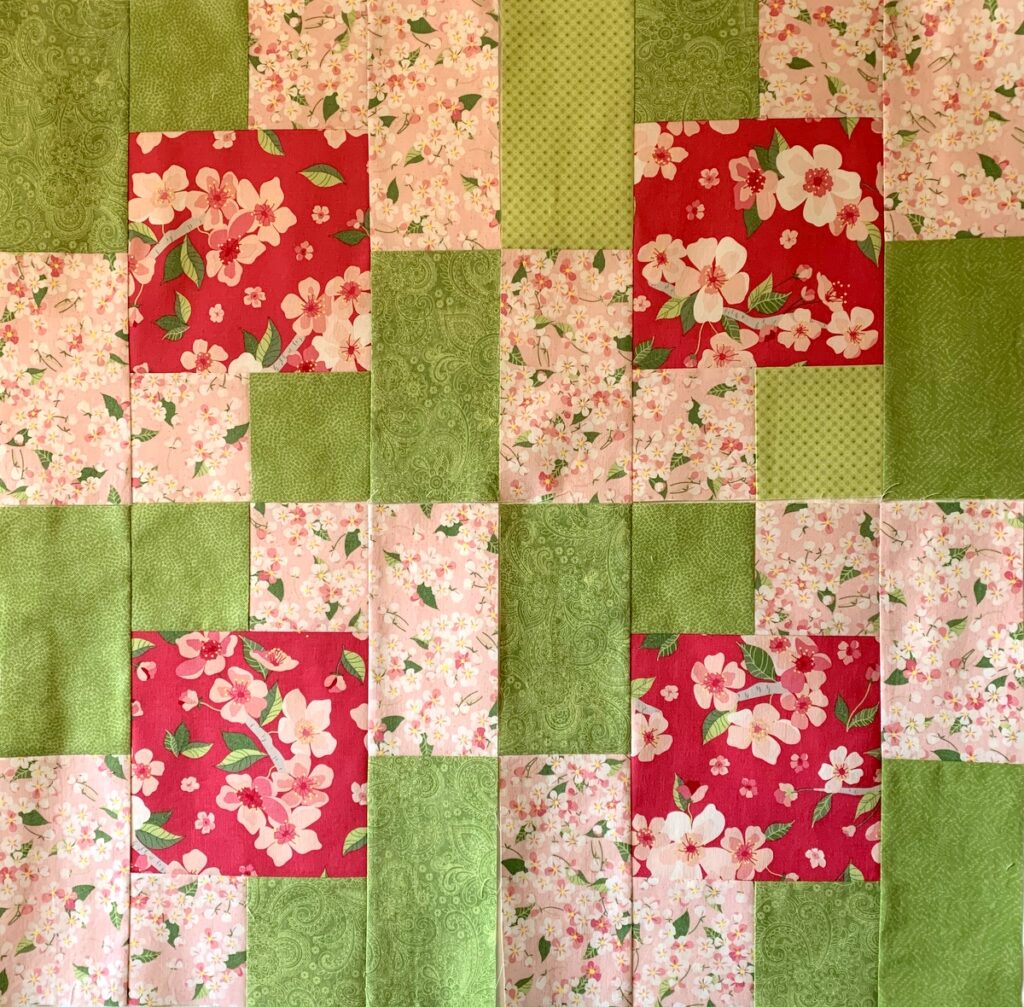
. . . when I thought, “What about using a second green?” I retrieved one of the sets above and made four test blocks with it and the paisley:

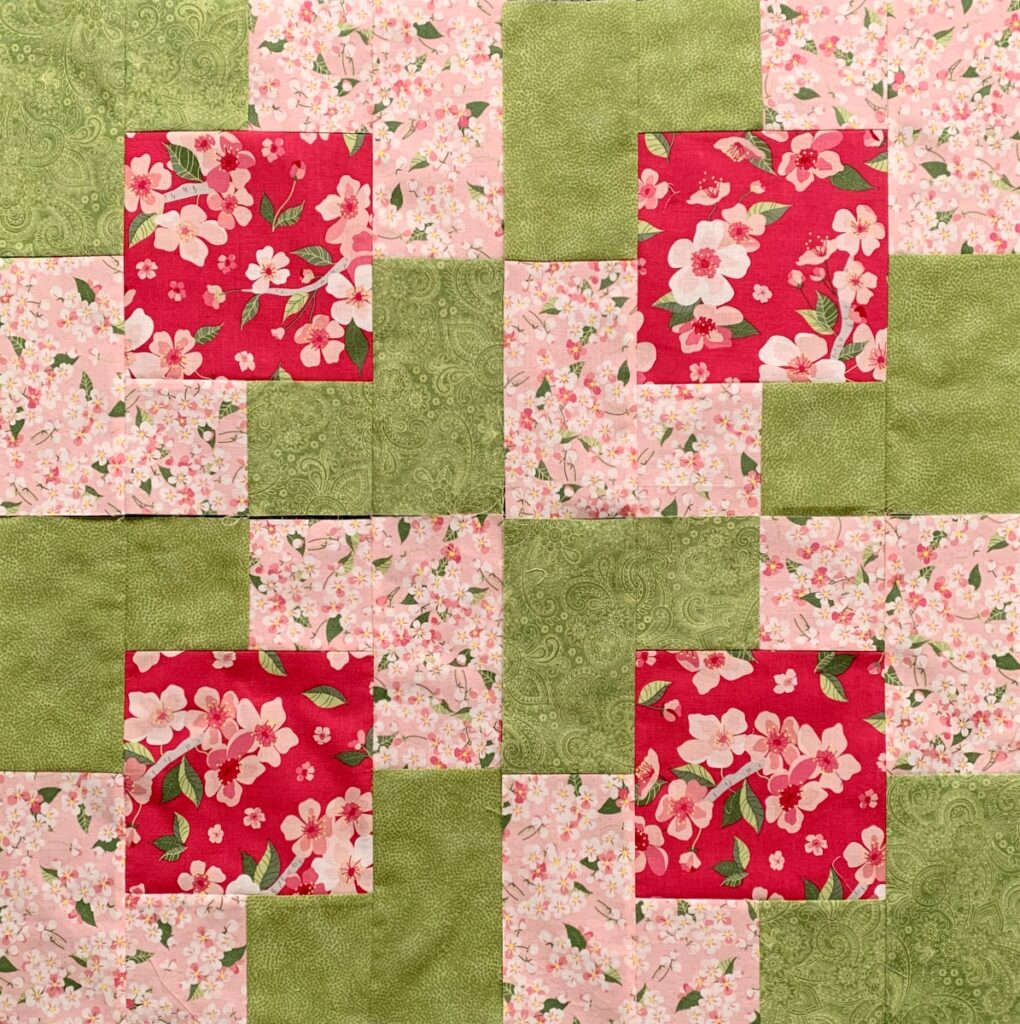
I’m liking this much better. I could have gone with one green and I almost did, realizing that part of the charm of this design is its utter simplicity. But I really like the way the two greens play with the florals as well as with each other, and the second green does add a bit more visual interest.

The blocks went together very quickly once I had the pink floral pieces attached to the greens. This is what I have to show for it:

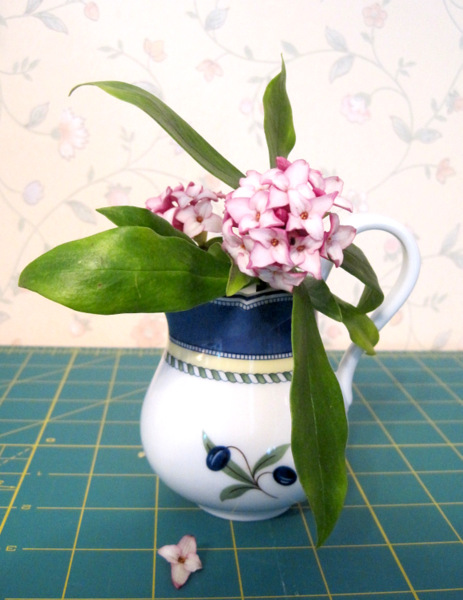
Isn’t that refreshing? I love pink and green together. The colors are so reminiscent of daphne, that harbinger of spring . . .

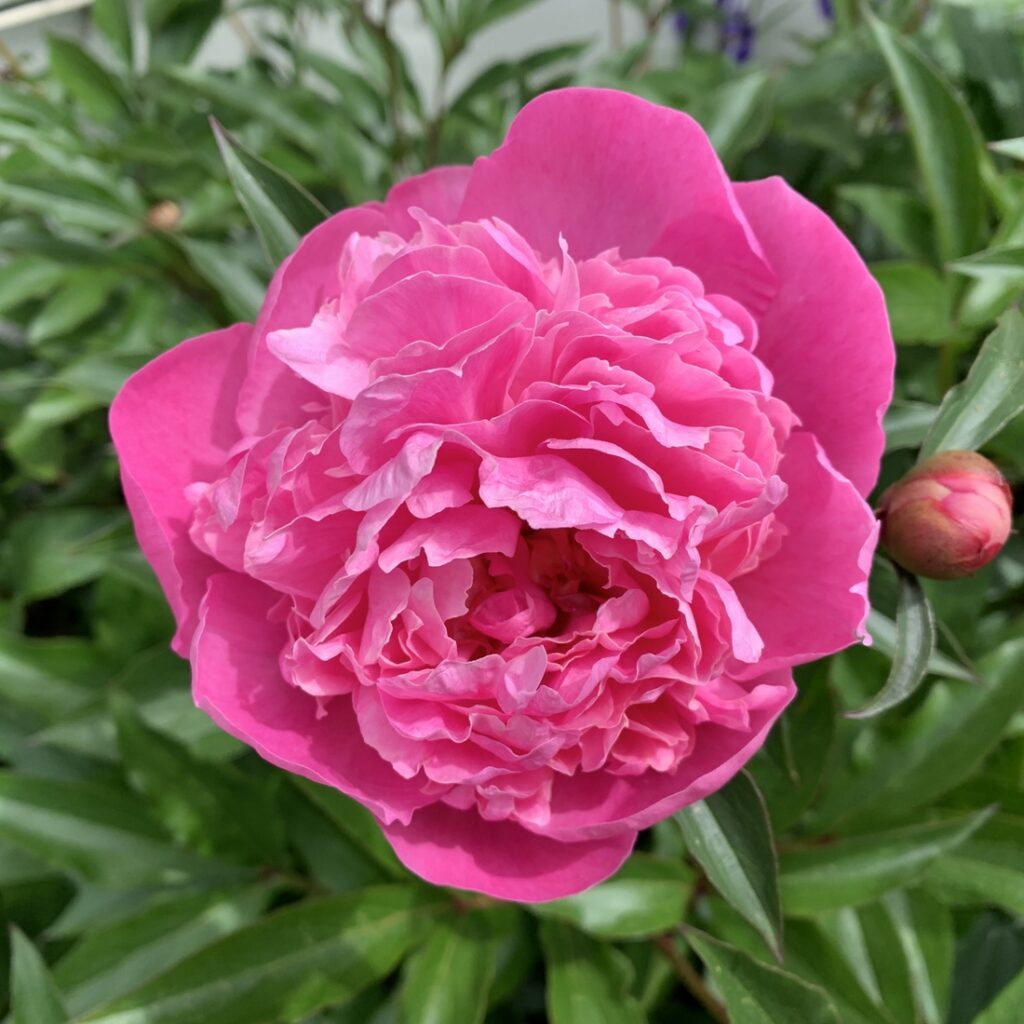
. . . and the peonies in our yard that bring me joy every year . . .

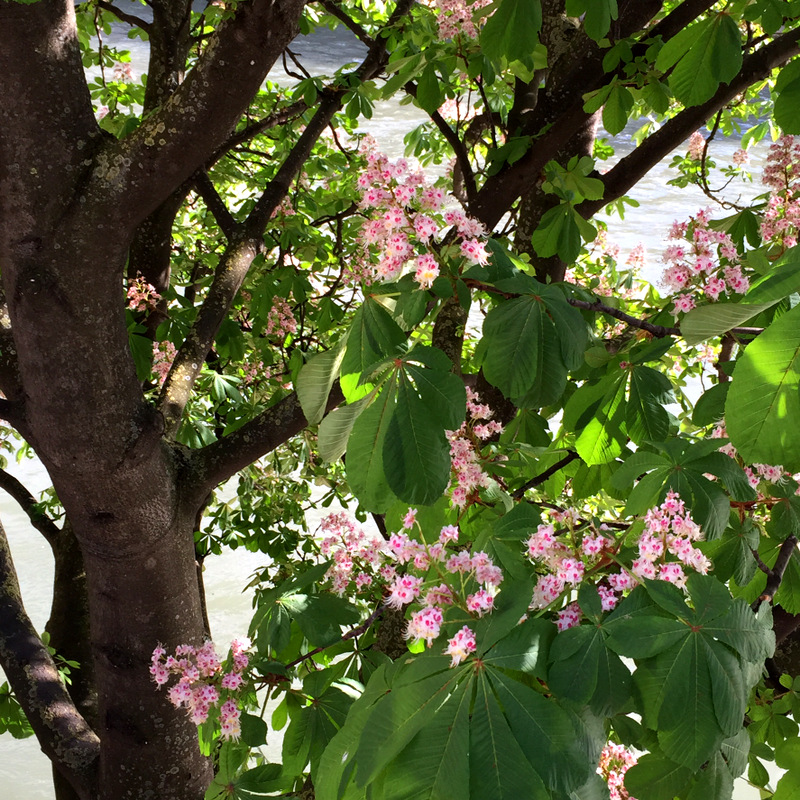
. . . and even this photo of chestnuts in blossom that I took in April 2015 when the Dear Husband and I were lucky enough to spend three weeks in Paris:


Since today just happens to be National Quilting Day, it’s fitting that I was able to spend a good part of it in my sewing room. Even though this project got off to a very slow start, I am eagerly looking forward to sewing my blocks together and adding borders.

Something else to look forward to:  spring begins this coming Tuesday!


Posted in cherry blossom quilt, family, Paris, update | 8 Comments