Category Archives: sewing machine cover

An Experiment: Sewing Machine Dust Cover

Regular readers may remember the sewing machine cover I started in July when I was in Sisters OR with my quilt group. My intention was to make a cover for the Janome 6500 that spends most of its time in my sewing room. I have a smaller Janome for classes but the big one goes with me on extended trips.

My Janome 6500 was with me in Sisters when I took its measurements and made the block for the front. Weeks later, when I was ready to work on the cover again, I realized the measurements I had taken in Sisters, while accurate, were wrong for this project. My sewing table features a drop-in ledge for the sewing machine so that the bed of the machine is flush with the table top. My sewing machine sits a full 3″ below the surface of the table, something my original measurements didn’t take into account. Oops.

The block I had already made couldn’t be cut down so I decided to finish the sewing machine cover and use it for traveling, and then make a new one that would stay in my sewing room.

That’s what I’ve been experimenting with. I decided to make a really simple cover without batting or quilting — and without a pattern. I just followed the lines of the vinyl cover that came with my Janome 6500. Rather than making a test version in muslin, I chose to use a beautiful cotton print. My rationale was that if I made the cover in muslin and it turned out well, all I would have was a plain muslin cover. If I made it in a pretty fabric and it didn’t turn out well, I could cut it apart and save the scraps for another project.

But it did turn out well! Take a look:
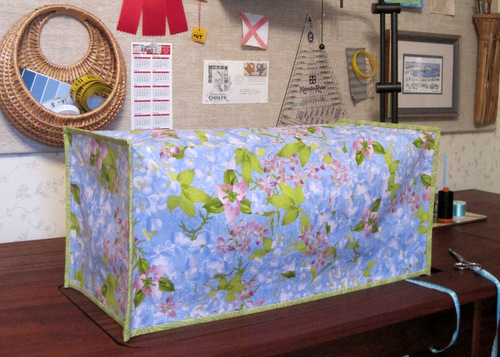
Sewing Machine Dust Cover


The main fabric is from the Garden Medley line by Susie Johnson for RJR and the binding fabric is a lime green Kona Bay blender. Here’s a slightly different view:
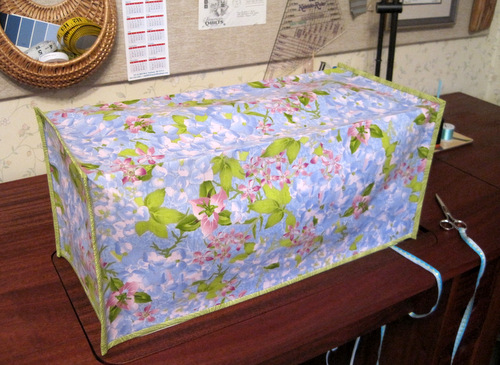
Another View


The fabric on the inside is a soft striped batik from my stash:
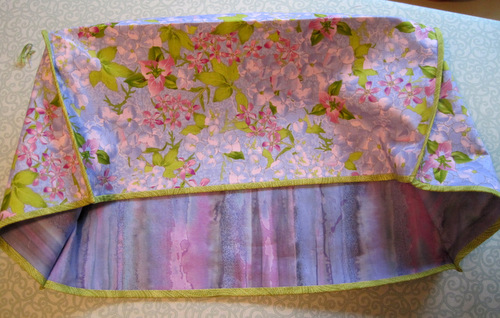
Batik Stripe on the Inside


I interfaced the inside fabric to give the dust cover extra body. Instead of finishing the binding by hand, I fused it with 1/4″-wide Steam-a-Seam 2.

Now my mind is racing with ideas on refining the design. I don’t really need another sewing machine dust cover but I’d love to make one in different fabrics — I already know which ones — incorporating some patchwork and/or applique. I’d also like to try piping on the top and side edges and double-fold bias tape around the bottom edge.

I probably won’t get to it right away but — you never know. Sounds like a good rainy day project to me.


Posted in Janome 6500 sewing machine, sewing machine cover, update | 2 Comments

Sewing Machine Cover . . . Done!

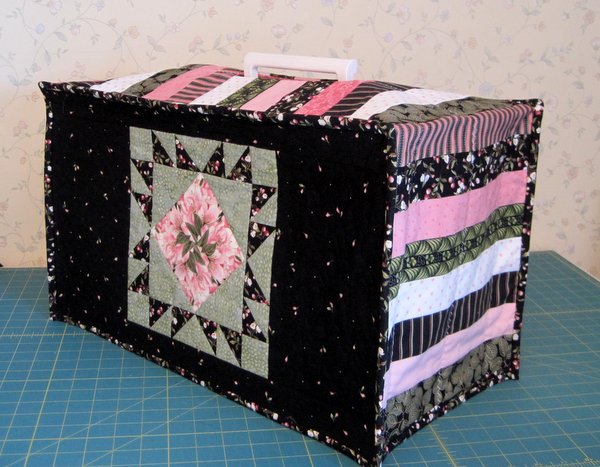
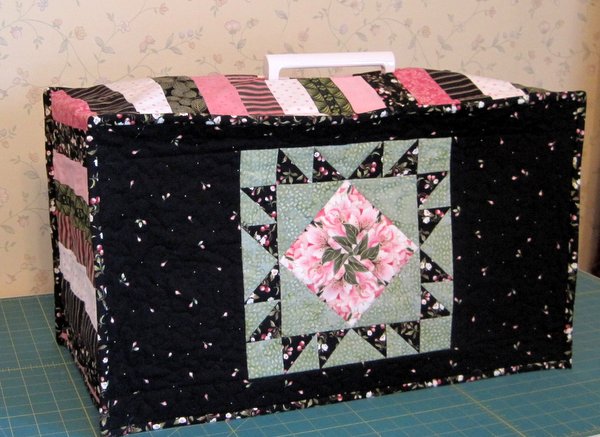
My trusty Janome 6500 has a new coat for fall:

Sewing Machine Cover


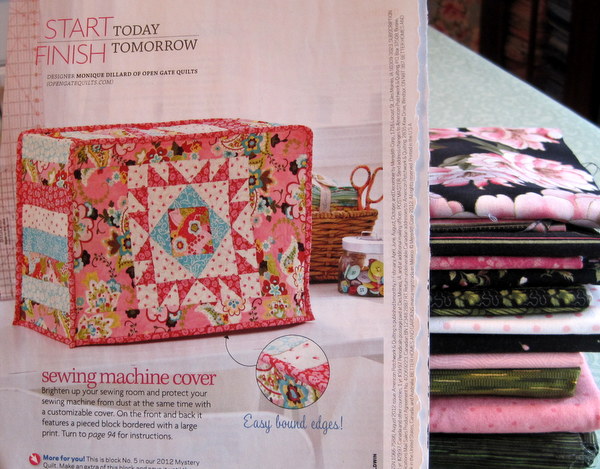
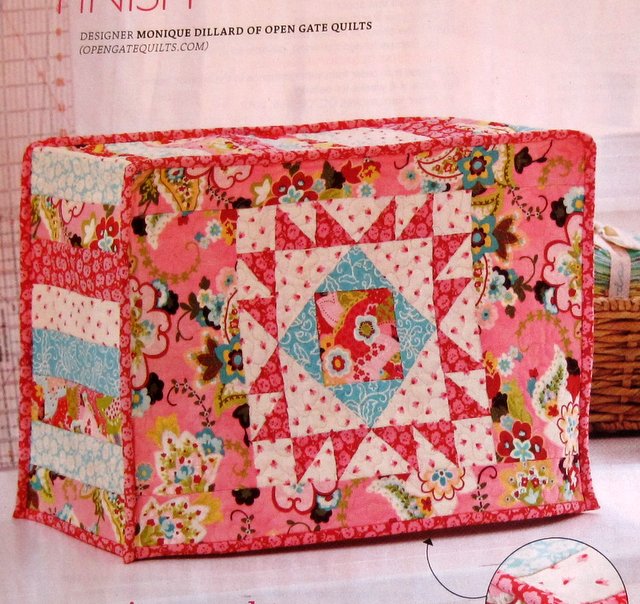
Designed by Monique Dillard of Open Gate Quilts, the pattern is from the Aug 2012 issue of American Patchwork and Quilting magazine:

Monique Dillard’s design


Thelma at CupcakesnDaisies and I both put this project on our summer “to do” list, with the goal of finishing it by Labor Day. I made it, and I think Thelma will, too, though I know she has been distracted by the siren call of wool applique.

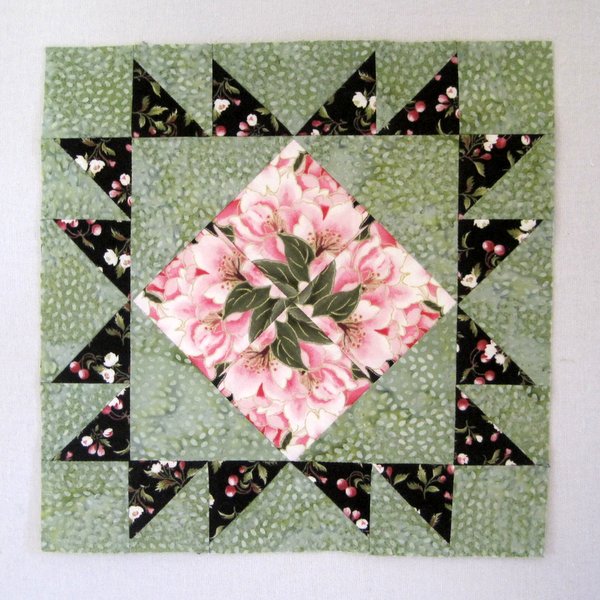
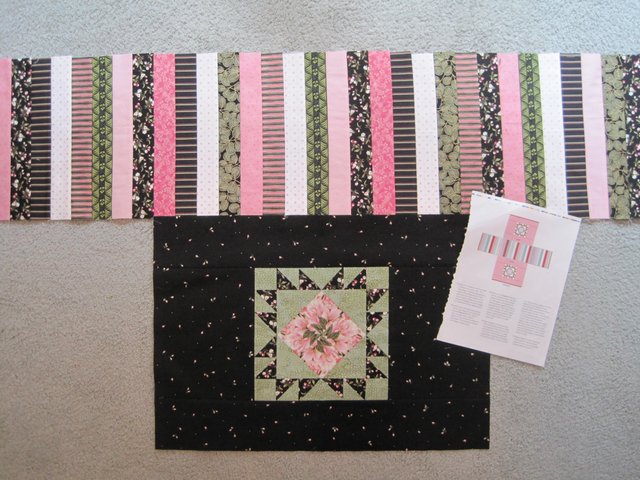
I started working on my sewing machine cover in July while I was in Sisters, Oregon with my quilt group. I got as far as the block on the front (which is a little different from the pattern):

Center Block


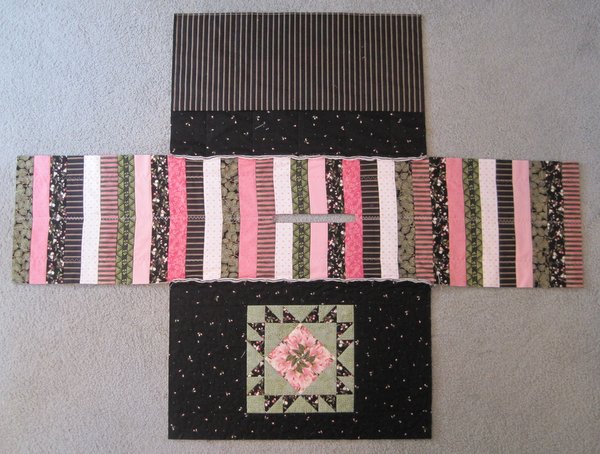
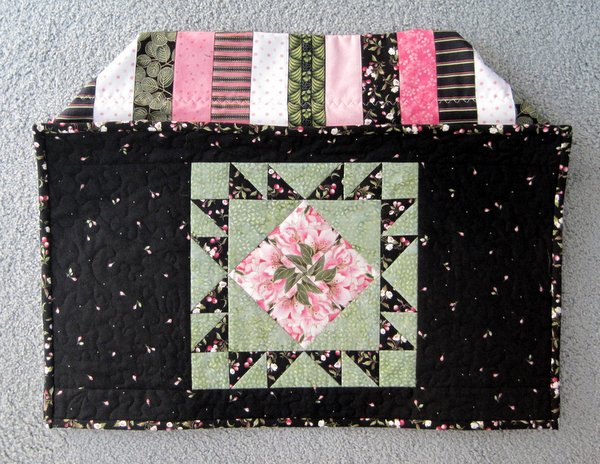
Weeks passed. By the time I got back to this project near the end of August, I had decided not to make a duplicate block for the other side, as called for in the pattern, but to put a pocket across the back instead. Here is my work-in-progress with the front and back attached to the middle panel:

In Progress


When I pinned the sides and draped the cover over my machine, I realized it was going to be way too big, so I took it apart and cut it down to size. (If you are making this pattern, I recommend that you check the size after pinning but before sewing. I think the instructions are much too generous in determining the finished size of the cover in relation to the measurements of the sewing machine.)

Since I had to take the back off, I added a row of decorative stitching across the pocket, which you can see in the picture below. The binding has already been added to the bottom edges:

Downsized and partially bound


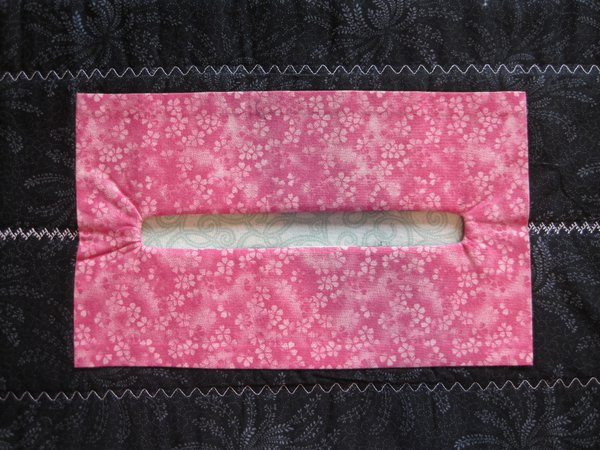
You may have noticed that I added an opening in the center striped panel to accommodate the handle on my sewing machine. I made a simple facing; this is what it looks like on the inside:

Facing of Handle Opening


Here is another view of my new sewing machine cover from the front . . .

another view, Sewing Machine Cover

. . . and from the back:

Back View


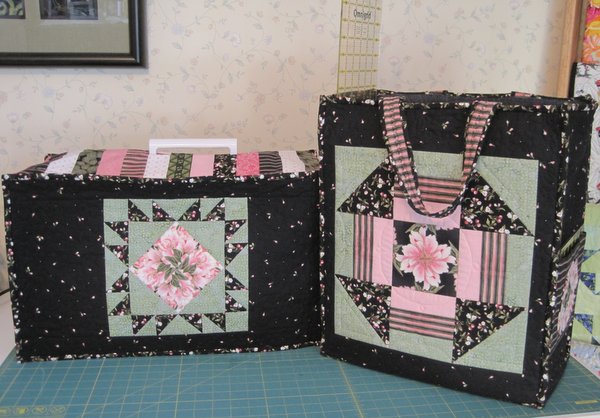
And here it is with its companion, the Billie Bag I made last year (you can read more about the Billie Bag in my Gallery under Small Pieces):

All Dressed Up with Somewhere To Go


As you can see, the sewing machine cover was made with fabric left over from my Billie Bag. On the front and back panels of my sewing machine cover, I quilted a stipple design with the occasional leaf thrown in, duplicating the quilting on my Billie Bag. For the middle striped panel I simply used three rows of decorative machine stitching perpendicular to the stripes.

Instead of finishing the binding by hand, I used ¼”-inch wide Steam-a-Seam 2, a double stick fusible web, which proved to be a huge time-saver. I wouldn’t recommend using Steam-a-Seam for binding a quilt that’s going to get washed a lot but it’s perfect for a project like this. I used it on my Billie Bag, too.

So . . . my sewing machine cover project has gone from a “to do” to a “ta-da!” And there’s a bonus involved. For some time I’ve been collecting pictures and jotting down ideas for a quilt made of house blocks. While taking pictures of the sewing machine cover both on and off the machine, I took this shot:

Do You See What I See?


Wouldn’t that make a great house block?!


Posted in Billie Bag, sewing machine cover, update | 10 Comments

Progress Report

After returning last month from a week in Sisters, Oregon, home of the largest outdoor quilt show in the world, I posted about the quilt show and the terrific class I took. Before I had a chance to write a third post about what I accomplished that week, my husband and I left on a road trip to California to visit our two youngest granddaughters (9 and 12). We brought them back to Portland to spend a few days with us. My sewing and quilting projects languished but I didn’t mind because I was having such fun with the girls.

They are home in San Francisco now. The house is quiet. Elfie the cat has come out of hiding. And I’m back in my sewing room taking stock of the projects I worked on in Sisters. Remember the sewing machine cover designed by Monique Dillard of Open Gate Quilts that I posted about here? This is my version so far:

sewing machine cover, in progress


When it’s finished, it will look something like this:

Monique Dillard’s design


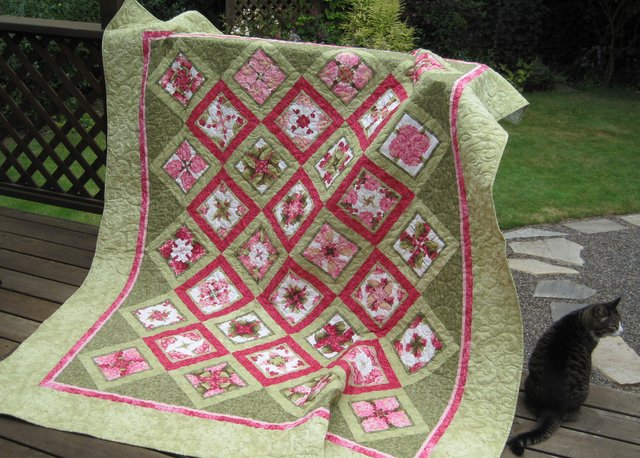
I finished binding my pink and green quilt, Framboise, made from my 4-Patch Wonder pattern:

Framboise, bound but not labeled


When the label is on, I’ll declare the quilt finished and post a proper picture in my Gallery. That’s Elfie, by the way, who doesn’t seem the least bit interested in my quilt.

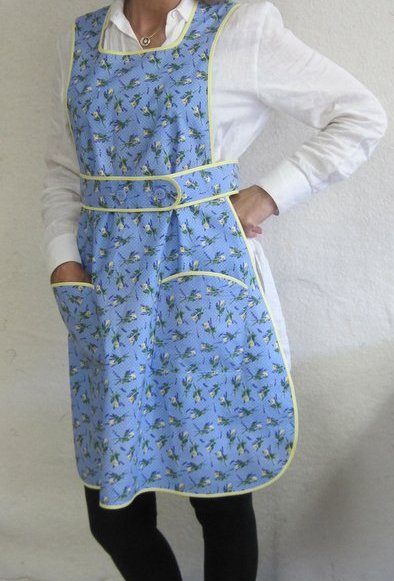
I’m very excited about my newest design, the Monterey Bay Apron. After making eight versions and tweaking each one, I’m finally satisfied with the cut and the fit. Here is a look at Number Nine:

Monterey Bay Apron


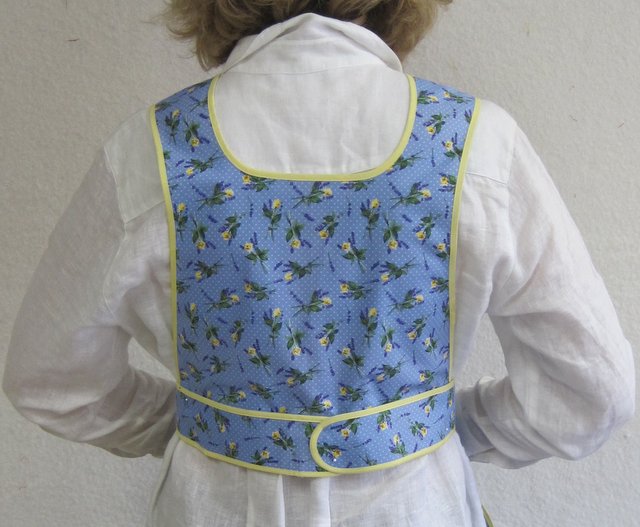
back of Monterey Bay Apron


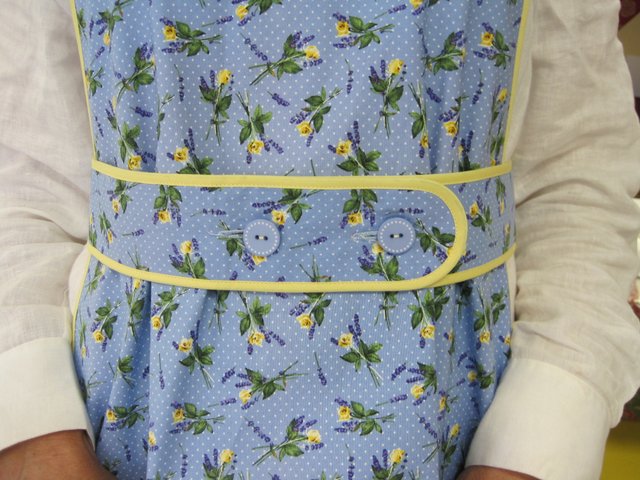
The belt is secured to the back with buttons. In the photo above, the ends of the belt were temporarily pinned to the back, adjusted for my model, Geri. The ends can be positioned anywhere along the back, making the apron one-size-fits-most. Here is a close-up of the front:

detail, Monterey Bay Apron


The pattern should be available in just a few weeks!


Posted in 4-Patch Wonder, aprons, family, sewing machine cover, Sisters OR Outdoor Quilt Show, update | Comments Off on Progress Report