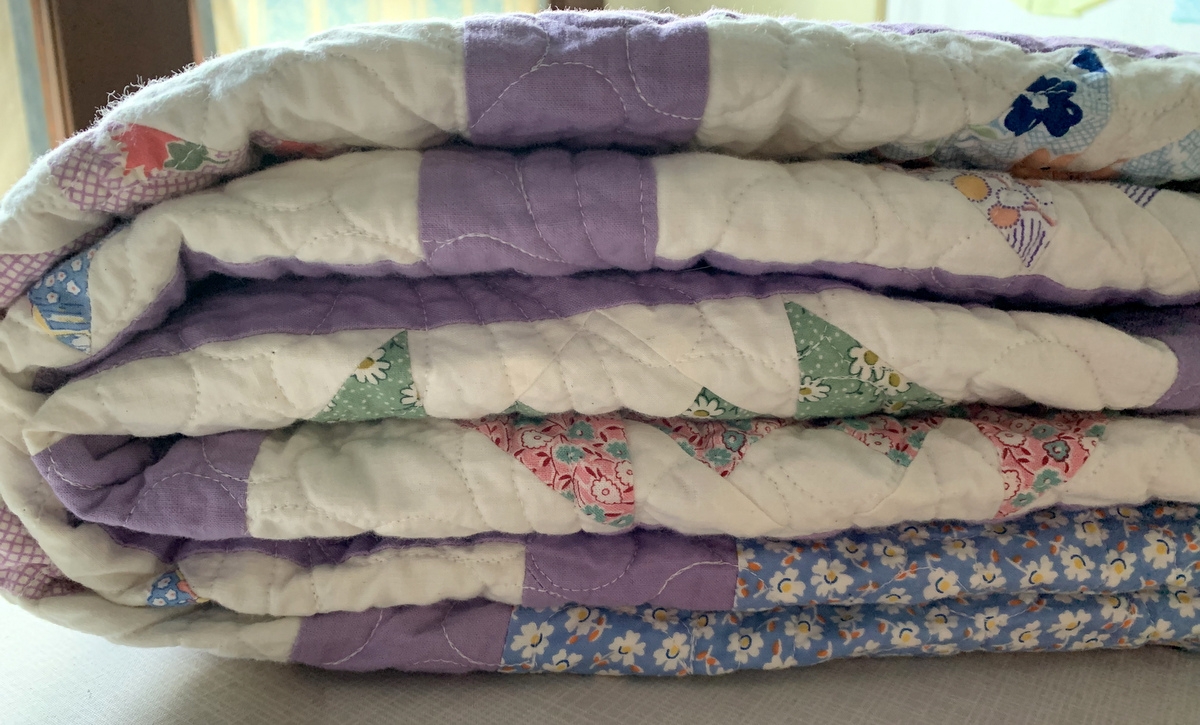
I ended my last post with the breezy statement that after binding and labeling Diane’s Car Quilt, I was going to pop it into the washer and dryer to achieve that soft crinkly effect. Little did I know what was in store. . .
Into the washing machine the quilt went with a few clean rags to even out the load and a couple of Color Catchers, those ingenious paper-like squares that trap excess dyes in the wash water. I washed the quilt in cold water on a delicate cycle, something I have done many times with other quilts being washed for the first time. Imagine my shock and disbelief when I pulled the quilt out of the washing machine and saw blotches of red and blue all over the yellow fabric. My quilt — excuse me, Diane’s quilt — had bled! The dyes had even traveled through the batting to the quilt back.
Diane and I were in a panic. I’m one of those quiltmakers who wash and iron all of their fabrics before cutting into them. How did this happen? I have a theory, which I will tell you about shortly. Our first course of action was to spray Shout, a laundry stain remover, on all of the offending places. We filled the stationary tub next to the washing machine with cold water, plunged the quilt in, and let it soak. While that was happening, I started searching the Internet for remedies.
I remembered reading about quilt bleeding before and recalled that Dawn dishwashing liquid was involved in solving the problem. Sure enough, I found several references. There were variations in the approach but most recommended soaking the quilt in hot water with Dawn.
We washed the quilt again in cold water to remove the Shout. I wish I could say it came out perfectly but it didn’t. It was definitely better but there were still offending blotches all over the quilt. This time I applied Dawn liberally to each remaining blotch, filled the stationary tub with warm water, and put the quilt back in to soak. I just couldn’t bring myself to use hot water as most sites recommended.
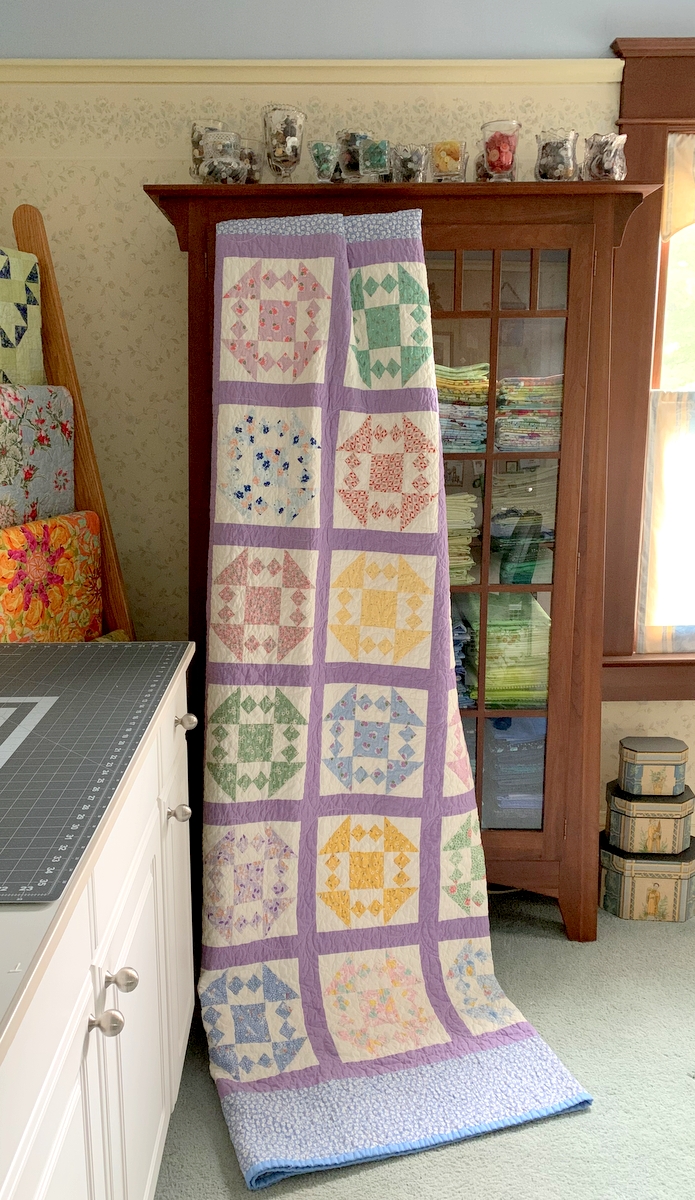
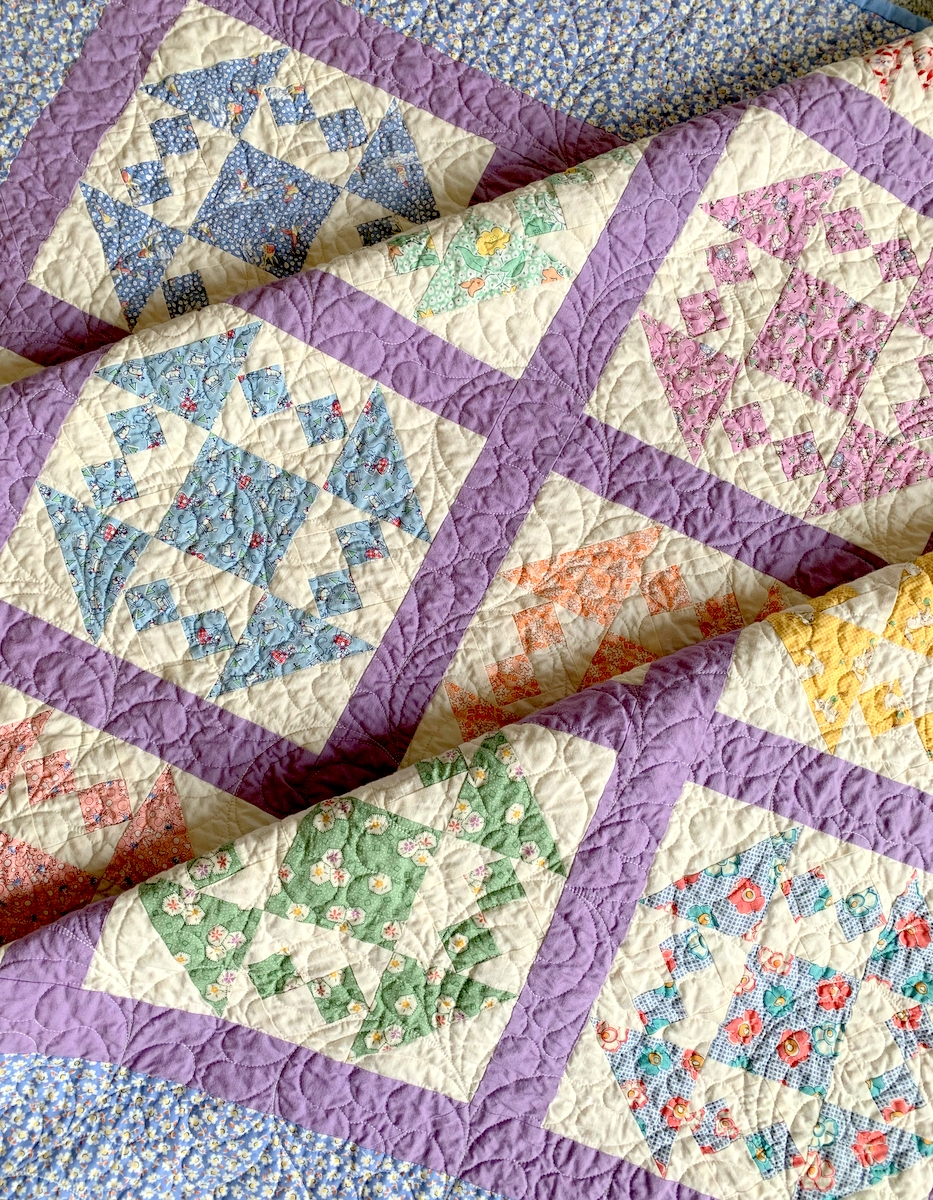
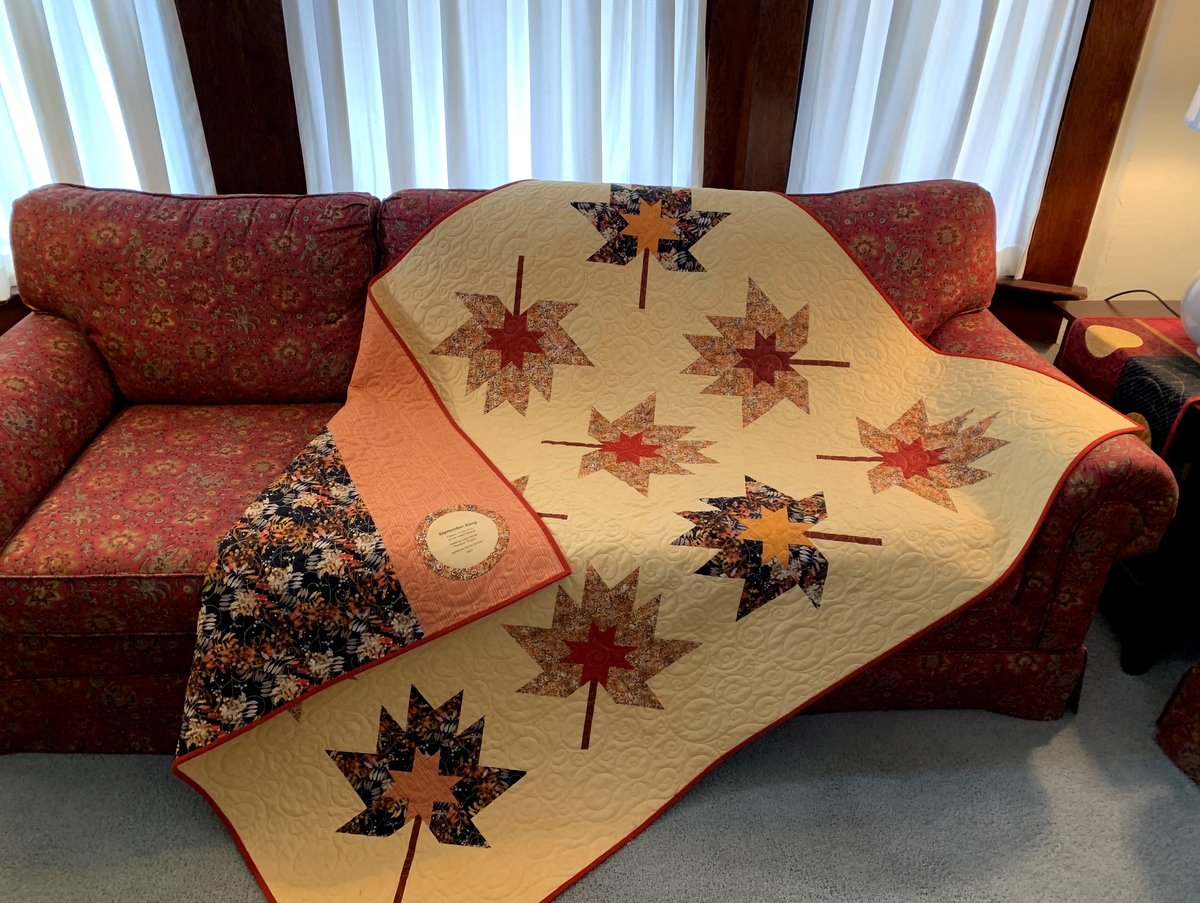
Fast forward to a happy ending. After a soak in the warm water and one more trip through the washer using warm water, the quilt came out with nary a bleed spot in sight. Whew! Into the dryer it went, and it dried beautifully. It did shrink a bit more than I expected, finishing at 40½” square.
So . . . this is what I think happened: my washing machine is the kind that adjusts the water level to the size of the load. First it releases a little water into the drum, spins the load a bit, adds more water, spins again, and finally lets the remaining water in before the agitation begins. I think the bleeding happened in the initial stages of the water filling the drum, when the fabrics in the quilt were only slightly wet and were rubbing against each other as the load was spinning.
It didn’t occur to me to take photos of the bleeding for my blog. I was totally fixated on trying to eliminate the blotches. You can bet that the next time I wash a quilt, I will immerse it in water in the stationary tub first and transfer it to the washing machine while it’s soaking wet.
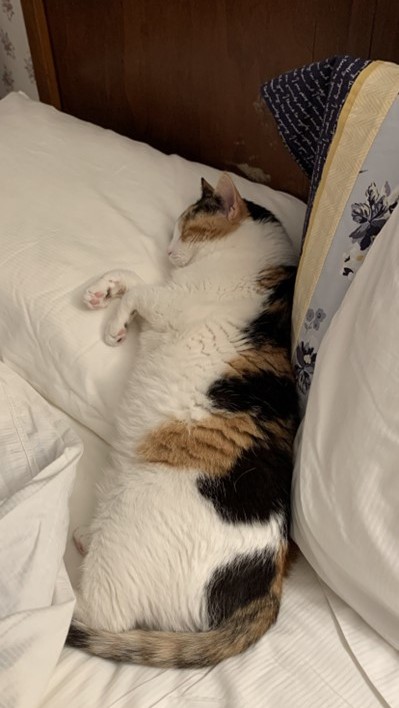
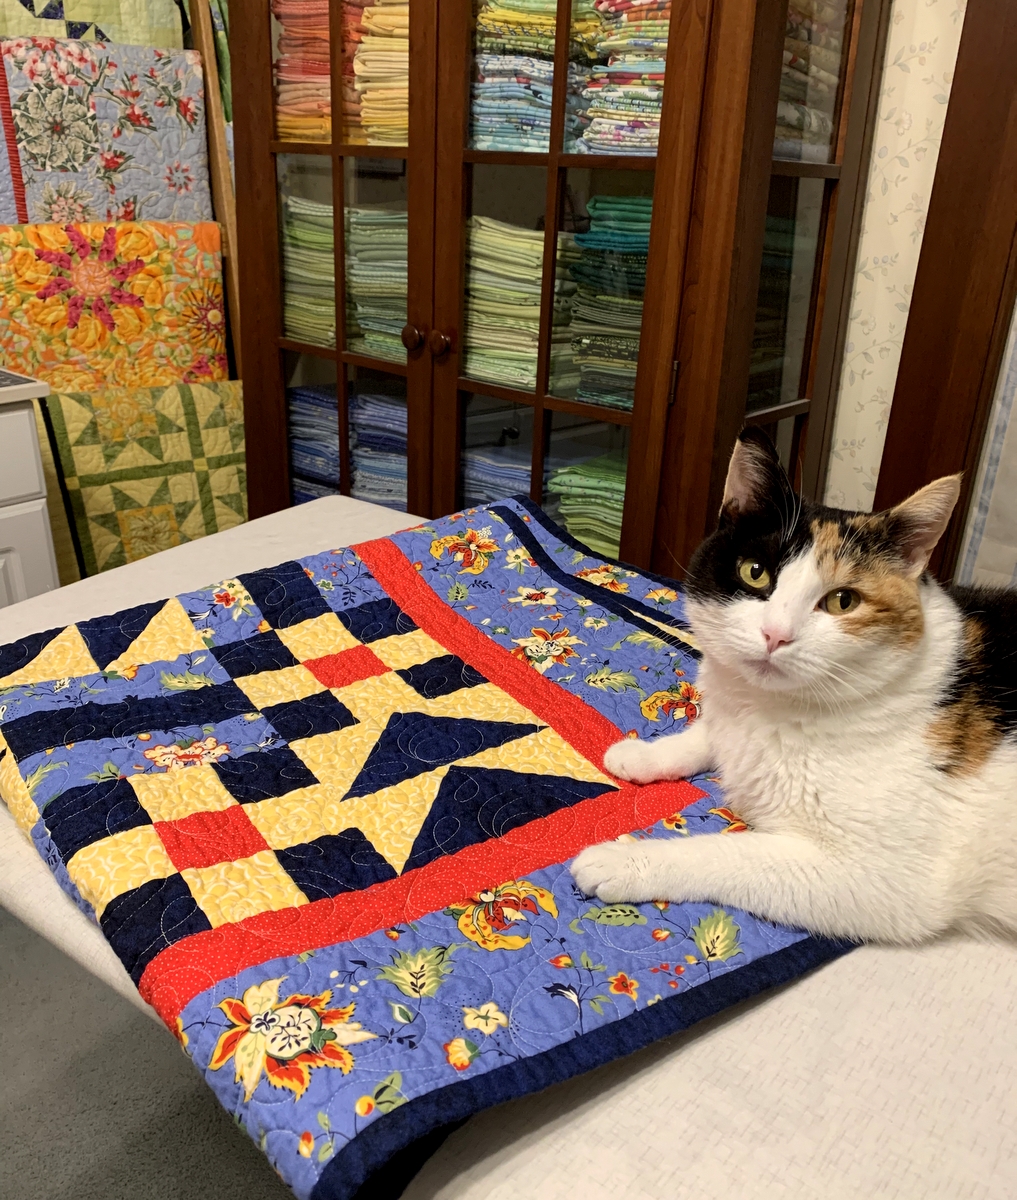
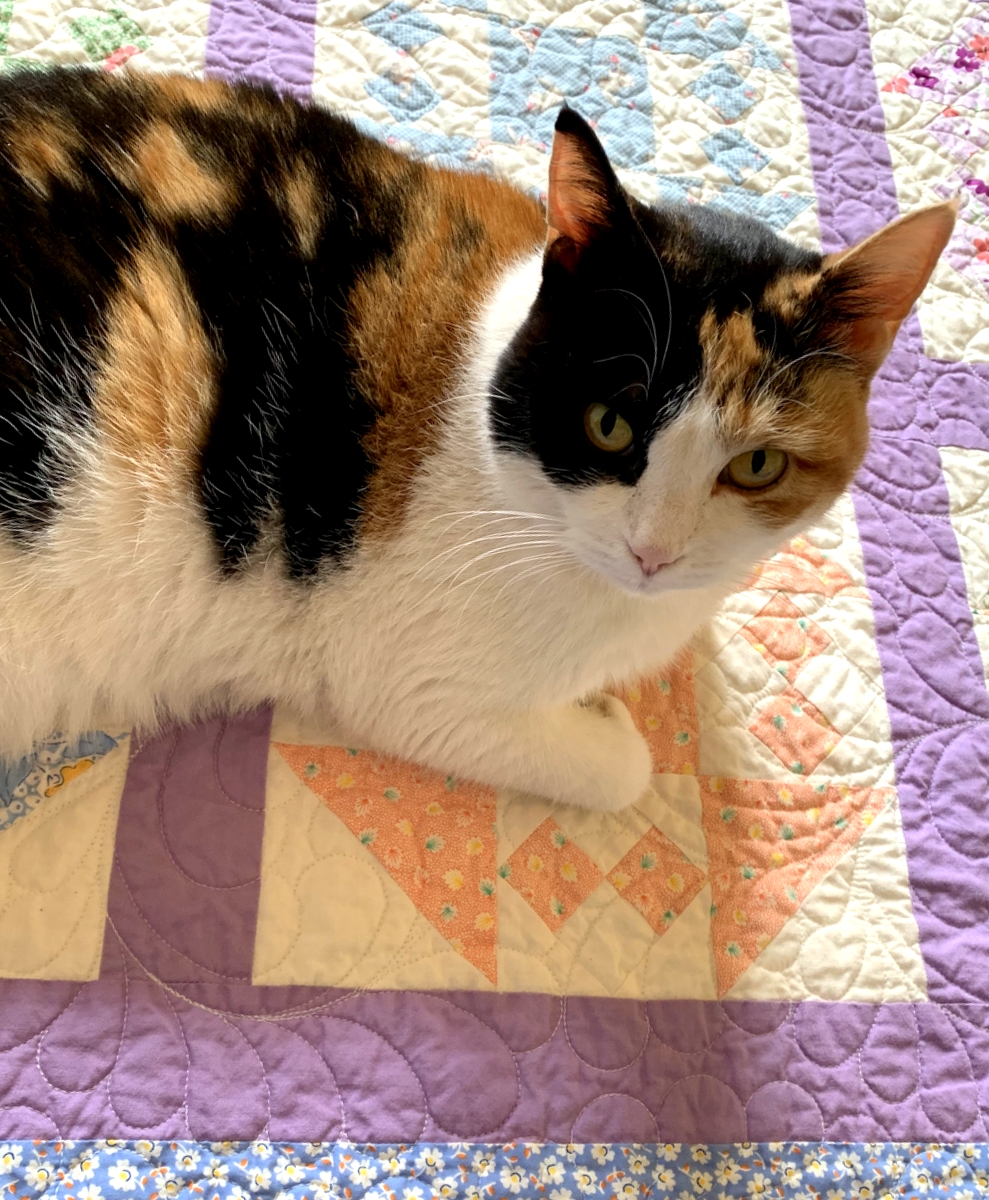
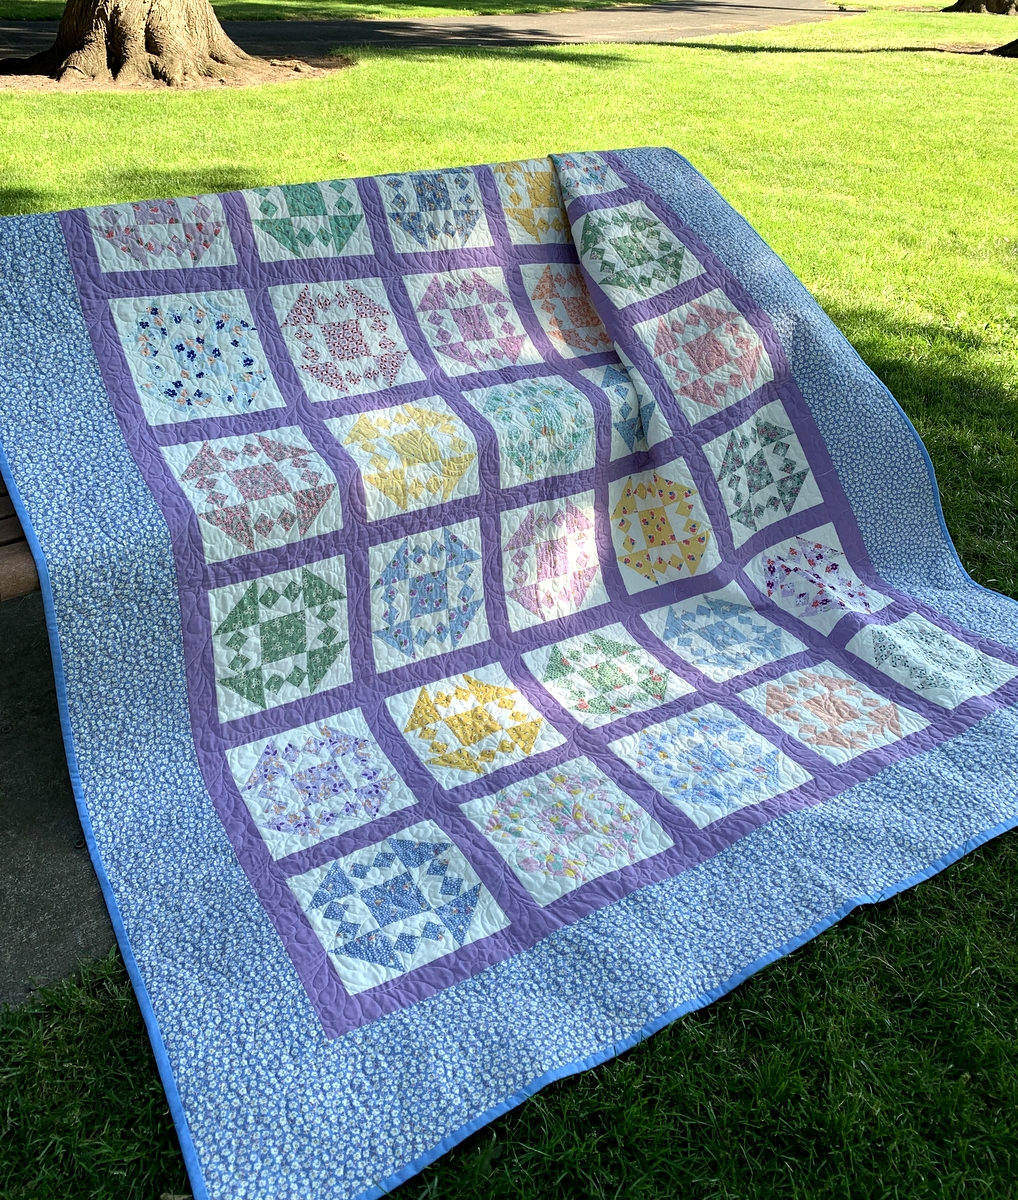
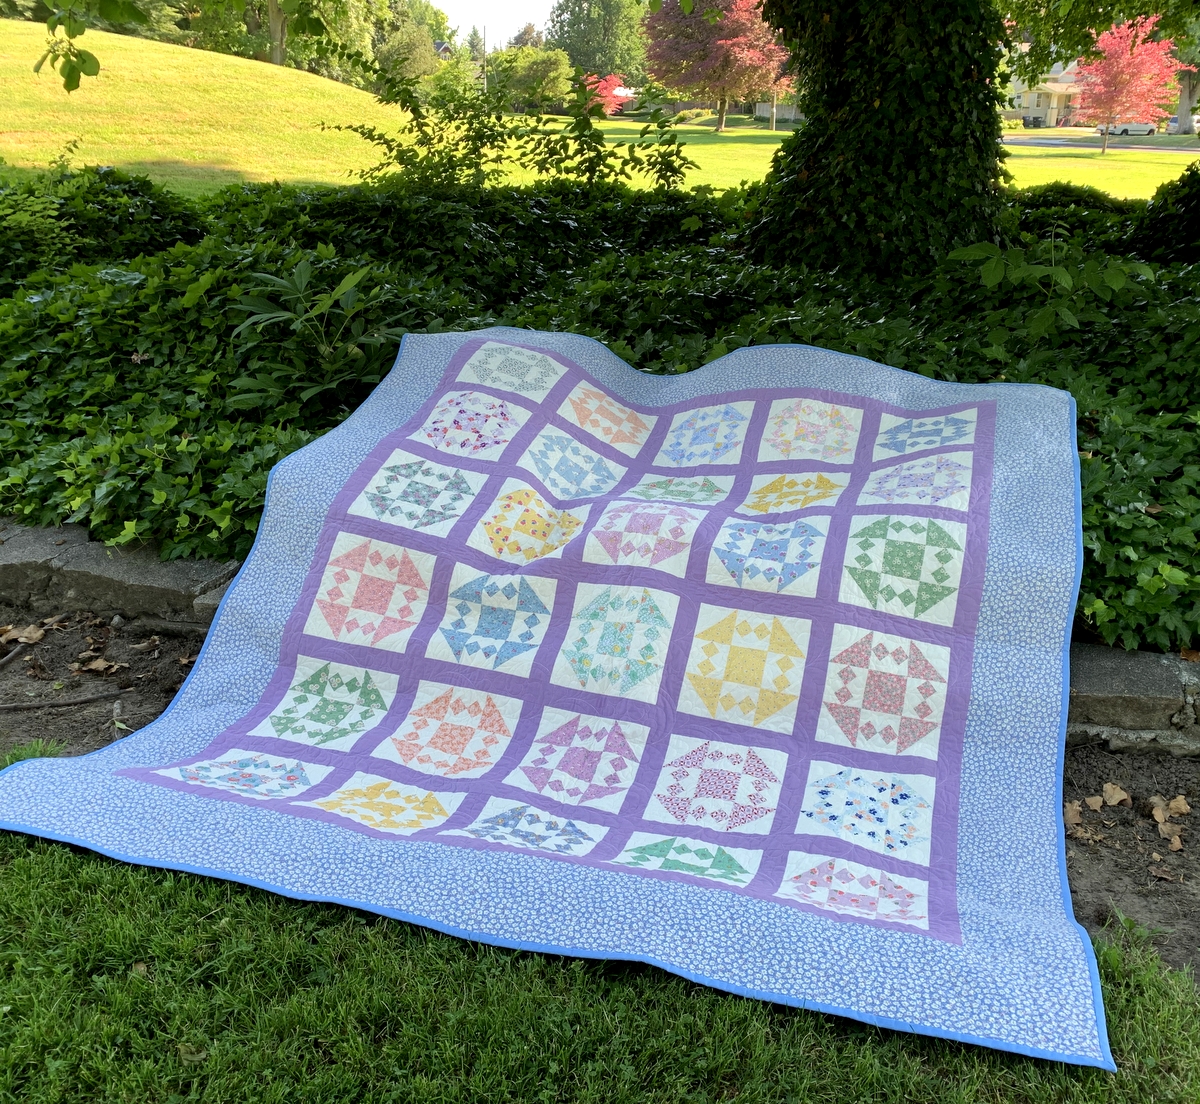
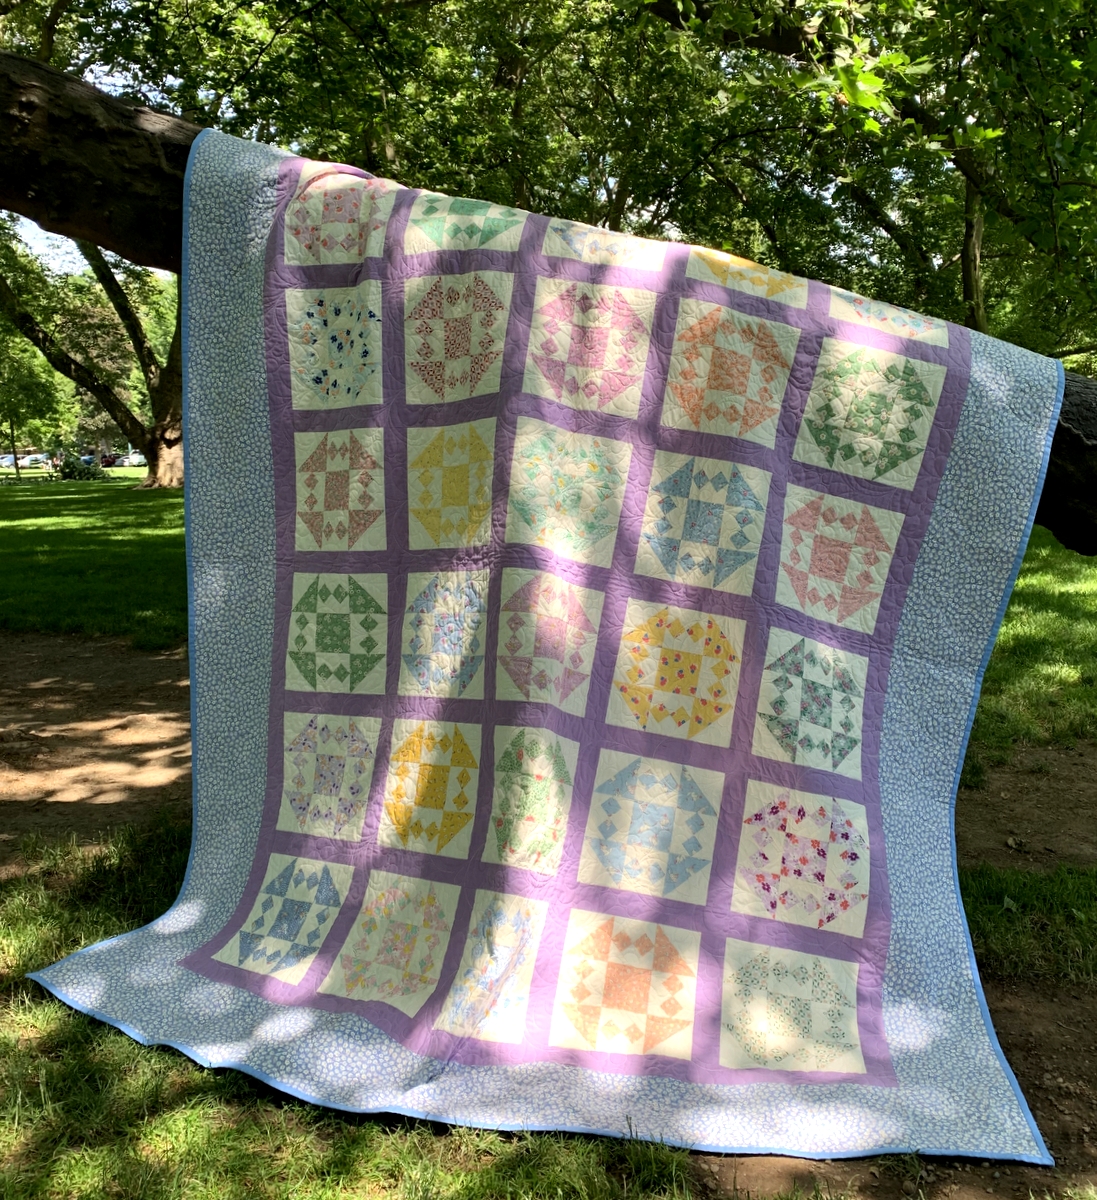
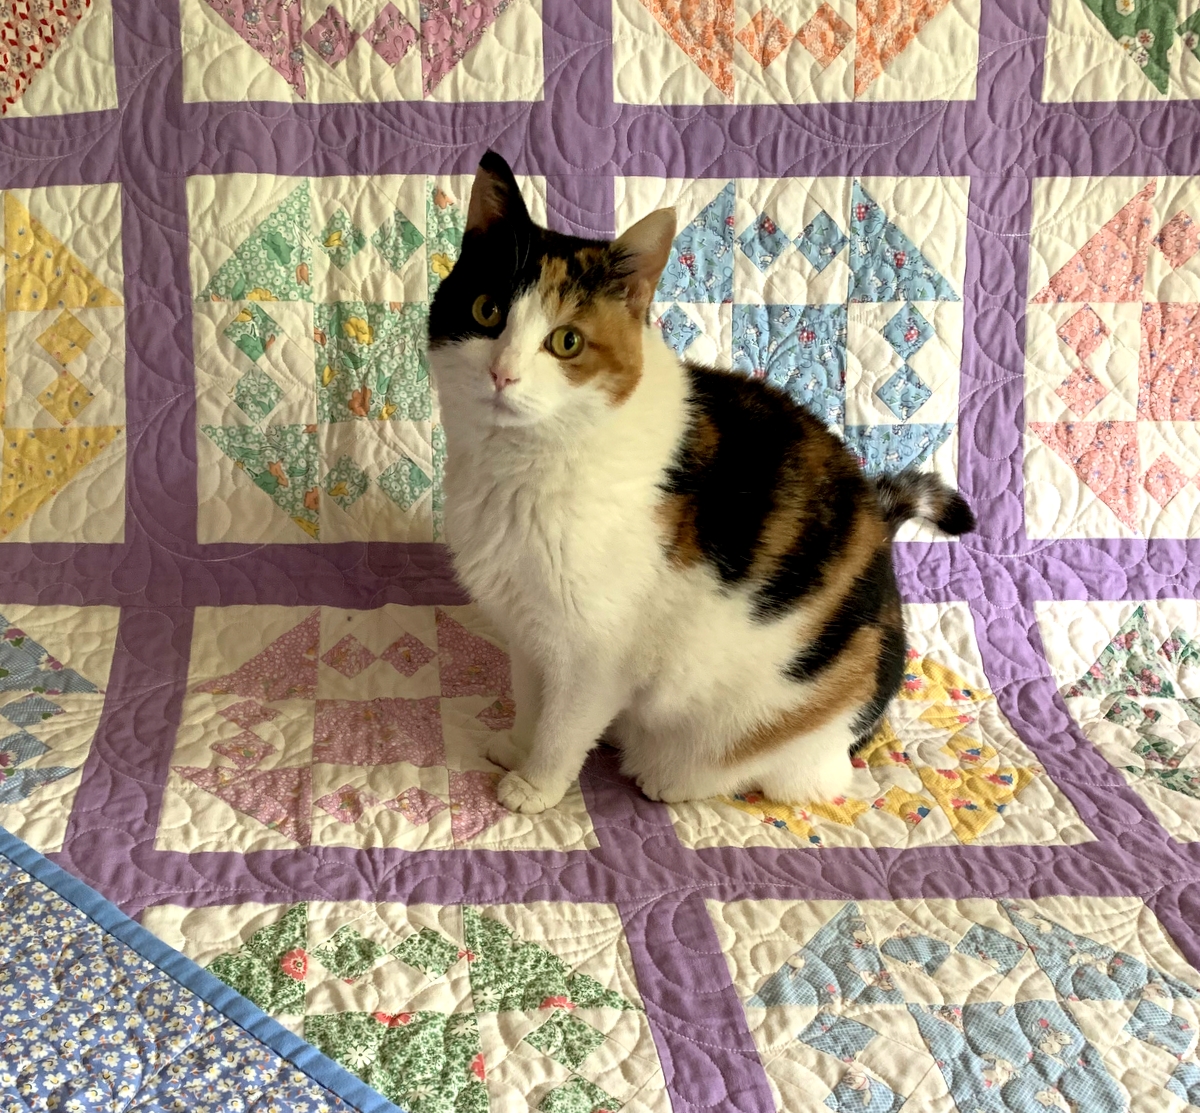
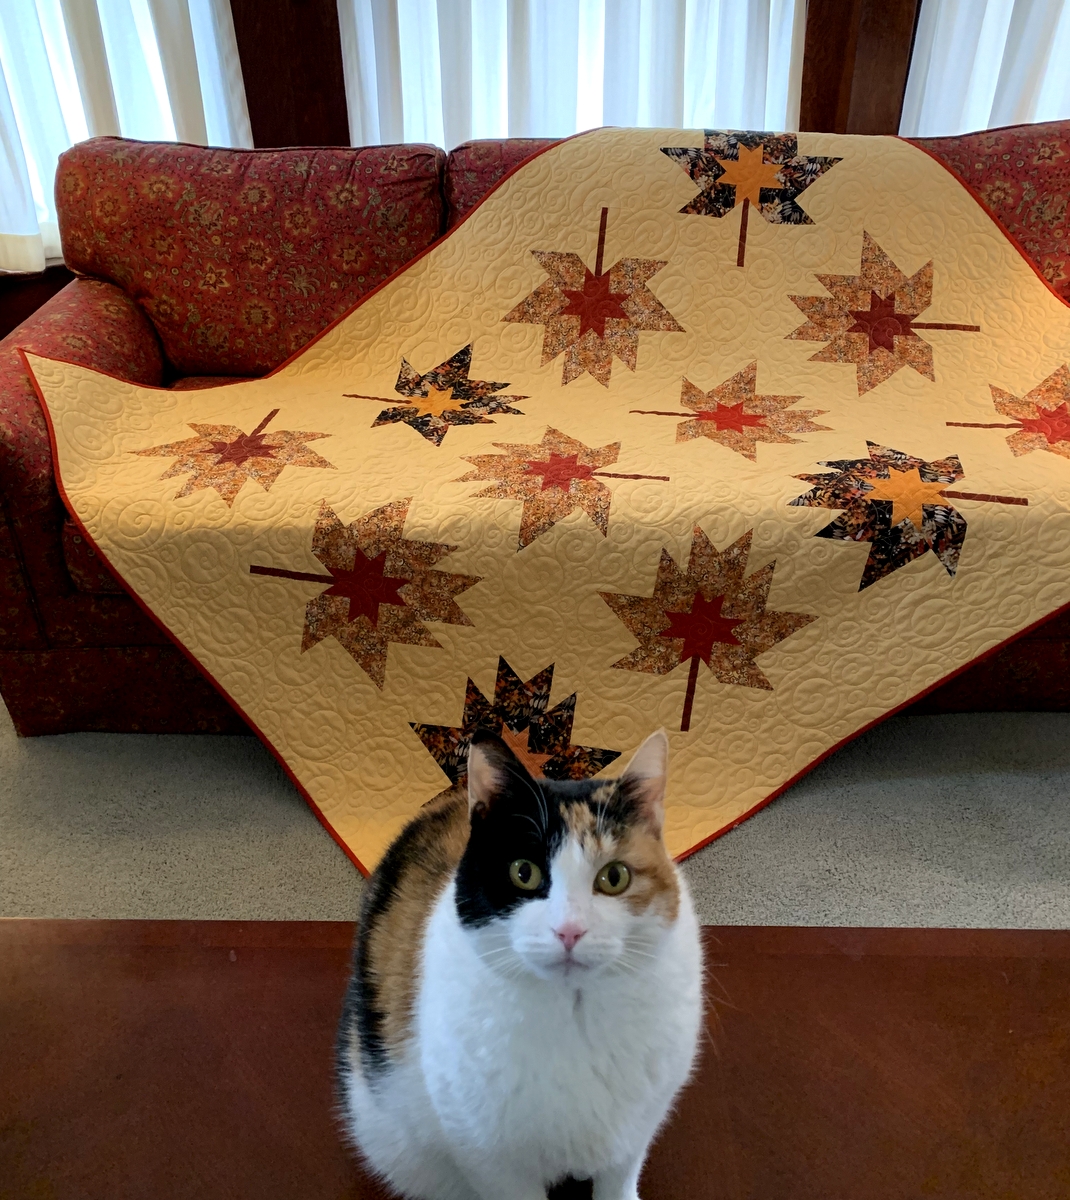
And now I am both relieved and delighted to show you my sister’s freshly laundered car quilt. As you can see, Coco has claimed it, albeit temporarily. Notice not one but two proprietary paws:
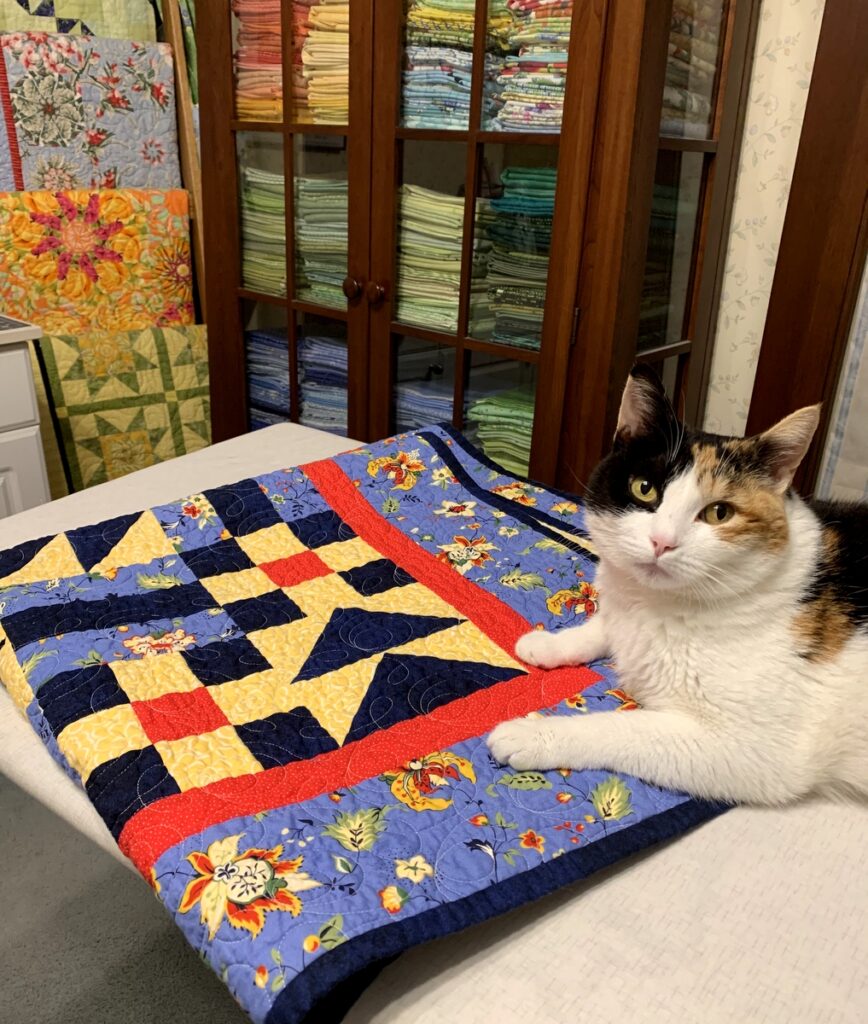 All’s well that ends well!

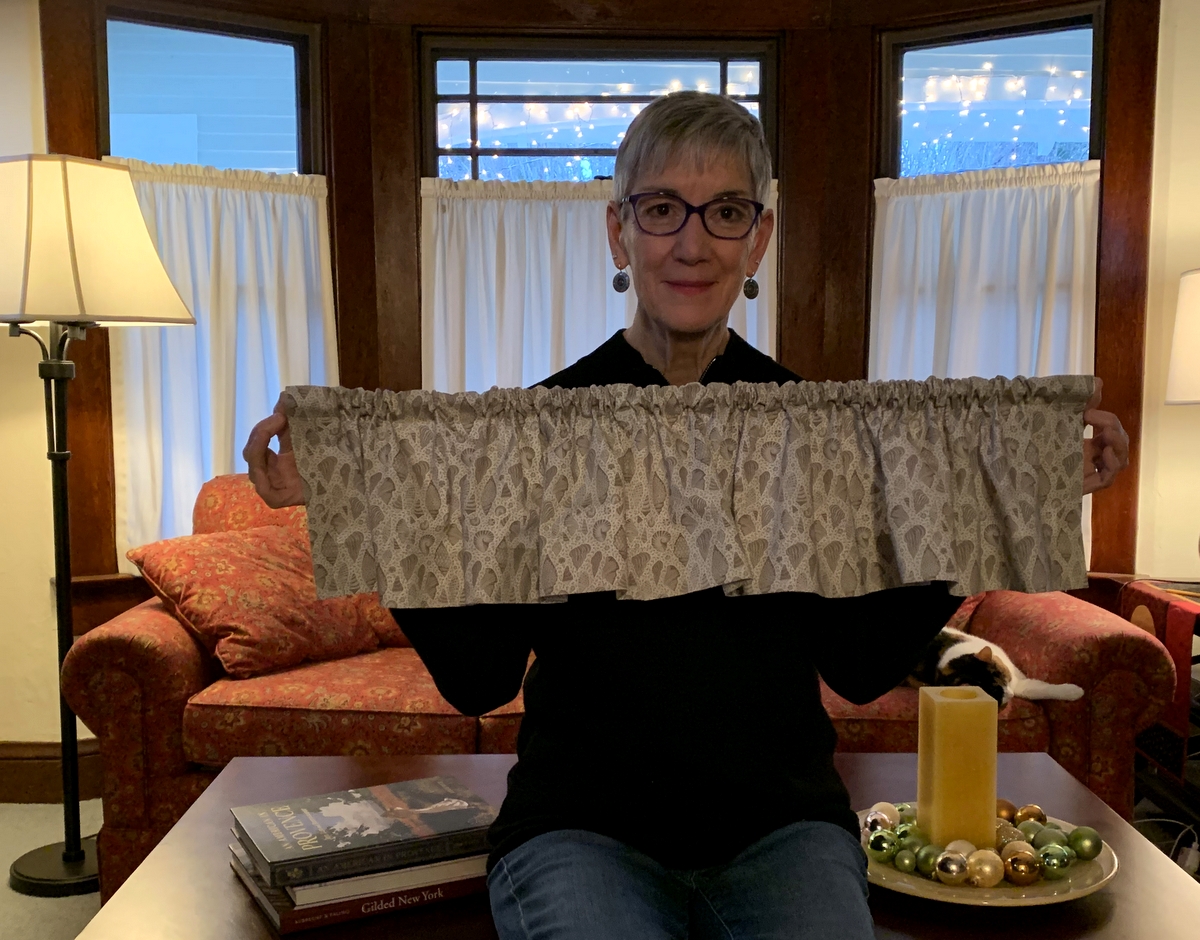
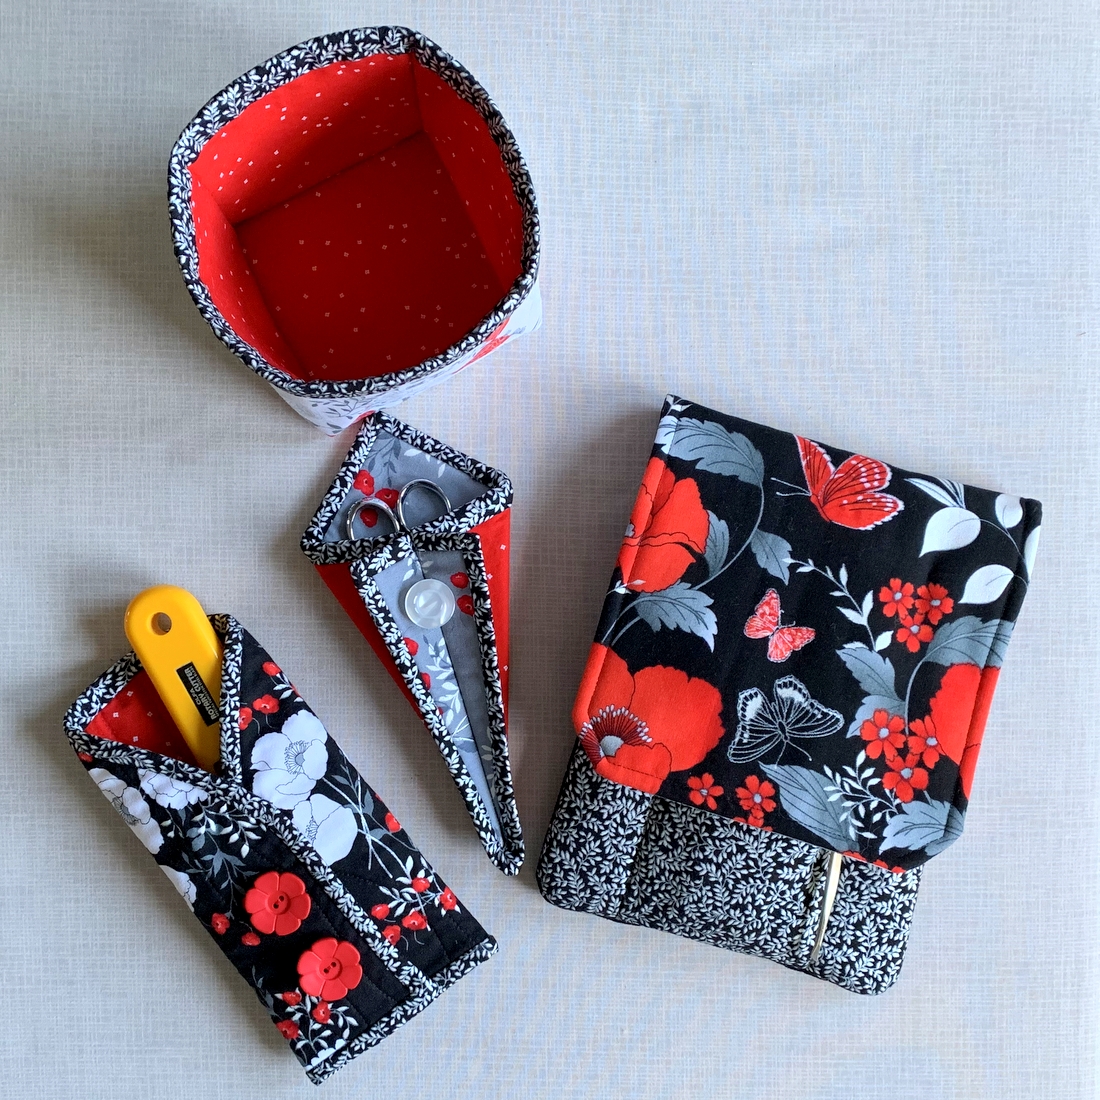
 They are the first two things I’ve sewn since moving back into my sewing room after having the ceiling replaced following the wind and rainstorm of Dec. 1 that damaged several rooms in our house. I wrote about that here.
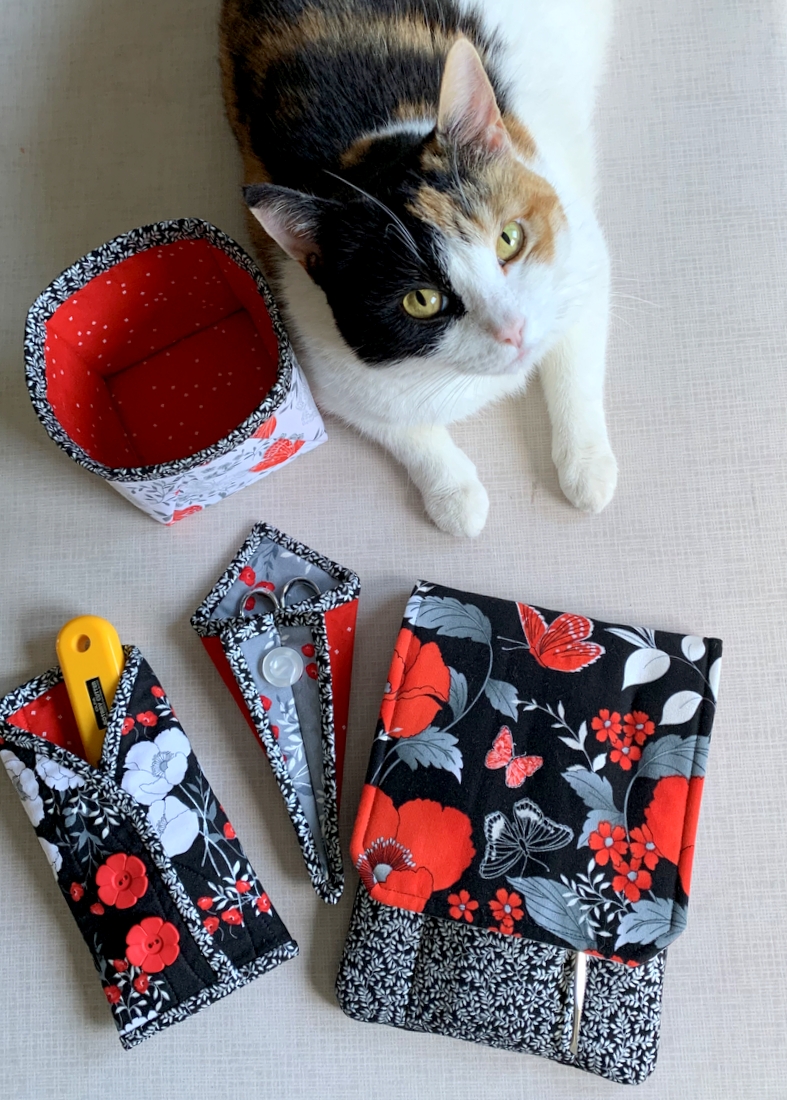
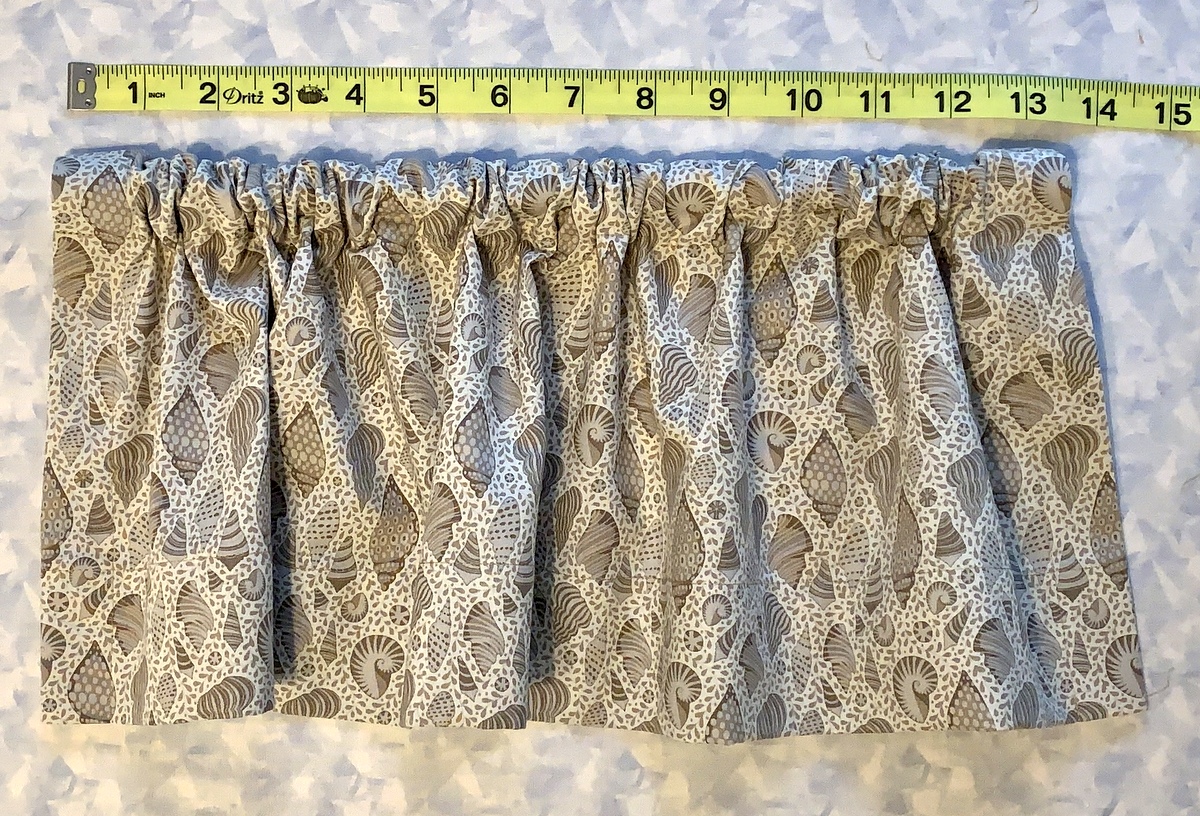
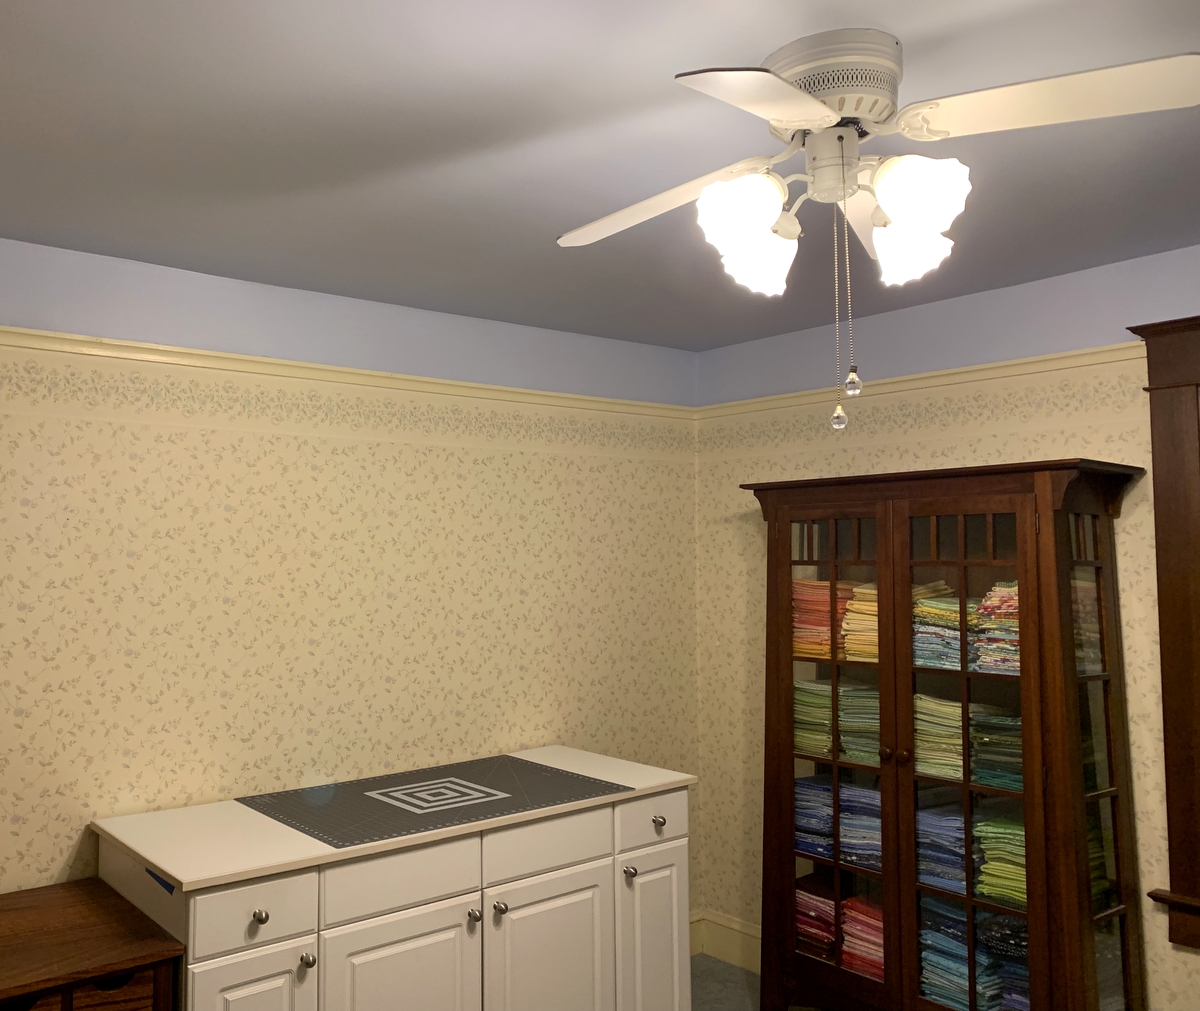 I popped the valances in the mail today; with luck they should arrive at Shirley’s home in Bend by Saturday. Making the valances was a simple project but very satisfying. And I must say it feels good to be back in my happy place!