Template Tool for Triangles: A Tutorial
Last August I posted a tutorial about using template plastic as a sewing guide when making snowball blocks (you can see the post here). I noted that the template could be used with just about any block that calls for a triangle to be made from a square or rectangle.
Using a template eliminates the need to draw lines marking the diagonal — for snowball or square-in-a-square blocks, for example — or ¼” inch on either side of the diagonal, as you might for Half-Square Triangles made from two squares of fabric. Drawing lines on fabric may not seem like a big deal but it takes a surprising amount of time, especially if you are working on a big project.
The template I made back in August measured 2½” x 4½”, the perfect size for the 6″ snowball blocks I was working on at the time. When I started working earlier this year on my version of Reach for the Stars, a medallion sampler quilt with triangles of all sizes in every single block, I made a larger plastic template with a couple of modifications.
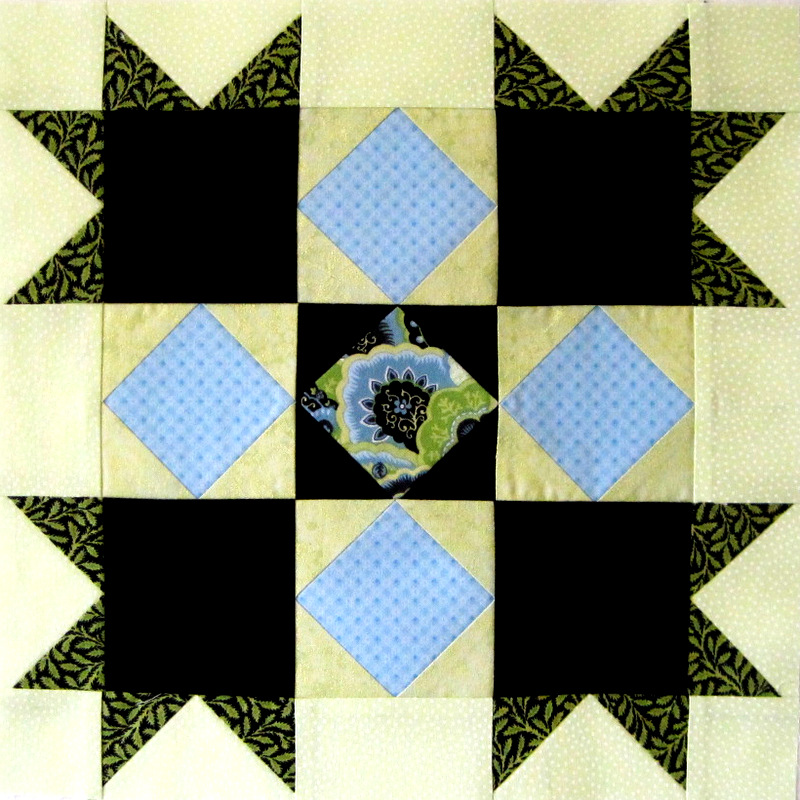
I’ll show you how I used it in Block 7 of my Reach for the Stars project:
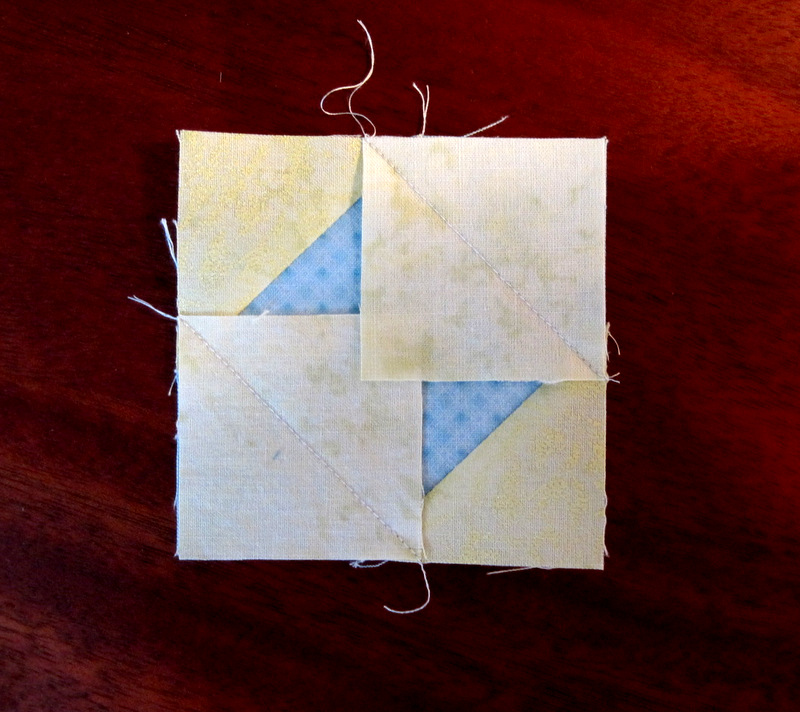
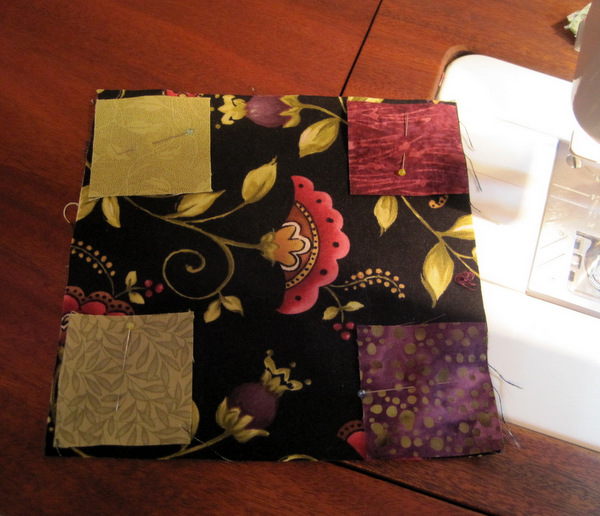
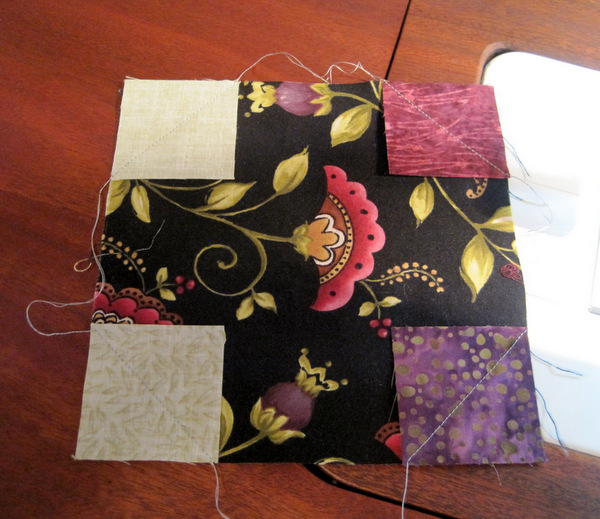
See the five square-in-a-square components in the center of the block? They’re the blue and green ones and the one in the very middle of the block.
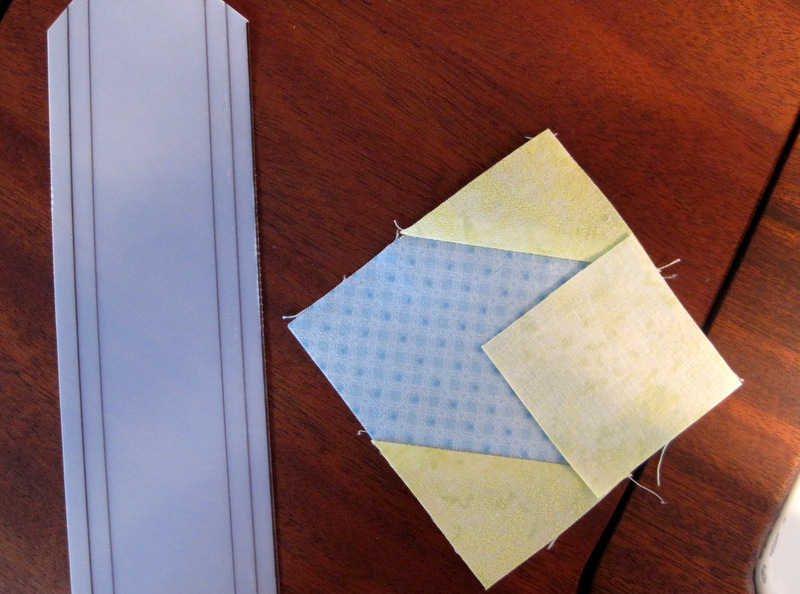
For each square-in-a-square, I first sewed two squares on opposite corners, trimmed the seam, and pressed the seam toward the corners. Now I’m getting ready to sew the third square on:
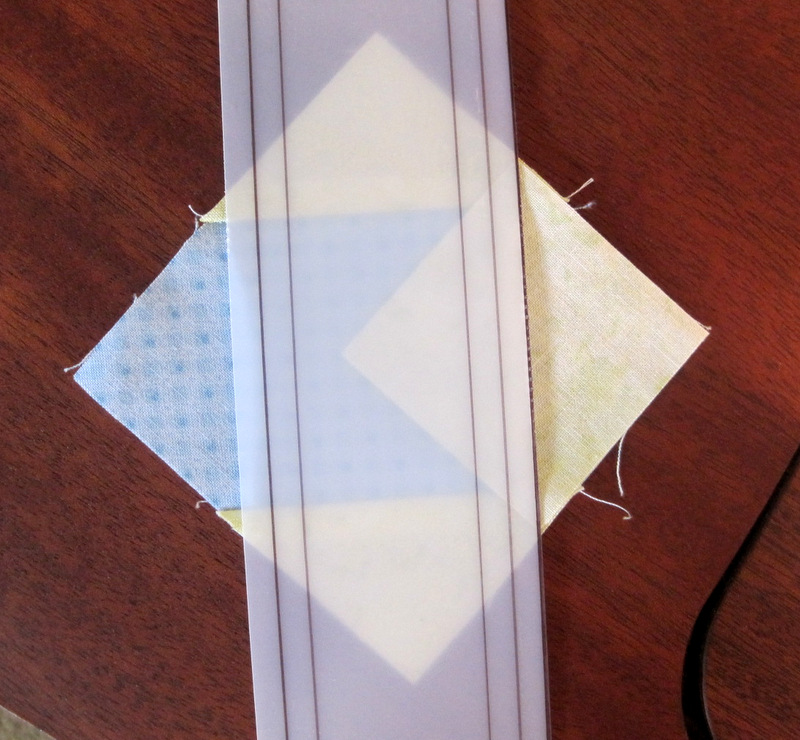
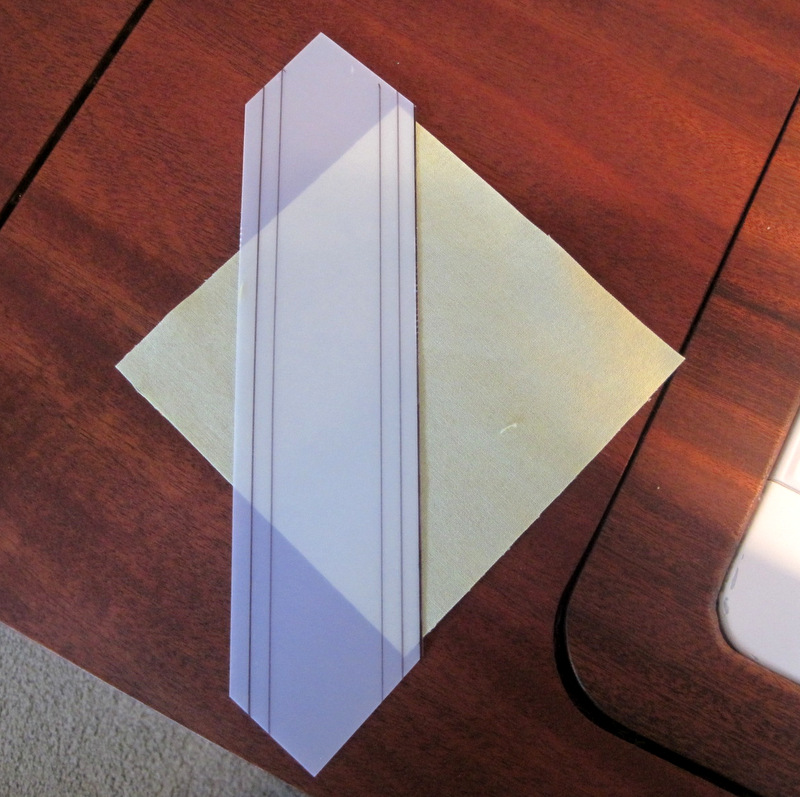
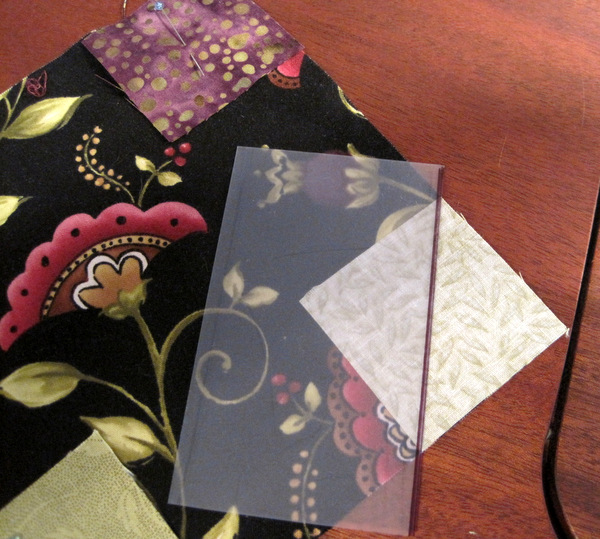
I lay the template on top of the fabric with the right edge of the template lined up with the diagonal of the square:
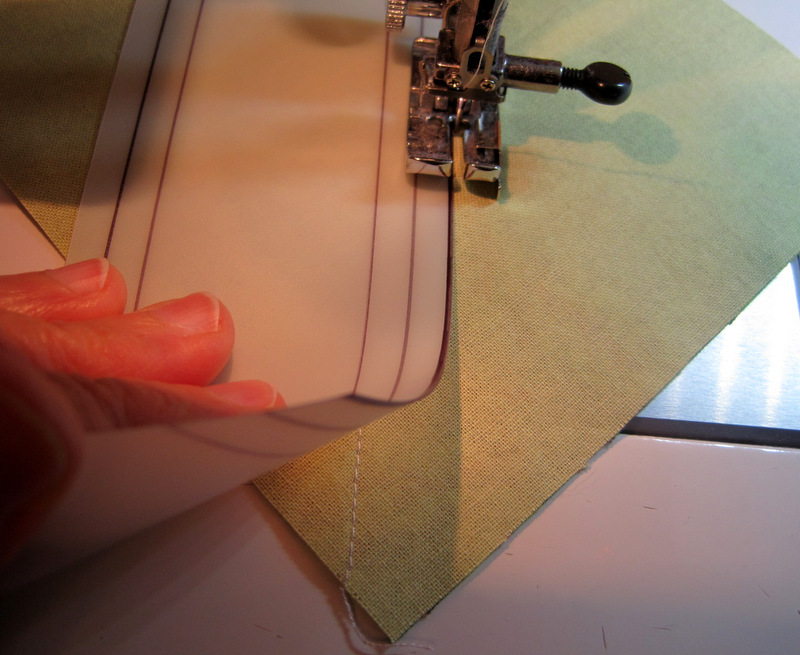
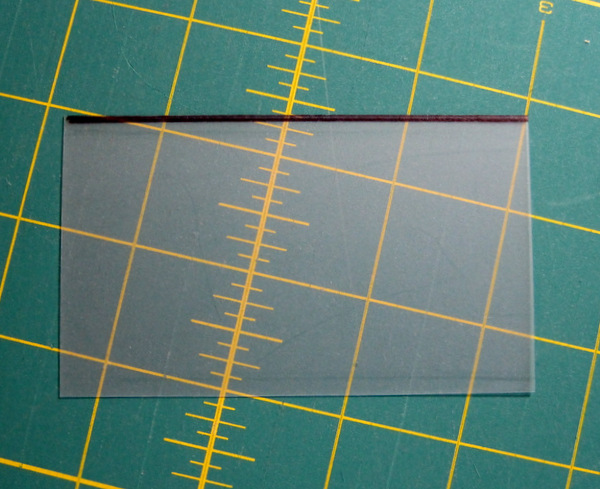
Because I can see through the plastic, I can easily see that my template is positioned correctly. Did you notice that the right edge of the template is marked with black ink? That helps me see the edge of the tool on light fabric. When I’m sewing on dark fabric, I used the other edge.
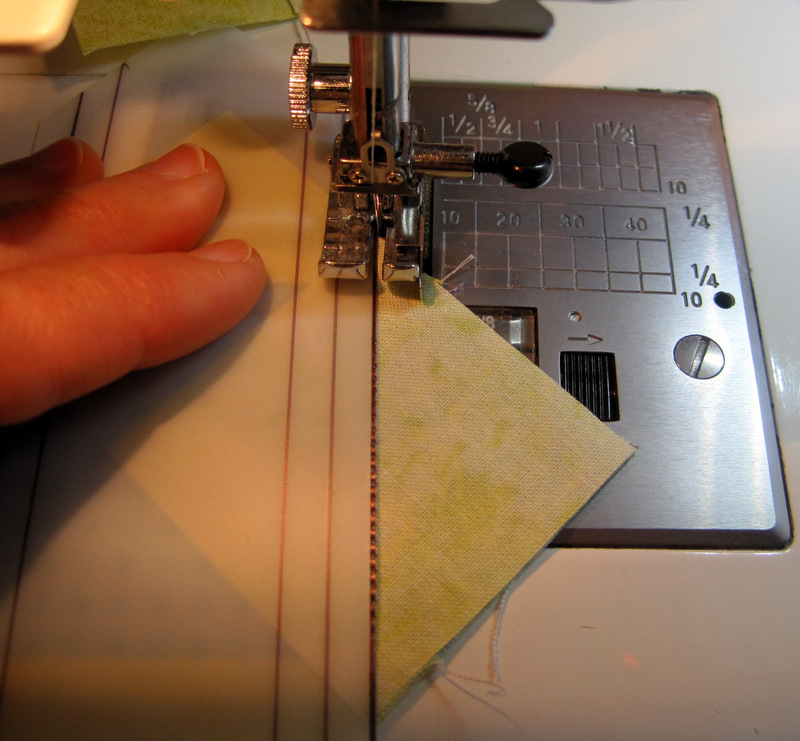
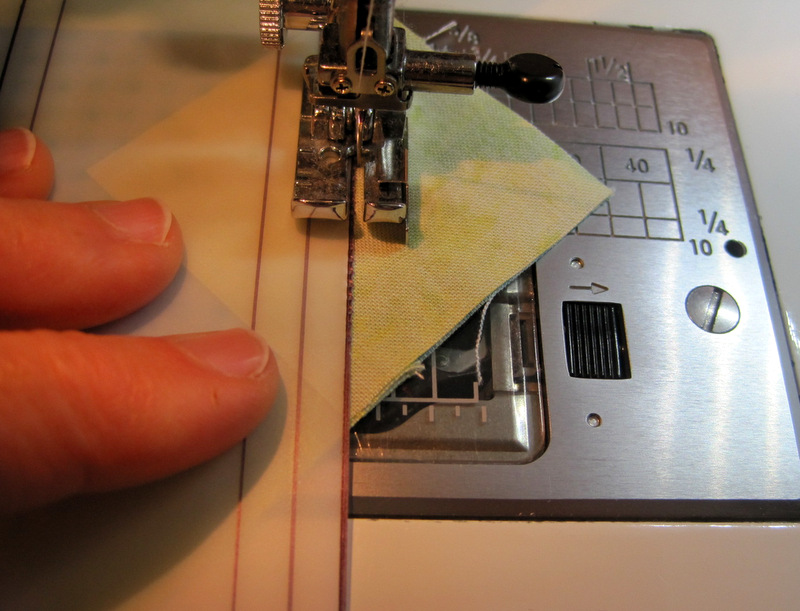
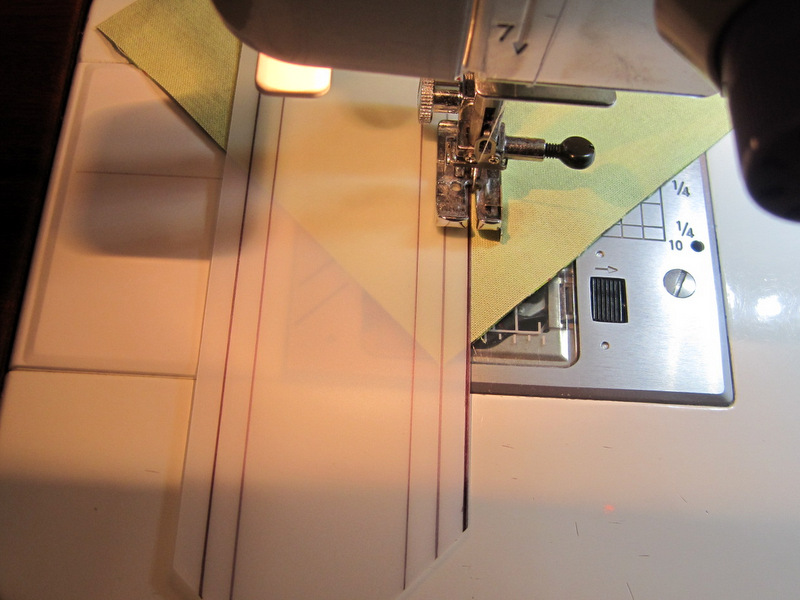
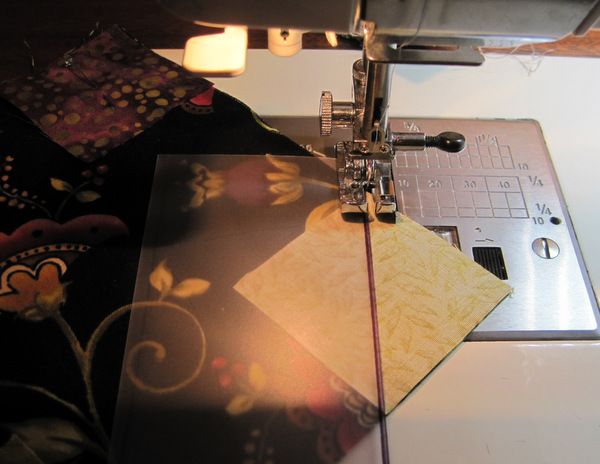
Now I’m ready to sew. With the needle down I position the fabric right next to the edge of the template . . .
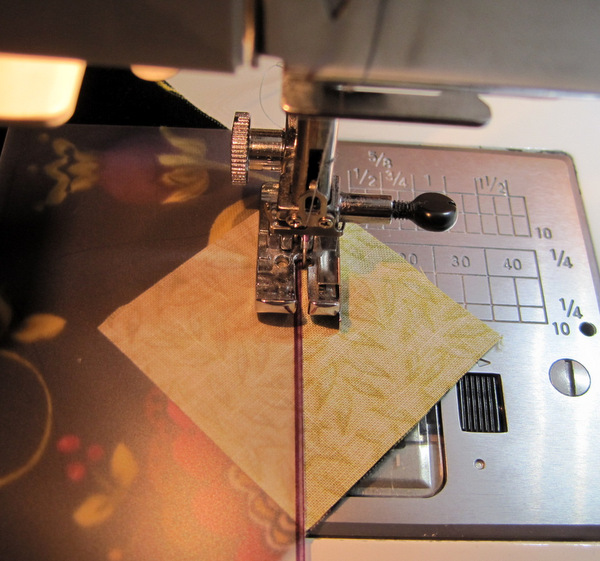
. . . and start sewing. As I stitch I can see that the edge of my template is in position along the diagonal of the square. My left hand on the template keeps it firmly in place:
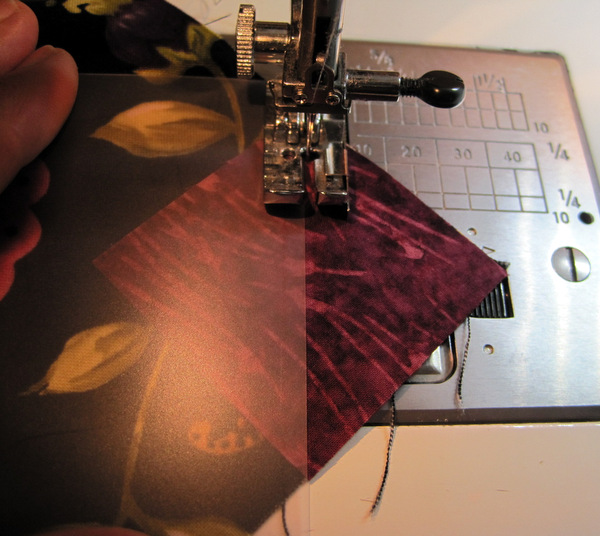
On bigger pieces I use both hands to keep the fabric and template in place.
Here is my square-in-a-square, with the two edges ready to be trimmed and pressed:
(Every now and then as I am sewing next to the template I let the needle get too close to the template and it takes tiny bites out of it. That’s why you see what looks like perforation marks on the edge. I can still use the template for quite a while but eventually I will need to make a new one. And change my needle.)
Now what about those lines on the inside of the template, you ask? They are exactly ¼” and ½” in from the edge on both sides. When I am sewing Half-Square Triangles (HSTs) made from two squares, the ¼” line is on the diagonal and the edge of the template is right where it needs to be. To illustrate, I have two 5″ squares, right sides together, ready for the first line of stitching:
See how the ¼” line is on the diagonal of the squares?
Stitching the first line:
When I flip the block around to sew the second line, that ½” line on the template is directly on top of my first stitching line. I am lifting up a corner to show you what I mean:
Strictly speaking, that ½” marking isn’t necessary but I like it because it gives me one more way to test the accuracy of my stitching.
Would you like to make your own template? Here’s what you need:
— a strip of template plastic (frosted or clear) about 2¼” x 10″
— a piece of scratch paper (8 1/2″ x 11″ is perfect)
— a clear acrylic ruler (my favorite size for this purpose is 4″ x 14″)
— an Ultra Fine-Point Sharpie (or other fine point permanent marking pen) in black
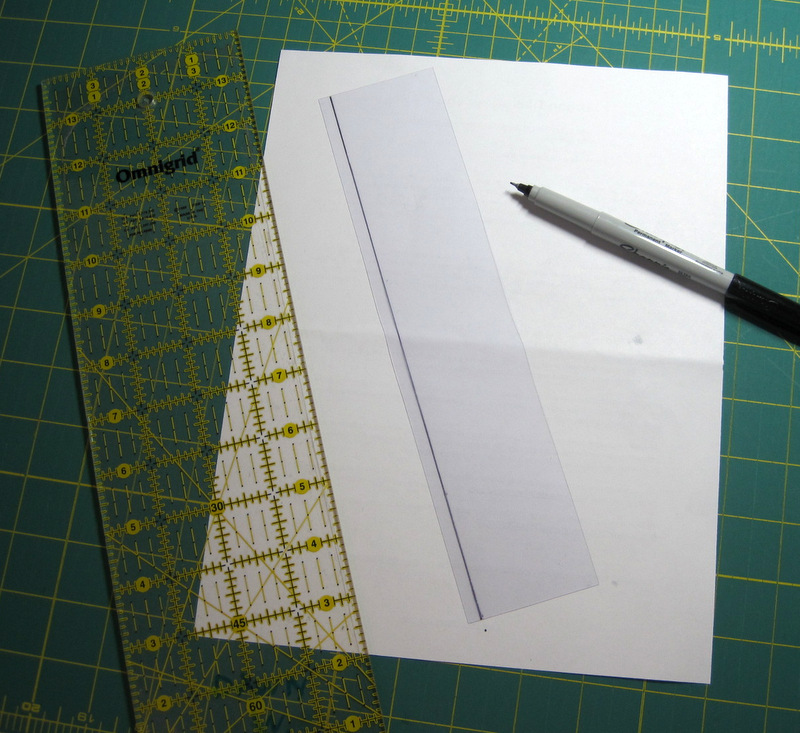
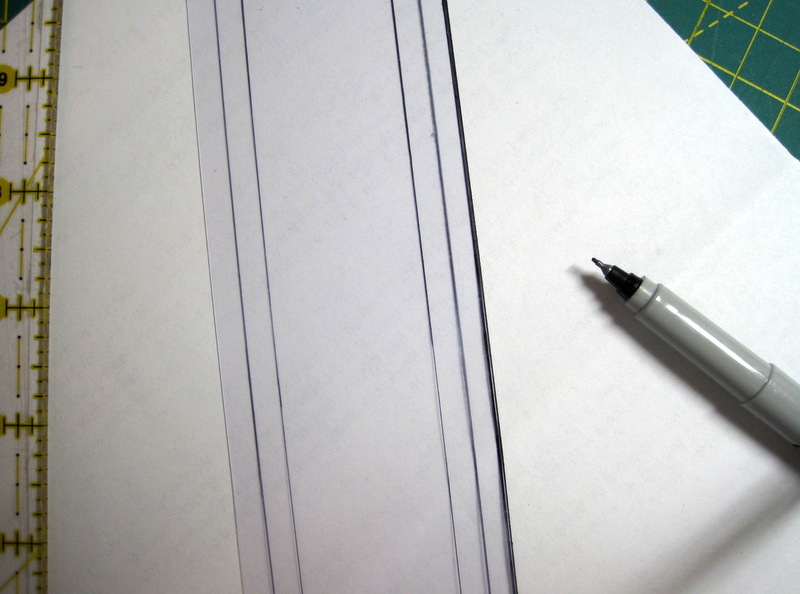
1. Lay the strip of plastic on the scratch paper and, using a ruler and Ultra Fine-Point Sharpie, draw a scant ¼” line from one long edge:
The measurement needs to be scant because 1) the line you draw with the pen will add to the measurement and 2) when using the template you will be stitching right next to the edge of it.
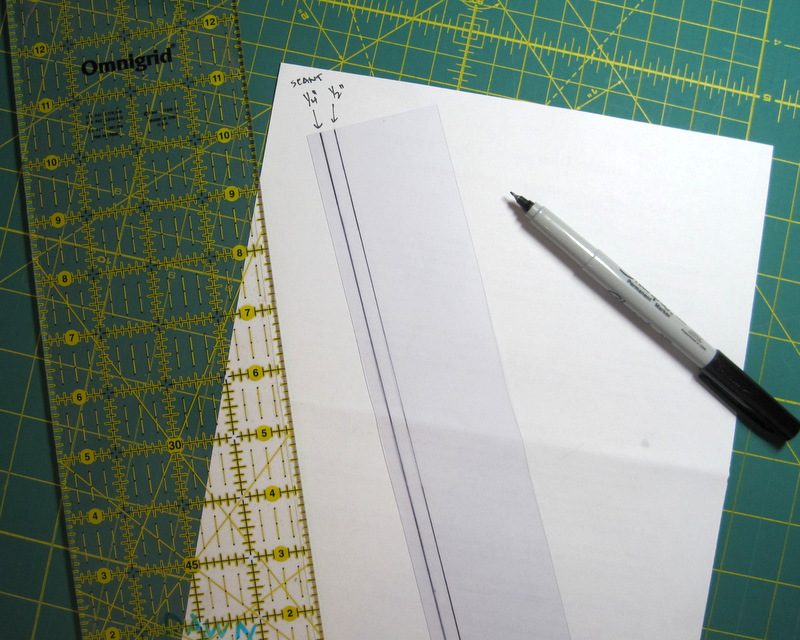
2. Draw a line exactly 1/4″ away from the first one:
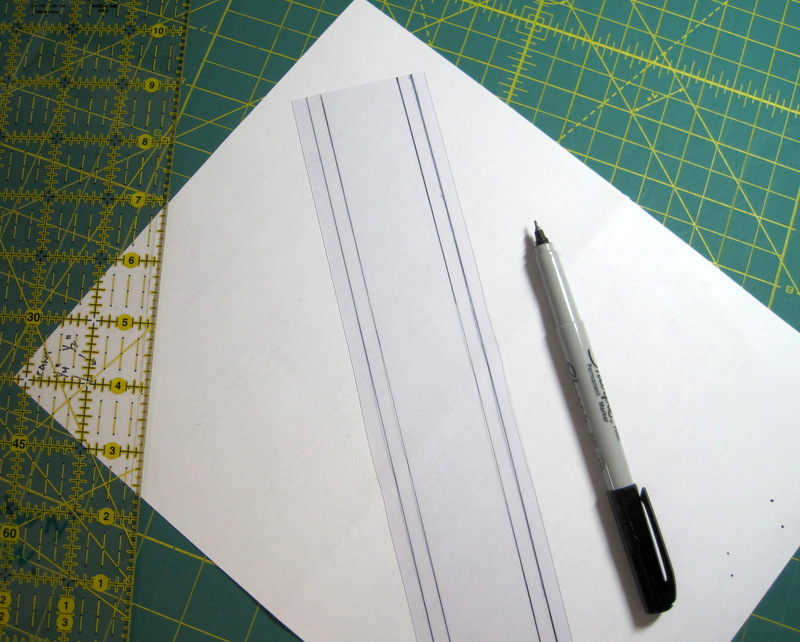
3. Repeat for the other side:
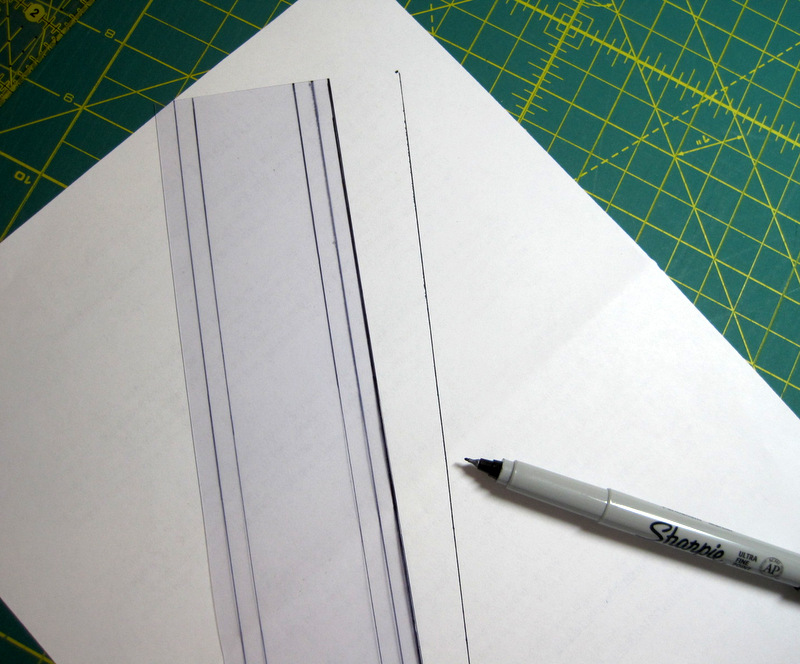
4. Lay the ruler very close to one edge and draw a solid line. You shouldn’t be able to see the edge of the plastic at all:
The reason for working on top of scratch paper:
Wasn’t that easy?
If you decide to make this template tool, please leave a comment to let me know how it’s working for you. Happy sewing!

