In my last post I promised to explain my method of getting the narrow accent strips on my kaleidoscope blocks to line up just so:
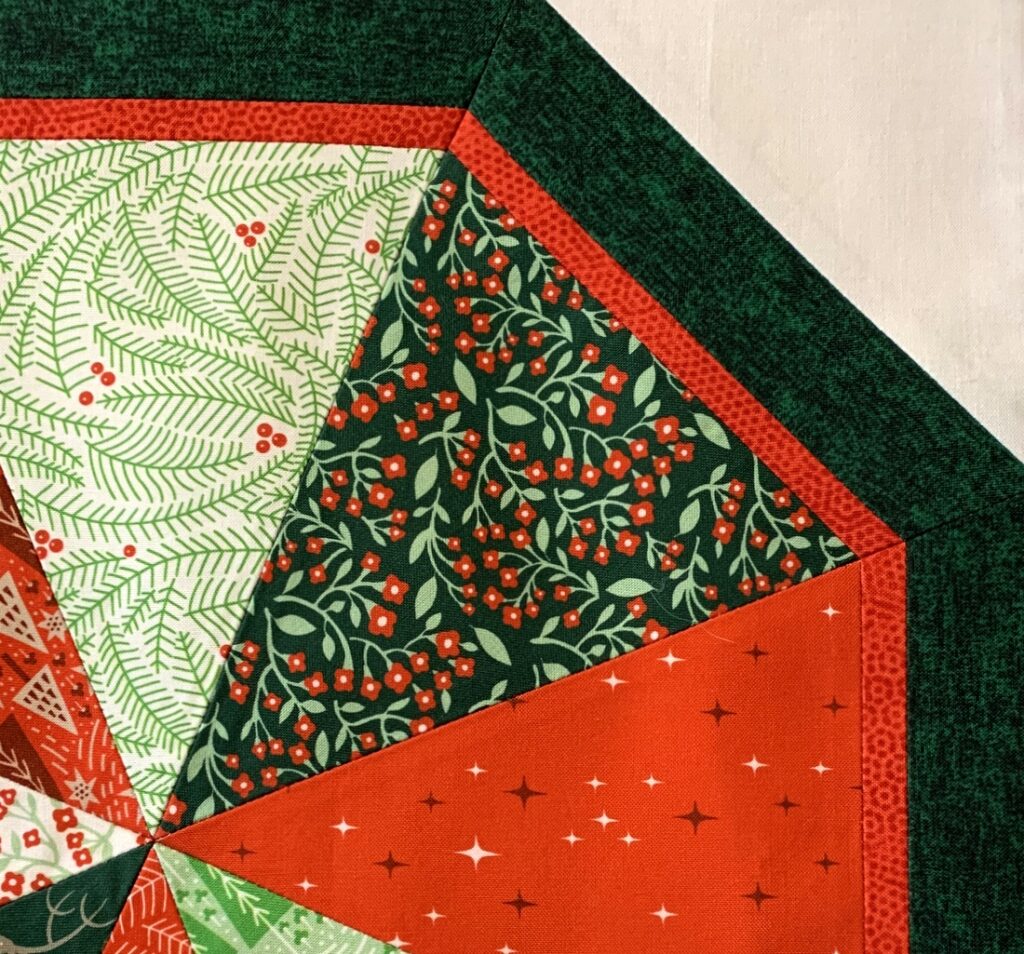
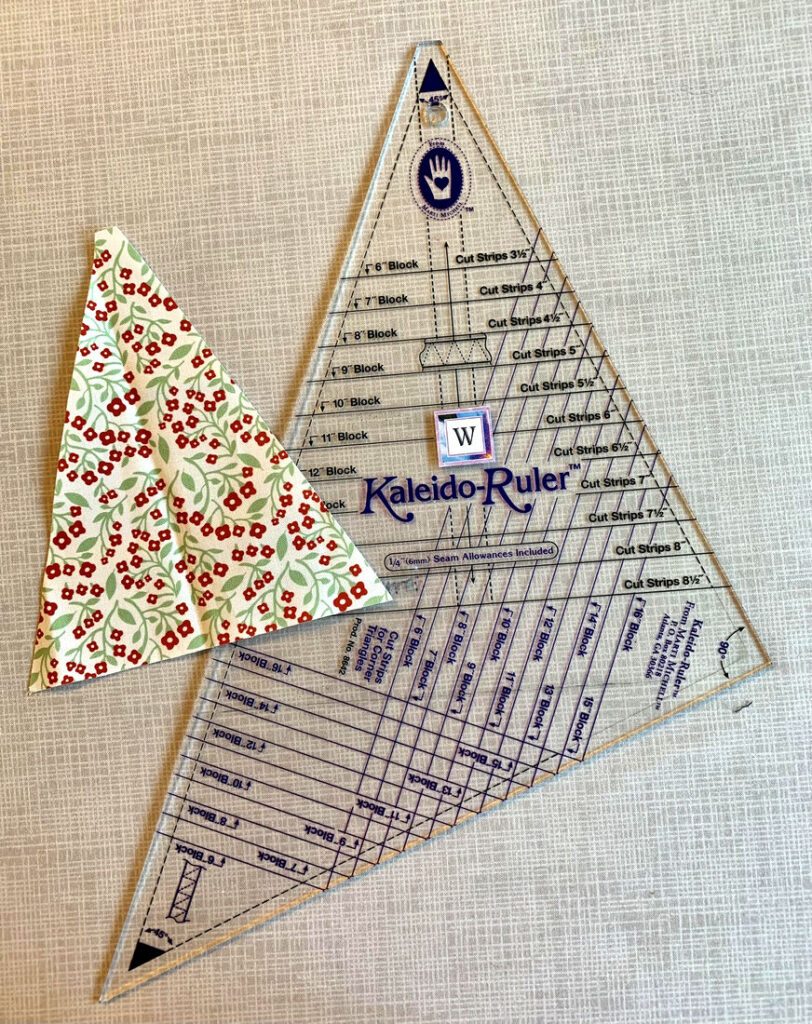
In this example I’m starting with a 45˚ triangle cut from a 6½” strip of fabric using the Marti Michell Kaleido-Ruler . . .
. . . but this technique will work with other sizes of triangles and strips.
Eight of these triangles (from a 6½” strip) sewn together result in a 12″ kaleidoscope block. With the addition of the narrow and wide accent strips, the block will finish at 15″ square:
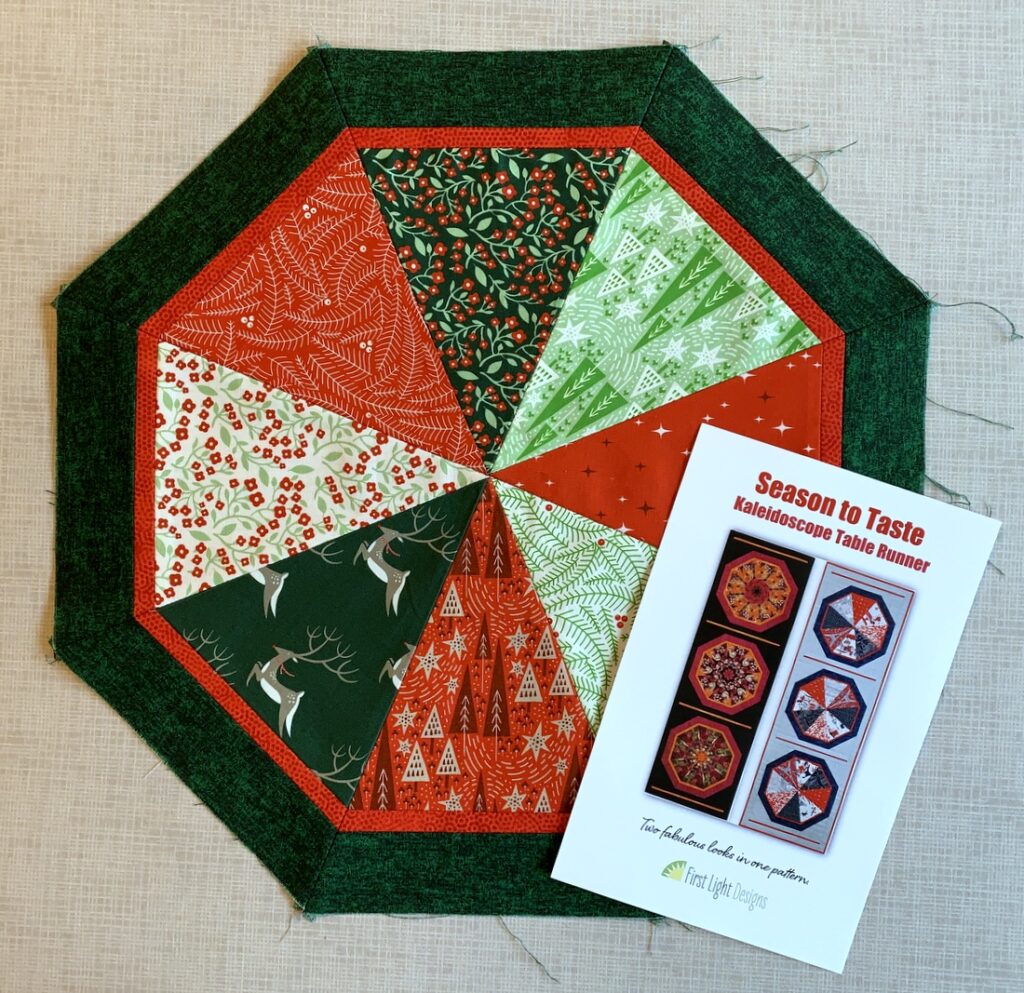
The narrow accent strips finish at ⅜”. This calls for ⅞”-wide strips, to allow for ¼” seams on either side but I find it difficult dealing with strips less than an inch wide, especially when it comes to pressing. For this reason I cut my strips a quarter of an inch wider — 1⅛” — and trim them to size after sewing them on to the wider accent strip.
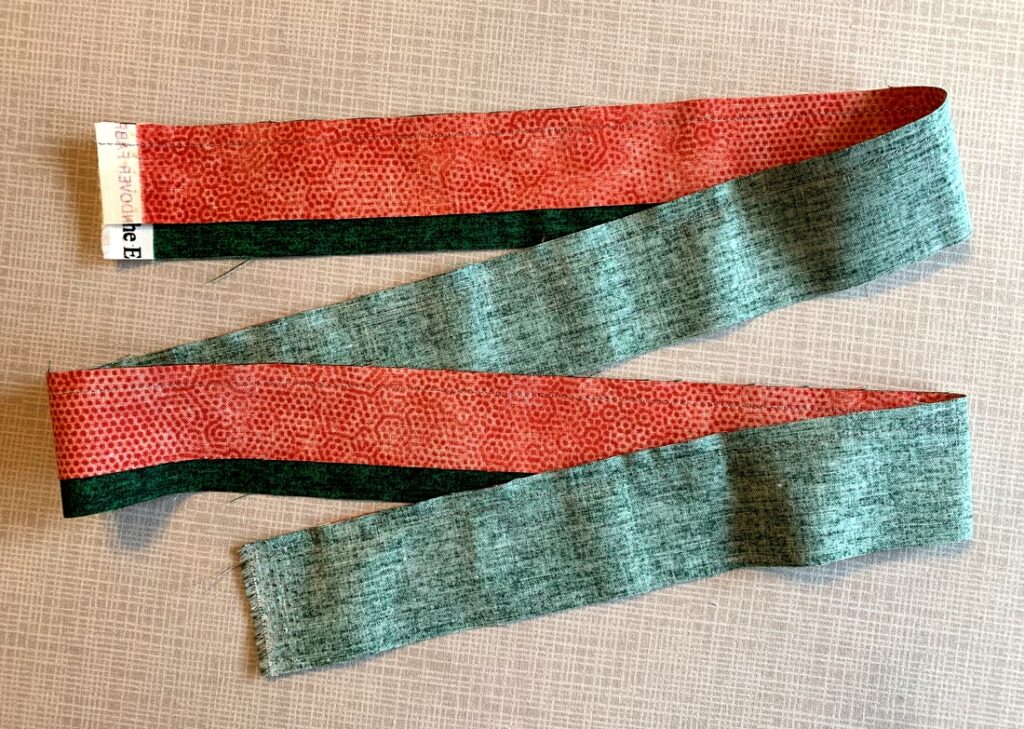
So: my narrow accent strips are cut 1⅛” x WOF (width of fabric). The wide accent strips are cut 1¾” x WOF. The narrow and wide accent strips are sewn together with a scant ¼” seam:
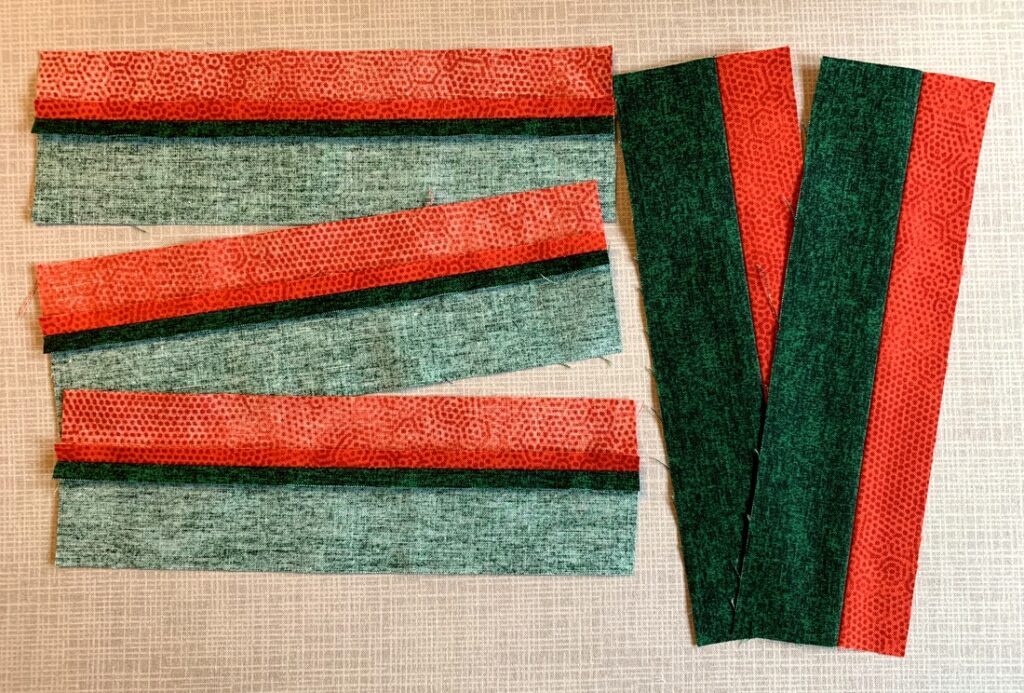
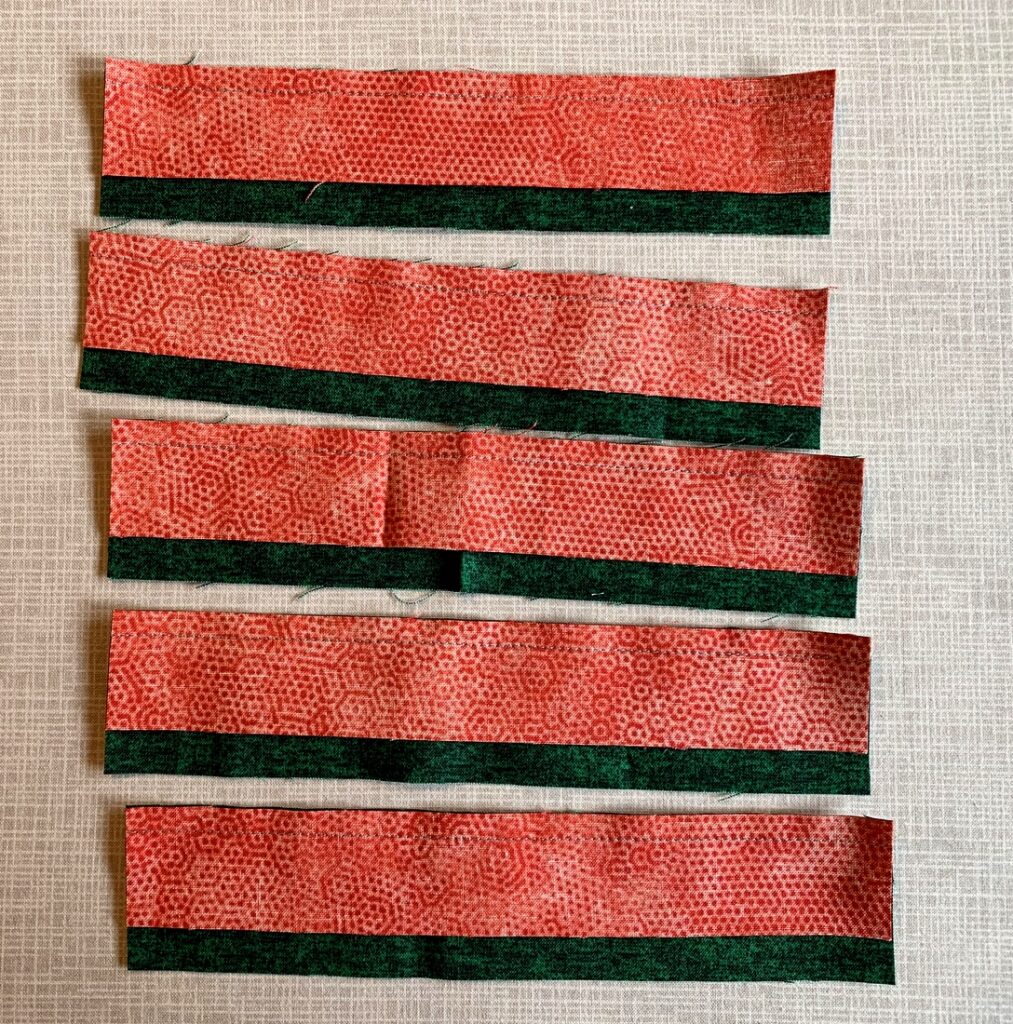
Before pressing the seam open, the strip is subcut into five 8″ lengths:
(I need eight of these strips for one kaleido block so a second strip set is needed.)
Why do I subcut the strip set before pressing? Because it’s extremely difficult to press a seam on a 45″ length of fabric without creating a curve. By cutting my long strip into shorter pieces, I can carefully press the seam on each piece open using just the tip of my iron without much distortion:
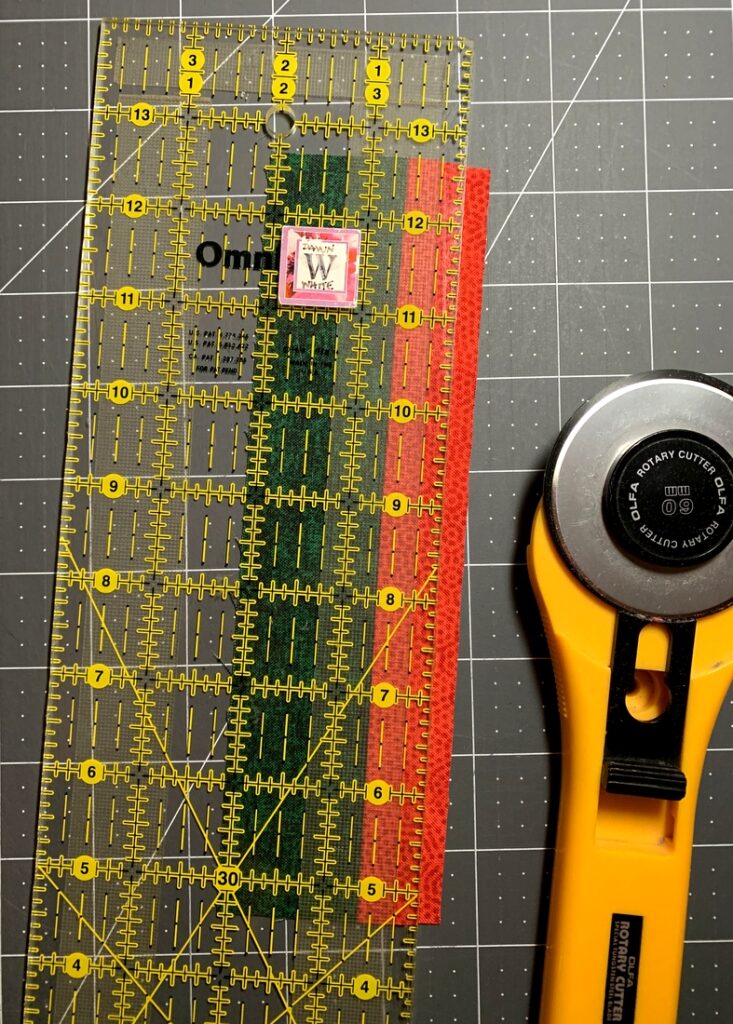
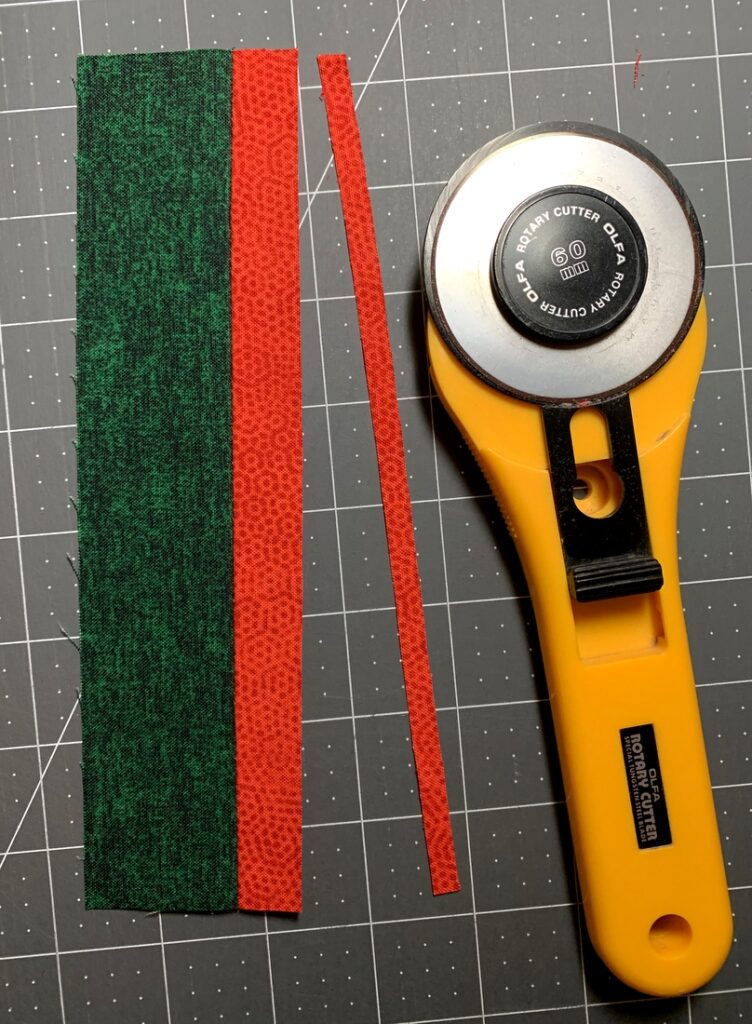
The next step is to trim a quarter inch off the narrow strip. I do this by aligning the ⅝” line on my ruler with the seamline . . .
. . . and trimming the excess quarter inch:
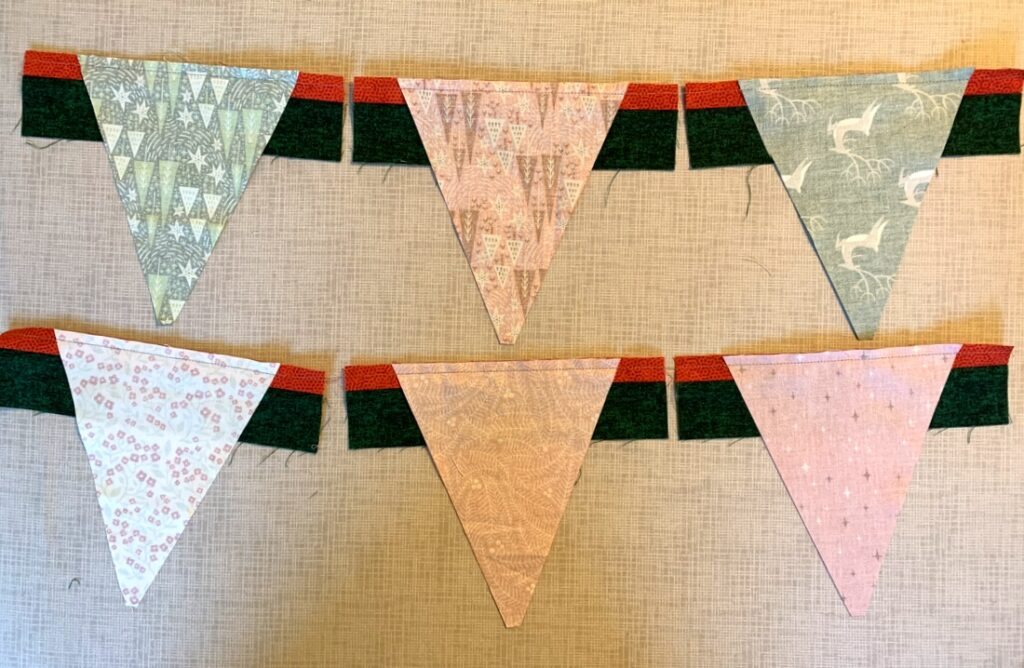
Now I can chain piece the triangles to the trim pieces, centering each triangle on its trim strip:
I press this seam open as well, taking care to use the point of the iron (no steam) and not letting the iron touch the bias edges of the triangle:
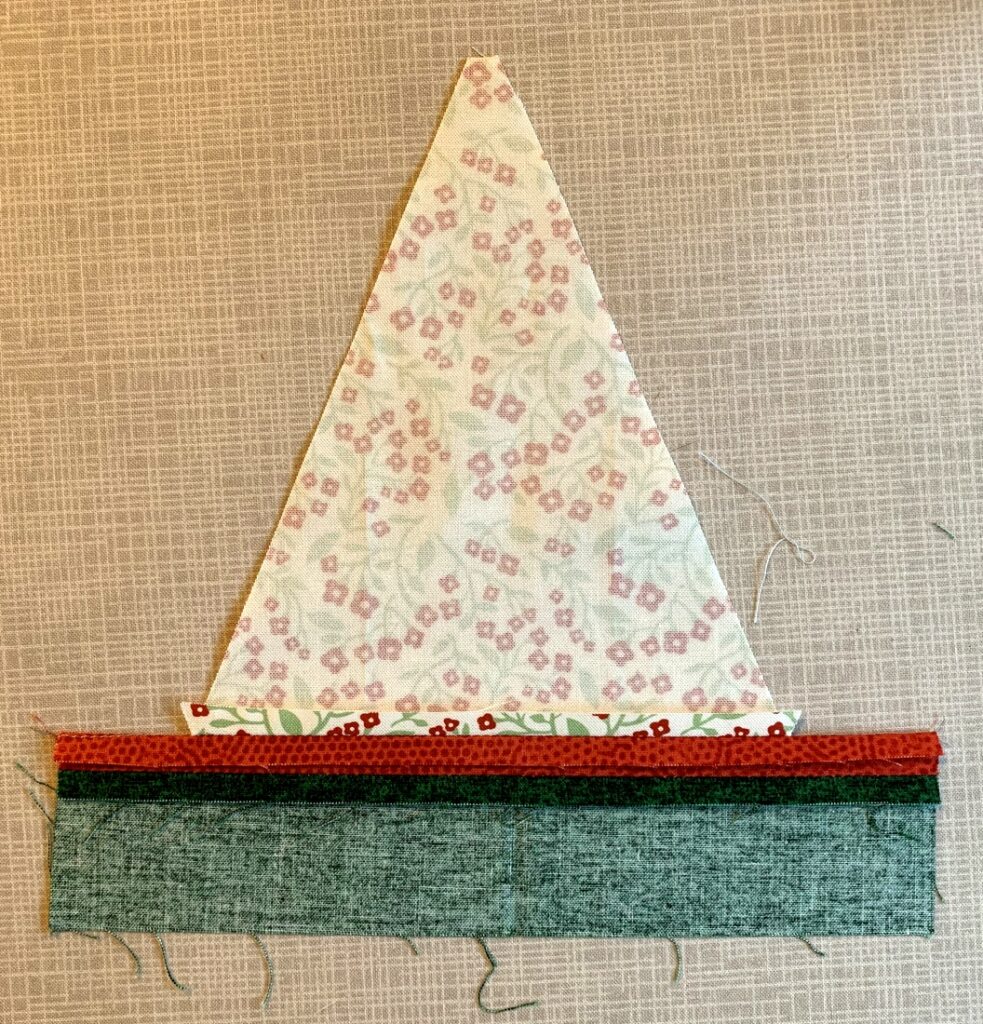 Note that with both seams pressed open, the seam allowances on the narrow trim overlap each other slightly.
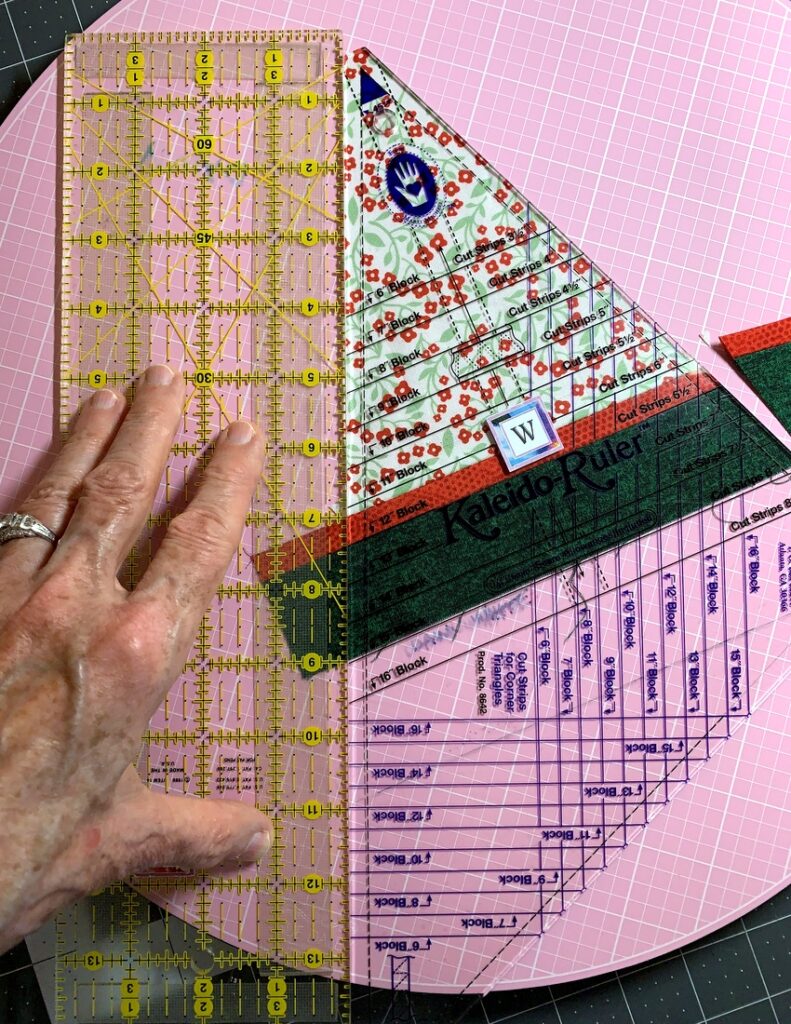
Now I can lay the Kaleido-Ruler over the triangle and trim the right side:
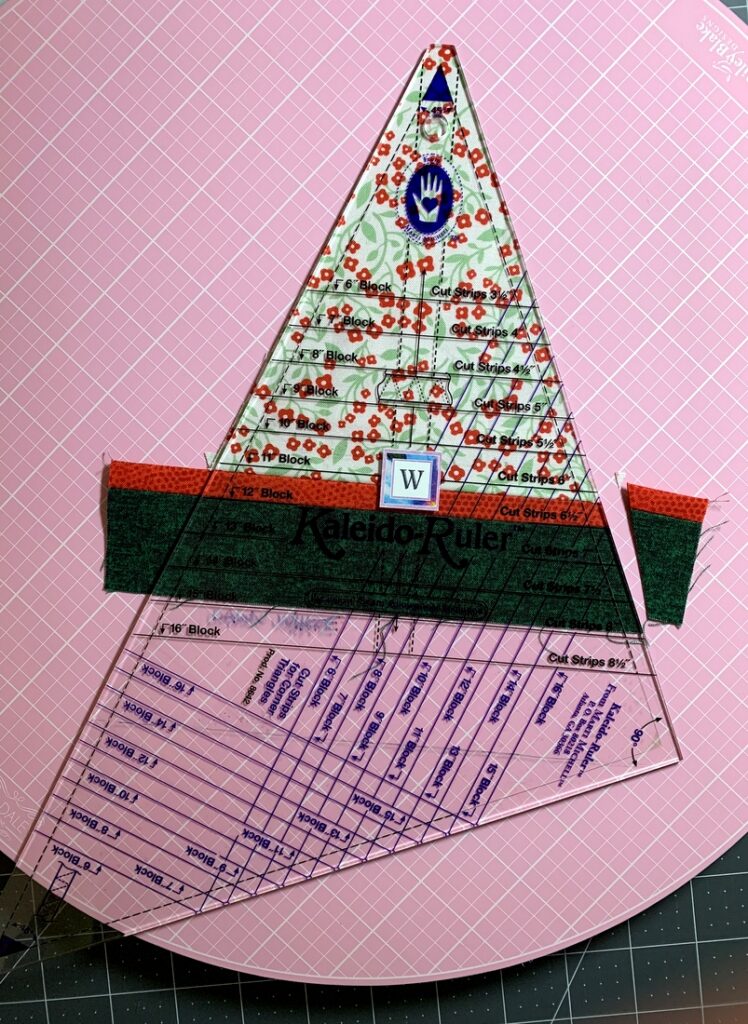 I’m cutting this one on a rotating mat, which means I can turn it around and trim the other side just by moving the mat. If you don’t have a rotating mat, it’s very easy to butt up a second ruler right next to the Kaleido-Ruler . . .
. . . slide the Kaleido-Ruler out of the way, and make the second cut.
Here’s the trimmed triangle:
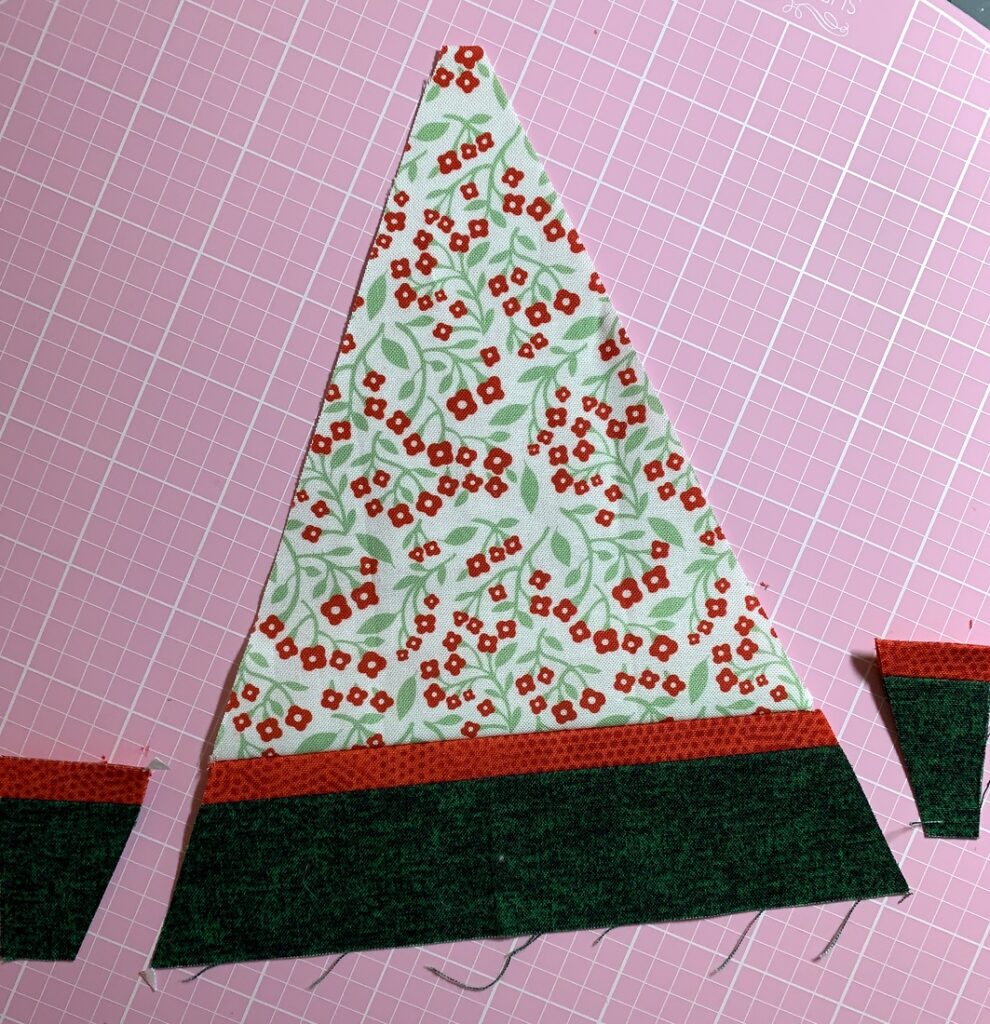
Now to sew it to another triangle! Here’s how I pin the two triangles:
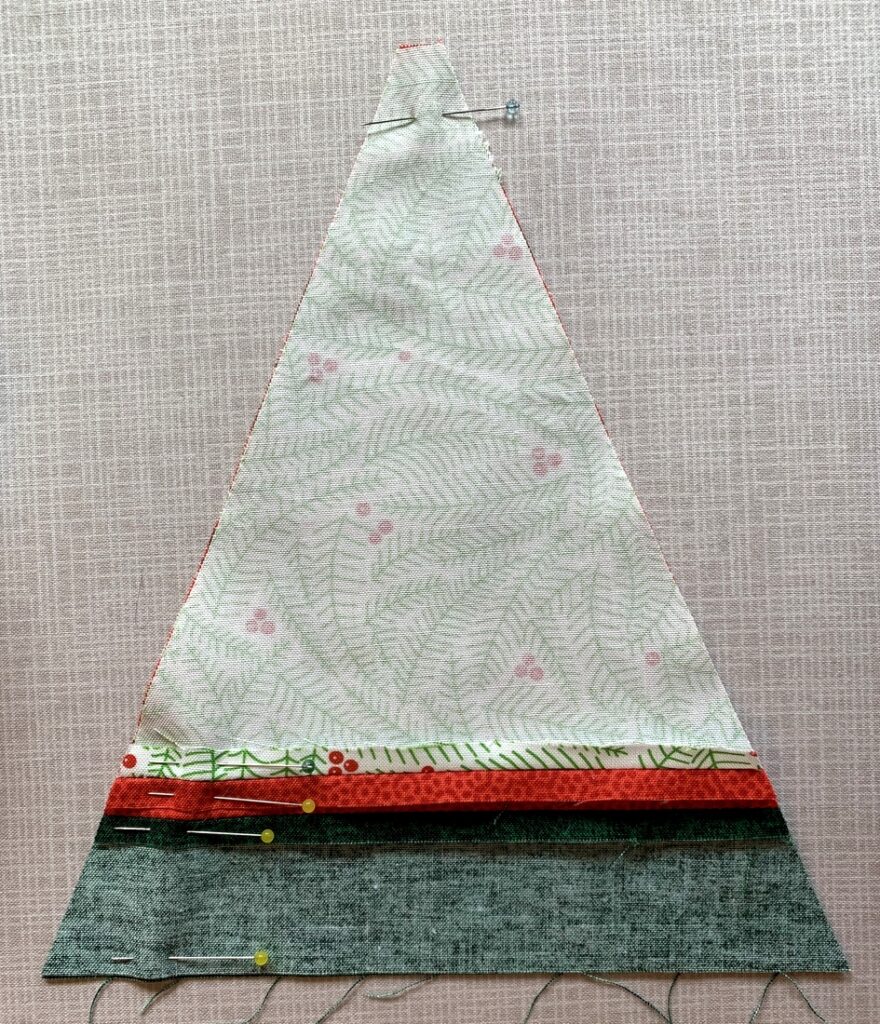 After lining up the seams on the two triangles, I place pins to hold the seams in place. Note that the points of my pins are toward the outside edge. When I flip the triangles over and pull one side back from the edge, I can clearly see that the trim seams on my triangles match exactly:
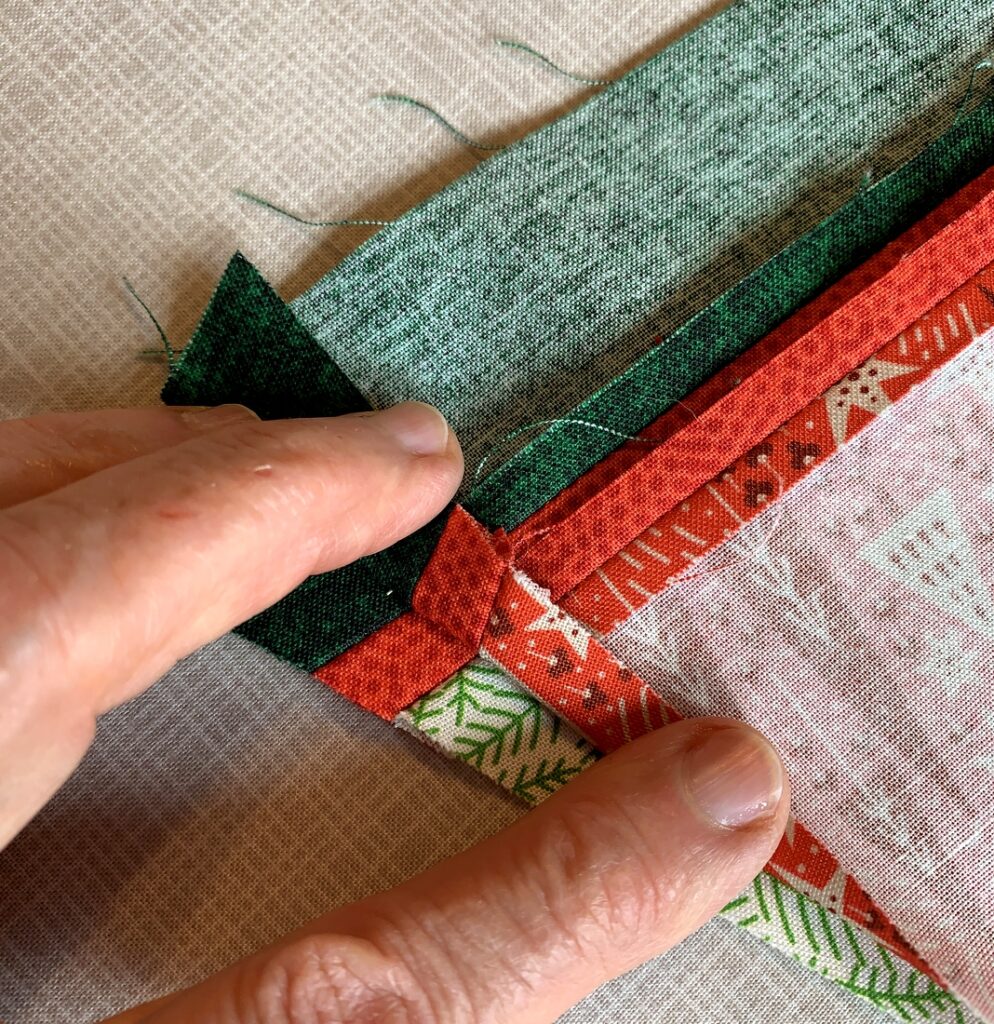
I can repin if necessary (and sometimes must) to make sure the seams are properly aligned.
When I’m ready to sew the seam — starting from the wide end and going toward the point — I can pull each pin back slightly so that the point is not in the seam allowance, leaving the pins in place until the seam is completely sewn.
The seams are pressed open — again without steam and again using just the tip of the iron to nudge the seams open:
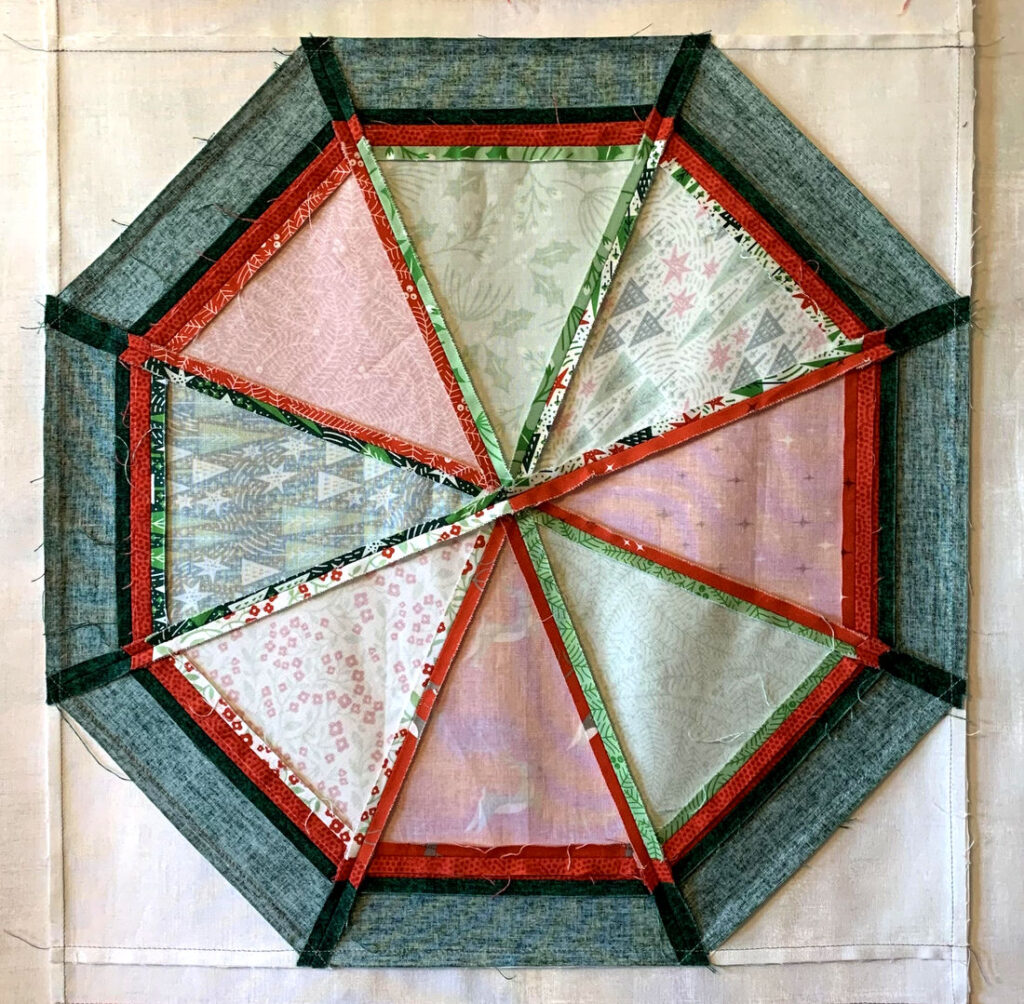
Once the block is complete and I’m satisfied my center points match, that’s when I move the iron setting to steam! I sometimes use a bit of starch or starch alternative (like Mary Ellen’s Best Press) to make sure my finished block lies nice and flat.
I hope you found this post helpful! I’m going to add it to my Tutorials page as a companion piece for my Season to Taste pattern.
Thanks for stopping by — and happy first day of summer!

Thank you! Clear directions to reach a beautiful result. I have just started using a new to me notion—a sew stick for pressing open seams. It lifts the patchwork up and makes ironing open the seams in strip sets much easier. Have you ever used this notion?
I have one of those pressing sticks, Vickie, and completely forgot about it. It would work beautifully on these seams!
I am so glad I ordered one! I have been using it and really like not having to fight with the seams that I have already pressed open. The creator is a genius and I don’t know who that was!
So smart!!! Thanks.
Alas, I confess to struggling with the content of this post (too mystifying to a non-quilter), but I enjoyed the pictures! 😉