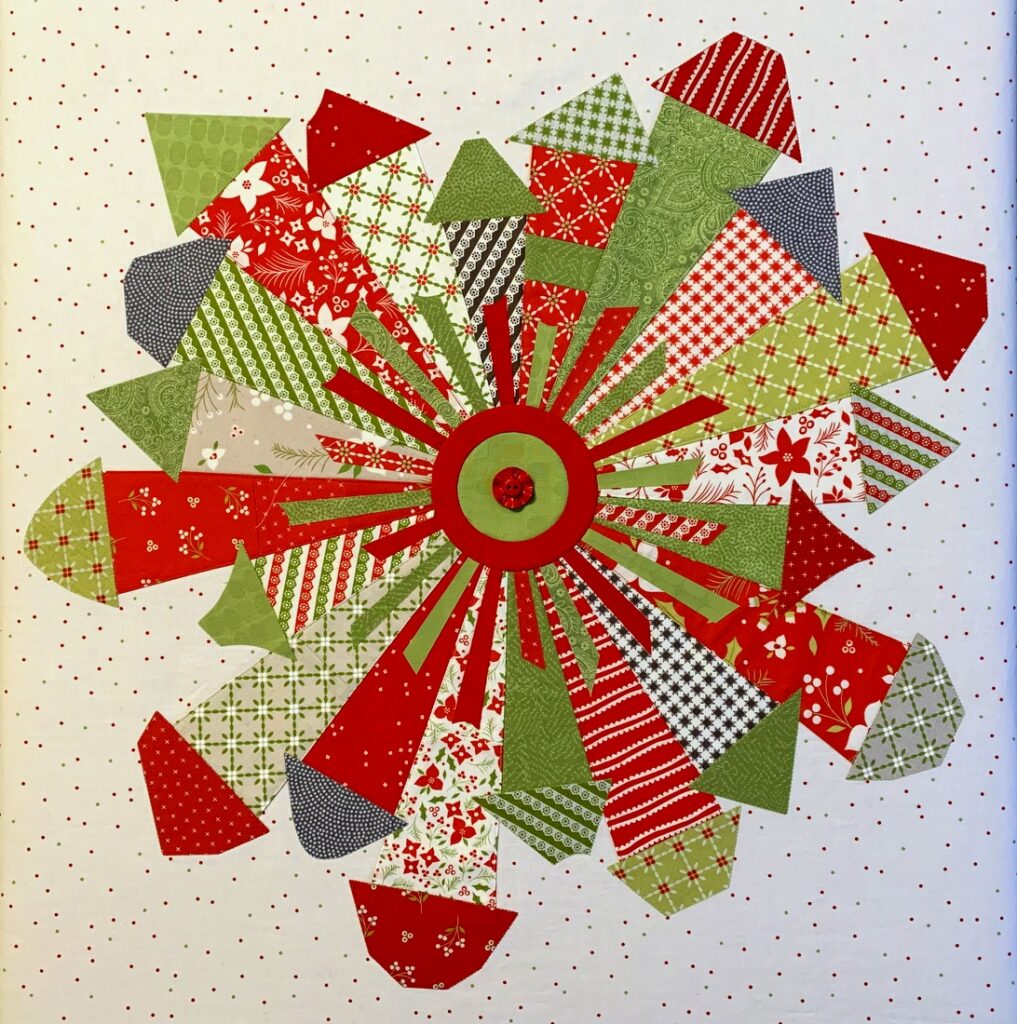
The votes have been tallied — and my thanks to you who weighed in! The red button on the small green center . . .
 . . . was by far the most popular choice among those who helped me solve My Button Dilemma (subject of my last post). I truly think if I had started and ended with the green button I would have been pleased with the outcome, but as my friend Colleen noted, the red button “just sings!” For those of you who preferred the green button on the small red circle, do not despair. That green button will definitely find a home on my wonky Dresden Neighborhood mini quilt.
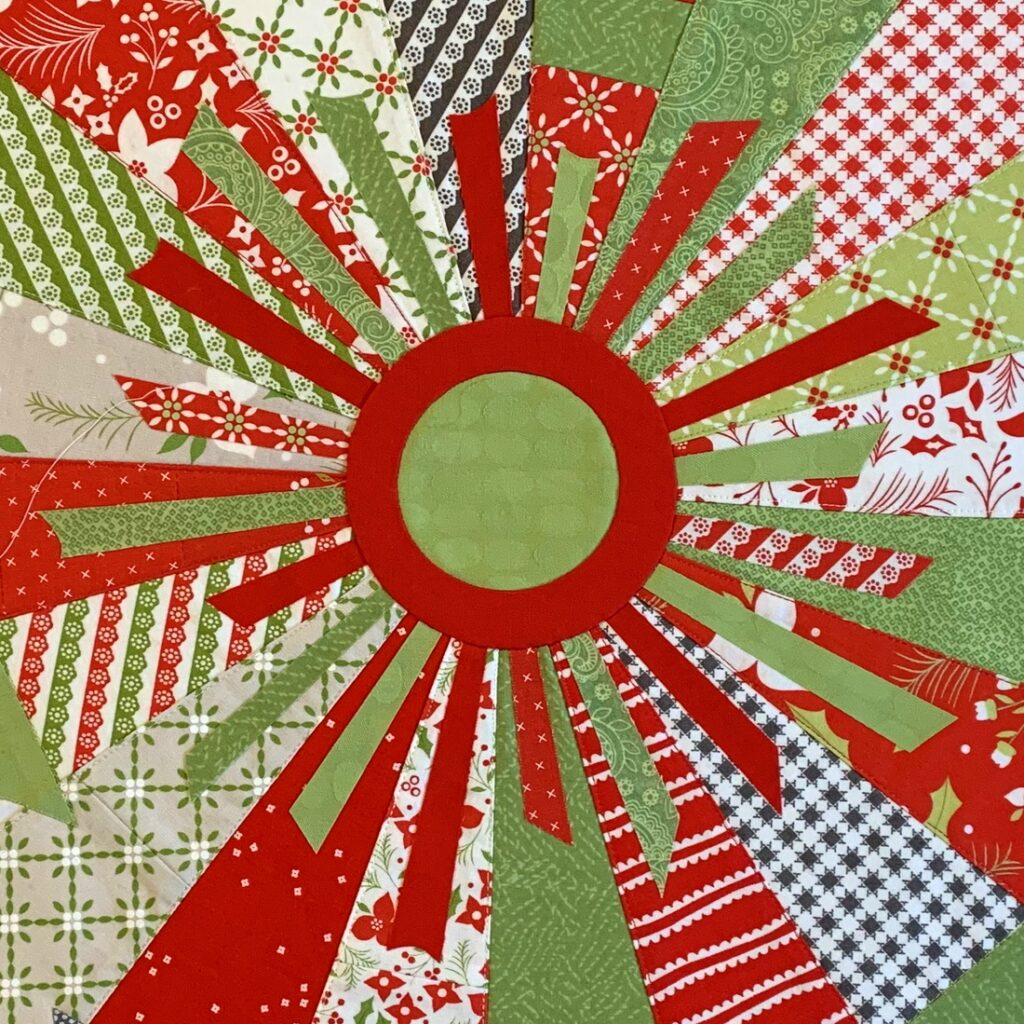
On the photo above, the red and green circles have been attached to the quilt top. (The red button is just there for the photo op. It will get sewn on much later.) Here’s a close-up of the center:

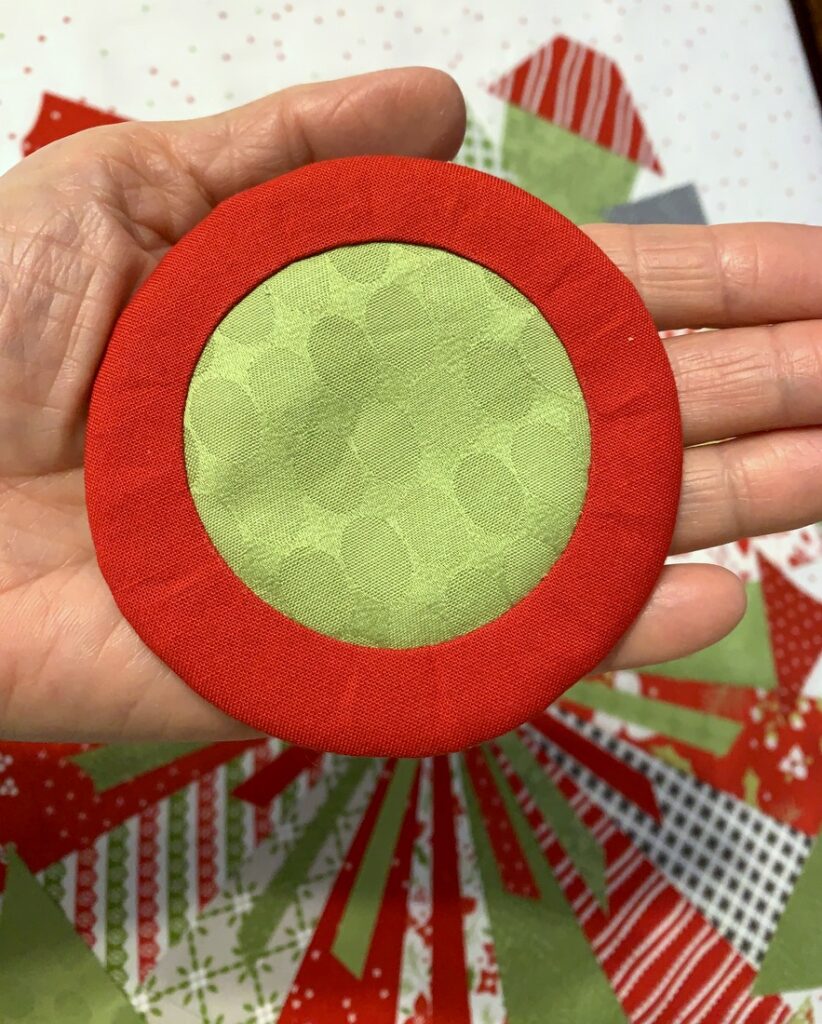
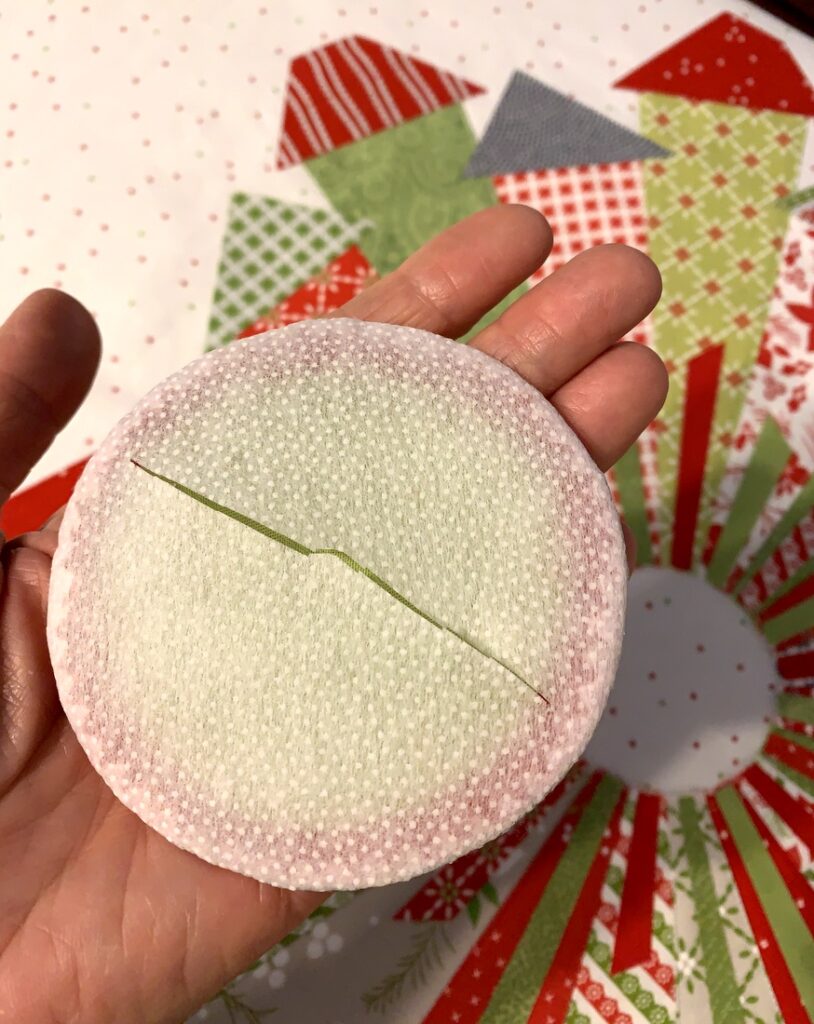
Although I could have done a raw edge appliqué technique to attach the green circle to the red one, I chose instead to inset a green circle into a larger red square. All I needed to do next was convert the square into a circle. I did that by drawing the properly sized circle on a scrap of fusible interfacing (using the base of a milk pitcher as my template!), putting the two pieces right sides together, and stitching all the way around the circle.
Then I cut into the back side (interfacing layer only) so I could turn the circles inside out, which meant the fusible side was now on the outside and ready to fuse onto the quilt top:
Here’s the front after turning:
 Fusing it onto the quilt top flattened the circles but I still stitched all the way around the outside circle by hand for a more finished look. When I’m ready to quilt the top by machine, I’ll stitch in the ditch around the inner and outer circles and from there stitch down some of the blades to hold the layers securely together.
With every step, I am loving my wonky Dresden Neighborhood even more!


Well done!
As a supporter of the green button, I really like your neighborhood. Enjoy the next steps.