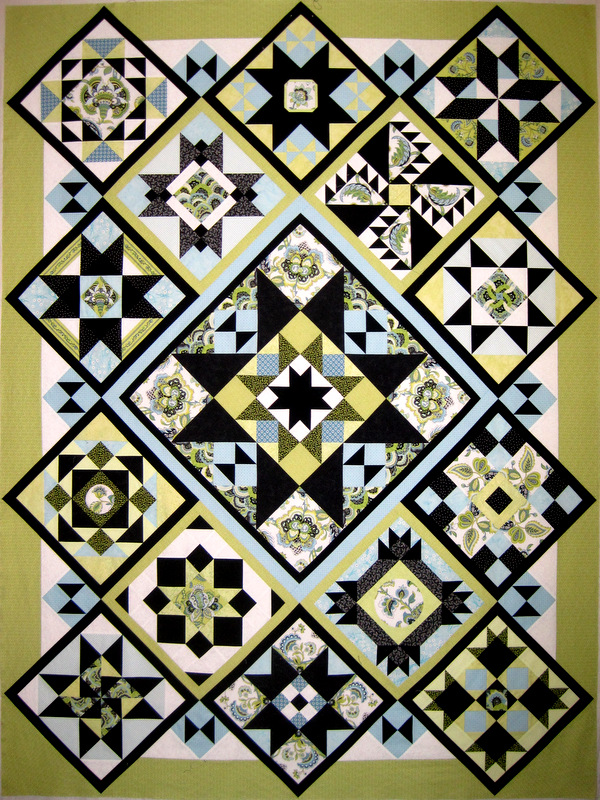
When I posted almost a month ago on my Reach for the Stars sampler quilt, pictured here . . .
. . . I had finished the center medallion and 14 surrounding blocks and was getting ready to tackle the intricate pieced border. I say “tackle” because I knew it would be a challenge figuring out how to get the corners perfectly symmetrical. I knew I wanted to emulate the lacelike effect designer Terri Krysan achieved by putting nine-patch blocks on point in her border, but I also knew I wanted all of my corners to match.
First I added a narrow black border on all four sides, mitering the corners. Next I made several nine-patch units and cut several setting triangles and then just started playing with their positions around the perimeter of the quilt top, which had been moved to the floor after outgrowing my design wall. I walked around the quilt countless times, trying out nine-patch units and setting triangles in different spots along the outer sides.
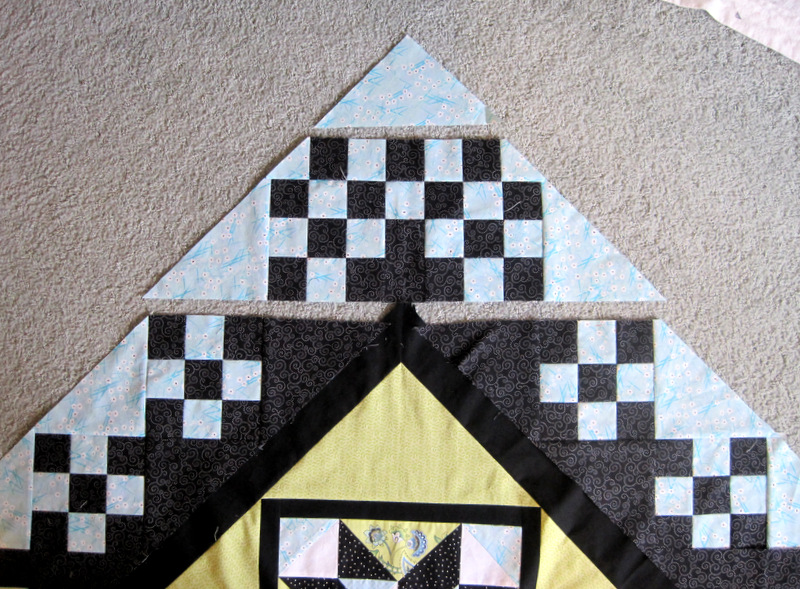
Border Breakthrough #1 occurred when it became apparent to me that the corner design needed to include two nine-patch units with a strip between them, like this:
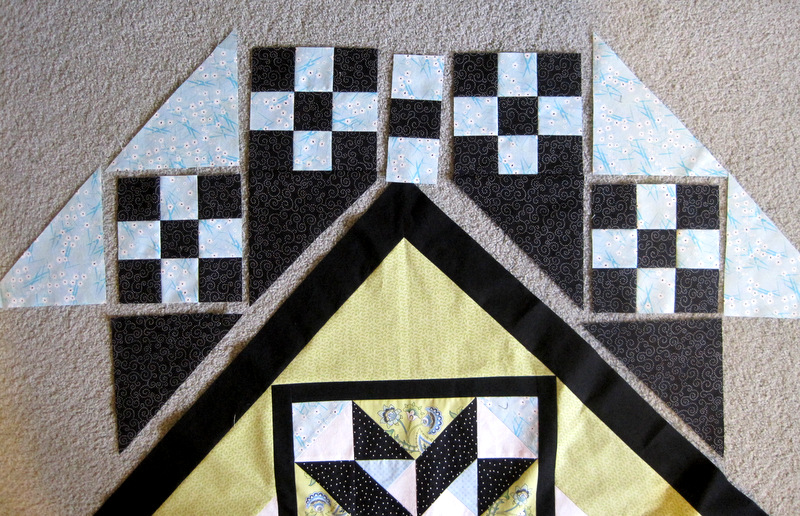
I mocked up the rest of the corner and even sewed some pieces together. I expected I would need to miter the corner with a seam in the middle of the center strip to match the mitered seam in the narrow black border.
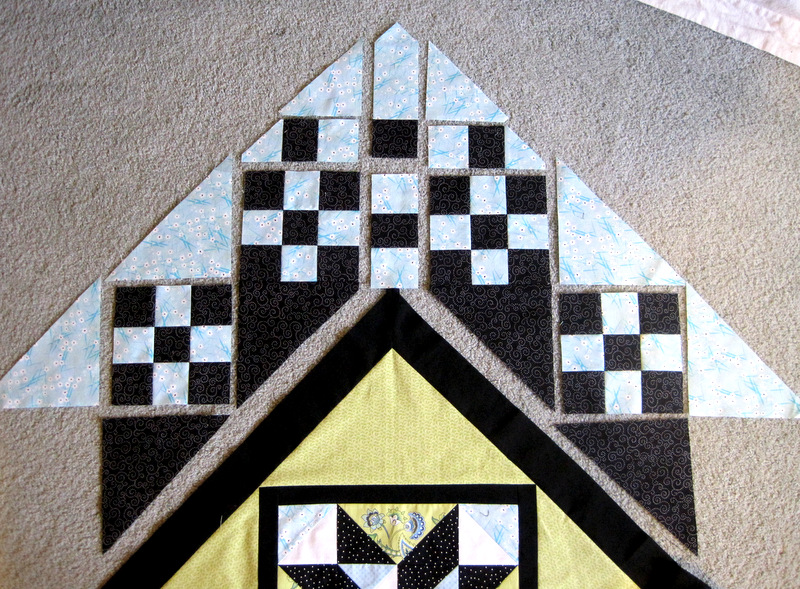
When I looked at the photo I had taken above, it hit me that I didn’t need to miter the seam at all! If you follow the horizontal line at the tip of the narrow black border, you’ll see what I saw. Here is Version 2 of the corner unit . . .
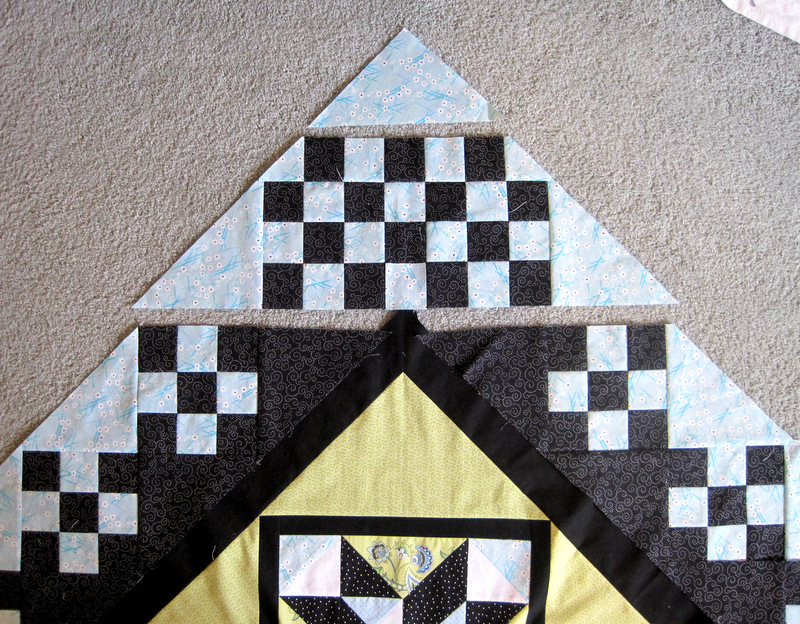
. . . showing a much easier way to finish the corner. And here is Version 3, which assures the continuity of the black print fabric all around the quilt next to the narrow black border:
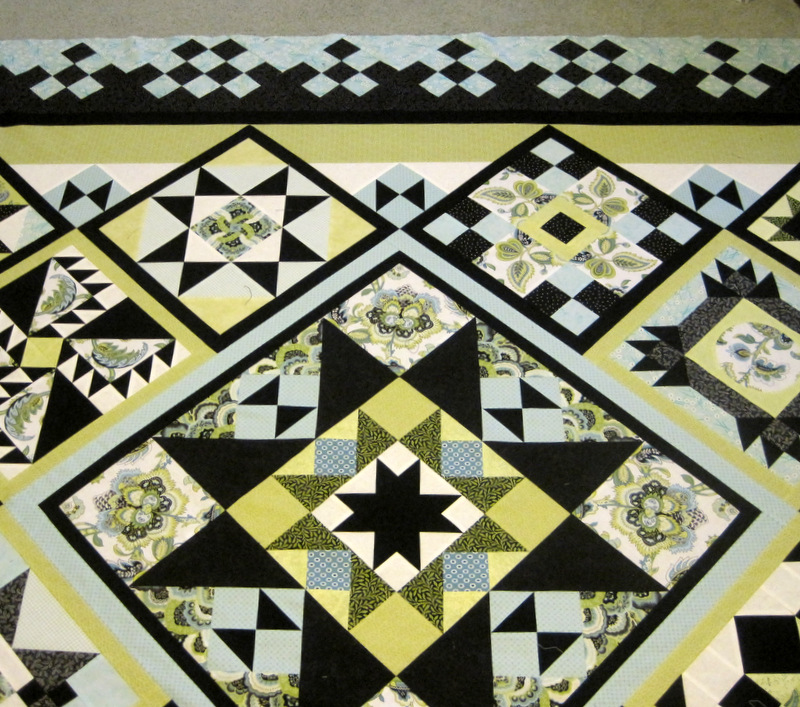
The position of the black print setting triangles at each corner coincided with a black print setting triangle hitting the exact center of the top and bottom of the quilt. You’ll see what I mean when you look at the next photo:
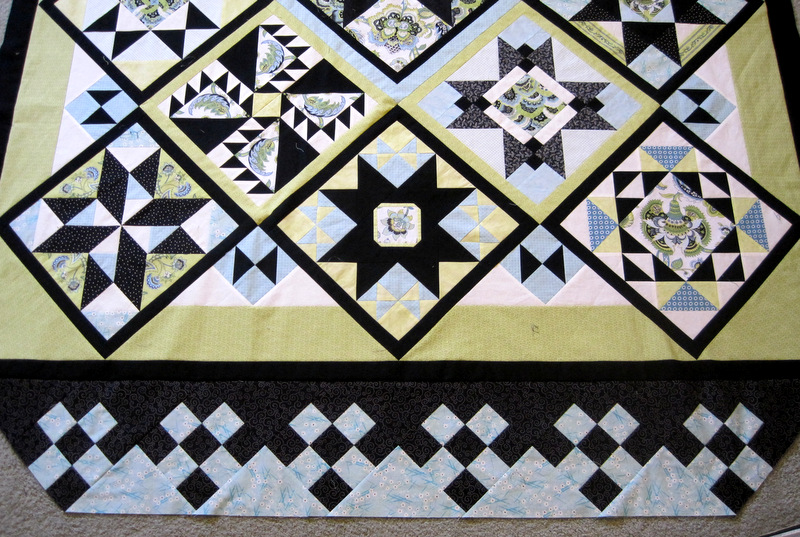
See the point of the black sashing on the middle block, right where it touches the narrow black border? Follow the line into the border and note how it intersects both the black print setting triangle next to the black border and the blue setting triangle on the outer edge.
Unfortunately, there was no way that same design element was going to hit the middle of the long sides. That’s when Border Breakthrough #2 came into play. After much fiddling around, I determined that if I completely removed one nine-patch unit from a long side and added one more strip to two of the remaining nine-patch units, the middle of a black print setting triangle would hit the middle of the long side. Just what I wanted it to do!
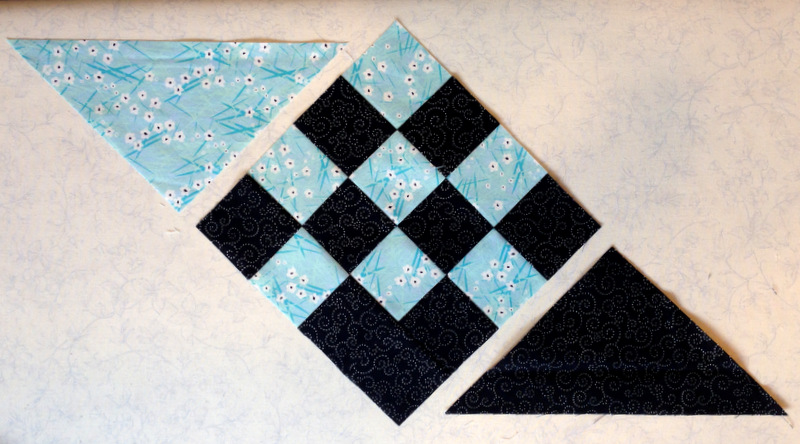
Here’s what the “nine-patch plus” unit looked like just before adding the setting triangles . . .
. . . and here’s what it looked like next to a regular nine-patch:
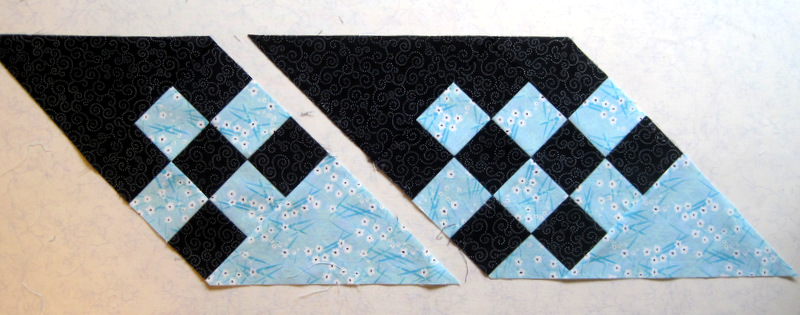
I sewed all of my blocks together and then discovered that the border strip was about an inch too long (much better than an inch too short!). My solution? To re-sew the nine-patch units taking a full quarter-inch seam rather than my regular scant quarter-inch seam. Doing that with six nine-patch units and two “nine-patch plus” units took up the excess fullness, and my border fit perfectly. Was someone doing the Happy Dance? Oh, yeah!
Here’s a look at the middle of one long side, with the setting triangle hitting in just the right spot. Look above the small blue and black hourglass block in the valley between the two blocks near the top center of the photo:
Here you are looking across the quilt to one corner:
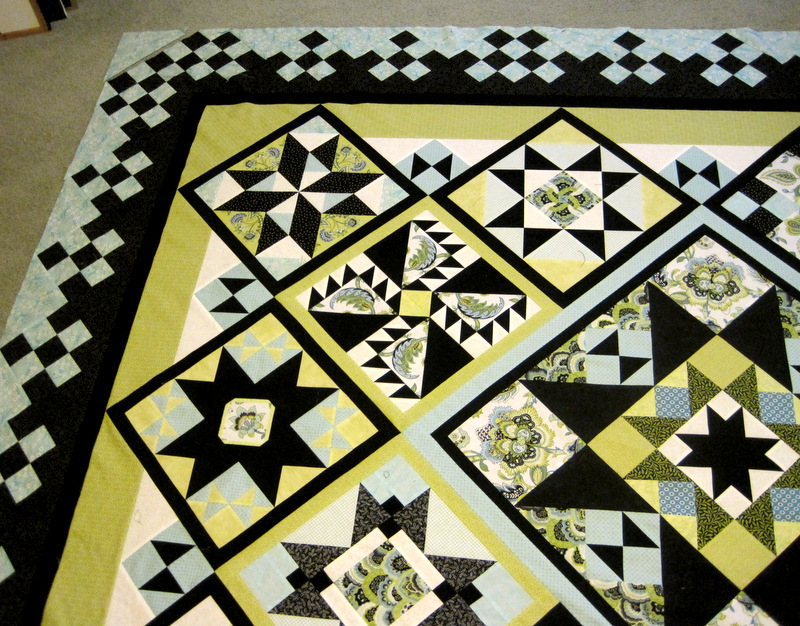
The “nine-patch plus” units — the ones with two black print squares on point — are evenly interspersed along the long sides, and even though the two short sides have no “nine-patch plus” units, everything still looks balanced because the borders match. My approach was strictly trial and error — no graph paper, no computer software program, no calculator work — with just a dash of intuition and a lot of luck.
I do have one more thing to figure out. It has to do with preserving the points of the narrow black border and it just may involve some paper piecing. Have I piqued your curiosity? I hope so! Please come back in a few days to see what I’m talking about.

Absolutely stunning! Good work!!
Dawn–
You are AMAZING!…always! For quilt camp, I am bringing all of my problems directly to you. While you solve the first list, I will be making lots more for you to fix!
No wonder you sit at the first table and I am hidden in the back corner.
By the way, the quilt is looking pretty darned good.
Beautiful quilt. You make it look so easy.
Hi Dawn,
Very impressed! In addition to luck and a bit of intuition having an engineering mind really helps.
Great job!
Nubs, this is a terrific example of problem solving while keeping the integrity of the original design by Terri Krysan intact! Well done – really!!
xxxooo Diane
P.S. If you can’t find a suitable place in your home for this masterpiece, do call me!
It is stunning!
Beautiful and amazing work!
Will we still find time for movies?
Anne
Dawn, you never cease to amaze me. You are able to figure out anything! Love, Love, Love your quilt!
Clever and beautiful!
Ooooo! Look how it is coming together. Get ready – I’m going to just pack up mine and ship it over to you to get this border work done. I know you were really, really pleased when you got through this challenge. Happy dance for sure!
Gorgeous quilt, Dawn…. love all the tiny pieces!