More About Masks
I’m shifting gears in my mask-making endeavors. Since mid-March, when the Dear Husband and I started sheltering in place at our Portland White House, I’ve made several dozen face masks using one of the first tutorials I came across, that of ER nurse Jessica Nandino. Between then and now, I’ve tried a few other patterns and haven’t found any I liked better.
Until now:
This is PJ Wong’s design. (I haven’t met PJ yet, although we both teach for Montavilla Sewing Centers. She’s an expert on designs and projects for machine embroidery and leads several clubs at Montavilla devoted to sewing, serging, and machine embroidery.) On the Montavilla website I came across this link taking me to instructions for two masks PJ has designed: one with a vertical center seam and one with three pleats. Both designs include instructions for an optional filter pocket, and the pleated mask also includes a casing for a nose wire. The site includes pdf patterns, written directions, and video tutorials.
I tried PJ’s design for the mask with the center seam (often called a duckbill mask) and proclaimed it a winner. What I like most about her design is the inclusion of a facing, separate from the mask and lining pieces, that gives the mask a beautifully finished look — inside and out. What’s more, the facing creates a casing at the sides that allows the mask to be secured with ties or elastic or — a new discovery for me — “t-shirt yarn.” (More on that below.)
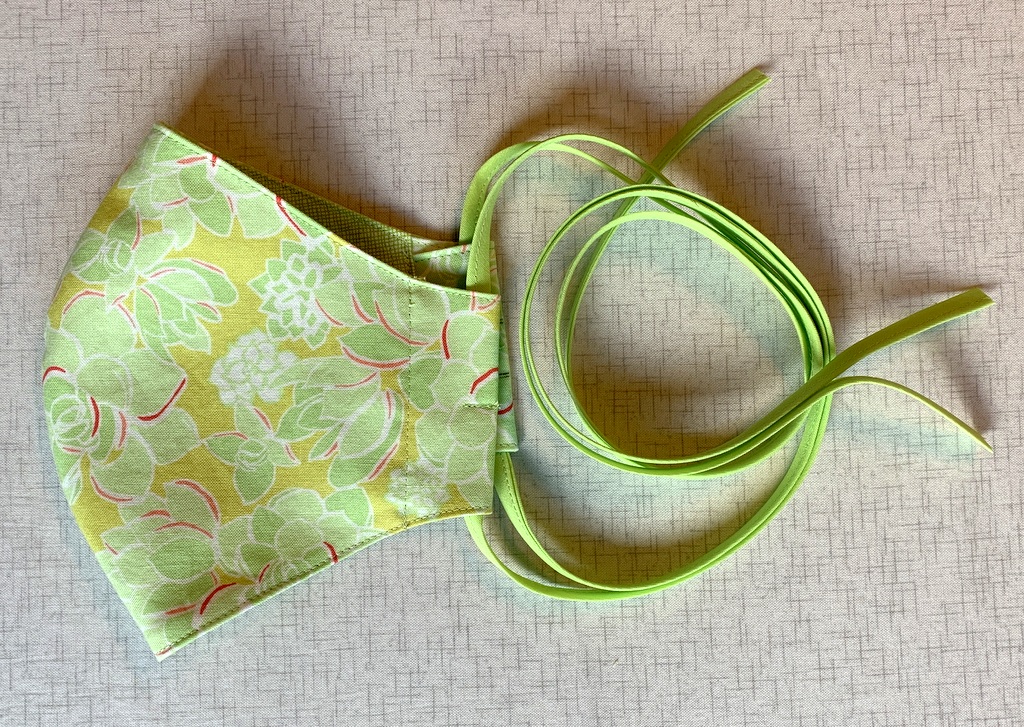
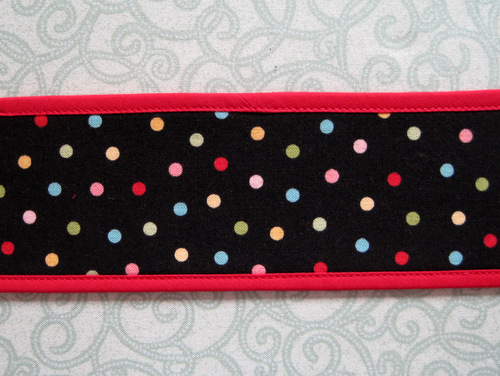
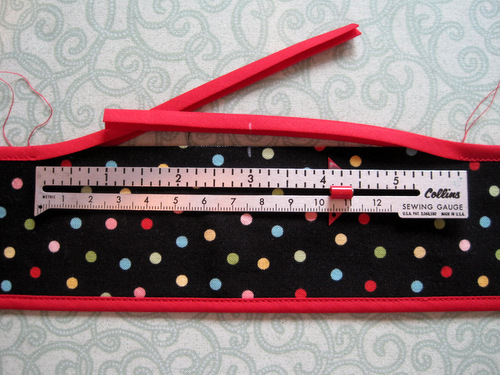
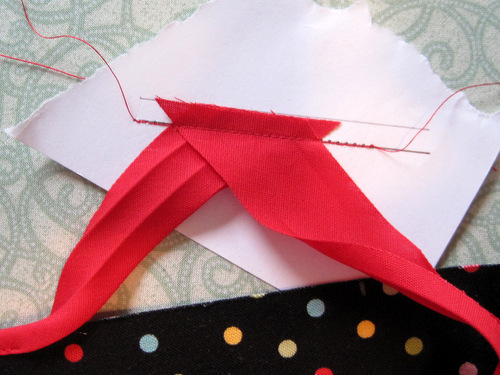
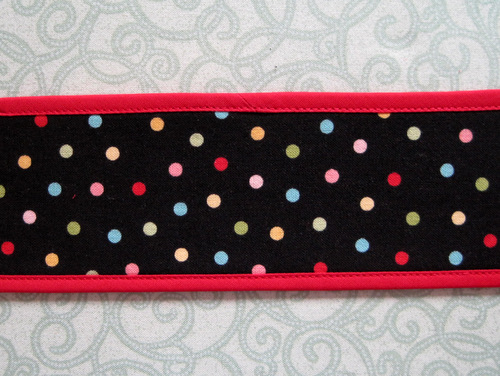
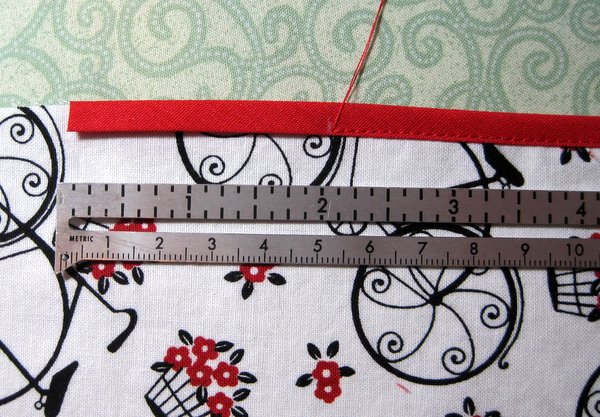
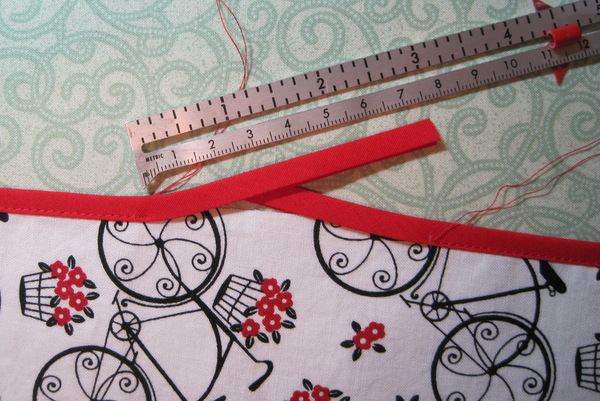
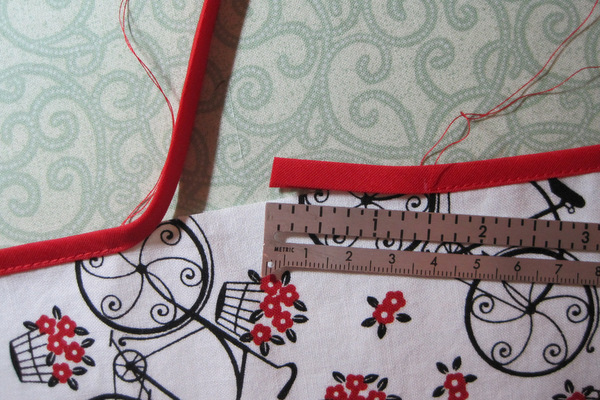
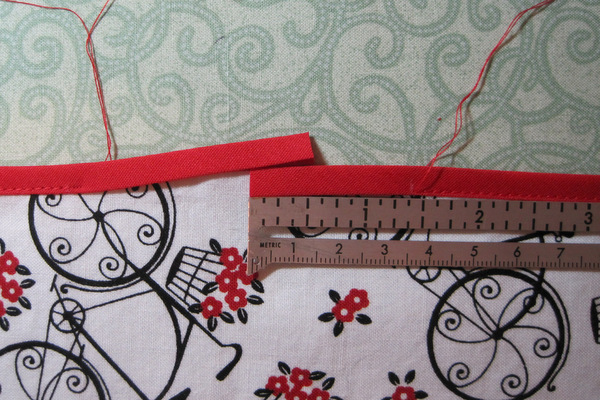
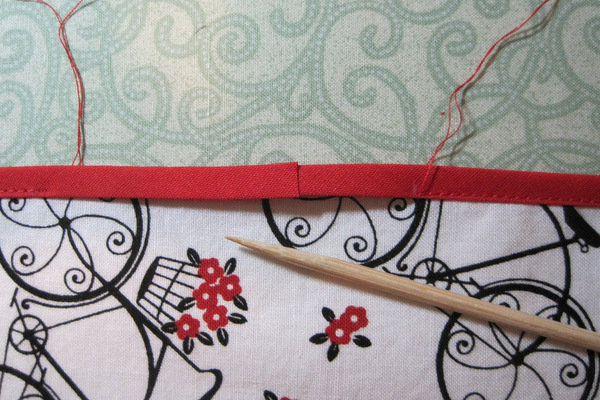
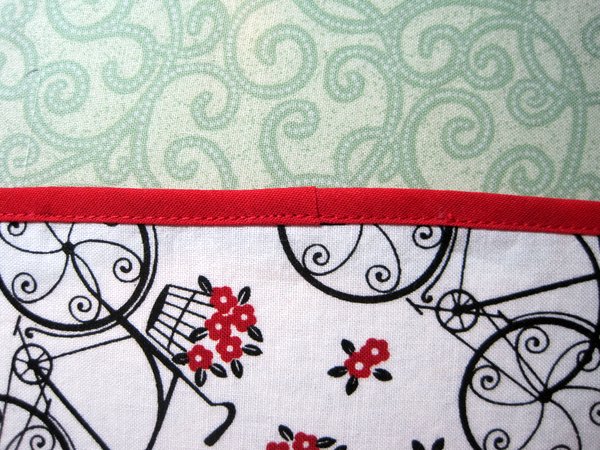
As you see in the photo above, I used quarter-inch double fold bias tape on my first mask. All I had to do was stitch the tape closed and thread it through the casing. I cut my lengths of bias tape 36″ long, leaving a length of 18″ on each side at the top and 15″ at the bottom. That leaves plenty of tape to tie at the back of the head and the base of the neck. If you look carefully at the casing, you can tell that I stitched a little bar tack in the middle of the casing to maintain those lengths.
Here’s my first effort:
PJ’s duckbill pattern comes in four sizes, small through extra large. The one I made first is a medium and felt a bit large on me so I decided to try making a mask in the small size. And while I was at it, I wanted to try a different method of securing the mask in place. To be honest, cutting bias strips and sewing fabric ties was the one thing I found rather tedious about the other mask design I’ve been using, although it certainly has other features I really like.
I had seen several references on Instagram to using t-shirt fabric to make ear loops for masks. It is said to be softer than elastic hence more comfortable around the ears. All roads pointed toward a tutorial by craftpassion.com on making t-shirt “yarn.” It was a breeze to make and now I have a small ball of yarn made from one of the DH’s t-shirts, enough for a few dozen masks. (I haven’t told him yet about his sacrifice.)
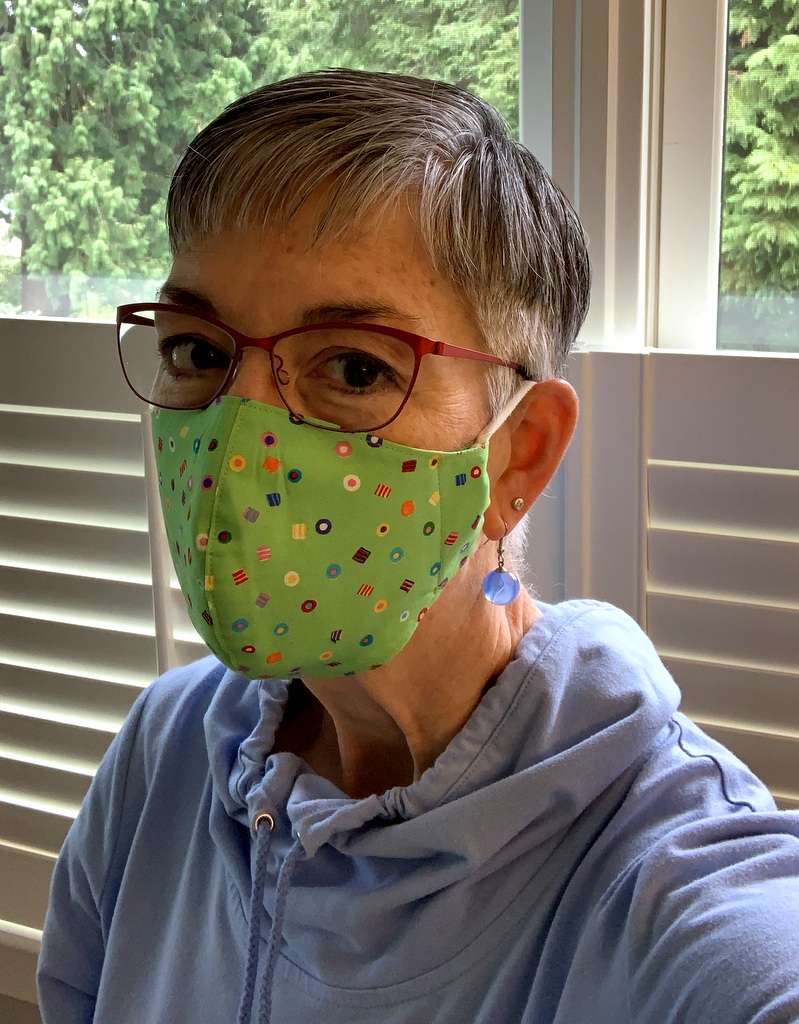
Here’s my second effort, with t-shirt yarn for the ear loops:
The ear loops are very comfortable. And look how cute the mask is on the inside:
See what I mean about the nice finish? PJ’s directions call for the facing (green fabric) to be stitched down right next to the lining (yellow dotted fabric), which is left open so that a filter can be slipped into the center of the mask. Since I’m not using a filter, I stitched the ends of the lining closed.
The next version I made was for my twin sister, Diane, who needs a mask to go with the dress she is planning to wear to a wedding later this month. The dress is a navy knit wrap with a gray leaf design on it. She wanted a mask that would complement her dress, and she asked for a mask that would hold a nose wire. I made this one for her:
Take a look at the inside:
How cute is that lining fabric? Even with the addition of the gray leaf strip at the top, which holds a nose wire, the mask is nice enough to wear inside out:
Kidding, of course. But now I may have to make a mask for myself with the lemon fabric on the outside because it goes so well with my top!

