In Case You Were Wondering . . .
Two weeks without a blog post! Are you wondering if I’ve gone on an extended vacation? Given up on quilting? Abandoned my blog? No, no, and no.
But here’s what has happened: Late at night on Friday, Dec. 1, a fierce rainstorm swept through Portland. We were in the process of having the front and rear dormers on our house reroofed. (Late in the season for roofing, I know, but there were extenuating circumstances.) The roofers weren’t quite finished with the rear dormer by the time it started to get dark, so they covered the unfinished part with tarp and left for the day.
When I got up in the morning, it was raining inside my house! The wind was so strong it had literally ripped the tarp in half, giving the rain an opening to enter our house uninvited. The ceilings in the master bathroom, hallway, and sewing room — all on the second story — were damaged, and some of the water traveled down to the main floor and damaged the kitchen ceiling, too.
So far the roofing company and my contractor have been wonderful in dealing with the repairs, which couldn’t even be started until the attic and all of the ceilings and walls were determined to be dry as a bone. Industrial strength fans were strategically placed to help with the drying out; they ran for days. Everything in the master bath and linen closet had to be moved into either the master bedroom or the Annex, the name I’ve given to the other second-story bedroom I’ve claimed as a second sewing room. Everything in my sewing room except the cabinets and sewing tables had to be moved into the other rooms as well, of course.
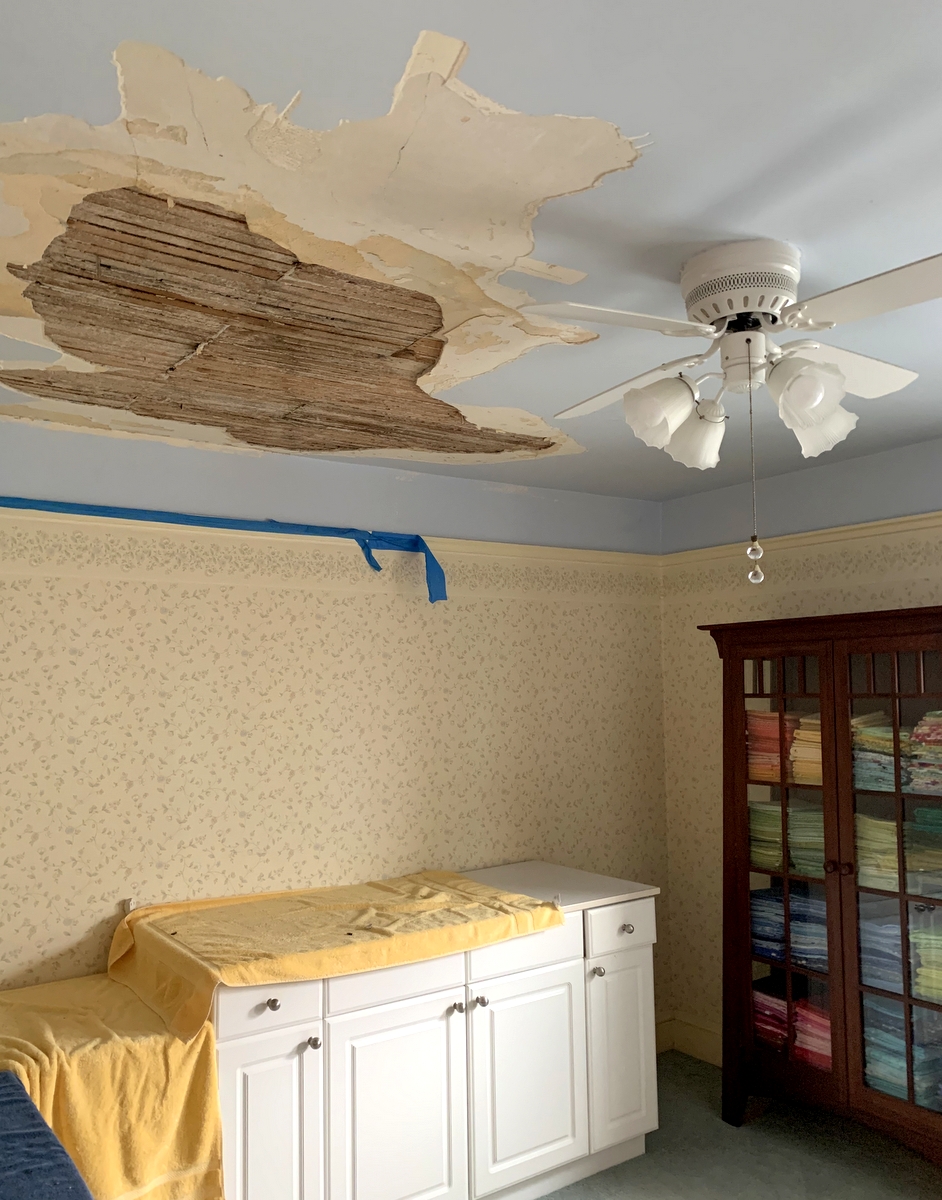
Several years ago I had the ceiling in my sewing room replastered. Our home was built in 1913 so the original lath and plaster was covered with another coat of plaster. The water damage from the Dec. 1 storm resulted in part of the second coat of plaster separating from the original coat. This is what my sewing room ceiling looked like a week after the storm, when everything was dry and the roofers had removed the plaster that separated from the original layer as well as the original plaster ruined by the rain:
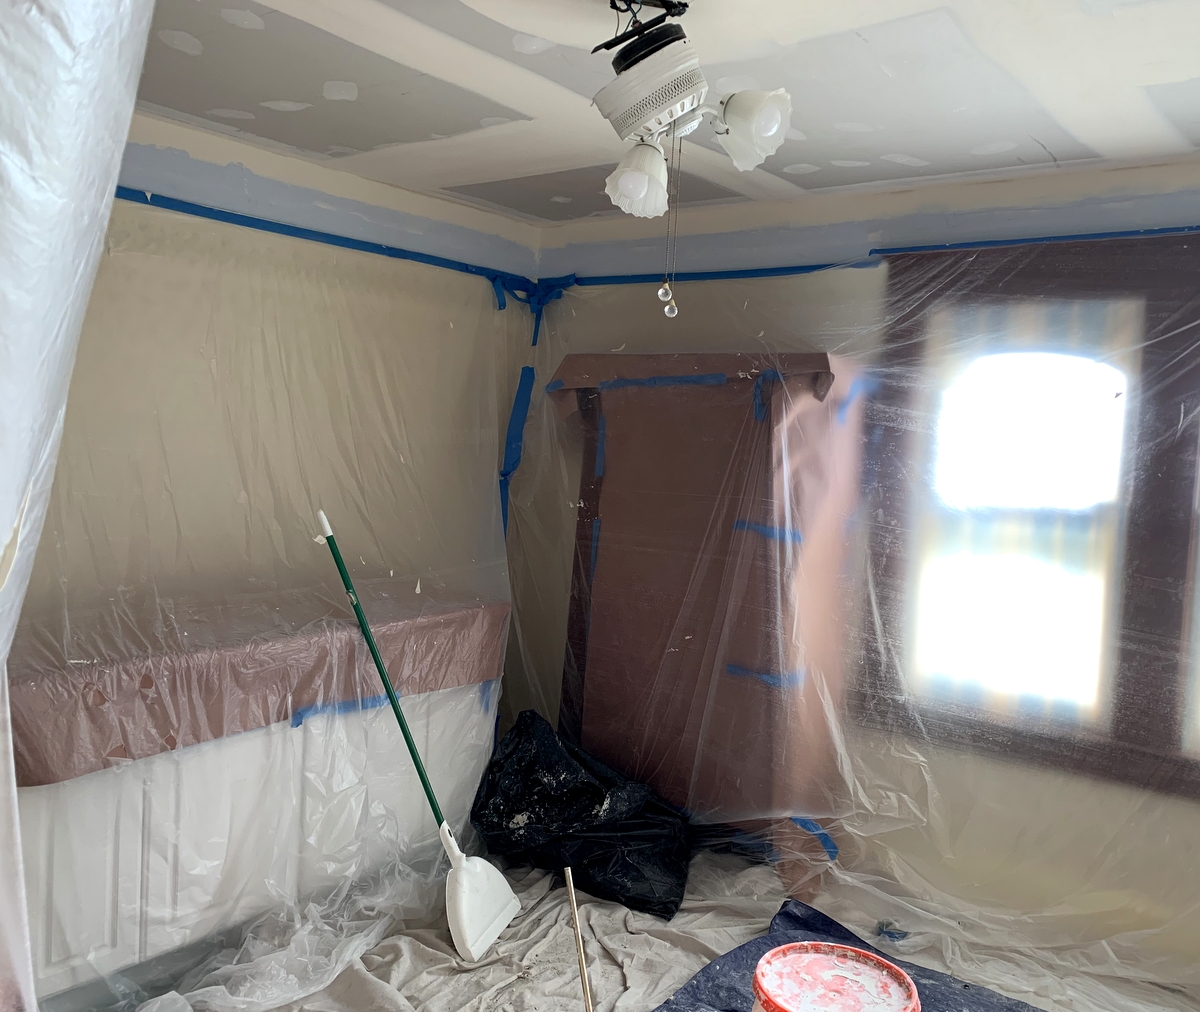
 The solution we all agreed on was to fill in the lath and plaster area with plywood to level out the ceiling and then cover the entire ceiling with drywall. This is what the room looks like now:
 But a temporary halt has been placed on finishing all of the ceiling repairs until some serious structural issues in the attic have been dealt with. (Part of those extenuating circumstances I mentioned in the second paragraph. . .)
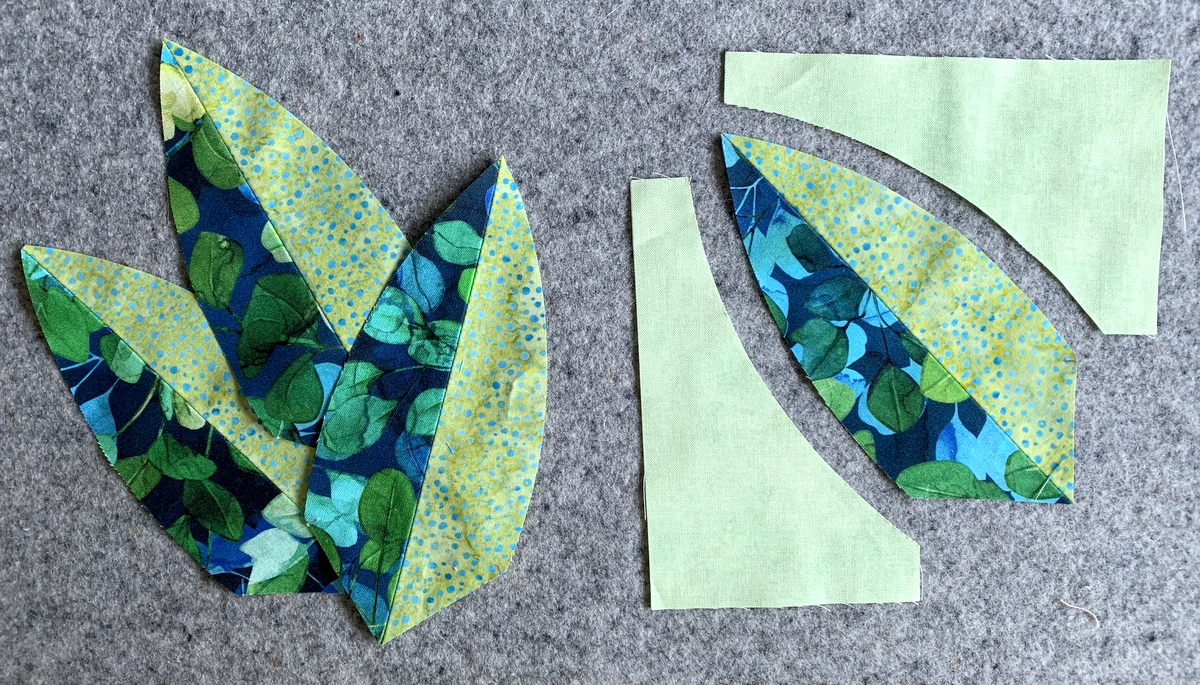
My world is feeling very topsy-turvy at the moment. I am doing my best to maintain my equanimity but I do confess to moments of feeling overwhelmed. Tomorrow I’m going to try to rearrange the things that have been moved into the Annex so that I can at least get to my sewing machine. I know without a doubt that creating something with beautiful fabric will cheer me up considerably.