What a Deal!
At the meeting of the Metropolitan Patchwork Society last night, I bought $5 worth of raffle tickets. The MPS raises money for speaker fees by raffling off donated fabrics, bundling them in pleasing combinations according to color or theme, sometimes adding a book or pattern to sweeten the deal. It’s a terrific way to raise money, destash, or take home a prize, depending on whether you’re the guild, the fabric donor, or the lucky recipient. I’d say that’s a win-win-win.
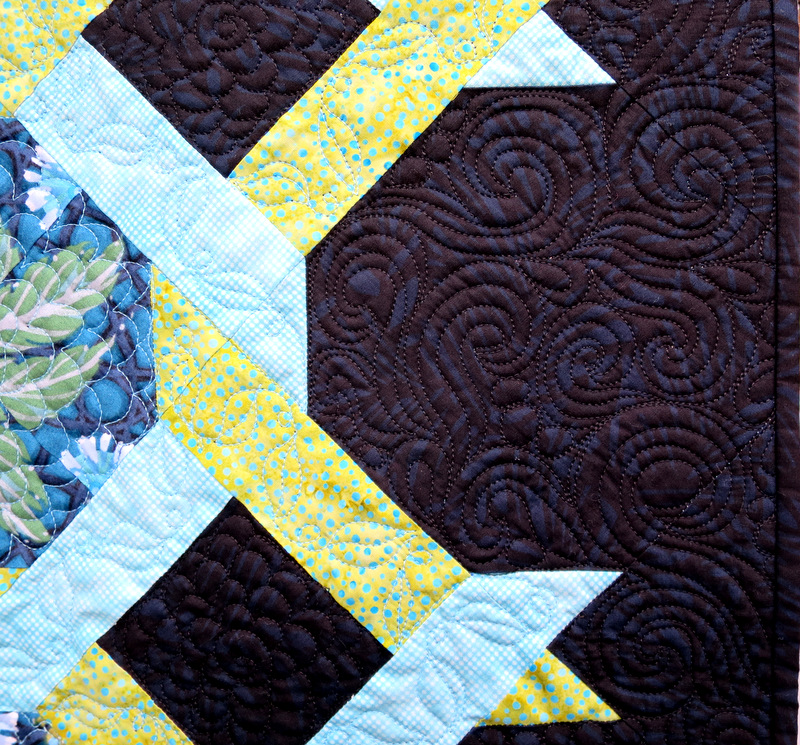
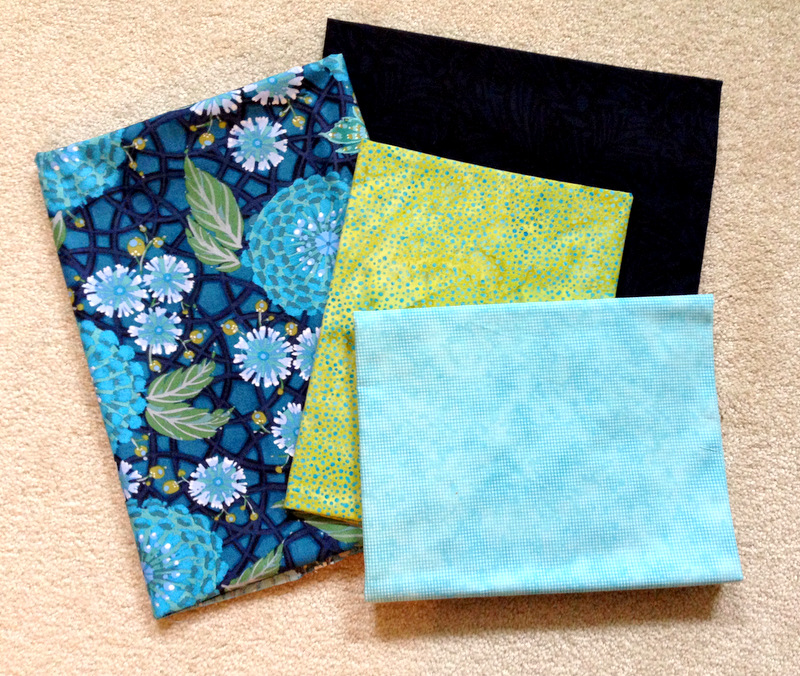
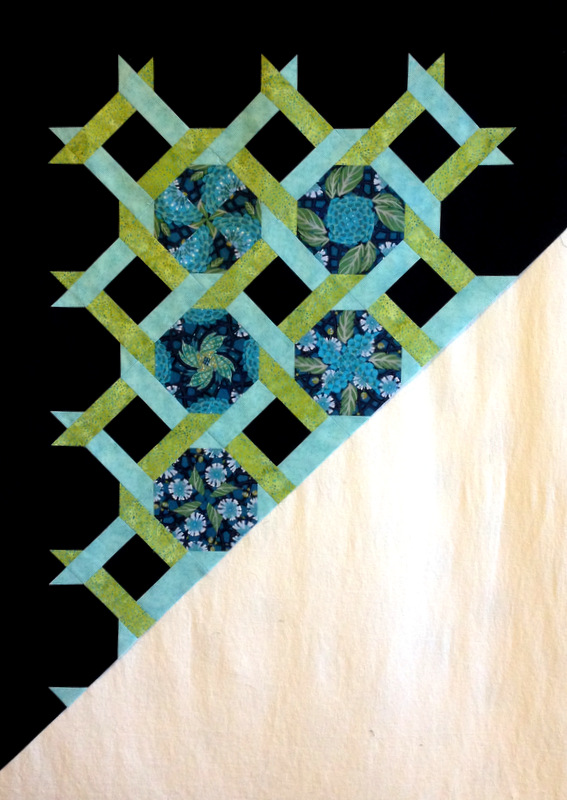
Last night about a dozen bundles of fabric were being raffled. I was particularly taken with this one:

Reader, you know what’s coming: I won it!
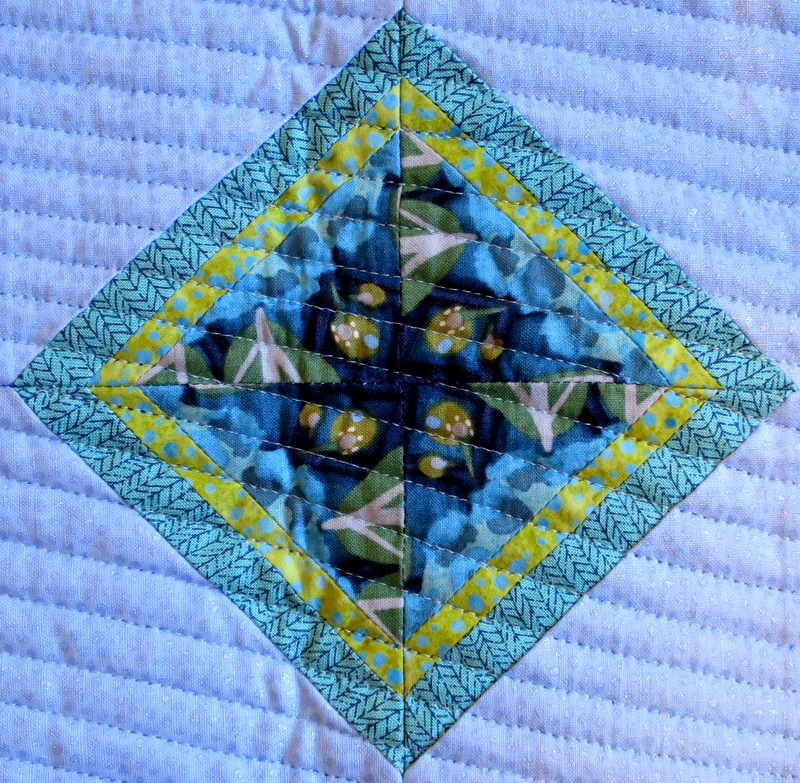
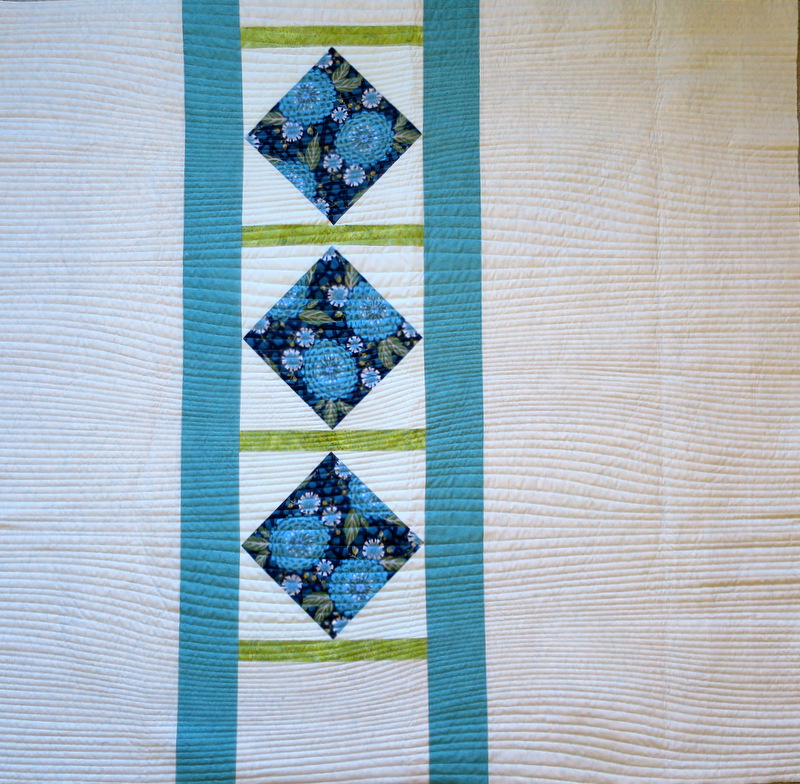
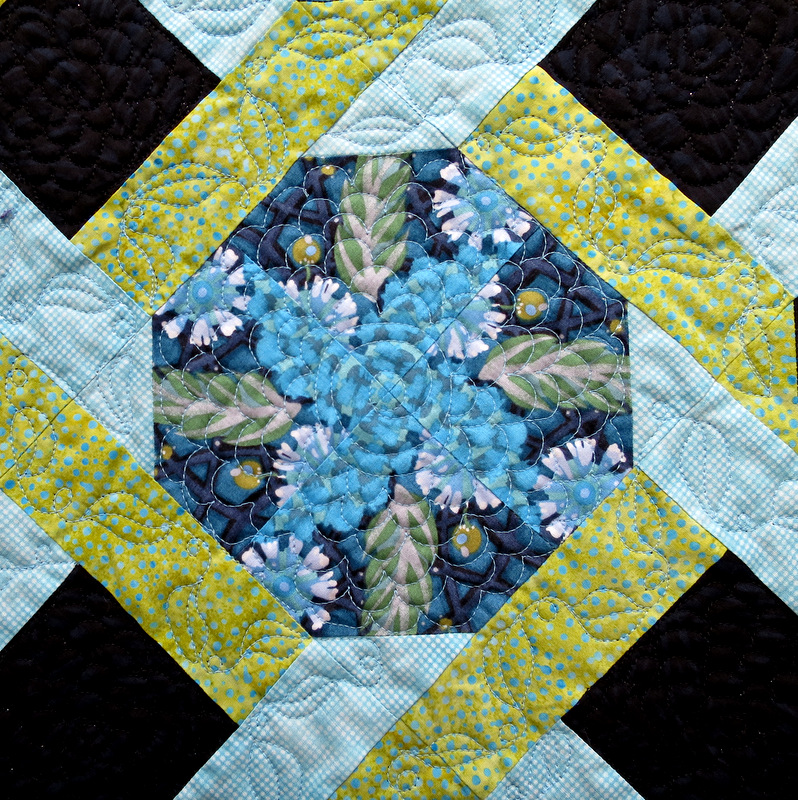
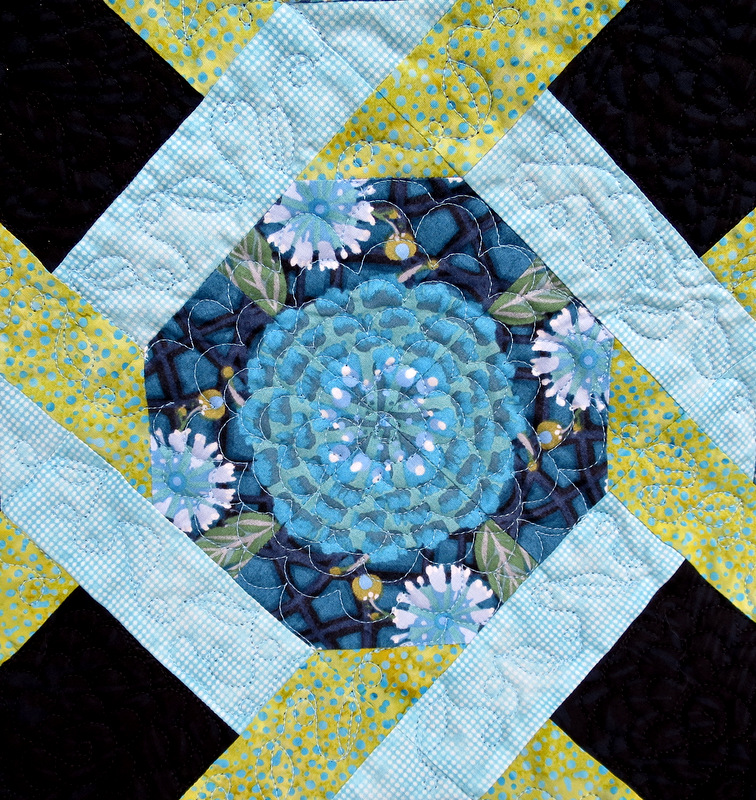
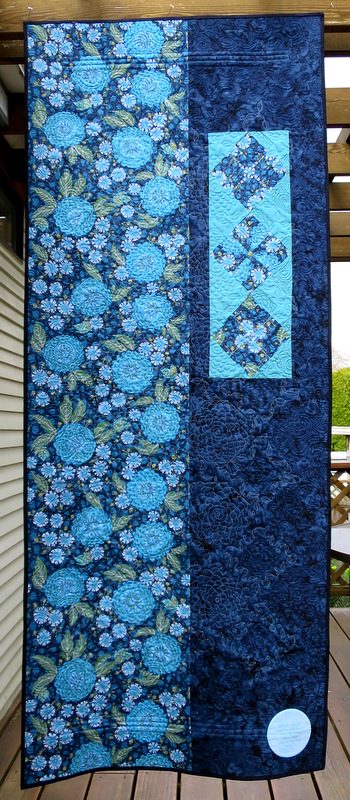
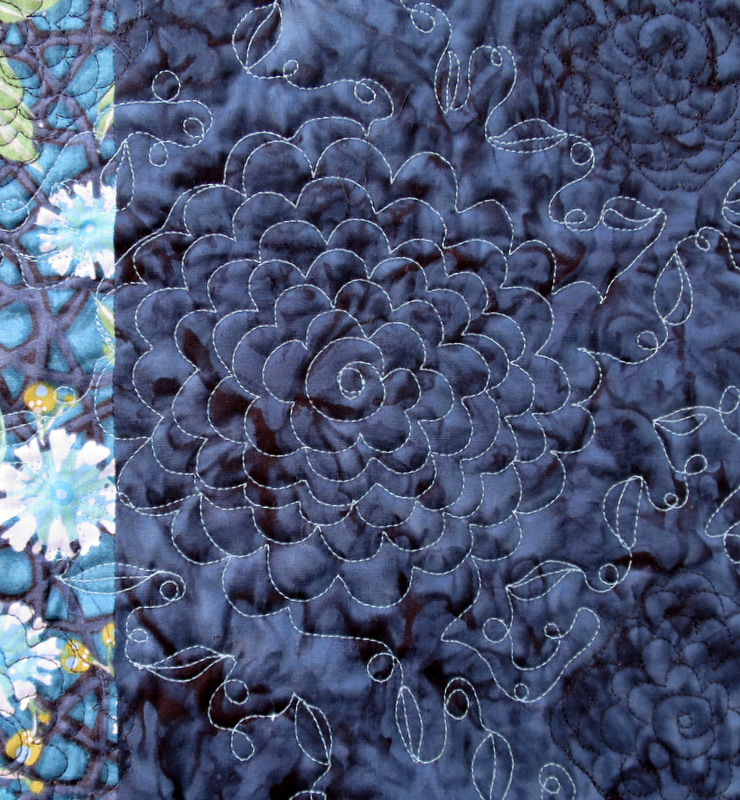
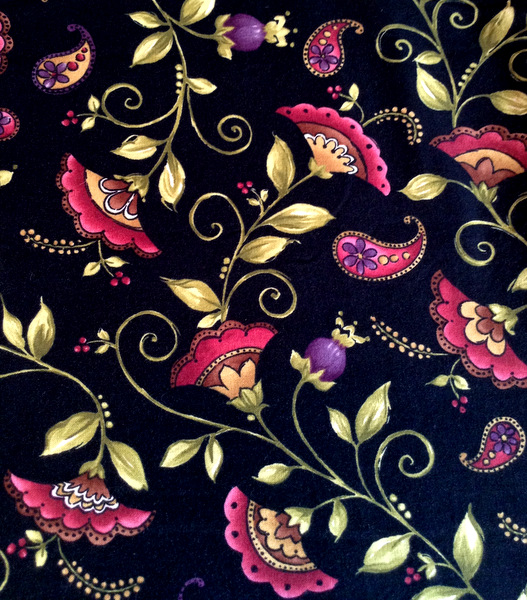
The largest piece was this lush hydrangea and berries print designed by Holly Holderman for Lakehouse Fabrics:

When I got home and measured this piece, I discovered it was 5¼ yards long. What a bonanza! The other three pieces were considerably smaller, but I still wound up with over seven yards of beautiful fabric. For five dollars. Wow.
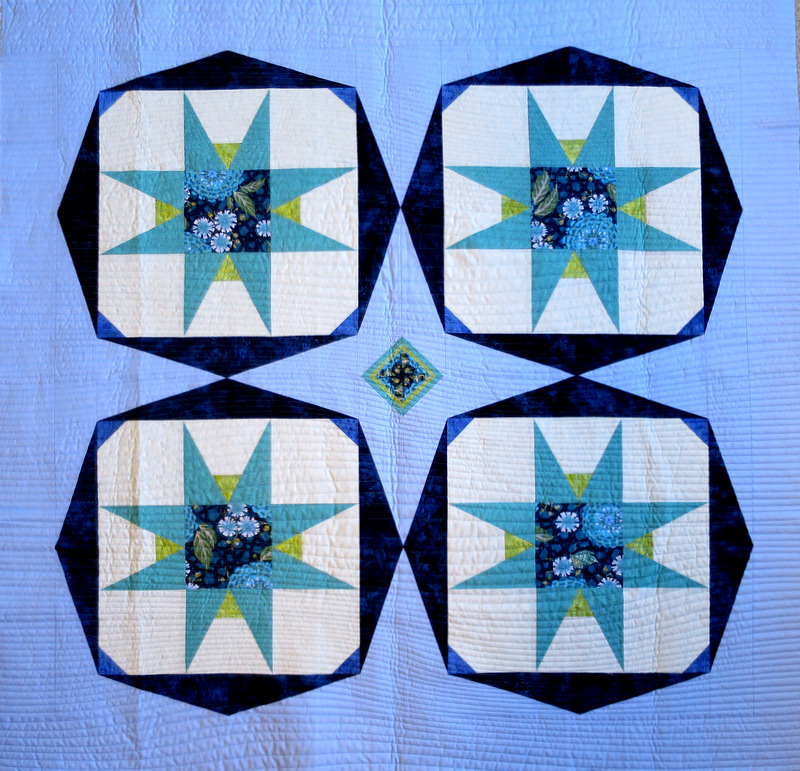
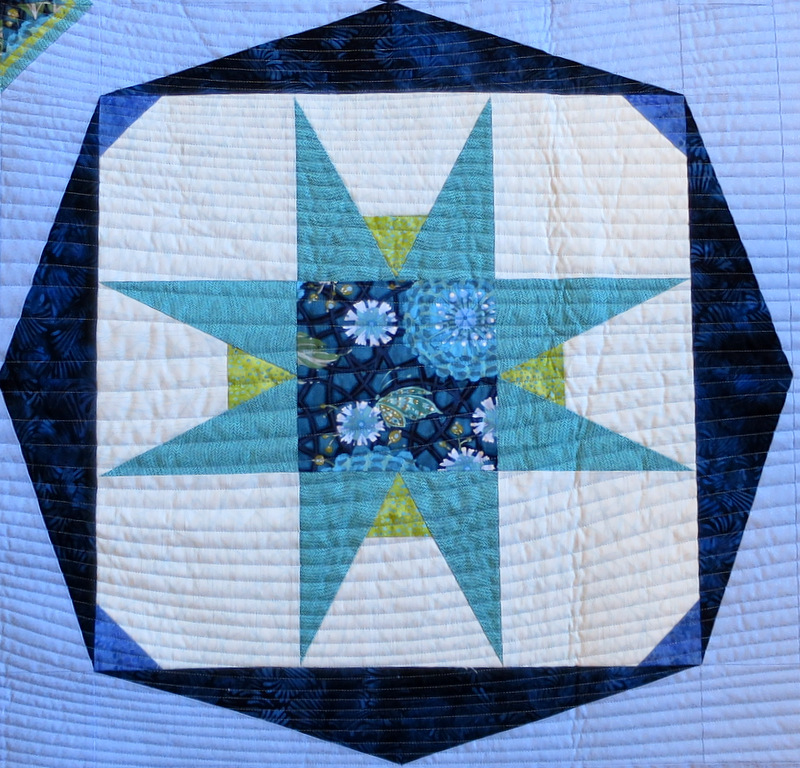
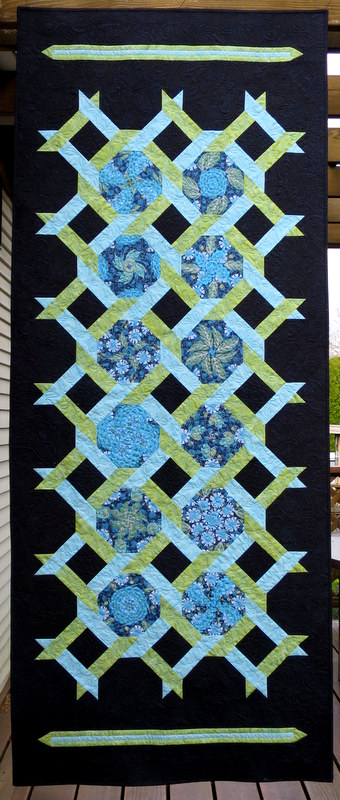
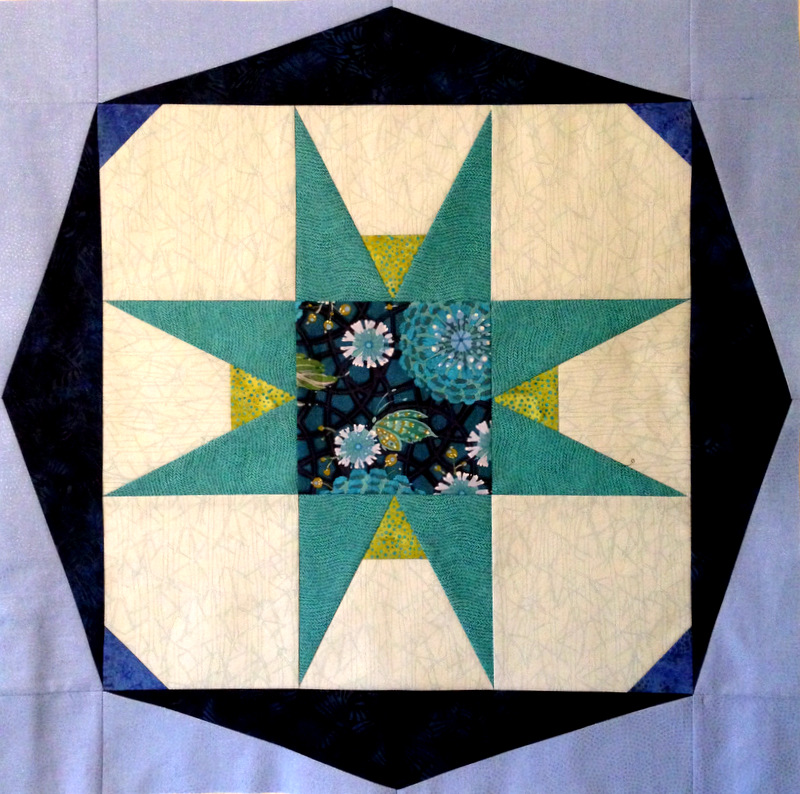
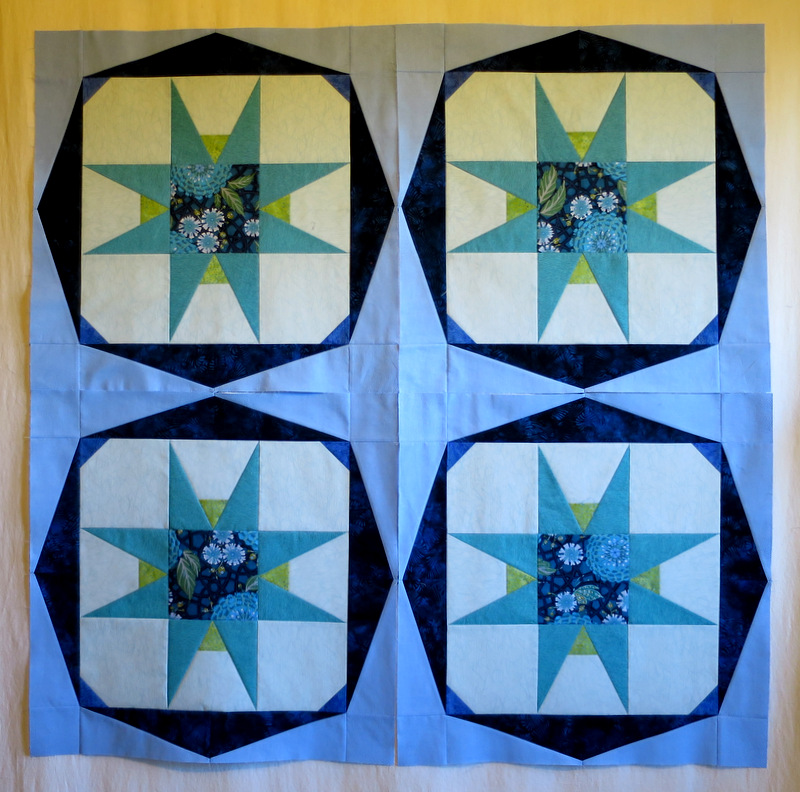
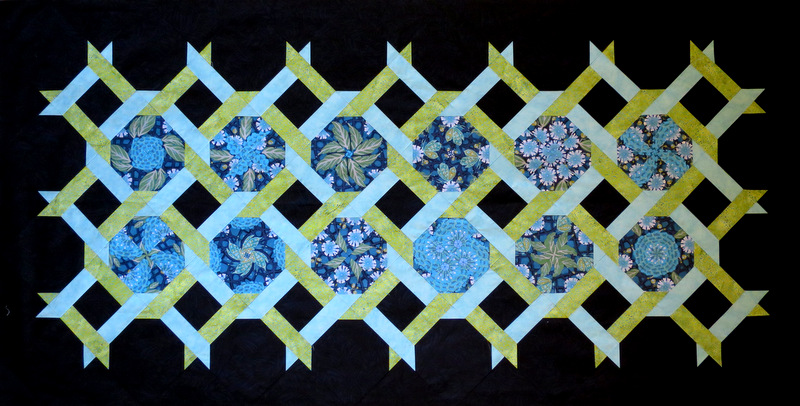
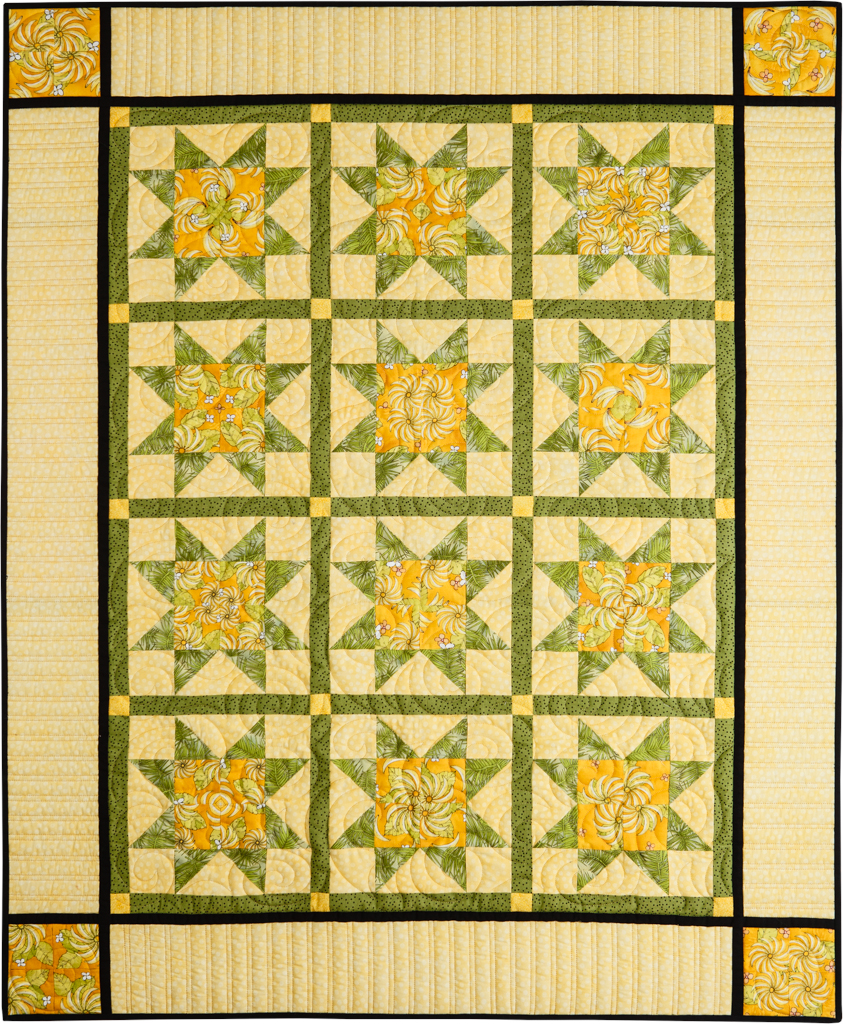
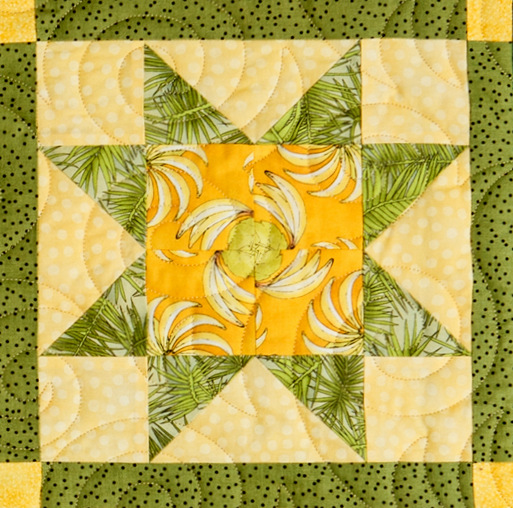
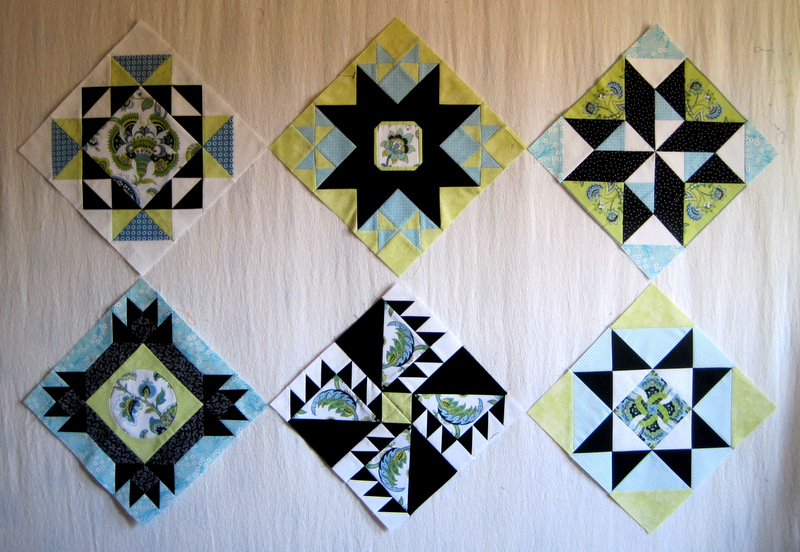
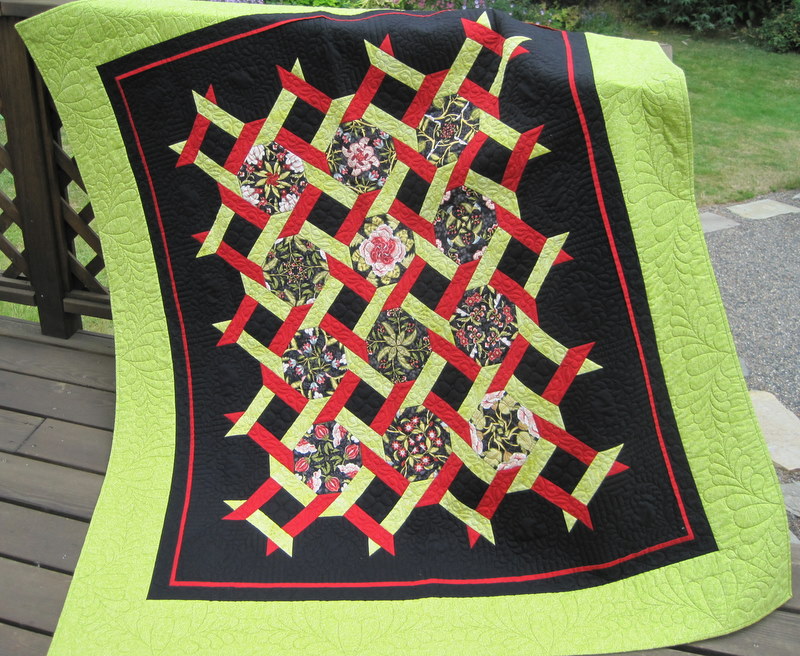
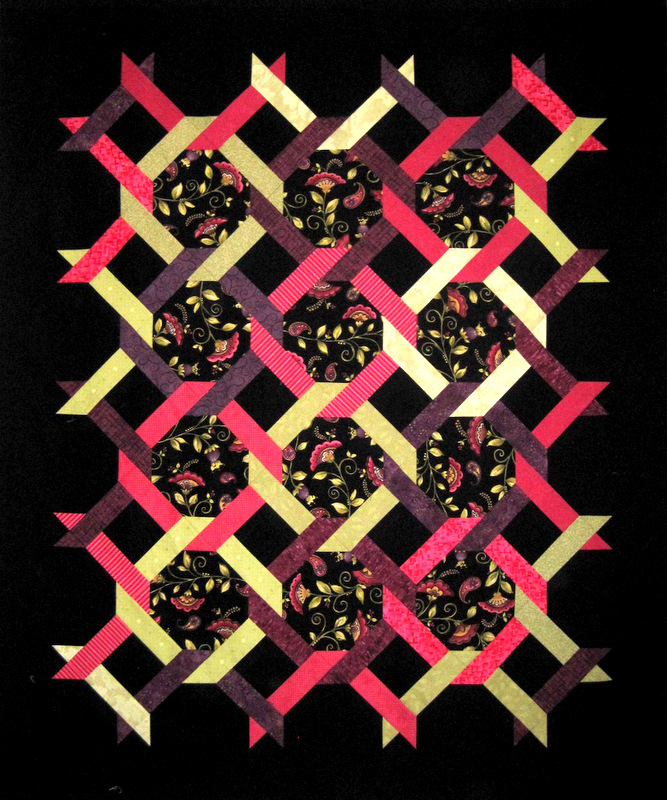
When this fabric line came out a few years ago, I bought a piece of it in the pink colorway and eventually made this quilt from my 4-Patch Wonder pattern:
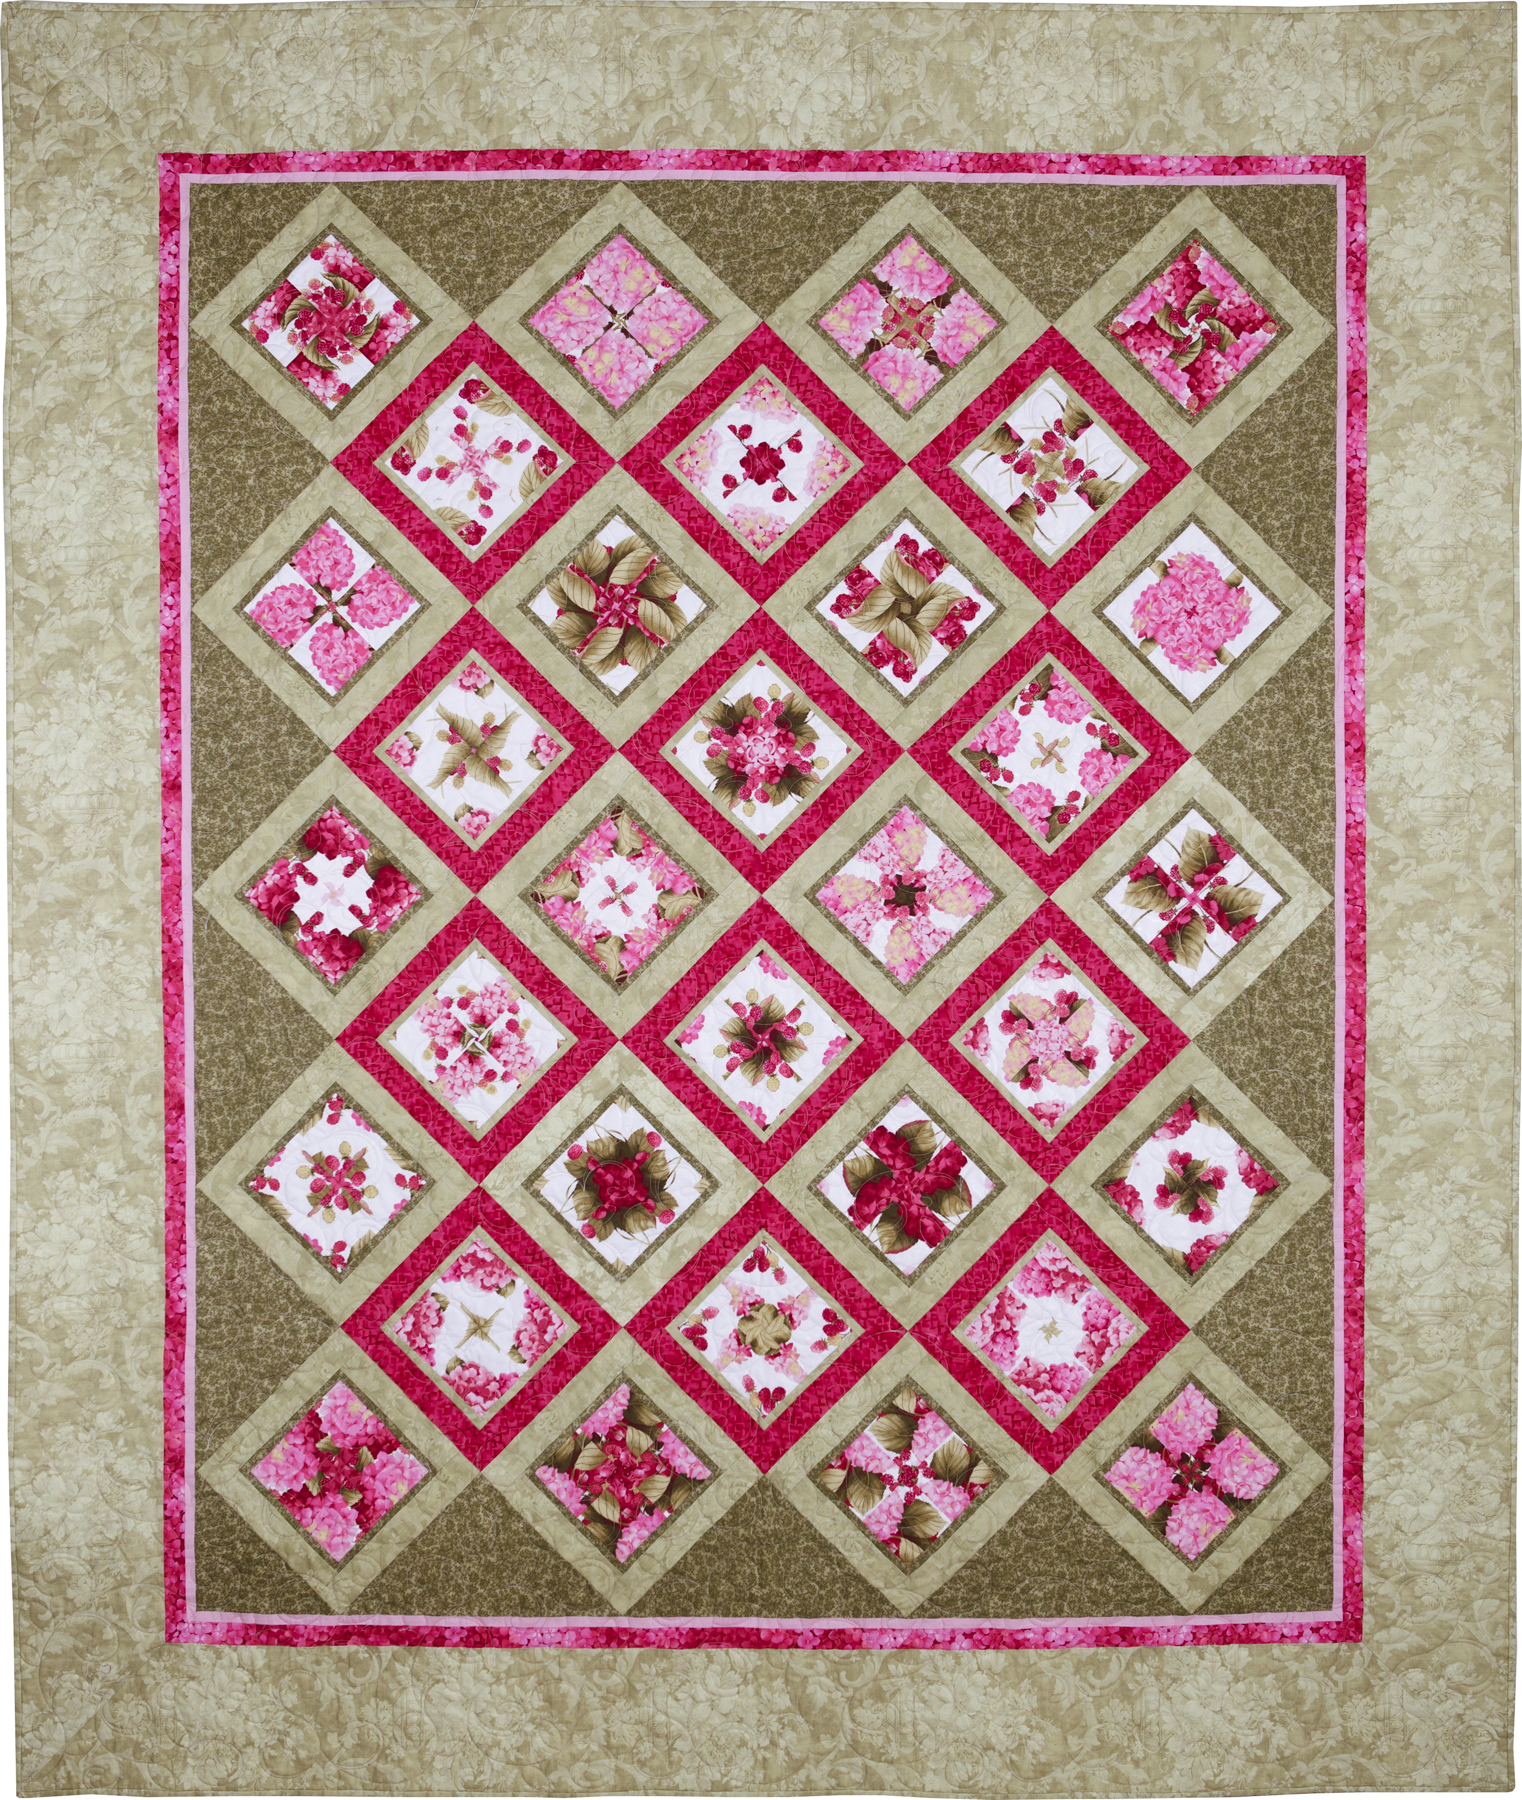
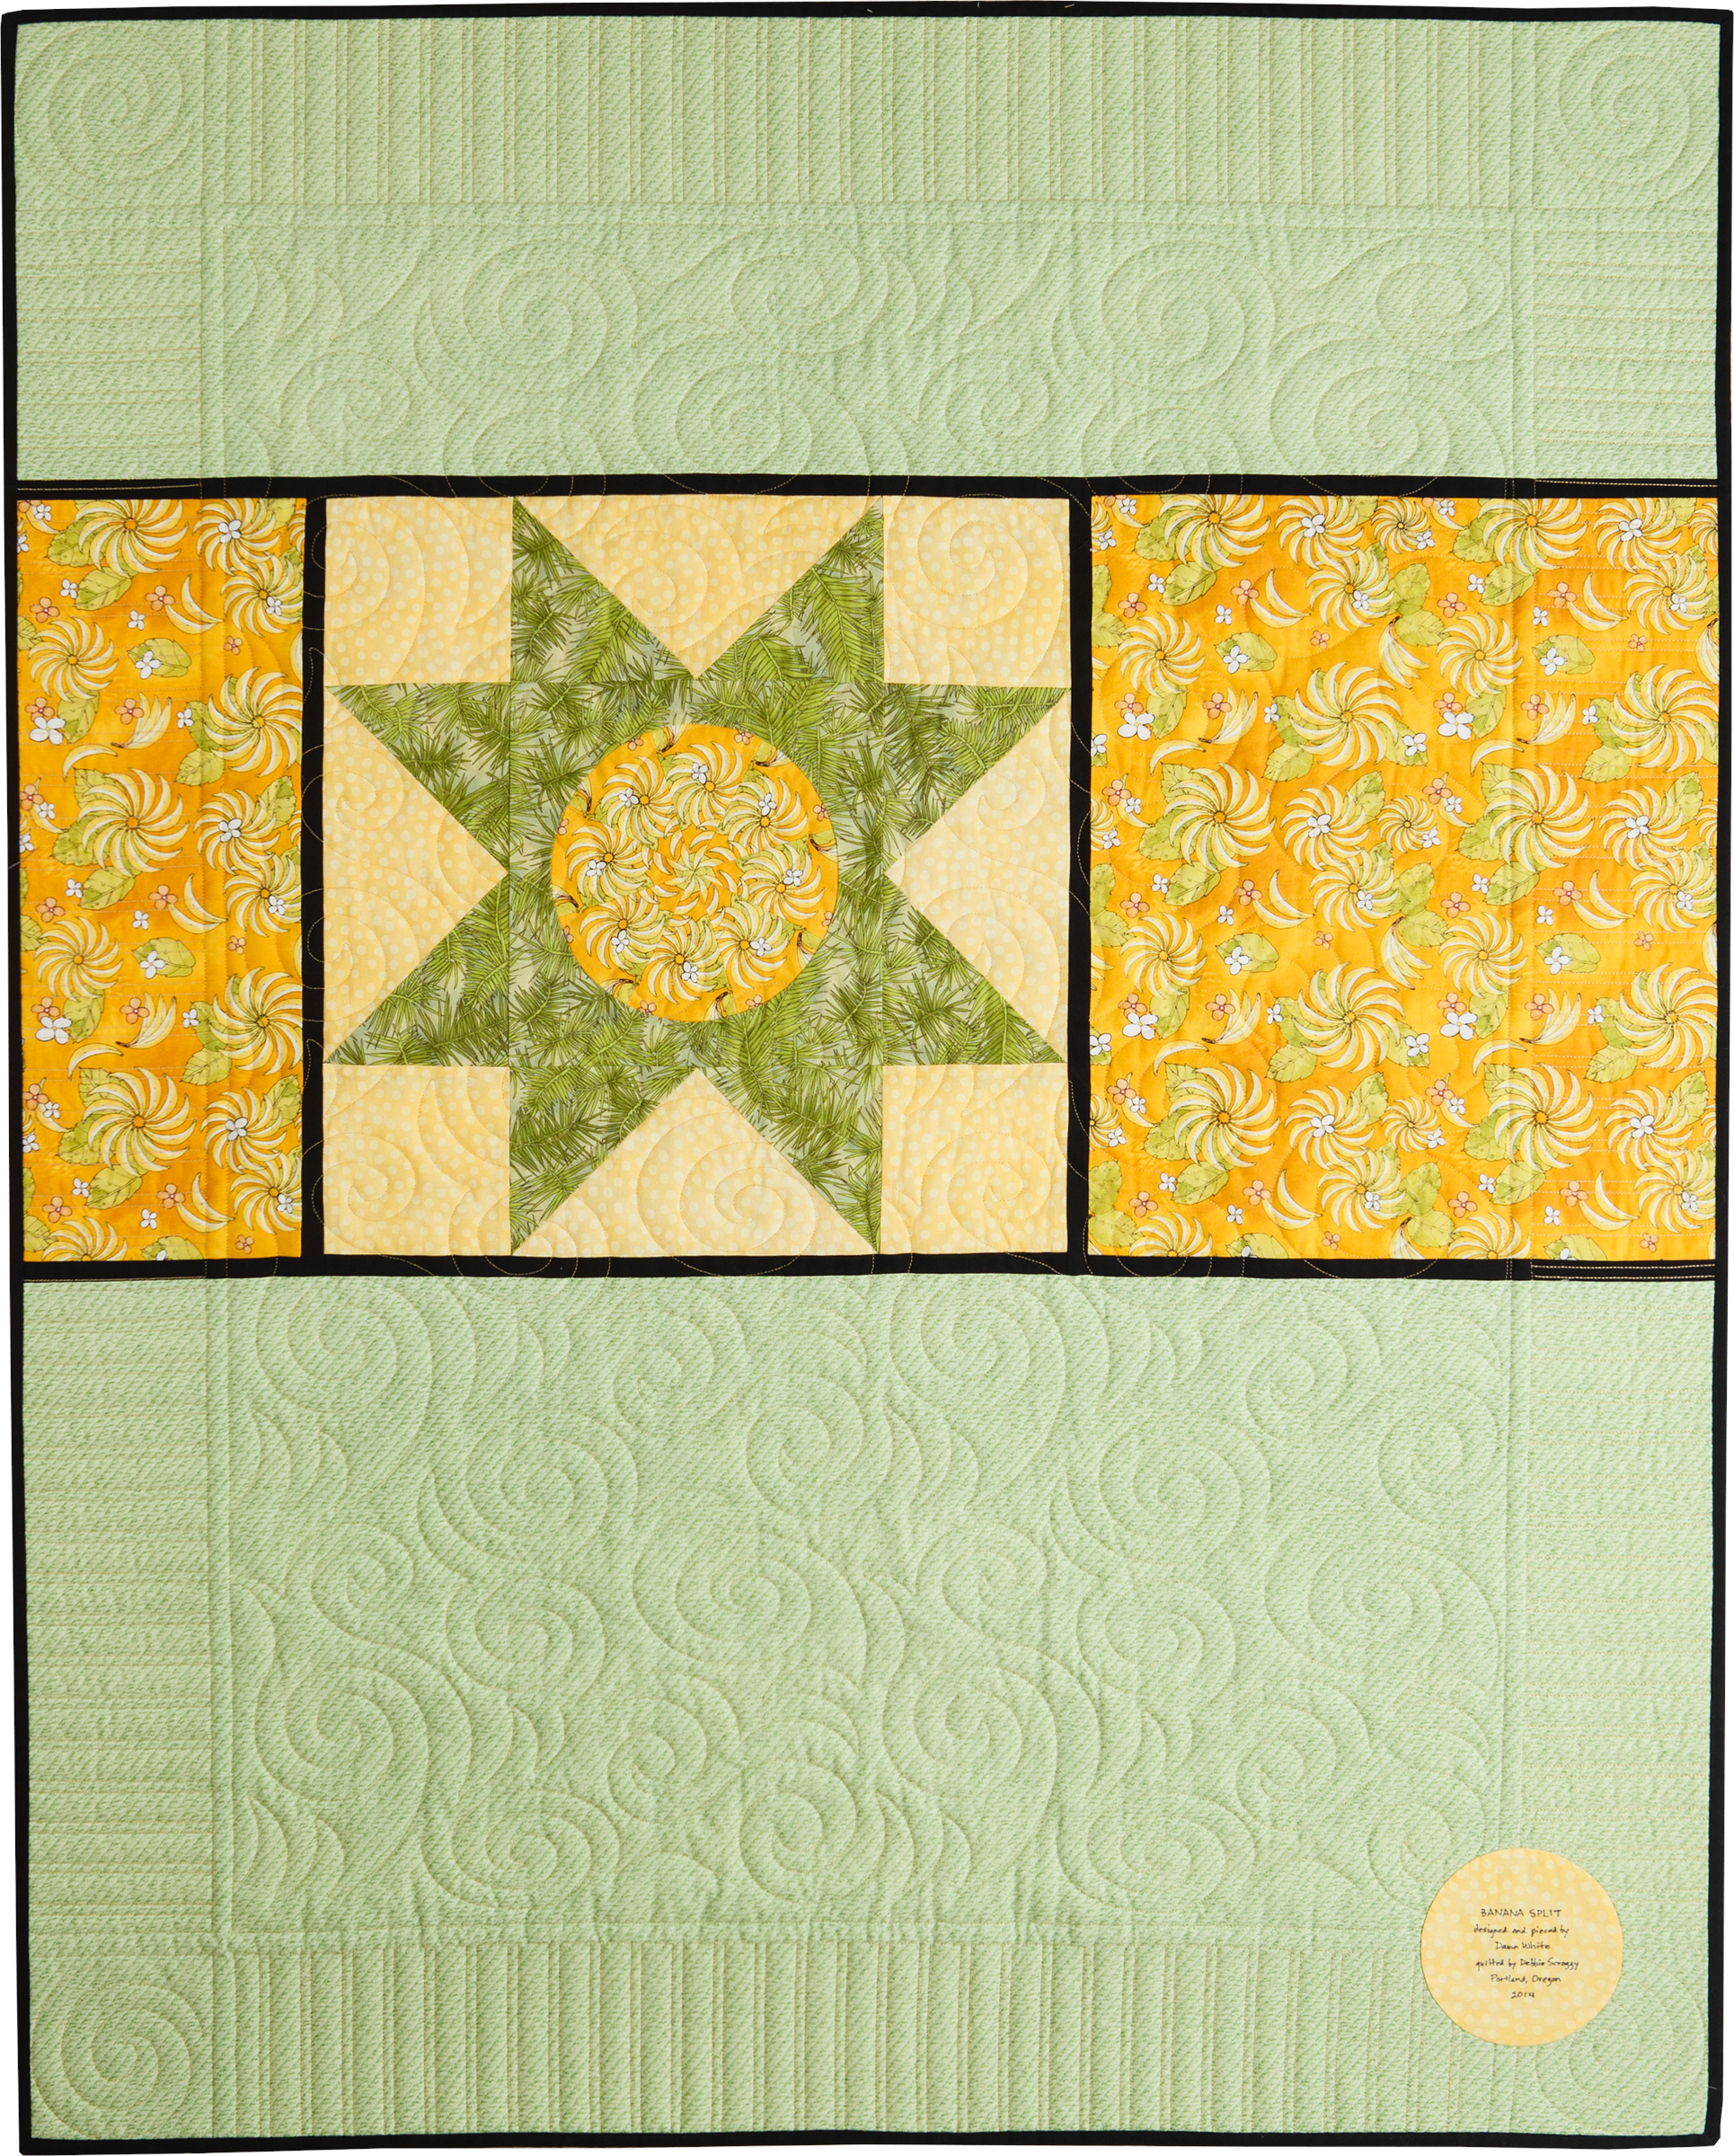
This quilt, named Framboise, is one of my favorites. (You can read about the making of it in this post.) Here’s a shot of Framboise with the beautiful McKenzie River in central Oregon as a backdrop:
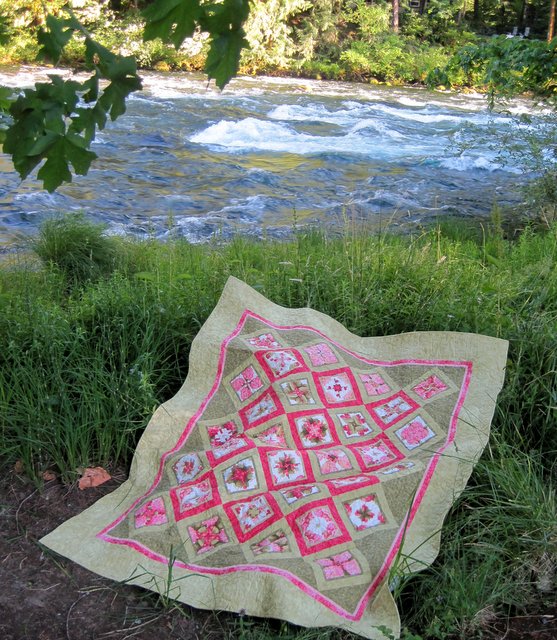
Framboise is currently on the bed in the guest room so I get a glimpse of it every time I walk by the room.
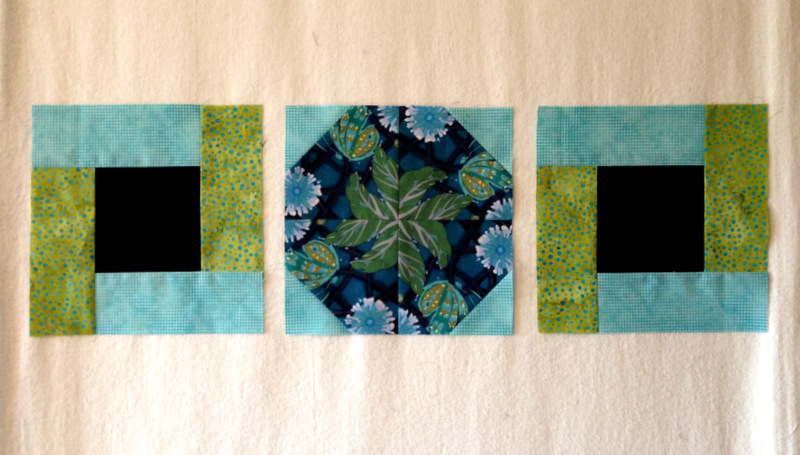
What will I make with my new blue hydrangea fabric? I haven’t a clue. I’m just happy that it’s now in my stash along with the other three pieces in the bundle.