Last December I made the Dear Husband a new bathrobe because his old one was practically falling apart. I remember thinking, “My robe is pretty worn out, too. I should make myself a new one.”
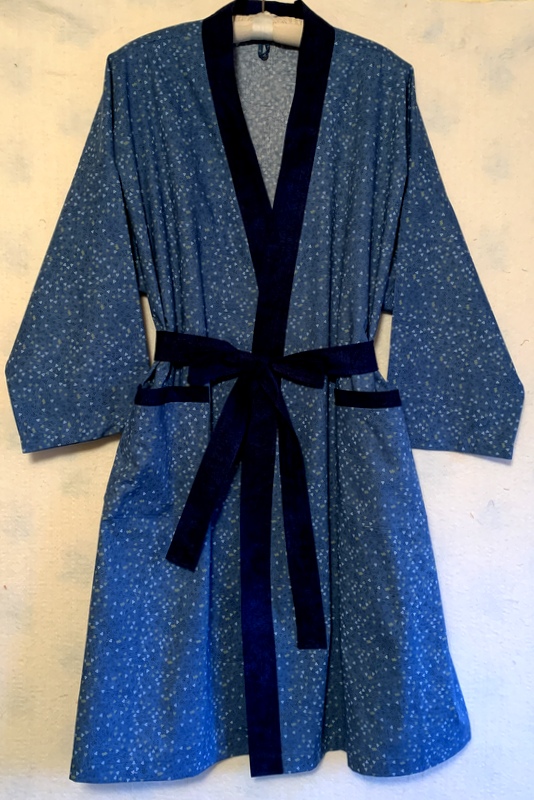
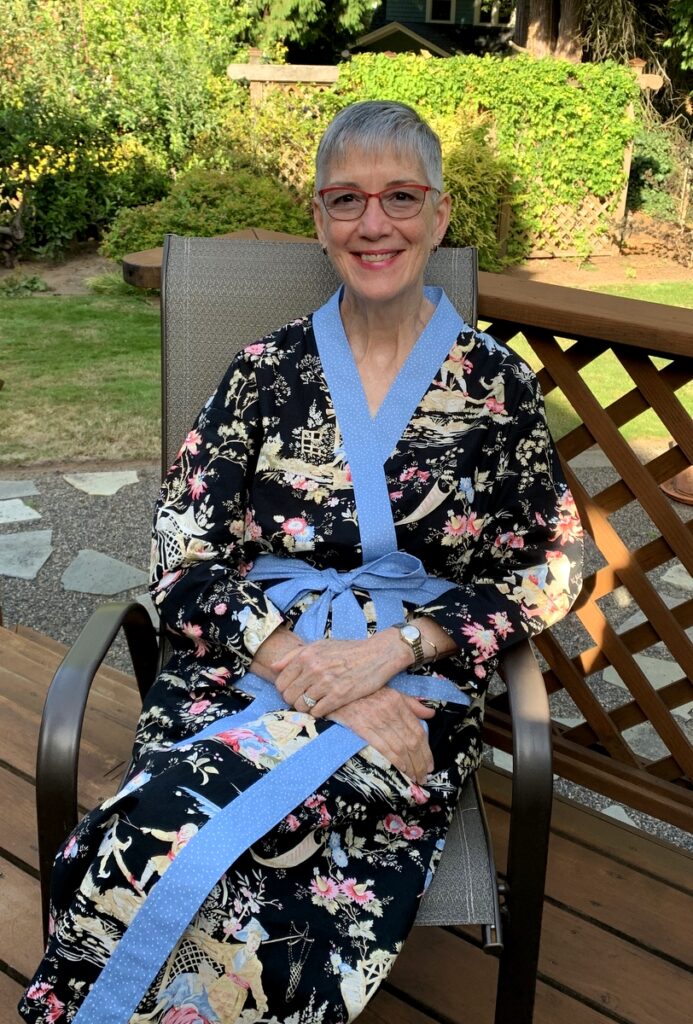
Fast forward eight months. Eight months! That’s how long it took me to get the job done. But the wait was worth it. Here’s my brand new kimono-style robe:
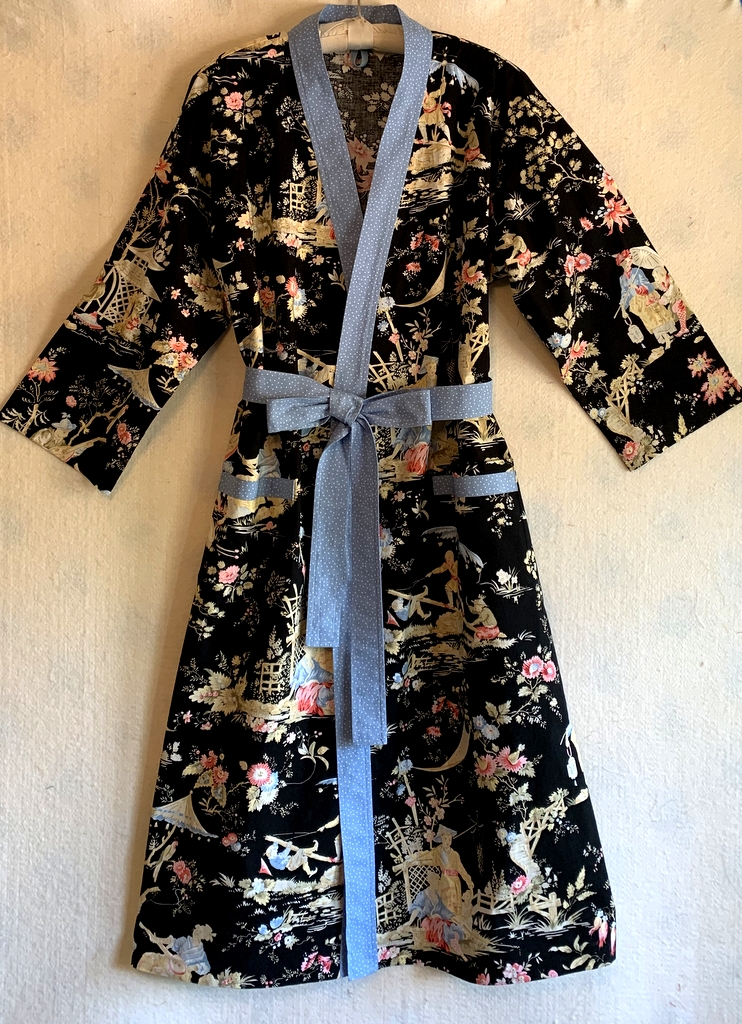
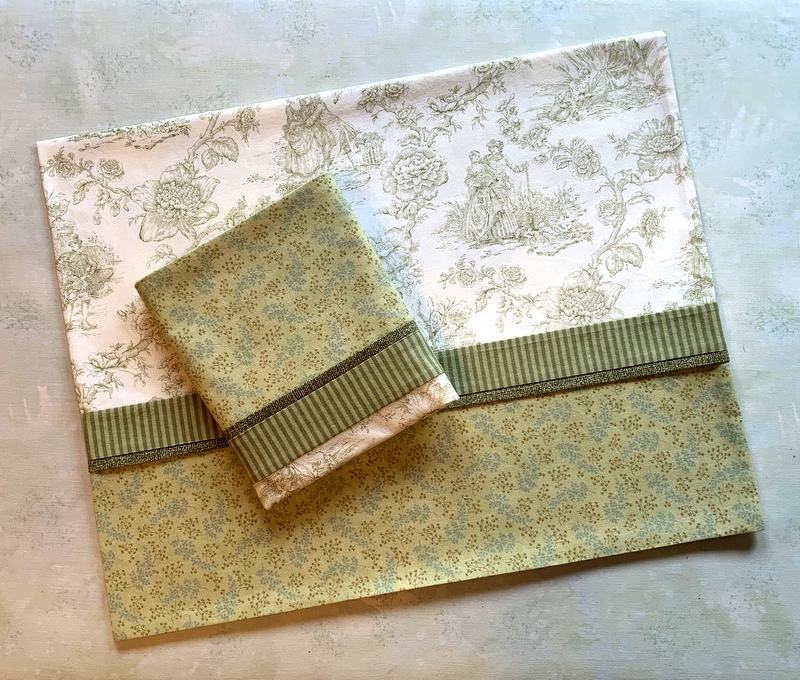
The fabric is a lovely Asian-inspired toile from Michael Miller Fabrics that’s been in my stash for a number of years. I probably bought it thinking to use it in a quilt. Fortunately I had purchased a fairly large piece, enough to eke out a bathrobe. Also in my stash was a piece of blue polka-dotted fabric that was a good choice for the contrasting band, belt, and pocket trim.
Here’s what the robe looks like from the back:
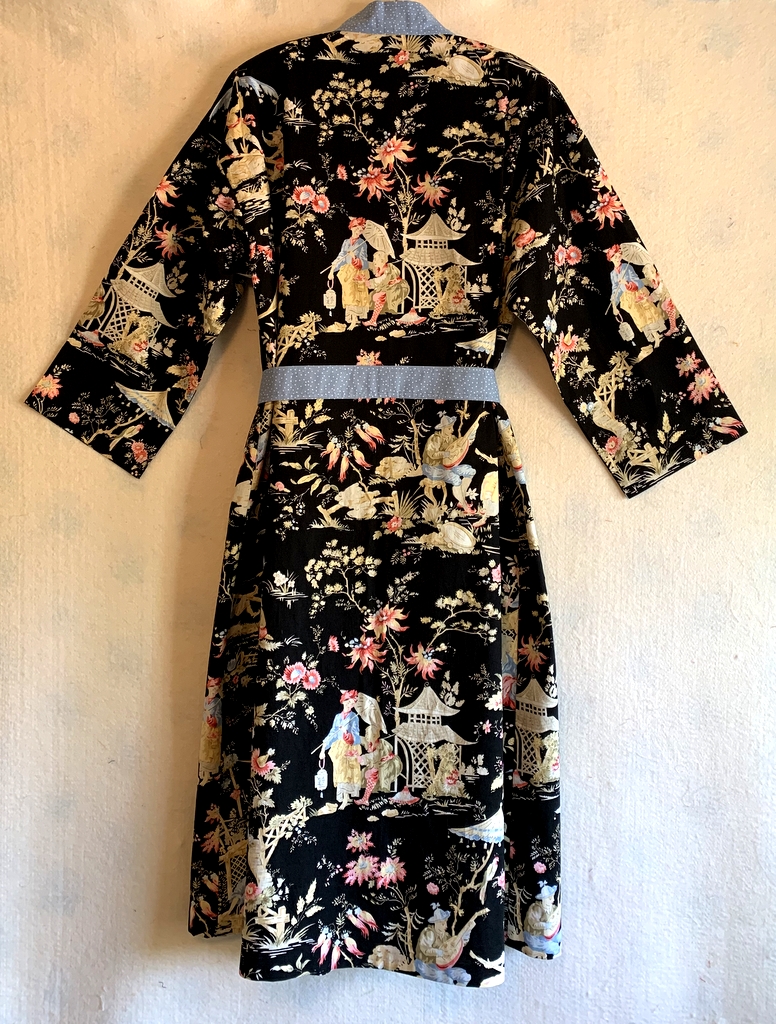
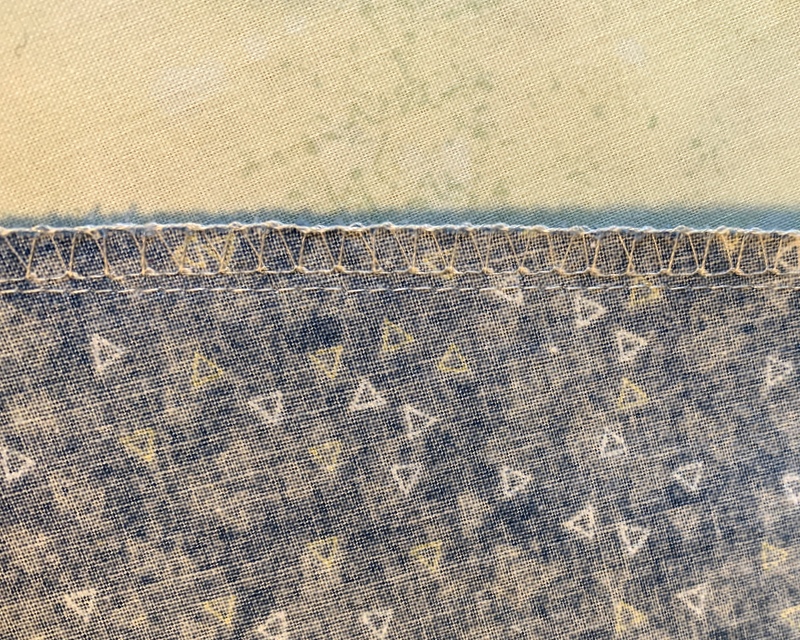
Rather than make belt loops and a loose belt as the pattern called for, I stitched the belt directly to the robe on the back:
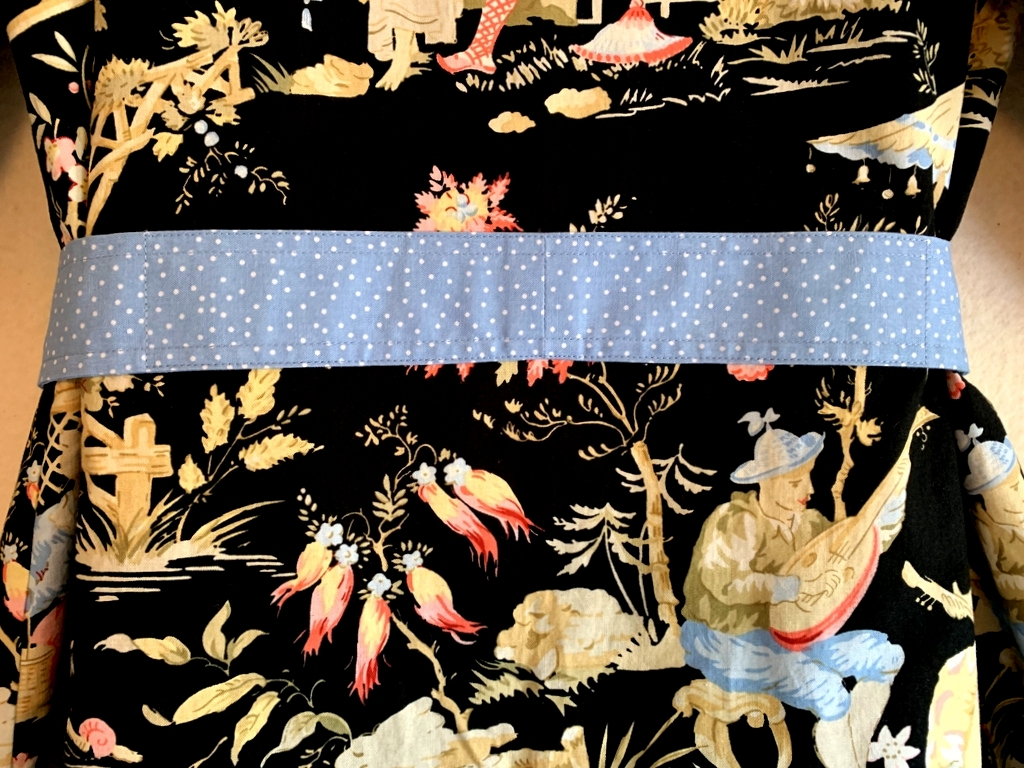
Perhaps you can see the stitching a bit better in this next photo:
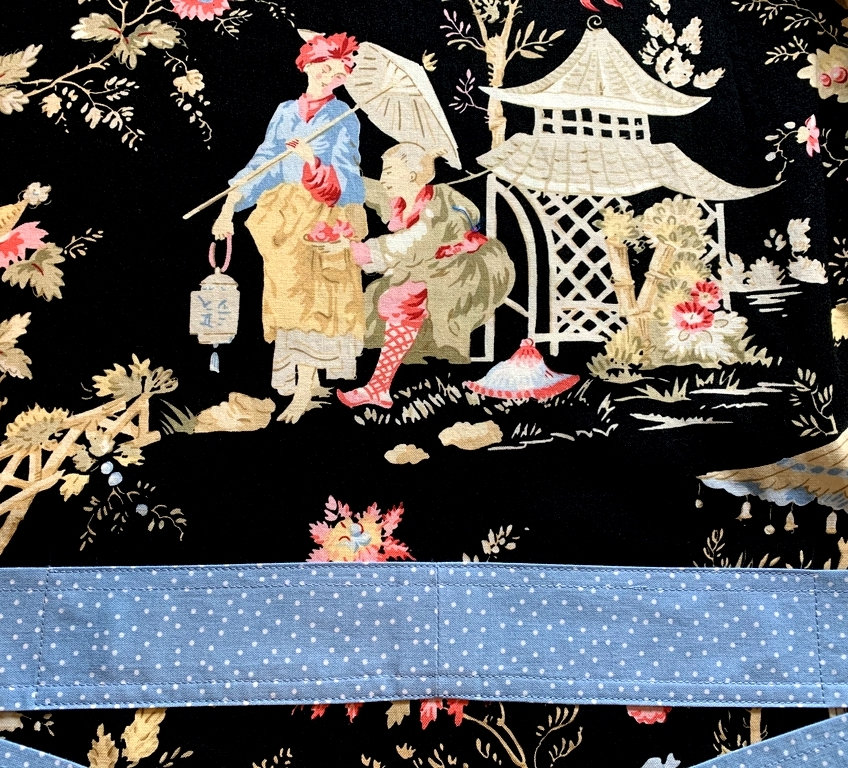
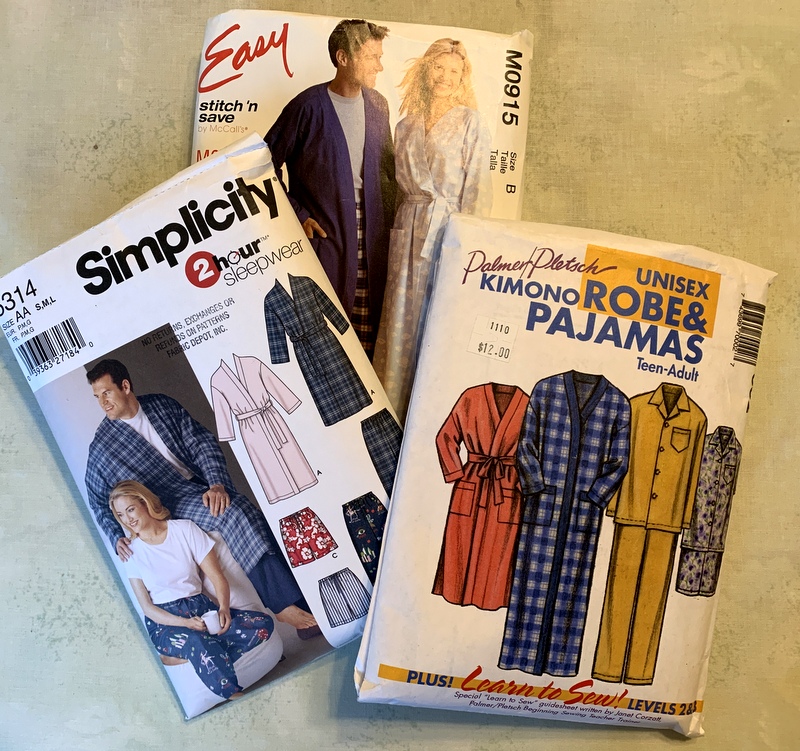
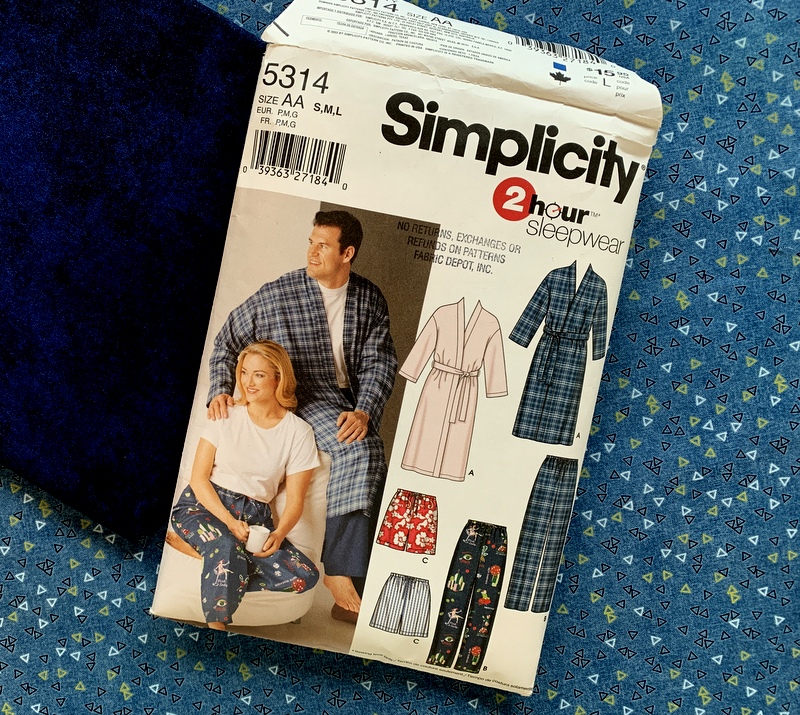
The Simplicity pattern I used (5314) didn’t include pockets — what bathrobe doesn’t have pockets, for heaven’s sake? — so of course I made my own. And because the toile fabric depicts large-scale scenes of people and objects like pagodas and bridges and musical instruments, I decided to match the design on the pockets to the fabric underneath.
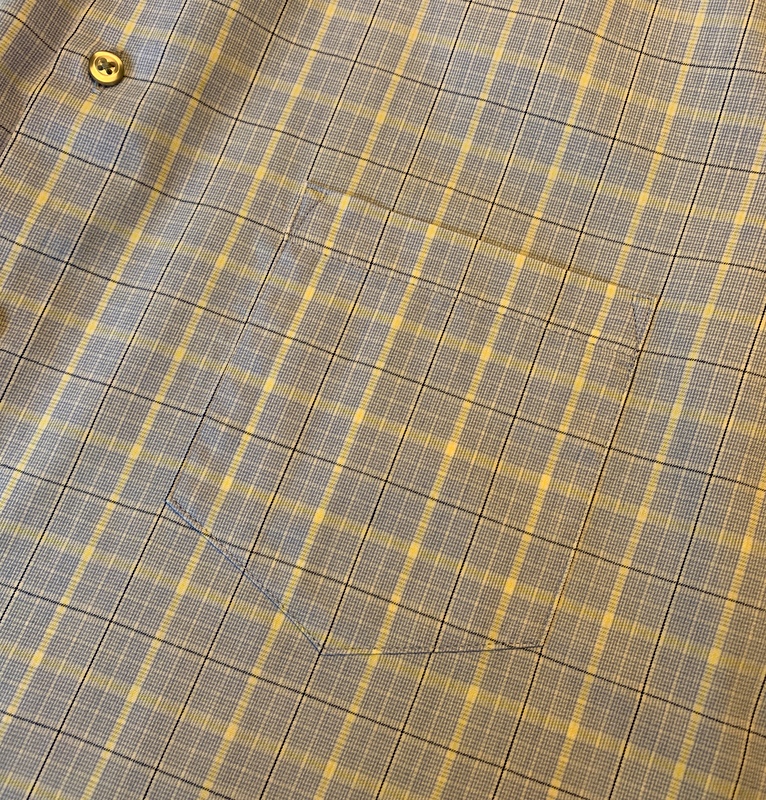
To do that I made patterns for the pockets out of freezer paper. After positioning them and ironing them in place, I made registration lines on the pattern that lined up with the design underneath:
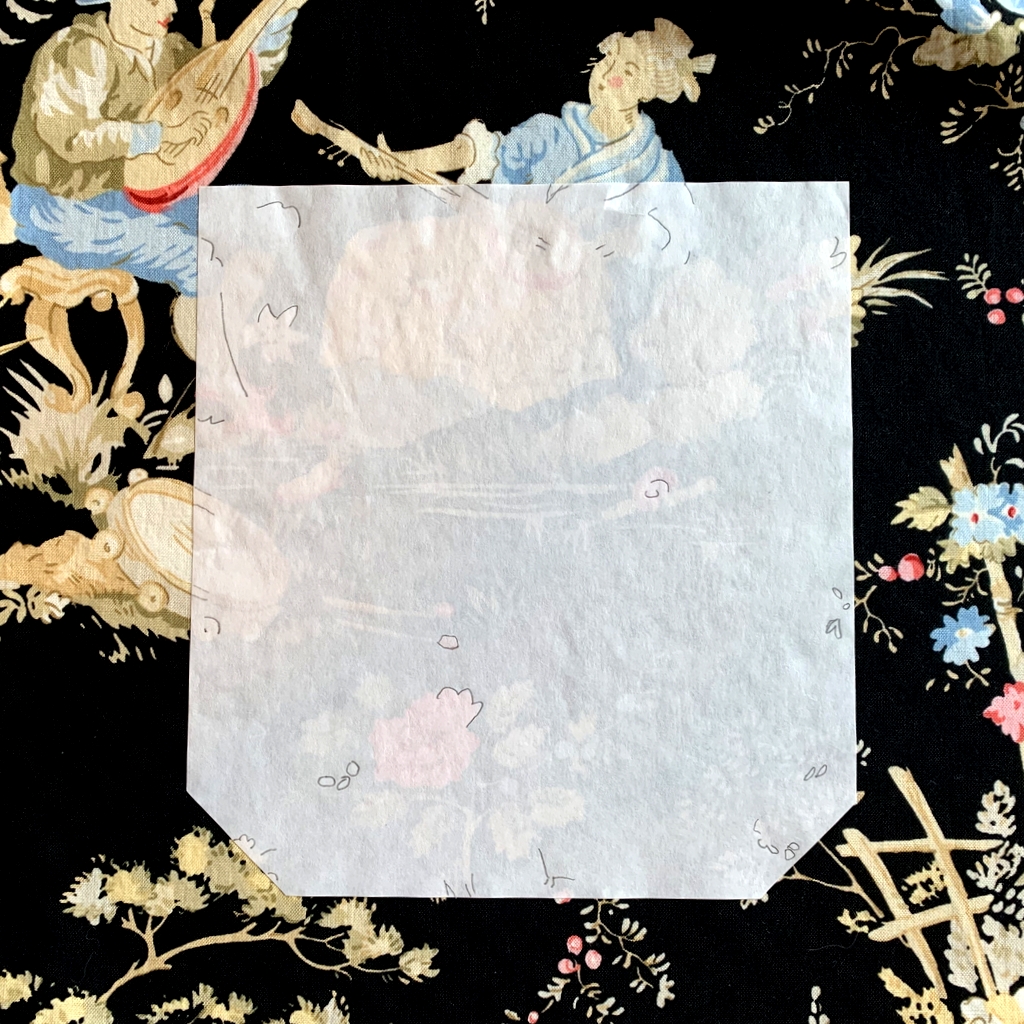
Then I lifted the freezer paper pattern from the robe and matched it with the same design elements on the fabric scraps I had left over after cutting out the robe. Voilà — fussy-cut pockets.
Here’s the right-side pocket pinned in place:
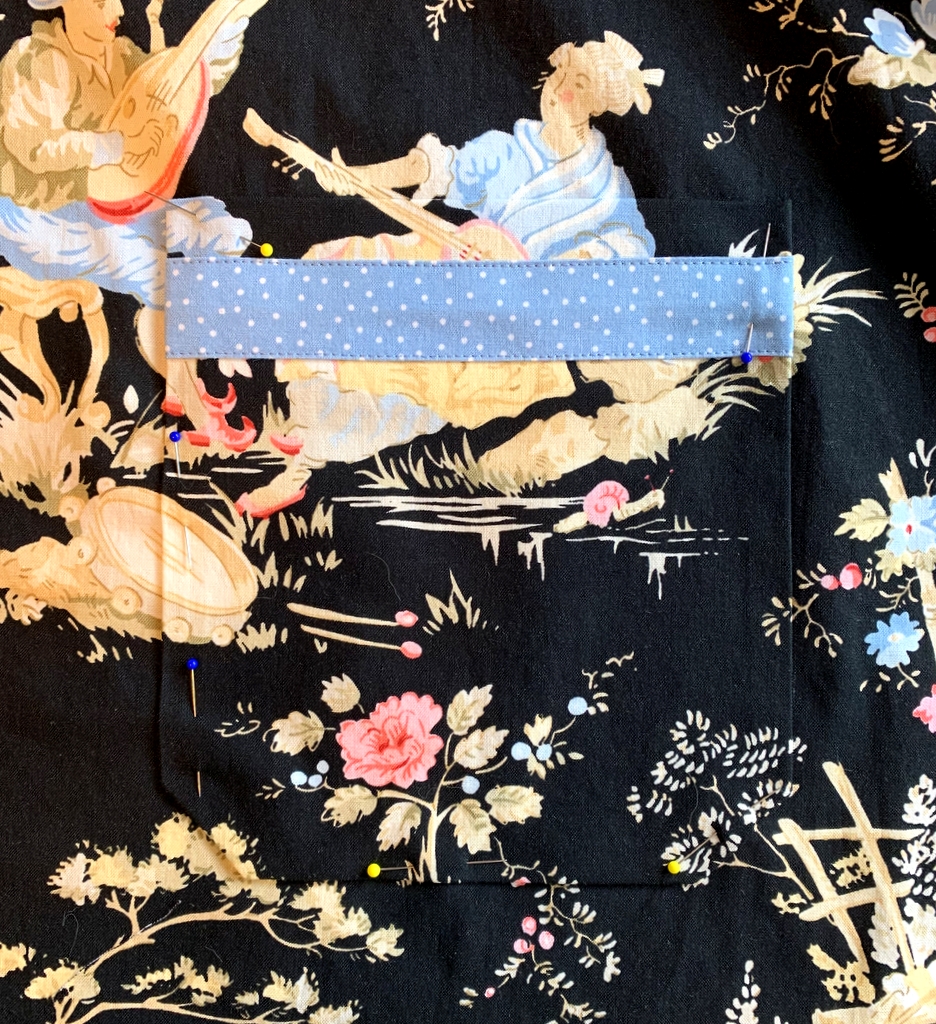
(You’ll notice I added an inch-wide strip of my contrasting polka-dotted fabric to the pockets for some extra design appeal.)
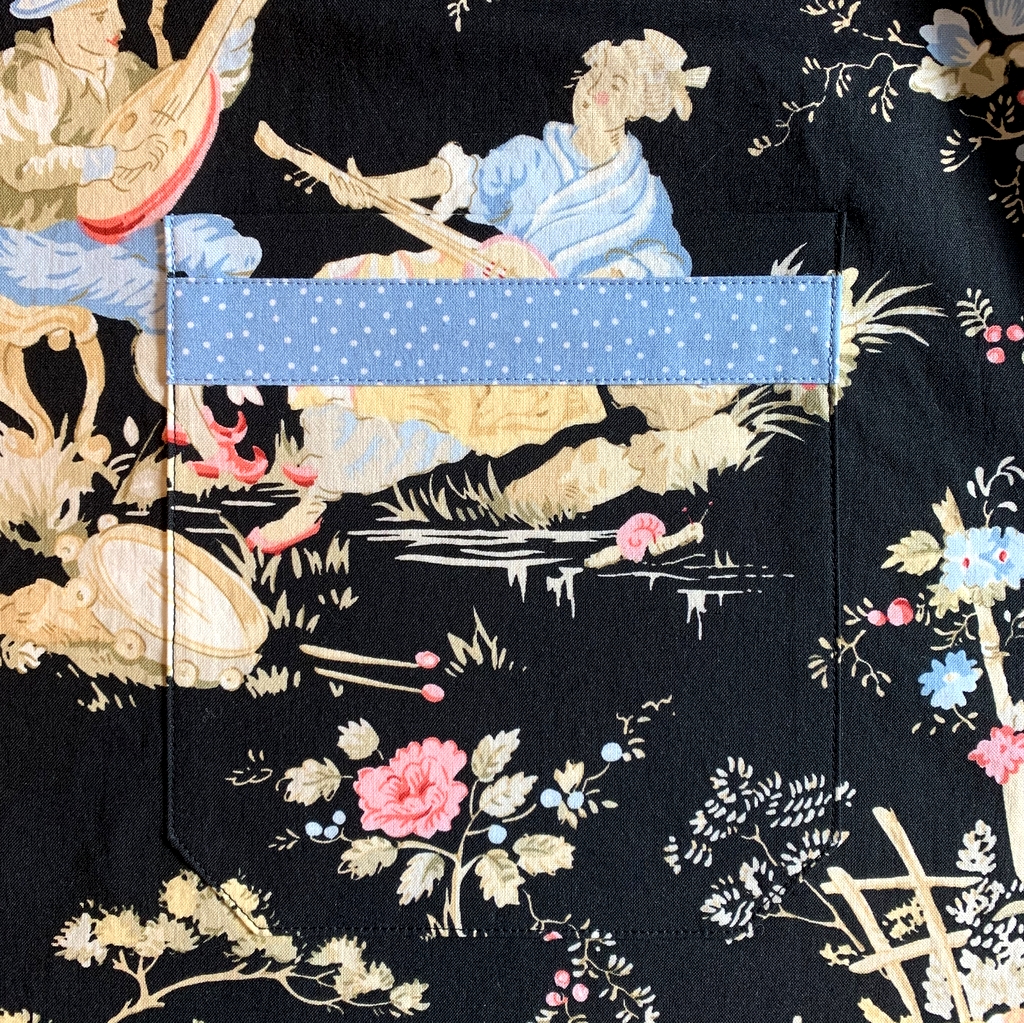
Here’s the pocket stitched in place:
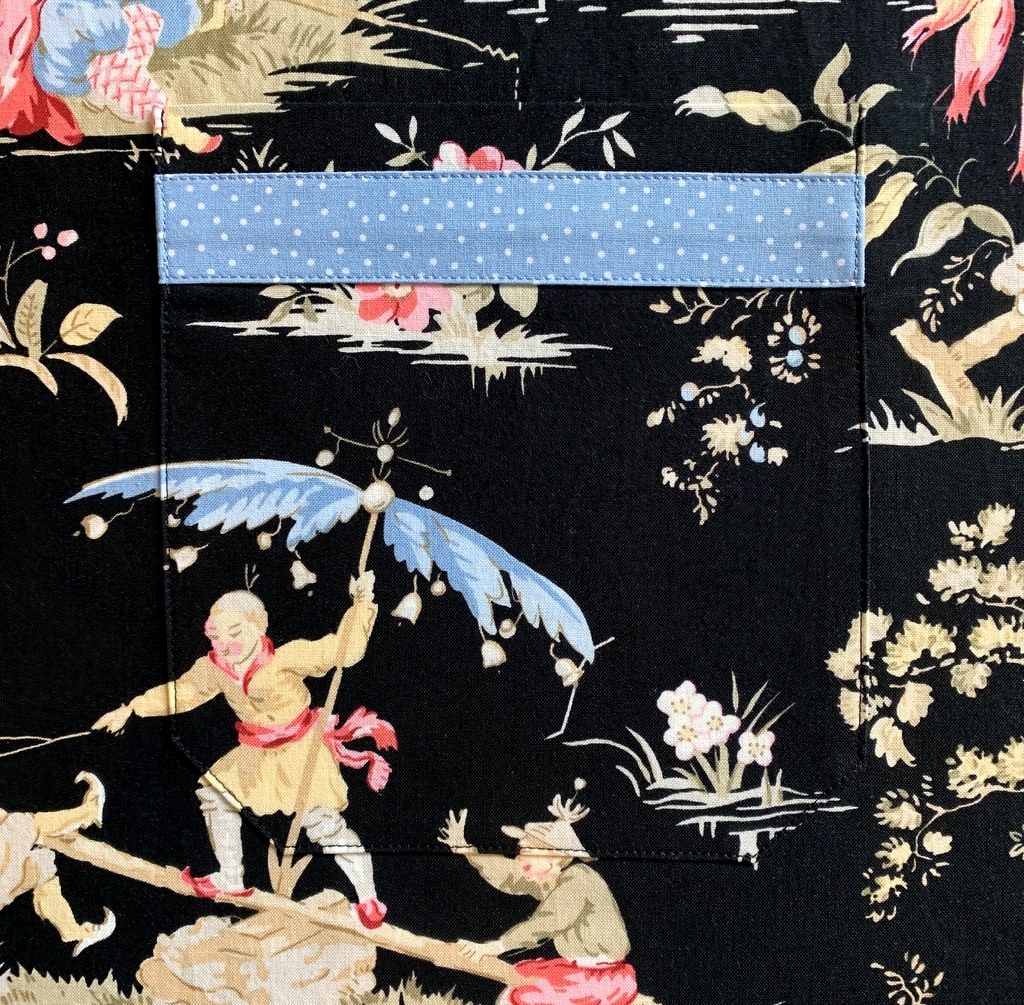
I did the same thing with the pocket on the left side:
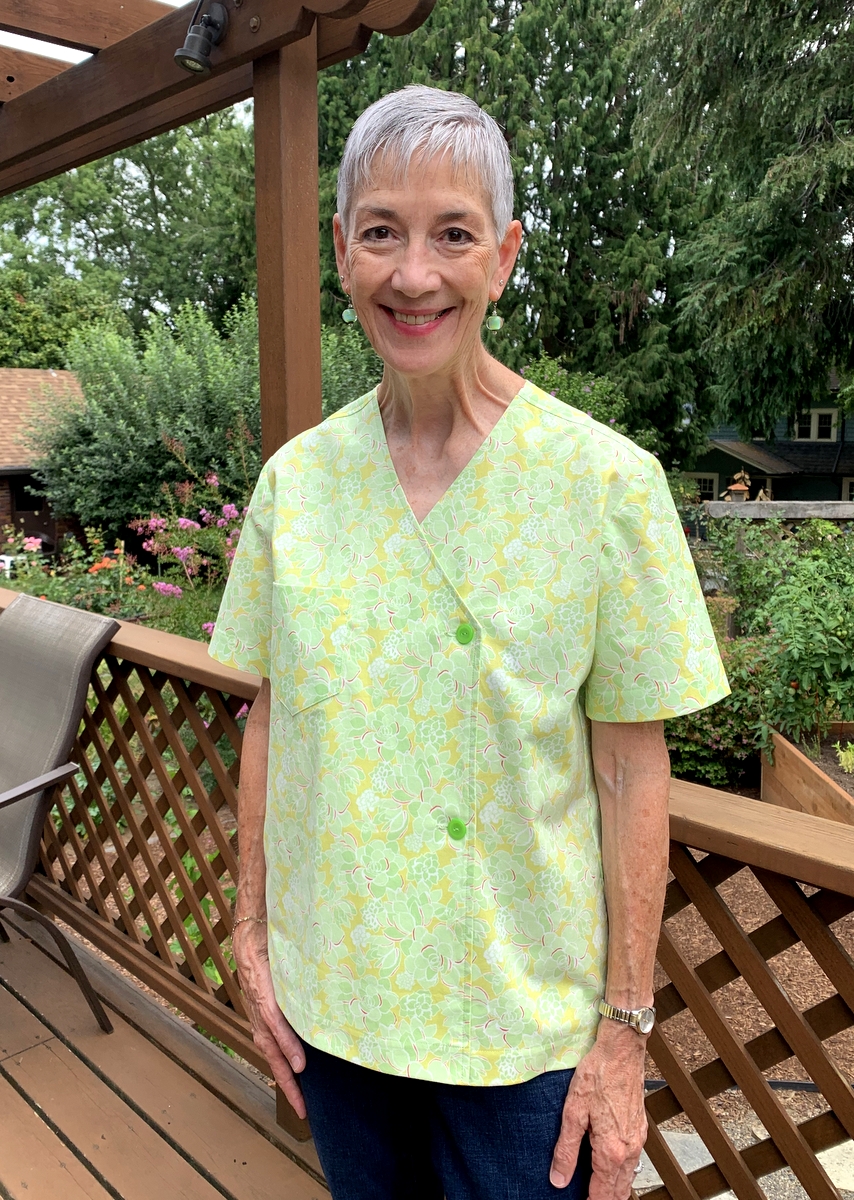
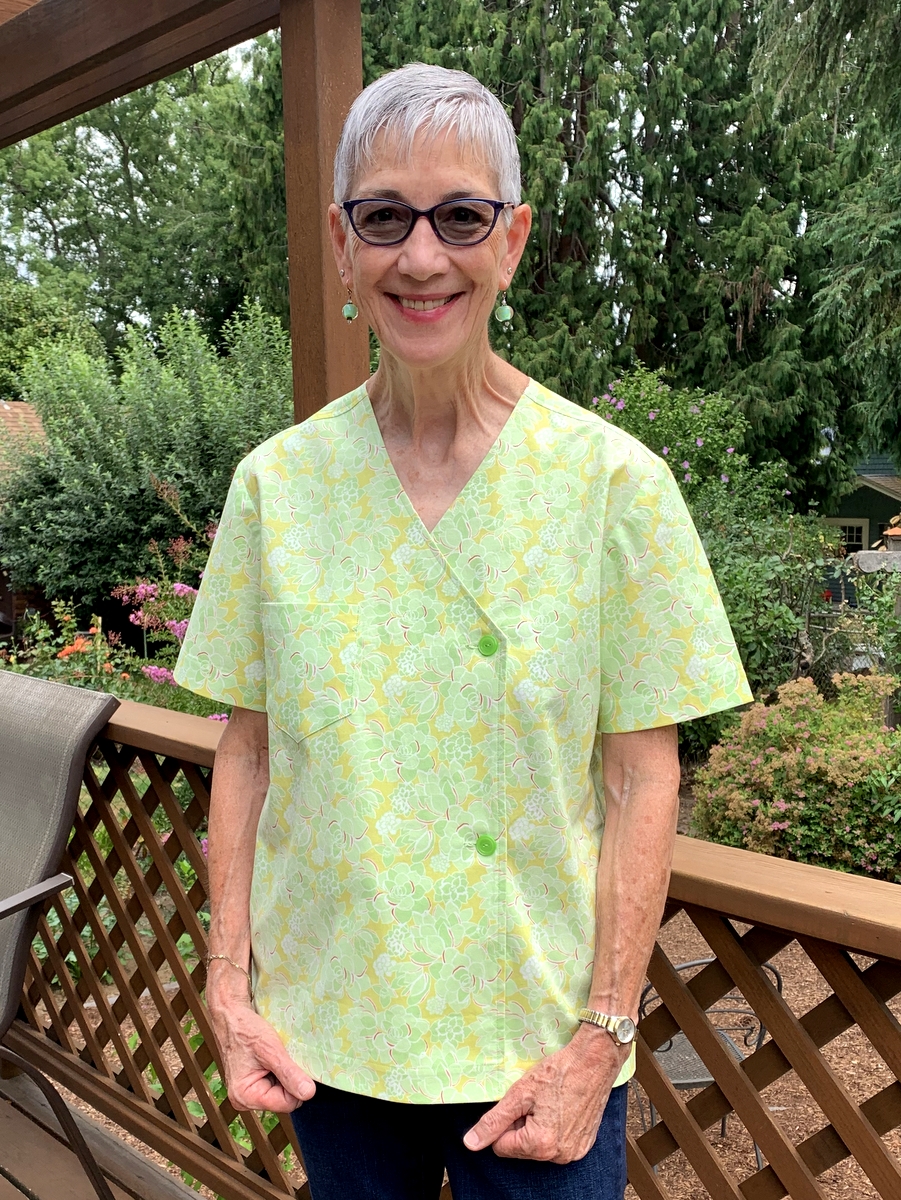
I’m very pleased with the way my new robe turned out. Can you picture me sitting out on the back deck tomorrow morning enjoying my morning coffee? Here’s my dress rehearsal:

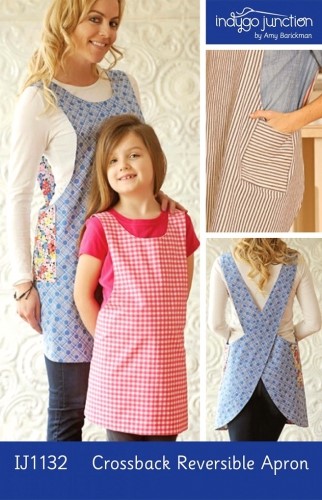
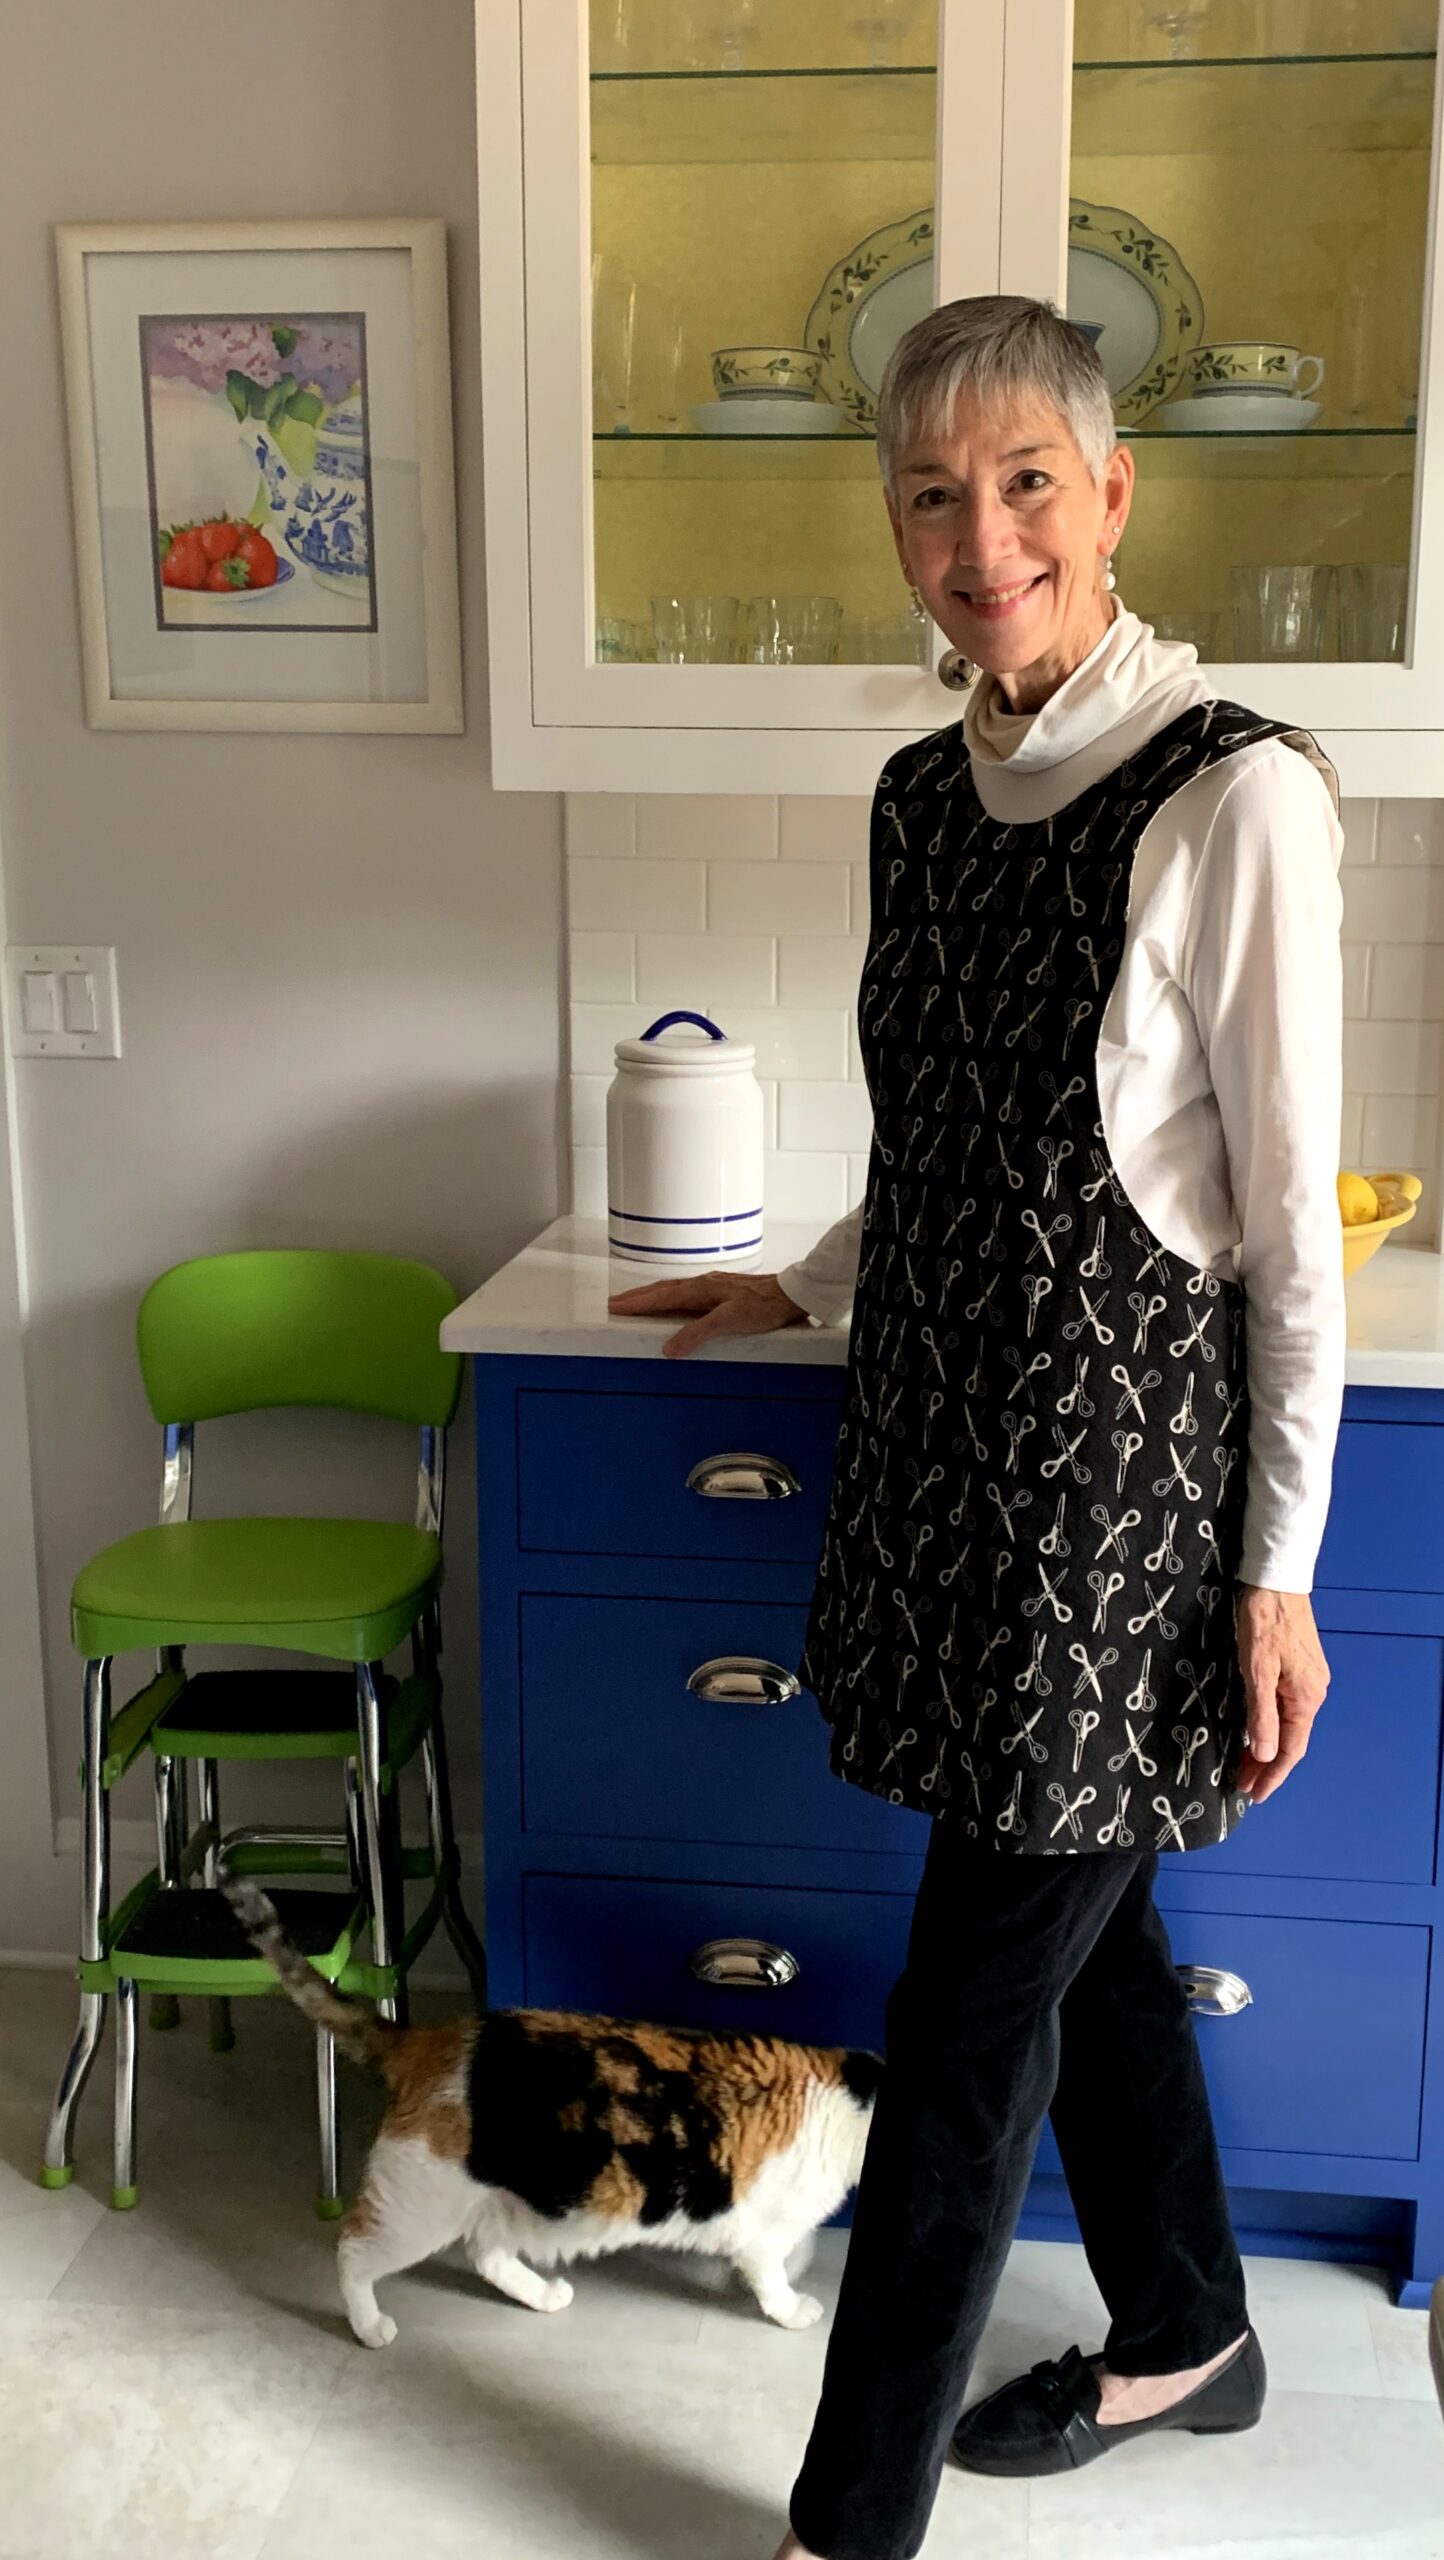
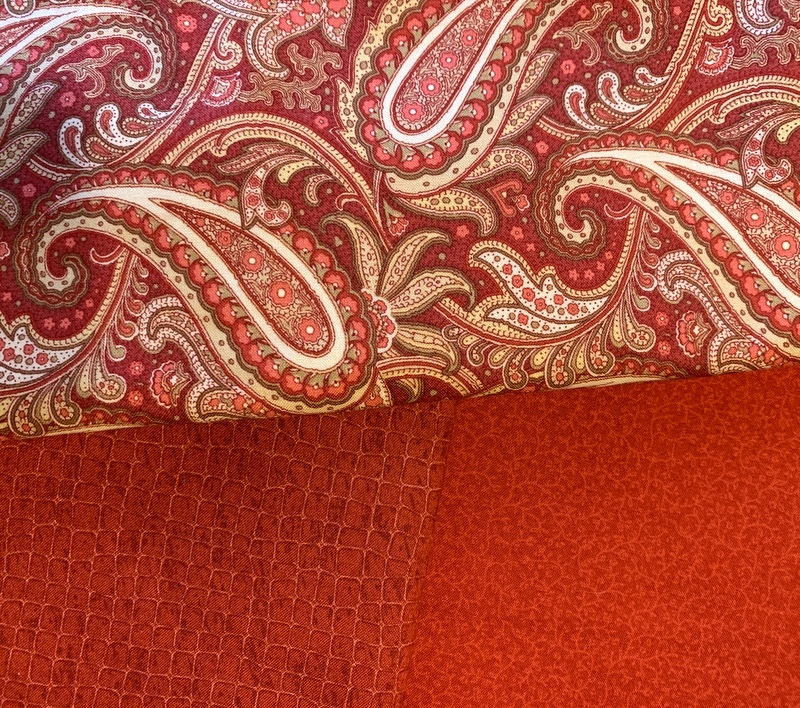
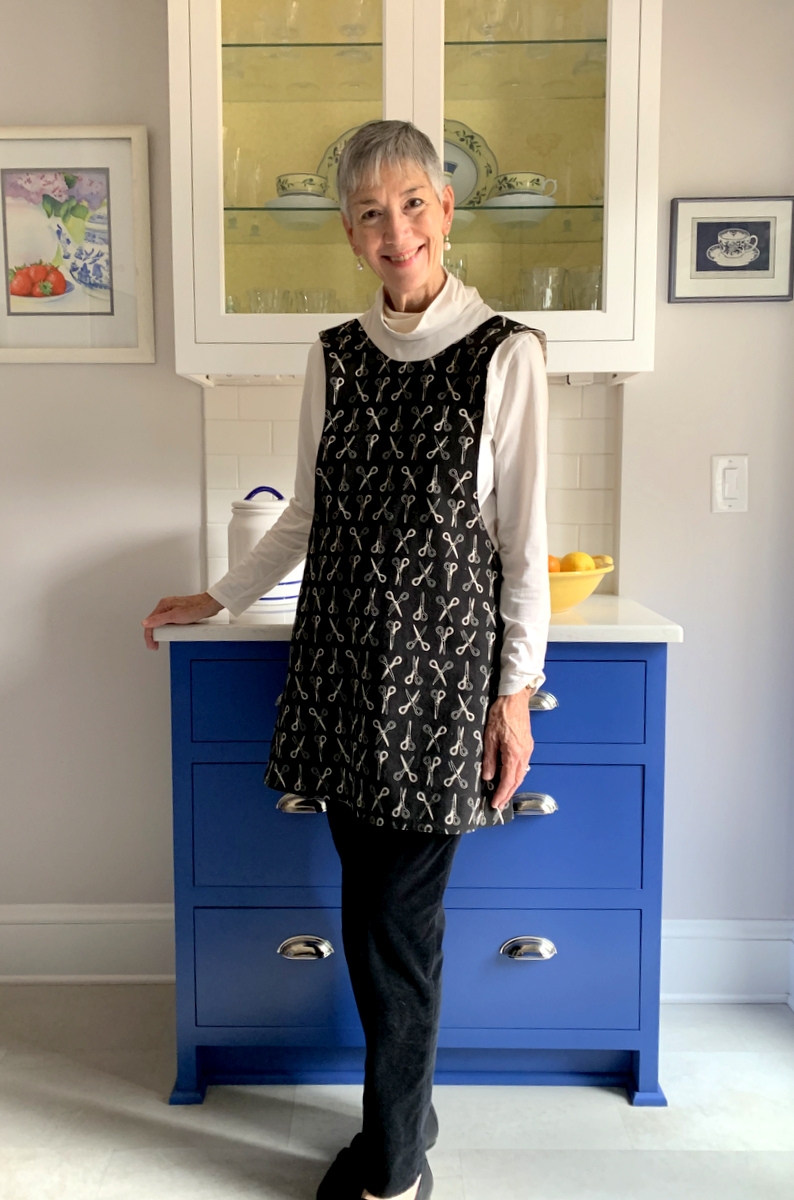 That smile on my face reflects my delight in this darling apron my friend and fellow quiltmaker Nancy S. surprised me with recently. It’s called a crossback reversible apron. You’ll understand why when you see the back:
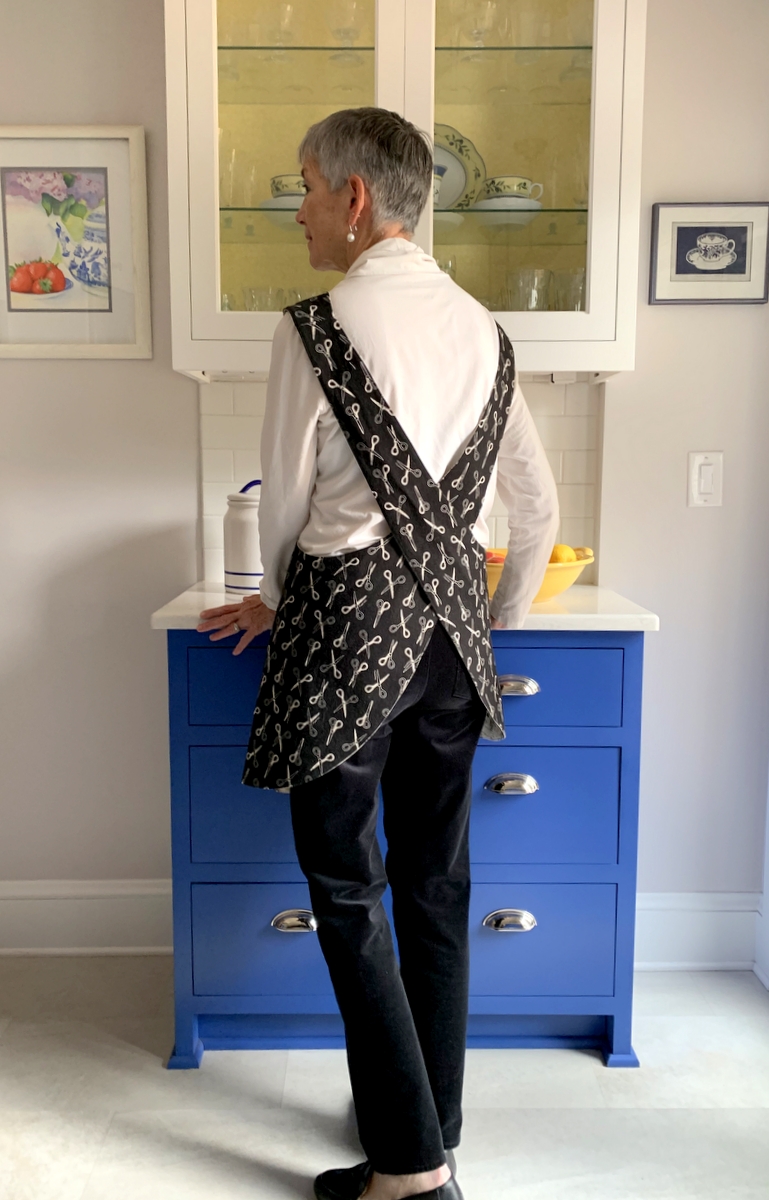 Did you notice I said it’s reversible? Look at the fabric Nancy chose for the reverse side:
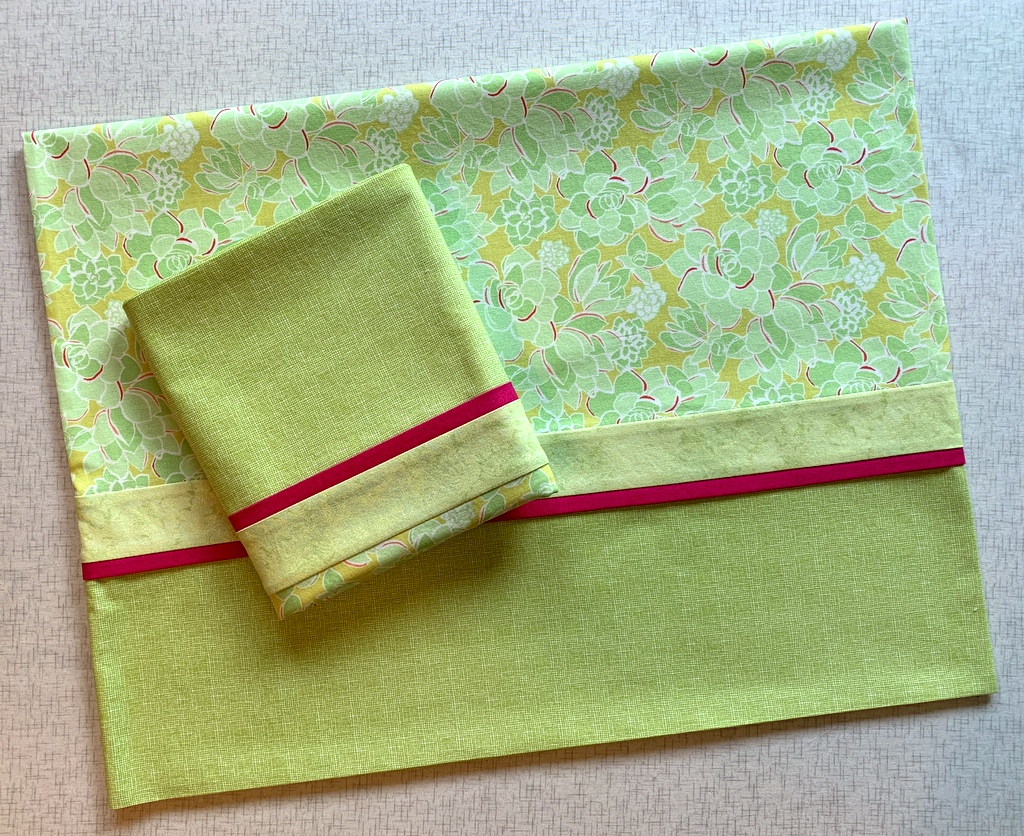
 As someone who likes to cook and sew, these fabrics are right up my alley. The two prints are a supple blend of cotton and flax designed by Sevenberry for Robert Kaufman Fabrics.