It’s been a rough week. Last Sunday the Dear Husband and I had our beautiful calico cat Princess Cordelia – known to many as Coco — put to sleep. Although she appeared healthy at her annual exam last July, the visit was followed by a series of medical setbacks, all requiring medications she was notoriously uncooperative about taking.
Early Friday morning of last week she threw up and wouldn’t eat anything all that day and well into Saturday. Coco’s regular vet was unable to see her Saturday afternoon so I took her to a veterinary pet hospital open 24/7. A battery of tests revealed no medical reason why she would be refusing food. Still no change by Sunday night. With no way to tell if Coco would start eating on her own if we took her home and knowing that every trip to the vet would cause her additional stress, we made the agonizing decision.
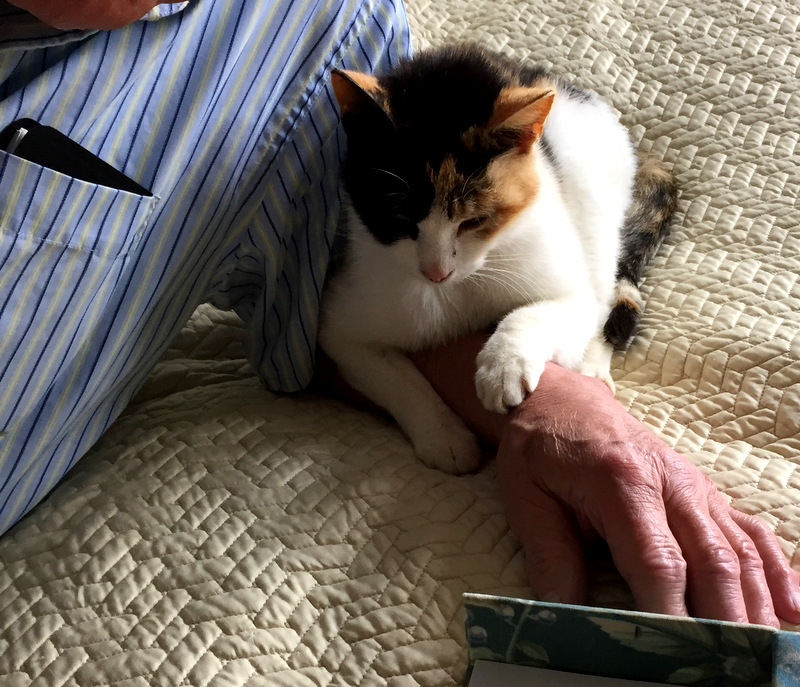
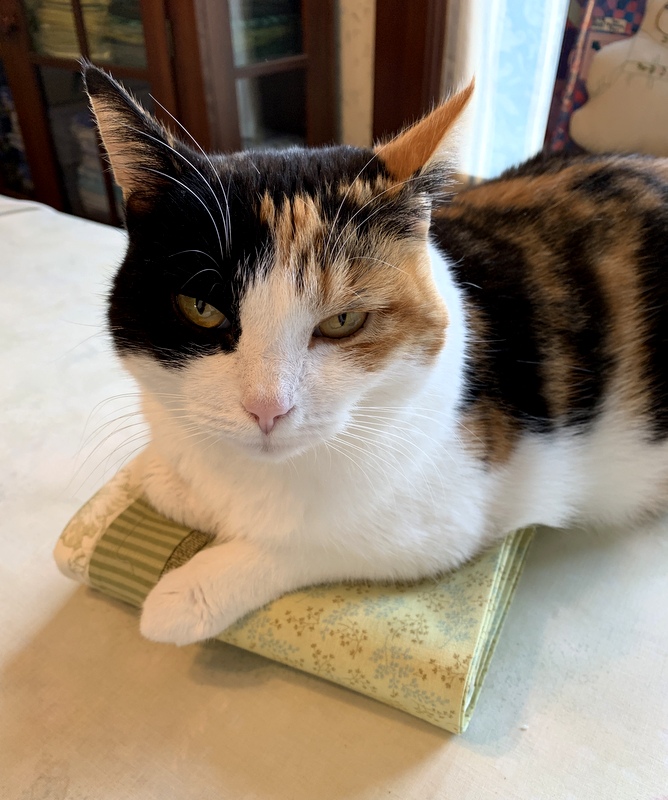
Coco brought so much joy into our lives. She could be loving but feisty (a trait of her breed), playful but laid back, serene but goofy. She adored my husband right from the start; in fact, I think she preferred him to me. If we were watching TV in the evening, it was Charlie’s lap she would usually settle on. Or she would sit right next to him with one paw on his arm in what I can only describe as a proprietary gesture. The very first day we brought her home, she staked her claim on Charlie:
I have my dear friend Colleen to thank for bringing Coco into our lives nine years ago as a stray cat needing a forever home. You can read how it happened here.
My special time with Coco was in the morning. My routine is to sit on the couch with my first cup of coffee and my iPad, reading my email followed by a look at my website to see how many visitors I had the day before, then Instagram, then The Oregonian, and finally the New York Times Spelling Bee. After her breakfast Coco would come sit on my lap for five or 10 minutes. Then she would move to a place on the couch right next to me or close by. Returning from the kitchen with my second cup of coffee, I would invariably find she had taken my spot on the couch.
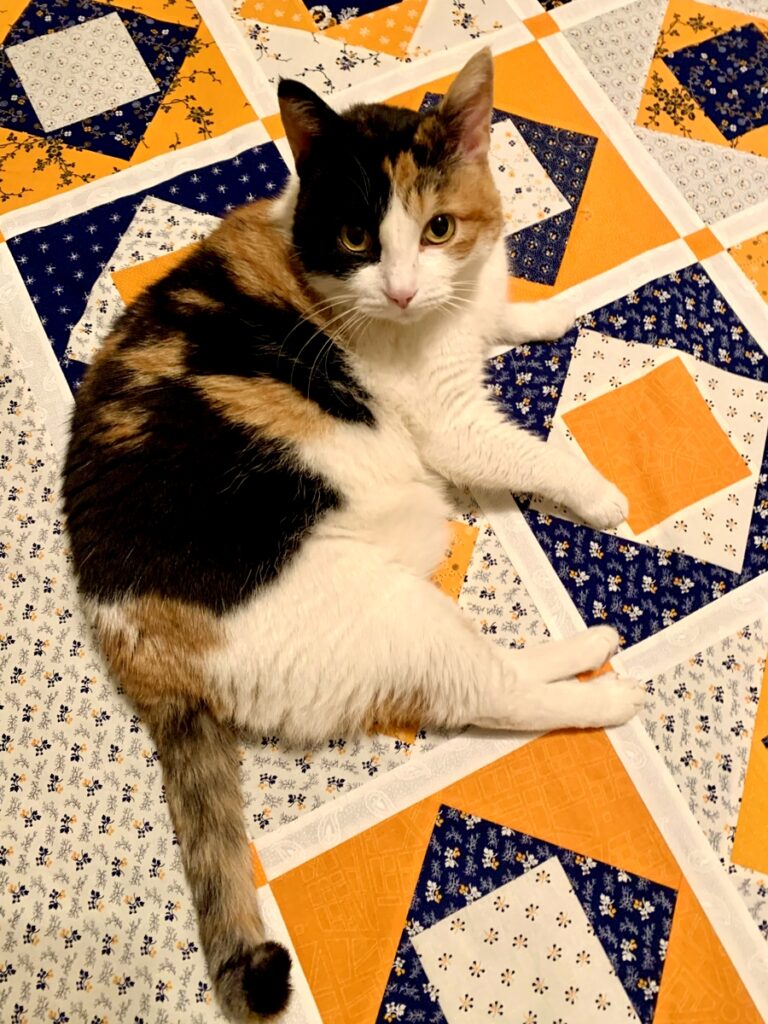
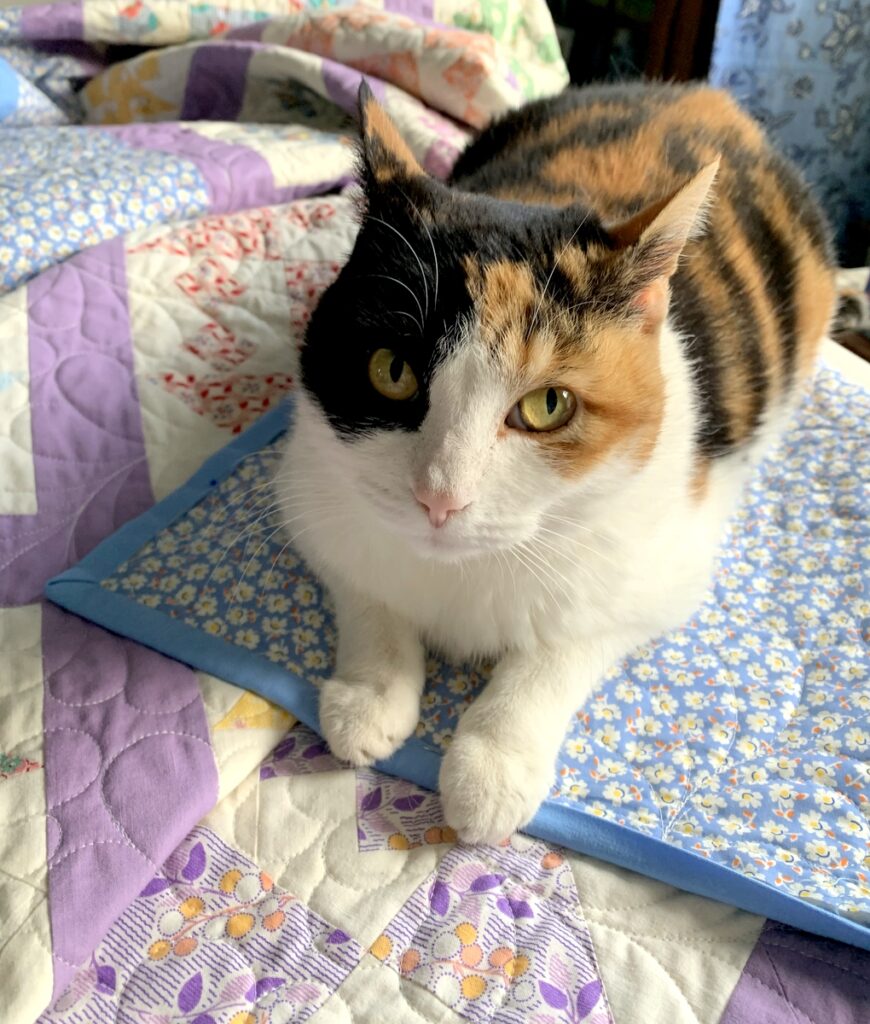
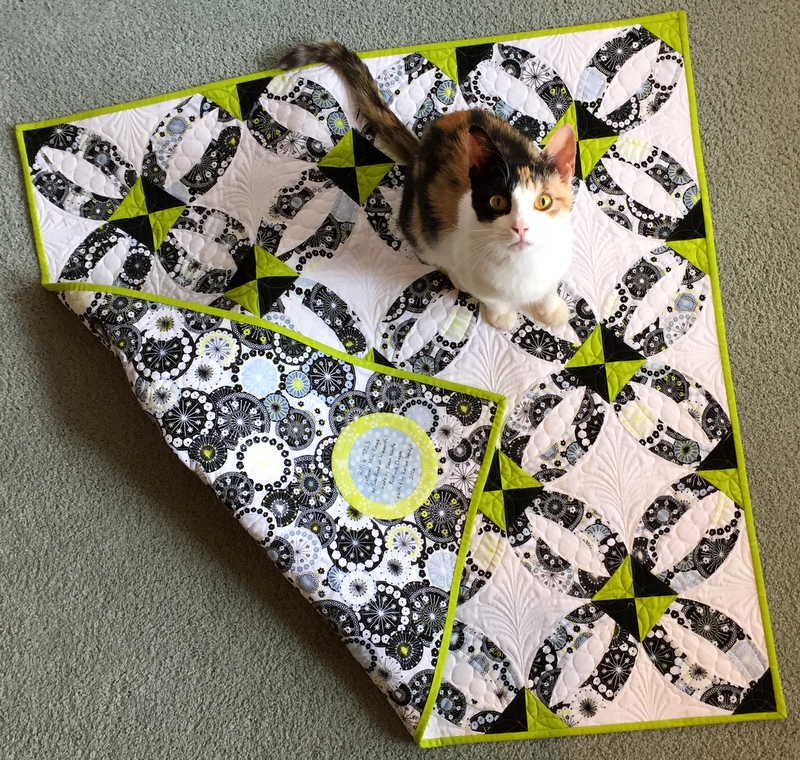
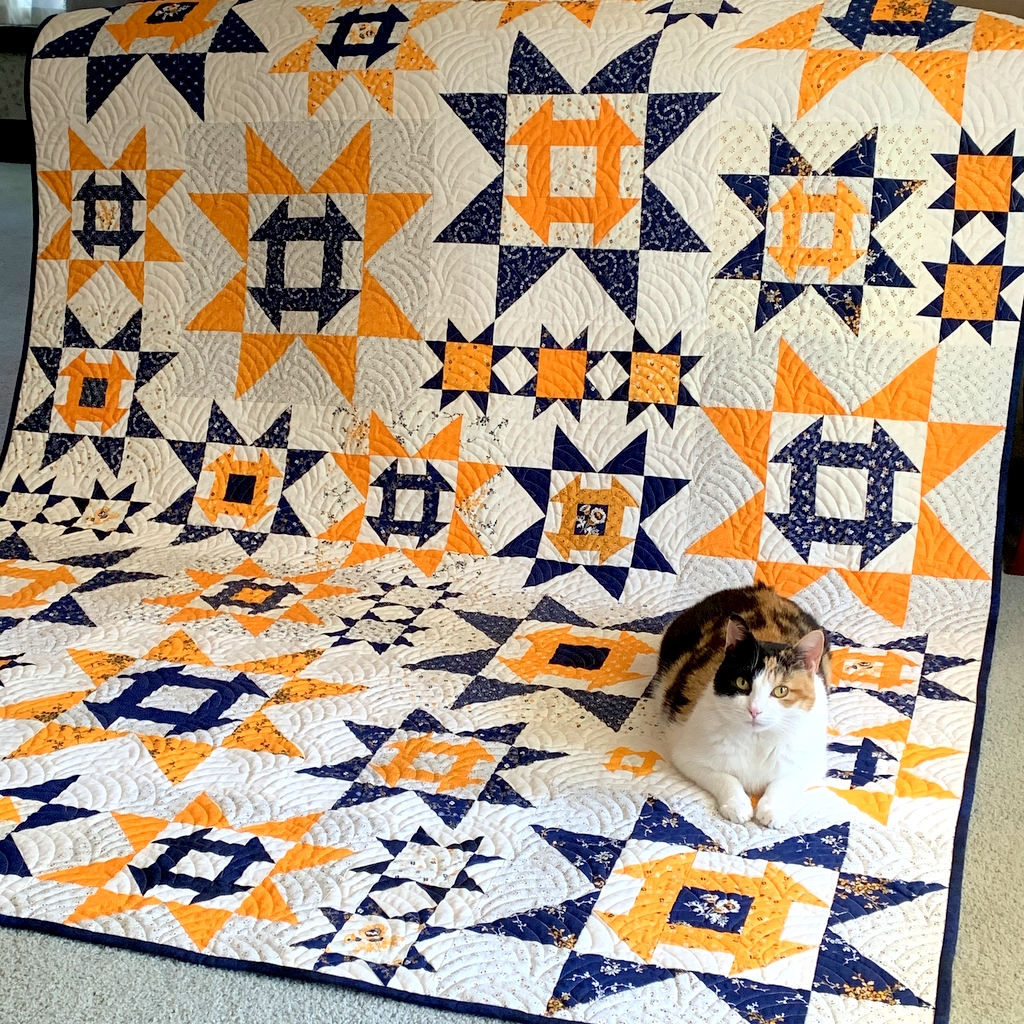
Coco liked to hang out with both of us. If it was the Dear Husband, it was most likely in the garden where she could supervise his weeding and planting. She was a frequent visitor in my sewing room. If I was taking photos of a quilt top or a backing or a finished quilt, she would appear out of nowhere and flop down on it (“Miss Floppy” was one of her many nicknames):
It wasn’t just quilts she would flop on. She would flop on my ironing board . . .
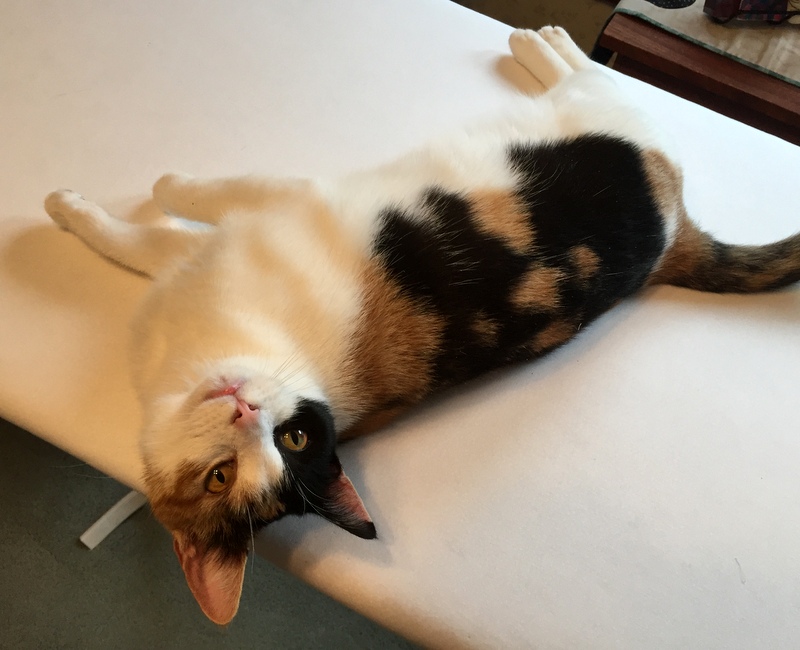
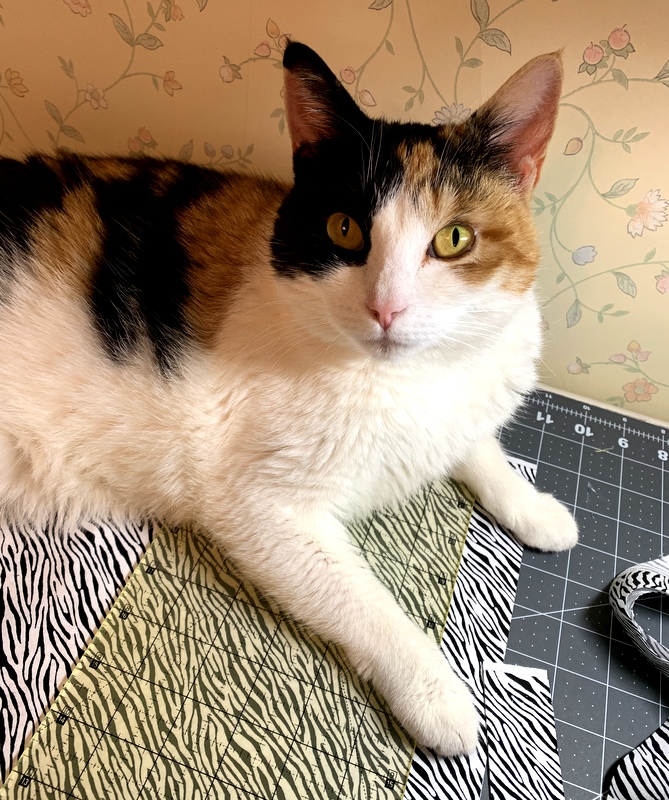
. . . my cutting table . . .
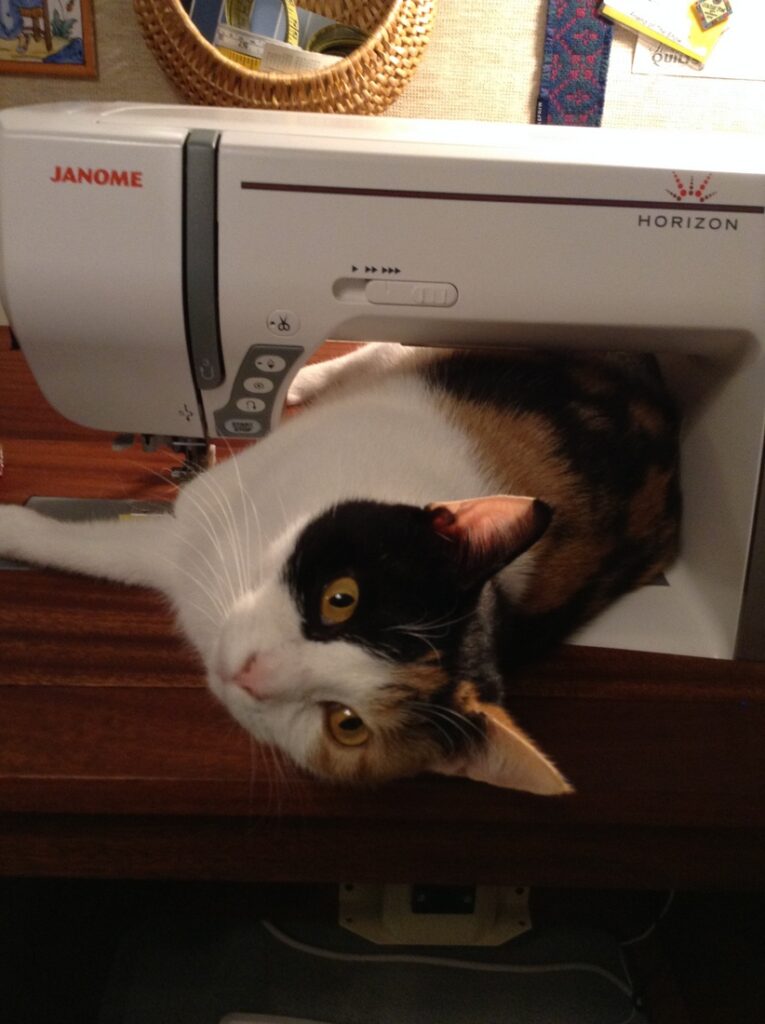
. . . my sewing machine table:
 If she wasn’t on something . . .
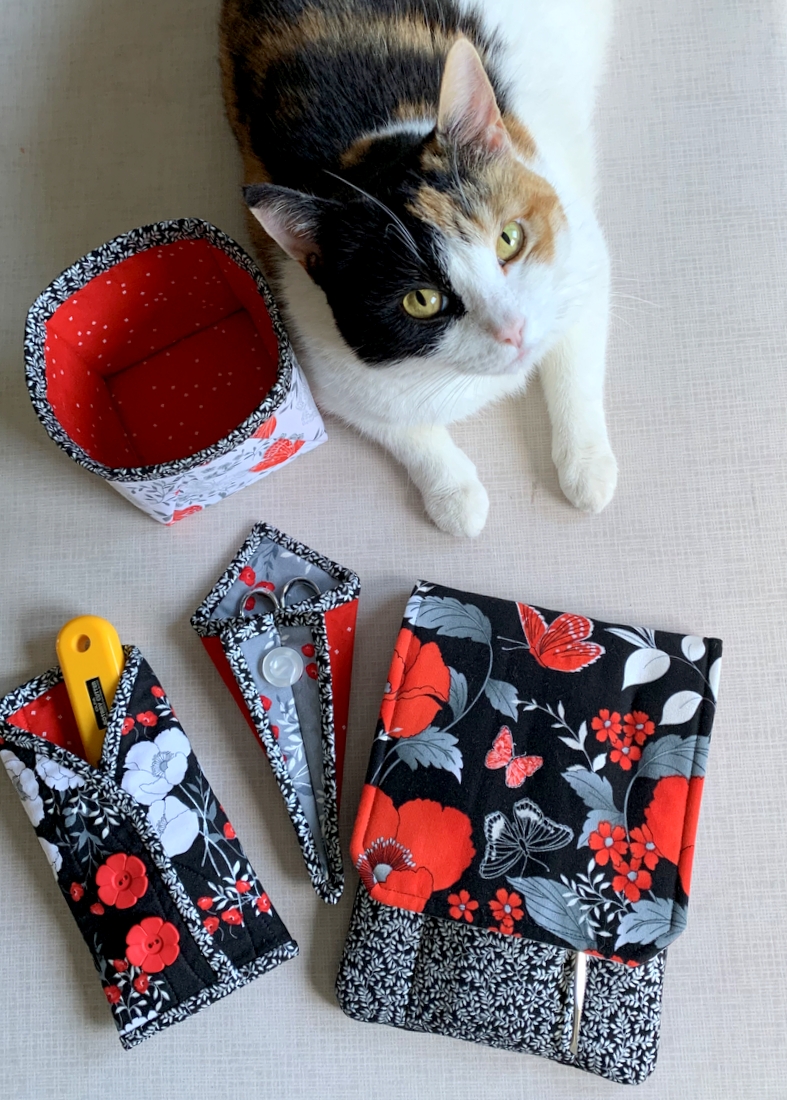

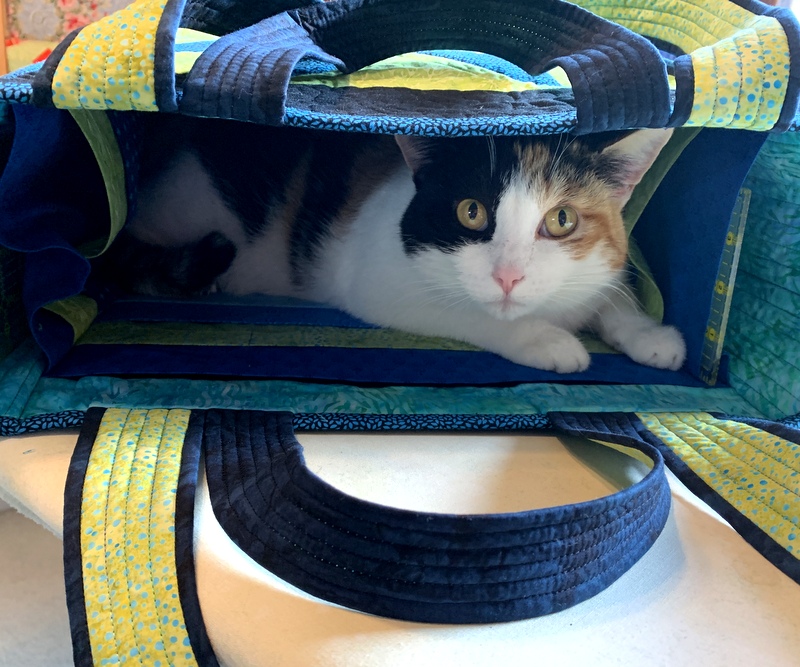
. . . she was in something:
Over the last several days I have returned again and again to my blog posts and Instagram feed, filled as they are with pictures of Coco photobombing my photo shoots or just being so adorable I couldn’t resist reaching for my camera.
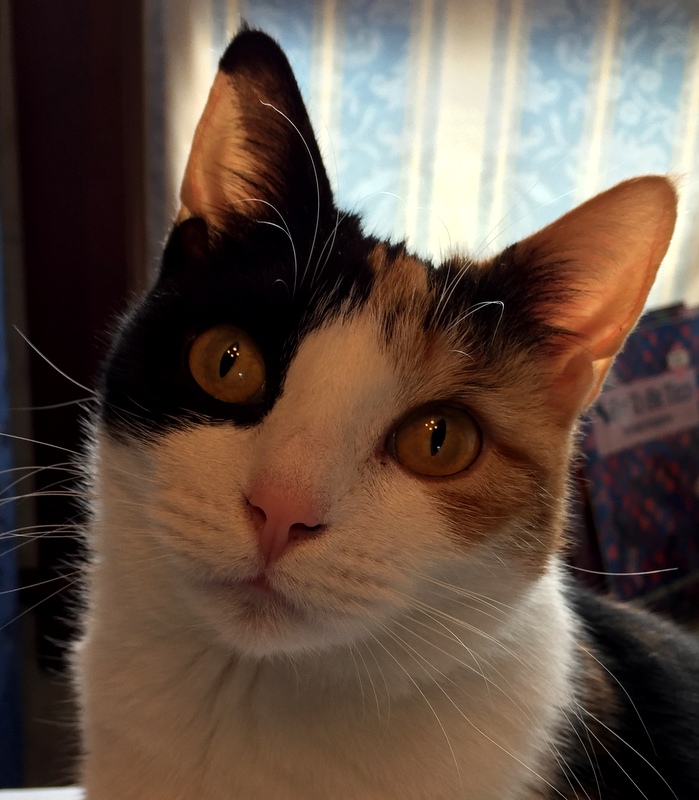
The Dear Husband and I are still reeling from losing her. She was only 9½ years old; we fully expected to have her for many more years. But we cannot dwell on that; we need to remember the nine years we did have with her and celebrate every one.
Here is a handful of my favorite photos of Princess Cordelia over the years:


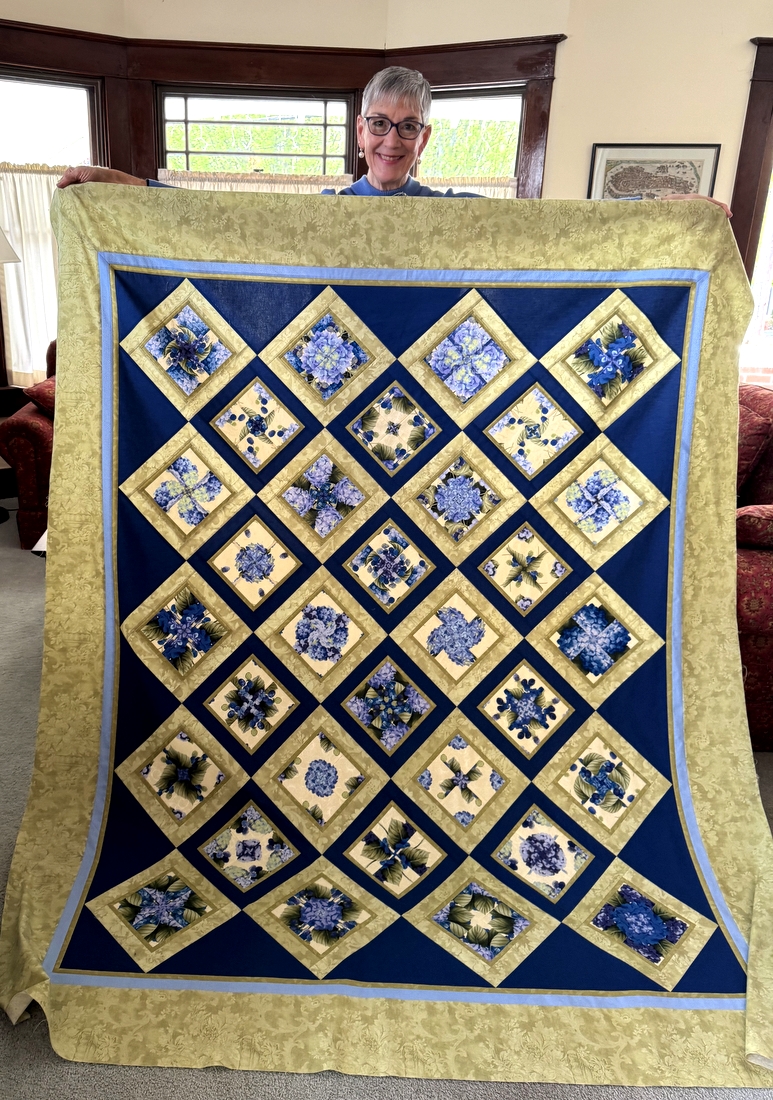
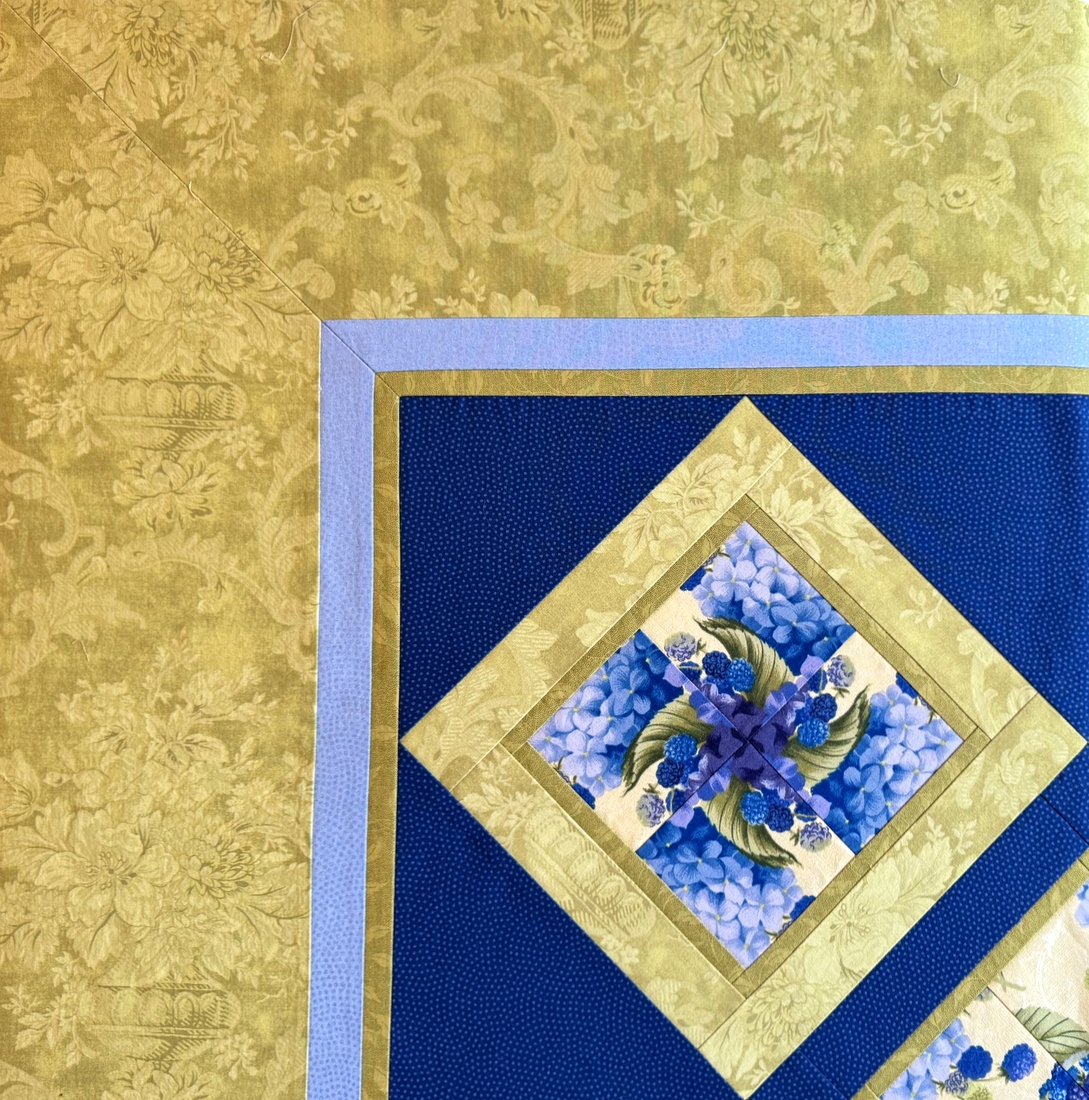
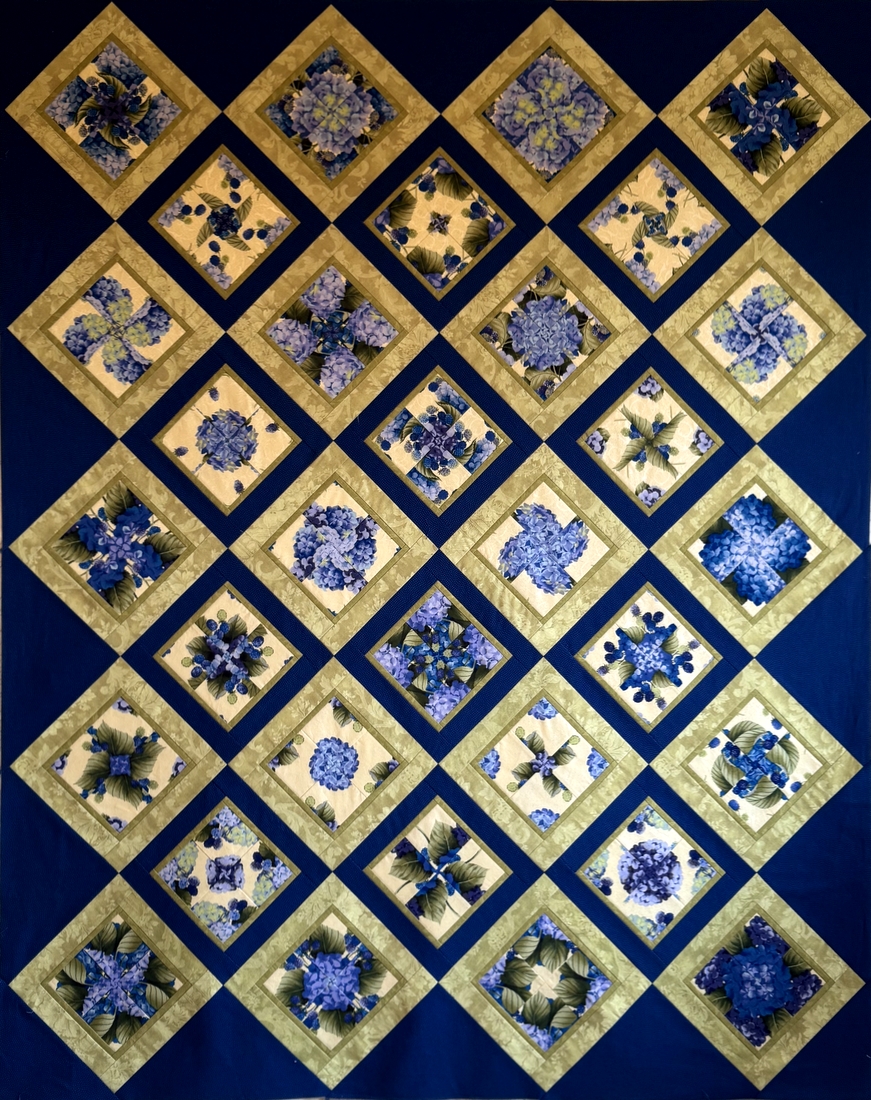
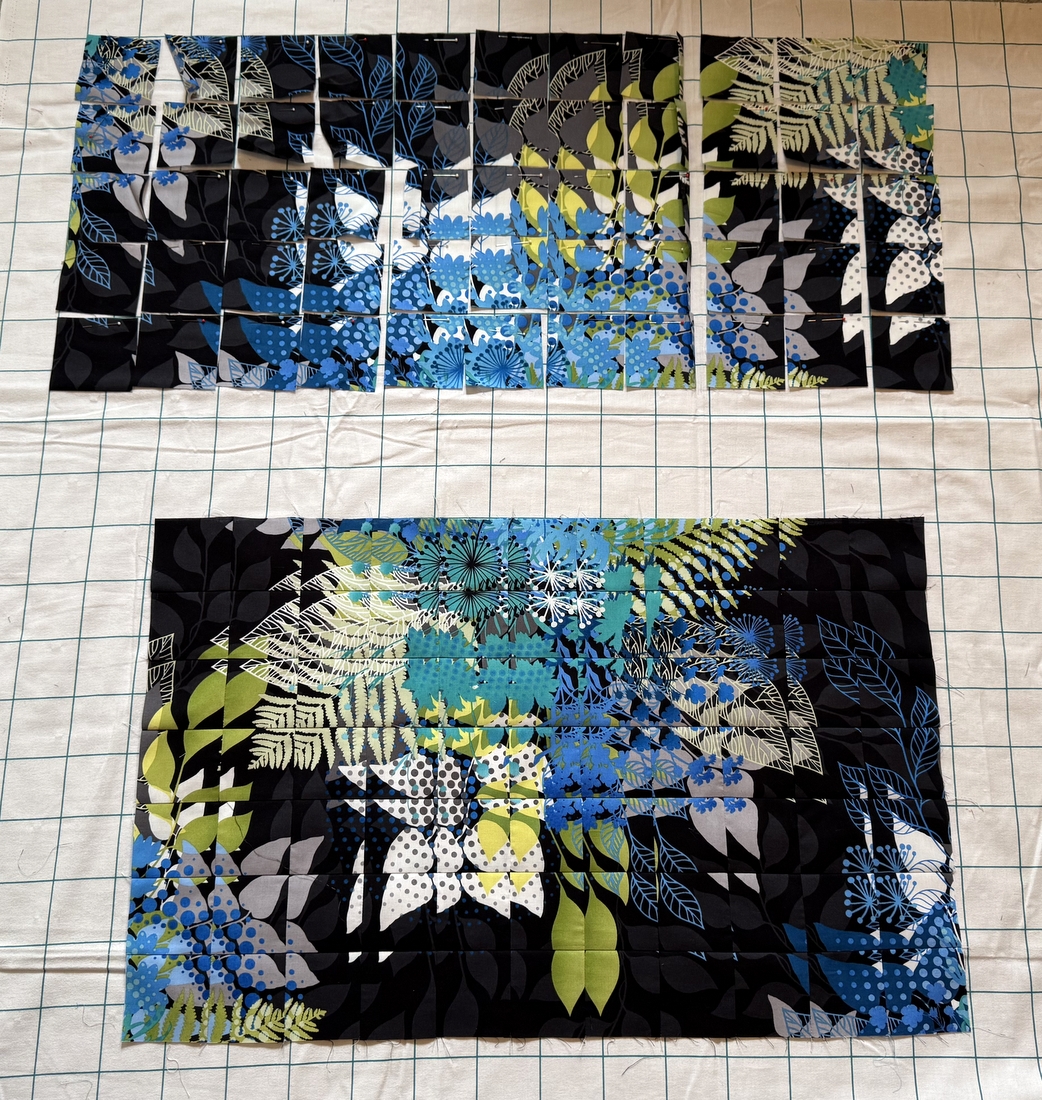
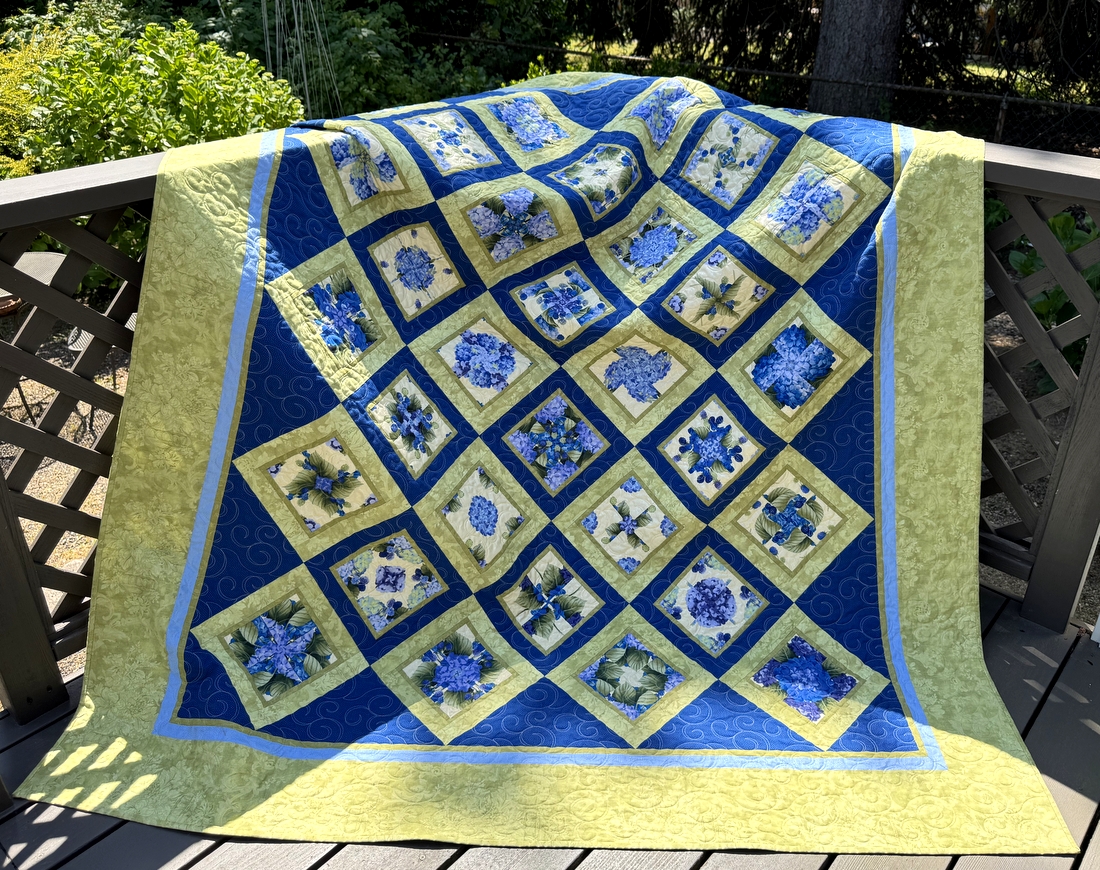
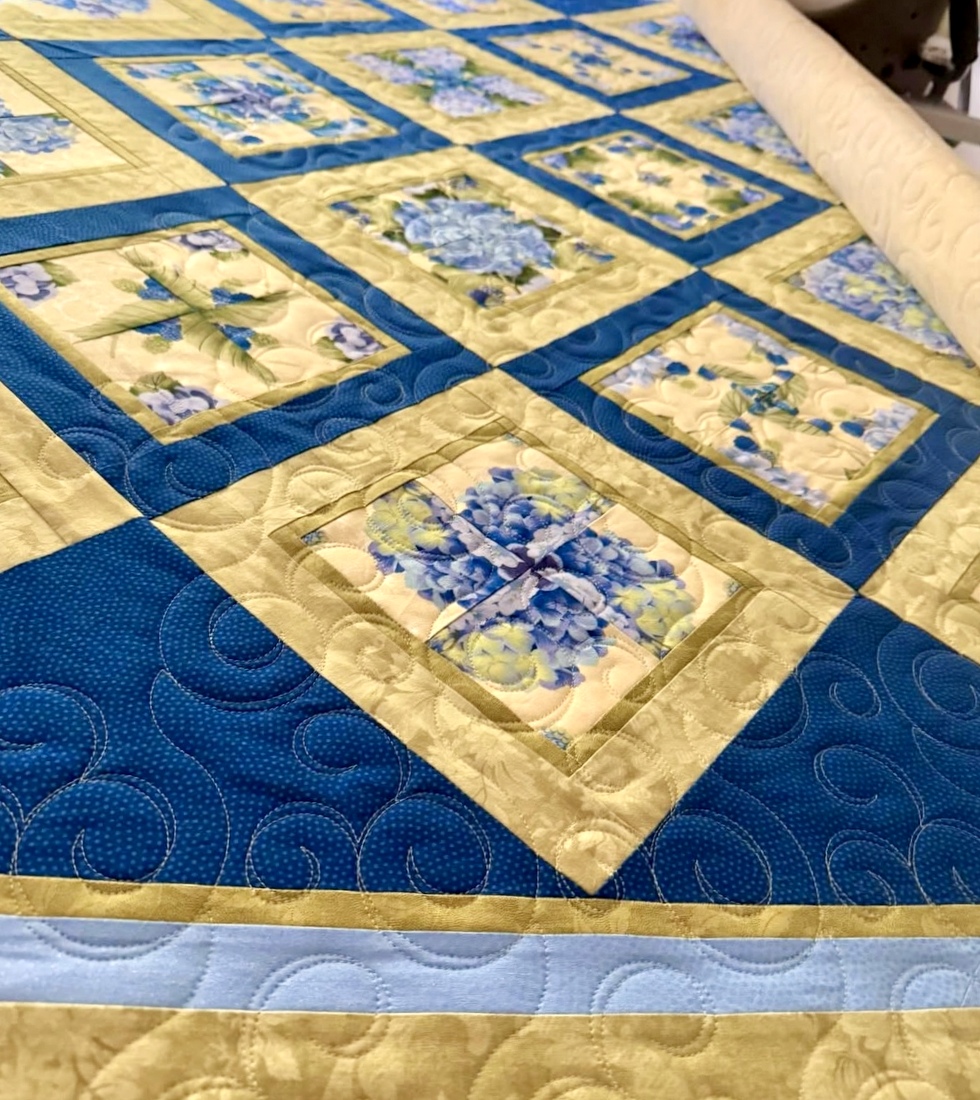
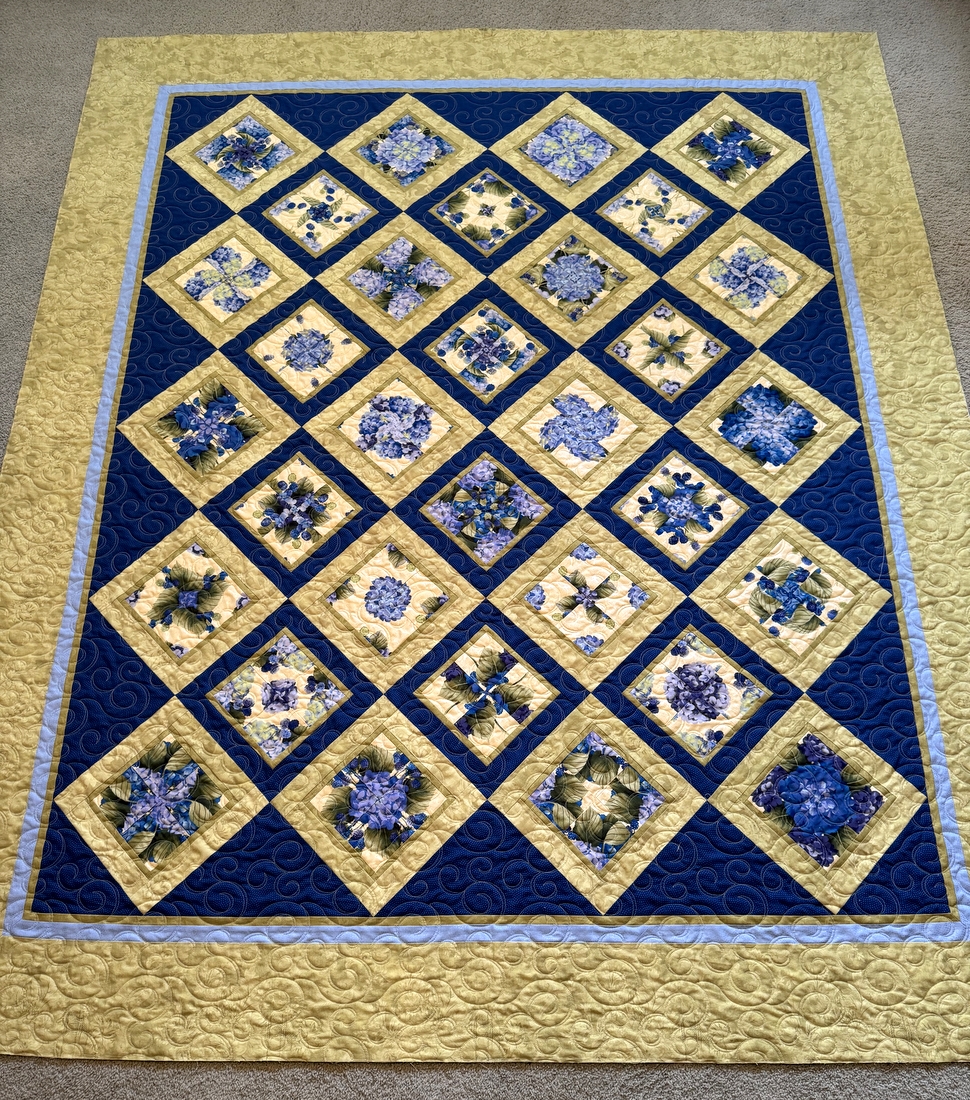
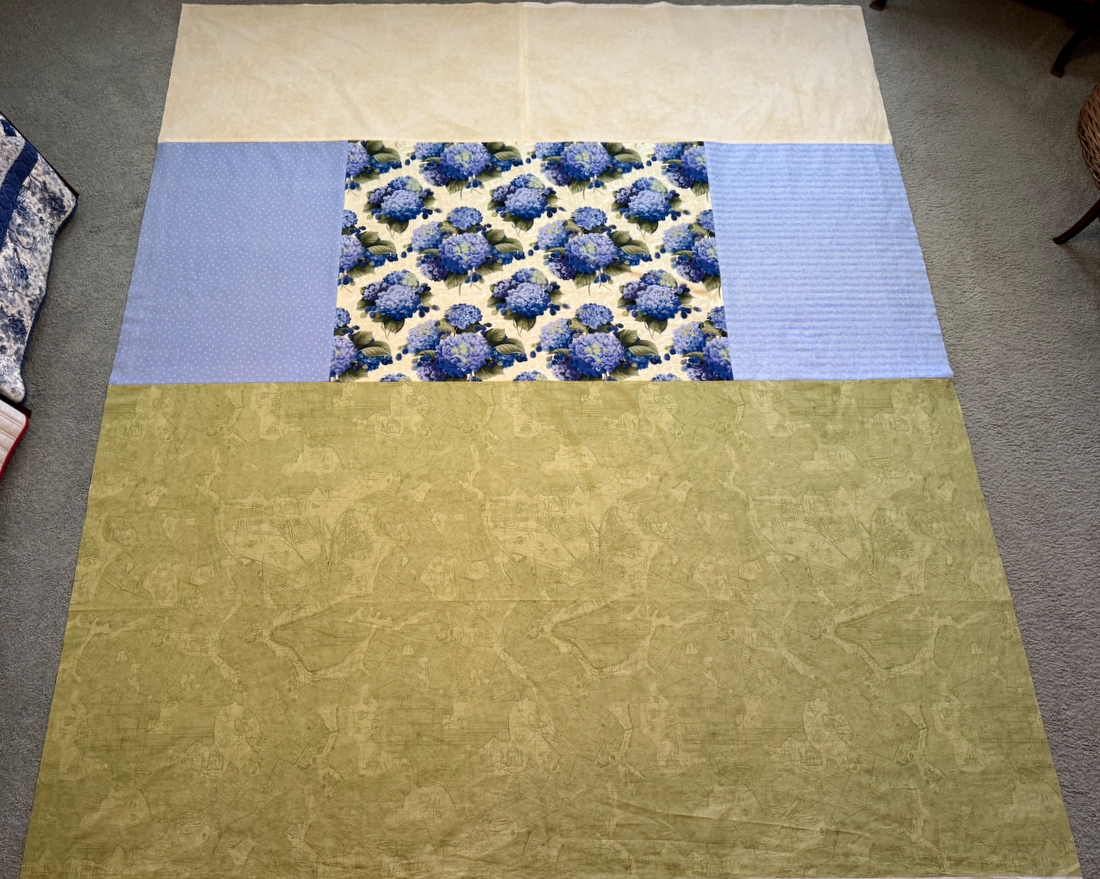
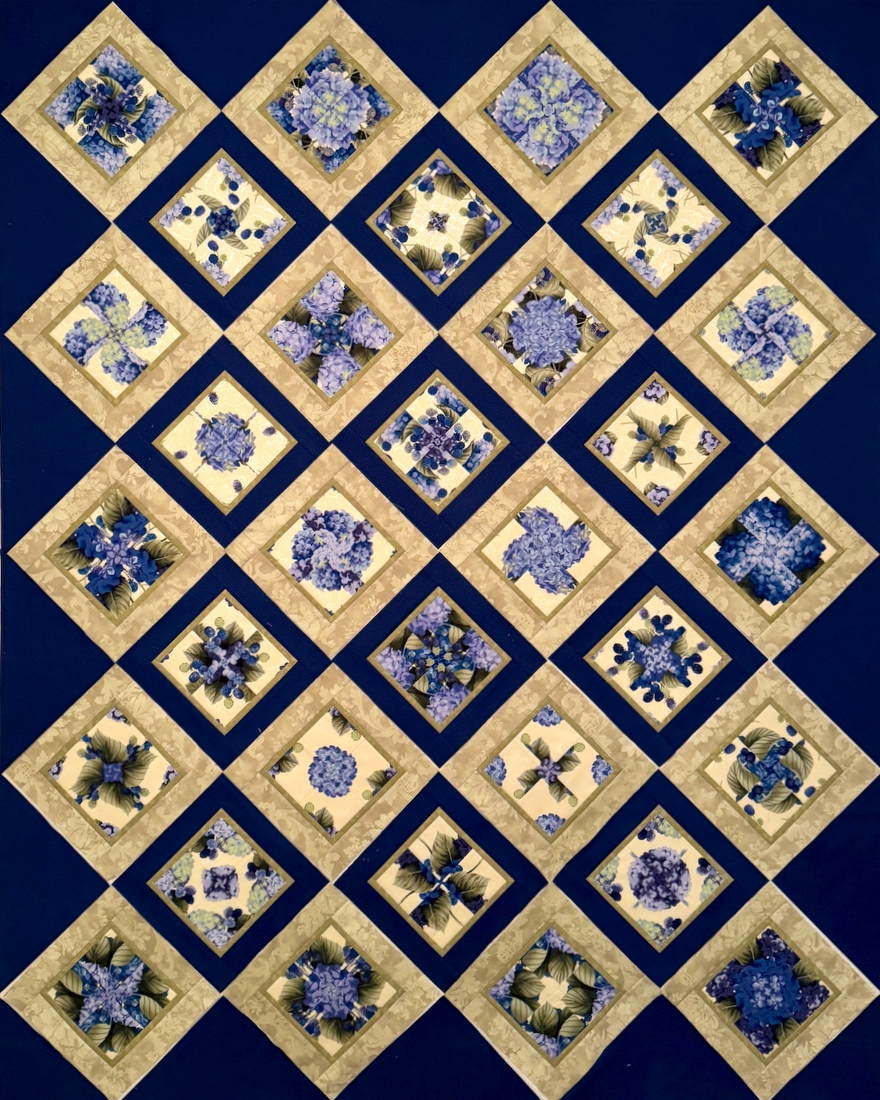
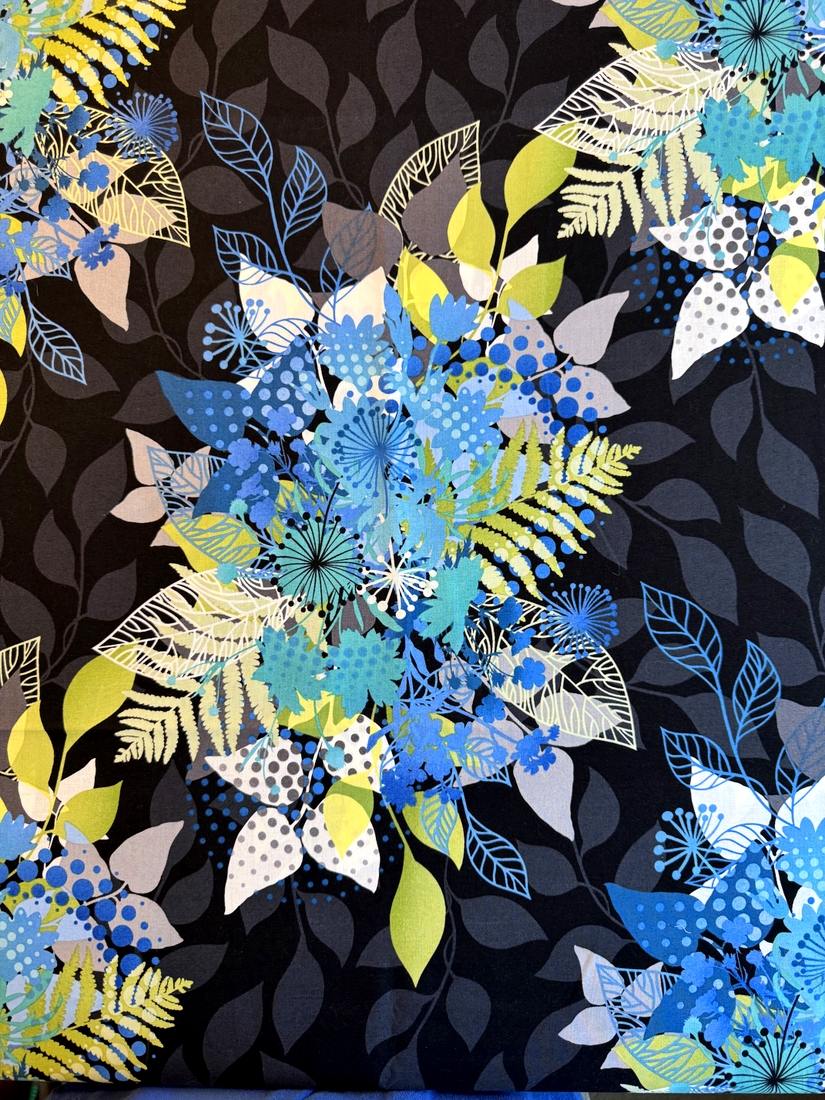 Isn’t that gorgeous? It’s the focus fabric from Jason Yenter’s “Unusual Garden” line for In the Beginning Fabrics dating back to 2017.
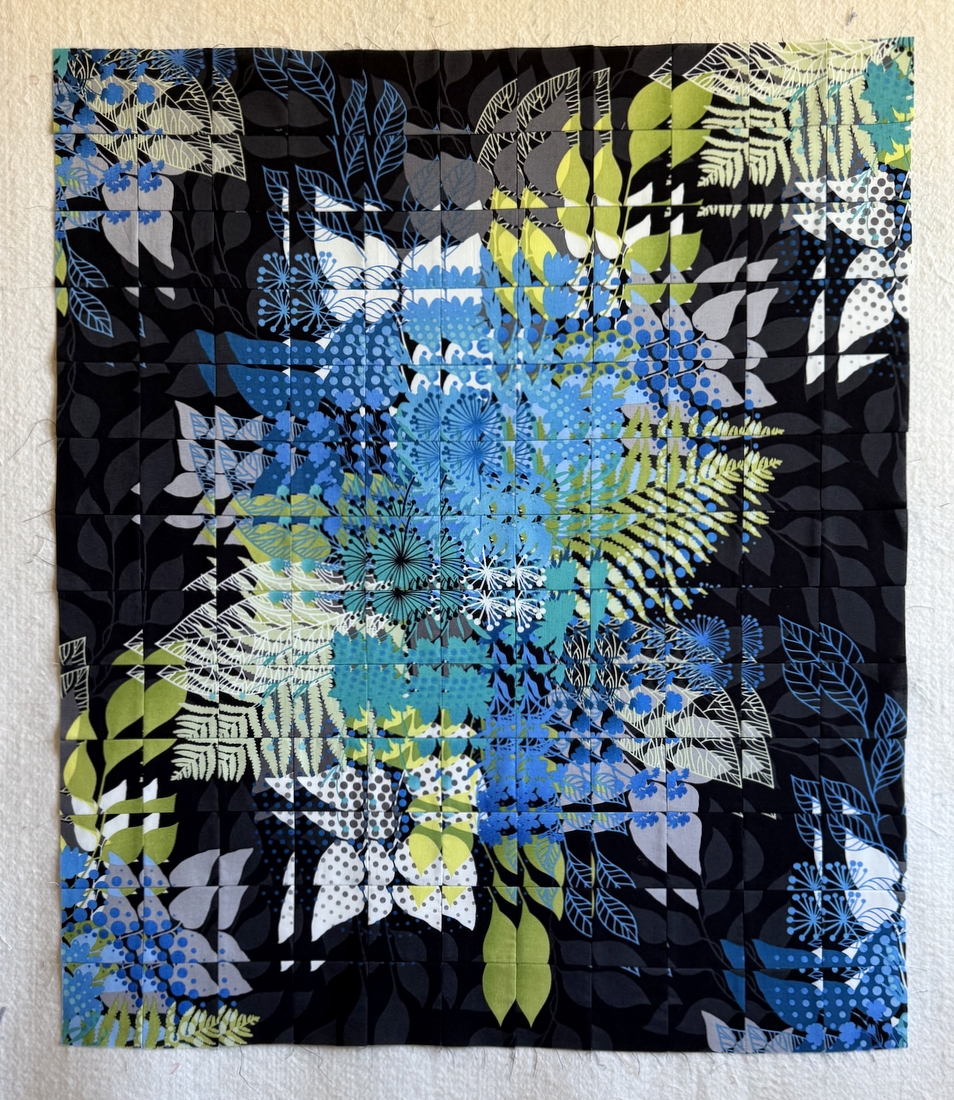
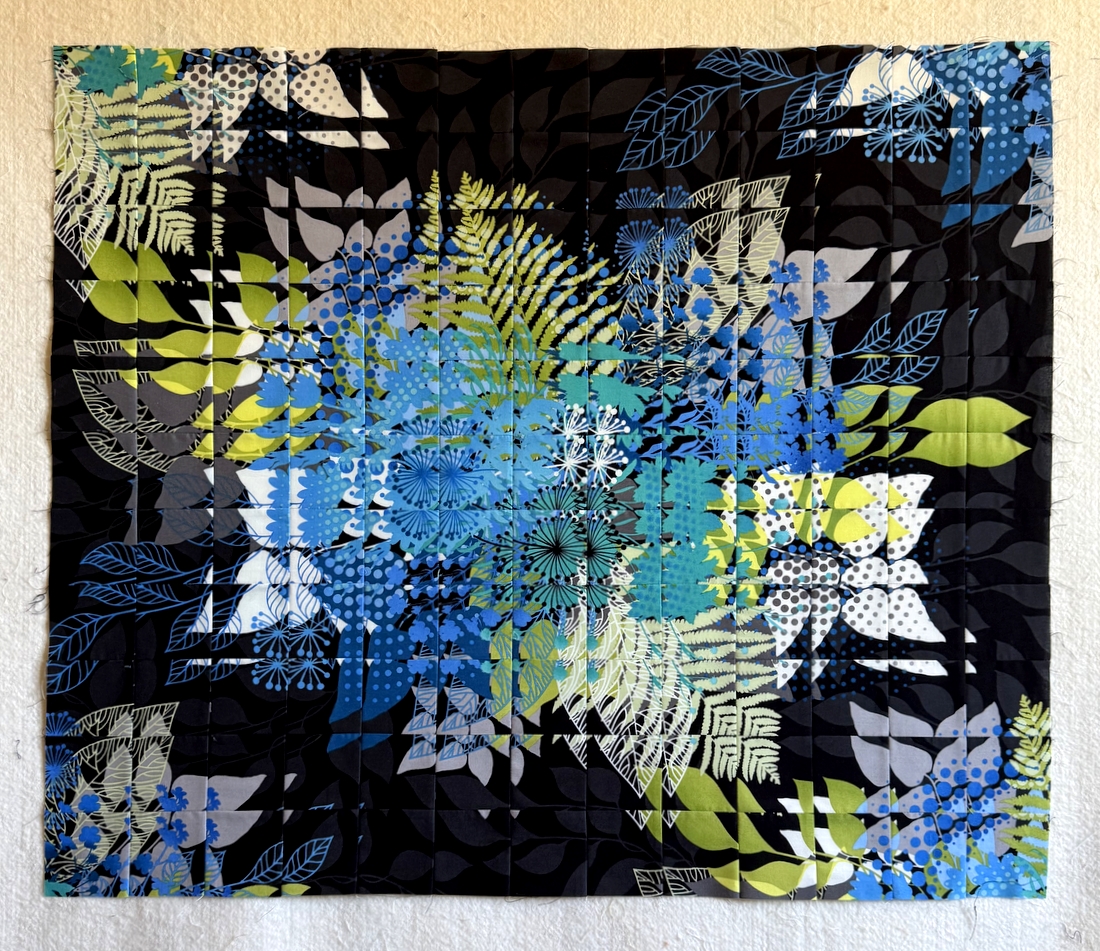
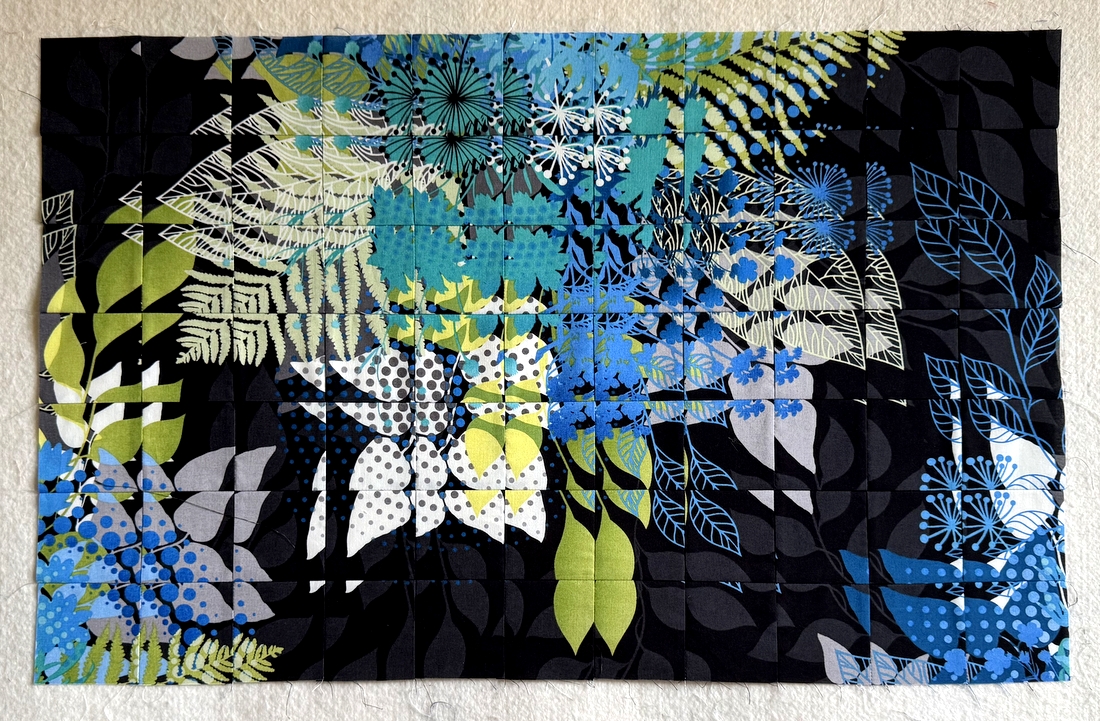
 And then another:


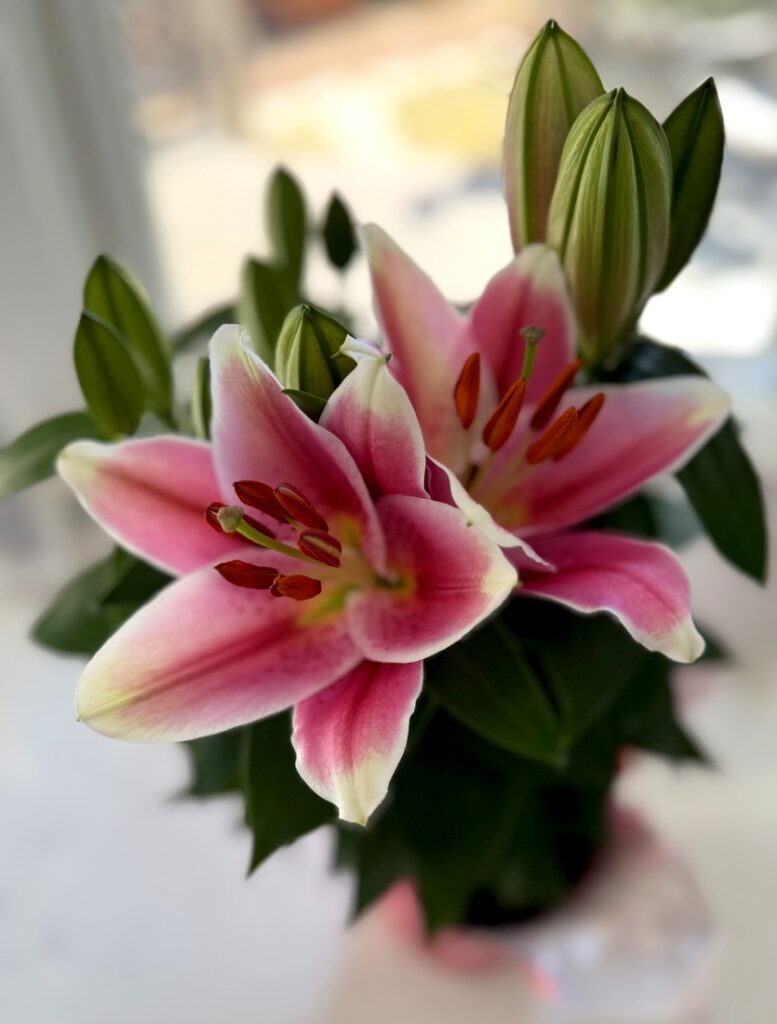 She predicted the buds would be open by Sunday but this morning when I got up I discovered the first two blooms had already unfurled. I’m pretty sure a third one will open up this afternoon.