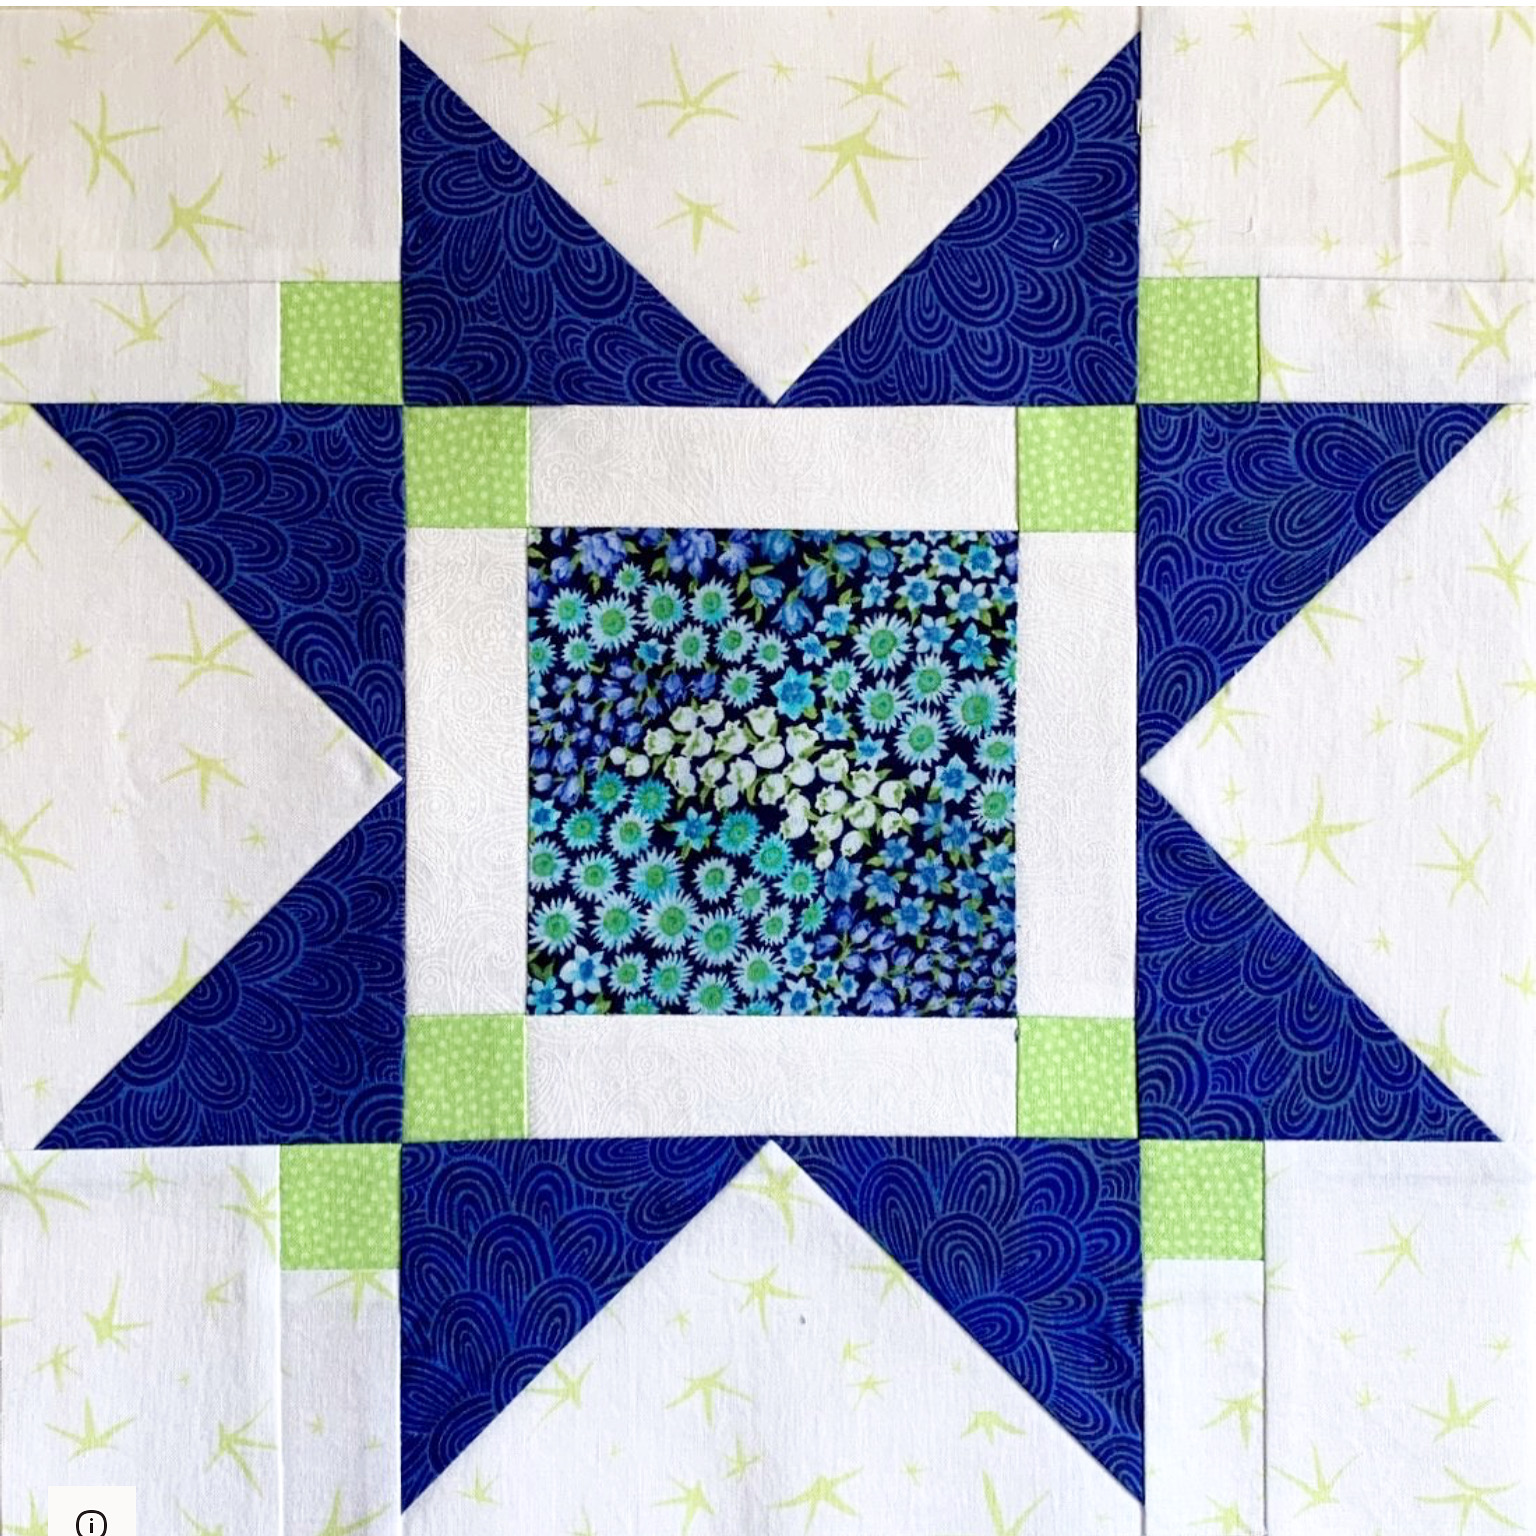
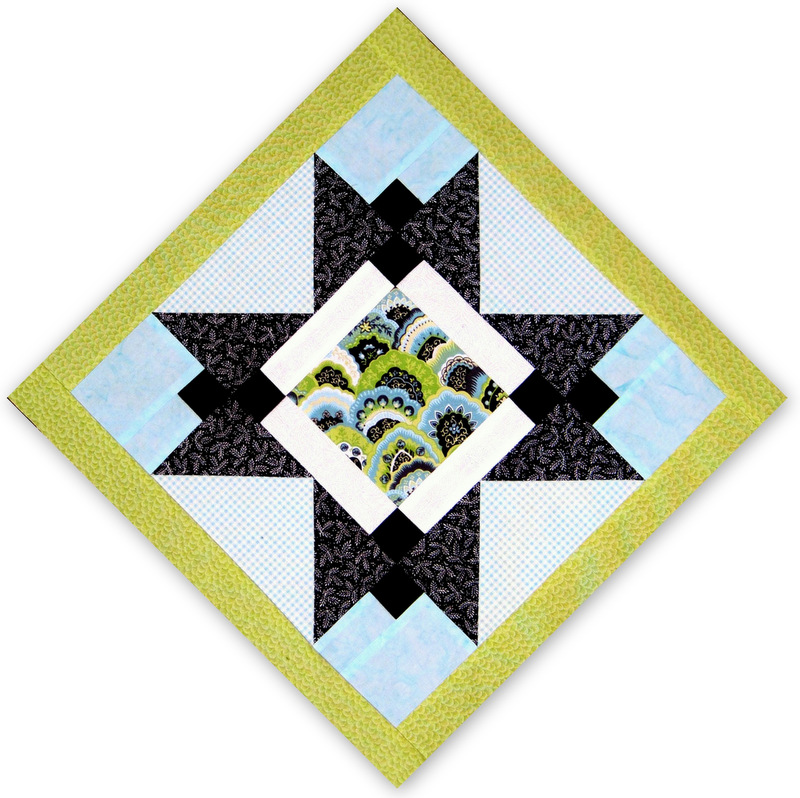
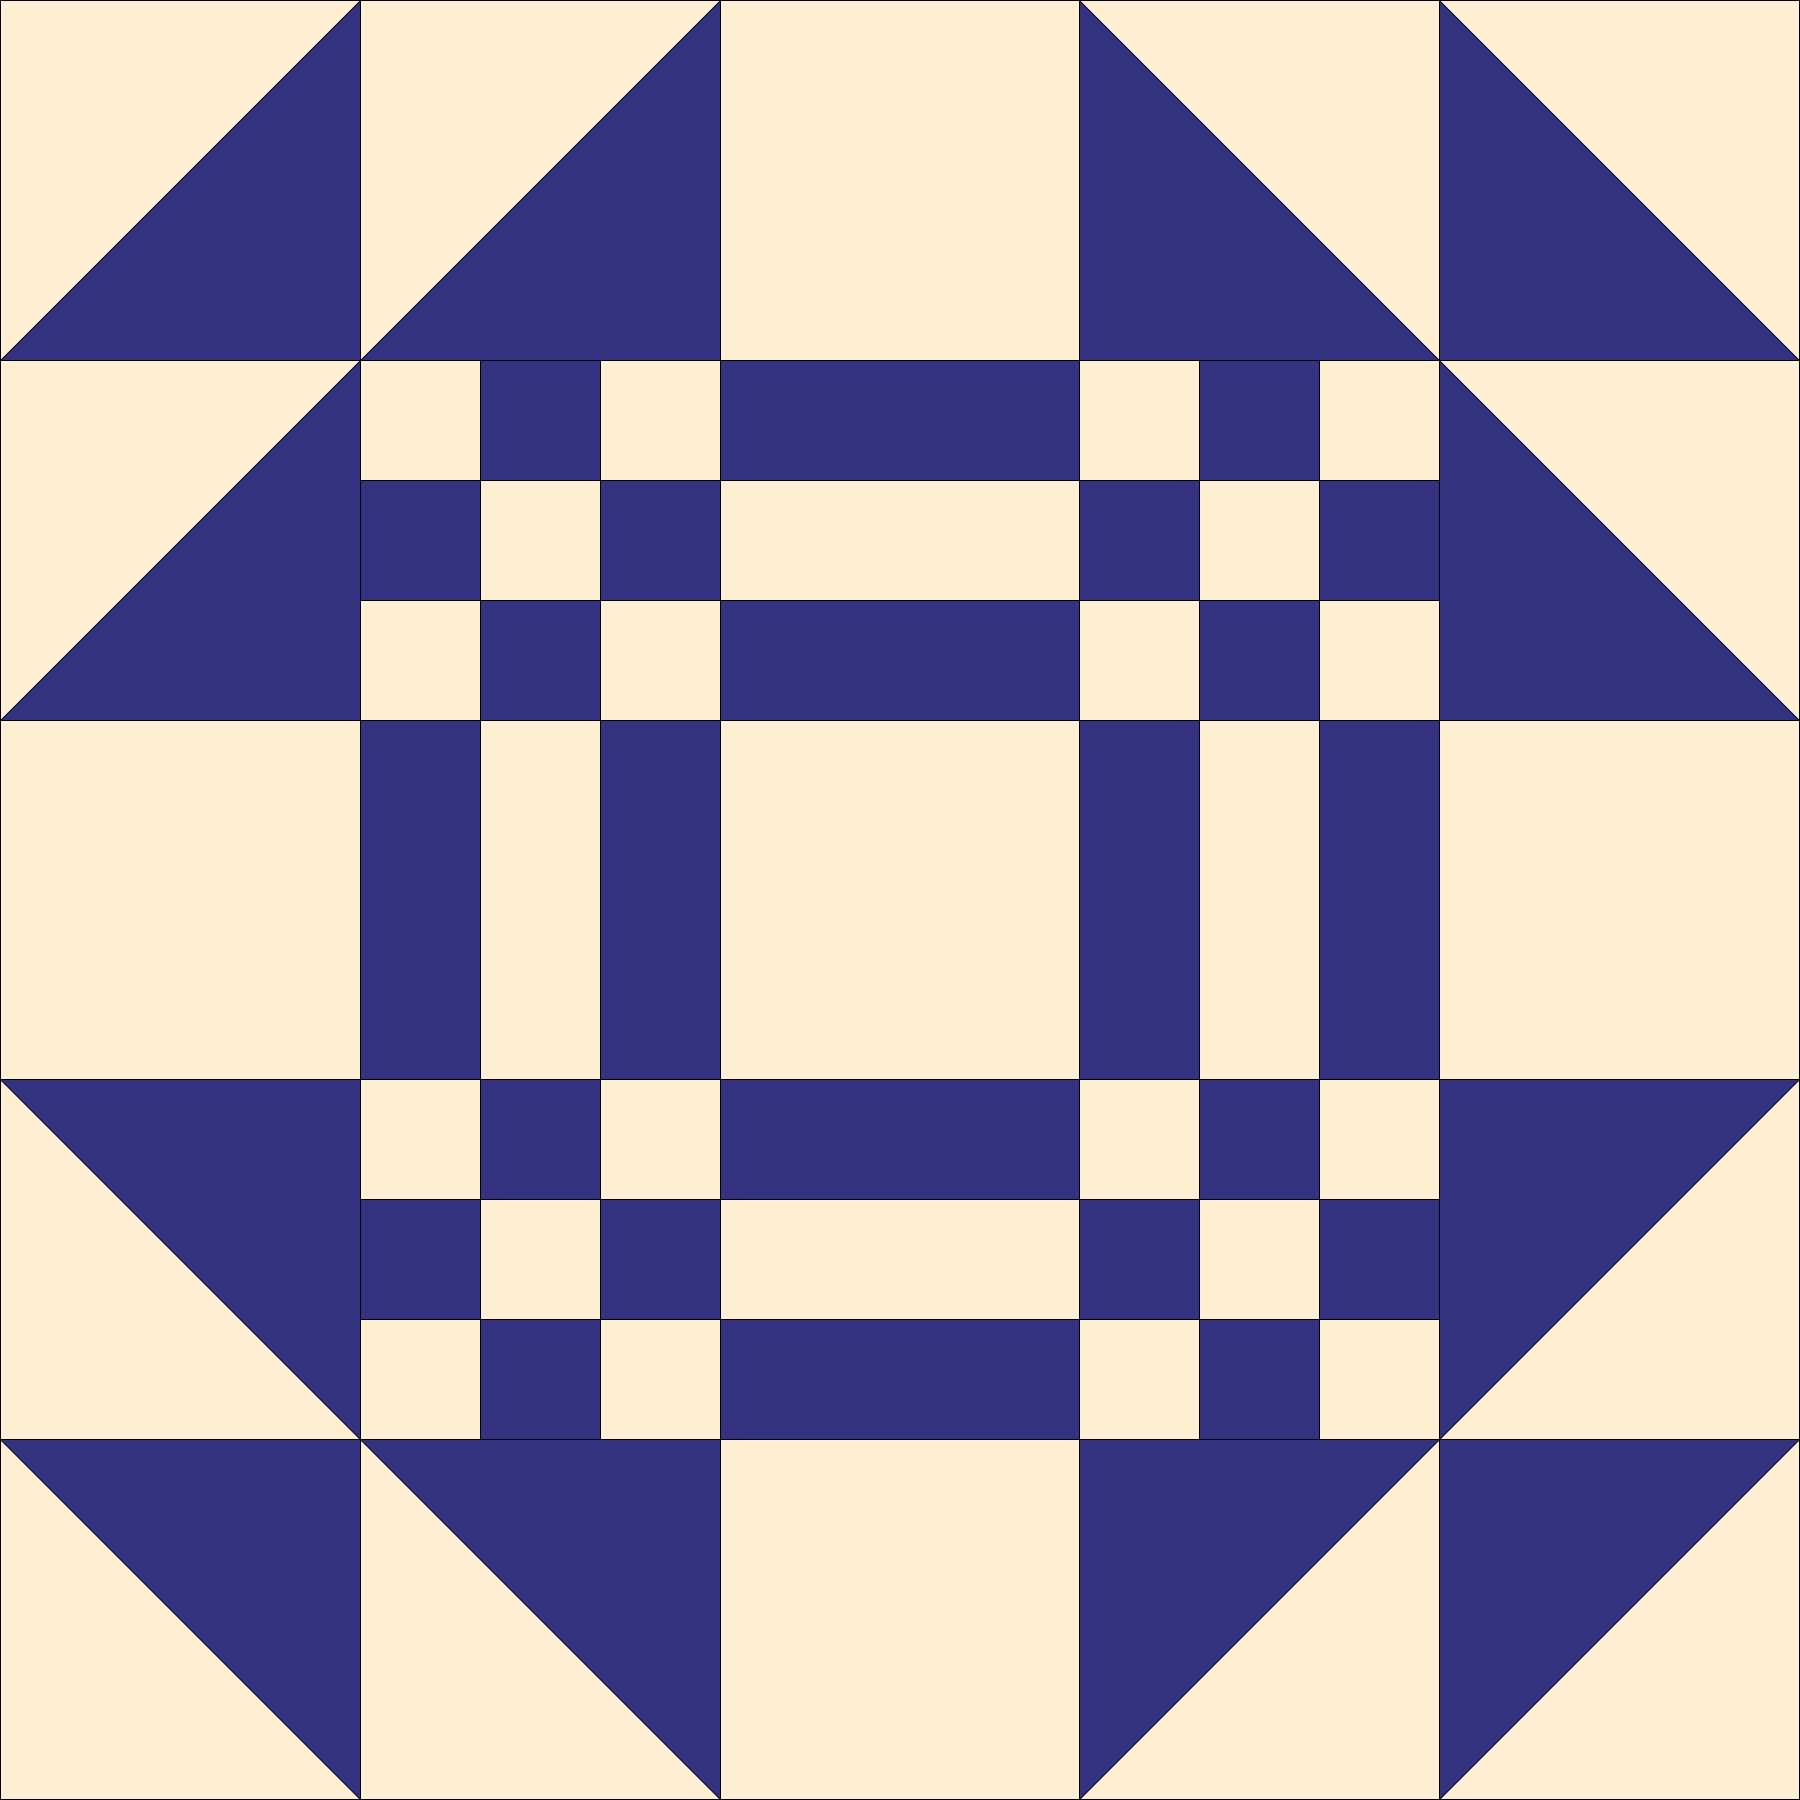
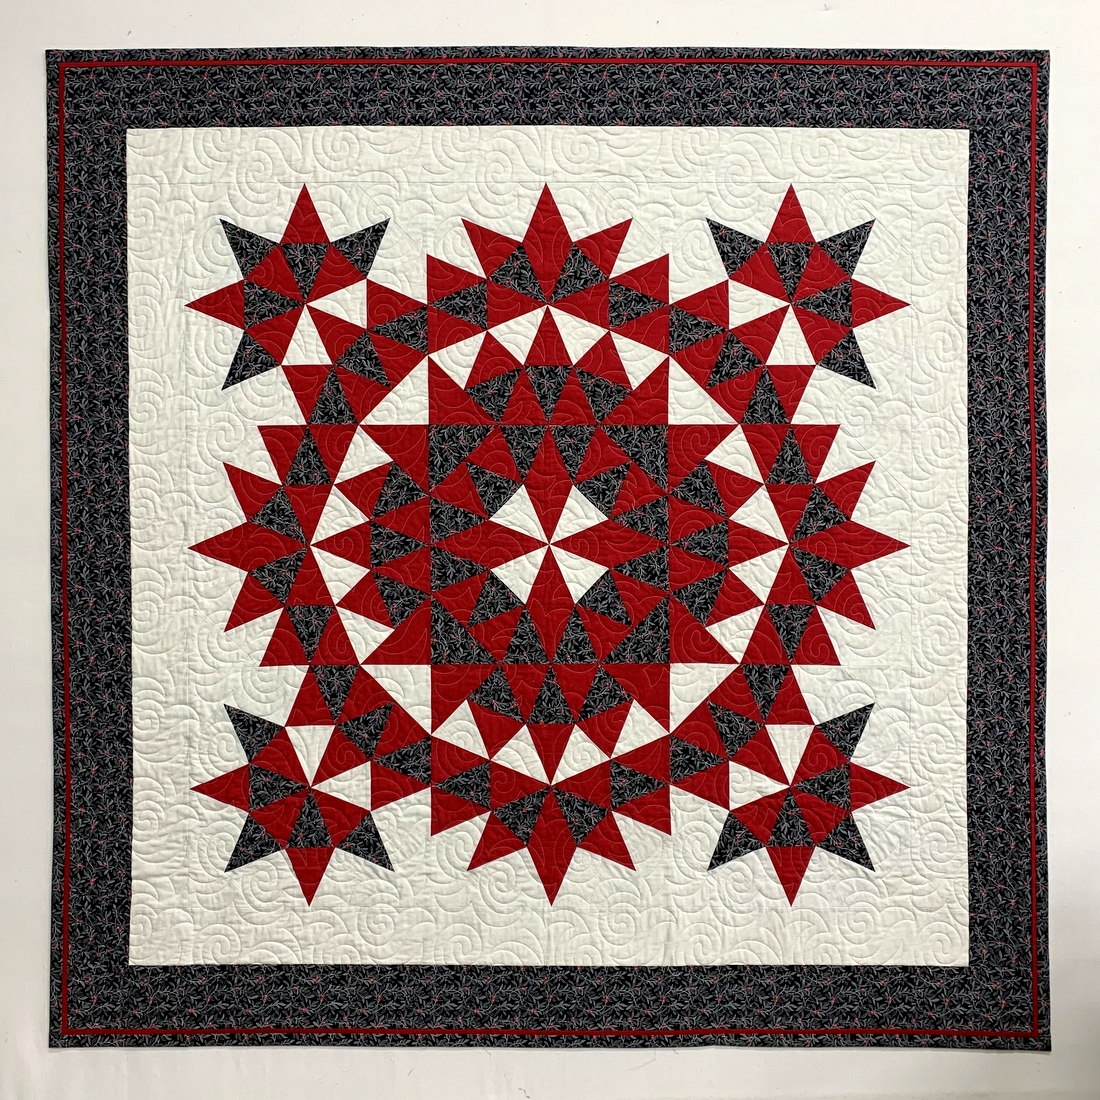
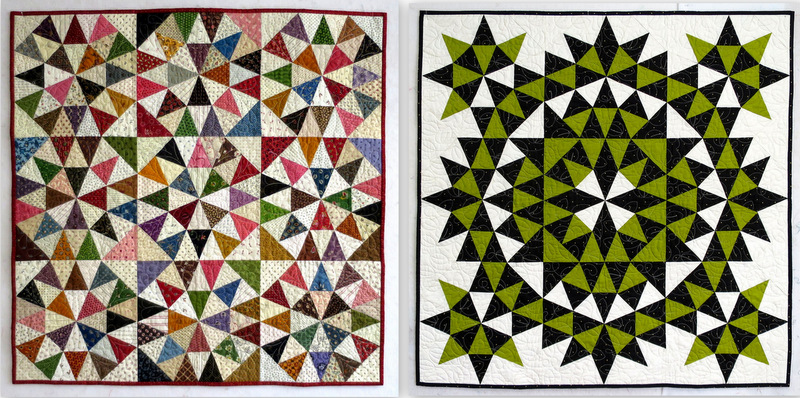
Here’s the latest block in what I have started to think of as my “Sea Sampler” quilt:
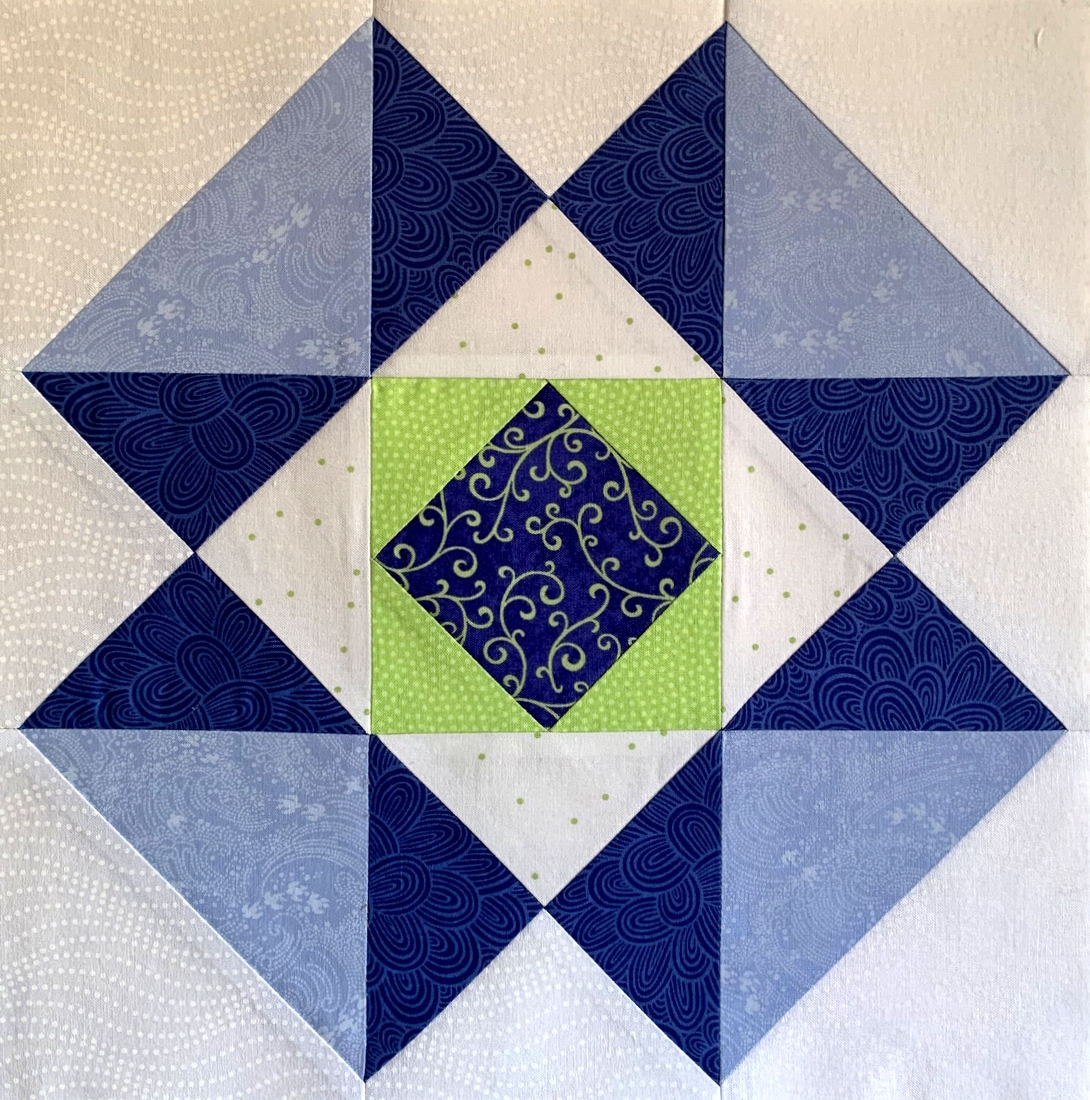
The block is basically an Ohio Star with half-square triangles (HSTs) in the corners. I’ve been finding fabrics in my stash with a watery vibe that go really well with my other fabrics in this Block of the Month project through Montavilla Sewing Center in Lake Oswego.
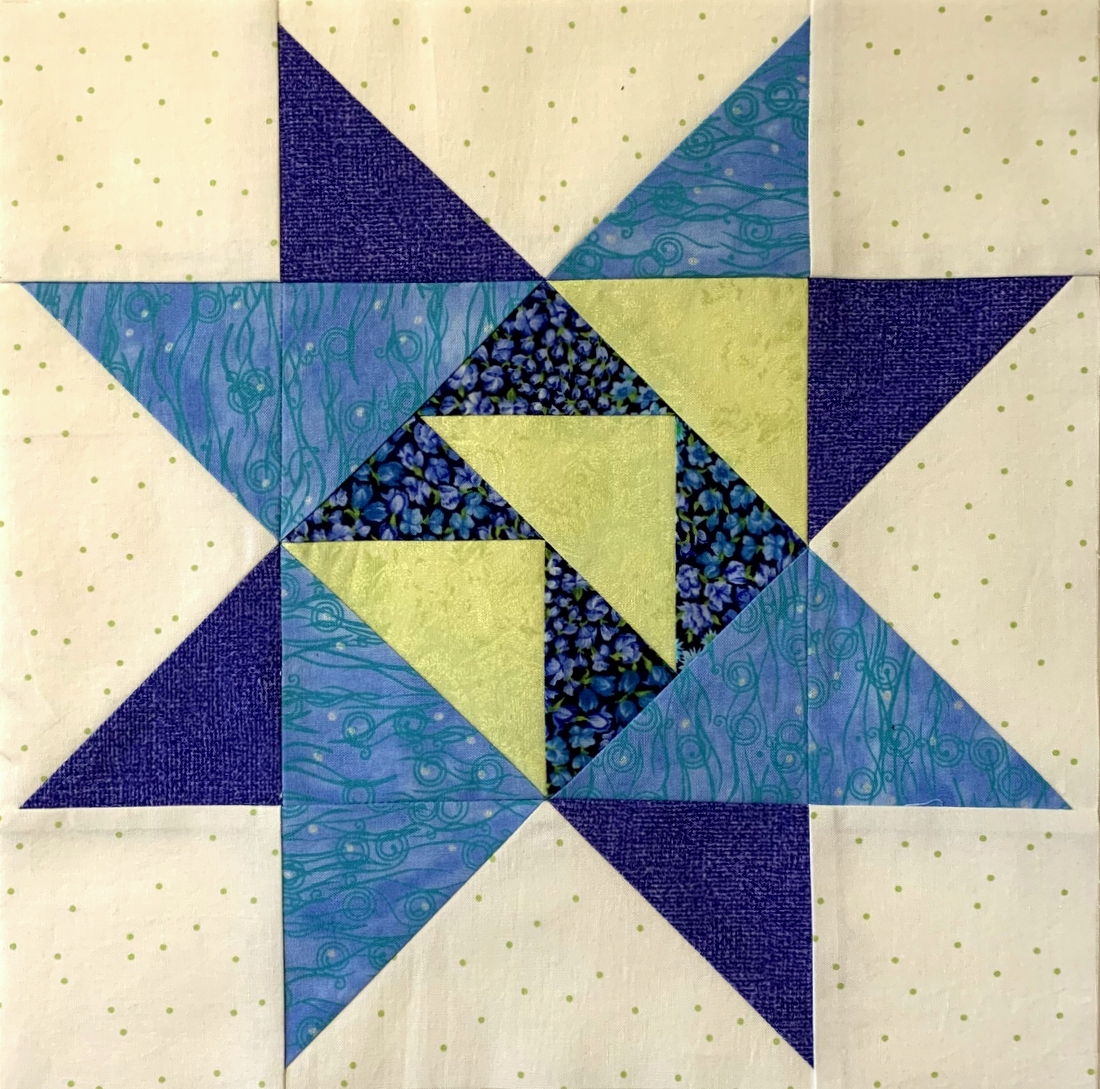
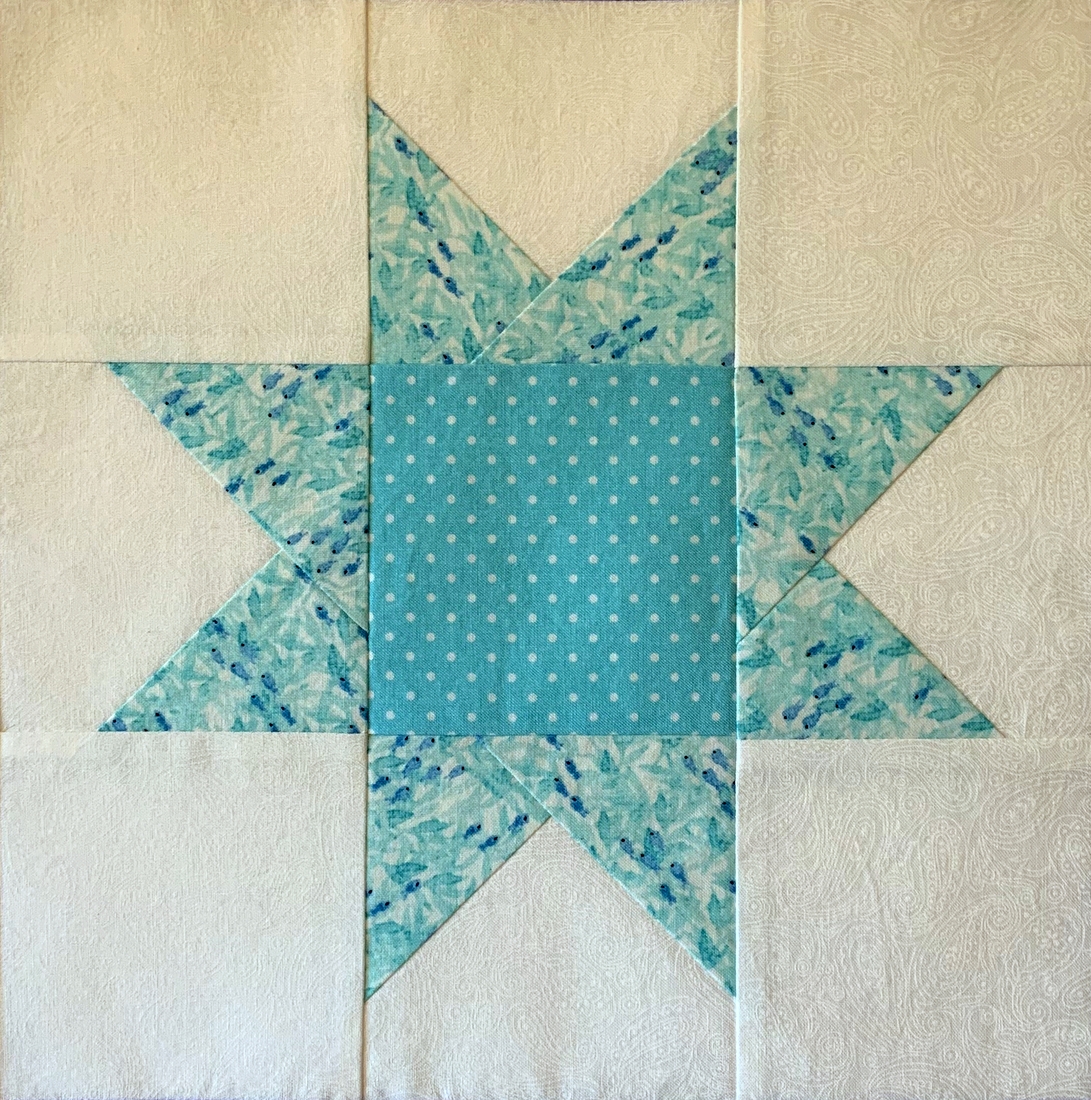
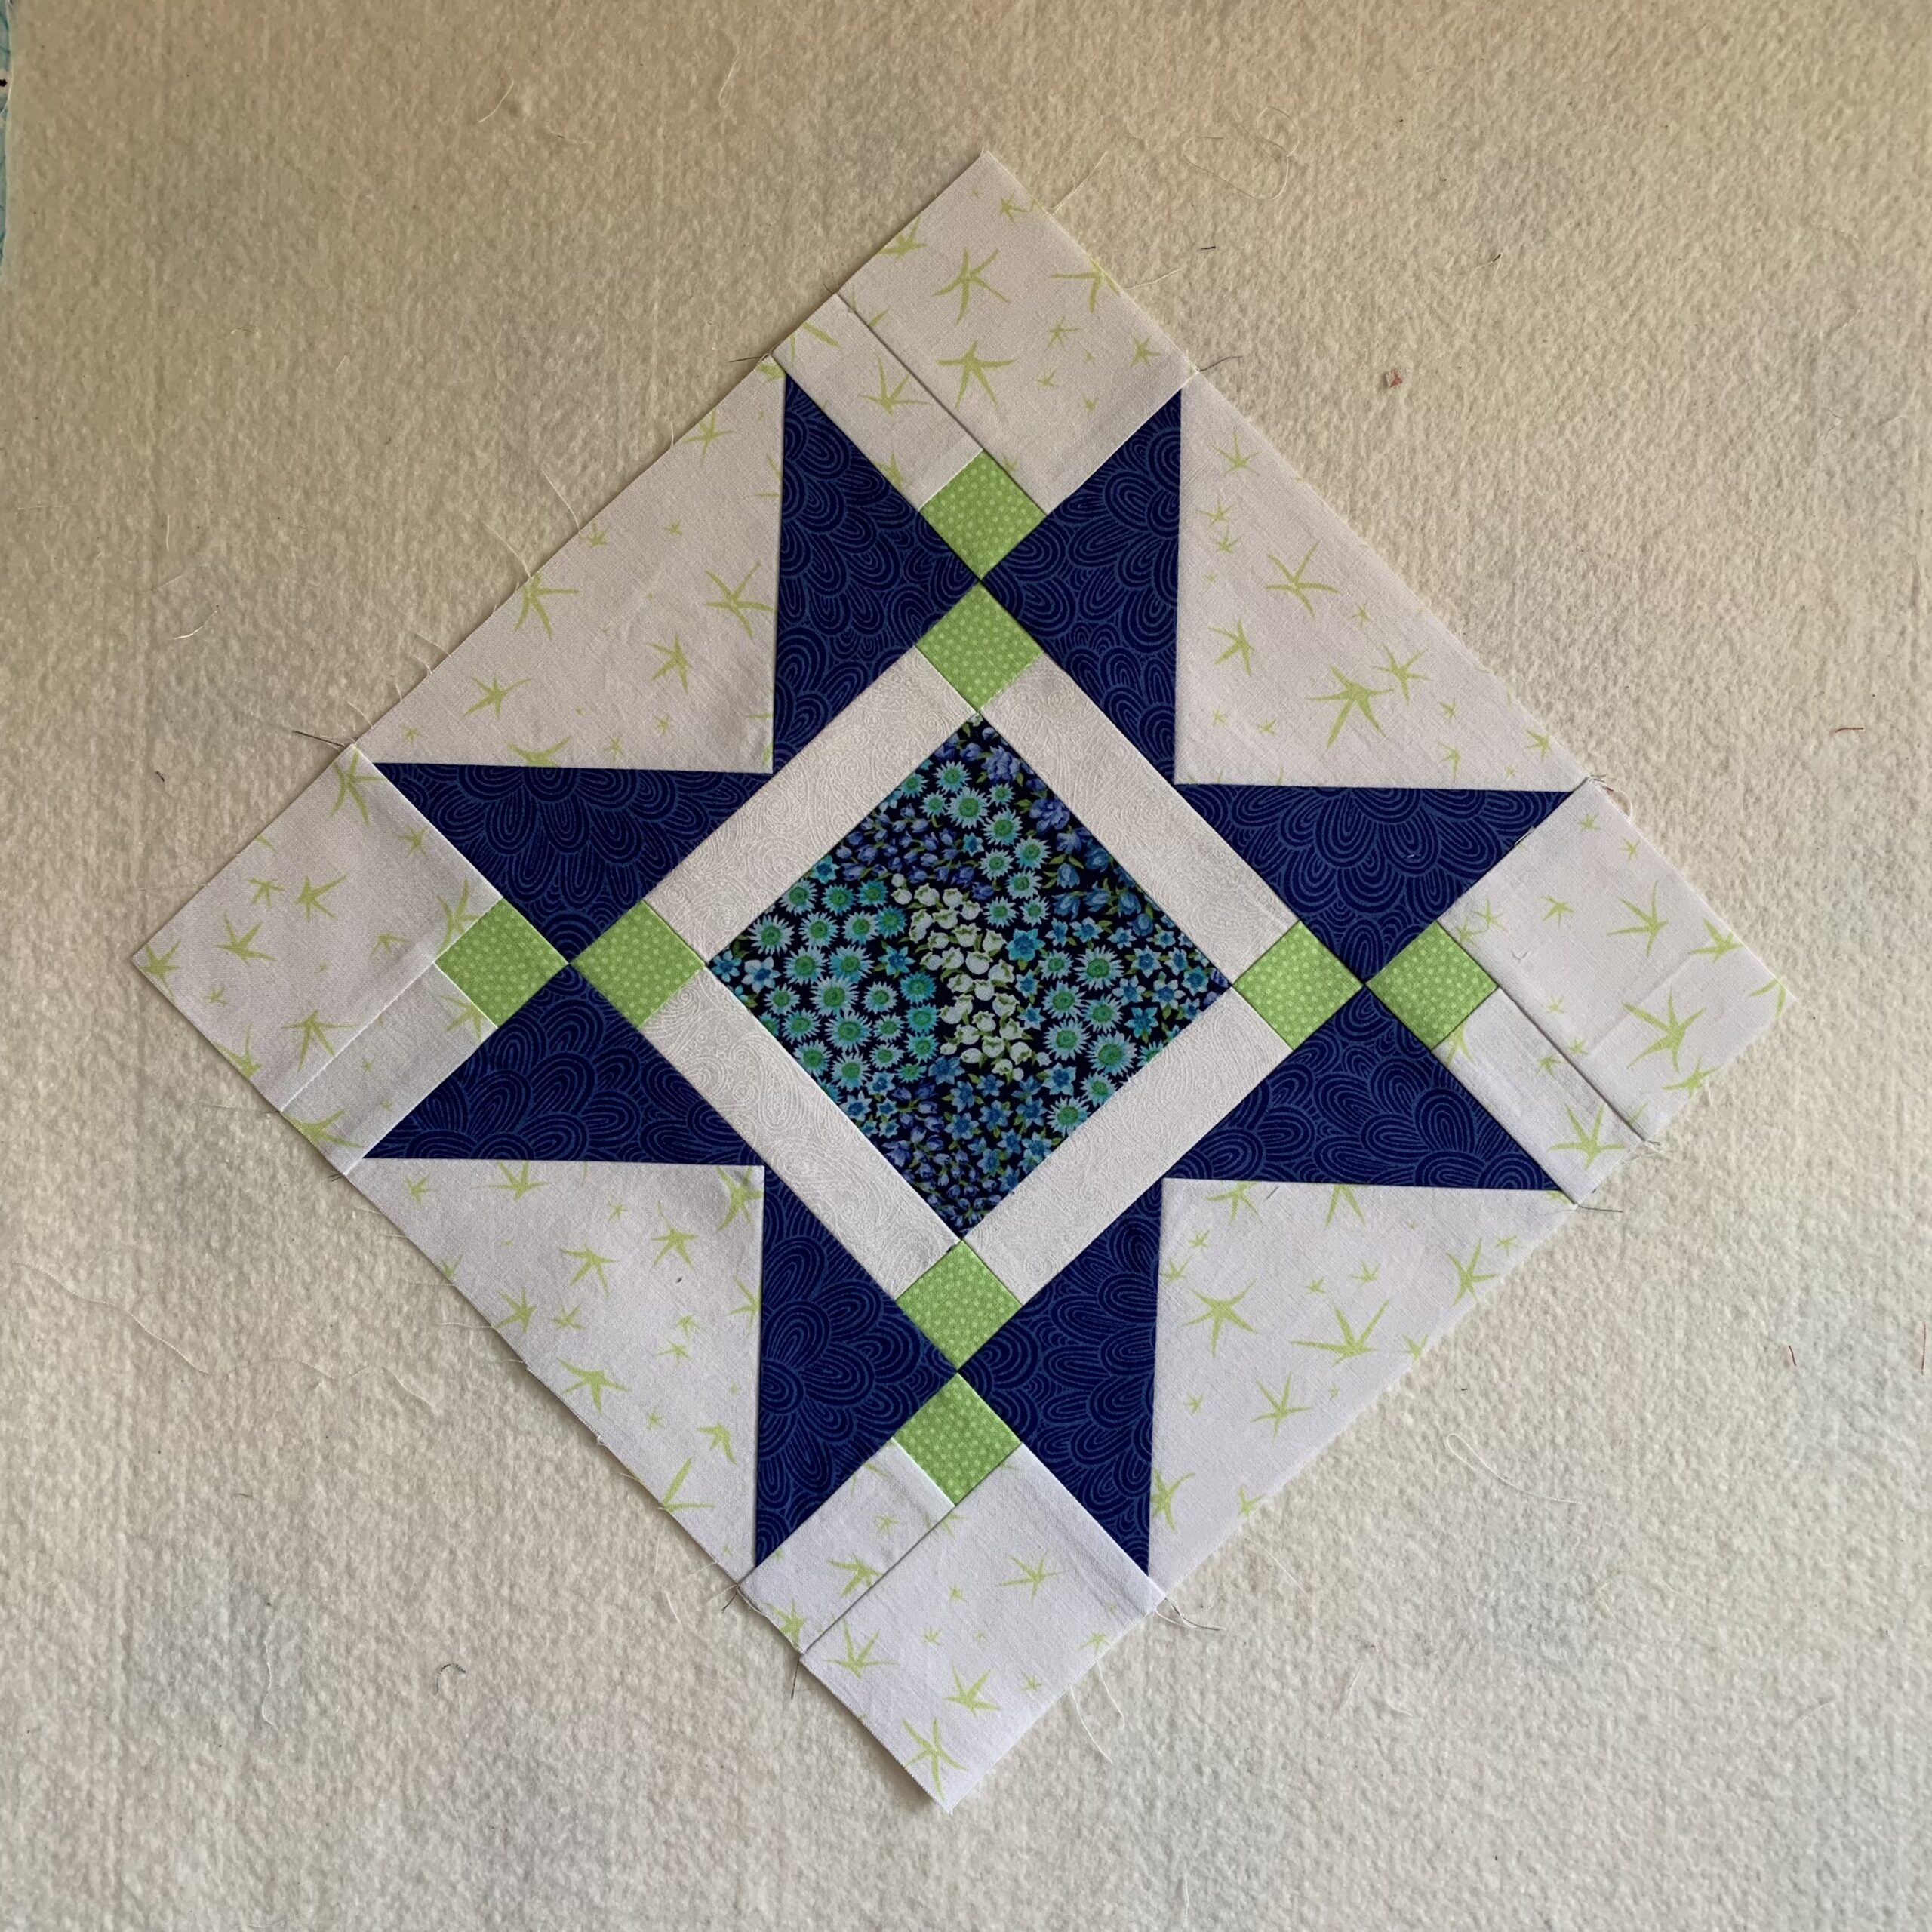
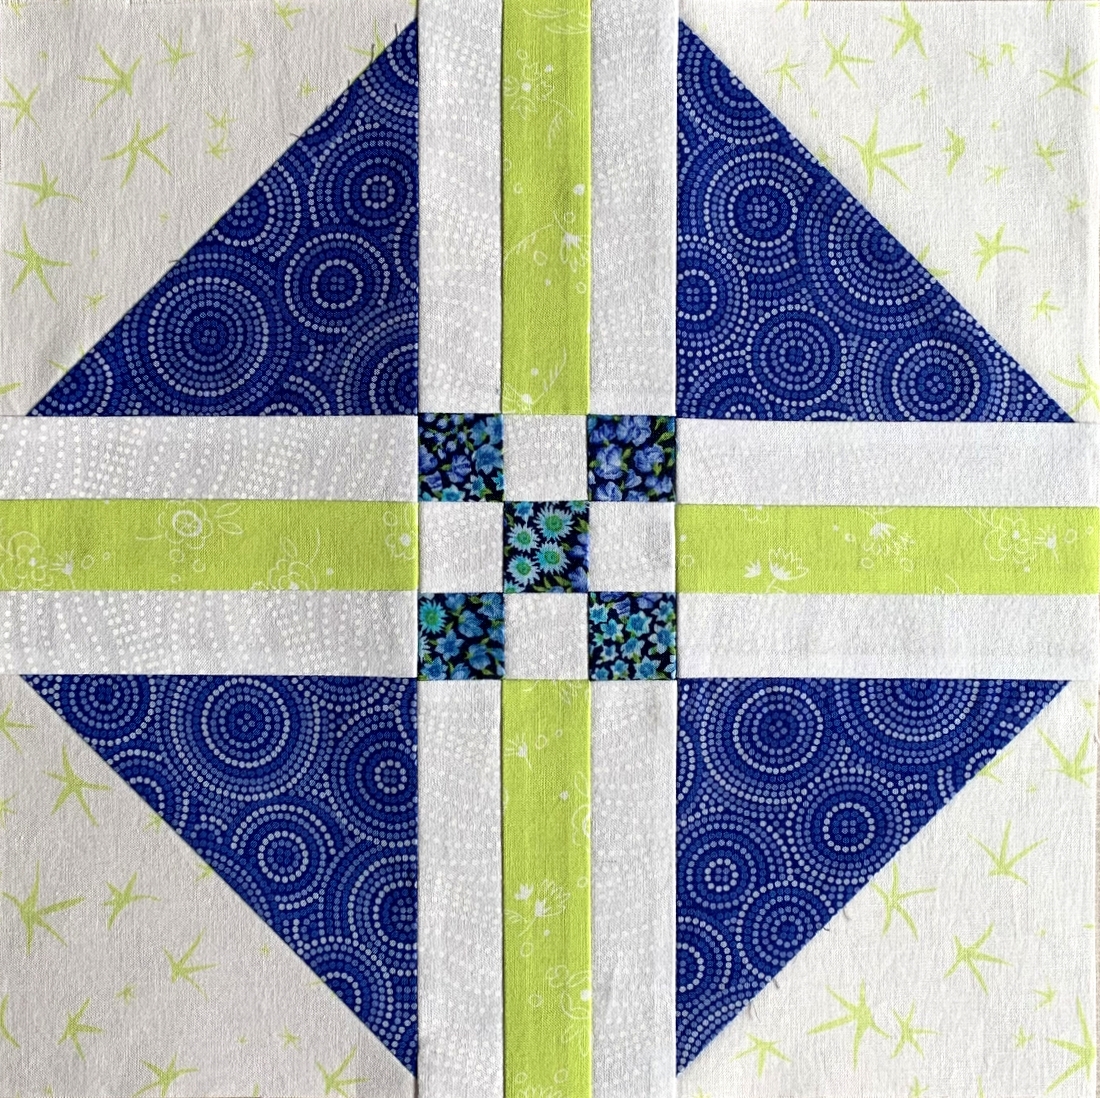
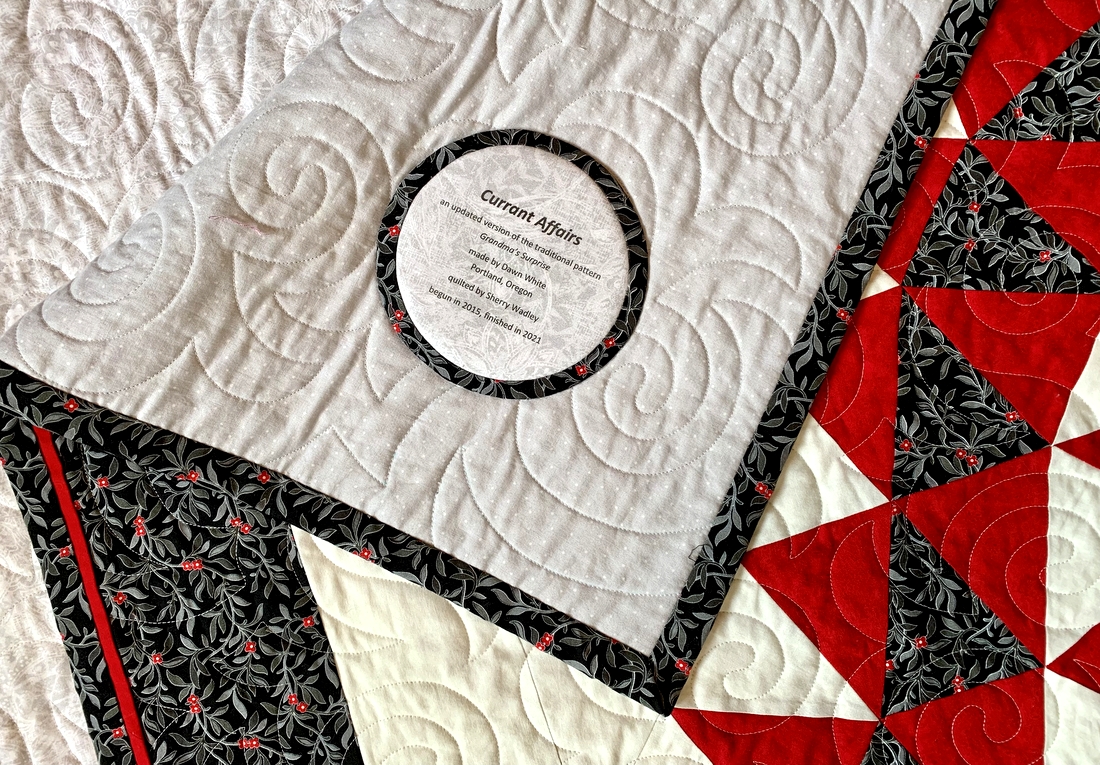
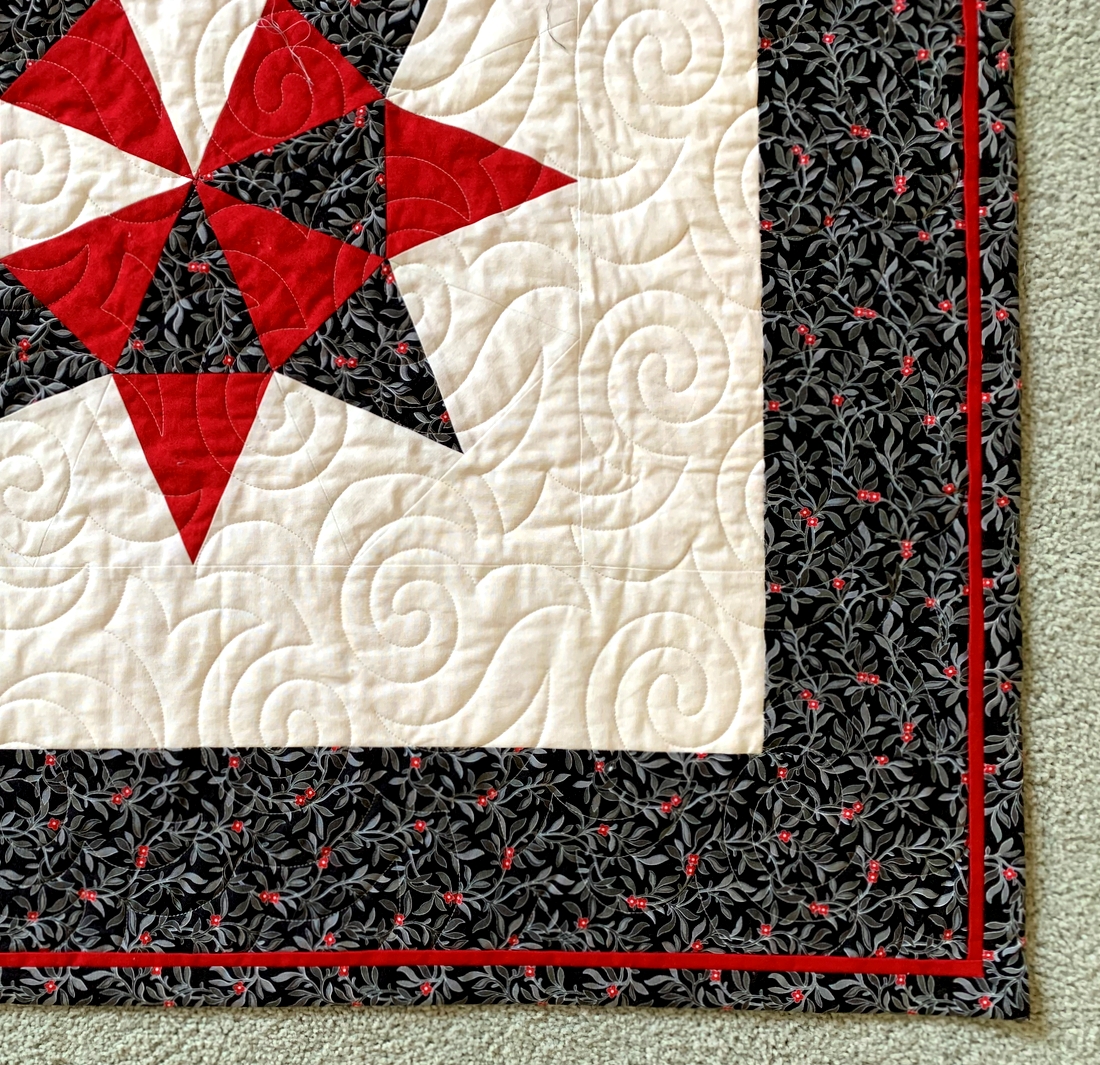
Take a look at this close-up of my block:

The white on white fabric reminds me of bubbles and that light periwinkle print looks like waves and whitecaps. And could those shapes swimming in the waves possibly be turtles? I like to think so.
Look again at the first picture. If you really use your imagination, the green swirls against the dark blue in the center of the block could be floating algae or seaweed. Ferns, maybe? Pondering this will lead me to a name for my quilt eventually.
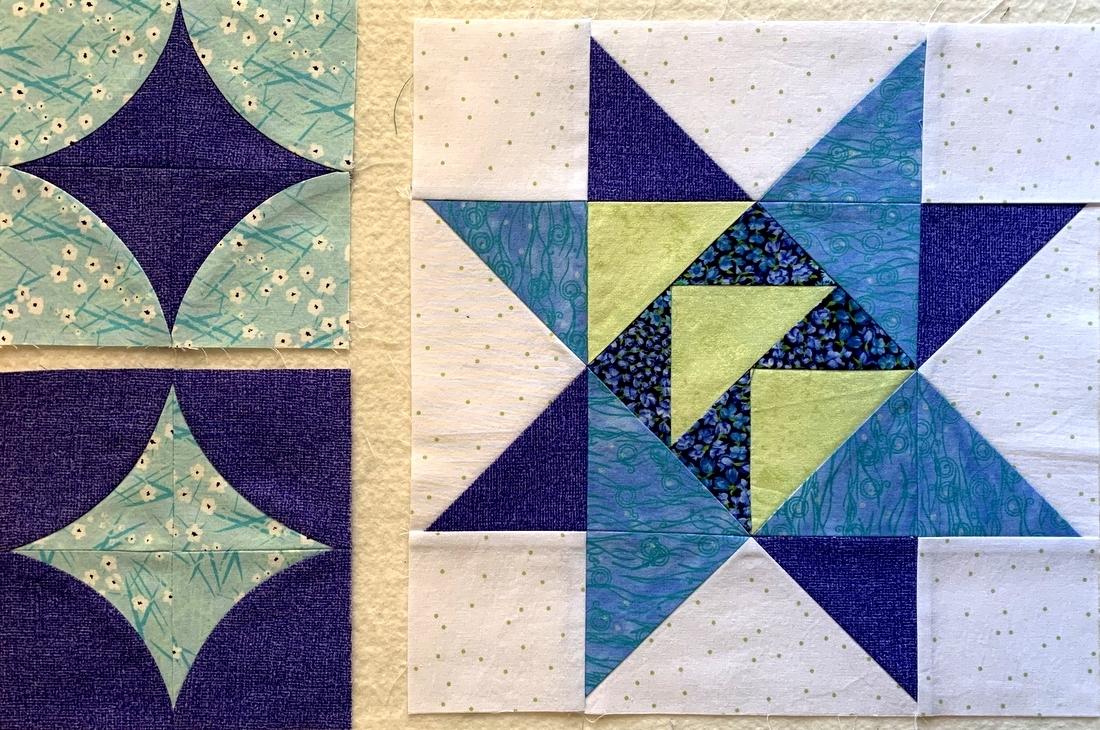
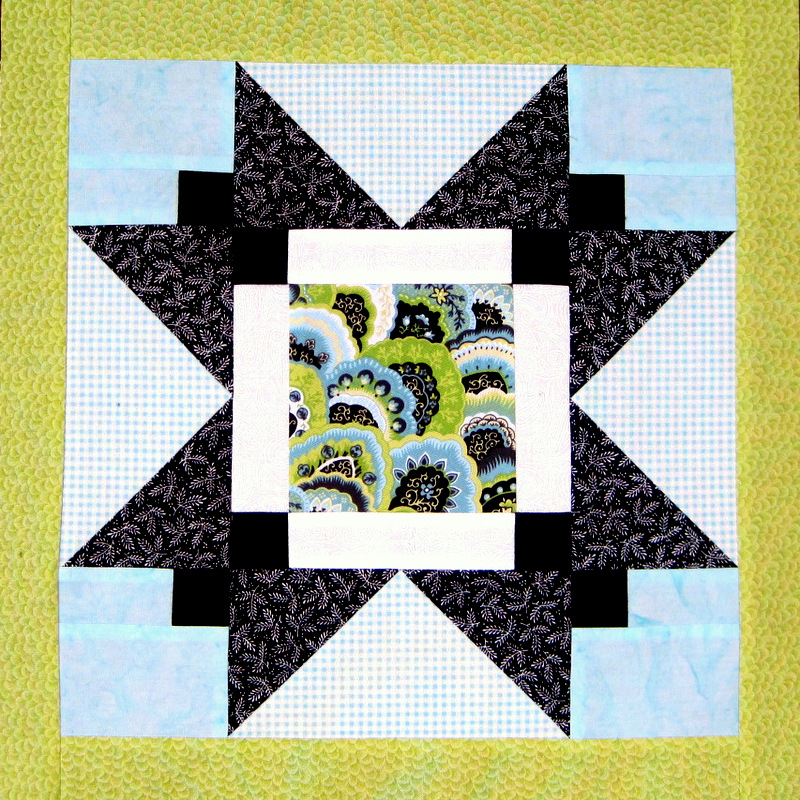
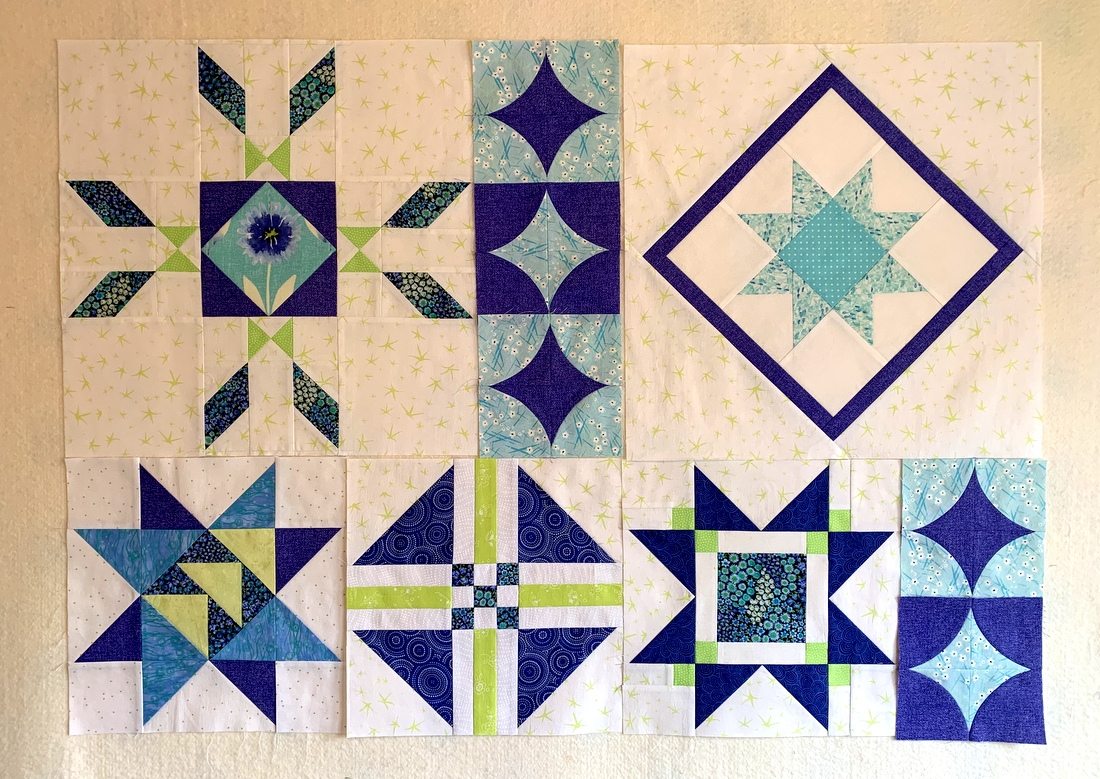
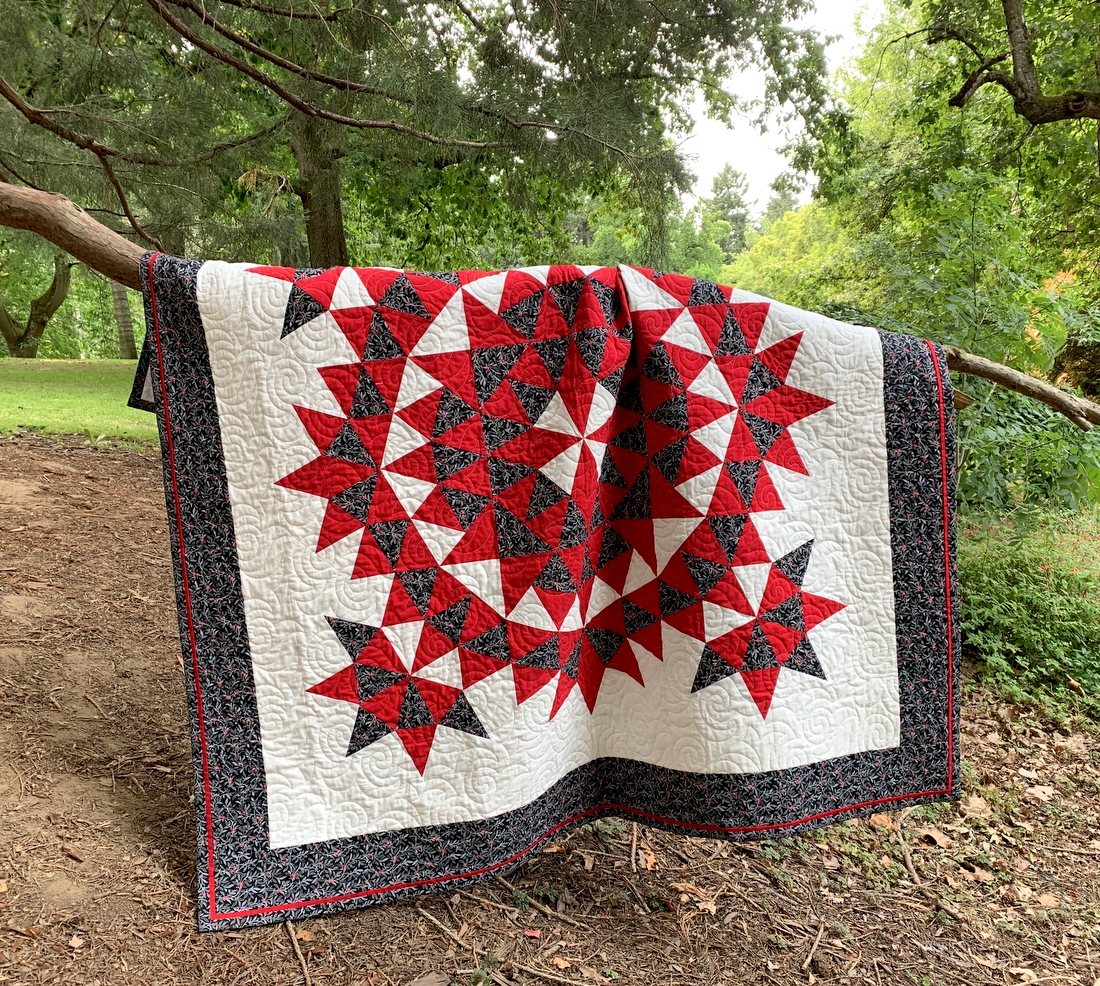
I now have these four blocks that will finish at 12″ square:
 They play together very nicely, don’t you think?
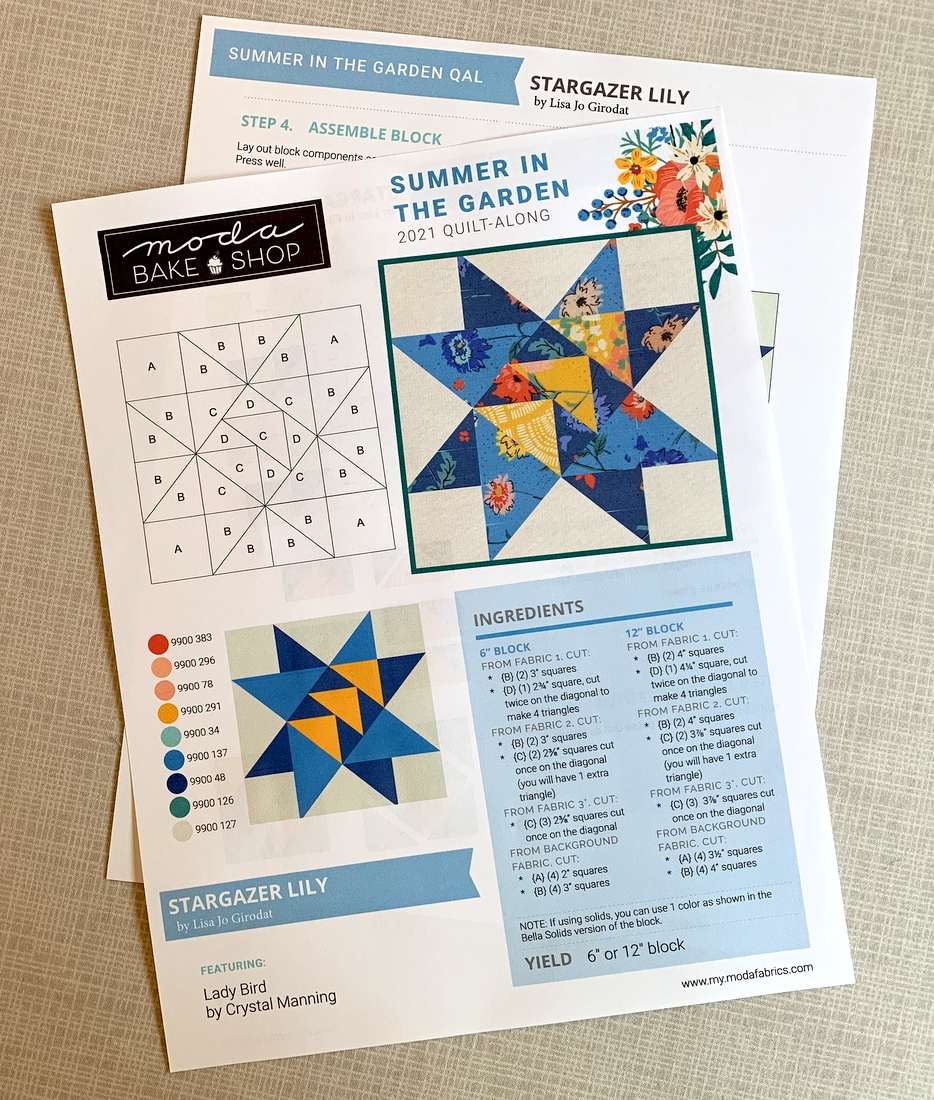
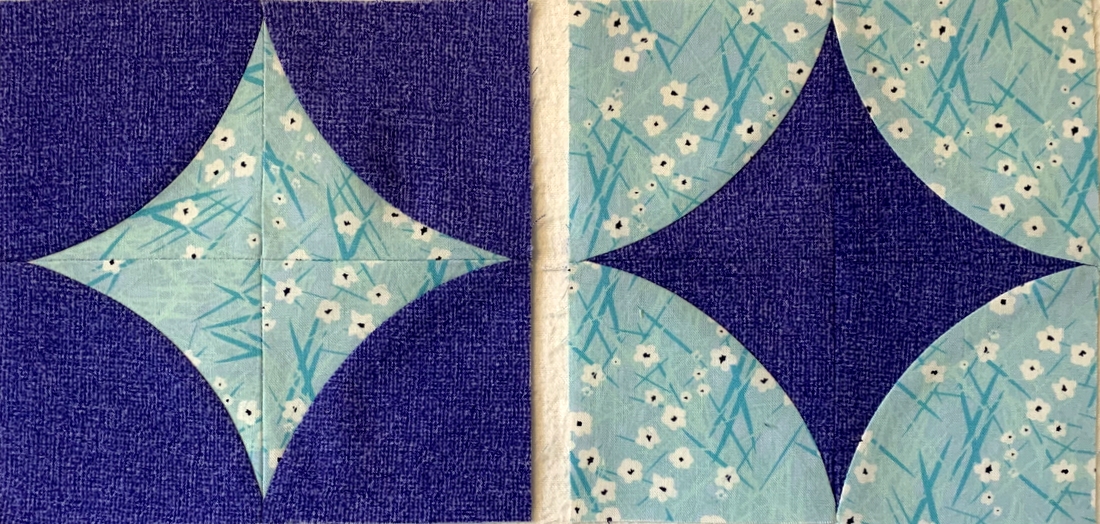
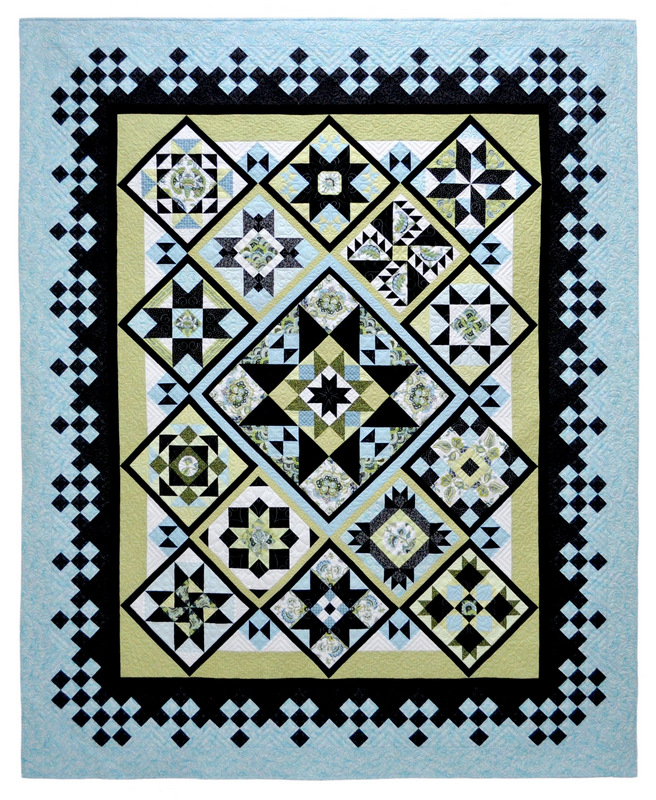
For the layout I am envisioning, I need to make four more 12″ blocks, three more 18″ blocks, and a few more of these 6″ atomic star blocks:
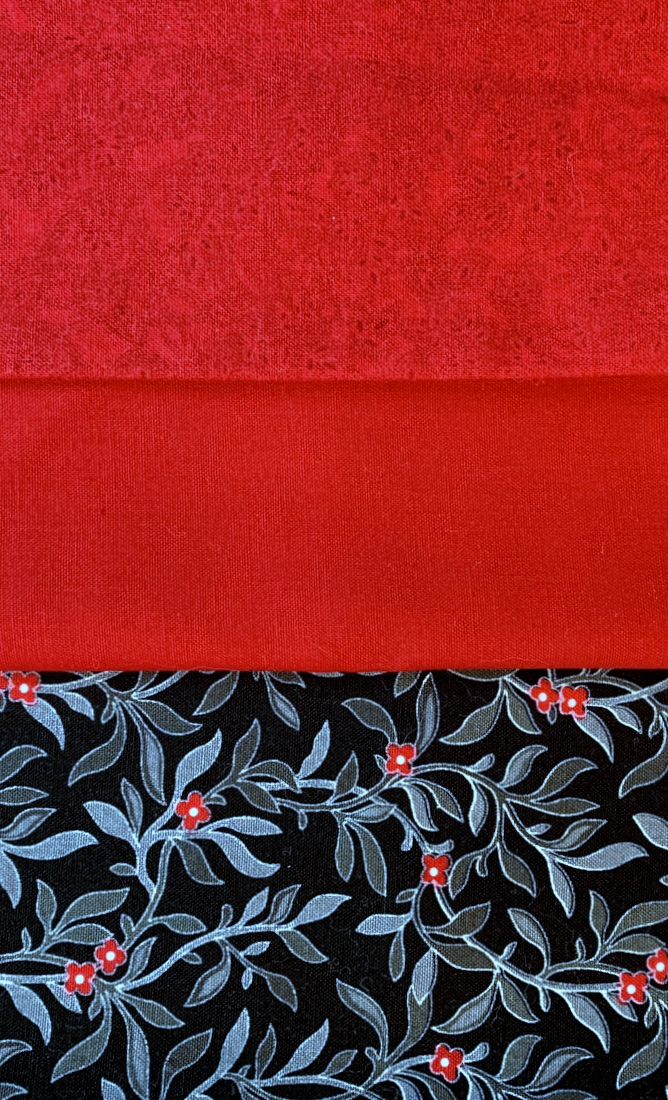
Thanks to my dear friend Vickie R., I don’t have to worry about using up the last of this precious aqua print from a line that came out over a decade ago. It’s so hard for me to use up fabrics I love. Vickie knows this about me and she also knows I was running low on this fabric because I had mentioned it in an earlier blog post. Miraculously, she found a yard of it for sale on Etsy and surprised me with it last week. (Thanks, Vickie!)
It’s time to start another block and I’ve already decided what it will be. I seem to be moving at a snail’s pace on this project (make that a sea snail) but I am enjoying the process so much.


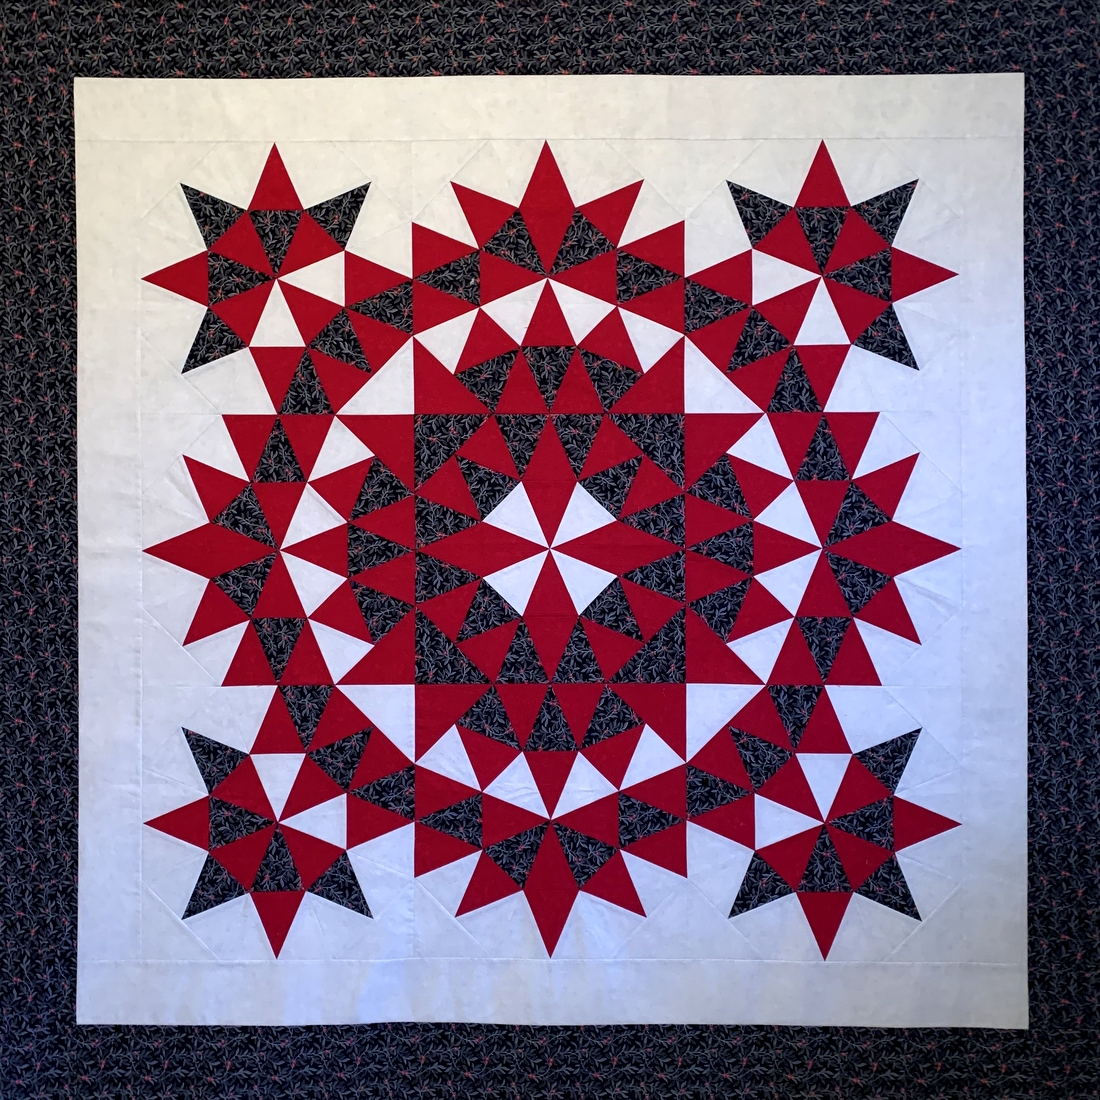

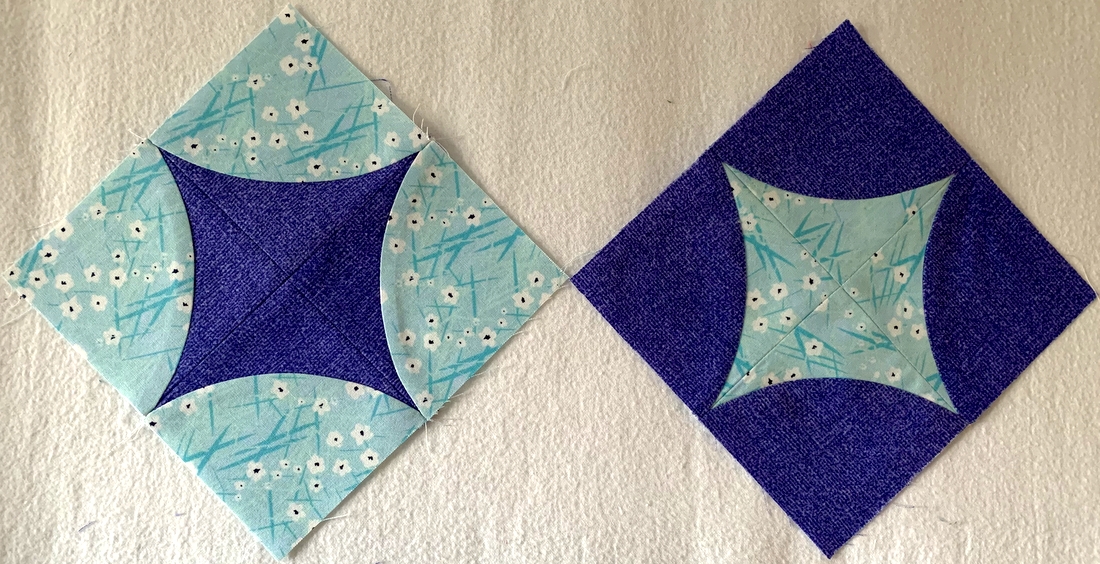
 It took a couple of tries to get the points of the atomic stars right where I needed them: a few stitches away from the quarter-inch seam allowance. That way there’s no danger of the points disappearing into a seam.