Category Archives: table napkins

Satisfying Sewing

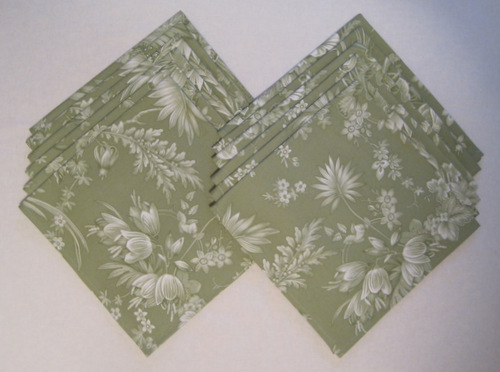
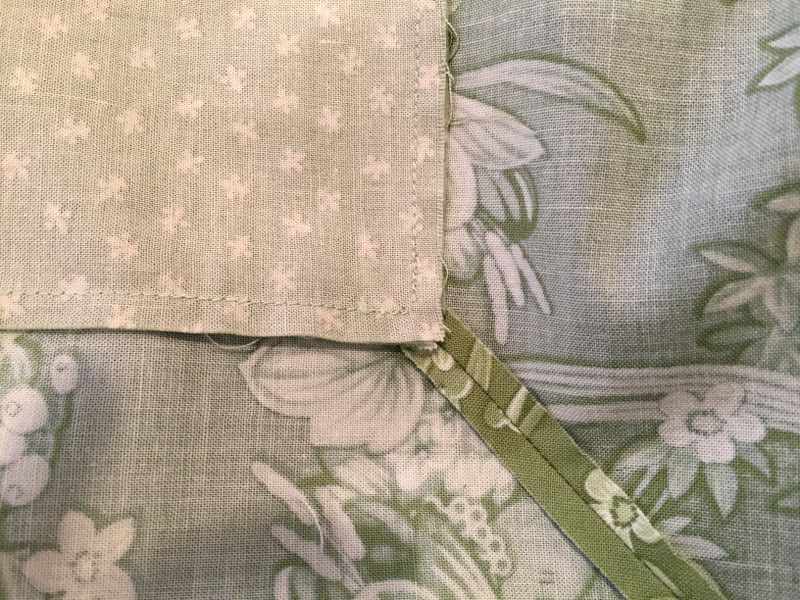
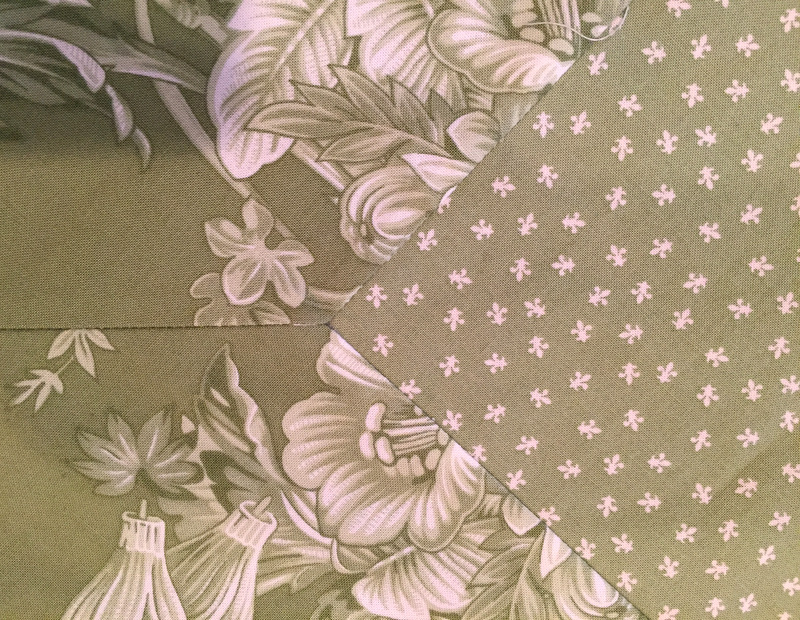
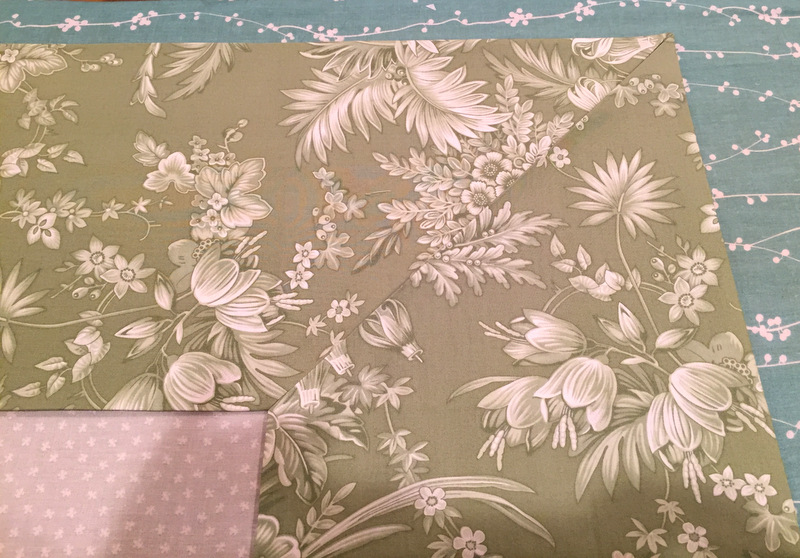
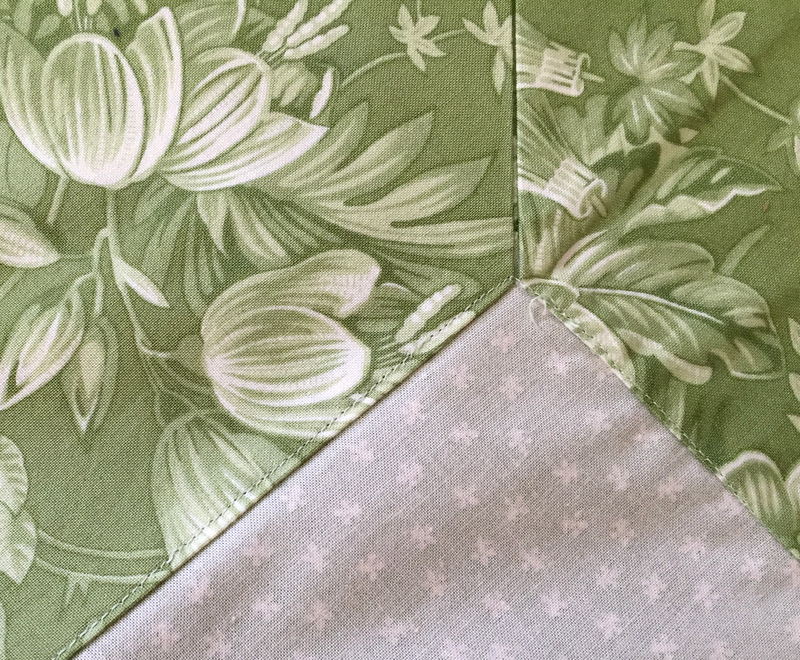
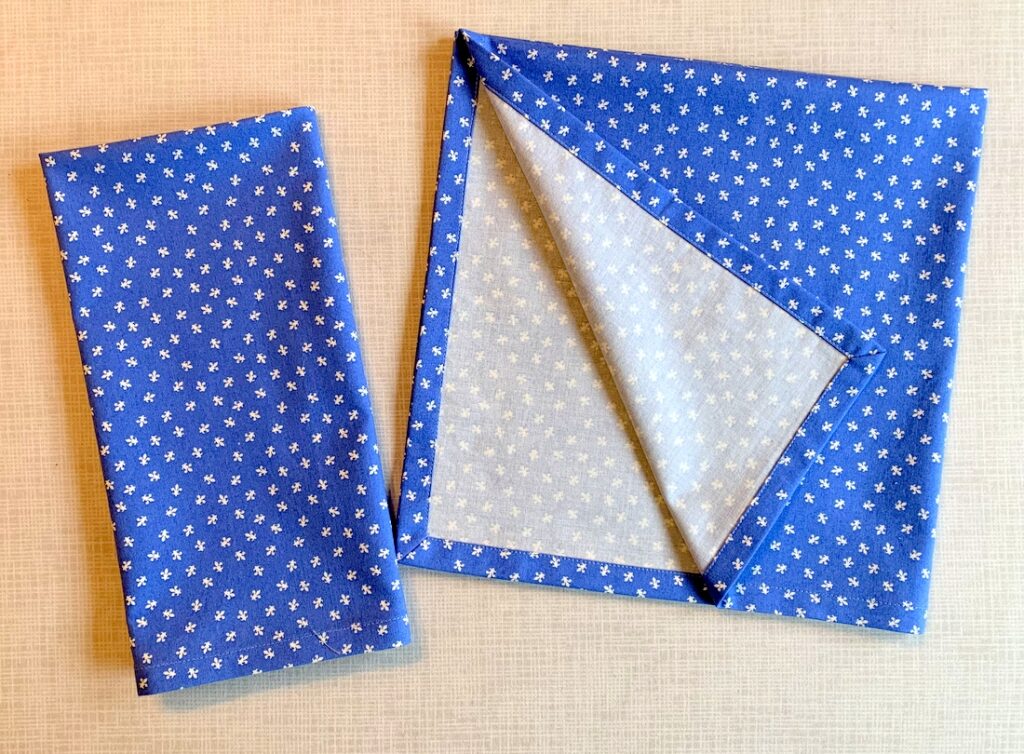
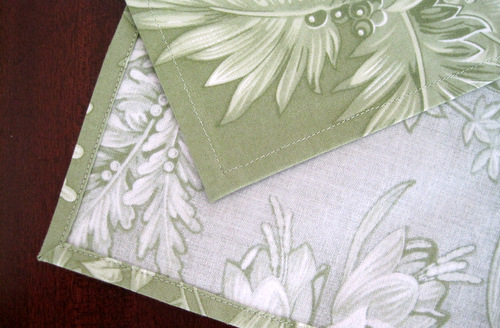
During my recent two-week stay at sister Diane’s home in Georgia last month, the only sewing I did other than new valances for her garage was this pair of napkins with machine-mitered corners:

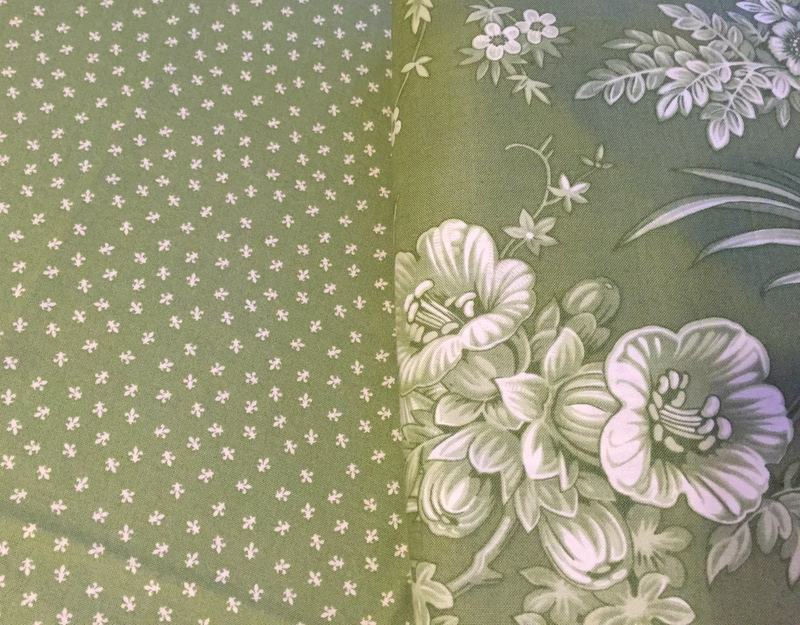
The days leading up to our departure were so busy I didn’t take the time to organize a quilt project as I usually do, so I wound up throwing this fabric in my suitcase with the idea of making napkins. We use only cloth napkins at the Portland White House, and some of the older ones are pretty faded. This fleur de lis print will go very well with my blue and white transferware dishes.

I usually make my napkins with a 1/4″-wide hem using a method involving folding the fabric at the corners to form the miters. In fact, one of my very first tutorials — from 10 years ago! — describes this method. Folded miters work very well with narrow hems — say 1/4″ to 3/8″ wide. For anything wider, a miter stitched by machine is a better choice.

Because I had decided to finish these napkins with a 1/2″-wide hem, I looked for tutorials online to refresh my memory on how to machine-stitch mitered corners. I found a few that described the process with photos but every tutorial was lacking what I consider important information.

I want to make a couple more napkins now that I’m back home, and this time I’m going to take process shots so I’ll have them on hand the next time I decide to make some.

Is there interest out there in a tutorial? Let me know!


Posted in family, mitered corners, table napkins, tutorial, update | 17 Comments

More Simple Sewing

It’s been almost two weeks since the Dear Husband and I returned from our annual Thanksgiving trip to Georgia. I’m afraid I don’t have much to show for it in terms of sewing. Quite ironic, as the few things I have worked on fall squarely in the “simple sewing” camp.

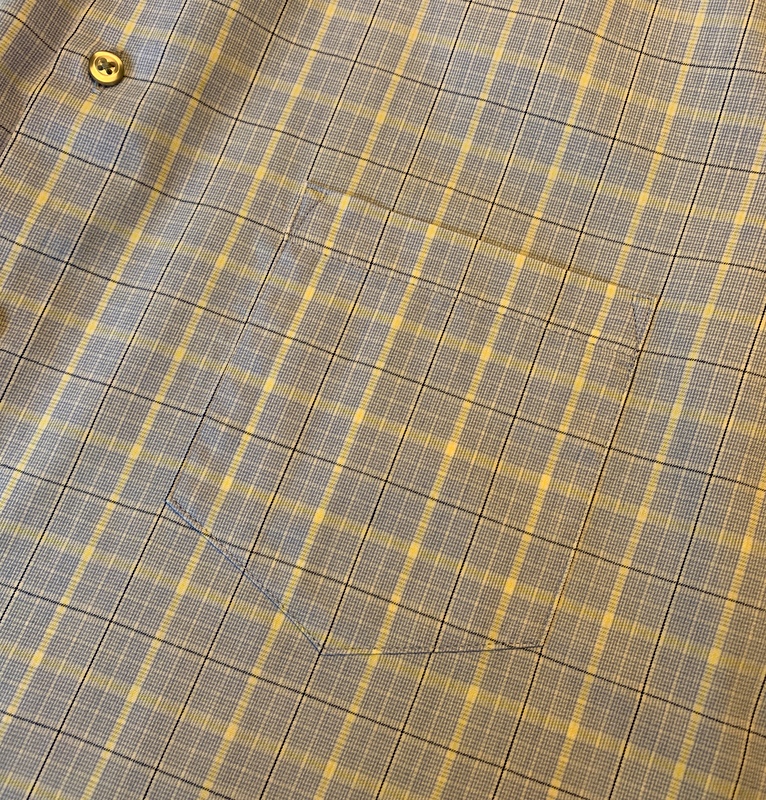
I converted a one-pocket long-sleeved shirt for the DH into a two-pocket short-sleeved shirt. The pockets were made from the bottom part of the sleeves:

I hope you can see the pocket! I matched the plaid pretty carefully.

New napkins for the Portland White House (we don’t use paper napkins):

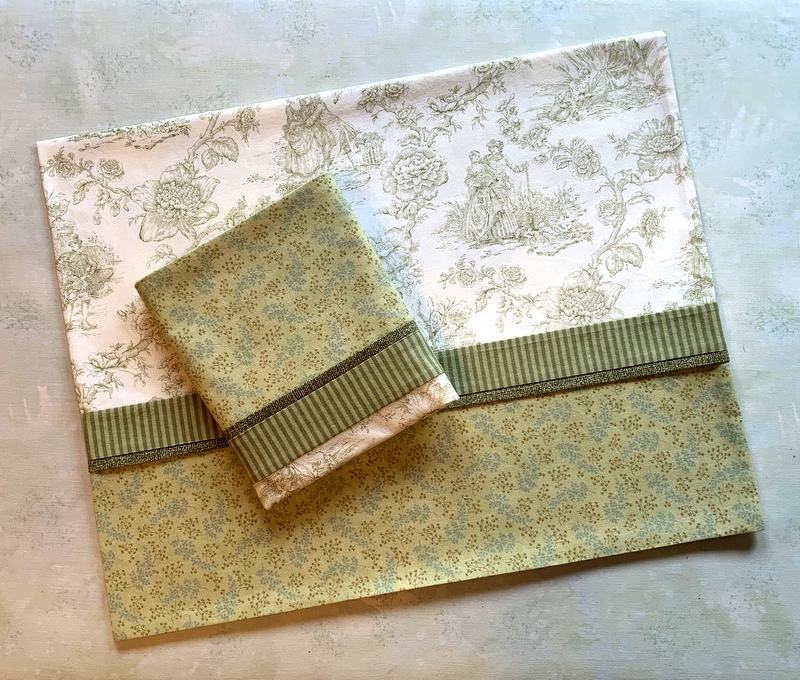
Pillowcases for the Portland White House featuring the same toile fabric I used in the pillowcases made when I was in Georgia (which I wrote about here):

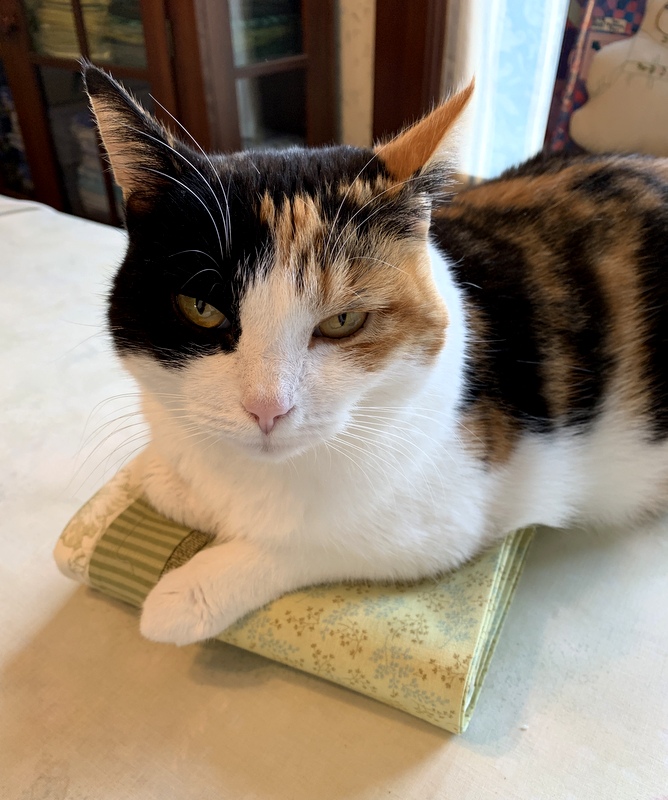
These are ready to go in my linen closet. Judging by the look on Coco’s face, I may not get them away from her:

That simple paisley table topper I made for sister Diane over Thanksgiving is getting a re-do. It was just two pieces of fabric sewn right sides together, turned, and topstitched around the edges. Trouble was, the two layers of fabric didn’t lie completely flat. I convinced Diane I had to take the table topper home and remake it, this time stitching the layers together and adding a simple binding.

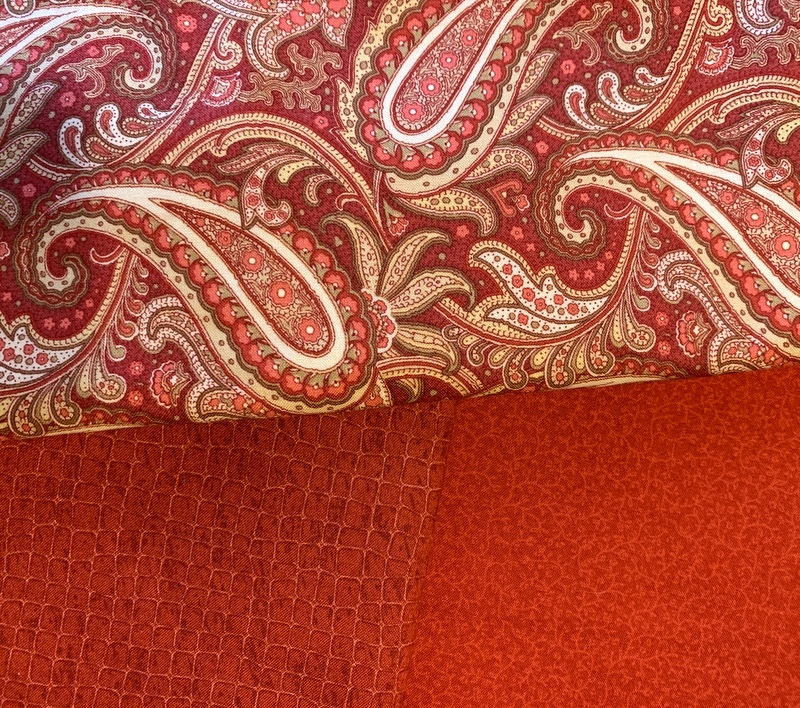
Here’s the paisley fabric with two choices for binding pulled from my stash:

We’re going with the one on the bottom left. Diane and I both like the way the linear squares play off the paisley, and it’s a better color match. I think the binding will look even better cut on the bias.

Once I’m done with that, I absolutely must make the DH a new bathrobe. The one I made him several years ago is practically in tatters. I picked up a cotton print a few months ago with his bathrobe in mind. I’ll trim it with a navy blue blender from Maywood:

It’s been a while since I made a garment. I’ll be pulling my serger out of the sewing room closet and refreshing my memory on how it works. Wish me luck!


Posted in family, garment sewing, home dec, mitered corners, roll-it-up pillowcases, table napkins, table topper, update | 4 Comments

Simple Sewing

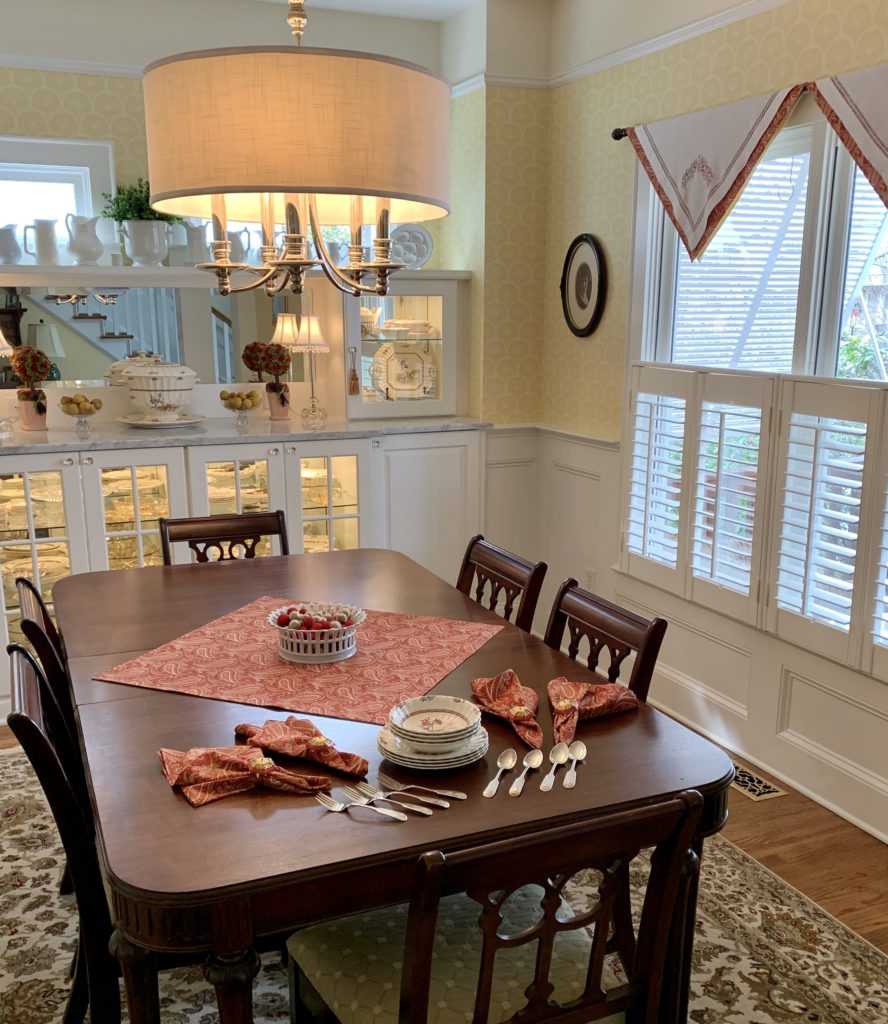
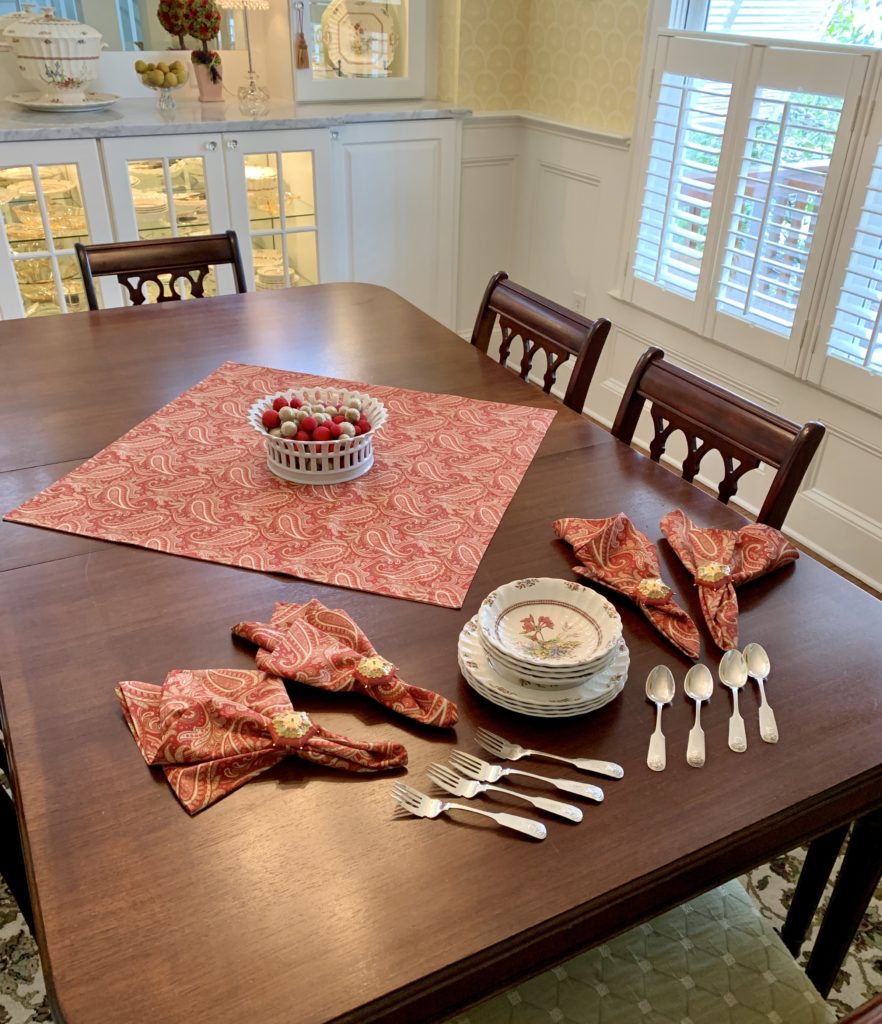
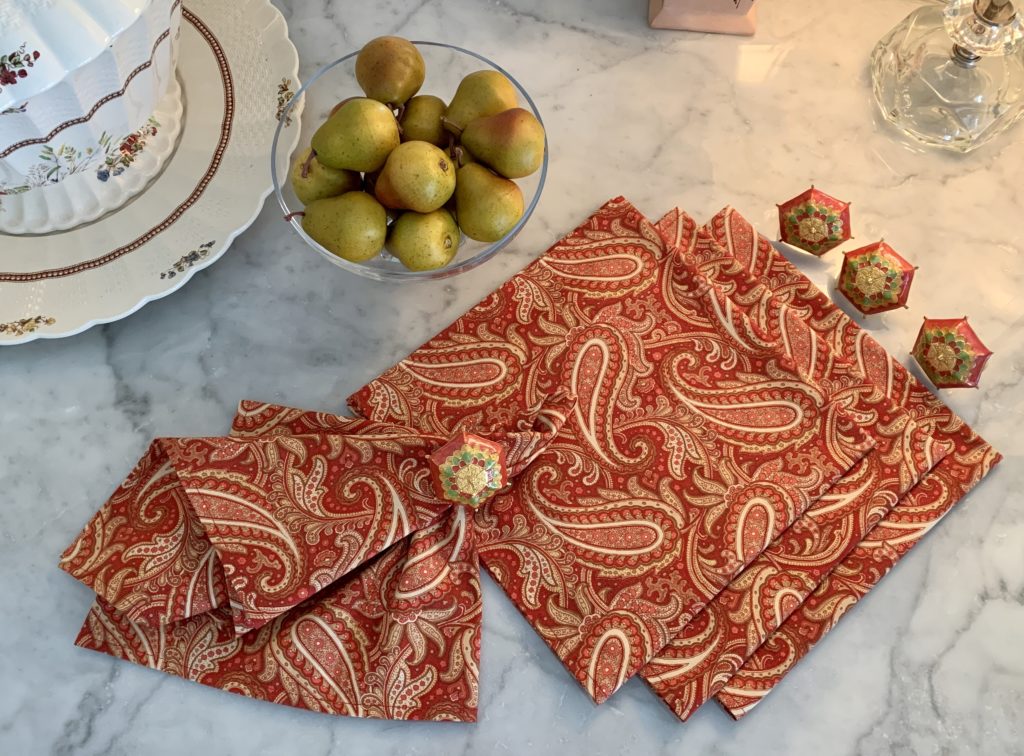
My sister Diane has a new table topper and four generously sized napkins made from the same paisley fabric I used last year to update the window treatment in her dining room:

(I wrote about the window treatments in this post from a year ago.)

Simple sewing. Even so, I found it necessary to revisit my own tutorial on mitering the corners of the napkins.

Diane just happened to have some enameled napkin rings shaped like umbrellas that go perfectly with the napkins:

Aren’t those fun? They add just the right amount of whimsy, don’t you think?


Posted in family, home dec, mitered corners, table napkins, table topper, update | 6 Comments

Pretty Little Things

This is Part Two of a two-part post on what I accomplished in my sewing room during 2015. Part One featured my finished quilts (unquilted tops don’t count) and can be seen here. Most everything else qualifies as a Pretty Little Thing, so let’s take a look at the Pretty Little Things I made in 2015:

This 9″ x 41″ reversible runner was made for my sister Diane’s living room to cover a “seam” created when two small chests were placed back to back to make a larger unit:
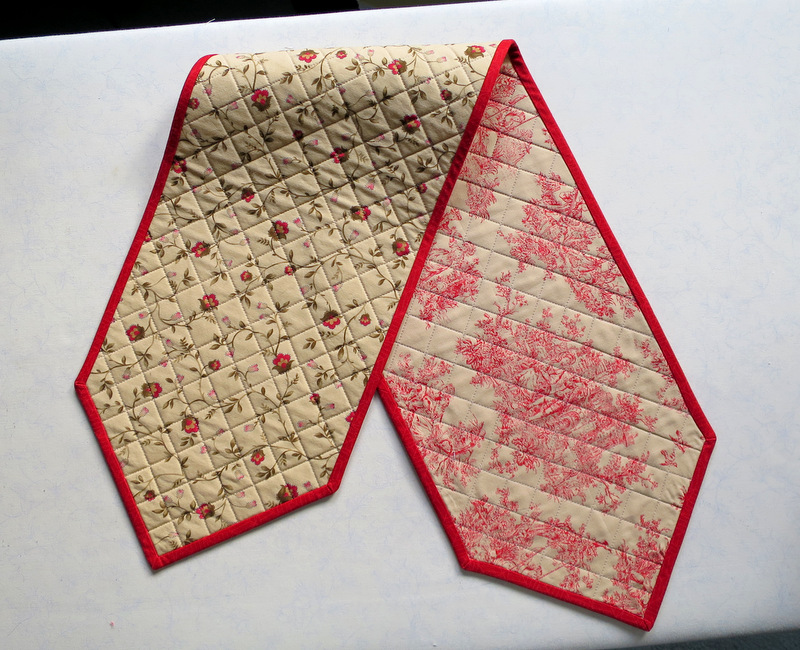
runner completed

Here is the runner in situ in her living room in Atlanta:
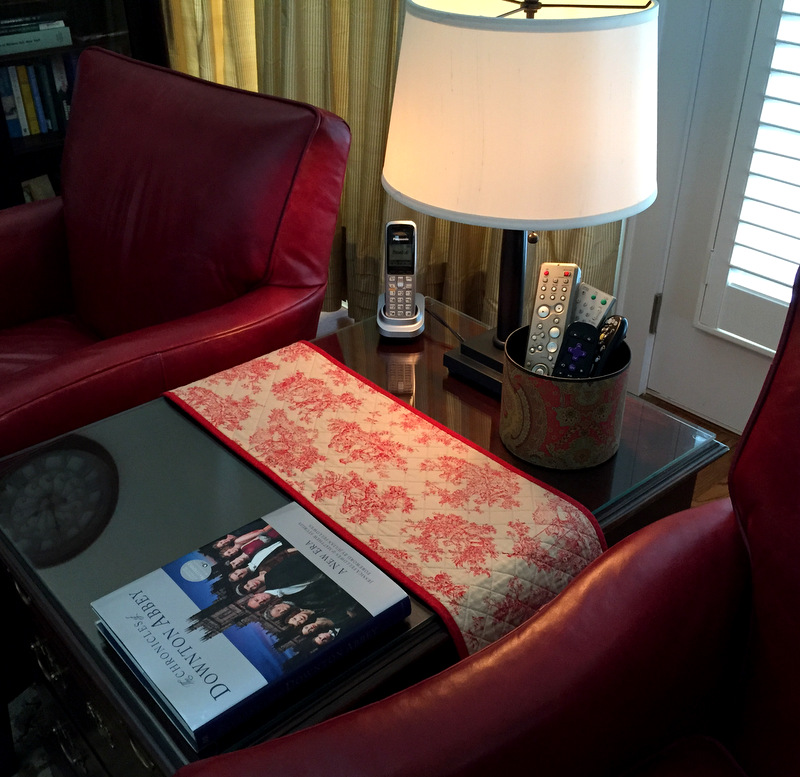
Scott find round box for remotes in place
To celebrate the spring birthdays of my friends and fellow Quisters (Quilt Sisters) Deborah and Peggy, I made these fabric baskets based on the 1 Hour Basket Tutorial from Hearts and Bees. The baskets measure about 9½” wide, 6½” tall, and 5½” deep.
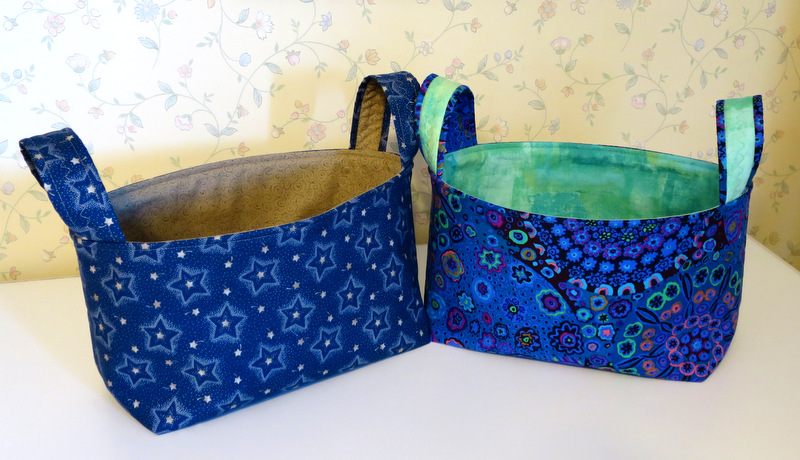
a pair of baskets
Pillowcases! I make several every year. Here are cases I made as a hostess gift for my friend Anna in Paris . . .
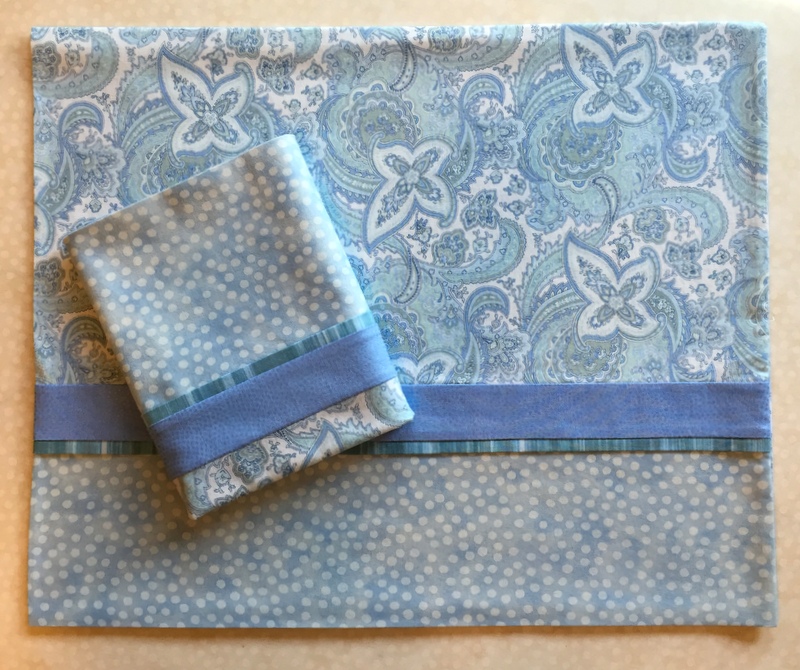
pcases for Anna and Joe

. . . and a pair made for the Portland White House:
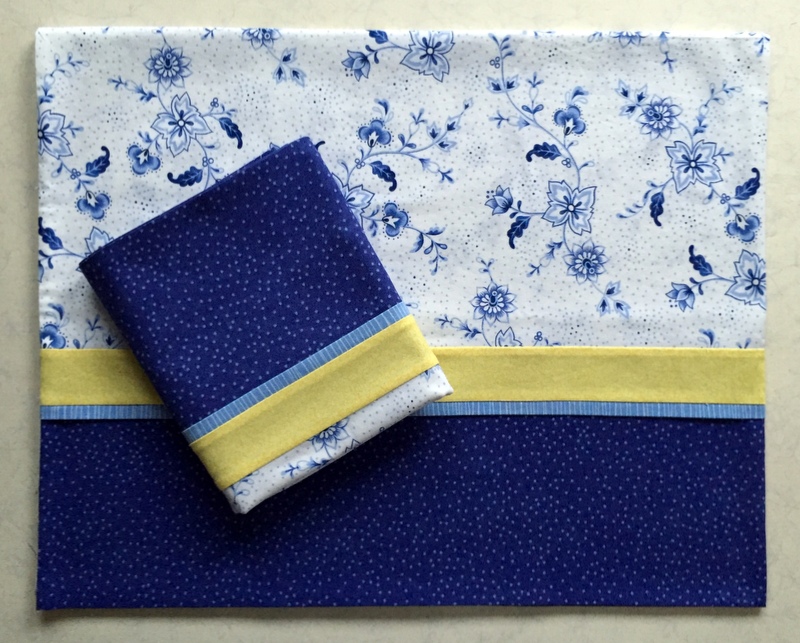
pcases for Portland White House

Of all the pillowcases I have made for my own home, these are the ones my husband likes best.

My sister Diane commissioned me to make a pair of pillowcases to give as a hostess gift to friends in Maine:
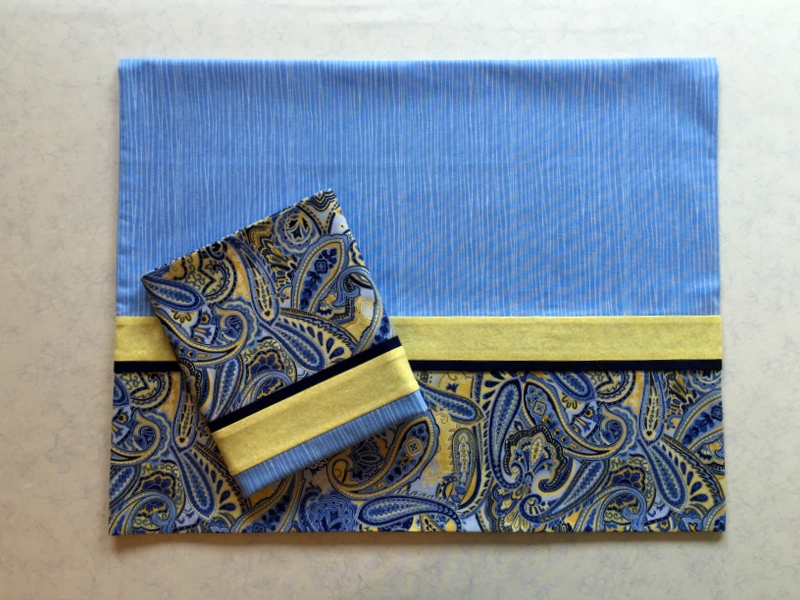
pcases for Kathy and Paul's guest house
Her friends have a darling little terrier named Lucy who got her own little pillowcase (and pillow). It measures 6″ x 12″ and goes in her doggie bed:
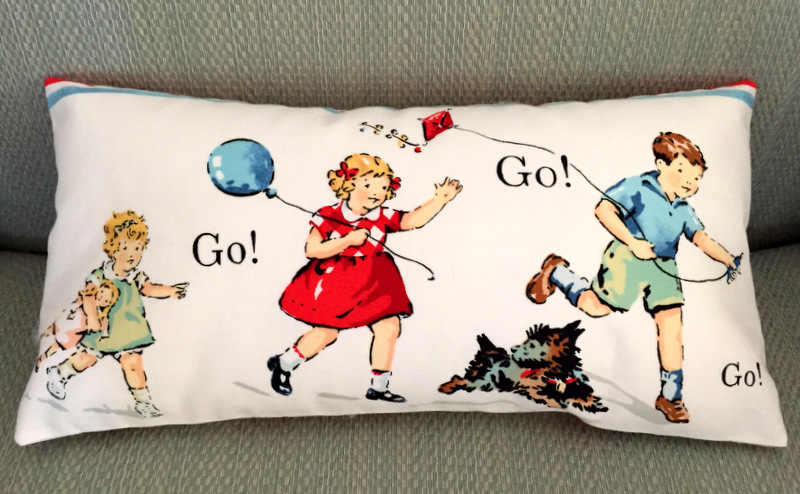
dog pillow front

This sewing-themed fabric became a singleton pillowcase for me to take to Quilt Camp:
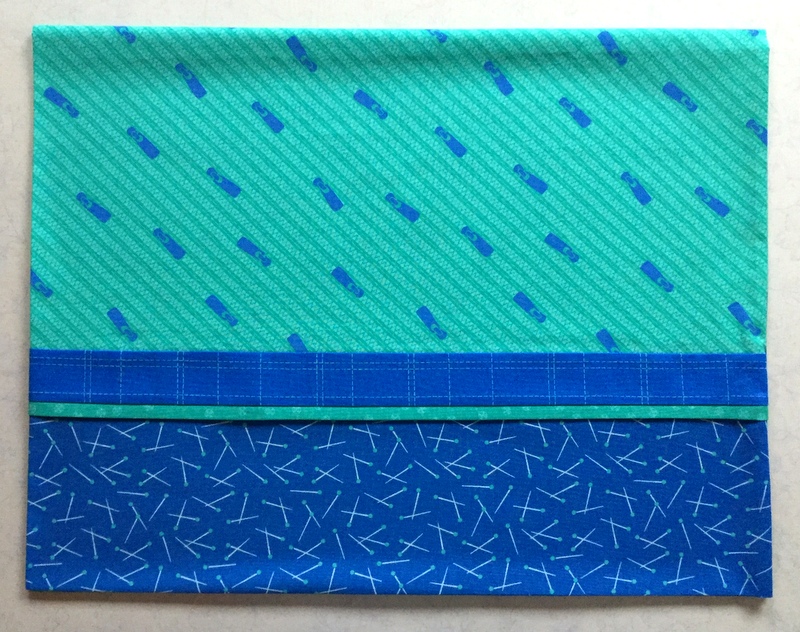
Dawn's quilt camp pcase
I drew my sister Diane’s name in our annual sibling draw for Christmas. When I asked her for ideas on what I could get her, she said, “Dawn pillowcases, of course!” I made her these king size pillowcases from my batik stash:
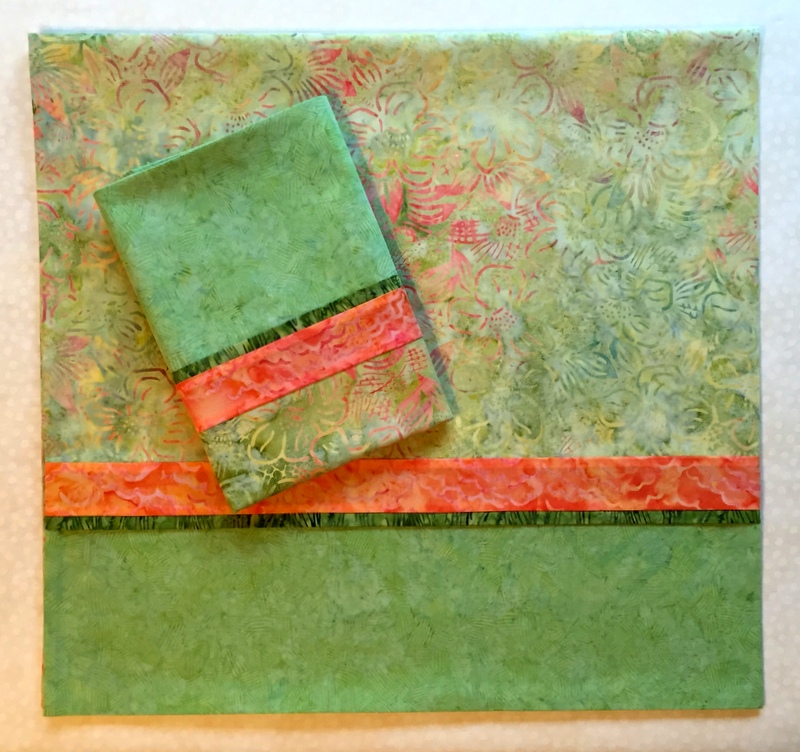
pcases for Diane and Ed
By the way, all of the pillowcases above were made following my tutorial, Perfect Pillowcases.

For the annual fall Open House at the Pine Needle, the quilt shop where I teach, I made these Cozy Flannel Armchair Coasters, inspired by coasters bought at a craft sale 30 years ago:
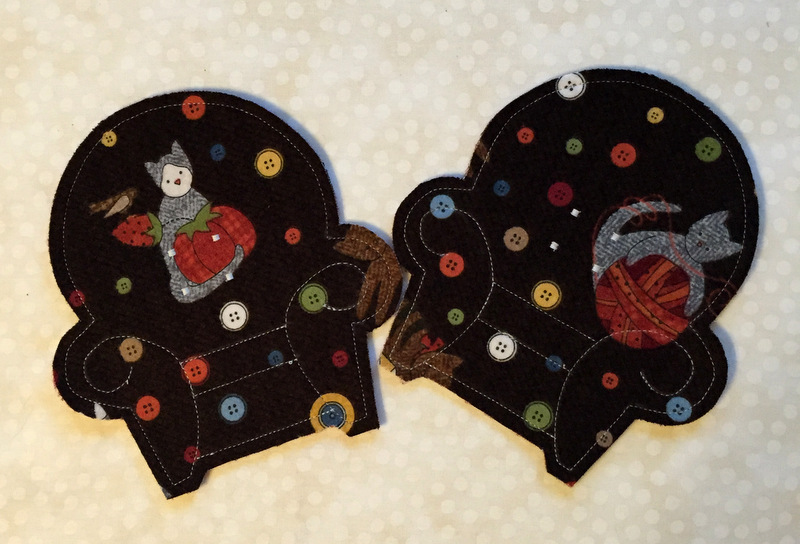
flannel coasters print

The coasters are reversible. Below are the backs of the coasters you see above. Just for fun I changed orientation of the herringbone weave:
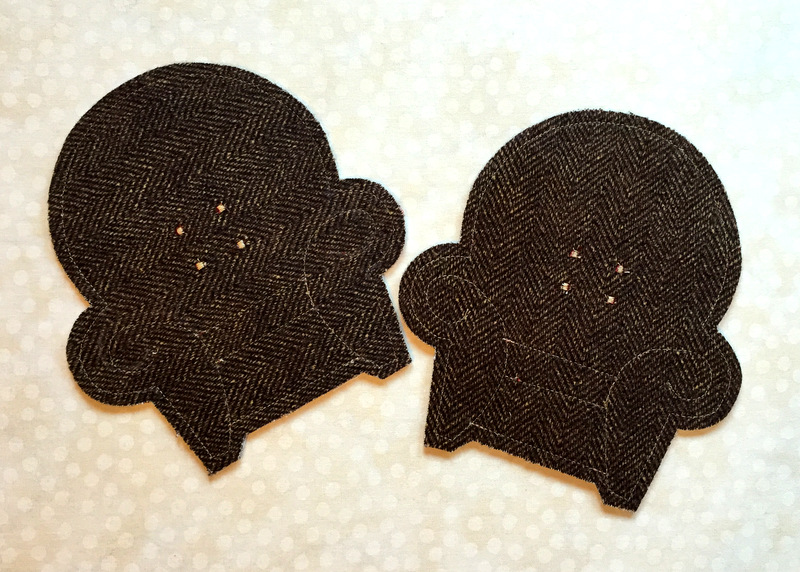
flannel coasters brown

The coasters were a big hit so I made some more as gifts. My friend Beth got these for her birthday in her favorite colors . . .
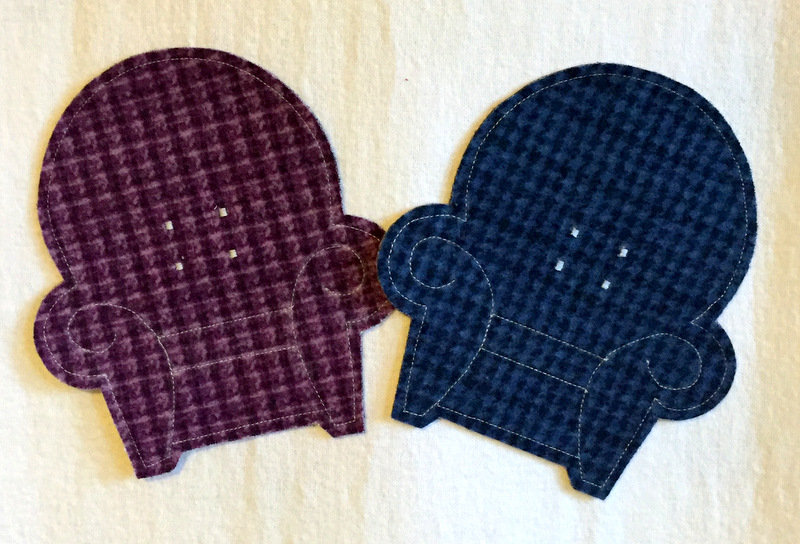
coasters teal and purple
. . . and I tucked in this set of four as part of my sister Diane’s Christmas present:
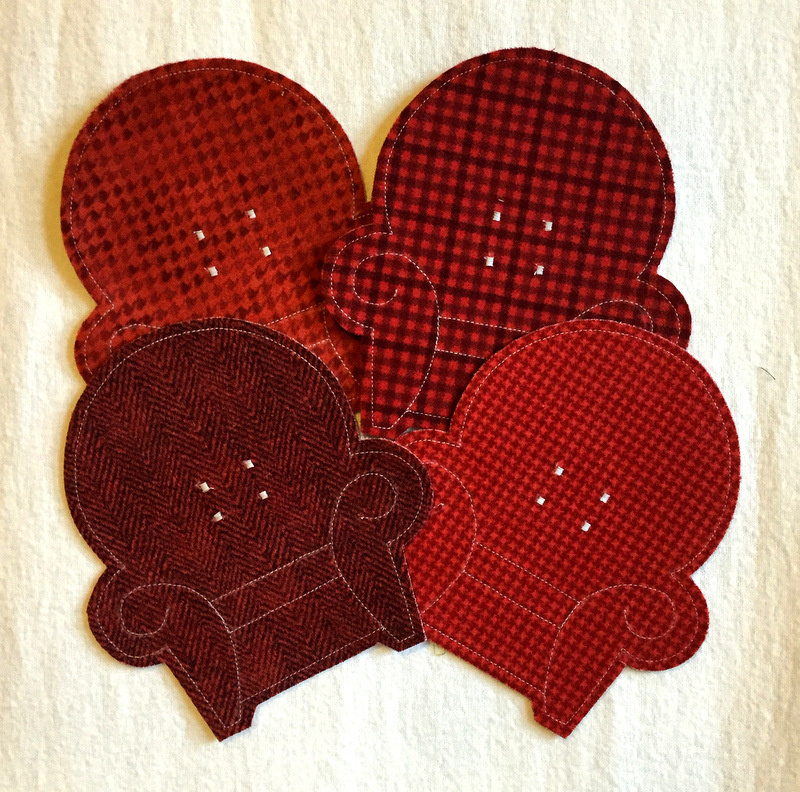
flannel coasters red
My last non-quilt project for the year isn’t small and didn’t get made in my sewing room but I’m including it here anyway. It’s the two-fabric tablecloth I made for my sister Diane’s dining room while visiting her over Thanksgiving:
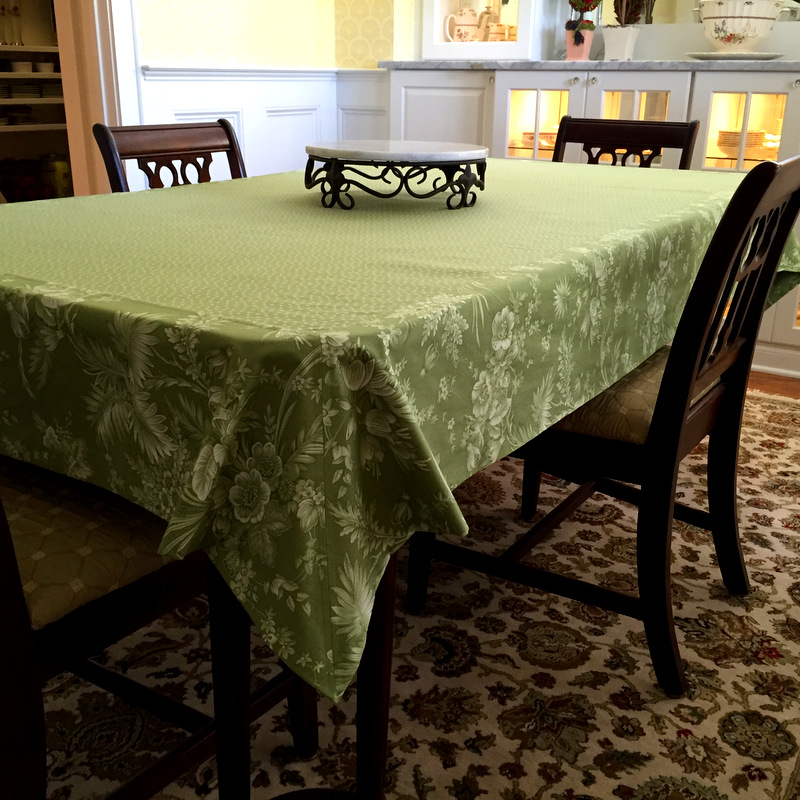
tablecloth
The tablecloth goes with the 16 mitered-corner napkins I made for her a couple of years ago out of the same large floral print used in the border. Here’s one of those napkins in a place setting:
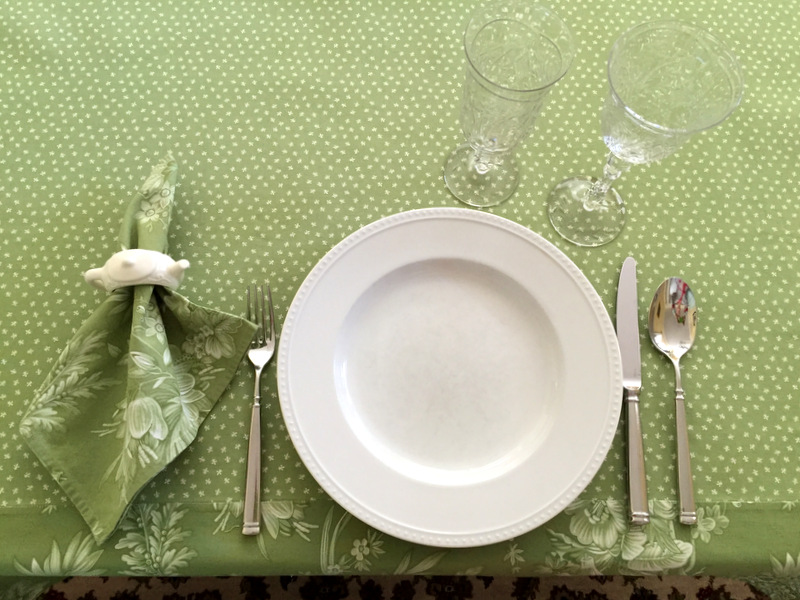
tablecloth with setting

Oh, there’s a tutorial for those napkins, too: Make Mine Mitered.

How satisfying to have a visual record of what I made last year! Thanks so much for taking this look back with me. And now it’s time to head back to my sewing room and get started on my 2016 projects.

Avanti!


Posted in family, home dec, mitered corners, Quisters (Quilt Sisters), roll-it-up pillowcases, table napkins, table topper, update | 3 Comments

Time for a Tablecloth

For the last decade or so, my husband and I have spent Thanksgiving week in Atlanta with my twin sister Diane and her husband Ed. Three years ago I arrived at her home with a gift of these table napkins, made from a fabric called Heavenly Peace by Verna Mosquera for Free Spirit Fabrics:

A Dozen Table Napkins for Diane

Diane loved the fabric, and I promised to make a matching tablecloth. After three years, isn’t it about time?

Since I like to work on a home dec project when I’m at Diane’s, I brought all the yardage I had left — which was considerable — along with a piece of fabric (from the American Jane line designed by Sandy Klop for Moda Fabrics) that was a perfect color match:

tablecloth fabrics 1-001

Diane and I worked out a simple design that would feature the fleur de lis fabric on the table surface. A few inches of the large floral print would also show on the table and continue down to a generous drop. I wanted to miter the corners and continue the miter around to the back so the stitching lines would be covered. That way no raw edges would be exposed.

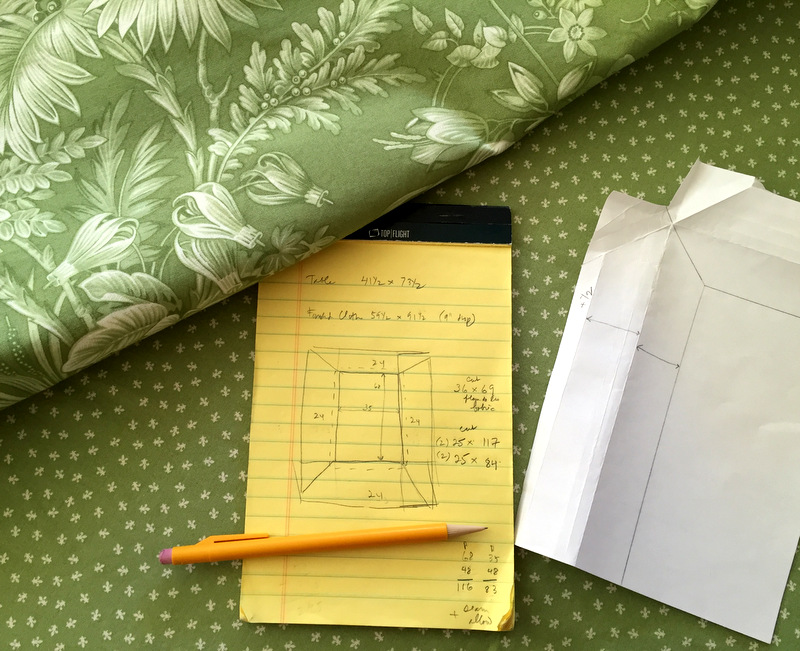
I did the math (or so I thought) and created a little paper pattern to guide me in the preparation of the miters:

tablecloth fabric

Well, friends, it would have taken 11 yards of the floral fabric to make the tablecloth the way I originally envisioned it. That’s because I was going to cut a 25″ strip and needed 398″ inches. The modified plan used half that because I cut the fabric along the fold, getting two strips from a width of fabric instead of one. (I wish I could tell you I figured that out before cutting the first 25″ strip.)
The mitered corners came together nicely. Here is a shot from the back . . .

tablecloth mitered corner from back

. . . and from the front:

tablecloth mitered corner from front

On the back, where the folded edges of the miter meet, I used Steam-a-Seam 2, a double-sided fusible web, to fuse the folded edges together:

tcloth with fused miter


From the front, I stitched in the ditch where the two fabrics meet. The stitching line caught the folded edge of the miter on the back:

tablecloth stitched in ditch

Here is Diane’s new tablecloth in place:

tablecloth

And here is the table set with a matching napkin:

tablecloth with setting

Diane and I both declared ourselves very pleased with the result. An added bonus: the fleur de lis motif is a lovely reminder of our recent big birthday trip to Paris.


Posted in home dec, mitered corners, table napkins, update | 9 Comments

Back Home Again

“Hey, it’s good to be Back Home Again.” Do you remember the song by John Denver? It came out in 1974, so you have to be Of a Certain Age to know it. We are indeed home after a delightful two-week stay in Atlanta with my sister Diane and her husband, made even more delightful by the arrival of our sister Reigh and her husband a couple days before Thanksgiving.

I managed to squeeze in a couple of little sewing projects for my sisters the last week I was there. Reigh said she would love to have a runner for the pub table in the dining area off her kitchen, and Diane said she would love a new set of pillowcases for the guest room on the main floor. My arm didn’t have to be twisted:  it meant a trip to a local quilt shop!

Off we went to InTown Quilters in Decatur, Georgia, where both Diane and Reigh selected batiks for their projects. Reigh has a lot of brown and blue in her kitchen and dining area, with touches of yellow and gold. The colors in this simple table runner should go very well with her décor:

Reigh's table runner and napkins

Reigh bought enough fabric for me to make two sets of napkins, four in each set.

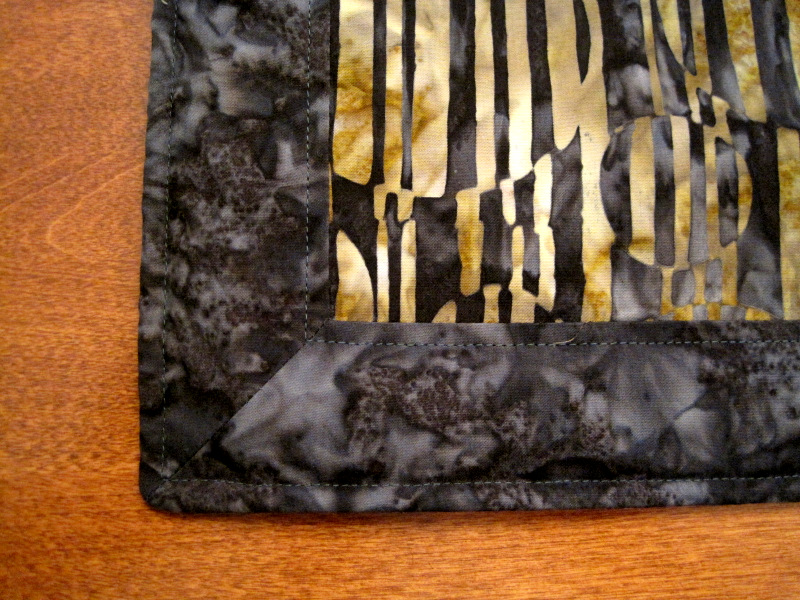
Because the design of the runner is so simple — just a rectangle of fabric with four borders — I mitered the corners to give it a little something extra:

Reigh's table runner, detail

I used low-loft batting and did some very basic topstitching to finish it. Reigh has promised to send me a photo of the table runner when she gets back home so I can show you how it looks in its designated spot.

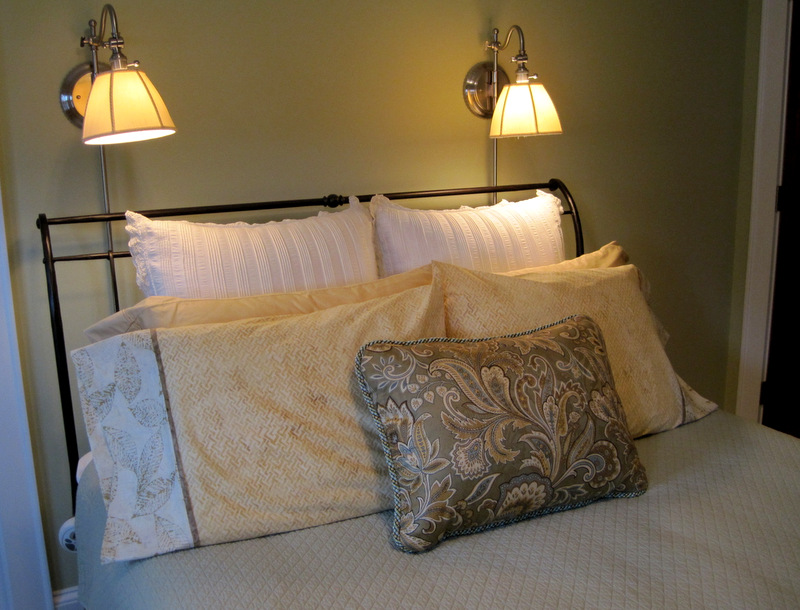
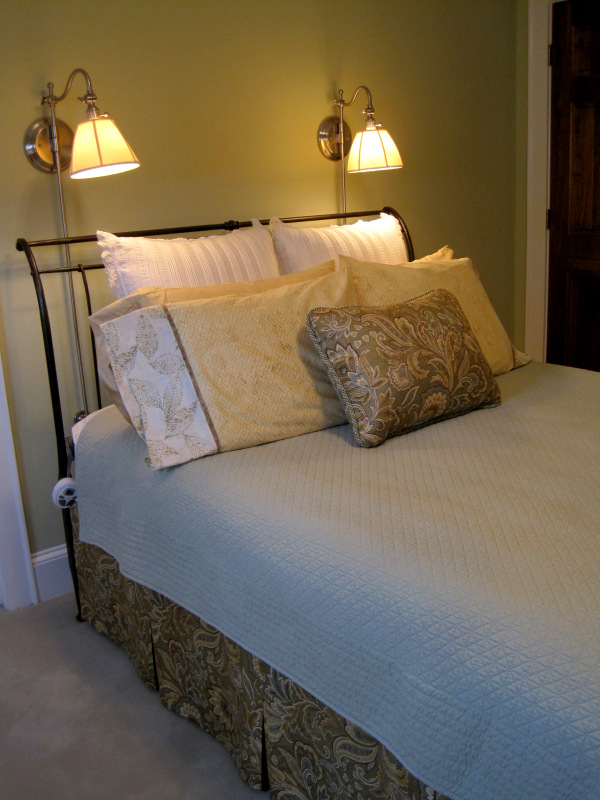
Here are the pillowcases I made for Diane’s guest room:

Diane's new pillowcases

Here’s another view that includes the pleated bedskirt I made last year during my annual Thanksgiving visit:

Diane's new pillowcases en suite

I love the way the gold fabric in the pillowcase picks up the gold in the bedskirt.

Reigh and Diane joke about shackling me to the sewing machine when we are all together but the truth is I am in my element when creating something with fabric.


Posted in bedskirt, family, home dec, mitered corners, roll-it-up pillowcases, table napkins, update | 6 Comments

Make Mine Mitered: A Tutorial on Table Napkins

This tutorial is for a 19″ square napkin with a ¼”-wide hem and mitered corners. Here’s a look at the corners from both sides:

For two napkins, you’ll need ⅝ yard cotton fabric 42-44″ wide. Wash and iron fabric.

Supplies
acrylic ruler with 45° angle marking
sewing stiletto (I use a bamboo skewer)
removable marking pen or pencil (I like the Frixion pens)

1. Trim selvages from fabric. Cut a 20″ square.

First Light Designs tip: trim ¼” from one of the sides that is parallel to the selvage. This reduces the crosswise width by a quarter inch. Why this step? The crosswise grain has more give than the lengthwise grain. With repeated use and washing, the napkin will relax along the crosswise grain. Trimming the fabric at the beginning compensates for that bit of stretch. To identify the crosswise and lengthwise grains, give the square a gentle tug in both directions; you should be able to tell immediately which side has more give. (Of course, you can cut the napkins 19¾” x 20″ initially but somehow I find trimming a 20″ square easier.)

2. At the ironing board, align 45º marking on ruler with top right edge of napkin as shown below. With a removable marking pen or pencil make a mark 1½” in from the edge of the napkin (not the edge of the ruler):

See the pink dot I made with the Frixion pen? It’s exactly an inch and a half in from the corner.

3. Bring point of fabric in to meet the mark and press:

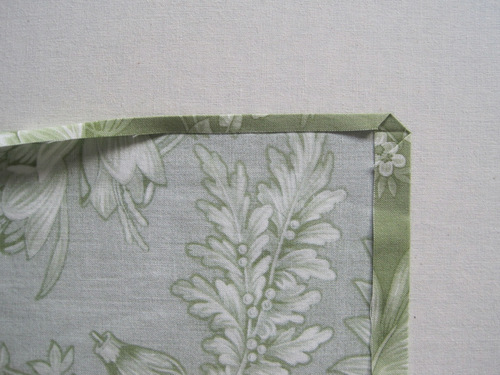
4. Fold raw edges a generous ½” down and press all the way around. The pressed edges should form a miter at each corner:


5. Bring the raw edge in to meet the fold and press about 2″ in from the corner:


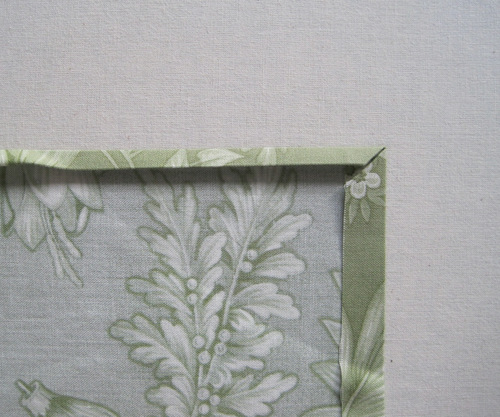
6. Fold again, forming a ¼”-inch miter. Press fold in place, again about 2″ in from the corner. Repeat for all corners. Do not press all the way around. Do not insert any pins yet.


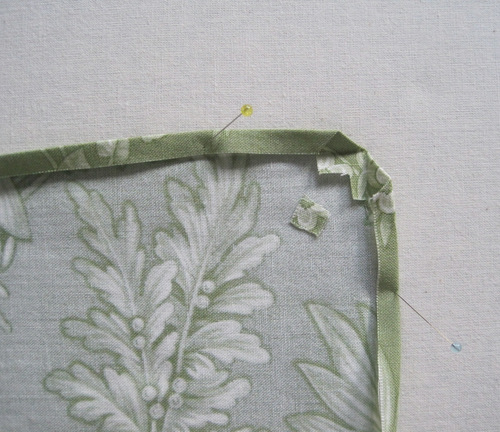
7. Open up folds at each corner and trim a ¼”-square from the point of fabric. (You don’t need to use pins to hold the folds open before trimming; I did it here for photography purposes only.)


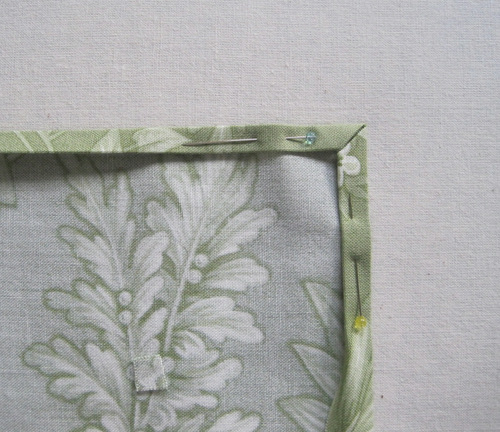
8. Place a pin at each corner to hold the miters in place:


9. Starting in the middle of any side, bring raw edge in to meet fold, fold again to form ¼”-inch fold, and finger press in place. The finger-pressed area is at the left edge of the photo:


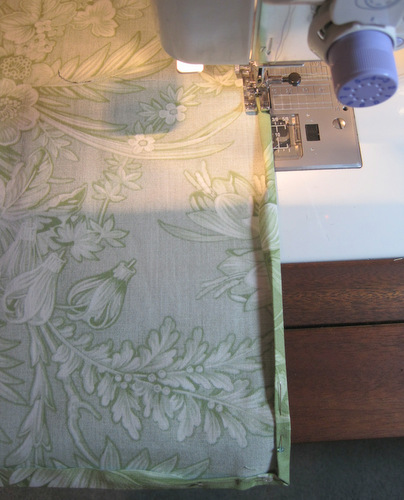
10. Move to the sewing machine. Set stitch length at about 12 stitches to the inch (2.4 on computerized machine). Insert needle right next to the fold and begin stitching. Stop every couple of inches to make the two folds that form the quarter-inch hem.


11. As you approach the corner, remove the pin and use the point of a stiletto to hold the fold in place as you stitch toward the corner. Pivot when the needle is at the point the two folds meet. Remove second pin and continue stitching. When you get to the starting point, change stitch length to almost zero. Stitch three or four tiny stitches. Bring threads to the back and cut close to the line of stitching. Give the napkin a final press to set the stitches.

Add a pretty napkin ring, and you’re ready to set the table!


Posted in mitered corners, table napkins, tutorial, update | 5 Comments