Category Archives: Quiltmaking 101

It’s A Wrap: Diane’s Car Quilt

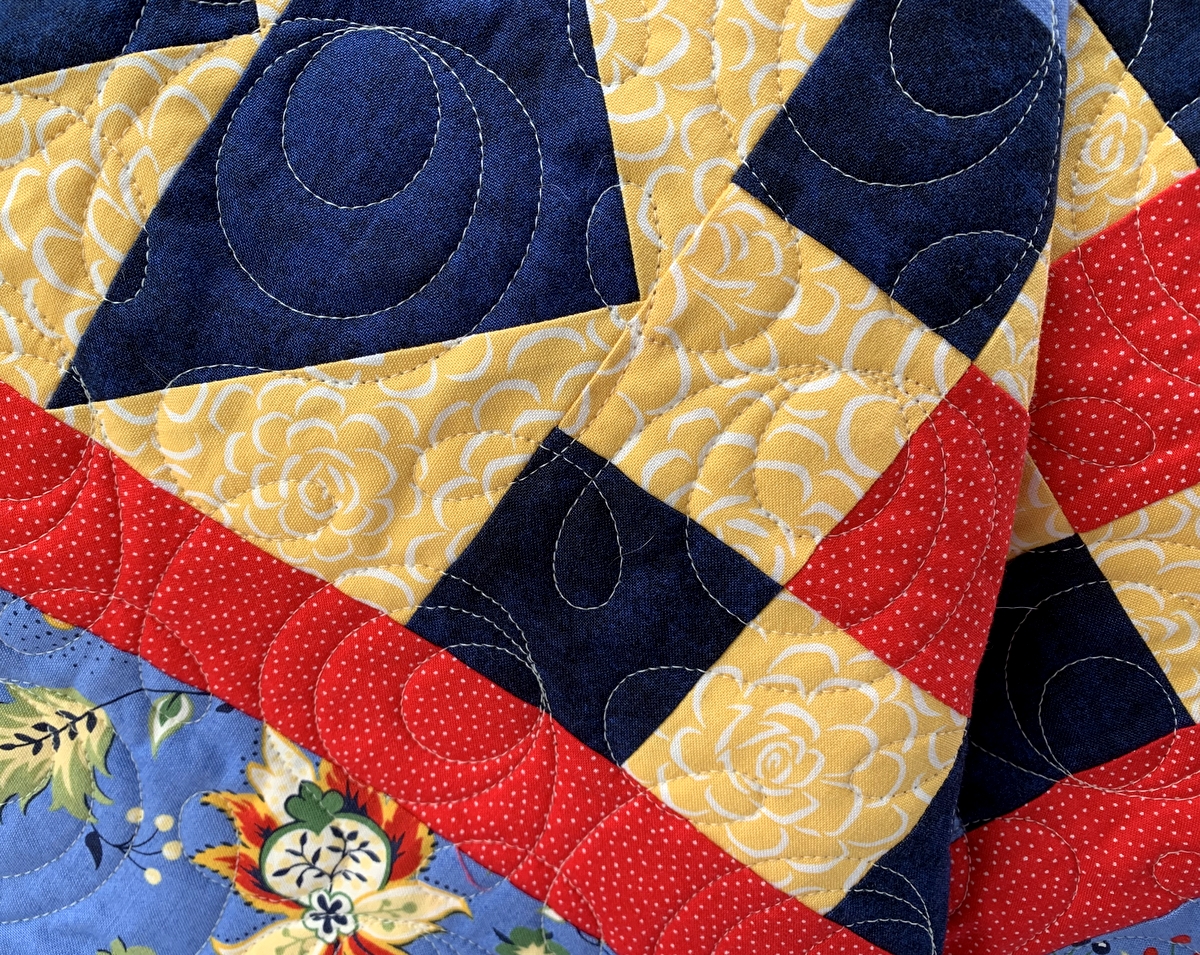
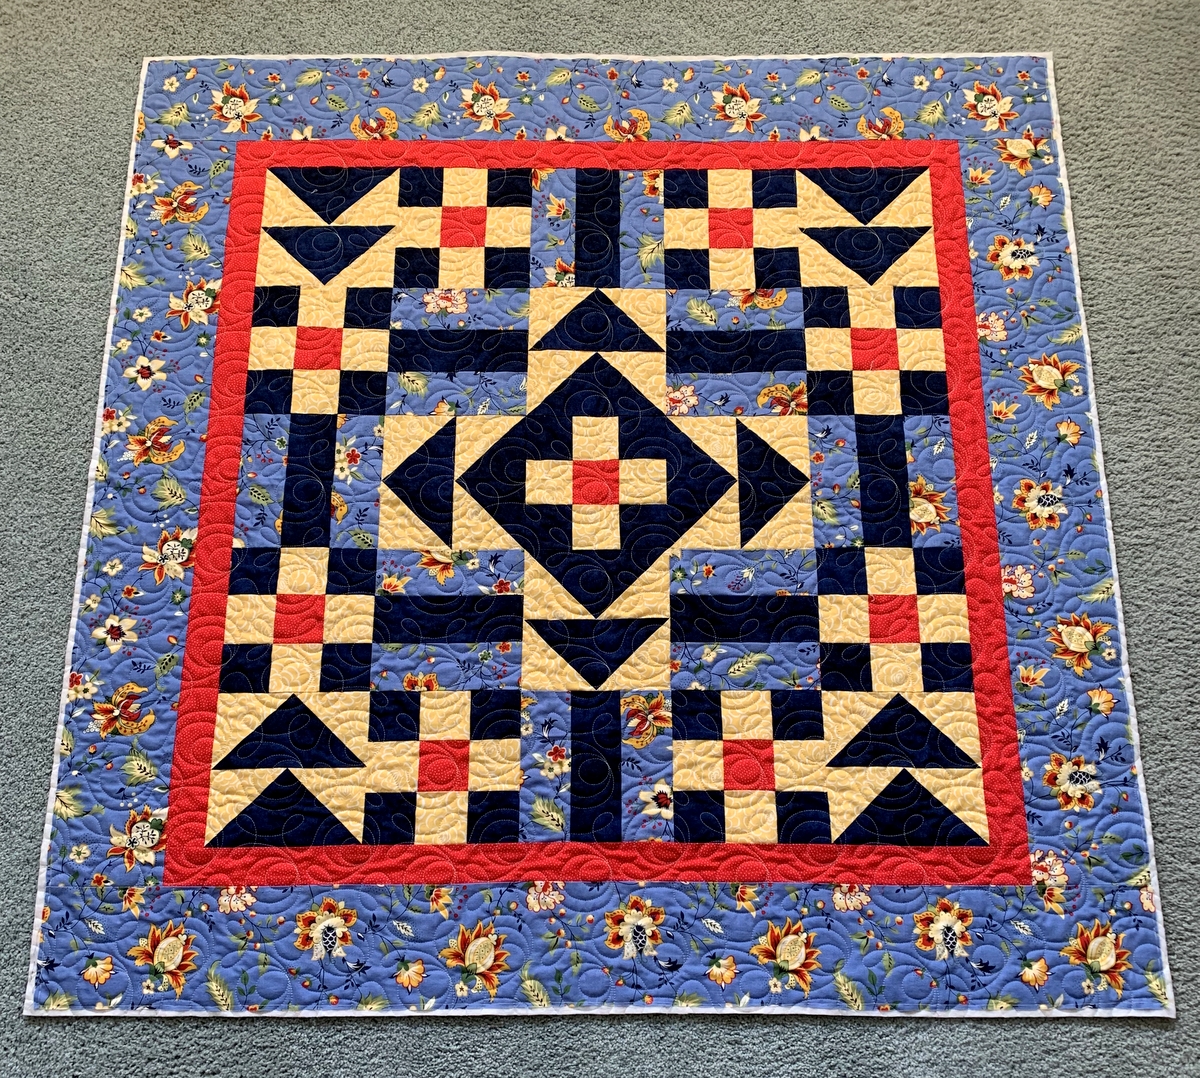
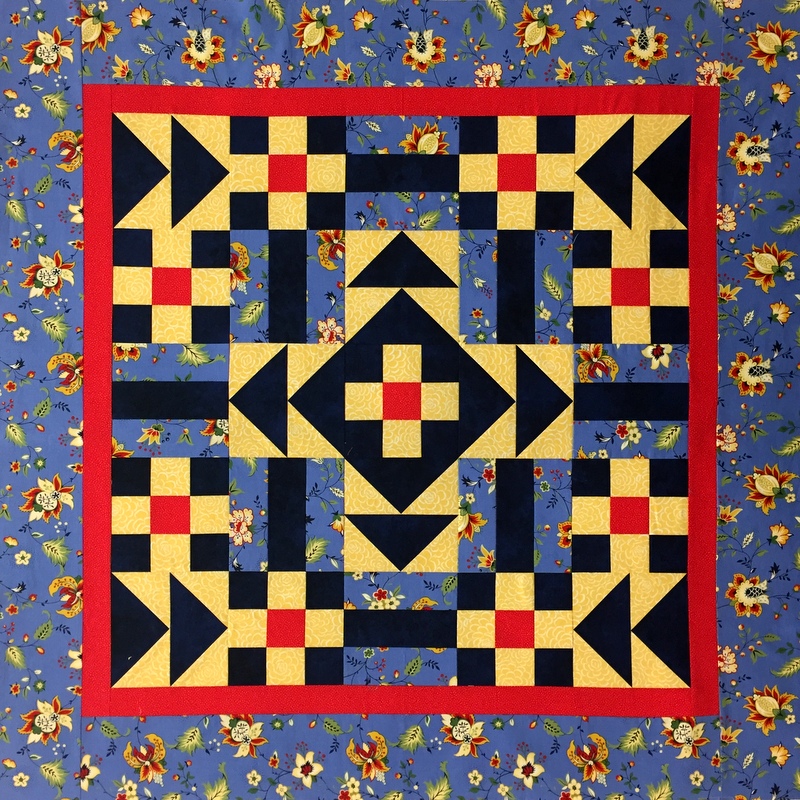
Finally! My sister Diane’s car quilt is bound and labeled. I wasn’t able to come up with a clever name for the quilt but Diane is quite content to have it identified as her car quilt. Here’s a look at the front so you can see how nicely the ½”-wide binding frames the quilt:

Diane’s Car Quilt, 42″ Square (2023)

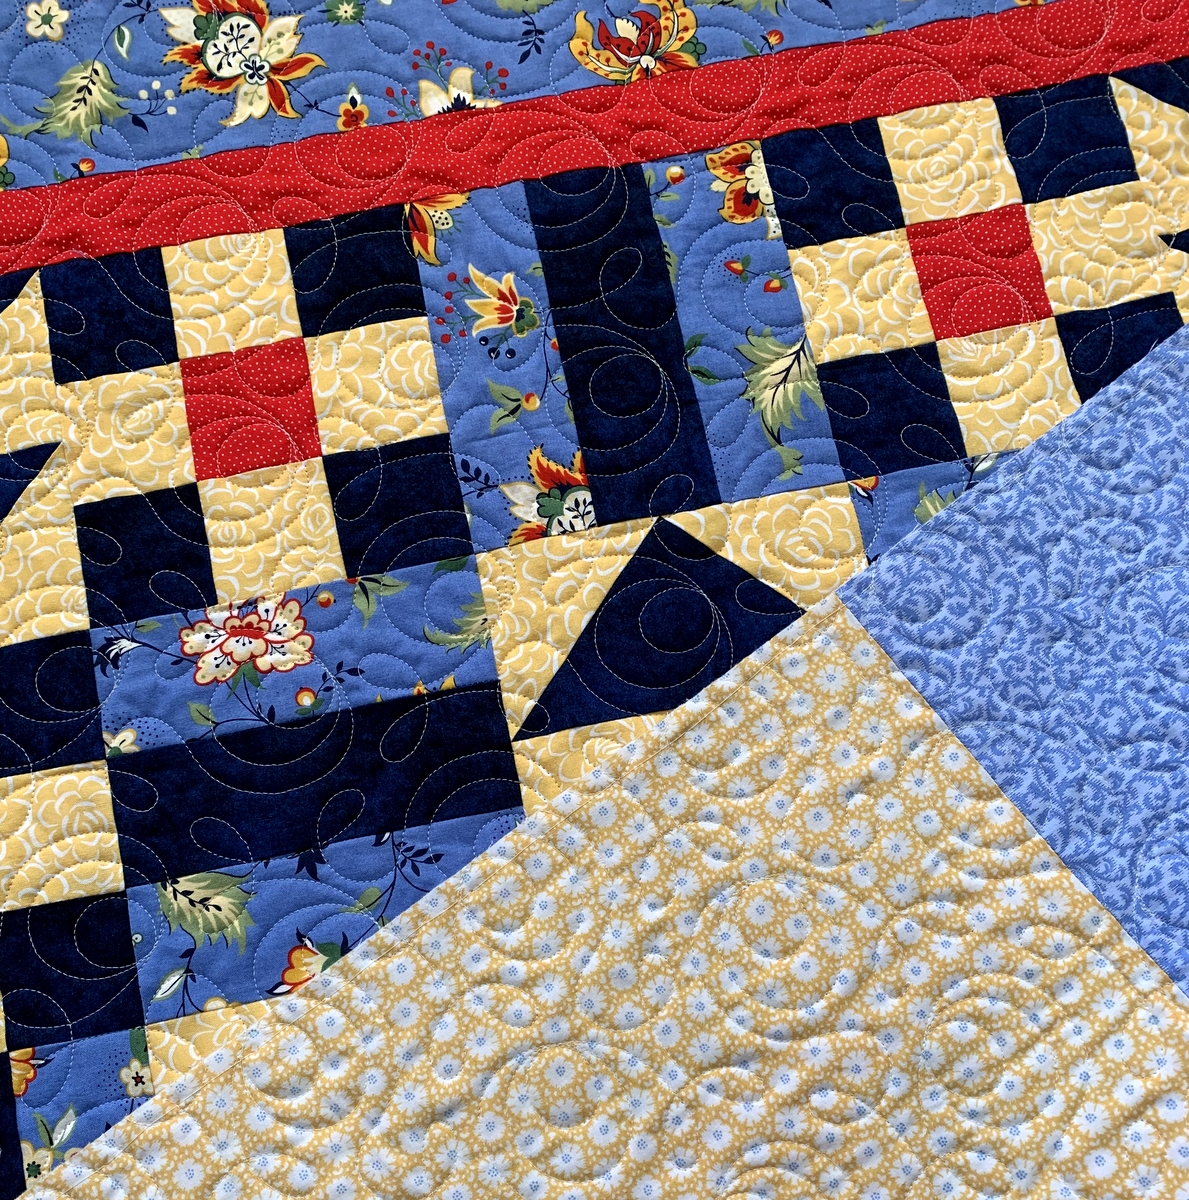
Here’s a look at the back:

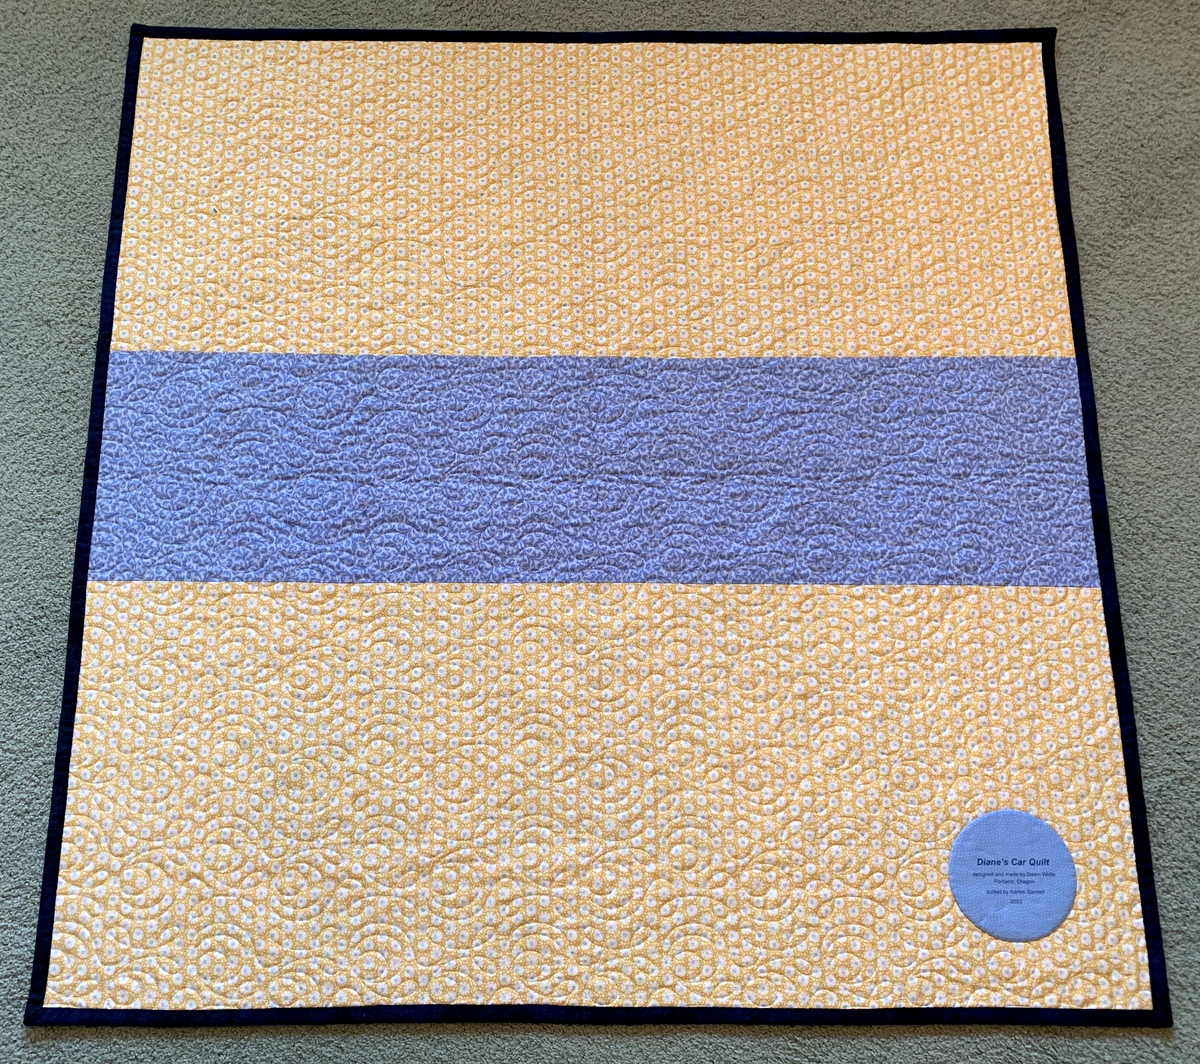
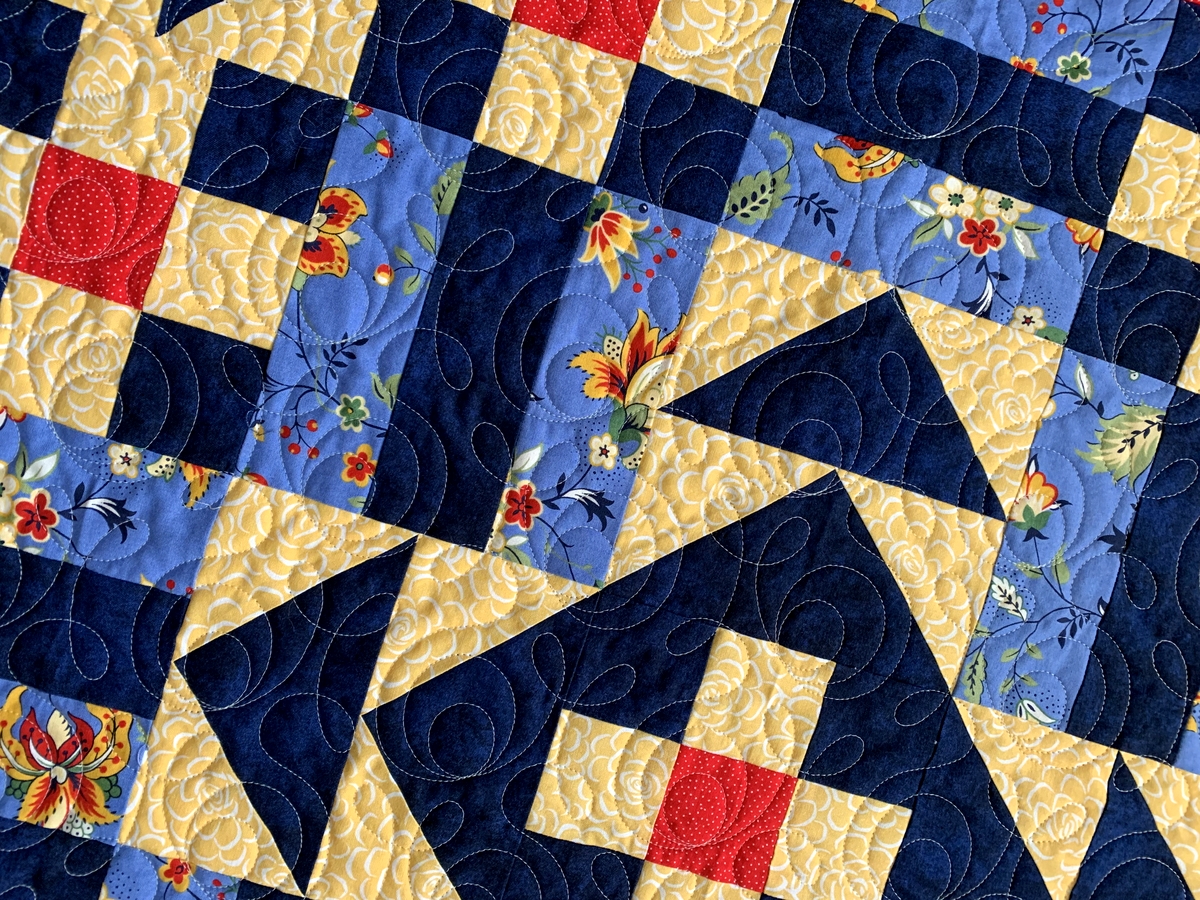
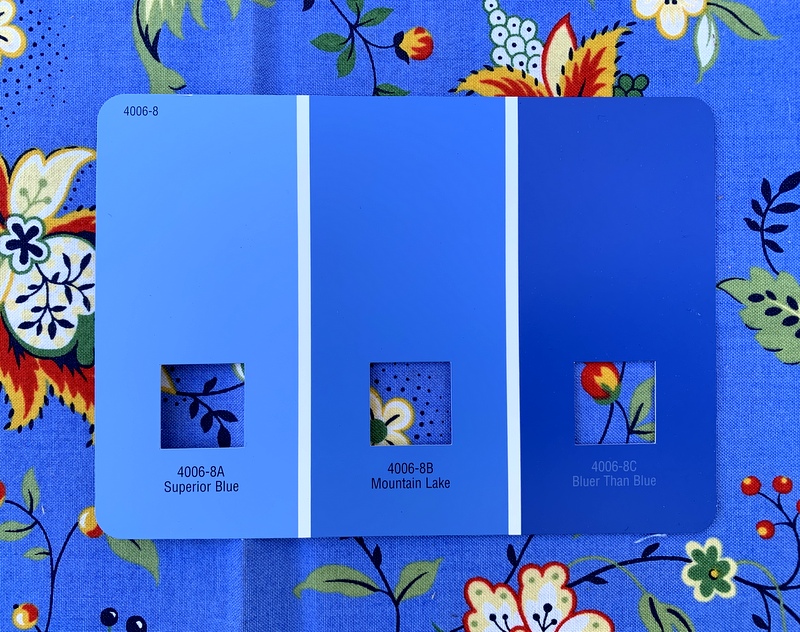
The blue and yellow prints pulled from my stash work very well with the French provincial border fabric on the front.

Here’s a close-up of my signature round label:

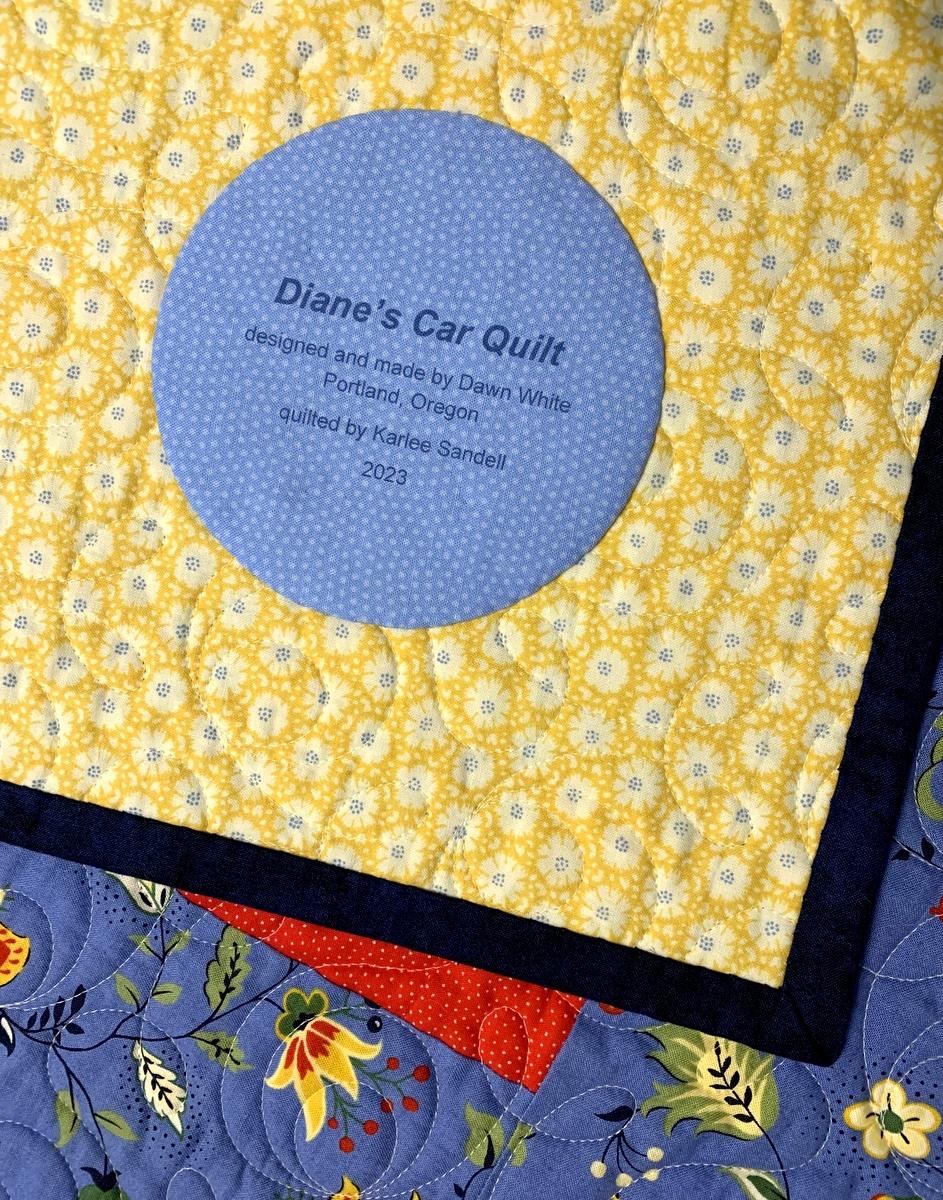
It was made using a compact disc as a pattern. You can find my picture-heavy tutorial on that method right here.

A couple of you asked about the pattern. I didn’t use a pattern; I designed this very simple quilt for a beginning quiltmaking class and it became my class sample. I started with alternating Nine-Patch and Rail Fence blocks. The blocks finish at 6″ square so the strips were cut 2½” wide for both blocks. Then, to give my students some additional options, I replaced some of the blocks with Flying Geese units; two units make a block that finishes at 6″ square.

This is the initial design rendered in the software program EQ7 and colored to match the palette of Diane’s quilt:

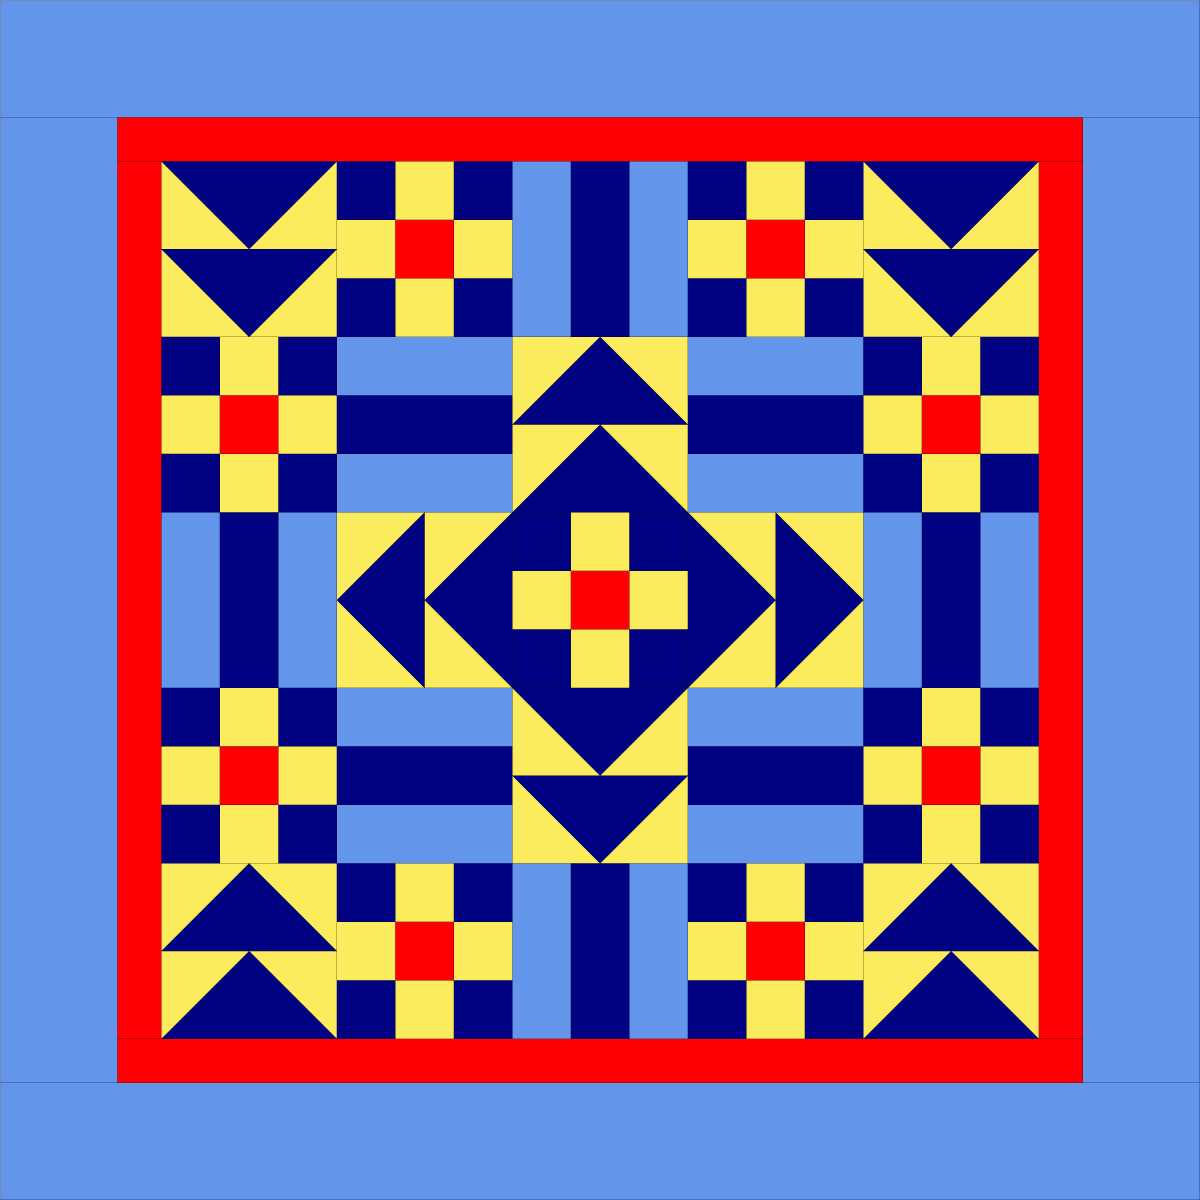
If you look carefully at the center of the quilt, you’ll see that the center block is a simple Nine-Patch. Notice that the corners of the block are navy blue. The addition of navy and yellow Flying Geese units around the center block creates the illusion of a navy diamond. I really like the effect and feel that it adds visual interest. With the right combination of fabrics, even a simple design like this can make a quilt sing.

If there is interest, I will write up my measurements and directions in a future post. The priority now, though, is to pop Diane’s Car Quilt into the washing machine and dryer for that wonderful crinkly effect.


Posted in family, quilt labels, Quiltmaking 101, tutorial, update | 4 Comments

First Glimpse of Diane’s Car Quilt

I was so excited to pick up my sister Diane’s car quilt today from my longarm quilter that I took this photo in my car with the quilt on my lap!

Here’s a look at the whole quilt after I got it home and trimmed it:

I made this 42″-square quilt top as a class sample back in 2017 when I was teaching a beginning quiltmaking class (“Quiltmaking 101”) at the Pine Needle Quilt Shop. The top hung in the closet of my sewing room until I pulled it out recently after realizing it would make a lovely car quilt for my twin, matching her blue Subaru Forester. (A couple of years ago I made a car quilt for my own Subaru Forester that I wrote about here.)

In choosing an edge-to-edge quilt motif for Diane’s quilt, I was looking for something with curves to soften all those straight lines. I also wanted a rather simple design so as not to compete with the gorgeous French provincial print in the border. Karlee of SewInspired2Day suggested a whimsical loopy design called Ginger Snap by Urban Elementz that fills the bill perfectly.

Here are a couple of close-ups:

I am really enjoying the texture the quilting adds to the quilt and the way the pale yellow thread stands out on the navy fabric and blends with all the other fabrics.

In the photo below you can see the two fabrics I pulled from my stash to make a simple pieced back:

The plan is to bind the quilt with the same navy used in the interior and to make it finish at 1/2″-wide rather than the 1/4″ finished width I normally use. I think it will frame the quilt very nicely.


Posted in family, Quiltmaking 101, update | 8 Comments

Kitchen Remodel: My Color Inspiration

There’s just something about blue and white kitchens. I adore blue and white quilts so it makes perfect sense. The kitchen we just demolished was primarily blue and white. My new kitchen will be the same — but quite different from its predecessor.

This fabric swatch — and the accompanying paint swatch — were my color inspiration:


The fabric is from the “Breath of Avignon” line designed for Moda Fabrics some years ago by Sandy Klop of American Jane Patterns. It’s been in my stash for years. I’ve even used some of it: for an apron and a Quiltmaking 101 class sample. Happily, I have lots of this fabric left because I want to make a big quilt out of it someday.

And I may want to use some of it for tailored window valances in the new kitchen. That’s why I looked for shades of blue paint that matched the fabric. After some searching I found the perfect shade. The blue on the far right (“Bluer than Blue” by Valspar) will play a prominent role in the new kitchen. Walls? Nope. The lower cabinets will be painted this medium dark blue (actually a bit darker than it looks in the photo above), with white upper cabinets.

Clean and crisp. Can you picture it?


Posted in aprons, kitchen remodel, Quiltmaking 101, update | 6 Comments

Back to Basics

Next month I start teaching a new class at the Pine Needle:  Quiltmaking 101. I’m both excited and apprehensive!

On the one hand, teaching a beginning class has appealed to me since I started teaching in 2010 and discovered how much I love it. I remember how much I learned from taking Billie Mahorney’s beginning class at the Pine Needle more than a decade ago — and at the time I already knew how to sew and had even made some baby quilts. I love the idea of passing on skills, techniques, and good practices on to the next generation of quiltmakers.

On the other hand, it’s an awesome responsibility. It needs to be done well — and it needs to be fun. My goal is to teach the basic skills in a relaxed and supportive atmosphere and to nurture creative sparks in those students eager to push boundaries at the outset.

When Billie moved away from Oregon in 2009, she told me if I ever taught a beginning class I could use her syllabus. And Nancy McGuire, whose move away from Oregon created the teaching vacancy I am now filling at the Pine Needle, also told me I could borrow from her materials. I have incorporated elements from both of my predecessors in the syllabus I am in the midst of preparing. Thank you, Billie and Nancy!

My students will have the option of making a 5 x 5 baby quilt or table topper or a 5 x 7 lap quilt. The basic blocks in both quilts will be the 9-Patch and Rail Fence, with options to add four other blocks to the mix. This is a sample top I made with the addition of a few Flying Geese blocks:


Notice that it contains only four fabrics. For me (and many of my quilting friends), the hardest part of making a quilt is deciding on the fabrics. I want my first group of beginning students to really enjoy this first step so I have deliberately limited the fabrics involved. I’ll suggest they start with a favorite border fabric and then pick the other three fabrics based on the border print.

I think I am on the right track!


Posted in Quiltmaking 101, update | 3 Comments