Saying Goodbye Again
A little over two years ago I donated a half dozen quilts to Hopewell House, a hospice facility in Portland that reopened in January 2023 after a three-year hiatus. A call had been issued for donated quilts that would be chosen by residents to offer them comfort as the end of their lives approached. I wrote about my donated quilts here.
As Jill Citro, the Comfort Quilt Program coordinator, explained at the time, “The Quilt Program will offer patients a quilt of their choice, handmade by generous and creative community members who have donated their time, talents and materials. Each quilt will remain with the patient during their care. Upon the patient’s death, their quilt will be part of their ‘passage observance’ with their family, friends and caregivers, and the family will be invited to take the quilt home with them. As you can see, the quilt becomes an extremely meaningful, moving and cherished gift.”
Recently I contacted Jill to see if I could provide a few more quilts and she responded in the affirmative very quickly. I forgot to take a photo of the quilts before I delivered them to Hopewell House so I’m showing them here as a way to create a visual record for myself.
First up is Billie’s Star, made in 2015 and named in honor of Billie Mahorney, my favorite quilt teacher and mentor:
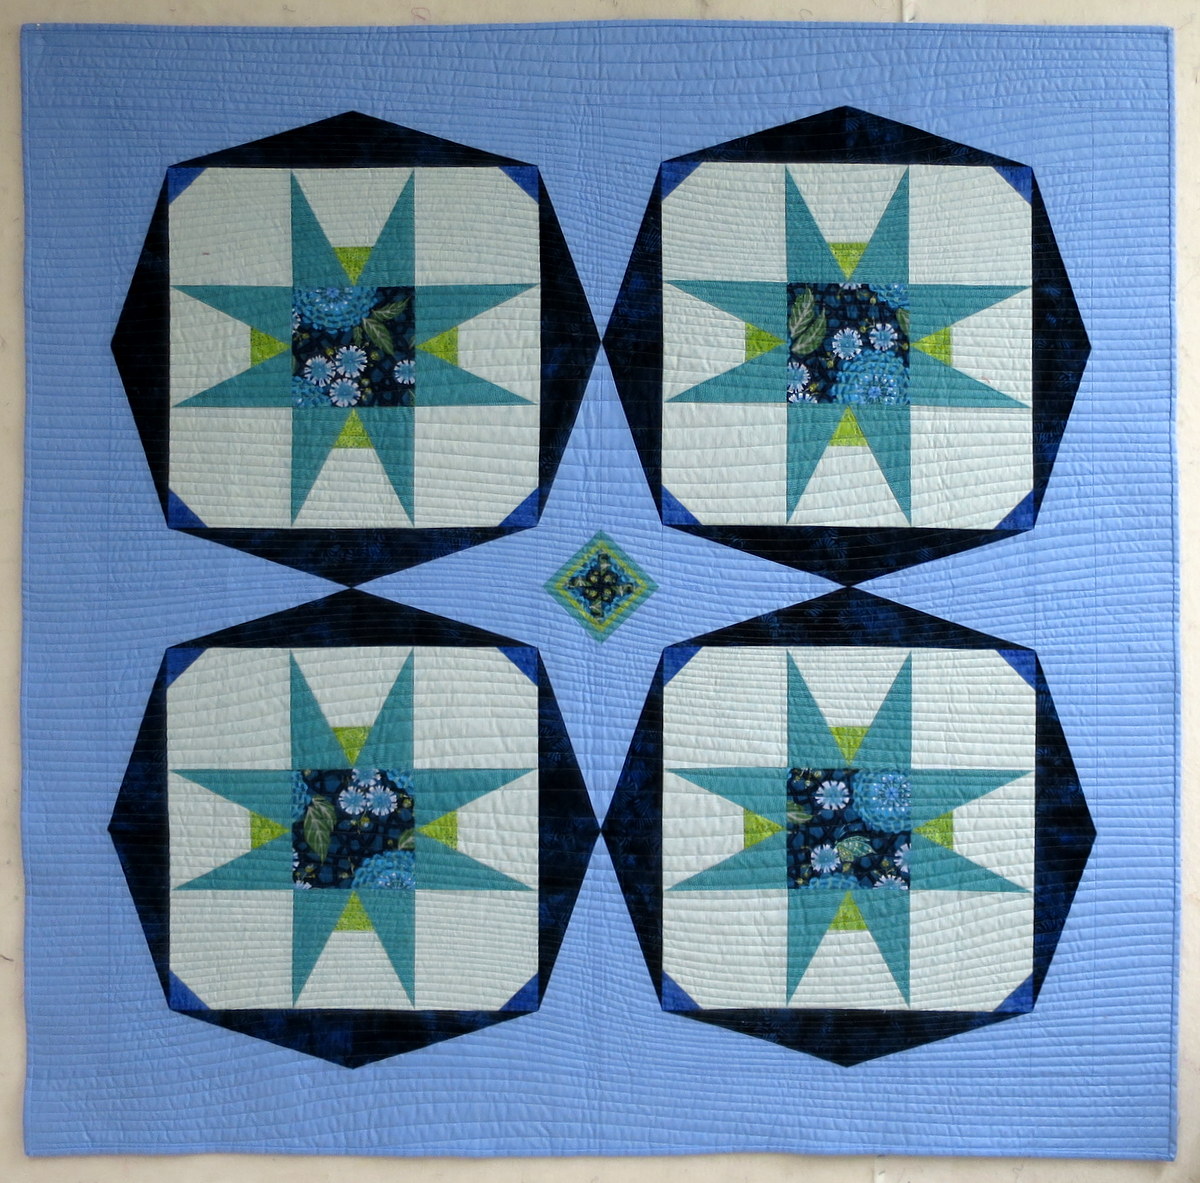
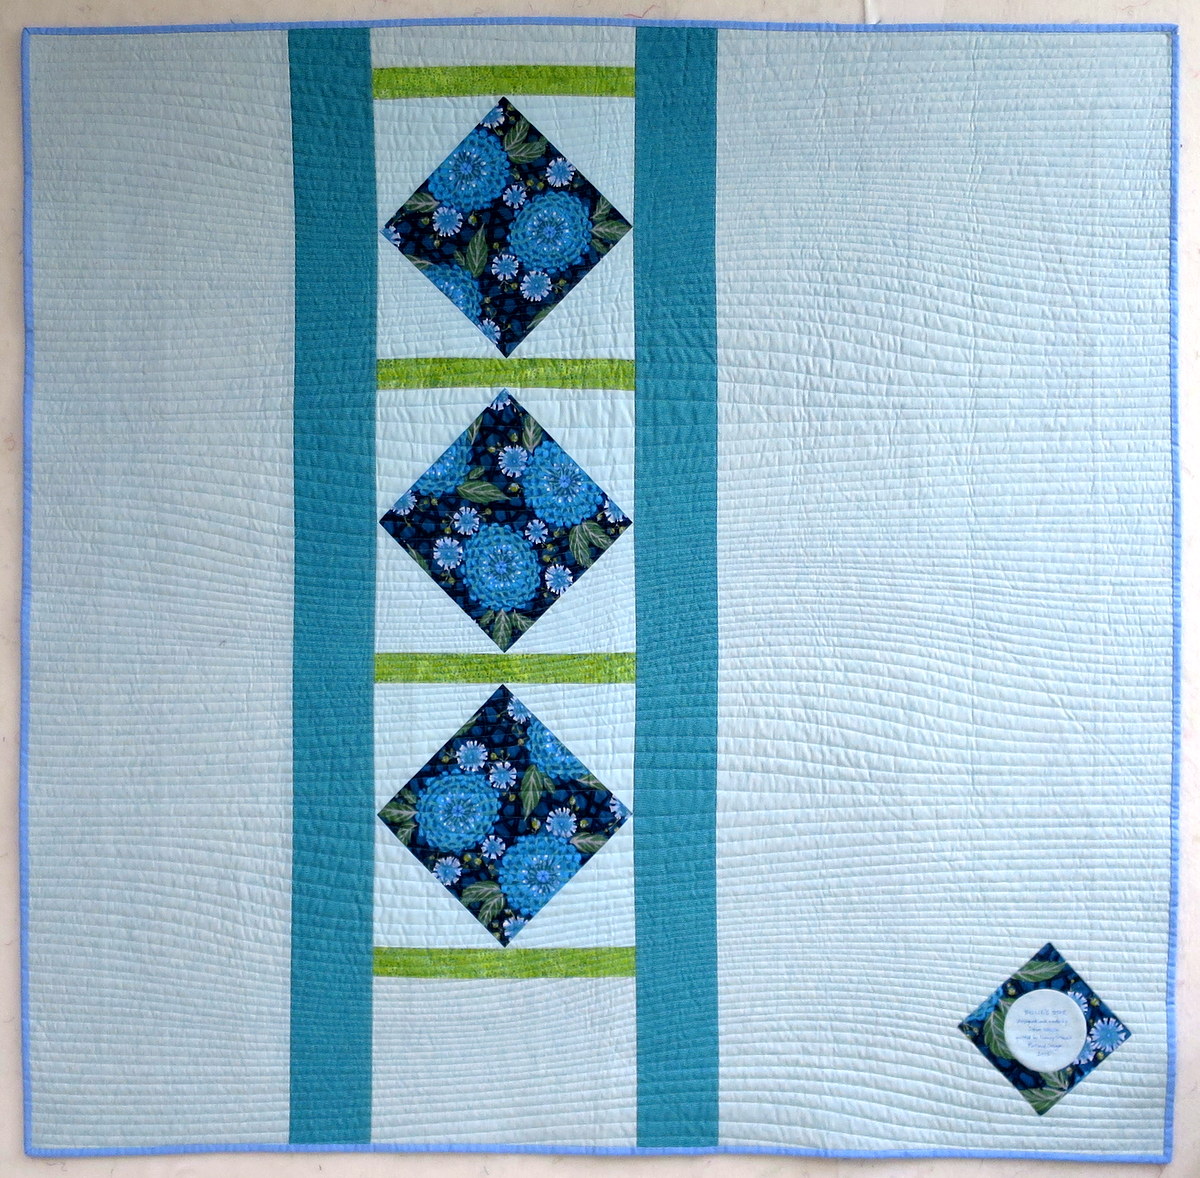
It’s an original design inspired by Billie’s love of star blocks. It measures about 56″ square and was quilted by Nancy Stovall of Just Quilting. Billie encouraged her students to make pieced backs, often using leftover blocks, so that’s what I did here:
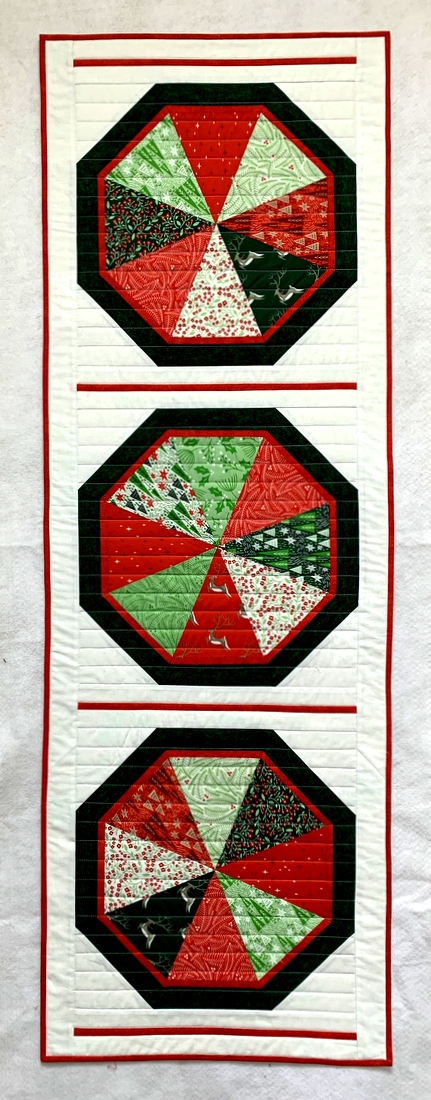
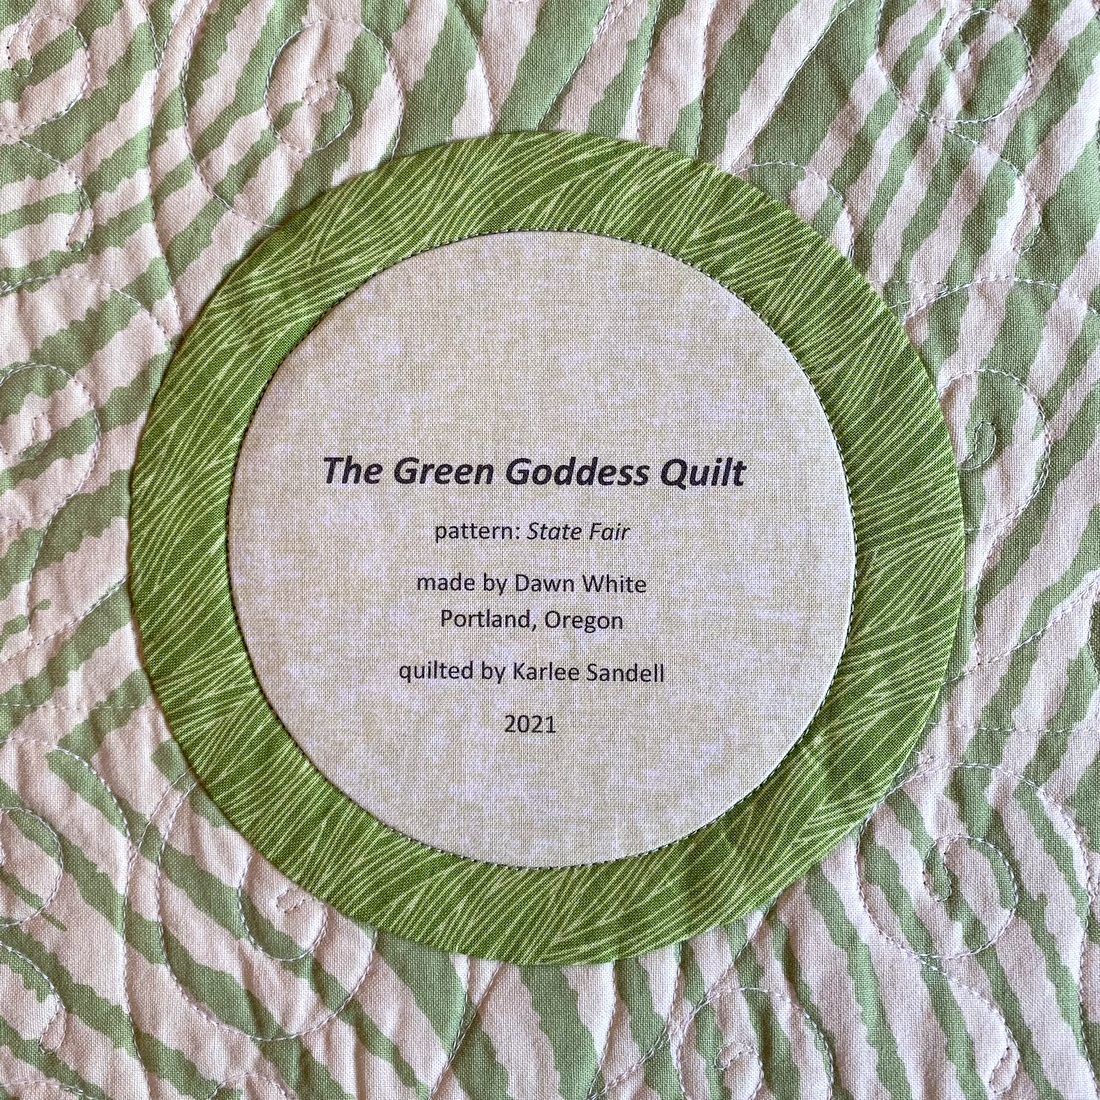
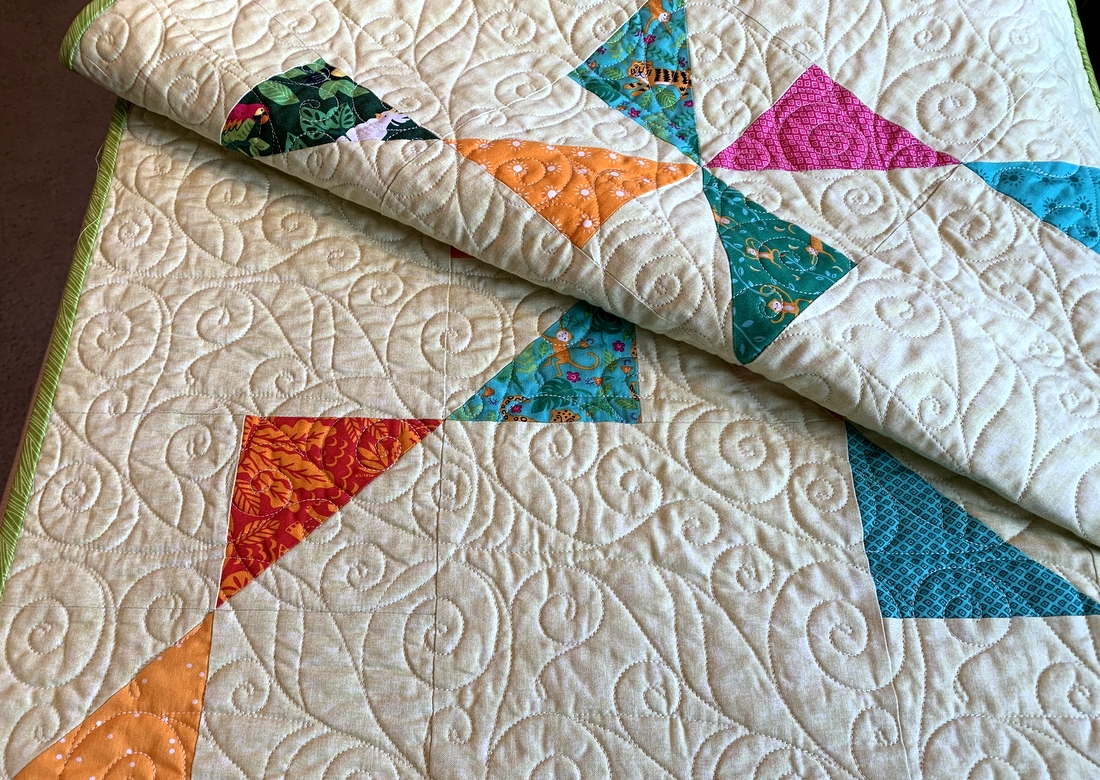
This is Stella by Starlight, made in 2016 based on a block design called “Spinners” by Heather Peterson of Anka’s Treasures:
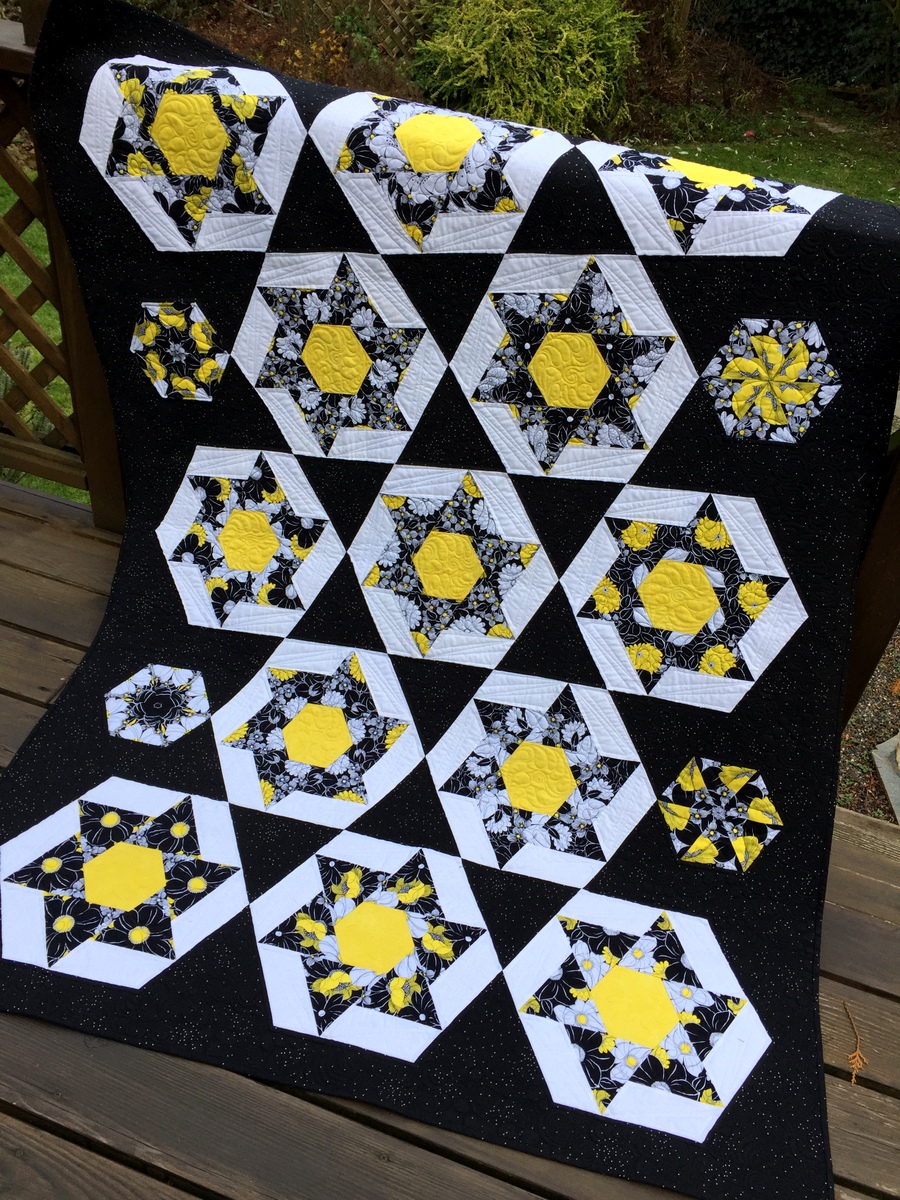
It measures 51½” x 71″ and was quilted by Karlee Sandell of SewInspired2Day.
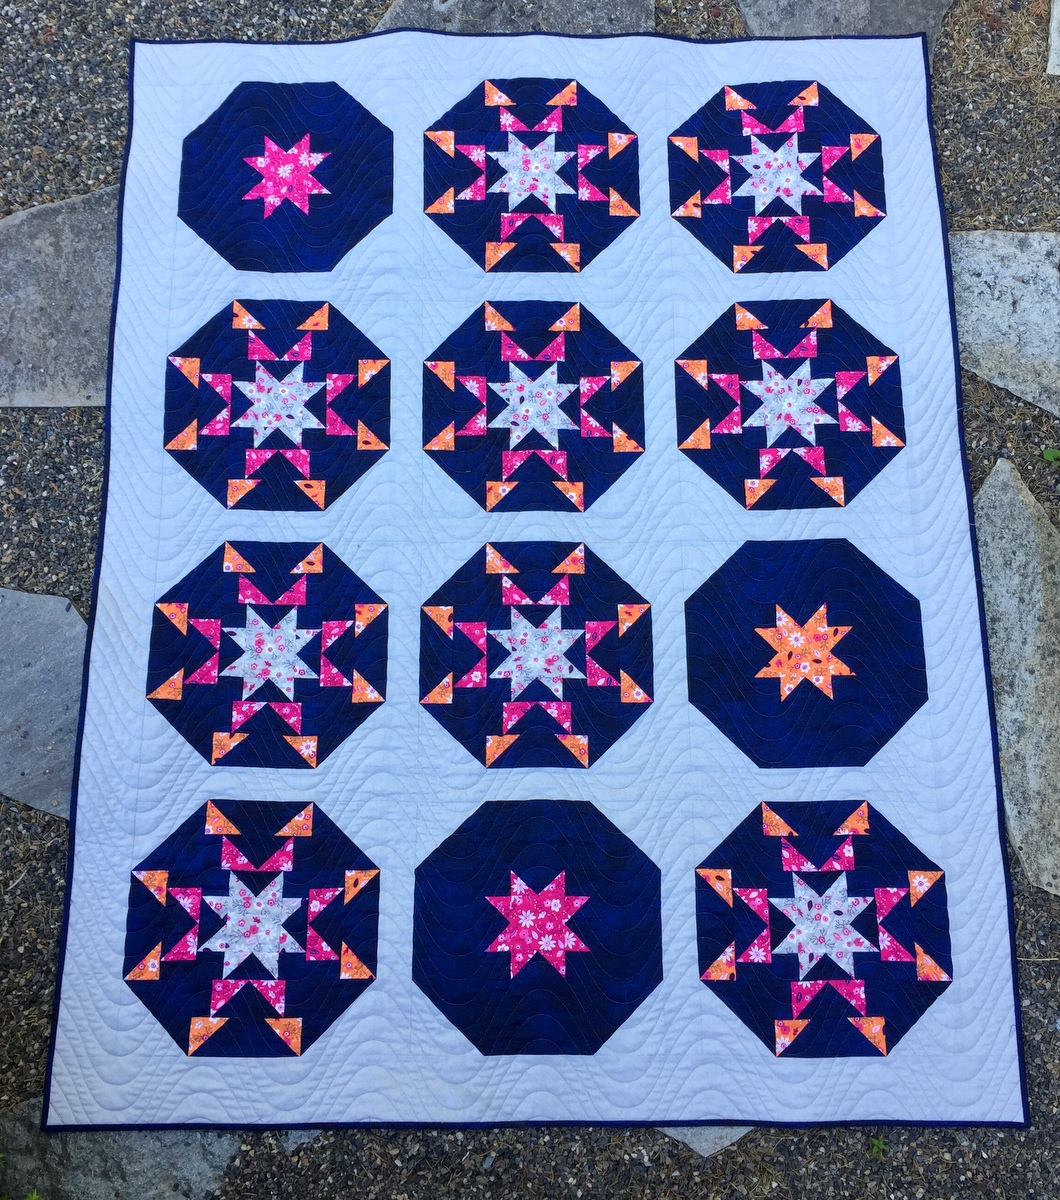
Next up is Spokesong, made in 2018 and based on the pattern Idyllic by Corey Yoder of Coriander Quilts:
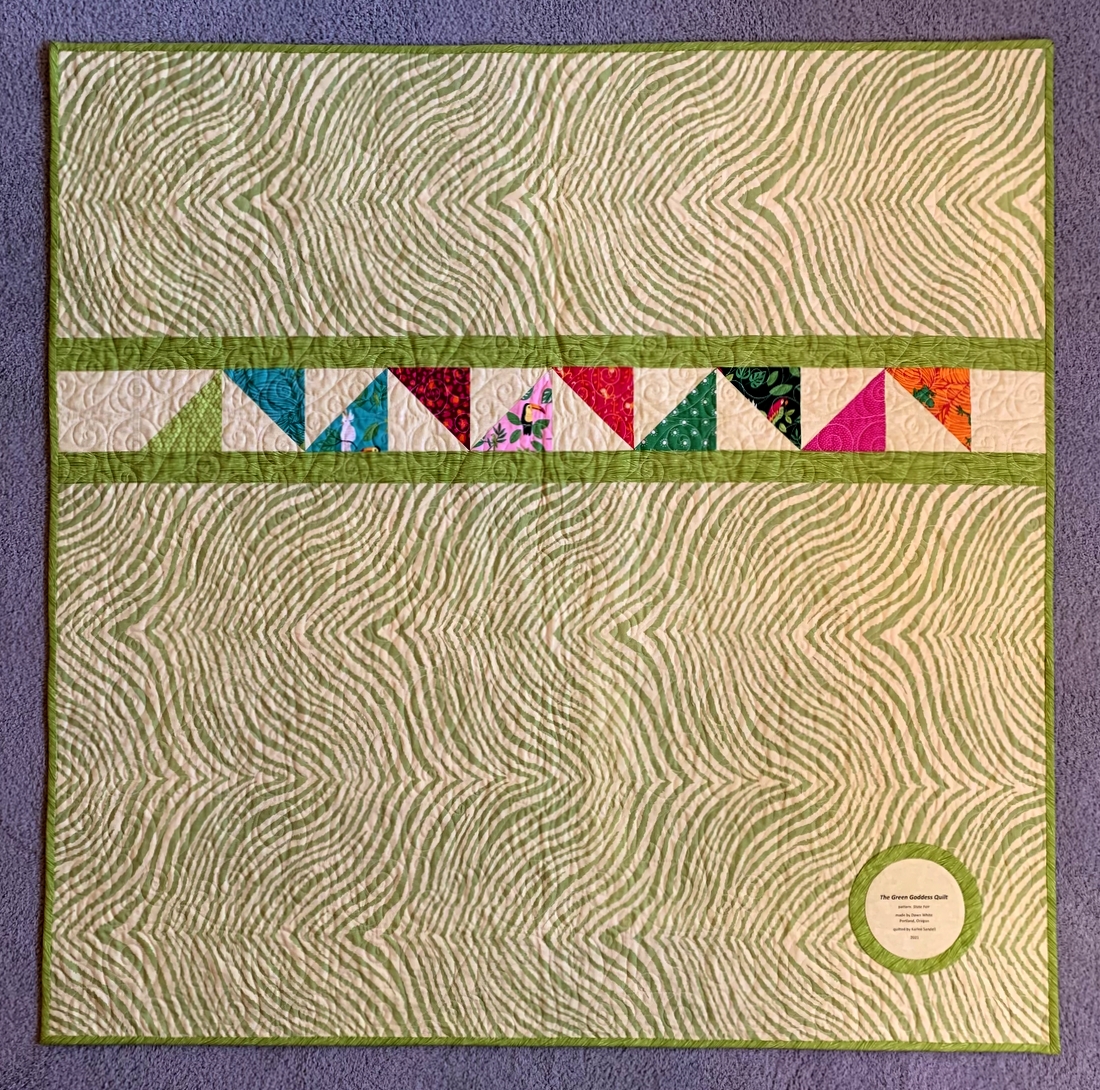
Check out the leftover blocks on the back and the label made to echo the block design:
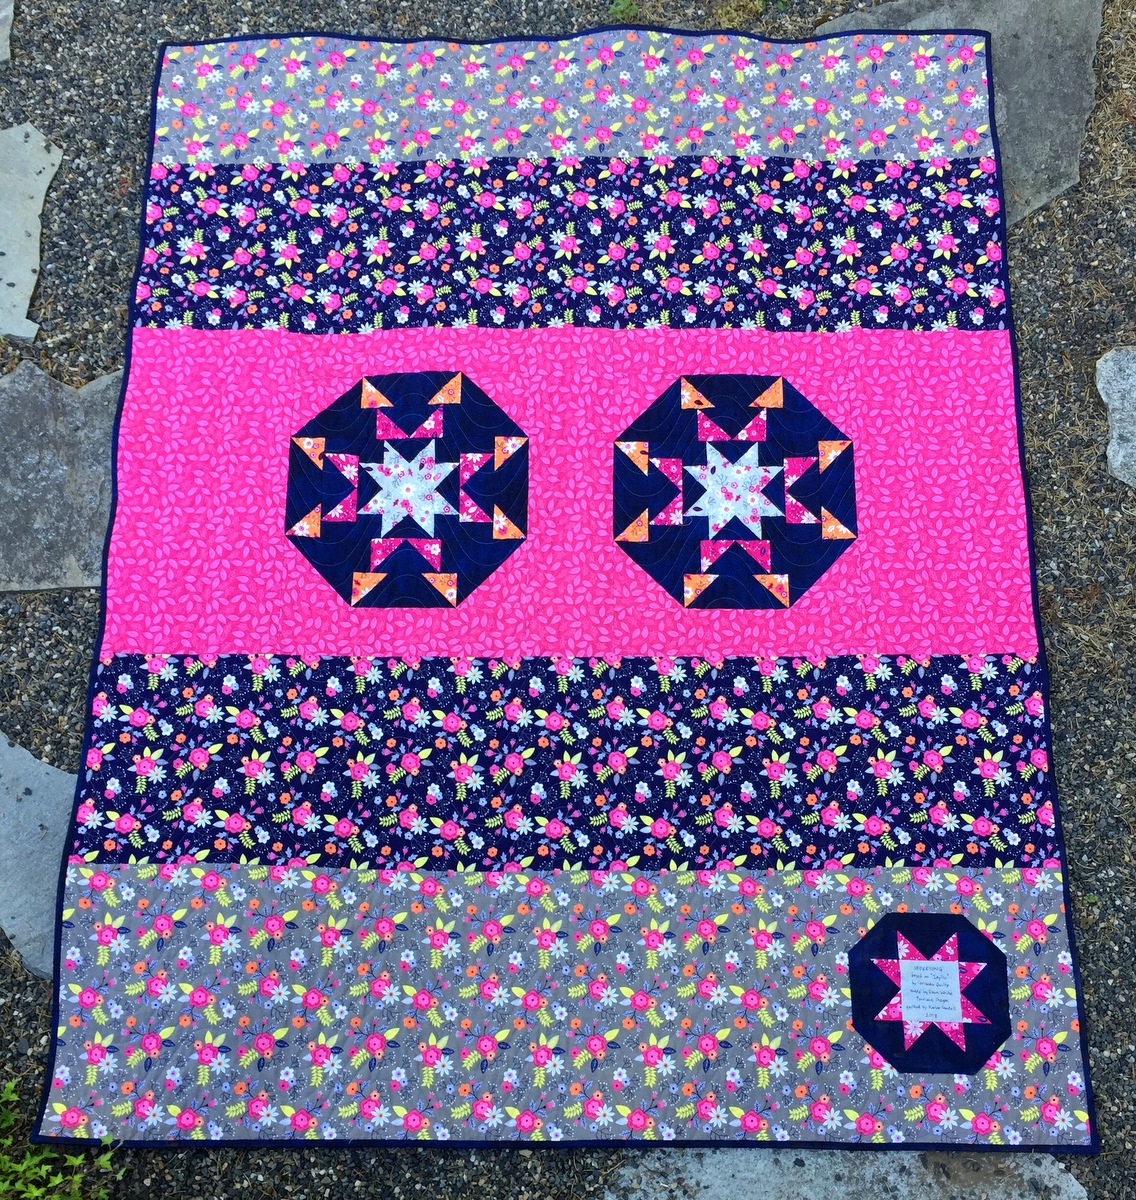
Spokesong measures 53½” x 67″ and was also quilted by Karlee of SewInspired2Day.
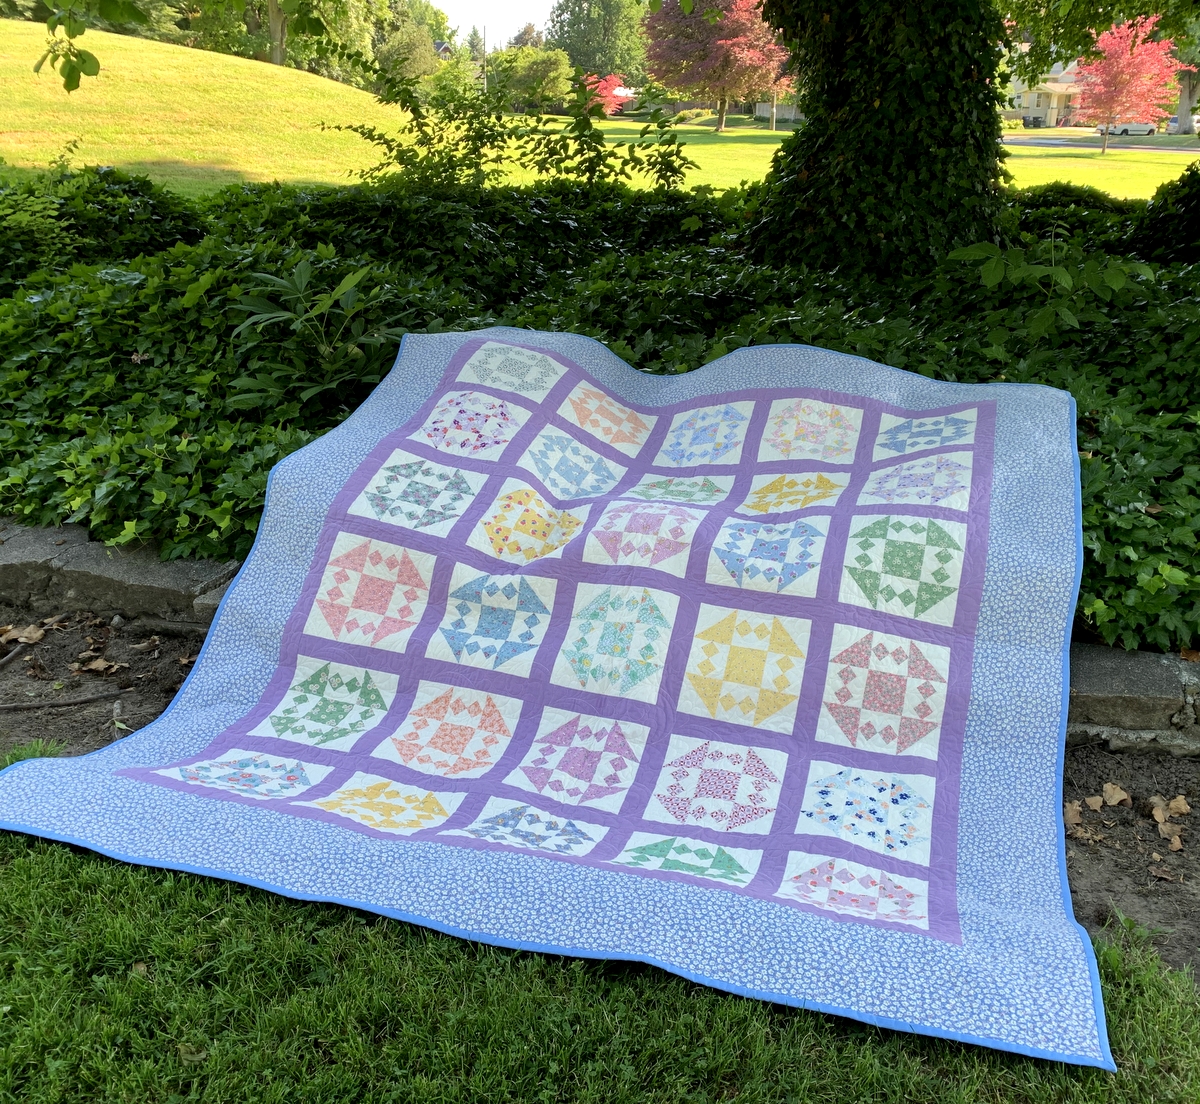
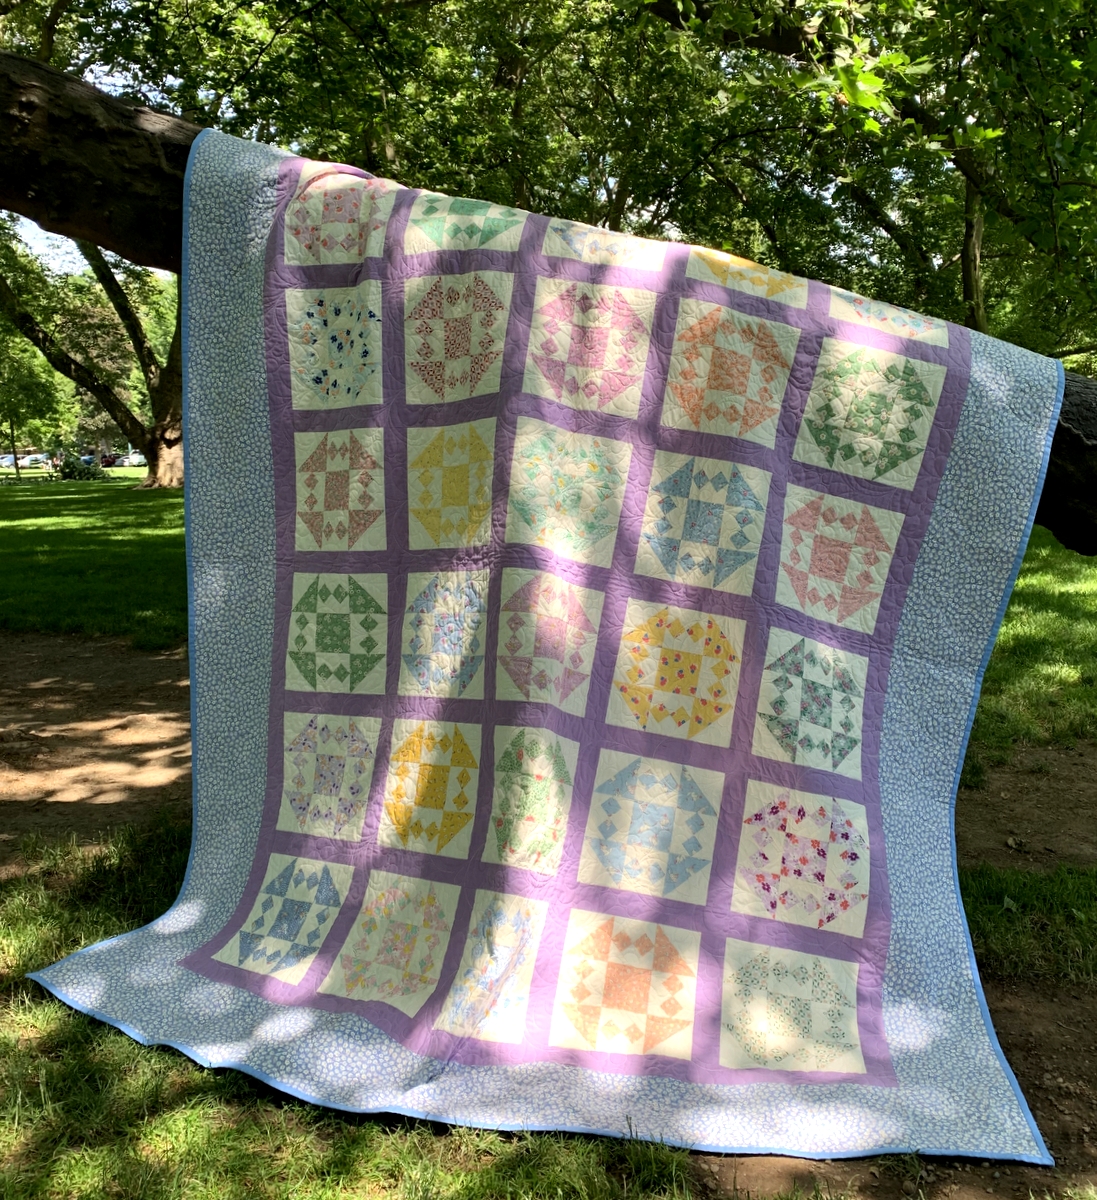
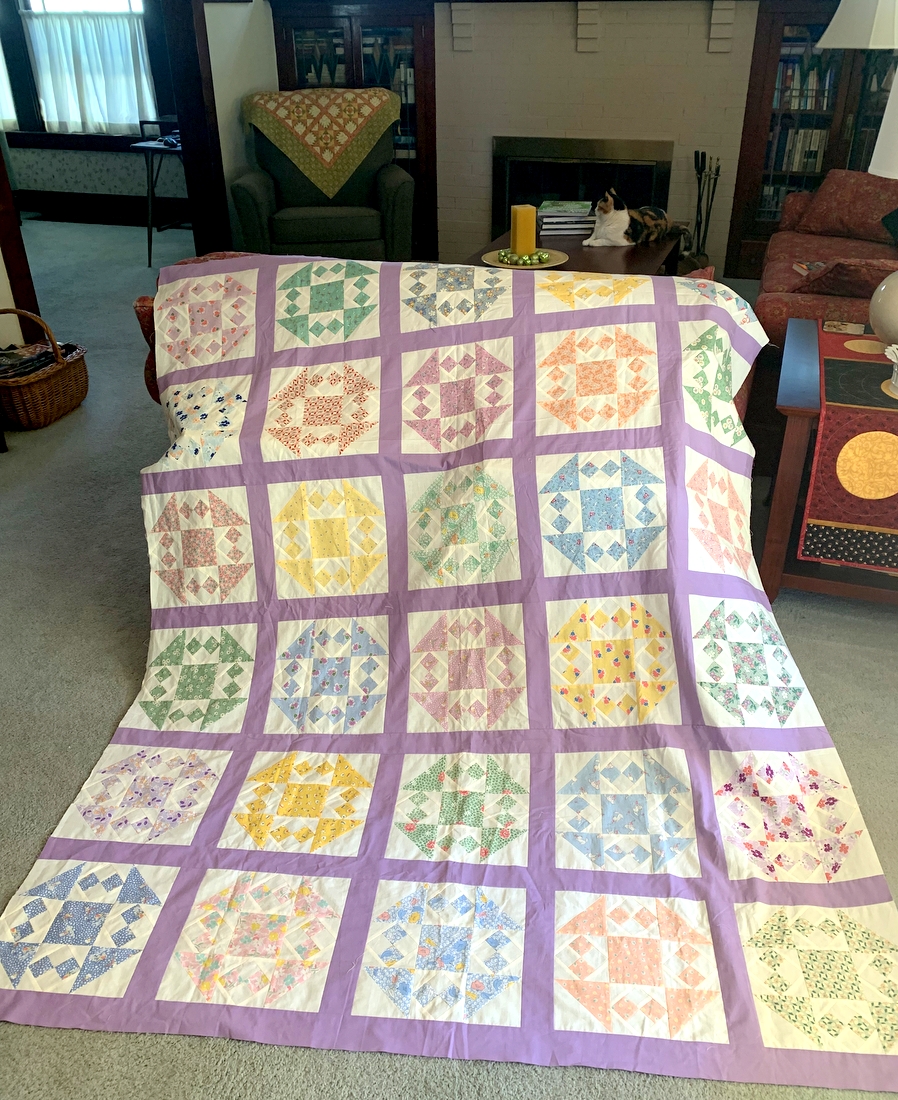
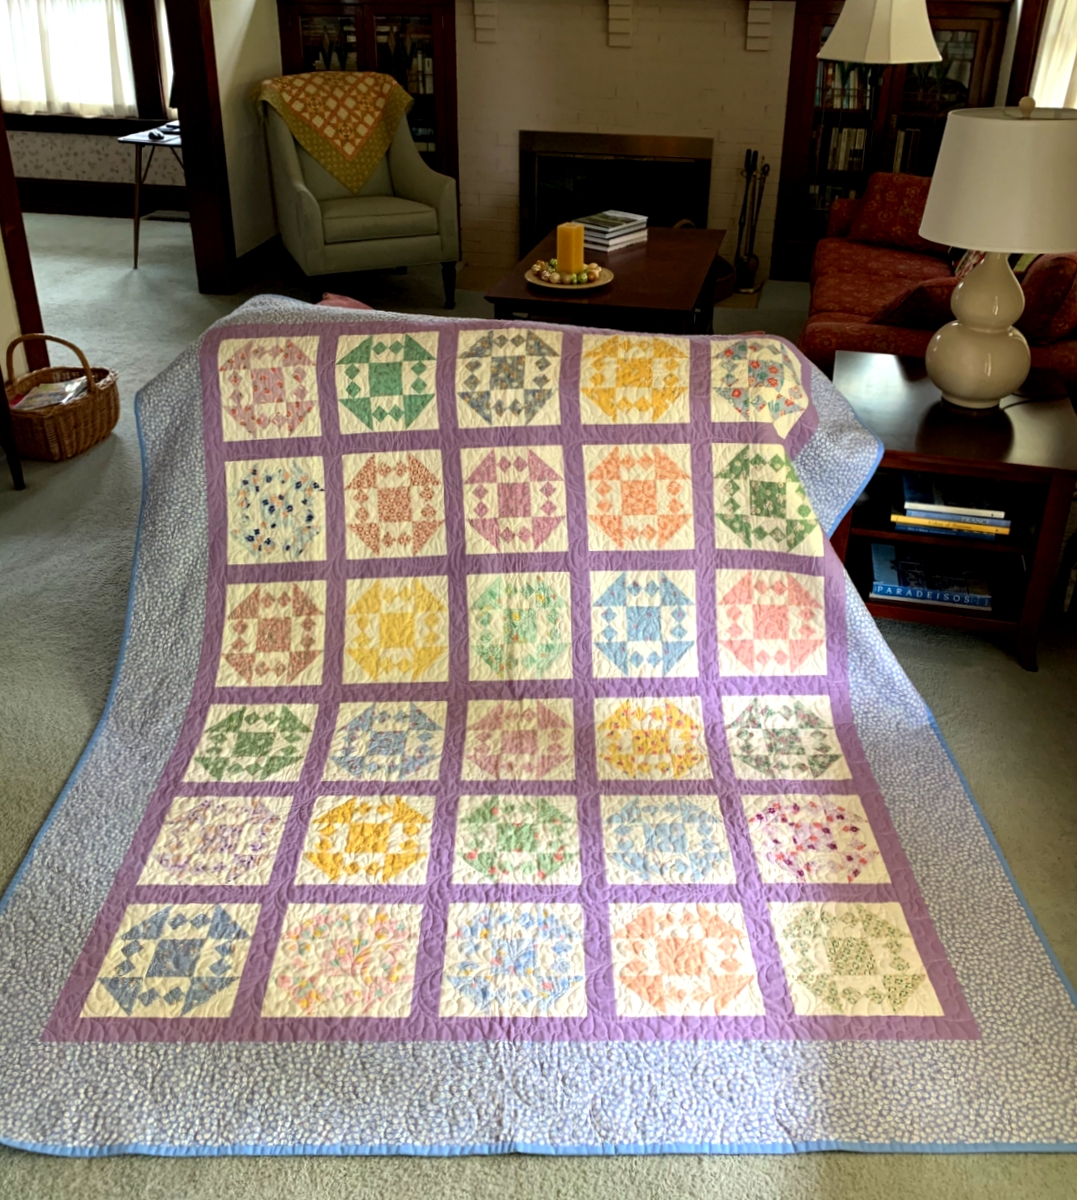
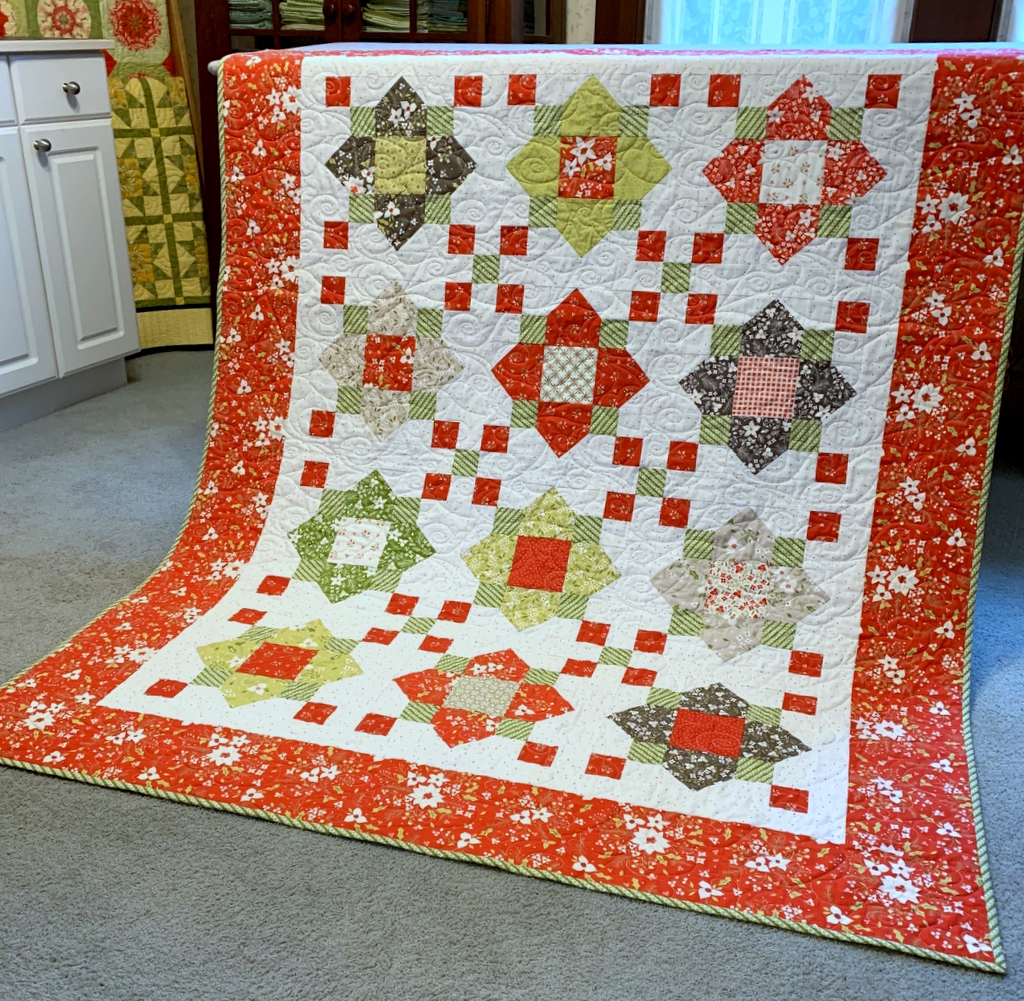
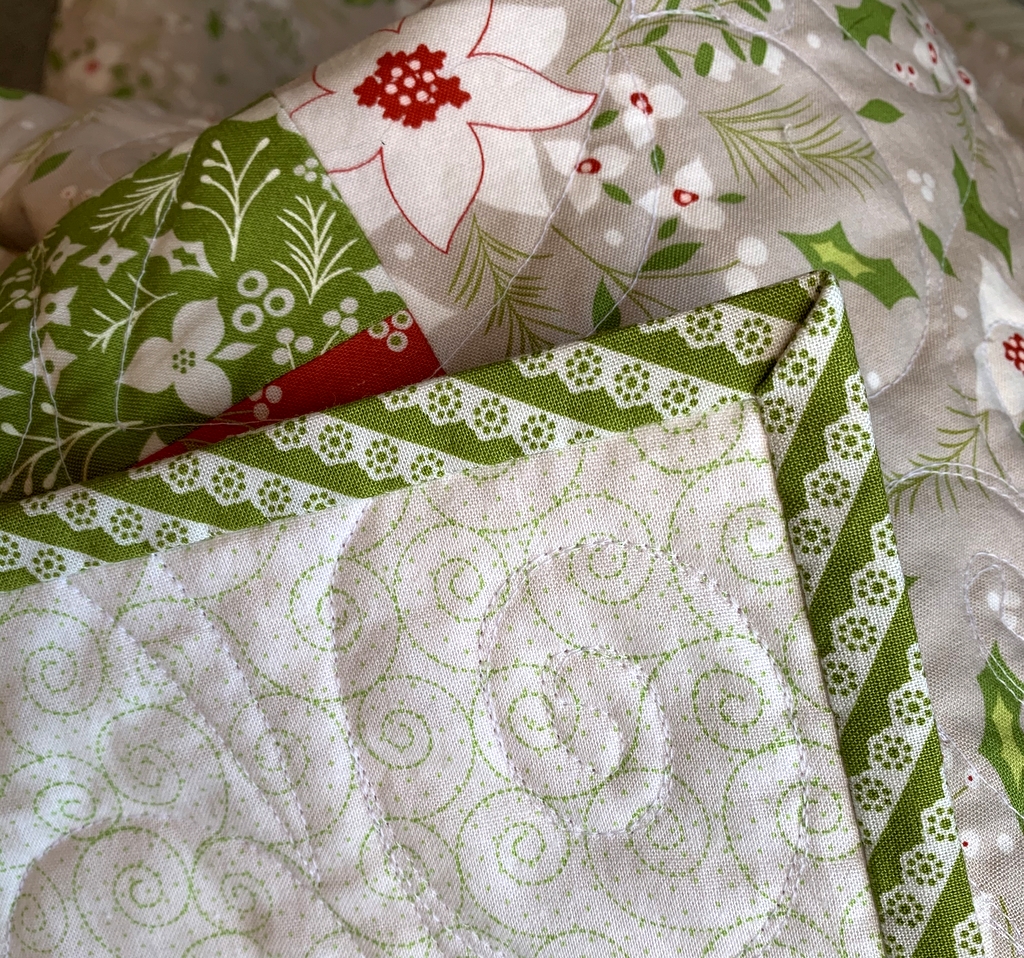
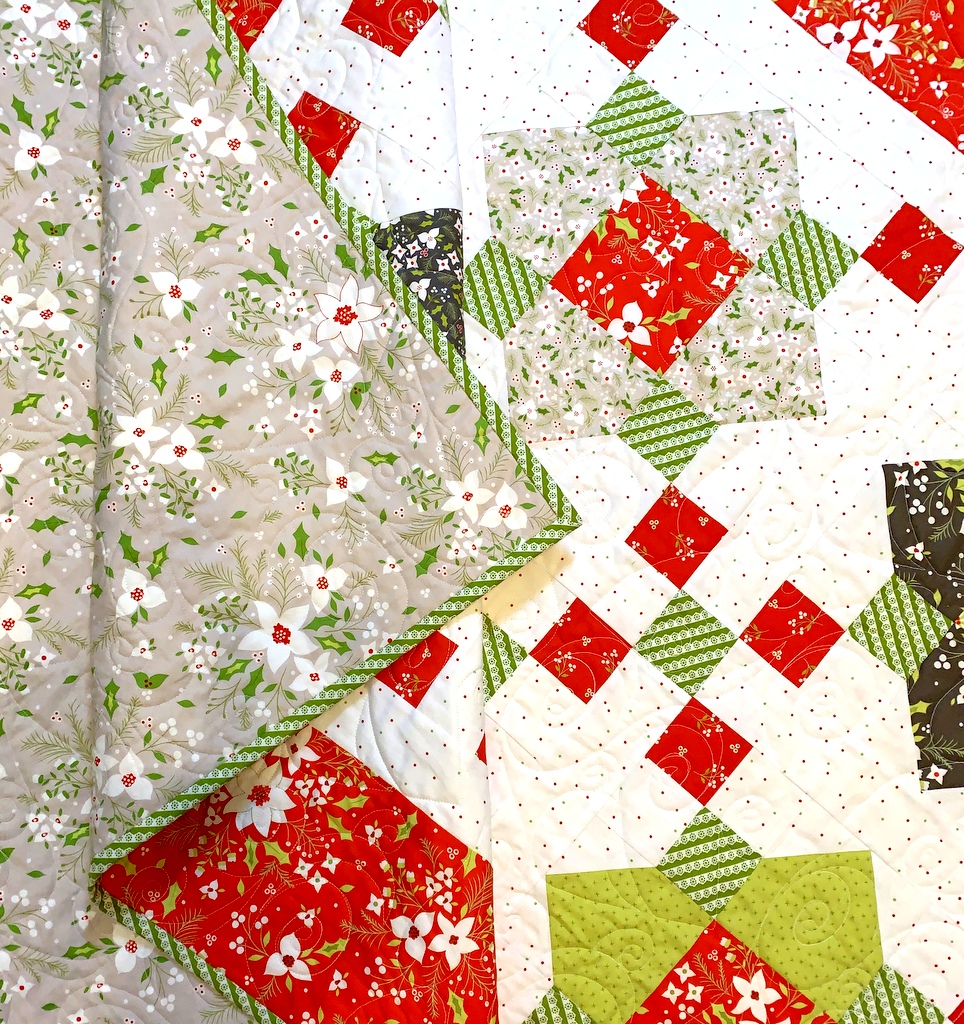
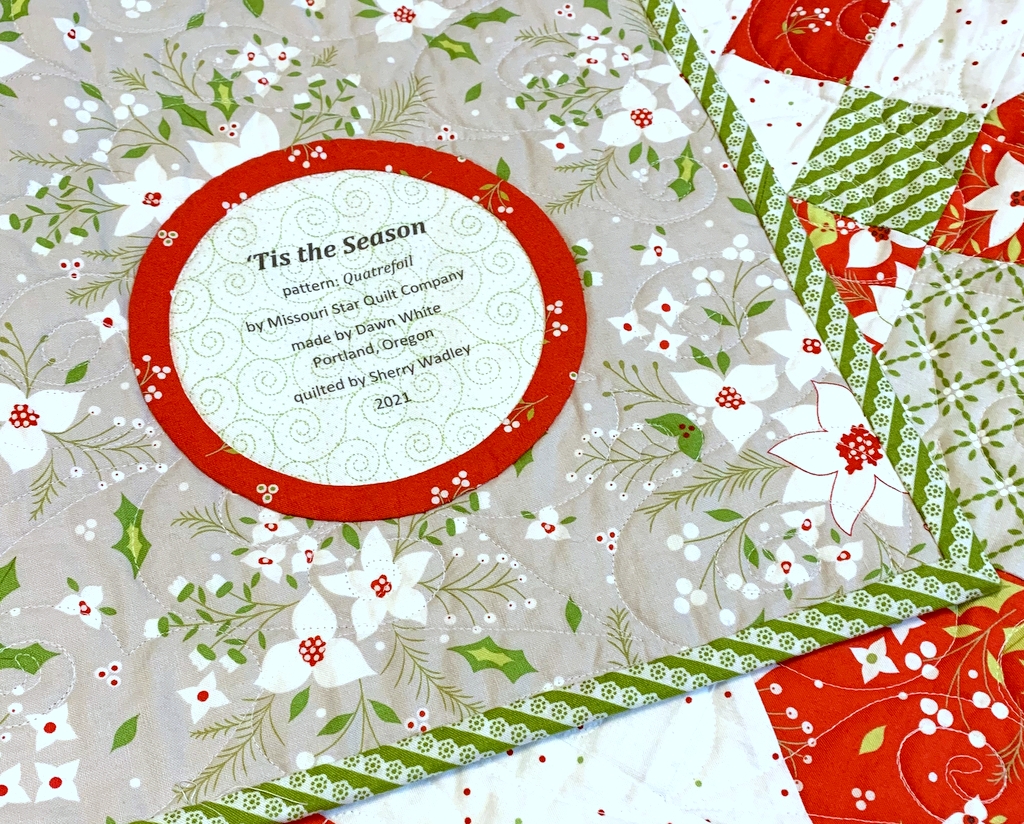
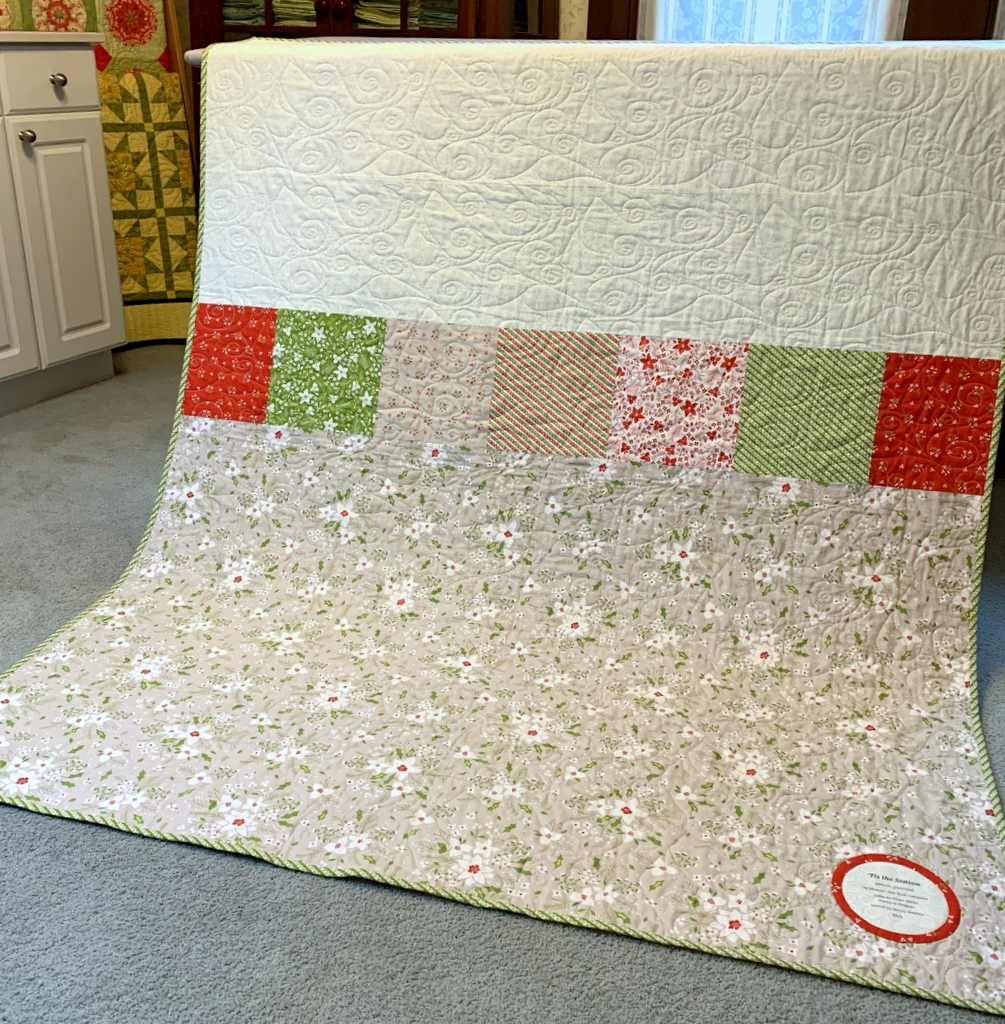
This is Currant Affairs, begun in 2015 in a class with Joyce Gieszler, author of Then and Now Quilts, and completed in 2021:
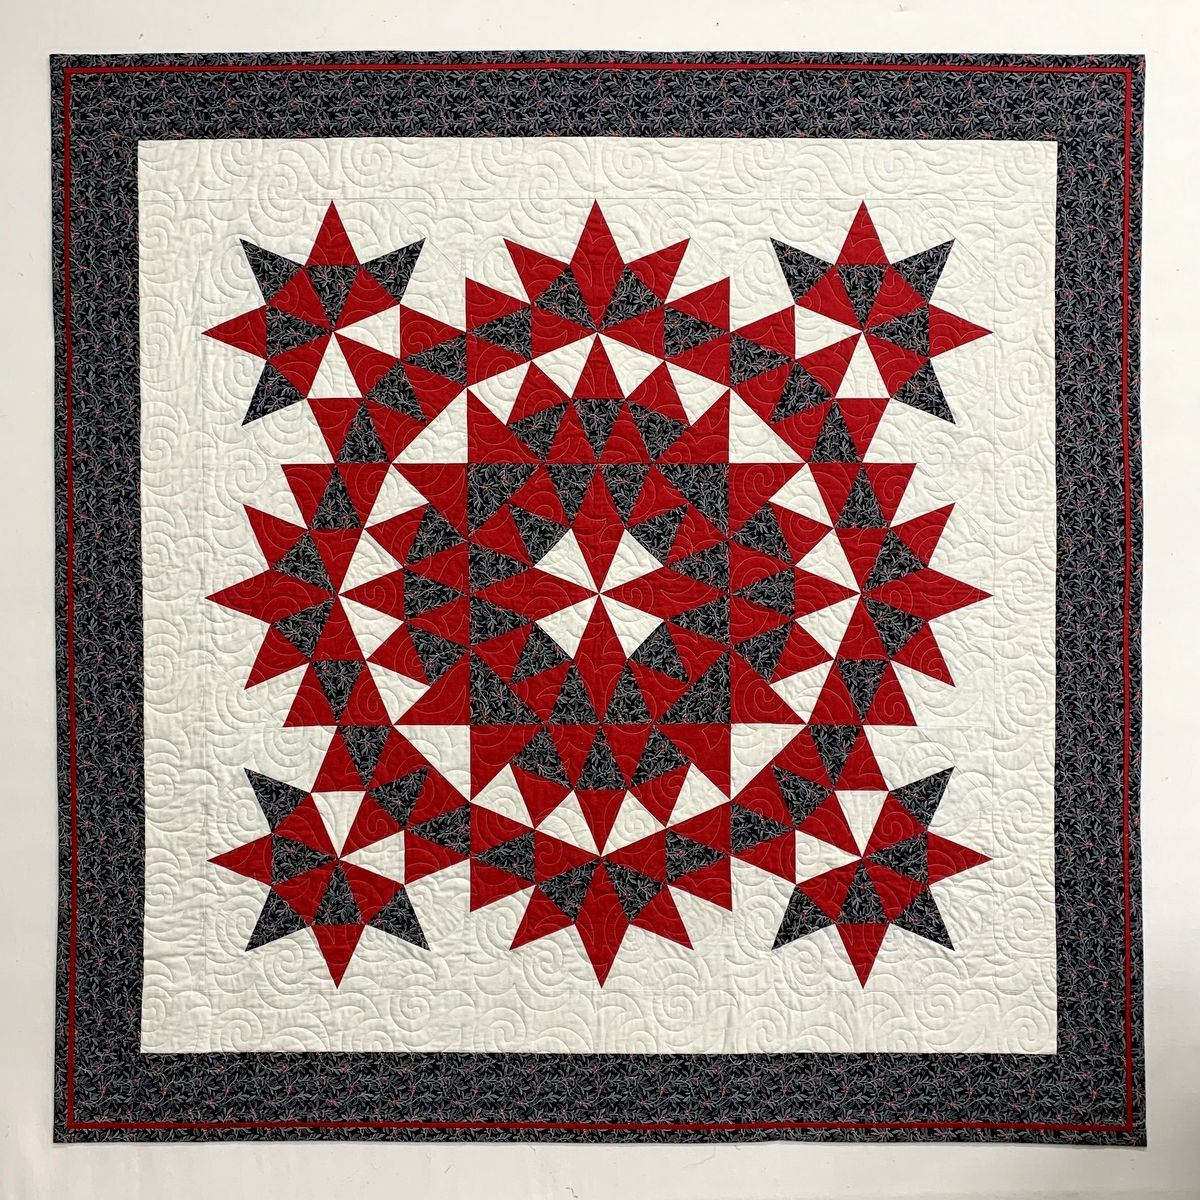
The quilt is based on a very traditional design called Grandma’s Surprise but the placement of the colored triangles and the limited number of fabrics give it a decidedly contemporary feel. It measures 66″ square and was quilted by Sherry Wadley.
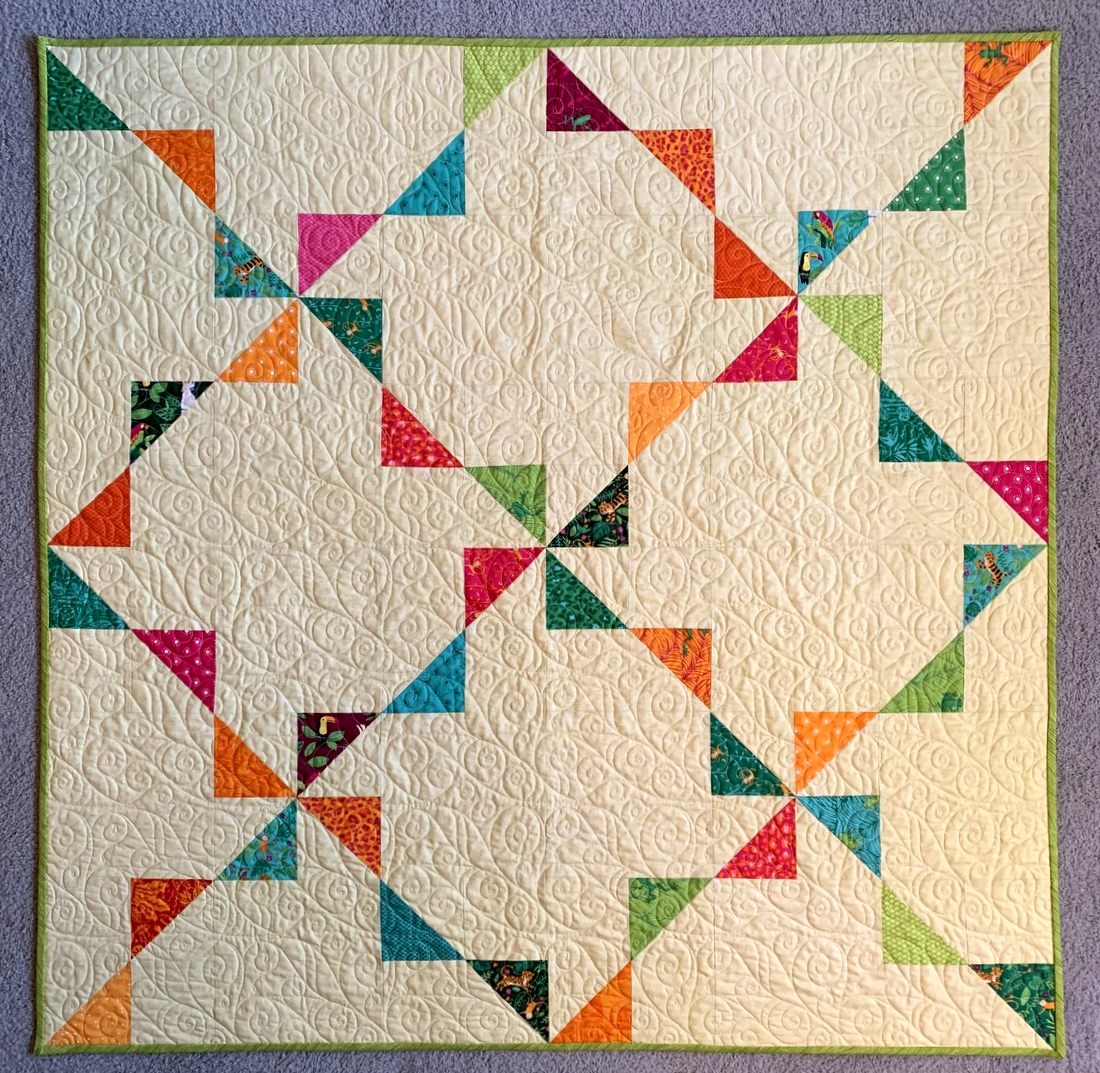
Next up is Sea Star Sampler, completed in 2022:
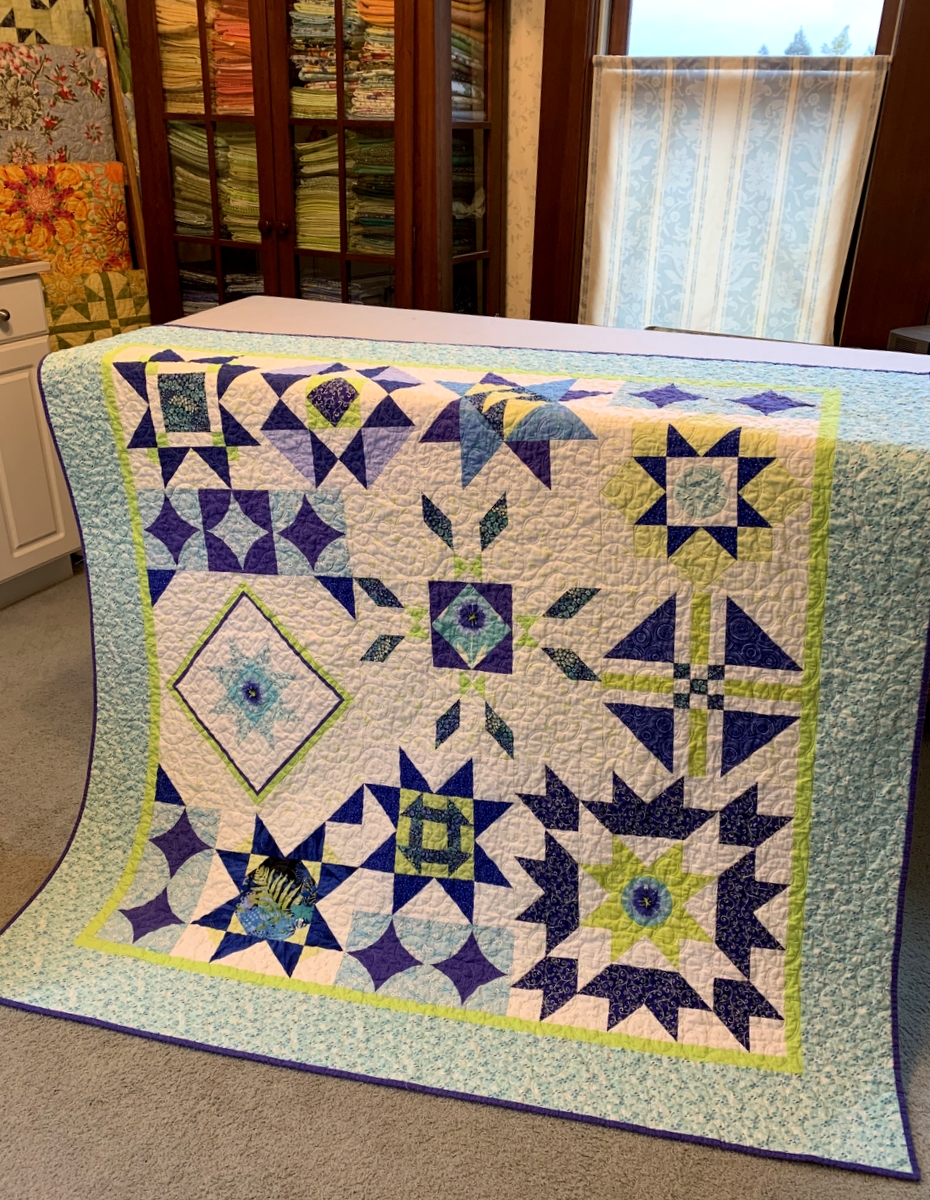
It measures 59″ square and gets its name from the fabrics, which feature starfish and schools of fish and other prints suggestive of things like anenomes, seaweed, and waves. It was quilted by Karlee of SewInspired2Day.
The last quilt I offered Hopewell House was smaller than a lap-size quilt or throw but I thought it might resonate with a resident or a resident’s family and Jill was quick to agree. It’s a two-sided quilt measuring only 38″ x 44″ but it comes with a powerful message:


All You Need is Love is the name of this quilt (cue the Beatles song written by John Lennon and Paul McCartney) made in 2020. I used the pattern Love Rocks from Sew Kind of Wonderful’s book Text Me featuring letters, numbers, and emojis created with the Wonder Curve Ruler. Sherry Wadley quilted this one for me.
Will I miss these quilts? Absolutely! But I have had the pleasure not only of making them and sharing the process with my blog followers but also of showing them to quilt guilds and displaying them in my home, where I (and presumably the Dear Husband) have enjoyed them immensely. I am grateful to have the opportunity to share these quilts with Hopewell House residents, hoping they and their families will find comfort in them. What more could a quiltmaker ask for?