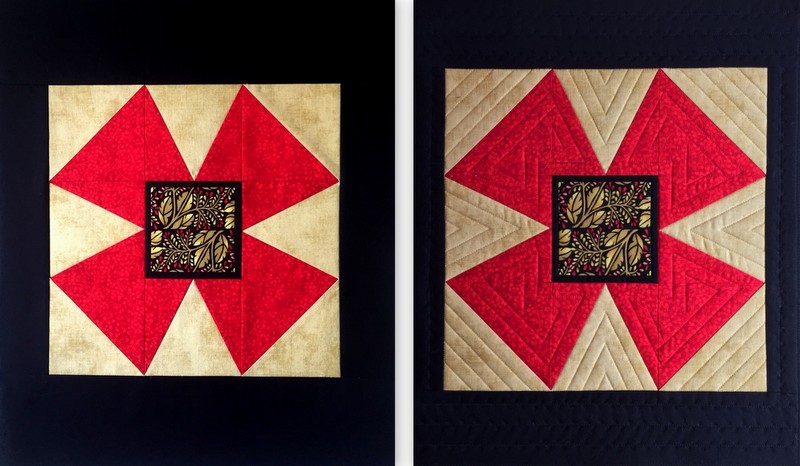
Oh, my — quilting sure makes a difference! Here’s a before and after shot of the windmill panel of the Junior Billie Bag I’m working on:

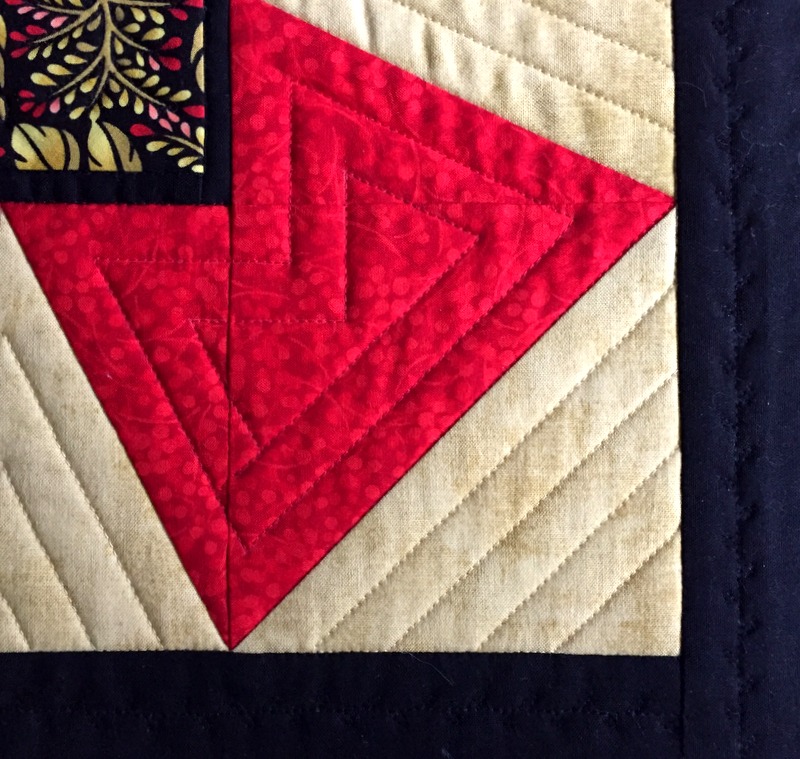
After stitching in the ditches, I quilted straight lines inside the red and gold shapes to emphasize the angles. In the black border strips I used a decorative stitch that mimics the little teardrop shapes in the fussy-cut center block:

That’s a very subtle touch (translation: you can hardly see it) but I like knowing it’s there. I also stitched around the veins of the leaves to hold the layers in the center together.
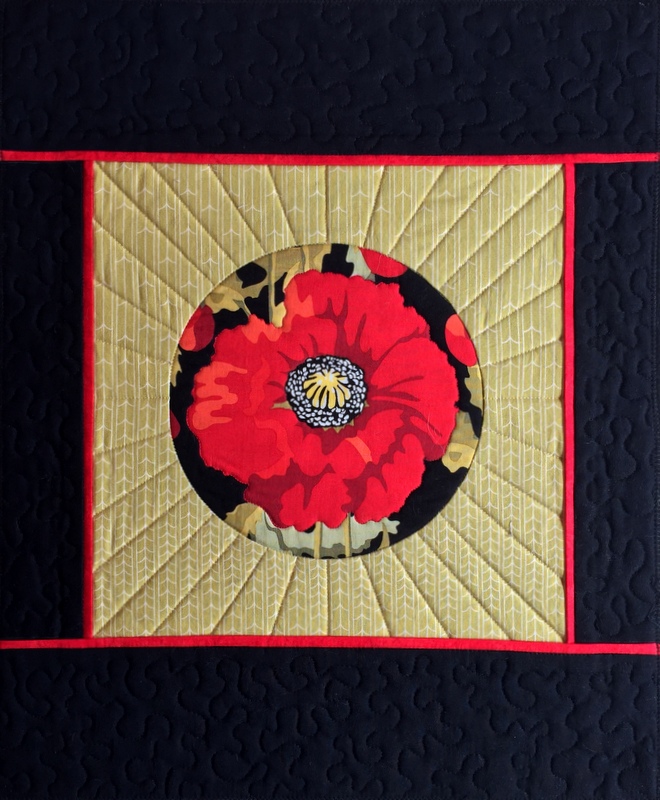
In the other panel (which I wrote about in an earlier post) I added some additional straight lines radiating from the center circle:

I also outline stitched around the red poppy and the center of the flower to hold those layers together.
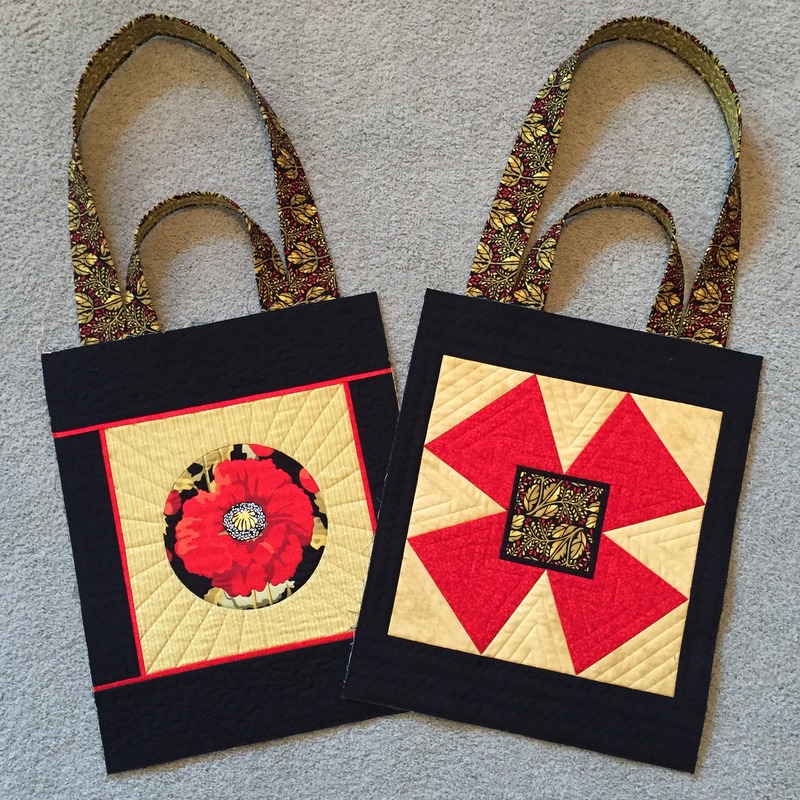
Here are the front and back panels with the two sets of handles attached:

Am I pleased with my quilted panels? I’m crazy about them! Next up: side panels with exterior and interior pockets.

Dawn, so lovely. I just looked at these and sighed…..
Such a great addition of dimension! Really, this JBB is going to be nothing less than sensational!
Beautiful quilting, Dawn!
I was immediately taken by the quilting on these panels. It is amazing how it changes them! Just lovely.
Hi dear friend,
Thank you so much for this particular blog post. I am so amazed at how different the block looks naked and then quilted. Fantastic job!