Working with 1/4″-wide double-fold bias tape (Part 1)
Part 1, Joining two lengths of bias tape
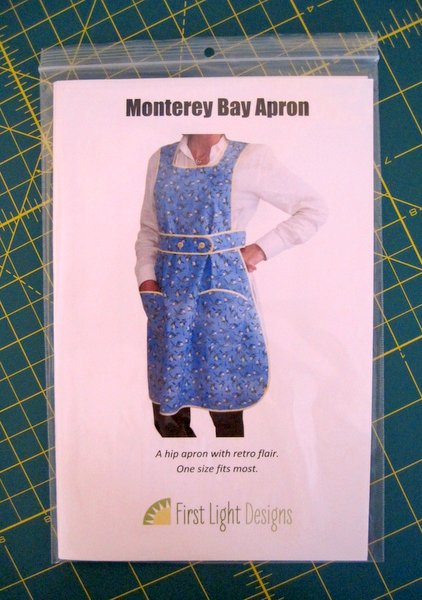
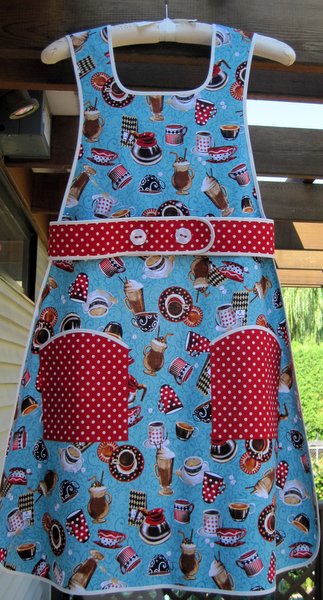
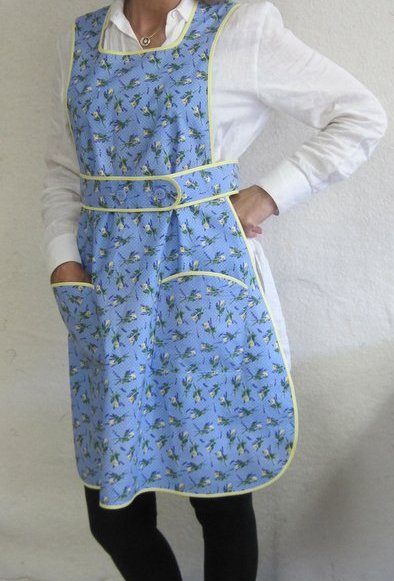
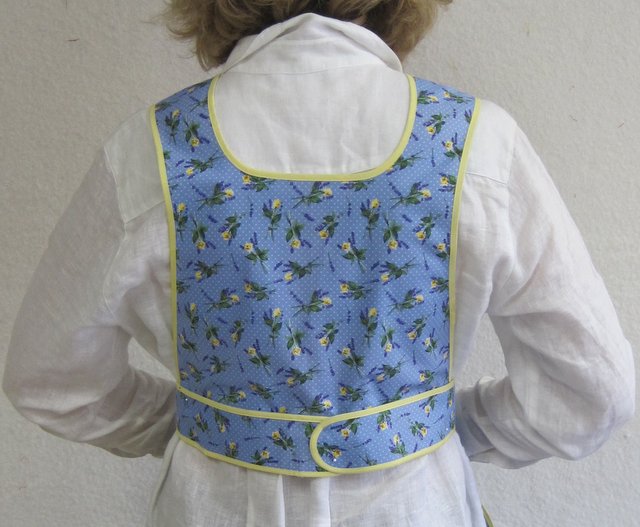
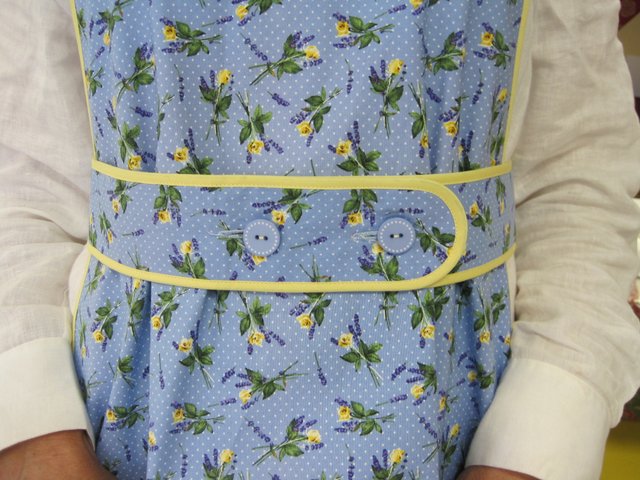
“Working with 1/4″-wide double-fold bias tape.” You may think that’s an overly-specific title for a tutorial but I have discovered that not all bias tape is created equal, and different widths behave differently depending on how they are sewn. I like the finished look of ¼”-wide double-fold bias tape and used it on my Monterey Bay Apron. I find it easy to handle, and I really like the way it just hugs the inner and outer curves. Here’s a close-up:
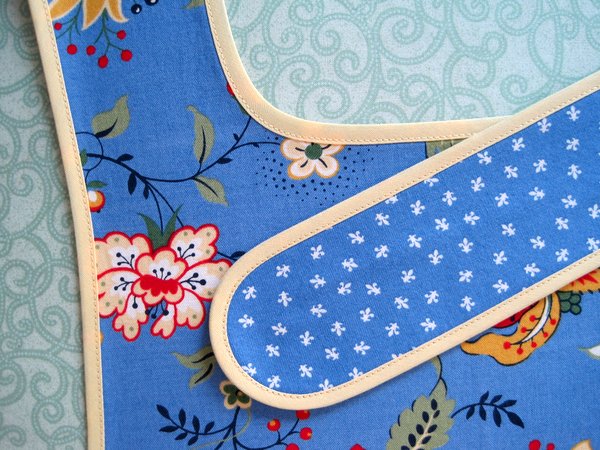
I insert the raw edge of my fabric between the folded edges of the bias tape and stitch once to hold both sides down, rather than opening the tape up, stitching one side to the raw edge of the fabric and then turning it to the back and stitching again. Encasing the edge of fabric in the tape leaves a beautiful finish on both sides of the garment and is much faster than the other method. Take a look:
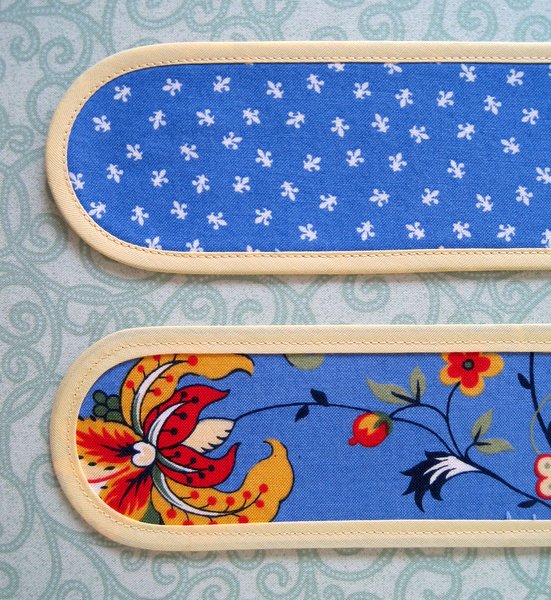
The process of joining two lengths of bias tape is almost identical to joining two strips of fabric for a quilt binding. Double-fold bias tape comes in a package with three folds already pressed firmly in place, however, so handling it can be a bit tricky. (I’ve made my own bias tape but find that the tight weave and the crisply pressed folds of the packaged tape make it easier to handle.)
Quarter-inch double-fold bias tape starts out an inch wide. Each long end is pressed 1/8” under and then the remaining strip is pressed in half . . . but not precisely in half. It’s pressed in such a way that one side of the tape is slightly narrower than the other (from the fold to the outside edge). The narrow side always goes on the right side of the fabric. The wider side, underneath, is always caught in the line of stitching from the top. You can clearly see that in the photo above.
Since a package of bias tape normally contains four yards, you may be wondering why it would it be necessary to join two lengths. Well, many apron patterns require more than one package to go all the way around an outside edge. Not wanting to be wasteful is another good reason. If two shorter lengths of bias tape will make a piece long enough for a specific purpose, why open another package?
1. Lay two ends of bias tape next to each other on the ironing board, narrow side up:
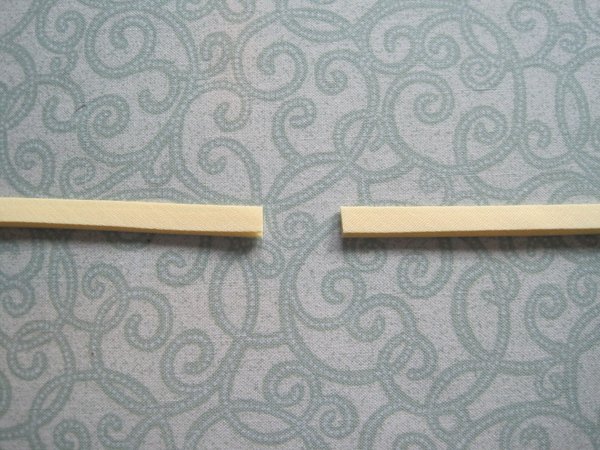
2. Press each end open about an inch and a half from the end. Don’t try to press the fold lines completely out:
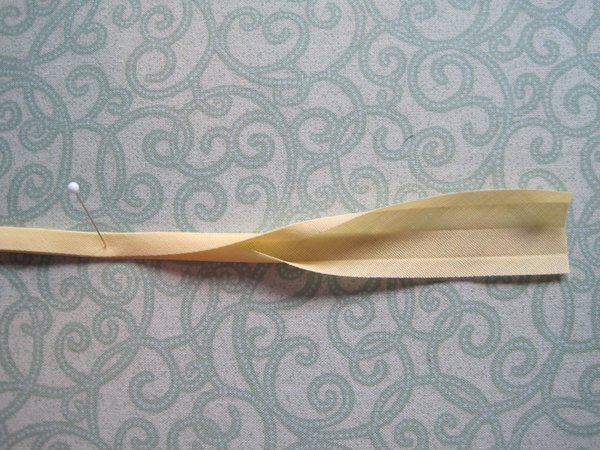
A straight pin helps hold the tape in place on the ironing board.
3. Without changing the position of the strips on the ironing board, turn the ends so the right sides are up:
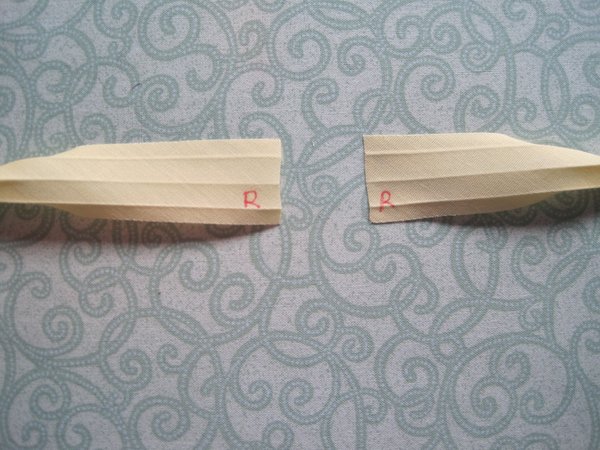
I’ve written an R on the corners with a removable ink pen to indicate the right side. You can also easily distinguish the right side by the fold lines.
4. With right sides together, lay the left strip on top of the right strip at a right angle. Overlap edges slightly as shown. This makes it a bit easier to handle, since the bias tape is only an inch wide:
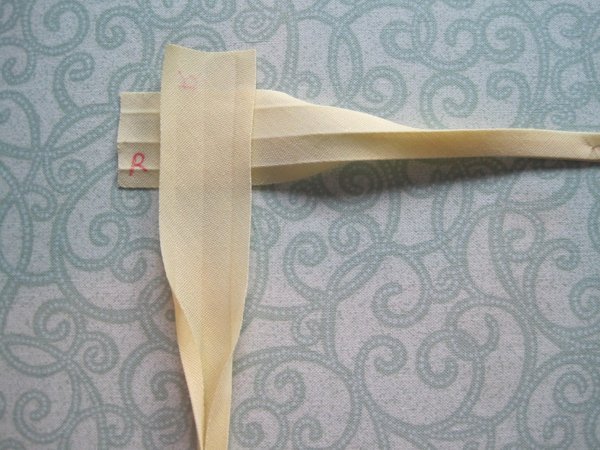
5. Draw a diagonal line from the upper right to the lower left corner, using a pen or pencil with removable marking lines. Pin in place:
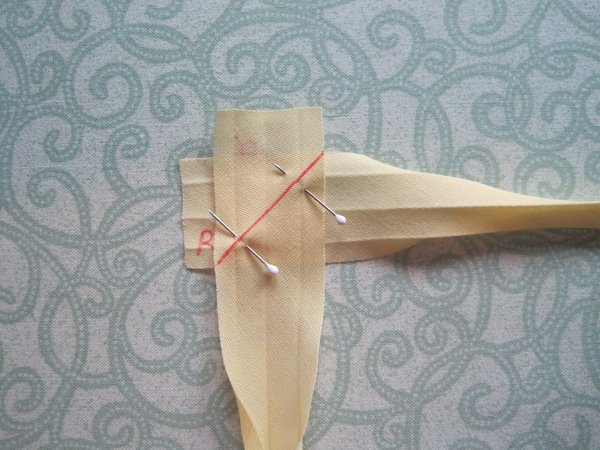
6. Stitch the two strips together along the diagonal line, leaving a tail at each end to keep the seam intact. Use 15 stitches to the inch or 2.0 on a computerized machine. I used a contrasting thread for illustration purposes only; thread should be matched to the color of the bias tape.

Because the tape was originally cut on the bias, the diagonal seam is on the straight of grain.
7. Trim seam to a scant ¼”, being careful to leave the tails on thread. Press seam open:

8. Trim the dog ears – but leave those thread tails on. Press all three folds back into place, using just the tip of the iron. Be very careful not to stretch or distort the length of tape.
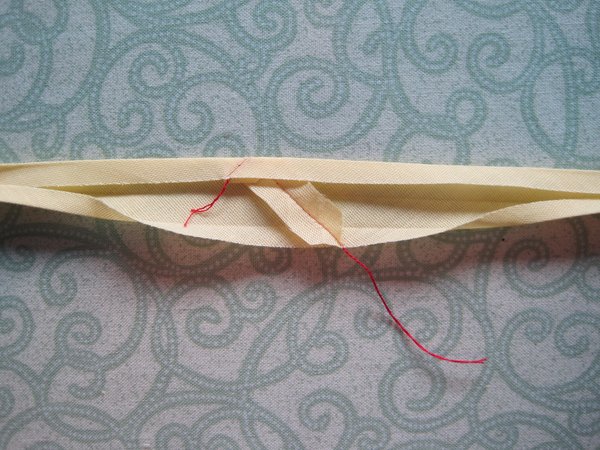
9. Now open the bias tape and trim the thread tails:
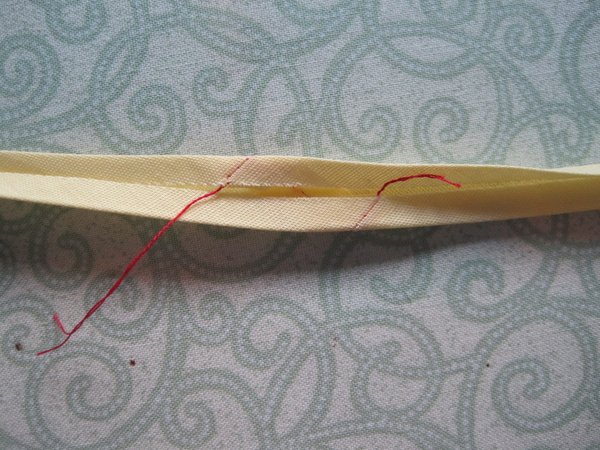
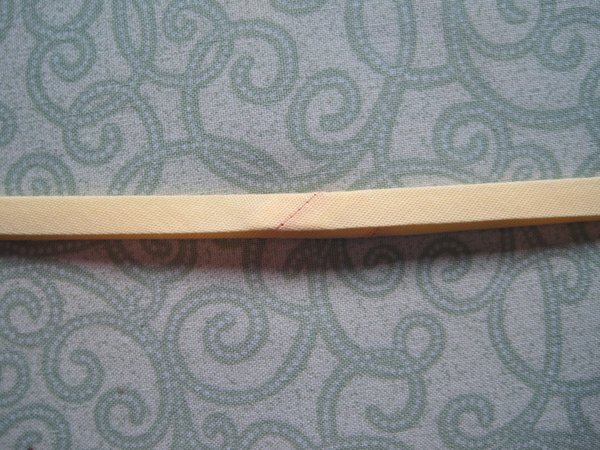
10. A final press and voila! A beautifully joined seam, ready to be sewn onto your project.
In Parts 2 and 3 of this tutorial, coming soon, I’ll show you two methods of joining the ends of bias tape where they meet on an apron.