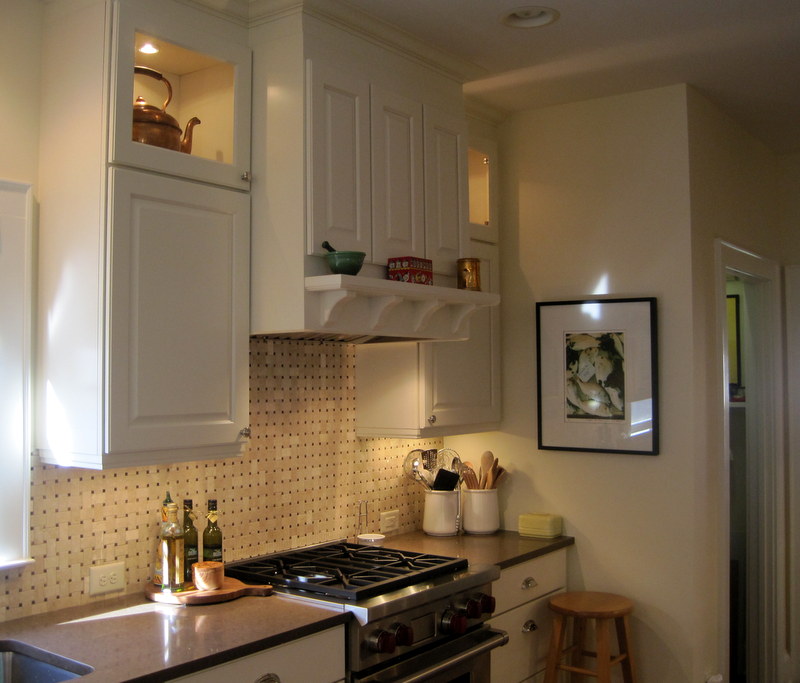
Design Dilemma
Earlier this week my twin sister Diane called me with a home dec design dilemma. The small chest that sat between two red leather chairs in her living room was so narrow that people sitting in the chairs couldn’t see each other around the lamp at the back of the chest. Her solution was a clever one: she claimed a matching chest from another room and placed it back to back with the first one. Then she had a piece of glass made to fit the top. The only problem was that you could see under the glass where the two chests met in the middle.
Could she commission me to make a table runner to cover the middle section? Of course she could. She wanted something very simple — no piecing required, just a rectangle about 9″ wide and long enough to extend down both sides of the chest. We talked about colors to match her living room — deep red, tan, forest green. I was ready to charge off to a fabric store to look at home dec fabrics.
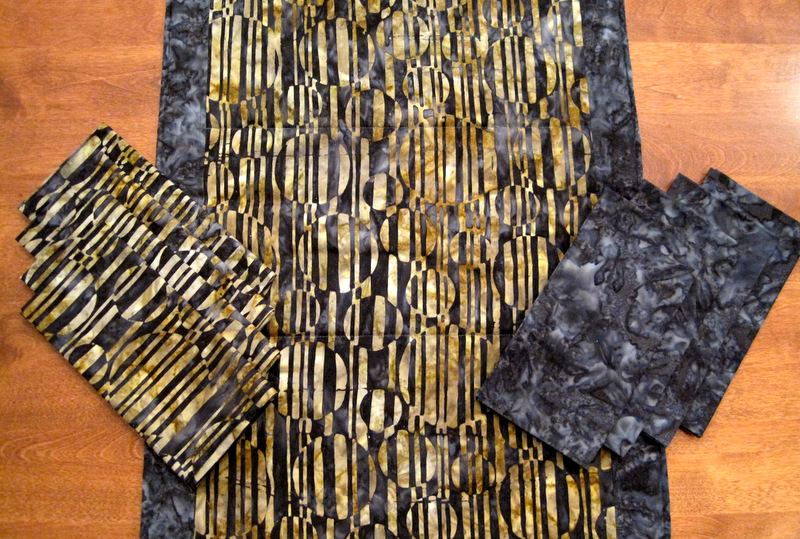
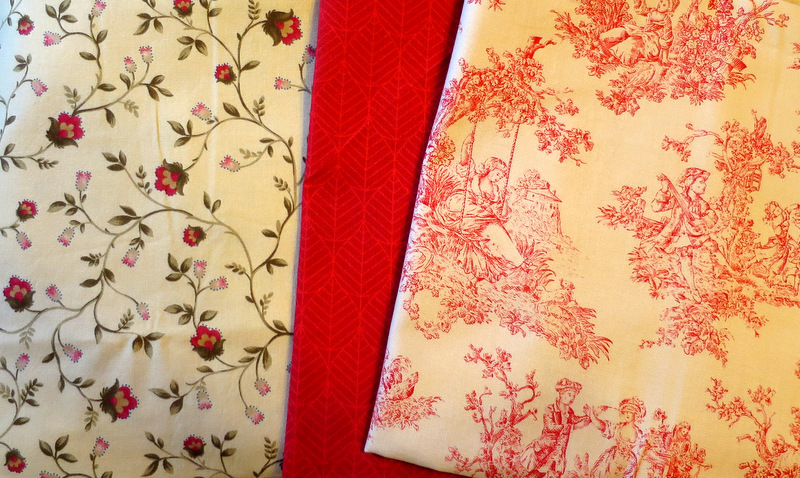
Diane was incredulous. “Don’t you have some fabric in your stash that will work?” she asked. Well, of course I did. A little stash diving resulted in this group of fabrics sent from Portland to Atlanta via iPhone for Diane’s inspection:
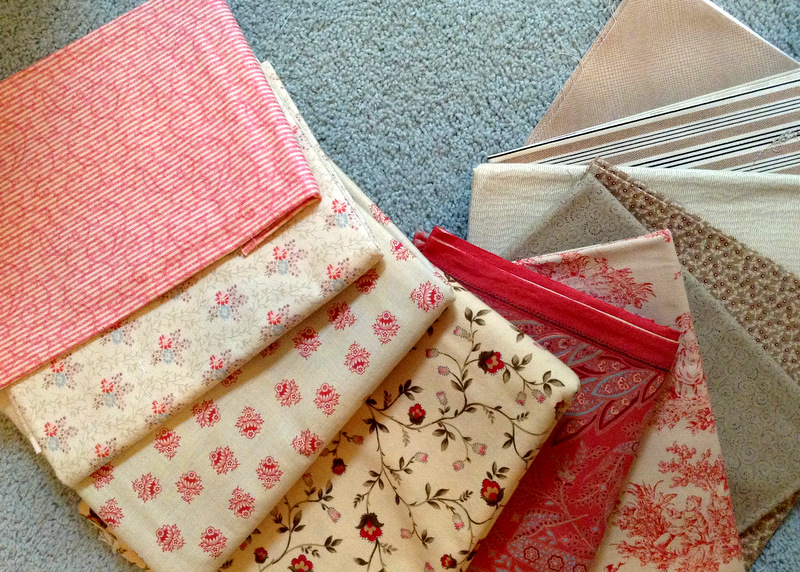
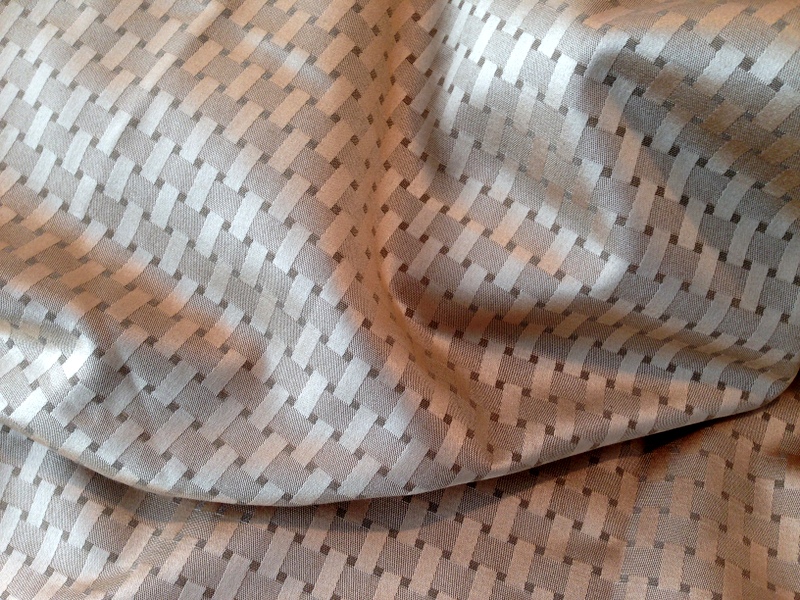
She liked the print in the center of the photo — the one with the red flowers and vines on a tan background — and the red and tan toile on the right side. No need to choose between them. By making the table runner reversible, we could use both fabrics.
I pulled a red leaf print from my stash for the binding:
The only thing I needed to buy was topstitching thread. It had to be just the right color to look good on both fabrics, as the backgrounds are similar but definitely not the same. In no time at all my quilt sandwich was ready. I decided to quilt a diagonal 1″ grid across the surface of the table runner, using my walking foot and this light taupe rayon thread by Madeira that has a beautiful sheen:

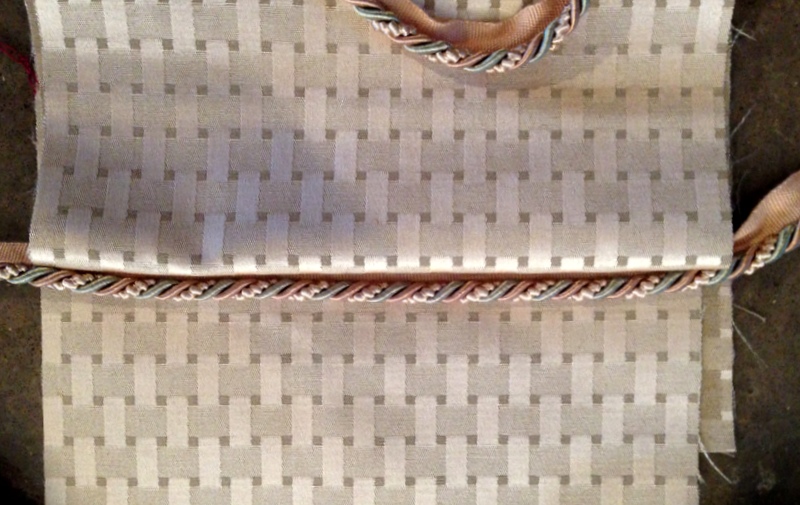
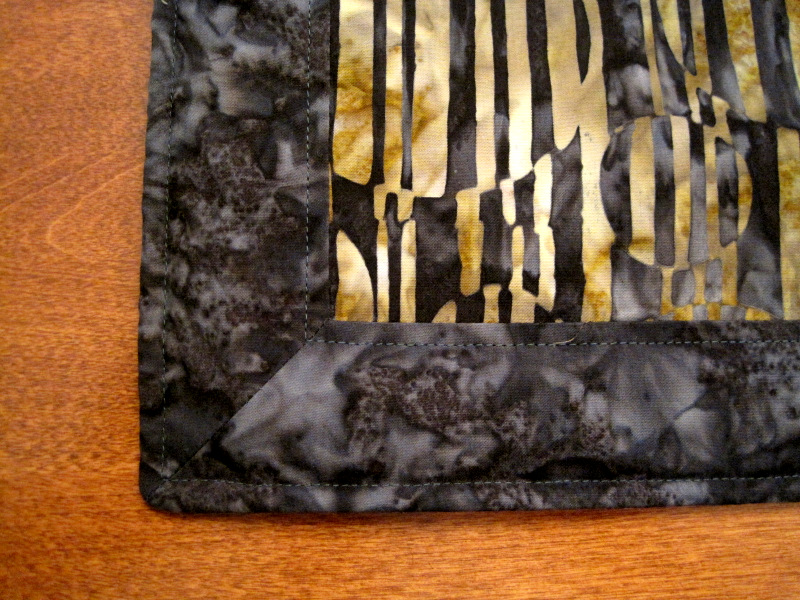
I cut the binding strips on the bias, by the way, because I knew the leaf print would look better that way. Here is the runner quilted and ready to bind:
Notice that the table runner isn’t just a rectangle? It wouldn’t be much more work, I reasoned, to make the ends pointed, and it would be so much more elegant. It didn’t occur to me until later that I would have six corners to miter and that four of those corners would be angles greater than 90 degrees. No worries, though. Heather Peterson of Anka’s Treasures has an excellent tutorial on her blog, Trends and Traditions, that shows how to bind outside corners greater than 90 degrees.
Once the binding was stitched on, I tacked it down on the other side using Steam-a-Seam 2, a double stick fusible webbing. At the top of the photo you can see how the webbing is positioned right along the folded edge of the binding:
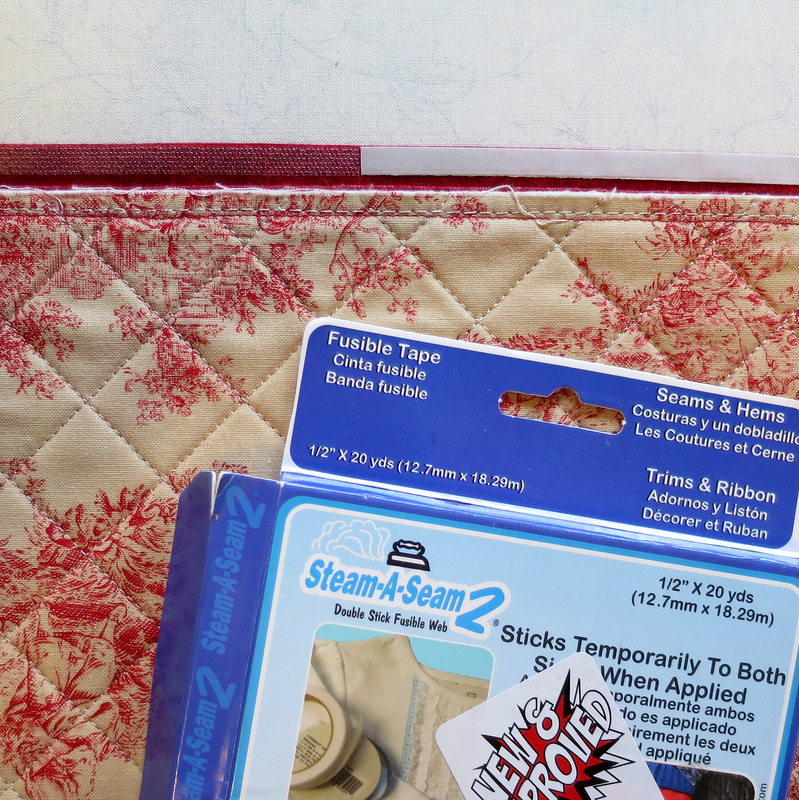
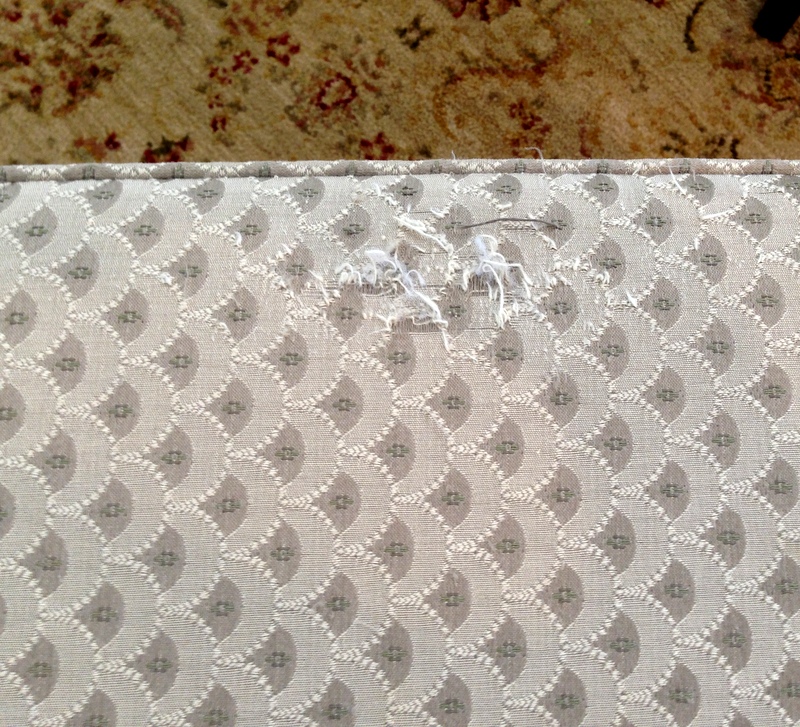
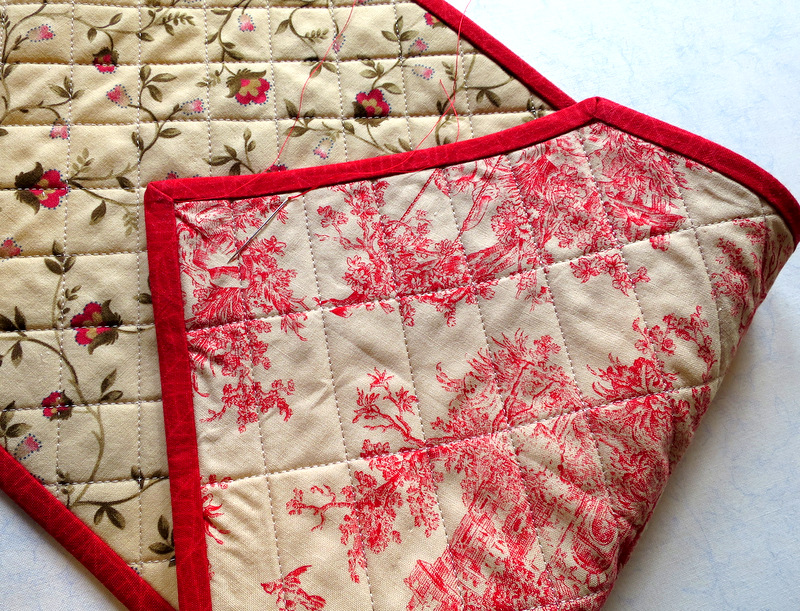
(Steam-a-Seam 2 comes in ¼”-wide rolls. All I had on hand was ½”-wide. Easy enough to cut it in half to make ¼”-wide strips.) The fusible webbing made short work of finishing the binding. All that was left was tacking down the mitered corners by hand. I was on the last miter when I noticed I had missed three rows of quilting:
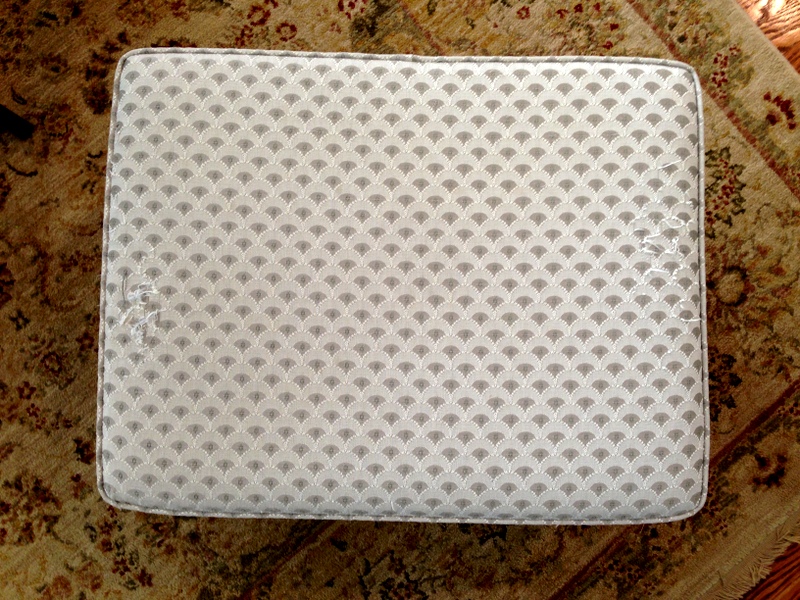
Now doesn’t this look better?
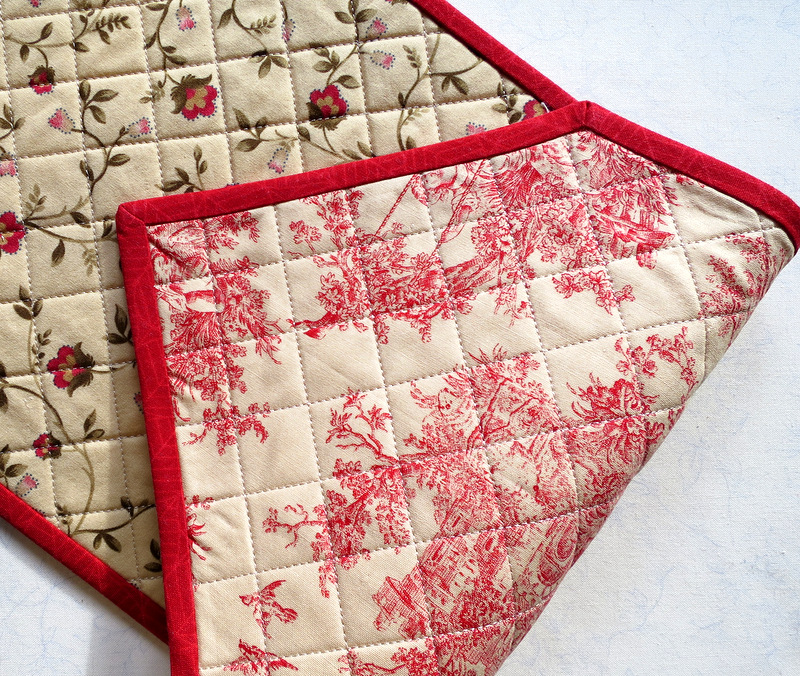
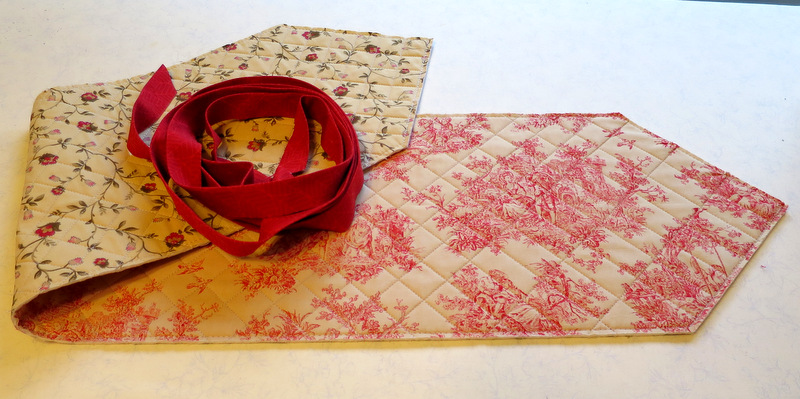
Here is Diane’s reversible table runner (measuring 9-3/8″ x 41″), ready to be boxed and mailed:

This little project was a pleasant diversion from binding Toile Story. I do enjoy binding quilts by hand but was ready for a little break. Diane said she wasn’t in a hurry to receive this but was hoping to get it before she hosts a cocktail party later this month. She’ll be very surprised to get this in the mail so soon — unless she sees this post first.