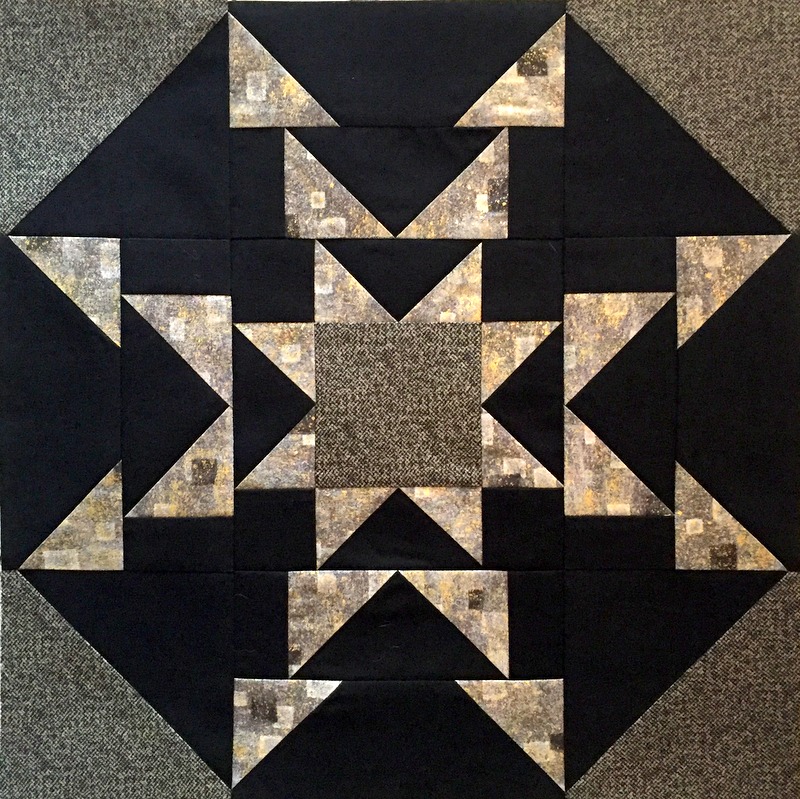
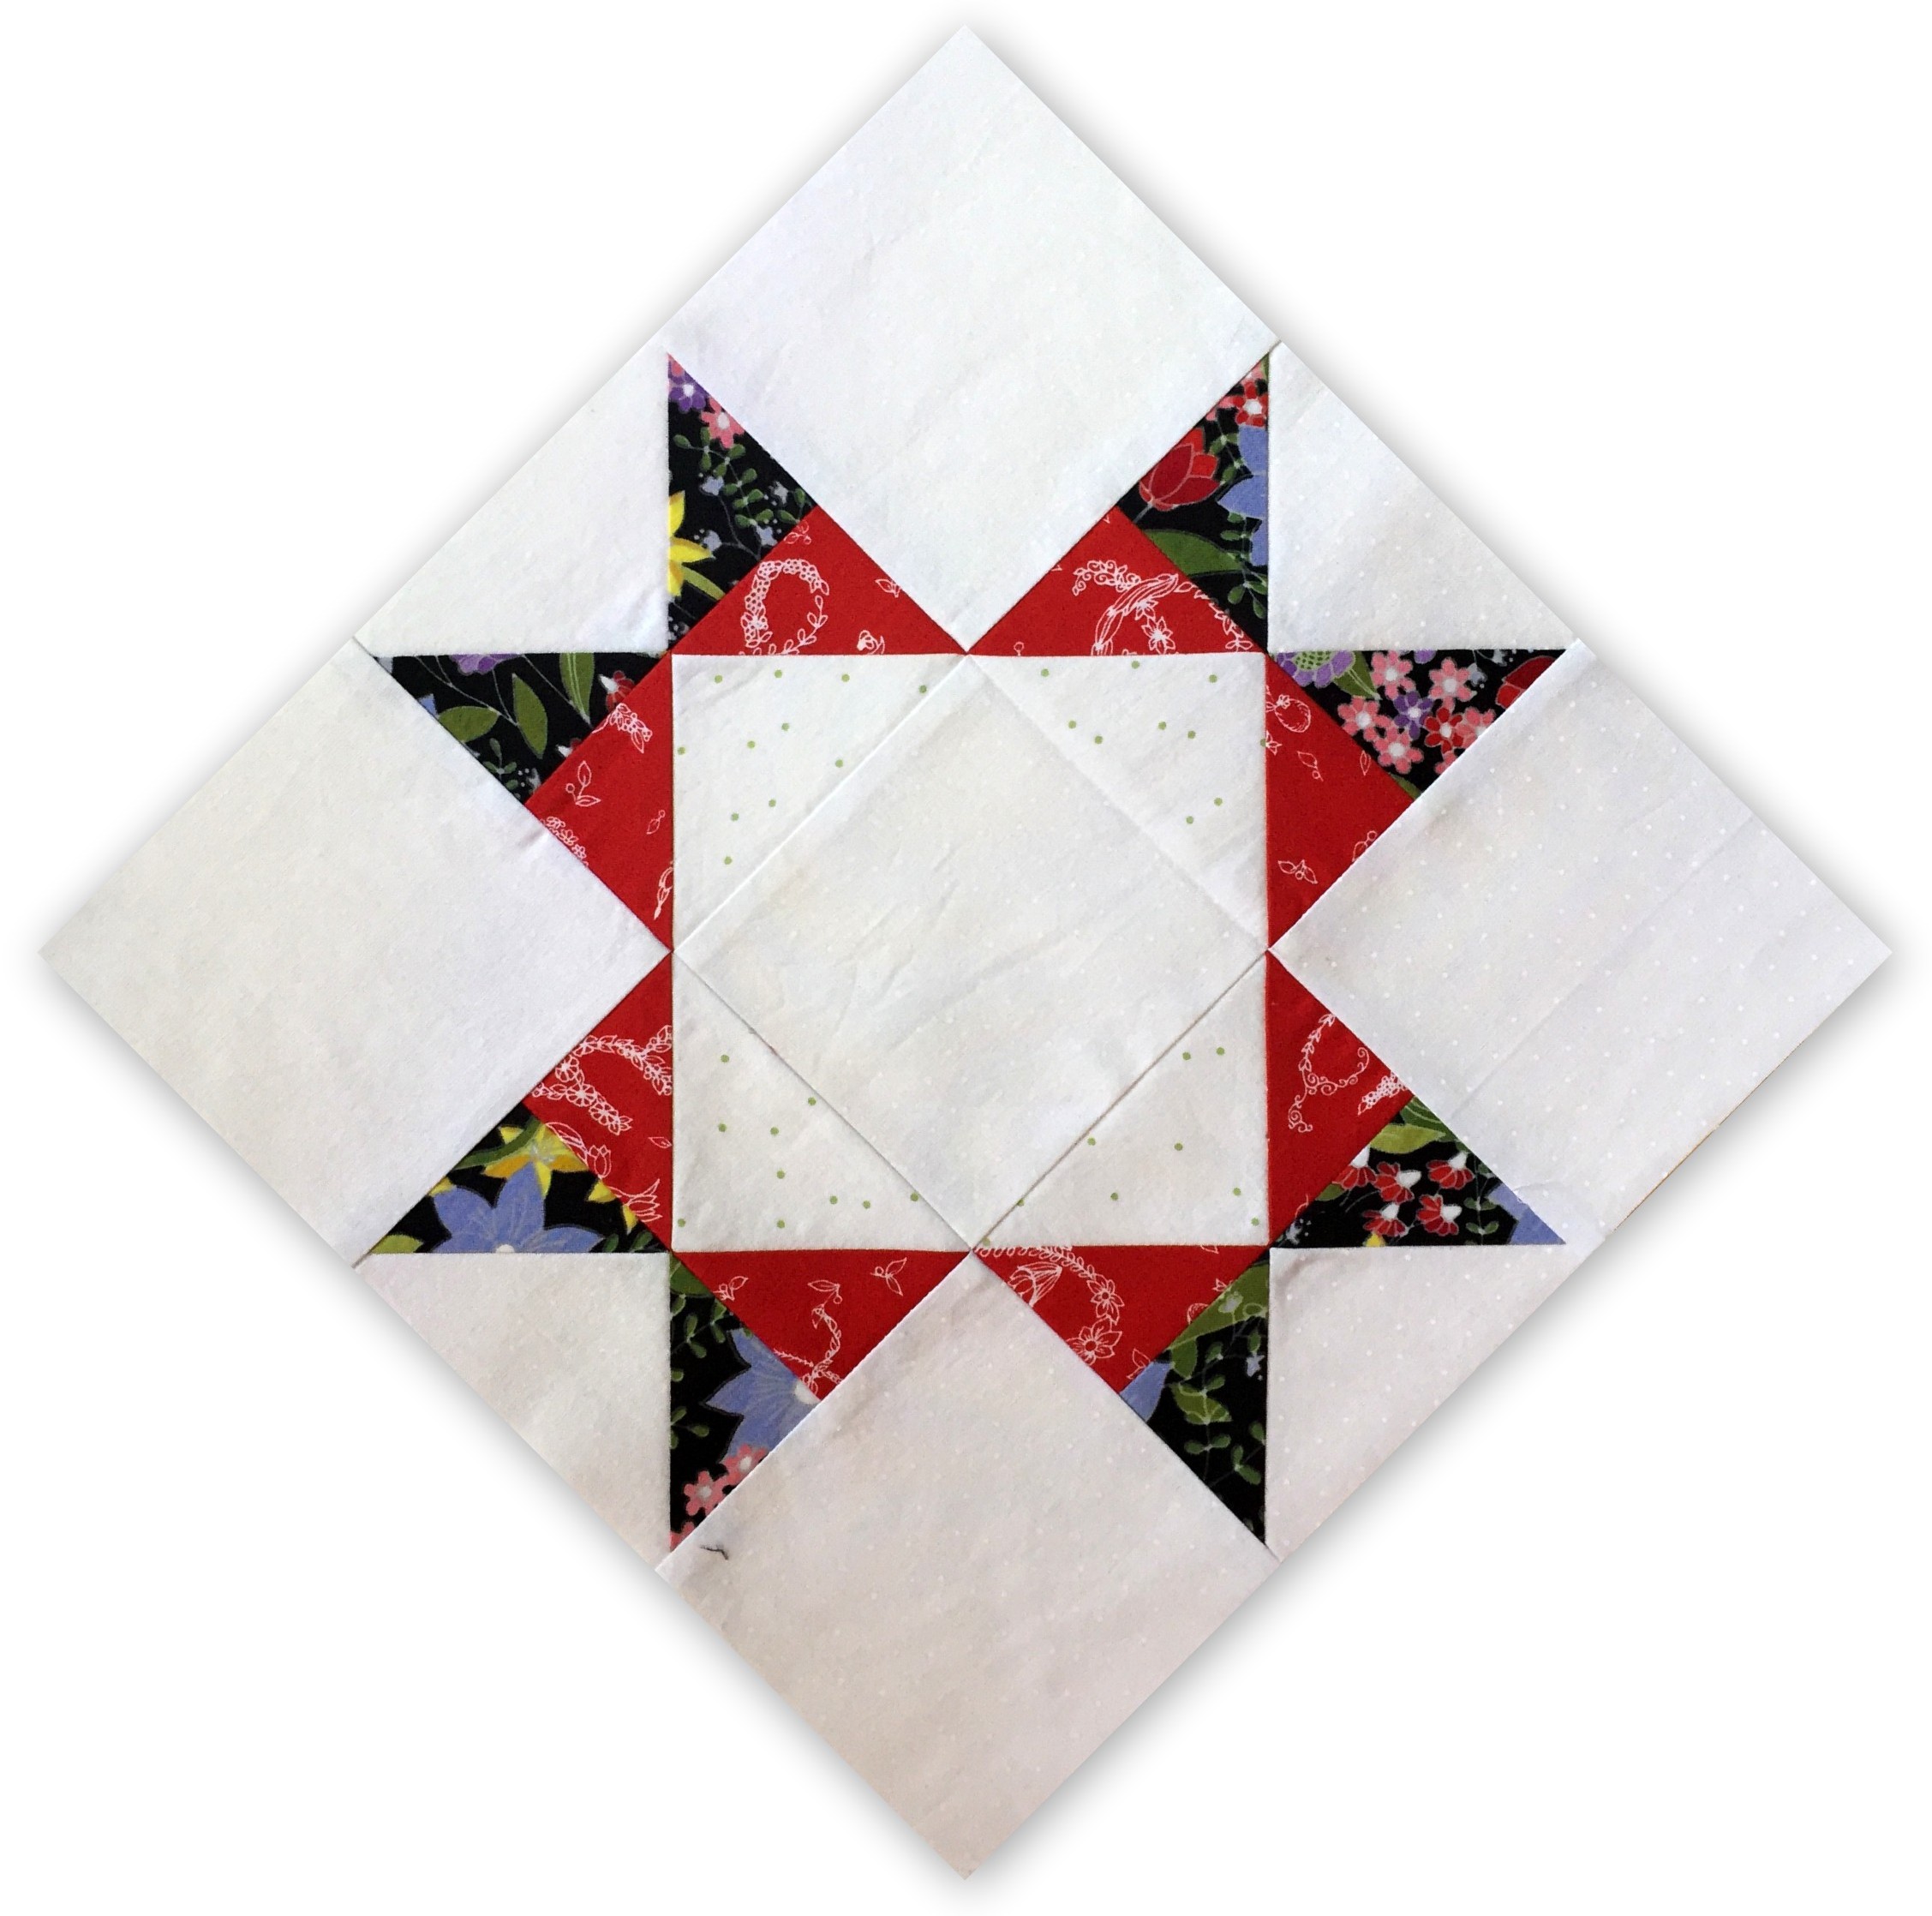
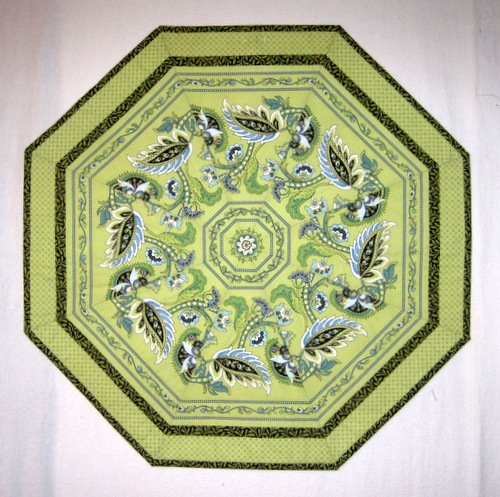
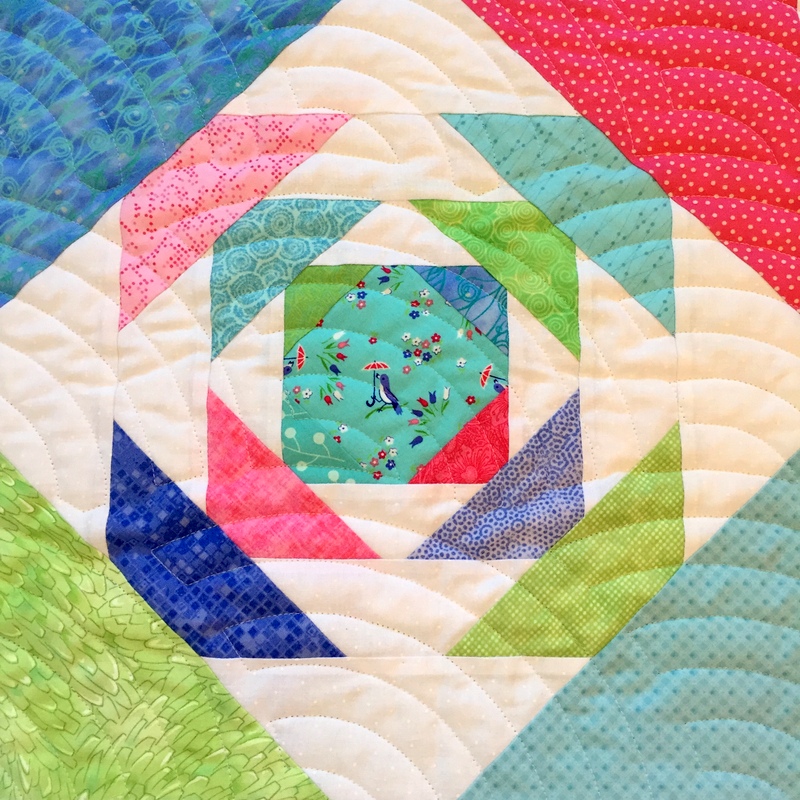
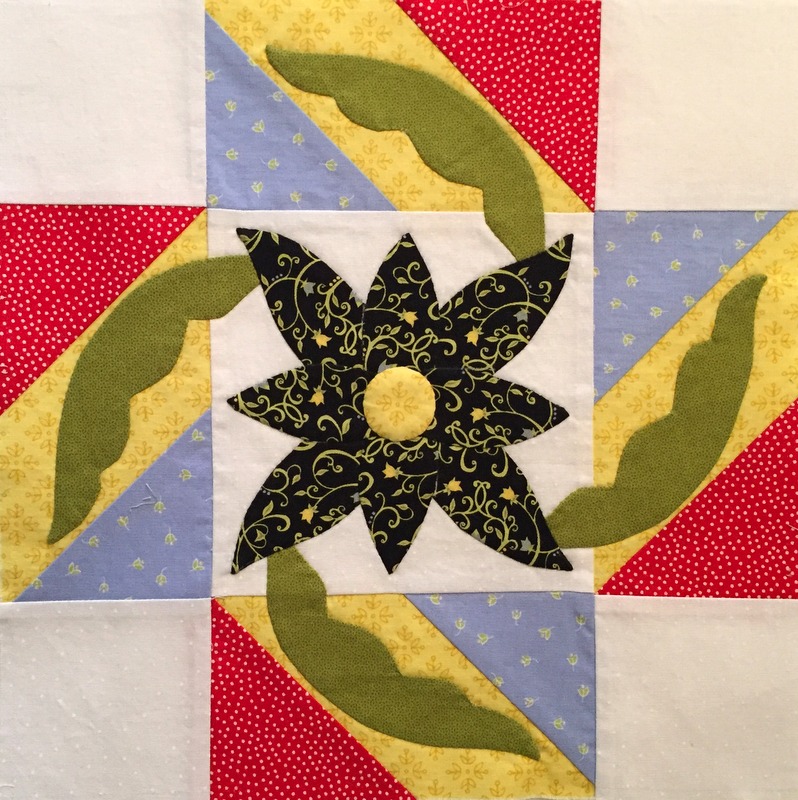
I just finished Canasta, my second block in Hazel’s Diary Quilt, the sampler quilt I embarked upon last month:
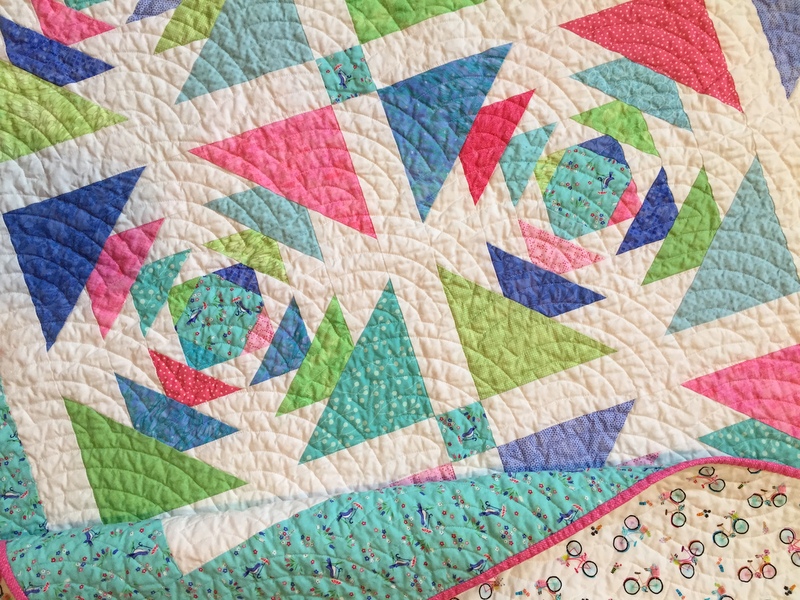
Here’s my block on point, as it will be in the finished quilt:

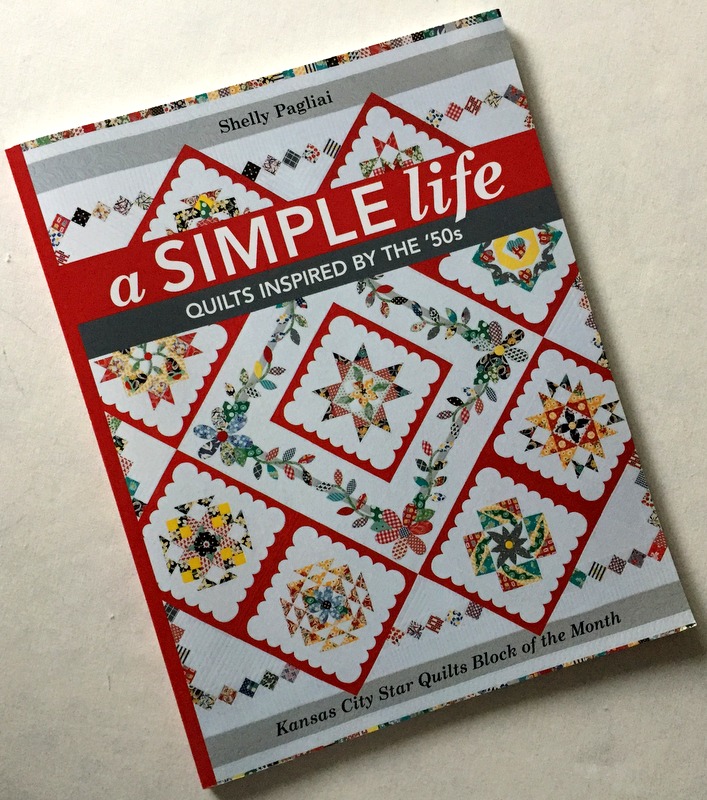
Why the name Canasta? If you look at it carefully you’ll see that it’s based on the traditional block called Card Trick. The designer, Shelly Pagliai of Prairie Moon Quilts, started with traditional blocks like Card Trick, tweaked some of them, and added appliqué designs.
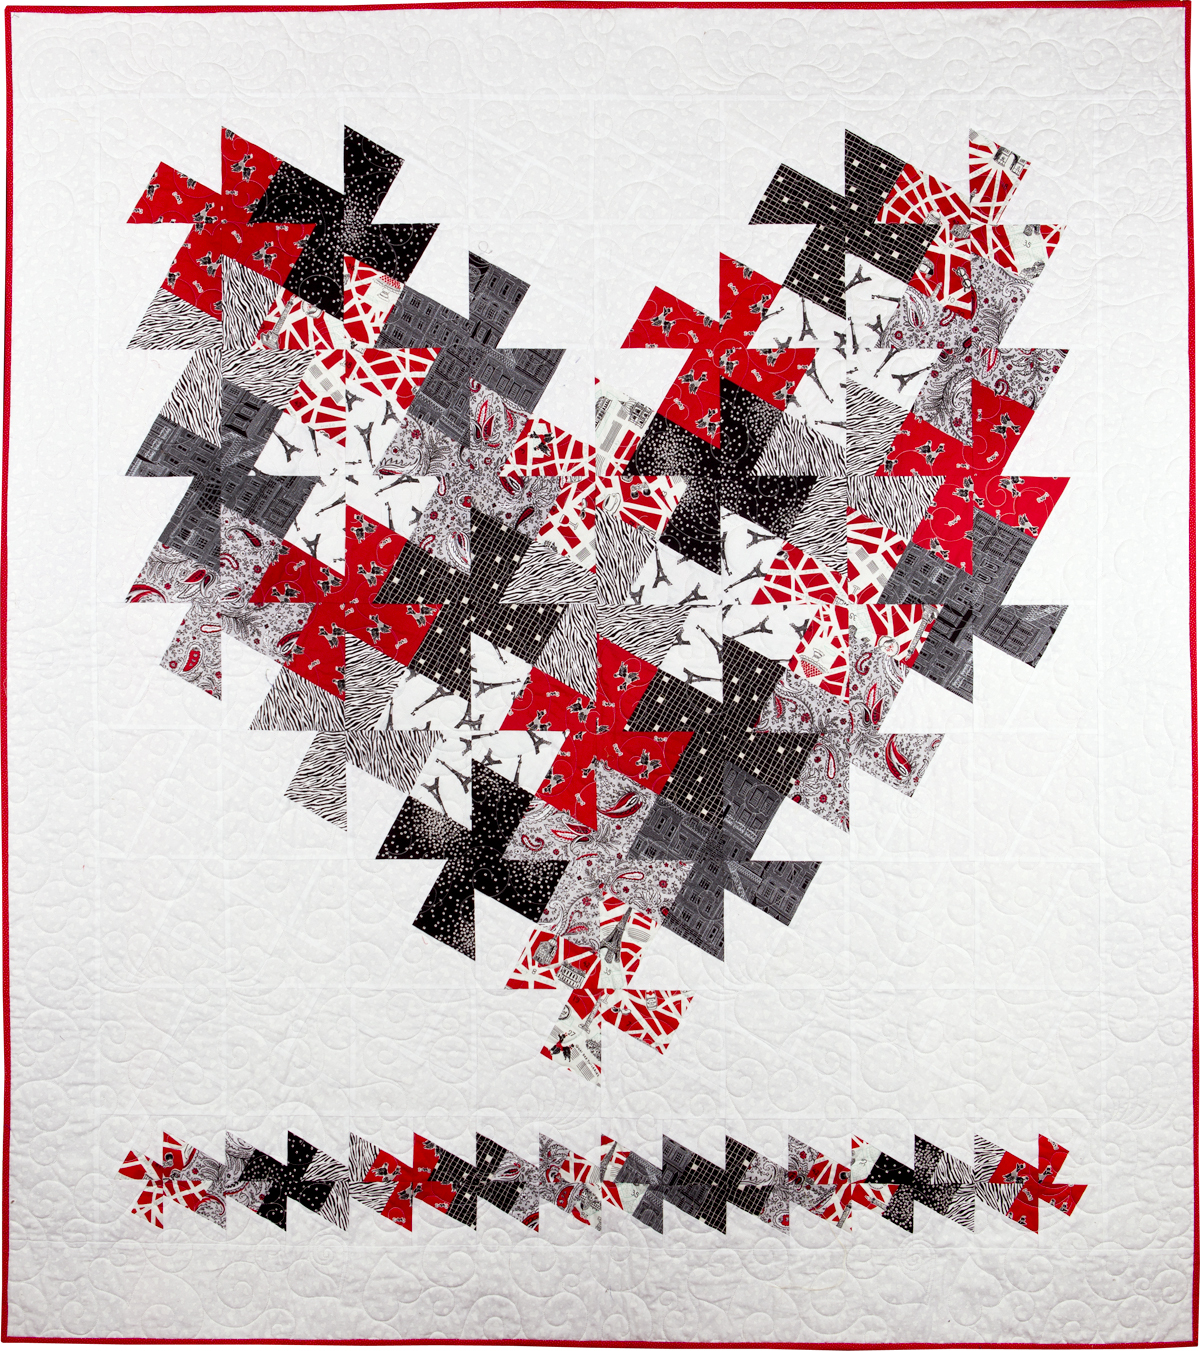
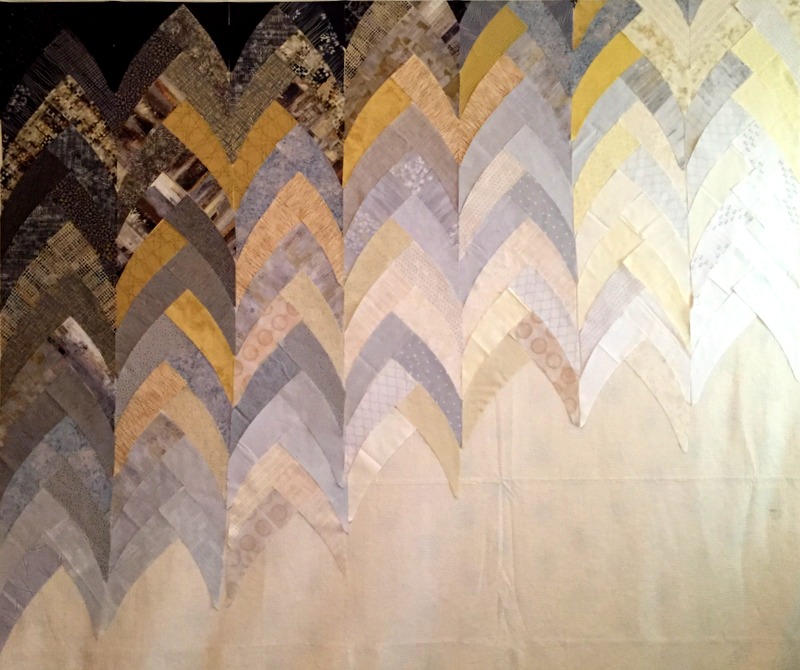
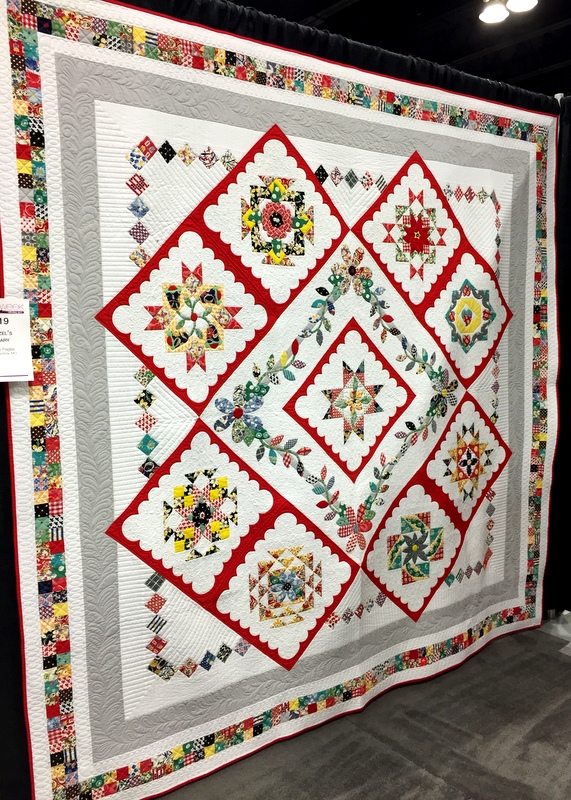
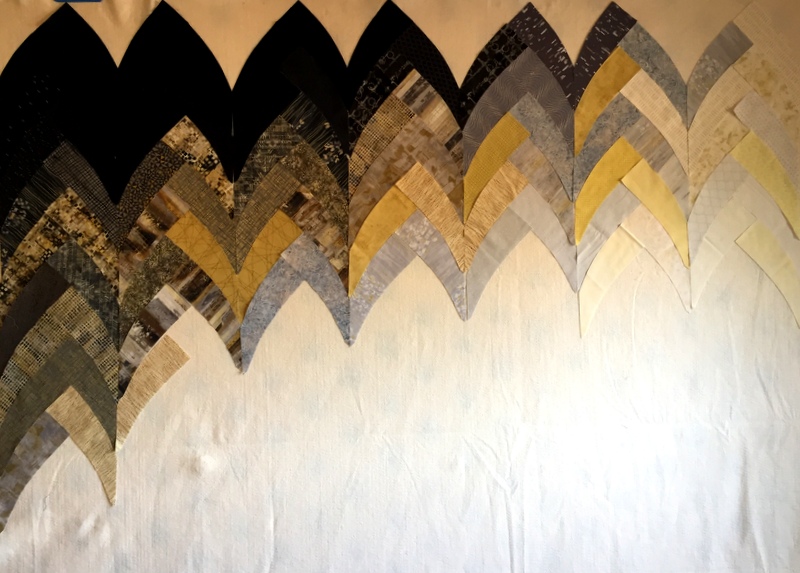
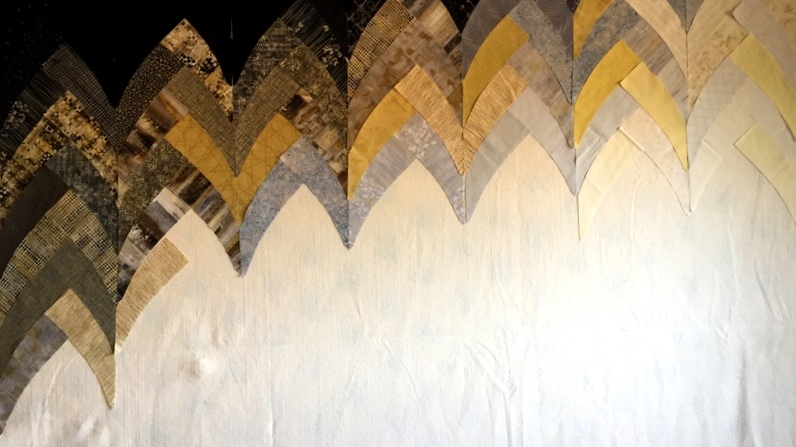
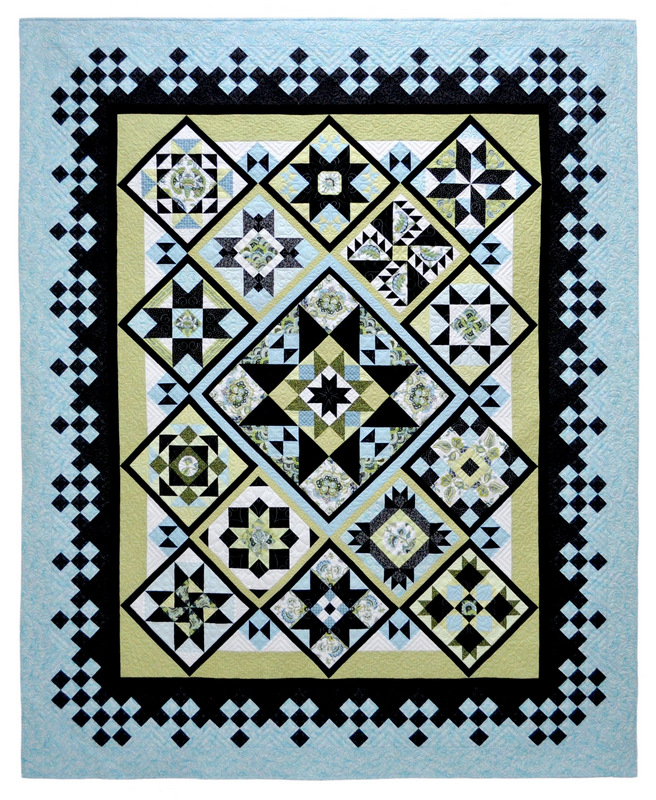
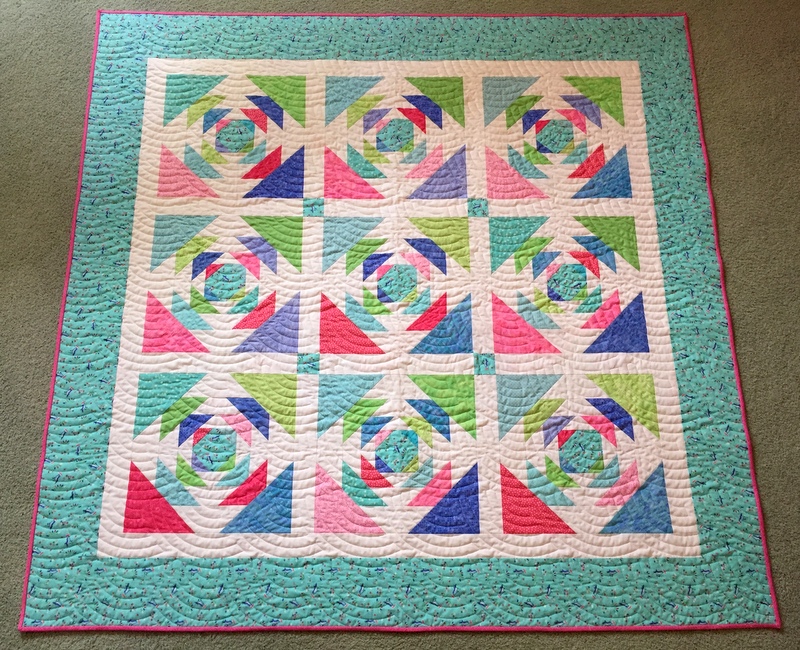
The result is a strikingly dramatic and original quilt:

That’s Shelly’s quilt. Isn’t it a beauty? Not only is it strikingly dramatic, it’s also challenging. The biggest challenge for me comes in the huge amount of appliqué, which I am choosing to do using the needleturn method.
I’ve taken a few needleturn appliqué courses in years past, including one last summer, but have never followed up with a project. Since beginning this quilt, I felt like I really needed a refresher so I signed up for a class online taught by Mary Sorensen through iquilt.com, part of the American Quilter’s Society. Mary Sorensen is a superb teacher.
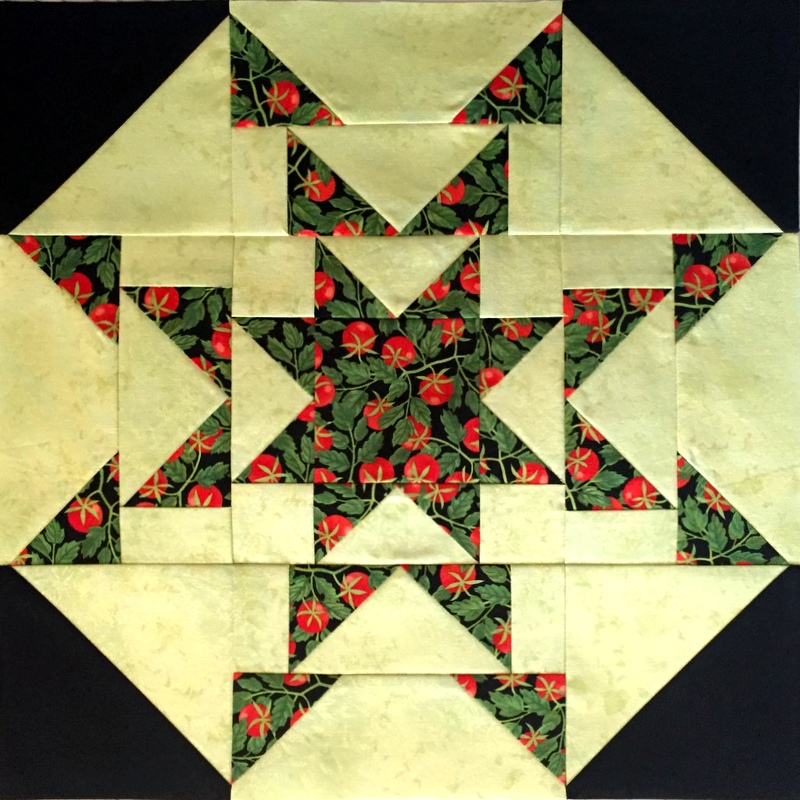
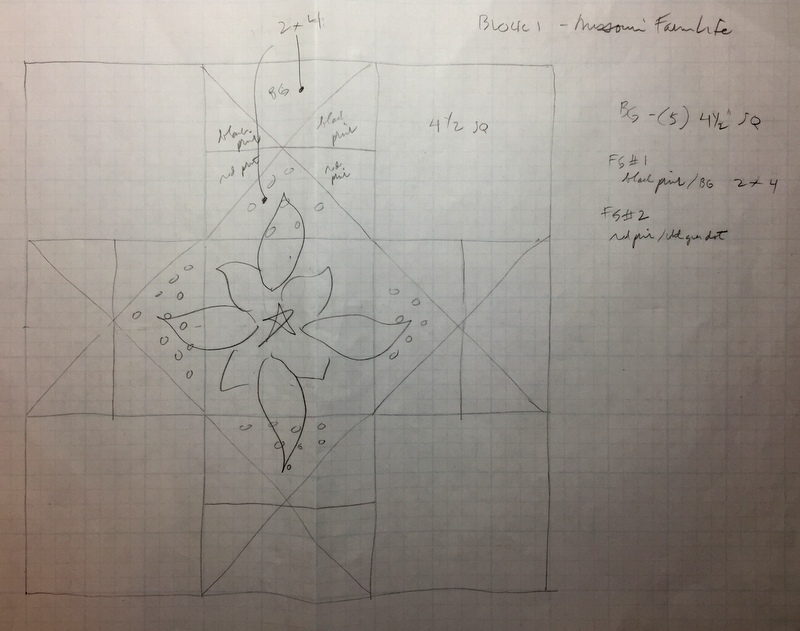
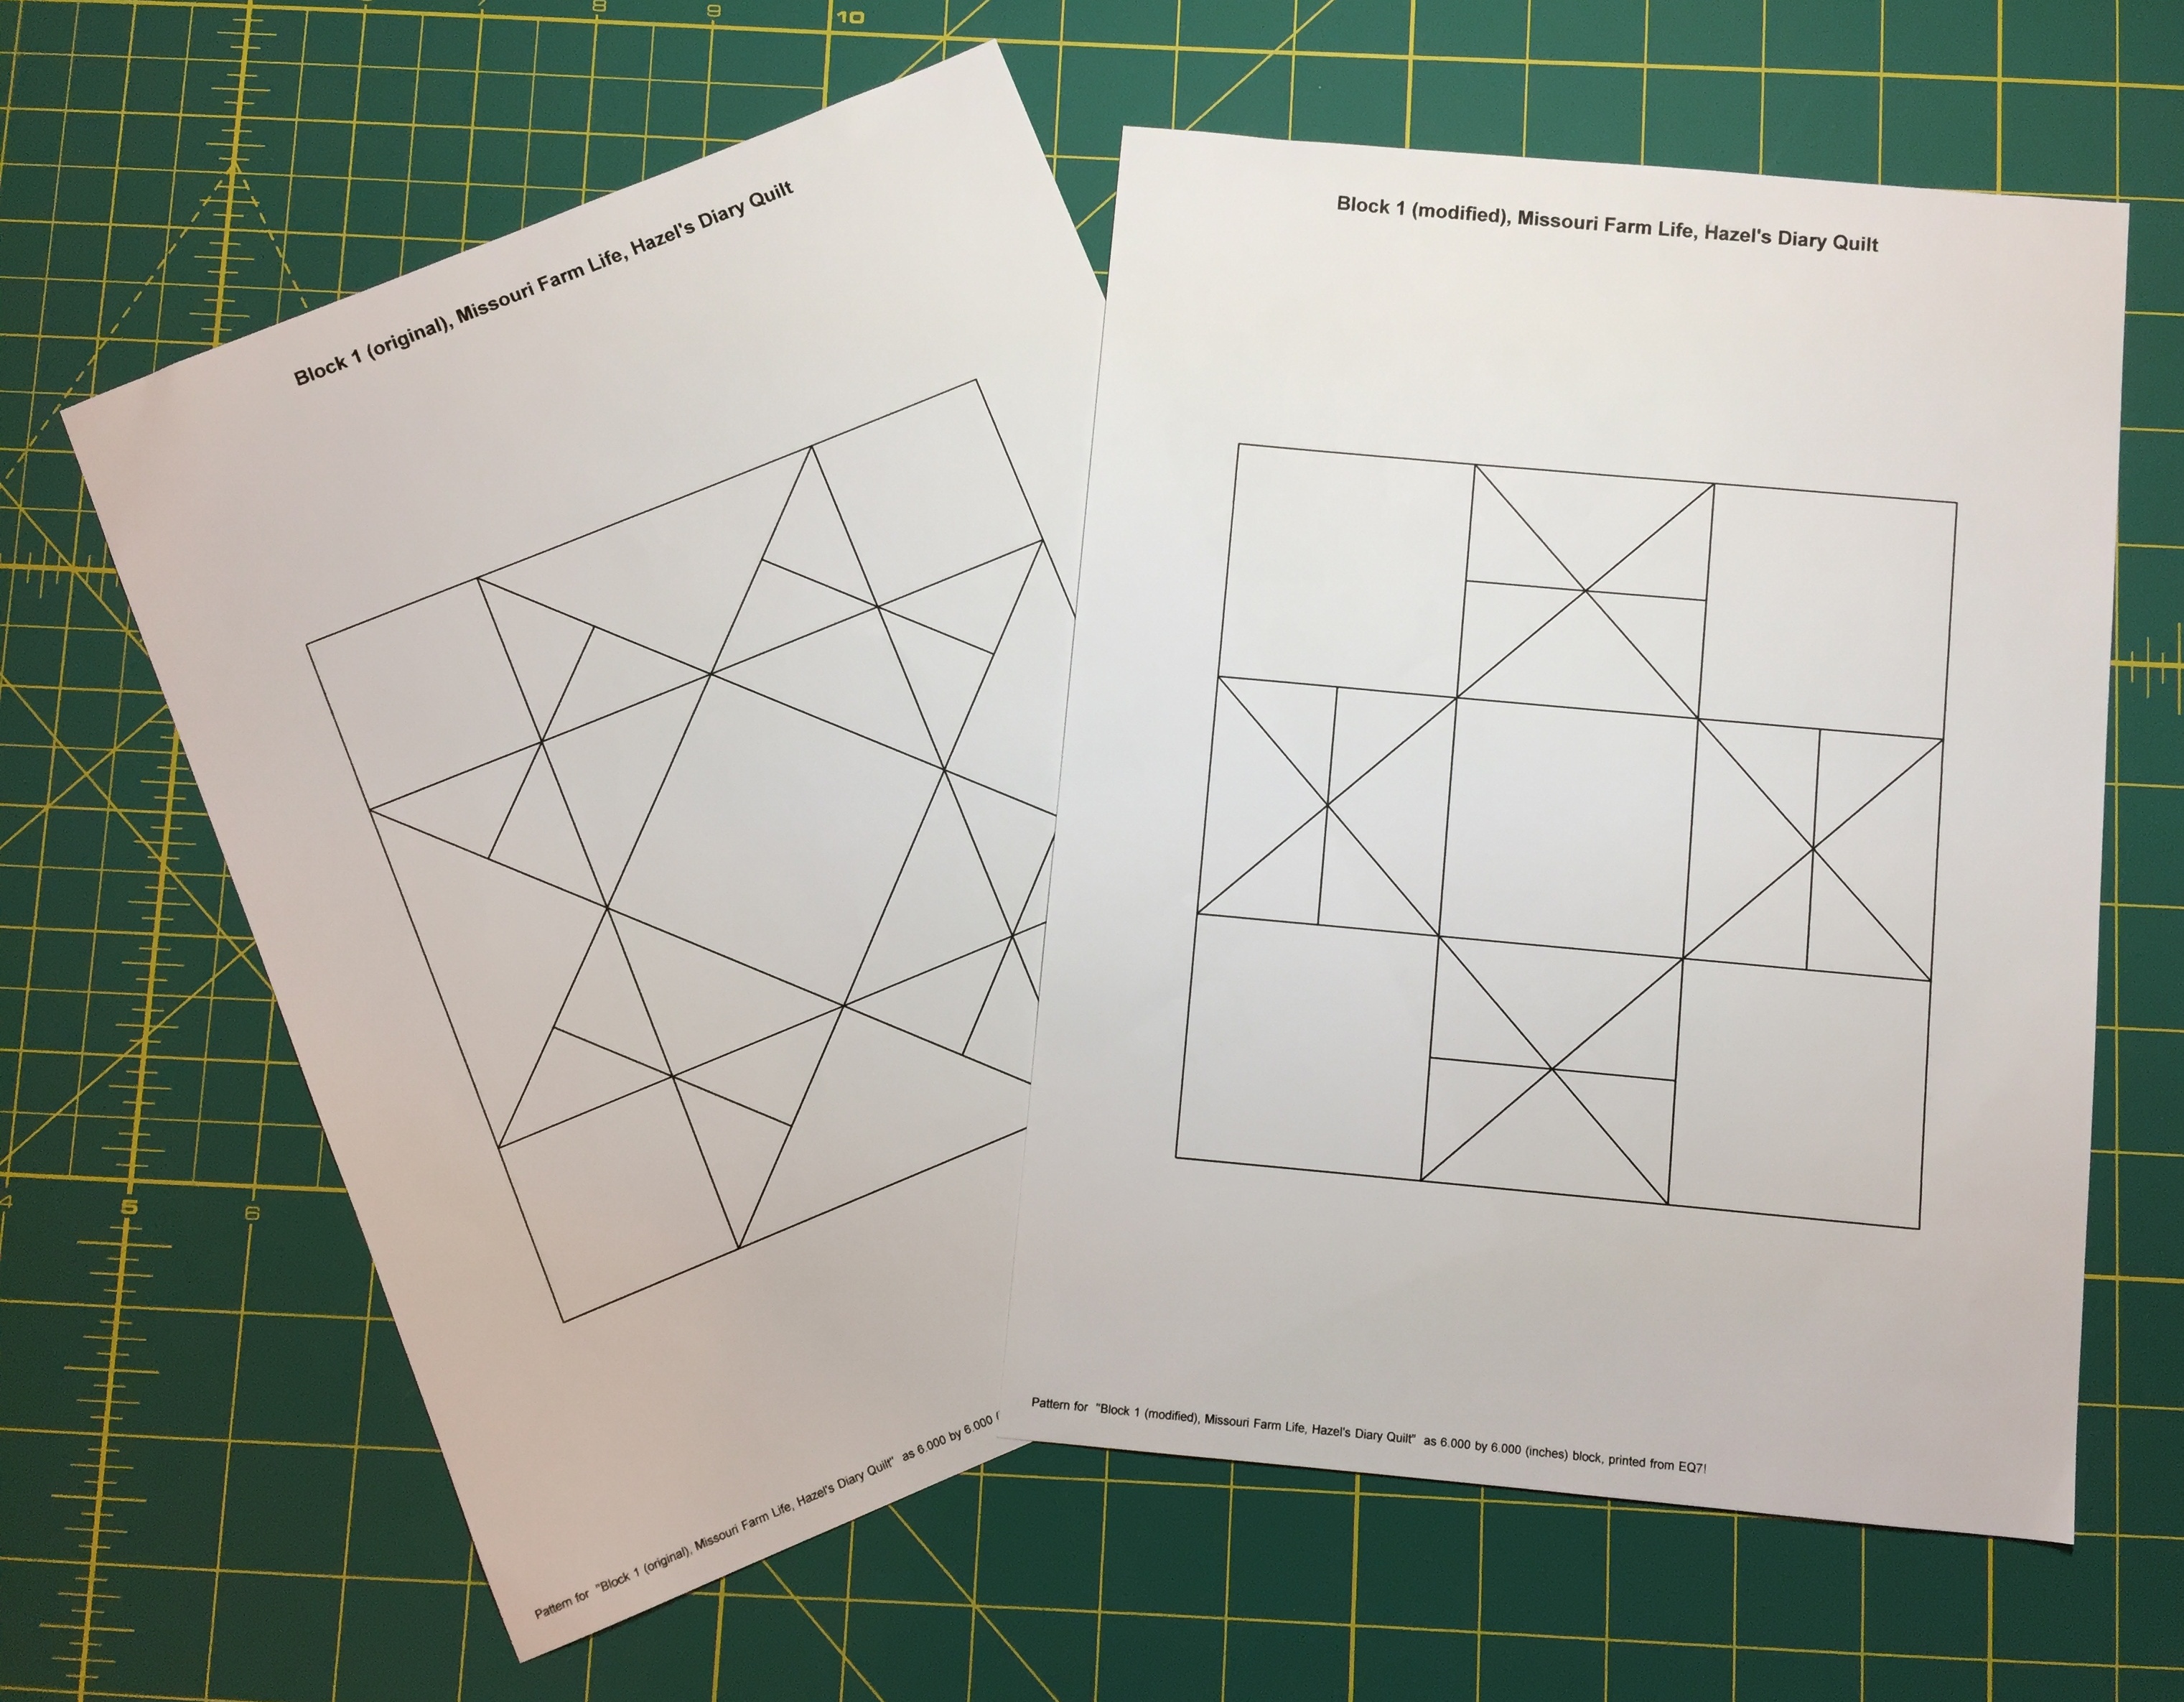
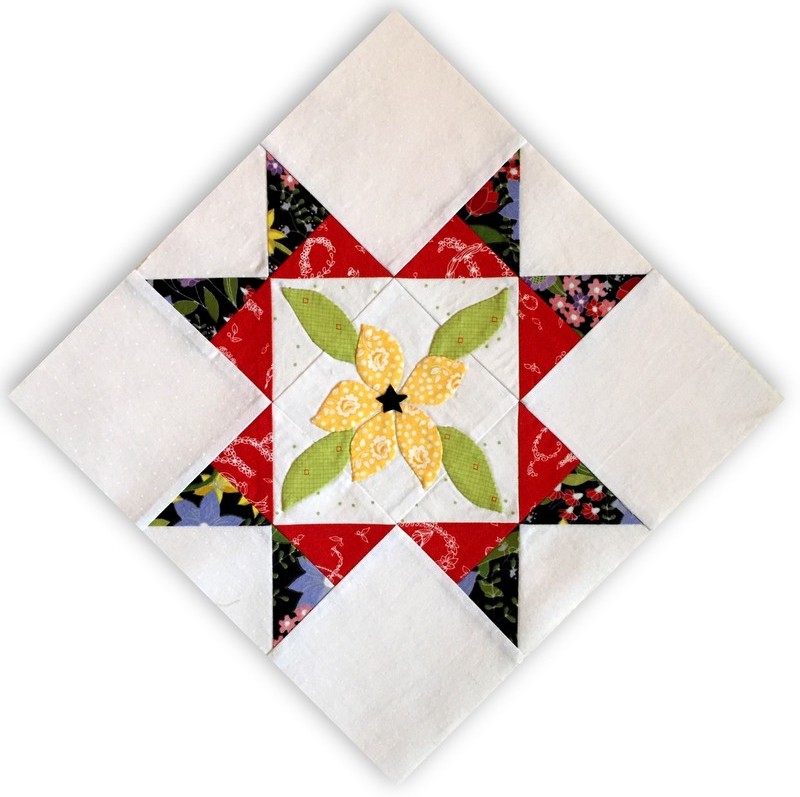
That said, the green leaves in Canasta gave me absolute fits. I don’t know how many times I tried to make the leaves as Shelly designed them, with deep indentations in the scalloped side. Finally I realized I’m just not skilled enough yet to sew them properly. I altered the leaf template to make the scallops less pronounced and was finally able to appliqué them onto my block.
The yellow circle in the middle of the flower is much lighter than the black petals in the background so I interfaced it first, which precluded sewing it on via needleturn appliqué. Instead I basted around the fabric circle, pulling the raw edges tight around a template. Then I cut a tiny circle out of batting and tucked it under the circle before appliquéing it in place. It looks rather like a covered button.
Here are my first two blocks, Missouri Farm Life and Canasta, side by side:
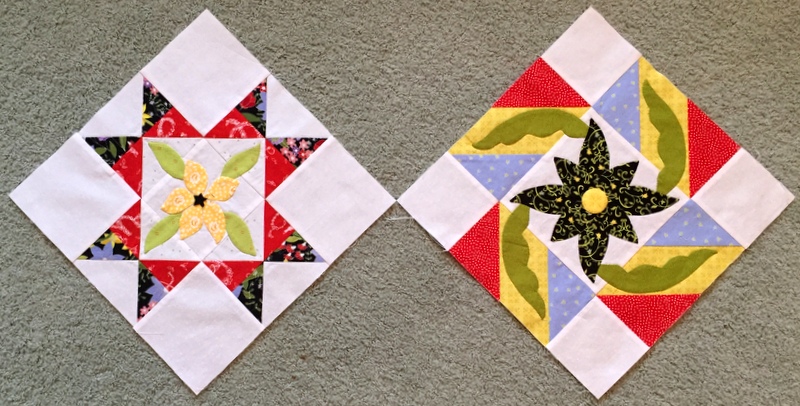
Now measuring 12½” square, these blocks are ready for their sashing strips, which will increase their size to 18½” square.
Next up: the block Shelly named Coal Miner’s Granddaughter. My goal is one block a month. If I stay on track, I’ll have a finished quilt top by the end of the year. I might even be an old hand at needleturn by then!