Category Archives: stitch-and-flip corners

“A Swirling Fall Breeze”

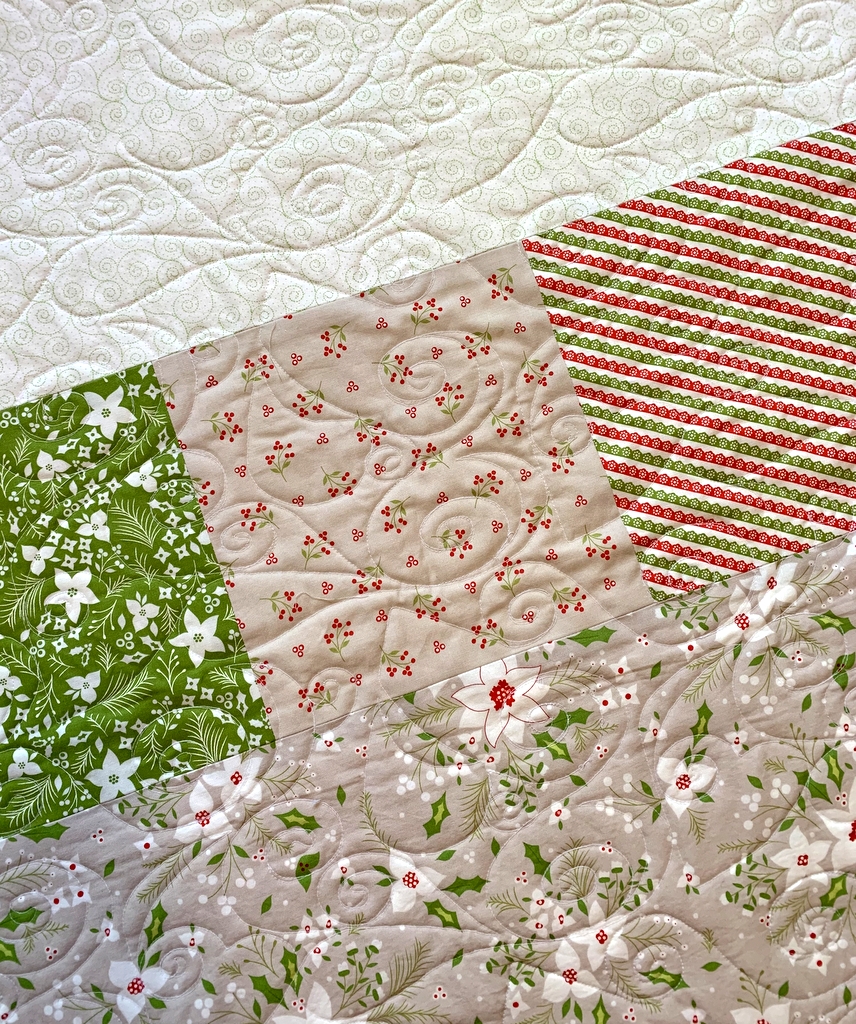
That’s what my twin sister Diane said when she saw a photo of the quilting on my latest quilt, September Song, newly back from the longarm quilter. See for yourself:

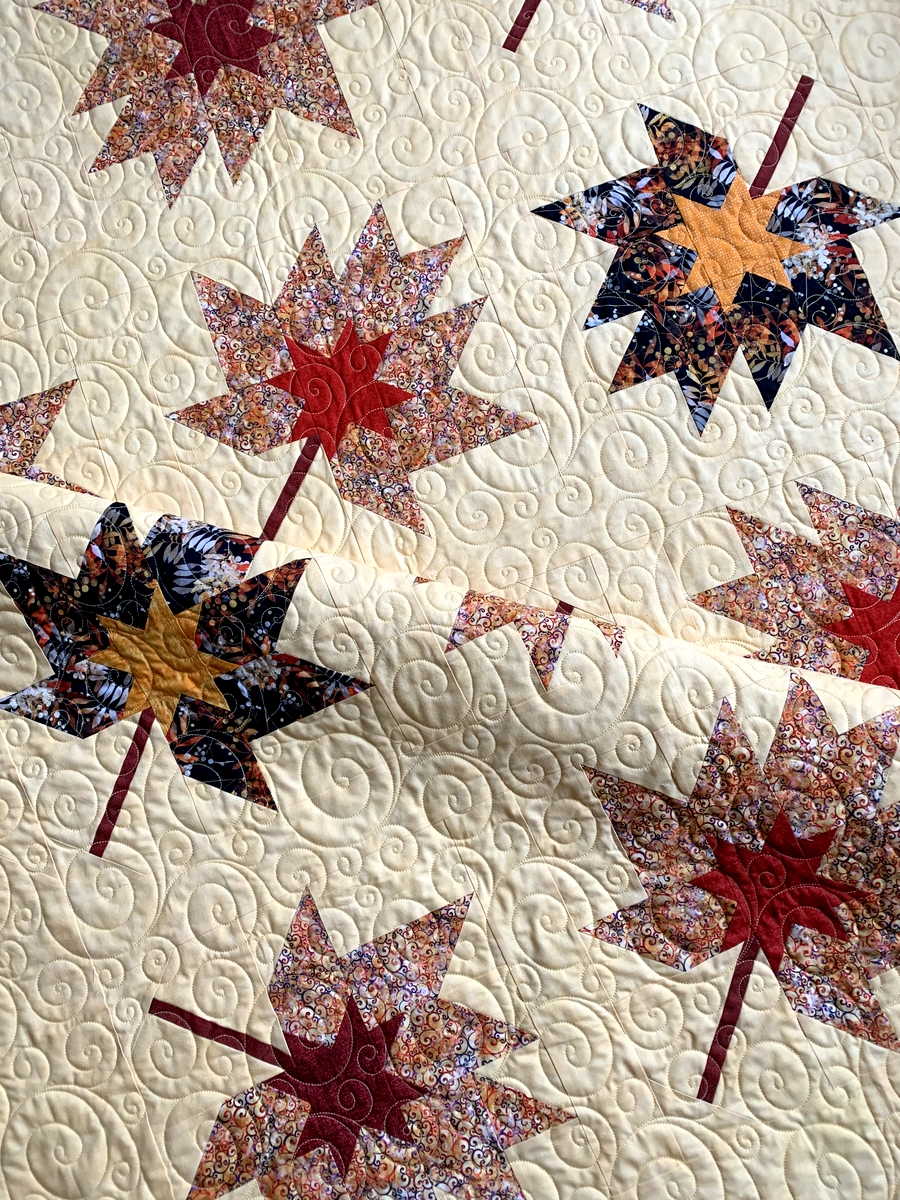
Here’s the funny thing:  I picked the swirly motif — an edge-to-edge design called “Curlicue” by TK Quilting & Design II — for two reasons.

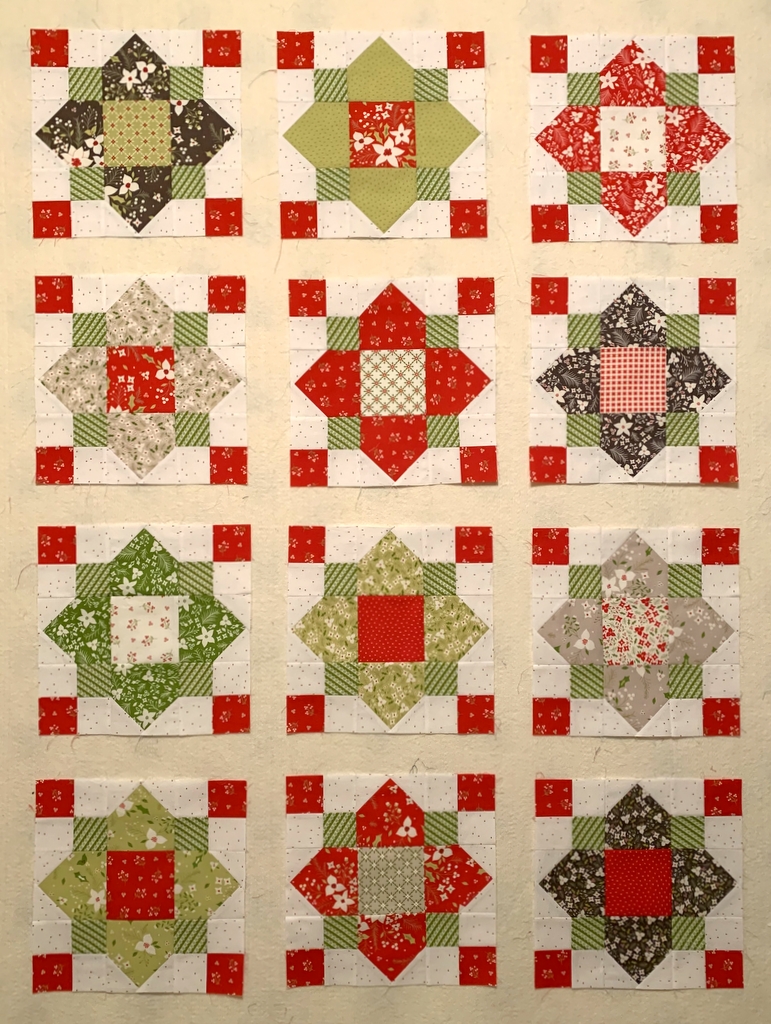
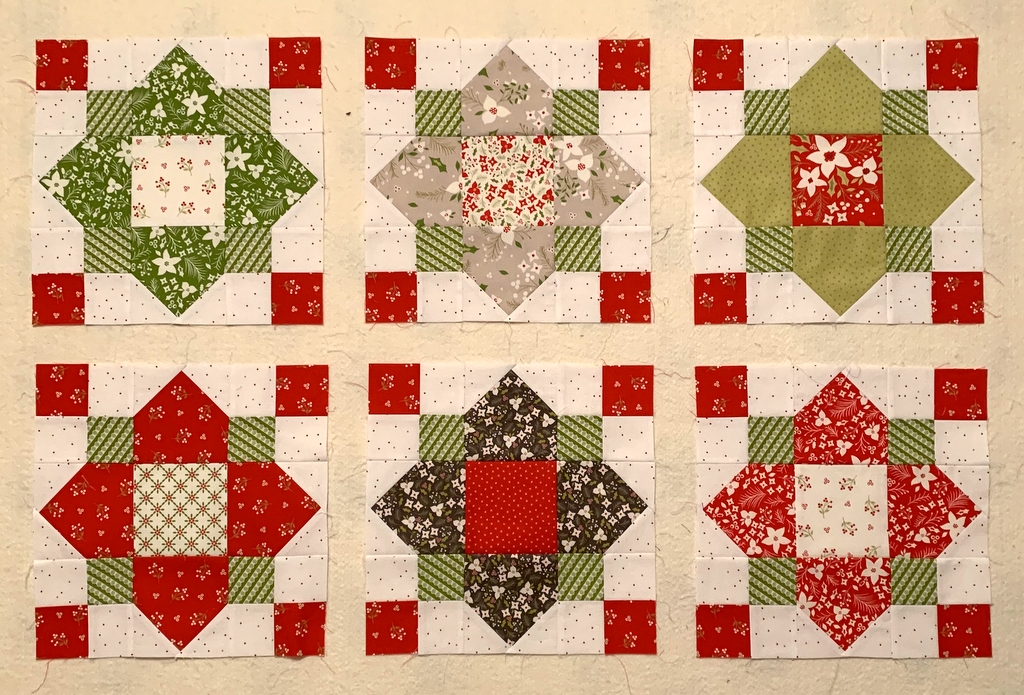
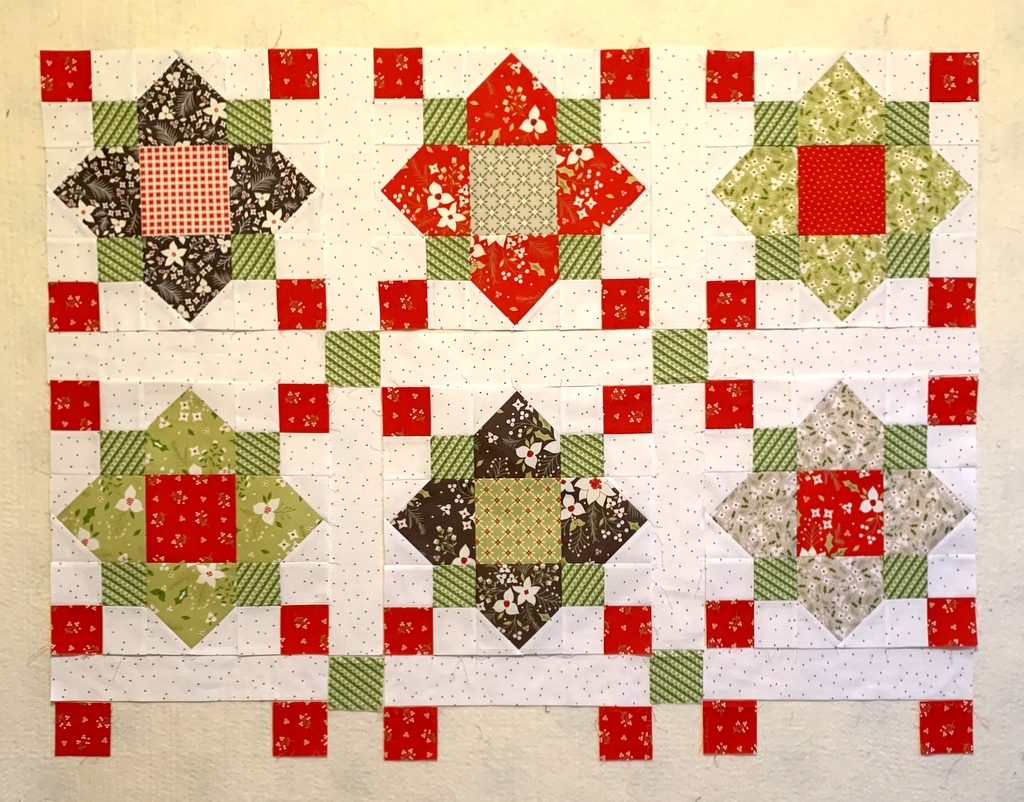
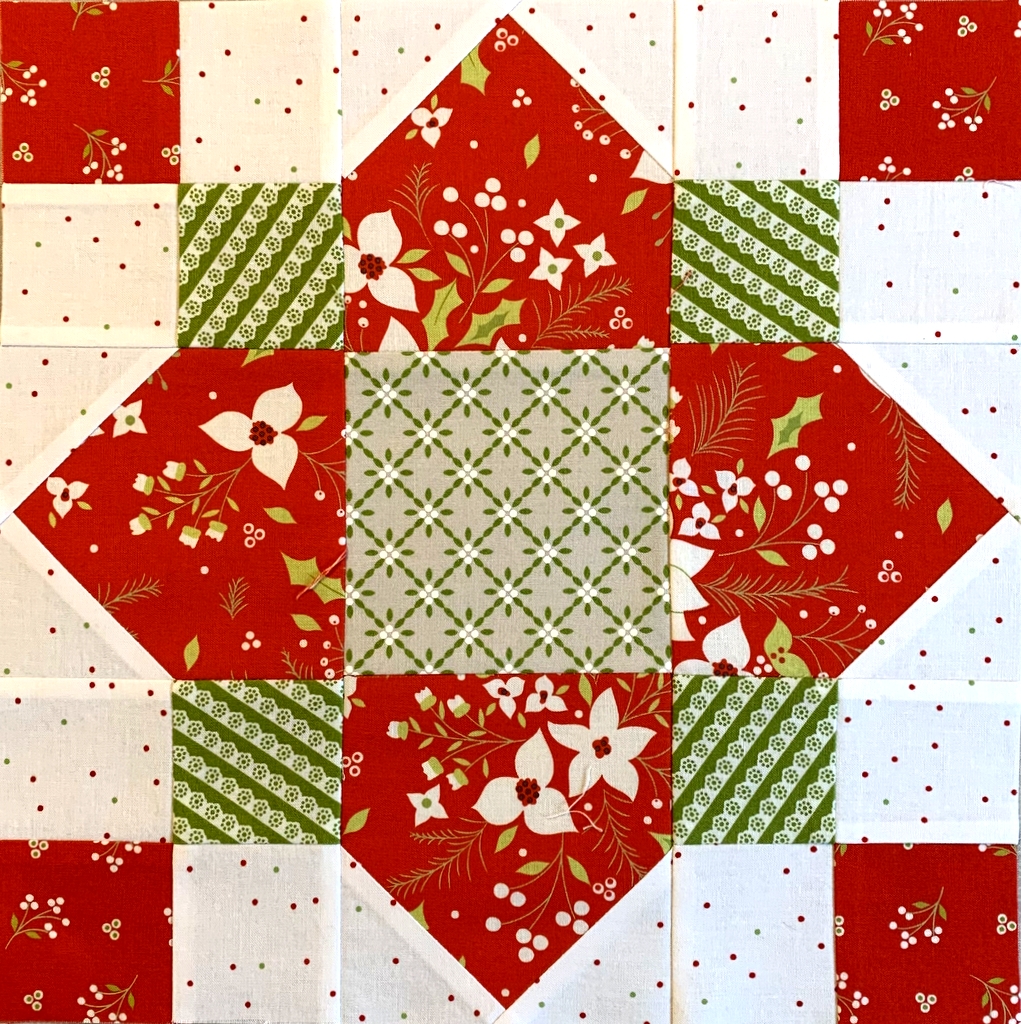
First, I almost always choose a quilting motif with curves when my quilt blocks have a lot of straight or diagonal lines. These leaves are made mostly of rectangles with foldover corners (also known as stitch-and-flip corners).

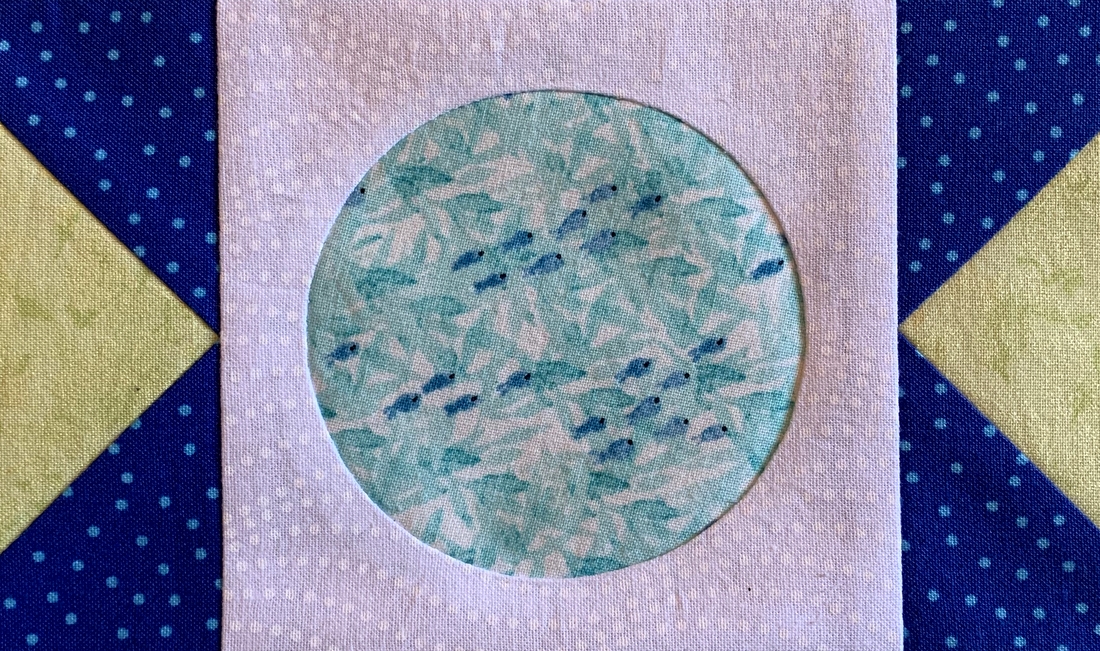
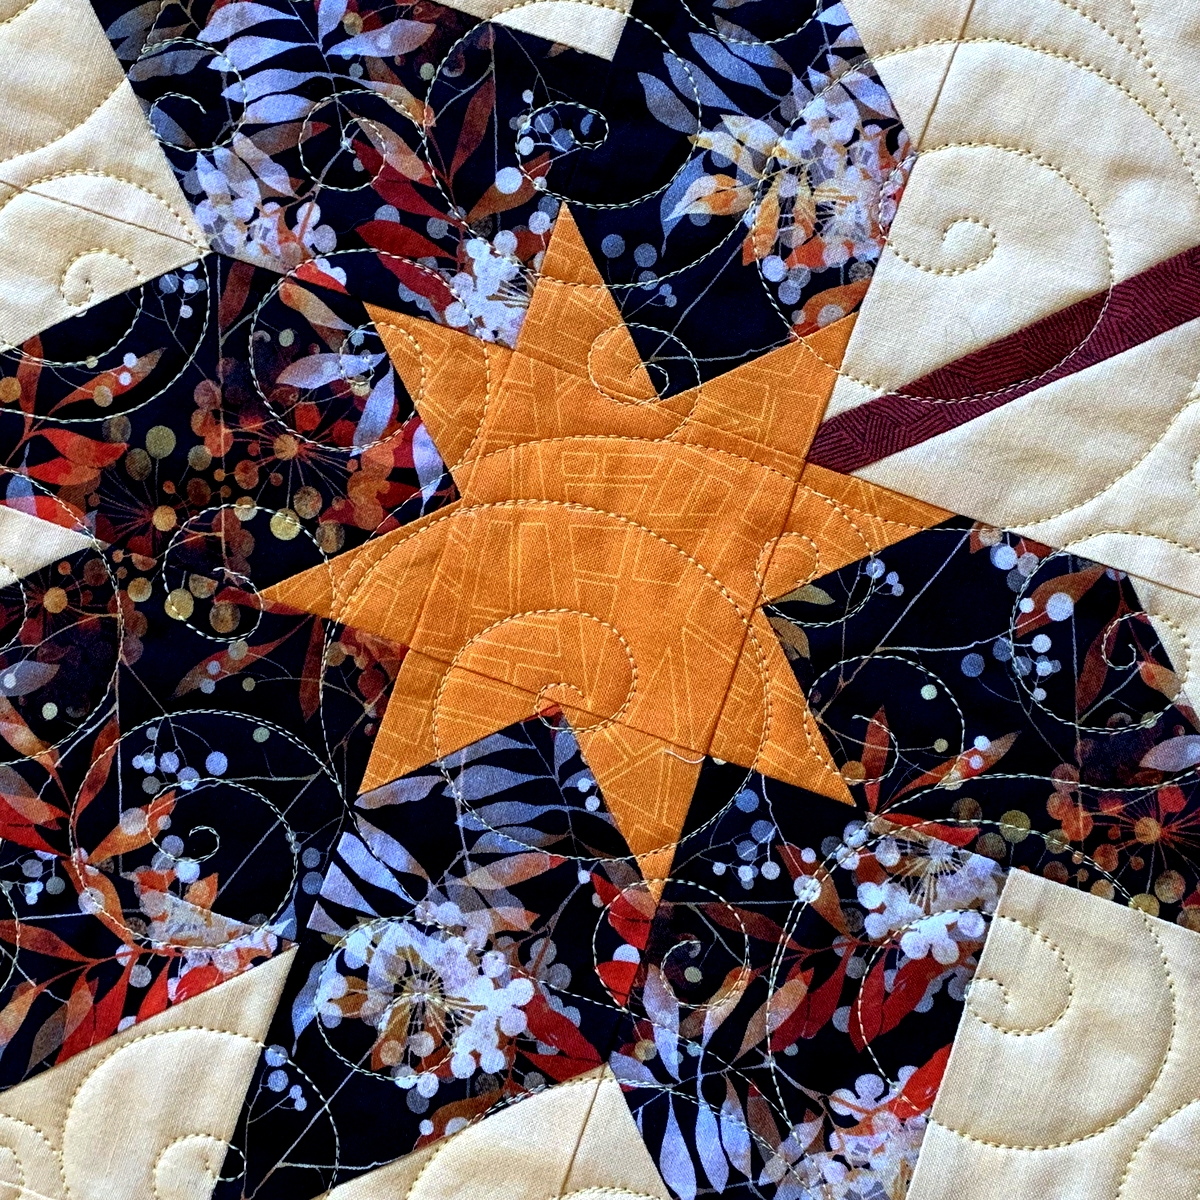
Second, I loved the way the quilting design mimicked the curves in one of the two main focus fabrics:

It never occurred to me that the quilt design would also evoke a “swirling fall breeze,” but Diane’s comment was spot on. I immediately thought of the times I have seen a single leaf caught in an updraft, causing it to spin slowly down to earth. Maybe that’s what designer Margot Languedoc of the Pattern Basket had in mind when she named her pattern Forest Floor.

I think the quilting design on September Song is absolutely perfect, don’t you? As usual, Karlee at SewInspired2Day did a lovely job quilting this for me.

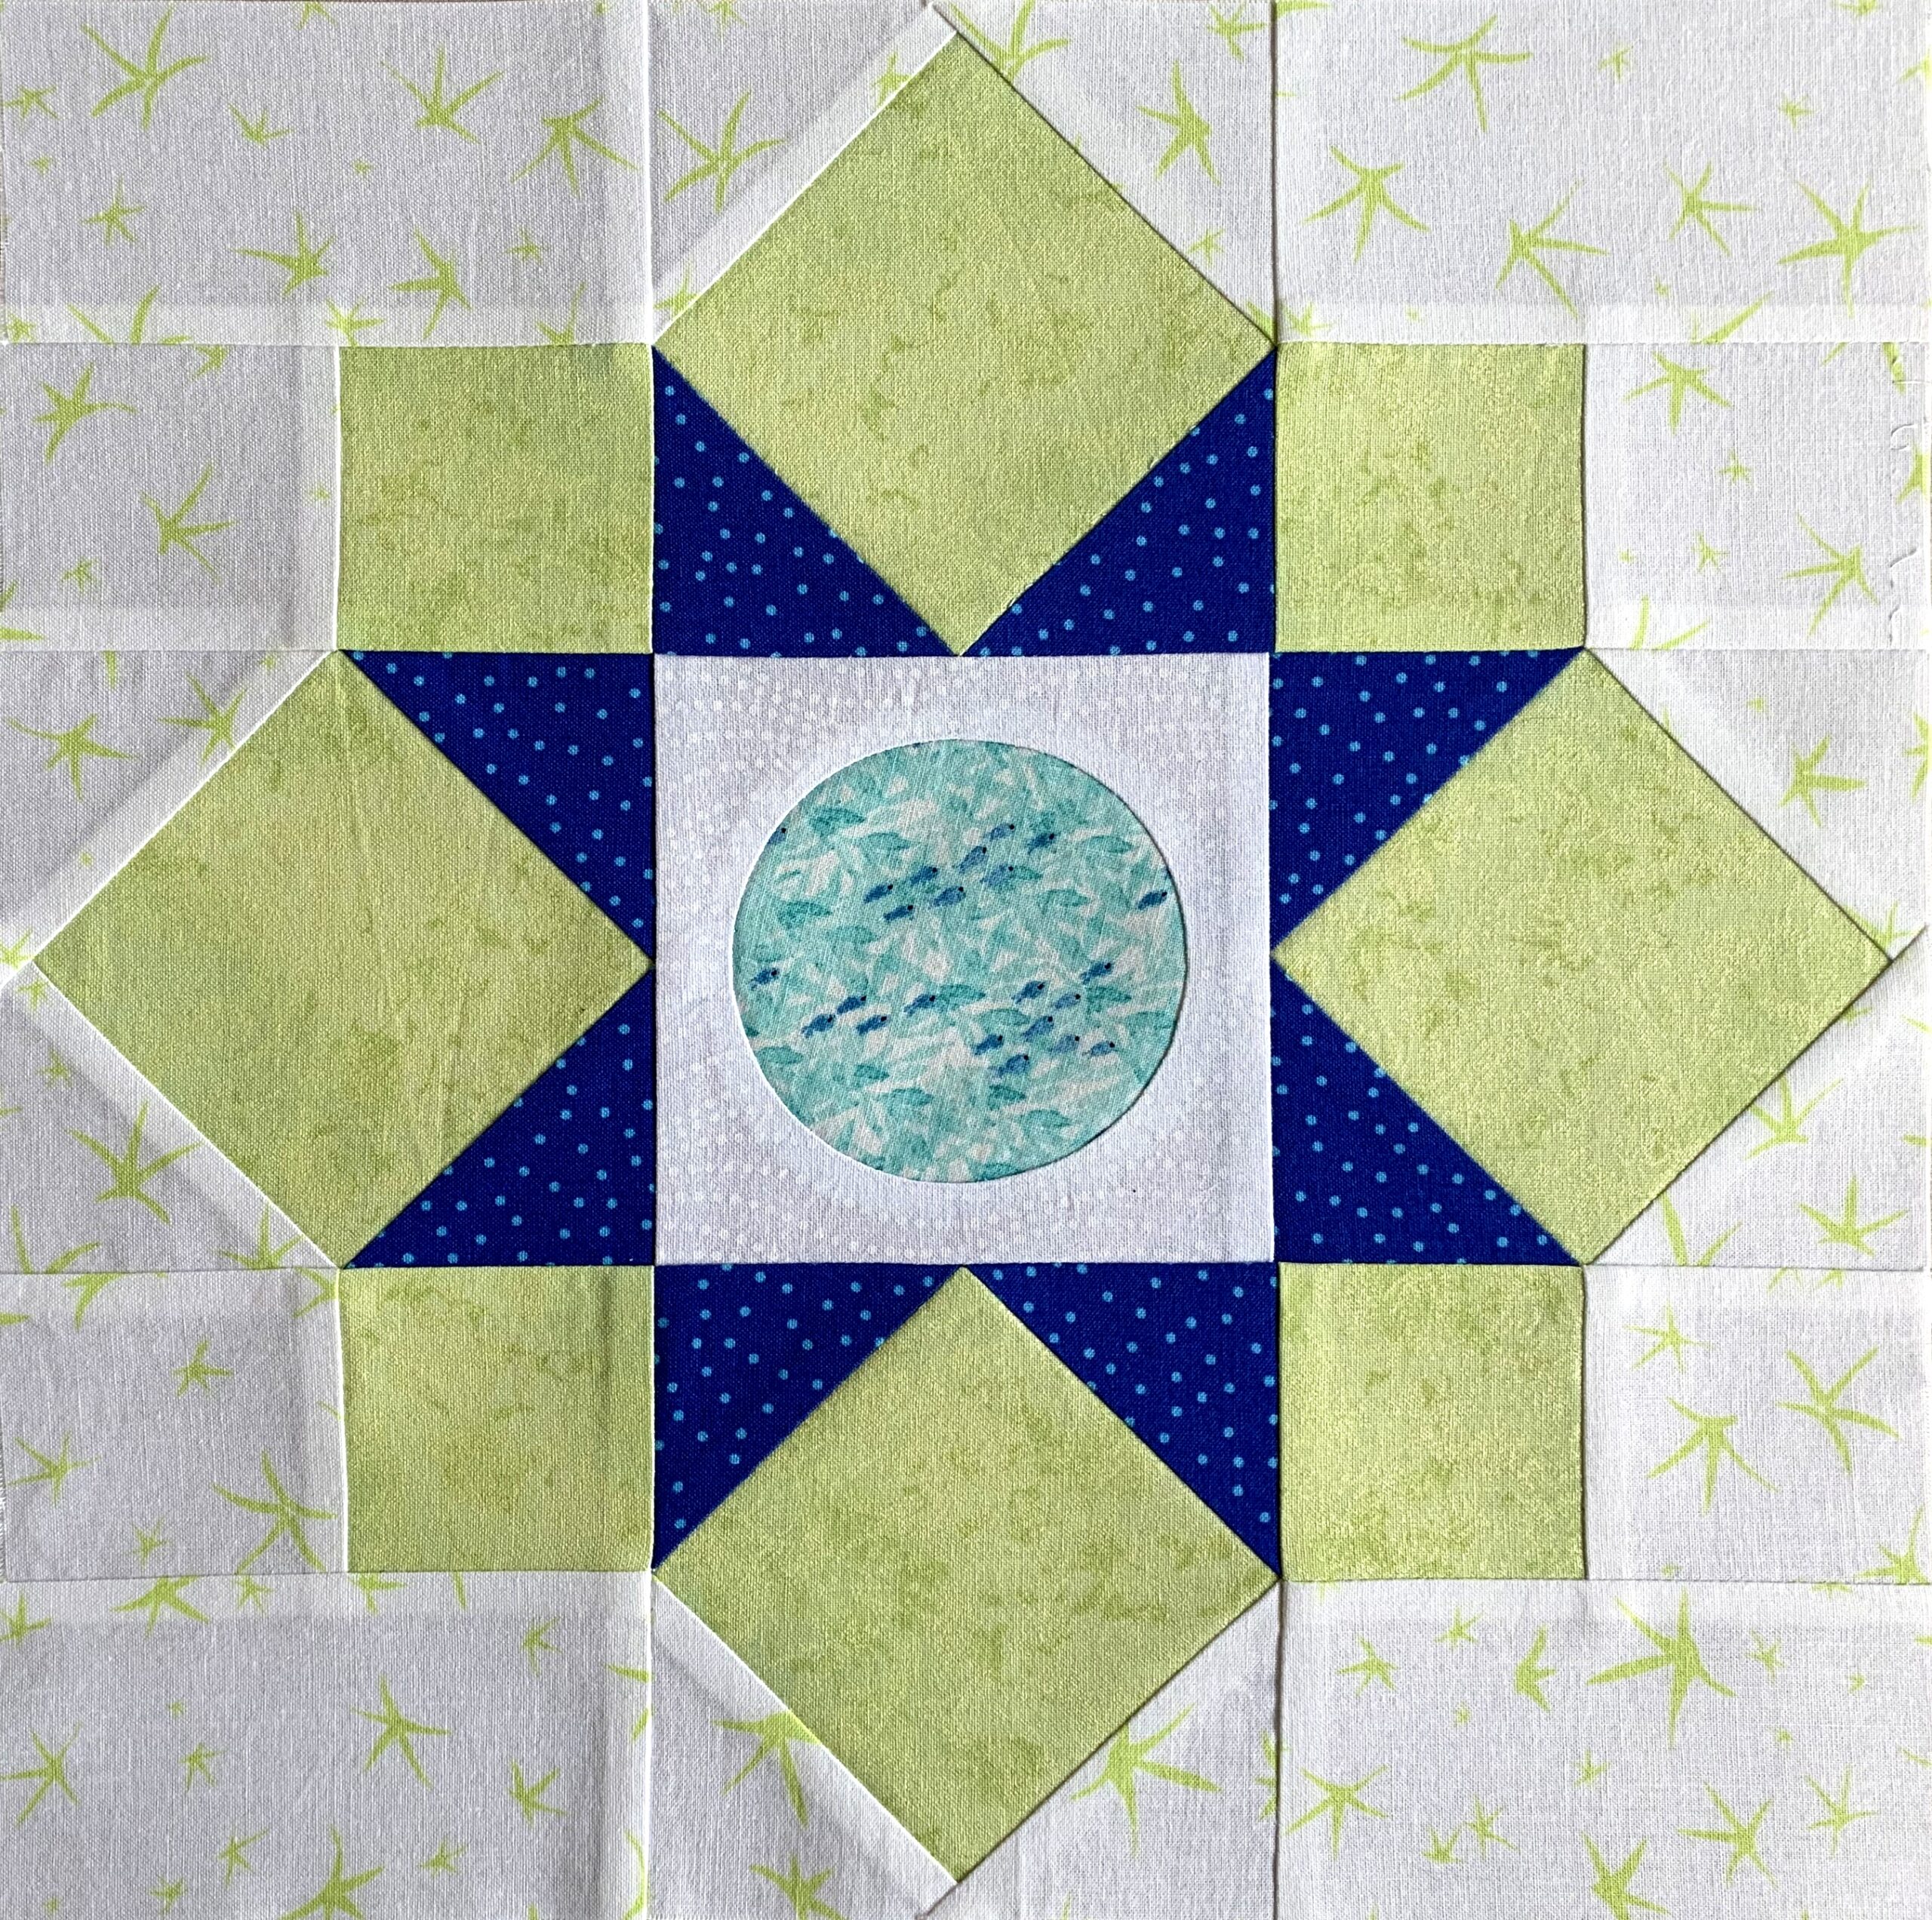
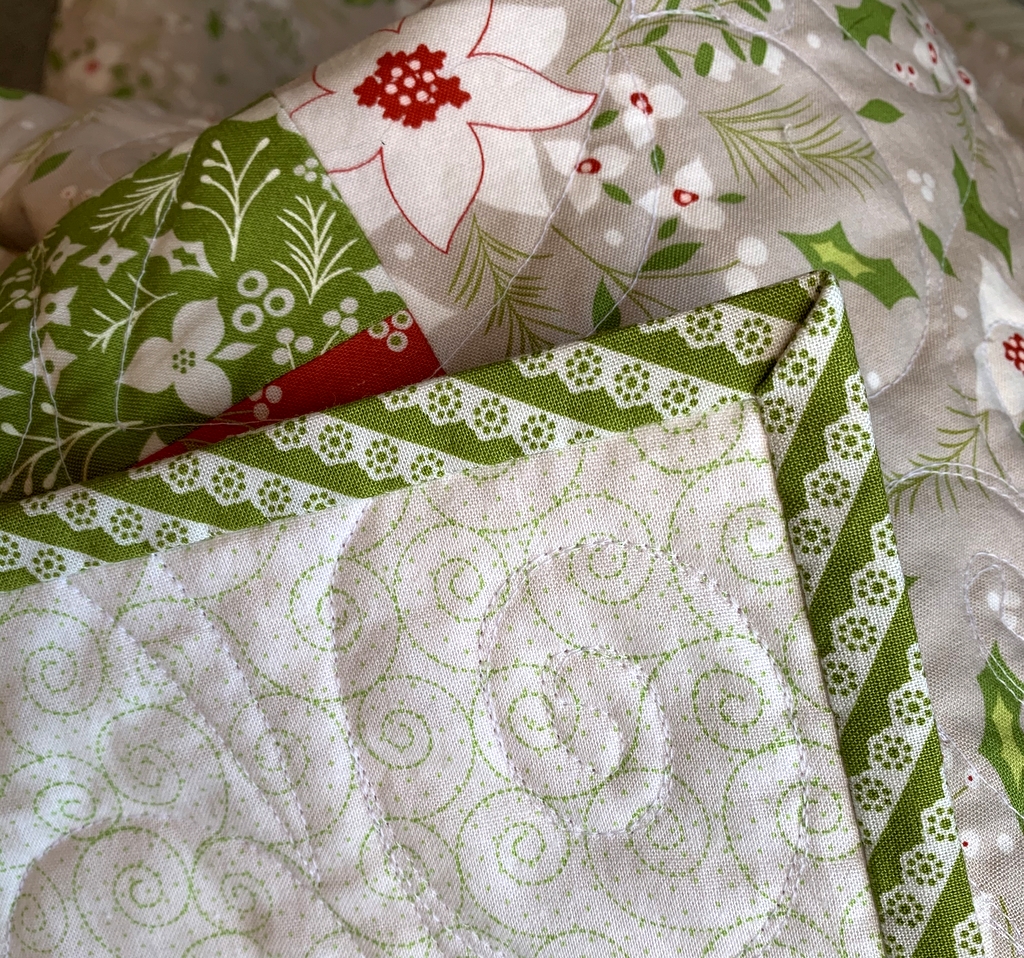
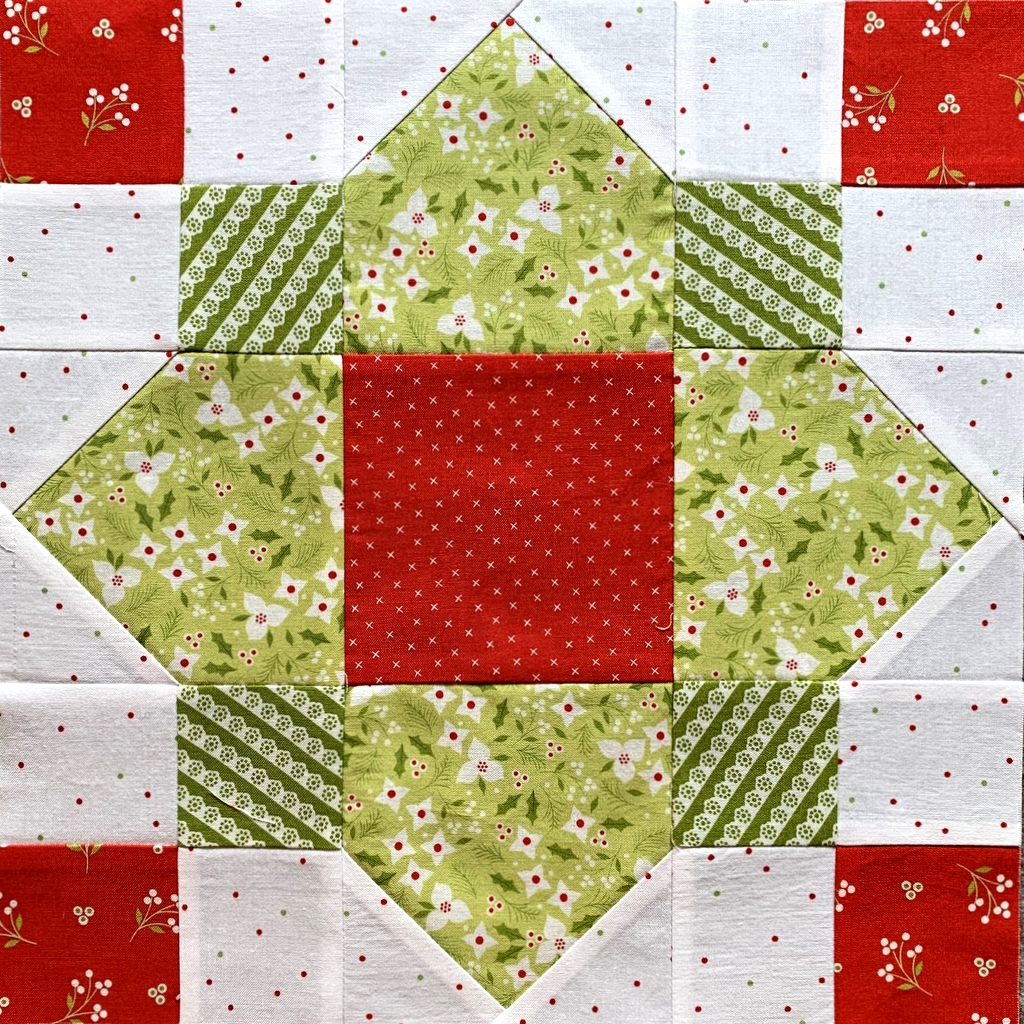
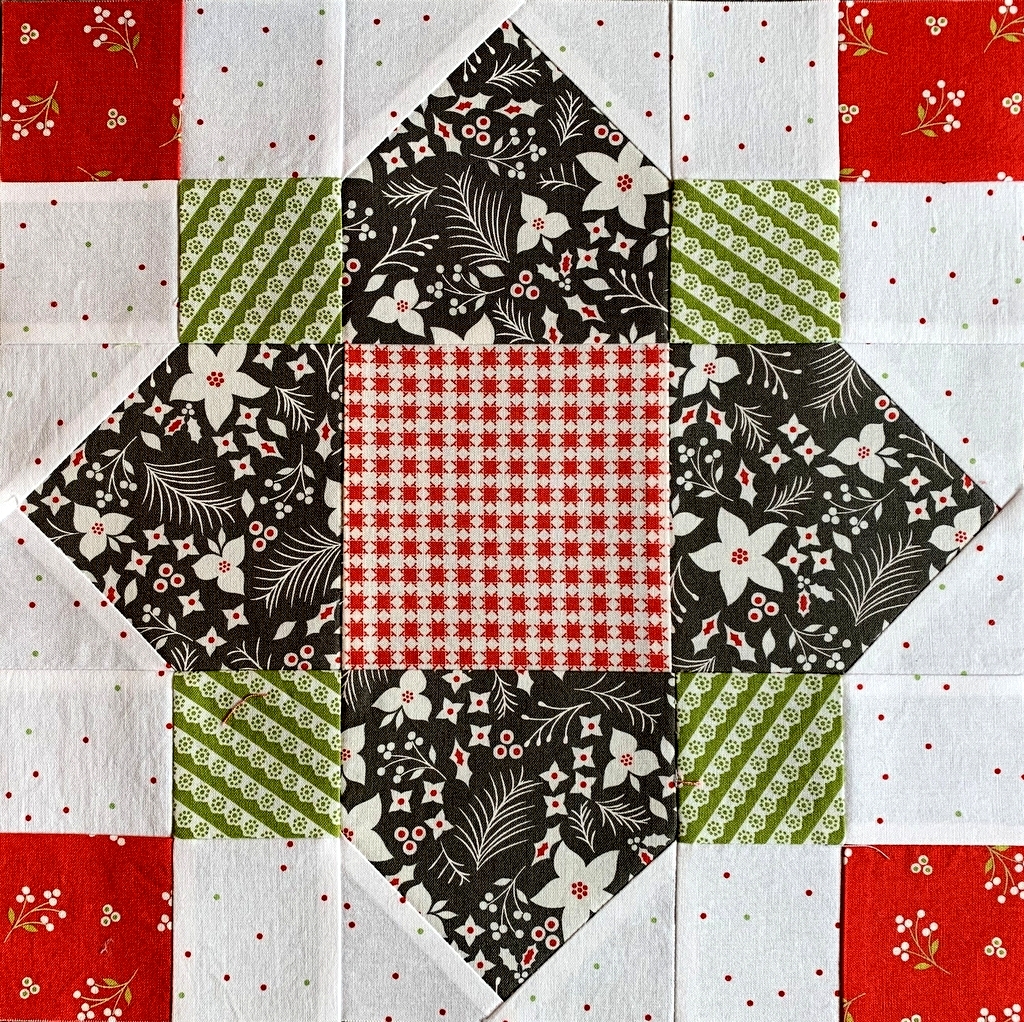
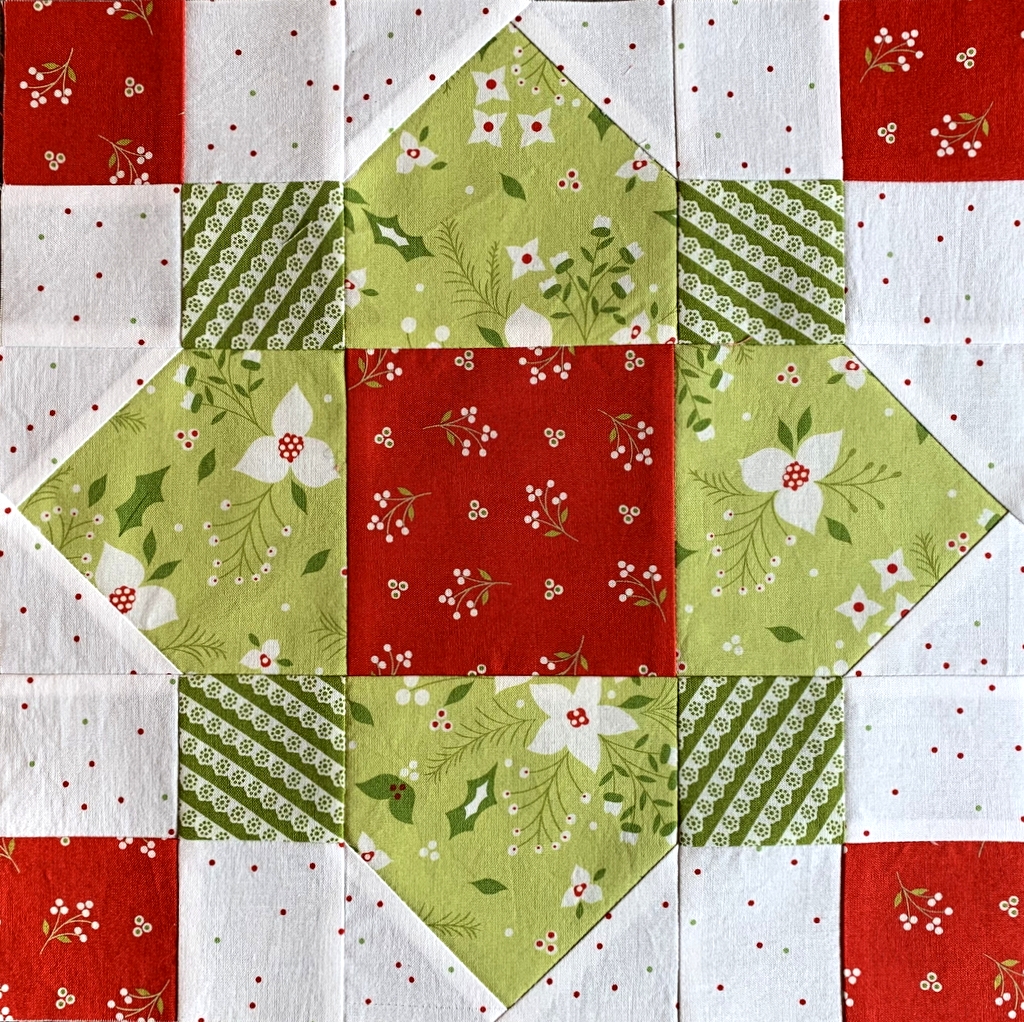
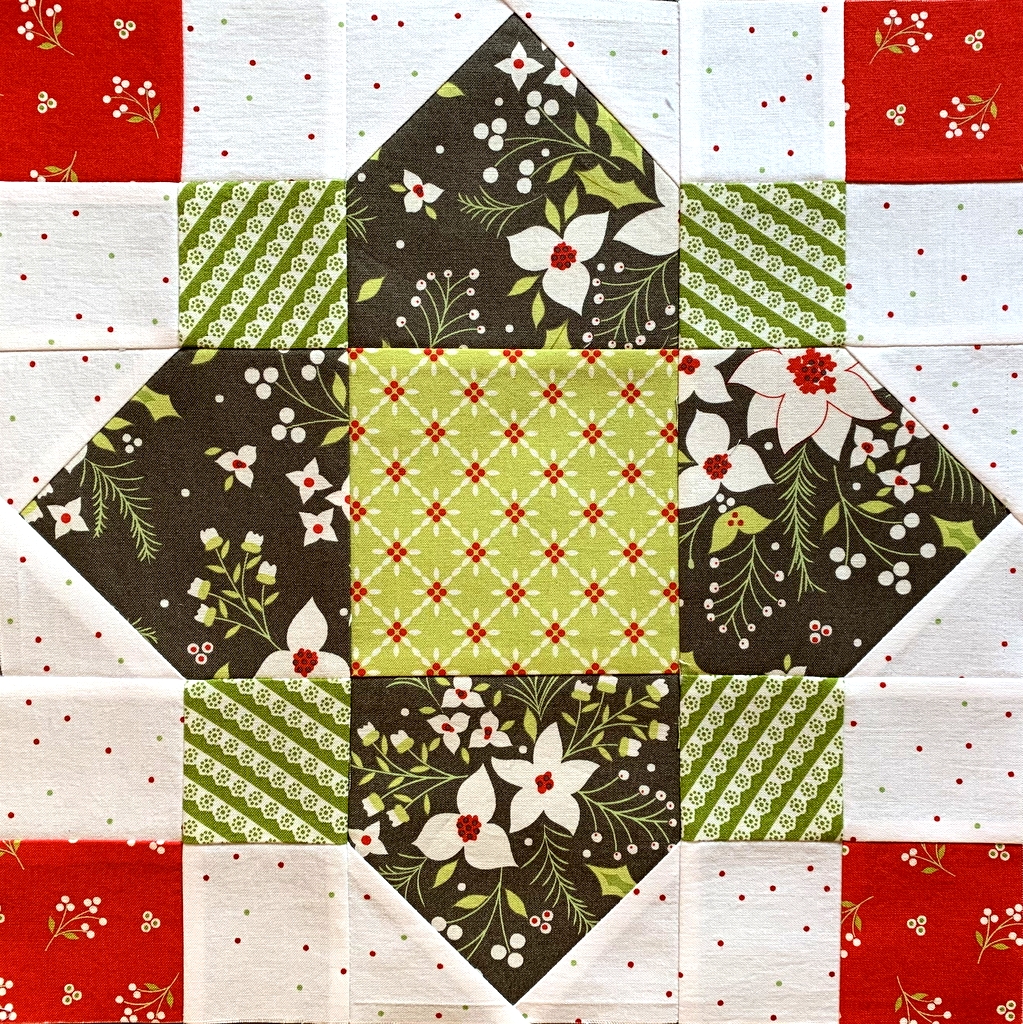
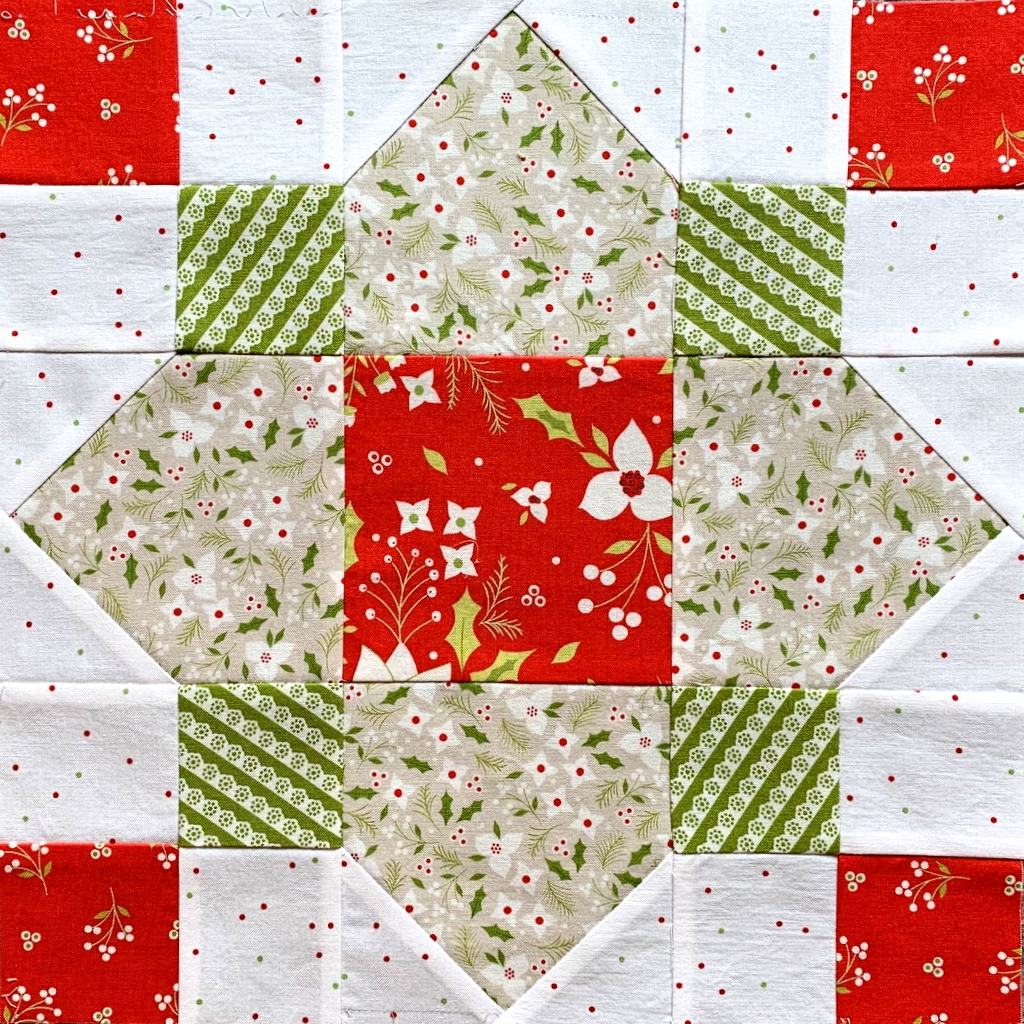
I also appreciate how the quilting lines stand out in the small star in the center of each leaf block:


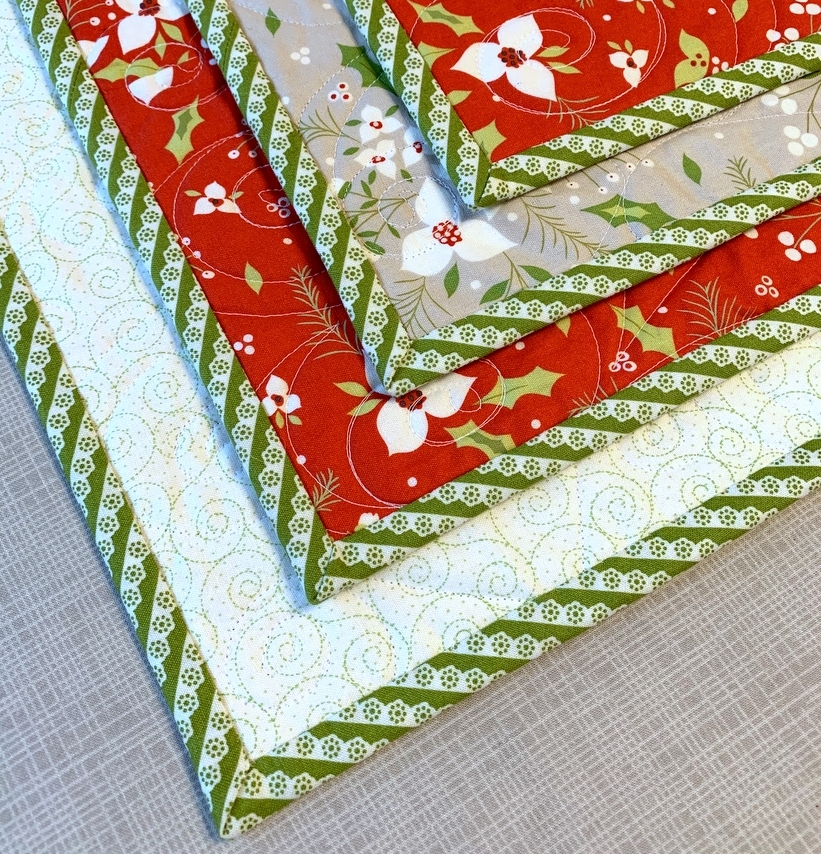
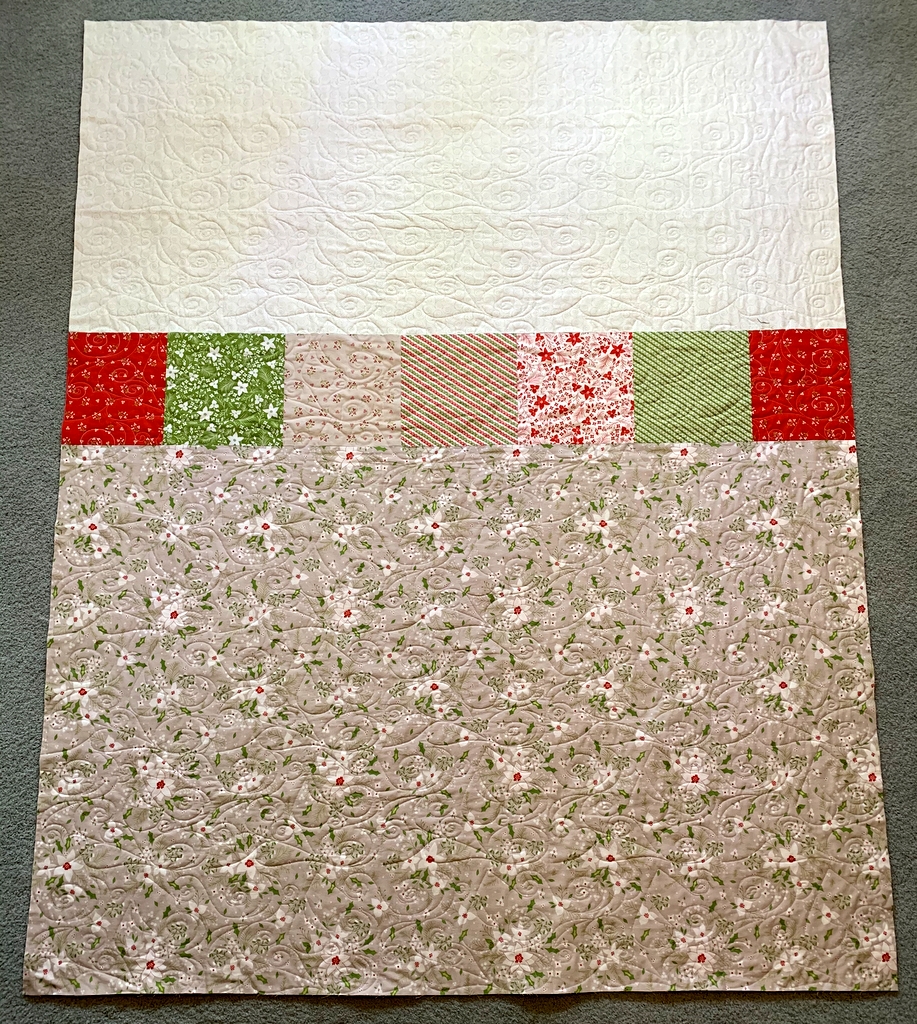
The back was pieced from leftovers of my two focus fabrics with a few other prints used on the front:

The plan was to try a new piecing technique for the backing using a length of fabric cut corner to corner on the bias but my quilt top was too large to make it work well. I’ll save that technique to explore on a smaller quilt.

September Song measures 53″ x 58″ after quilting and trimming. I’m going to bind it with one of the brick red prints I used on the front. Happily, I have just enough of the tone-on-tone print with tiny vines, carrying my “swirling fall breeze” theme to its ultimate conclusion.


Posted in family, leaf block, stitch-and-flip corners, update | 8 Comments

Labors of Love on Labor Day

Monday of this week was Labor Day in the U.S., a federal holiday that celebrates the achievements and contributions of American workers. I was working on a little labor of love on Labor Day:  a block in my ongoing Sea Sampler project. But I wasn’t happy with my fabric selections so today I remade the block with all different fabrics. This is the result:

The block’s a keeper. It doesn’t have a name that I know of. (If you recognize it, please let me know.) I think of it as my Nebraska Star block because it’s on this coffee mug that I brought home a couple of decades ago from a trip to Nebraska:

If you look above the capital N of Nebraska, you’ll see the block. It’s very striking as a two-color block but also lends itself to other color combinations.

I drew the block in EQ7, the quilt software program . . .

. . . and colored it with fabrics similar to the ones I actually used:

Instead of using a simple square in the center of the block, I made an inset circle of little fishies (from the “Kaikoura” line by Jessica Zhao for Cotton + Steel):

I cut the fabric a little on the bias so the fishies are swimming slightly upstream.

Because I wanted to lead your eye to the center of the block where those little fishies are, I opted not to include the blue triangles in the outer corners of the block, although they can be added later if need be.

I really hate to draw your attention to a problem but I’m going to remake the lower left section of the block. It wasn’t obvious until I saw my photo:  that vertical line between the two small squares is not truly vertical; it’s definitely slanting to the right. How did that happen? No idea but it’s going to bother me no end until it’s fixed.

Labor Day 2021 also marked my return to the quilt classroom after 18 long months. All in-person classes at Montavilla Sewing Center in Lake Oswego came to a screeching halt in March of 2020 when the the coronavirus pandemic reached Oregon and we started to fully realize its impact. Monday evening was the first of four “Sew with Dawn” classes that will meet during fall term, September-December.

To say I was thrilled is an understatement. It was so good to see my friends and fellow quiltmakers in person again! We are all fully vaccinated — students, staff at Montavilla, and myself. Of course we were fully masked the entire time but even with masks on we could see everyone was smiling.


Posted in Block of the Month (BOM), sampler quilt, Sew-Along, stitch-and-flip corners, update | 5 Comments

First Finish of 2021

First things first: Happy New Year, friends! May 2021 exceed your expectations in every way.

Now on to the next good thing: ‘Tis the Season, my quilt made with the Missouri Star Quilt Company’s Quatrefoil pattern, is a wrap! Take a look:

The quilt was officially completed on New Year’s Day but it was dark by the time I’d stitched the label on so I had to wait till today to take photos. Indoor shots only, I’m afraid; it’s January in Portland (need I say more?).

There was never a doubt in my mind what fabric I would use to bind this quilt: it absolutely had to be the green diagonal stripe in Corey Yoder’s “Holliberry” line. I tried a new-to-me way of applying the binding: it’s single-fold rather than the traditional double-fold. I’ve been wanting to try this method since hearing my friend Pam Raby of Loved to Pieces sing its praises when she was on the Quilt Show with Ricky Tims and Alex Anderson last July.

Oh my. Mitering the corners was a breeze! There’s much less bulk, and the corners lie nice and flat. Feel free to inspect mine:

For the label I made an inset circle and then enclosed it in another circle:

Here’s a look at the back of the quilt:


Since I love the crinkly look and feel of a laundered quilt, ‘Tis the Season went into the washer and dryer after these pictures were taken. Now here it is, still warm from the dryer, on the back of the couch, where it will take up residence for the time being:

‘Tis still the season as far as I’m concerned!


Posted in mitered corners, Quatrefoil, quilt labels, single-fold binding, stitch-and-flip corners, update | 12 Comments

My Quatrefoil Christmas Quilt — Quilted!

My Quatrefoil quilt is back from the quilter already! Take a look:

Because of all the straight lines and angles in this quilt, I had already decided on “something with loops and swirls” for a quilting motif. After consulting with longarmer Sherry Wadley, we went with “Retro Heart,” an edge-to-edge pattern by Anne Bright Designs. I just love how it turned out!

Of course Coco decided to make an impromptu inspection, as she is wont to do:

Here’s a look at the whole quilt:

After trimming, it now measures 57″ x 71″ — a good size for a throw.

I made a simple pieced back using some of the leftovers from Corey Yoder’s “Holliberry” layer cake (10″ squares) and a larger piece of the grey floral:

That light fabric at the top is something I pulled from my stash, and it just happens to have loops and swirls on it, too:

I’ve decided to name this quilt ‘Tis the Season. That pretty much covers Christmas, the holidays, and winter, doesn’t it?

If I don’t dilly-dally, I can get it bound and labeled before the end of the year.

On the other hand . . . wouldn’t it be great to start 2021 with a finish?


Posted in cats, Quatrefoil, stitch-and-flip corners, update | 8 Comments

Border Patrol: Quatrefoil Christmas Quilt

The borders are on my Christmas Quatrefoil quilt and I couldn’t be more pleased:

The inner border is a 2″ finished strip of background fabric to float the blocks. For the outer border I auditioned this red focus fabric and the same print in the light grey background. The grey print is lovely but it just wasn’t bold enough. I was initially concerned that the red focus fabric would overpower the interior of the quilt but happily the individual blocks hold their own.

I think of this as my Christmas Quatrefoil quilt but this line of “Holliberry” prints by Moda is not overtly Christmas-y. The holly leaves and the pointsettia blossoms give it a Christmas vibe to be sure but the prints speak more to me of winter than holiday. What that means is that when it’s quilted and bound, this quilt can take up rotation on the back of my sofa all winter long. I leave my outdoor icicle lights up until Valentine’s Day, after all! I love the way they light up the porch and are reflected in the glass door and windows:

And you can also see my little tree on the sideboard by the front door. Here’s a close-up:


Princess Cordelia aka Coco is on her best behavior.

Tomorrow I’ll make a pieced backing for my quilt top using some of the yardage I bought along with a set of precut 10″ squares. Wouldn’t it be wonderful if I could get this quilted and bound before Christmas? I might reach out to a couple of my favorite local longarmers to see if they are working their magic this coming week. . .


Posted in Quatrefoil, stitch-and-flip corners, update | 14 Comments

Quatrefoil Christmas Quilt: An Update

I didn’t just decide on a final layout for my 12 Quatrefoil Christmas blocks; I sewed them together with the sashing strips. Oh my, I am loving this quilt top!

Behold:

Right now it measures 40½” x 52½”; the next step is to add a strip of background fabric all around to float the top and then add a border (or maybe two). I have yardage in the large red and the large light grey floral prints. I’ll audition both fabrics before deciding.

As for binding, I could go with the green diagonal stripe or the small red print used in the corners of each block. It really depends on the outer border. Decisions, decisions!


Posted in Quatrefoil, stitch-and-flip corners, update | 8 Comments

Quatrefoil Quilt Blocks: Second Set of Six

. . . and here they are:

These join the six blocks, shown below, that I wrote about in my last post:

All the fabrics except the background are from Corey Yoder’s “Holliberry” line for Moda Fabrics. The background is from Lori Holt’s “Seasonal Basics” line for Riley Blake Fabrics.

Now that the second set is done, I’m playing with all 12 blocks on my design wall to get just the right distribution of color and value. Each time I think “This is it,” I take another look and start moving blocks around again. Am I obsessing? Yes, but it’s what I do.

Well, tomorrow is another day. With any luck, I’ll arrive at a final setting and post it right here for all the world to see.


Posted in Quatrefoil, stitch-and-flip corners, update | 4 Comments

Building Blocks

Building Quatrefoil blocks, to be specific. You saw Block 1 in my last post. Here are a few more:

Quatrefoil Block 2
Quatrefoil Block 3
Quatrefoil Block 4
Quatrefoil Block 5
Quatrefoil Block 6

Do you have a favorite? I like every block but confess I’m partial to Number One:

Quatrefoil Block 1

The pattern I am using is Quatrefoil from the Missouri Star Quilt Company. It’s available as a paper pattern and also as a pdf download. I bought it in pdf format for a mere $3.95 and was able to print the pattern almost immediately.

These blocks finish at 12″ square. I’ve decided to make a throw-size quilt with 12 blocks. With sashing strips and borders added, my quilt will finish somewhere around 56″ x 68″ — a good size to display on the back of a couch or over one’s lap.

Here are the first six blocks stuck up on my design wall with some sashing strips:

You can see how the sashing strips and the four-patches in the corner of each block combine to create an Irish chain effect. That’s one of the reasons I like this Quatrefoil quilt pattern so much.

I need to pay careful attention to how I put the fabric combinations together in the final six blocks so that the over-all effect is balanced. Isn’t it funny how hard we quilters work to make a scrappy quilt look effortlessly planned?


Posted in Quatrefoil, stitch-and-flip corners, update | 8 Comments

A Slight Miscalculation. . .

Have you ever made a block that didn’t turn out quite like you expected? Perhaps you were surprised by one of the elements but kept on making the block, not realizing you had made an error. That’s what happened to me a few days ago when I made a test block of Star Drops, designed by Margot Languedoc of the Pattern Basket.

Before I bought the pattern I had studied the design, guessing (correctly) that the outer star points were made from hourglass units that were trimmed on one long side. When I made my test block I resized it from 6″ to 12″ finished, adding an additional design element at the last minute. I wrote about that in my last post.

When I trimmed the hourglass units using the calculations I had made for a block that was double in size, I was surprised that the small triangle in the center wasn’t larger. And when I converted the center square into a snowball block by adding a triangle at each corner, I was surprised that the triangles were larger than the ones in the hourglass blocks. I concluded it was because the center square is larger than the other blocks.

I was wrong.

I had cut a quarter-inch too much off the hourglass units. That’s why the blue triangles were smaller than I expected. Oops! And then I cut the four corner squares a quarter of an inch too small. Oops again. My block was supposed to measure 12½” unfinished but it’s a half-inch shy of that.

To illustrate the difference, I drew the blocks in the software program EQ7:

The one on the left is a mock-up of the block I made. You can see that four of the triangles are larger than the other four. This block measures 12″ unfinished, 11½” finished.

The block on the right is a mock-up of what my block would have looked like had I trimmed the hourglass blocks properly and made the corner squares the correct size. It measures 12½” unfinished, 12″ finished. (I’m sure this star block has been made many times before and has a name but I haven’t actively searched for it yet. If you happen to know, kindly leave a comment.)

What to do about my oddly sized block? Well, if it were destined for a quilt of 12″ finished blocks, I’d have a real problem. Happily, I am planning to incorporate this block into a Junior Billie Bag panel that finishes at 14″ x 17″ so I’ll simply cut the sashing strips a bit wider to compensate.

So my block is actually a mistake. But you know what? I love it anyway!


Posted in Billie Bag, Junior Billie Bag, snowball blocks, stitch-and-flip corners, update | 6 Comments

The Perfect Excuse

I’m teaching a Junior Billie Bag workshop next month so I had the perfect excuse to make a 12″ test block for one of the front/back panels. I’ve been wanting to try Margot Languedoc’s Star Drops pattern since first seeing her charming design on Instagram last year. She has several patterns I want to make, all of which are pictured on her website, the Pattern Basket.

I bought the pattern and studied the construction. Her block finishes at 6″ so I resized it to finish at 12″. Here are the components of my block ready to sew together:


Just as I was getting ready to pin the rows, a thought occurred to me. What would the block look like with eight blue points instead of four? I made a snowball block from the center square using the stitch-and-flip method and wound up with this:


I have double Star Drops! The blue triangles are larger around the center square because the center block is larger than all the other blocks.

As good as the block looks as a square, look at it on point:

Is that not sensational??

It appears my next Junior Billie Bag will be black and blue and white. The floral print in the center of the block is one of several pieces I bought last April in a fit of fabric lust and wrote about here. I think I will make a kaleidoscope block out of that floral for the other front/back panel of my Junior Billie Bag.


Posted in Billie Bag, Junior Billie Bag, snowball blocks, stitch-and-flip corners, update | 6 Comments