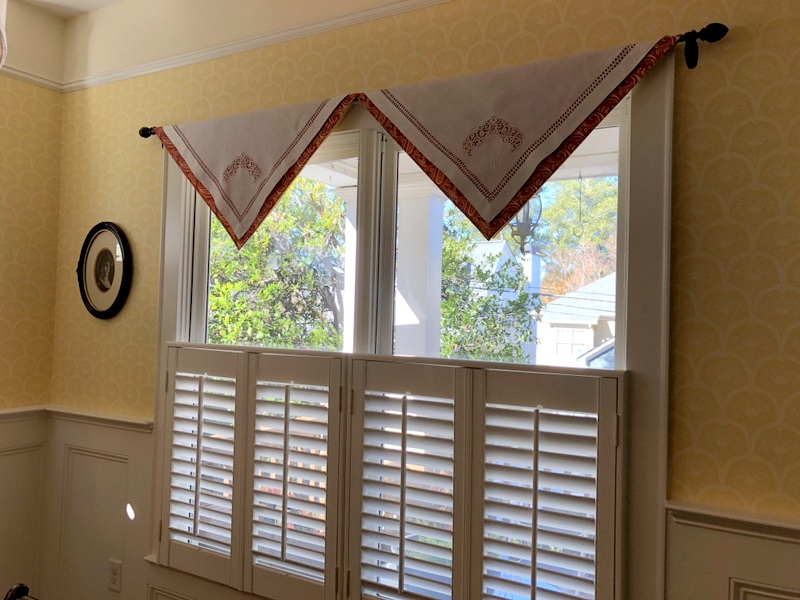
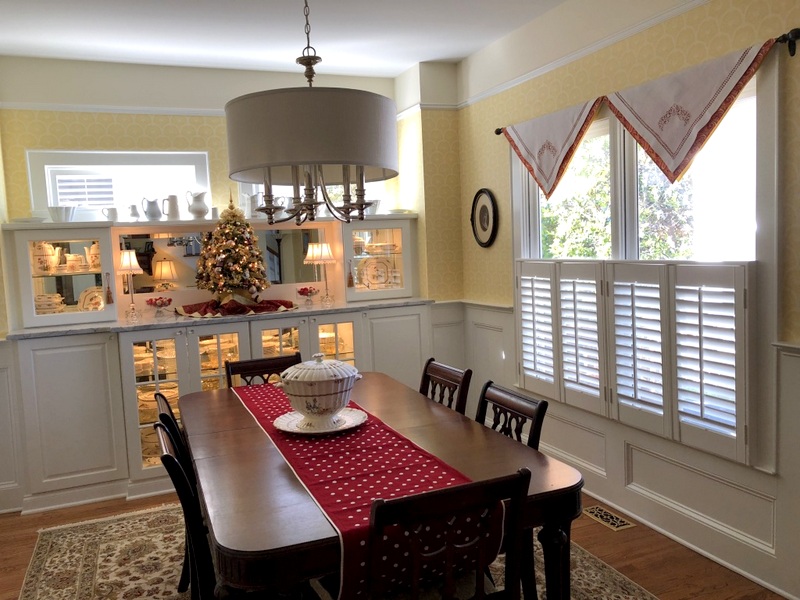
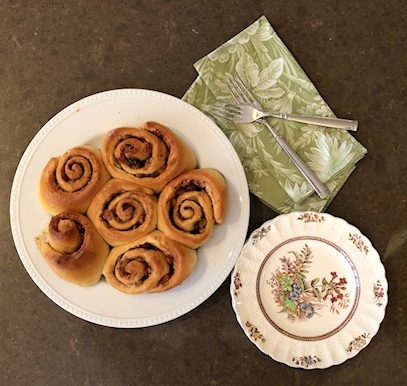
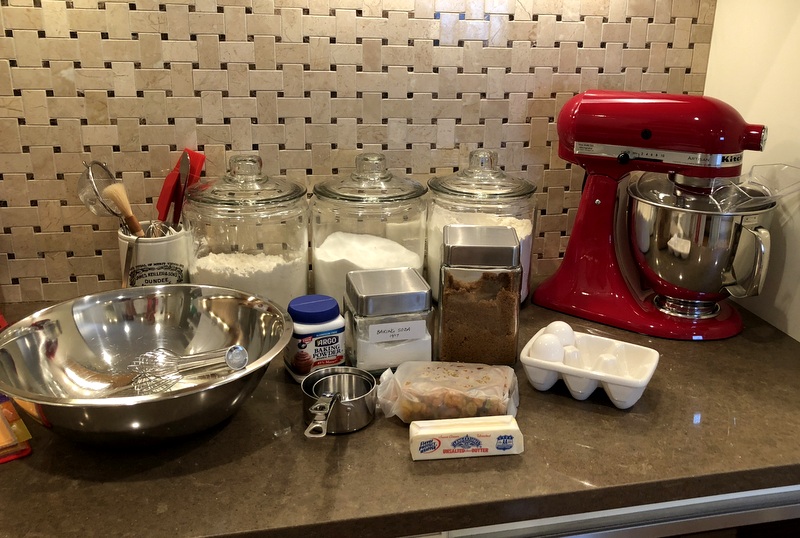
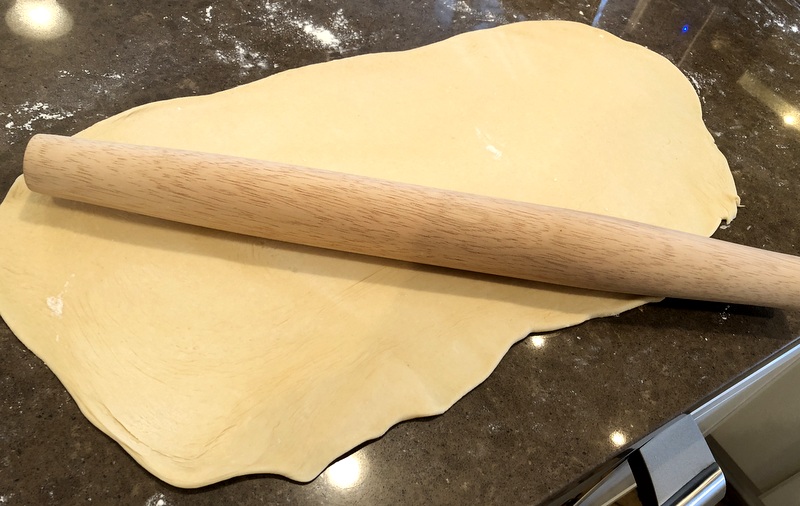
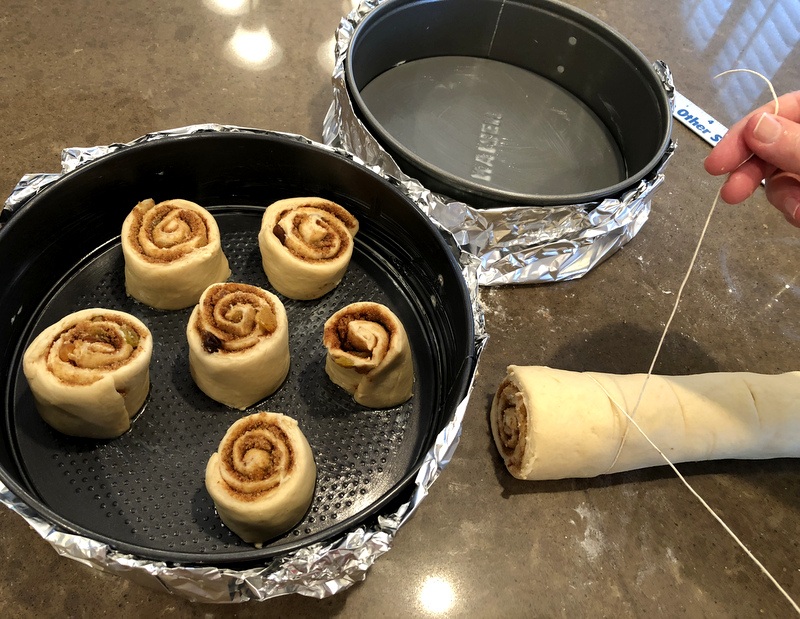
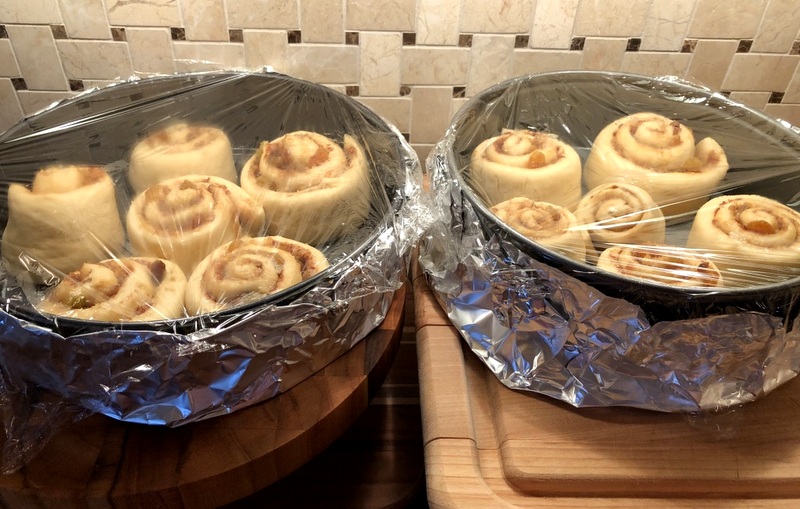
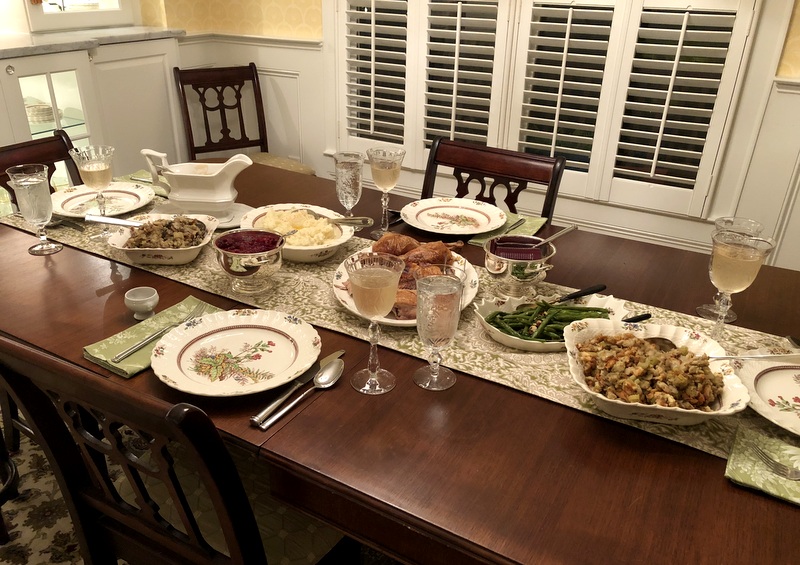
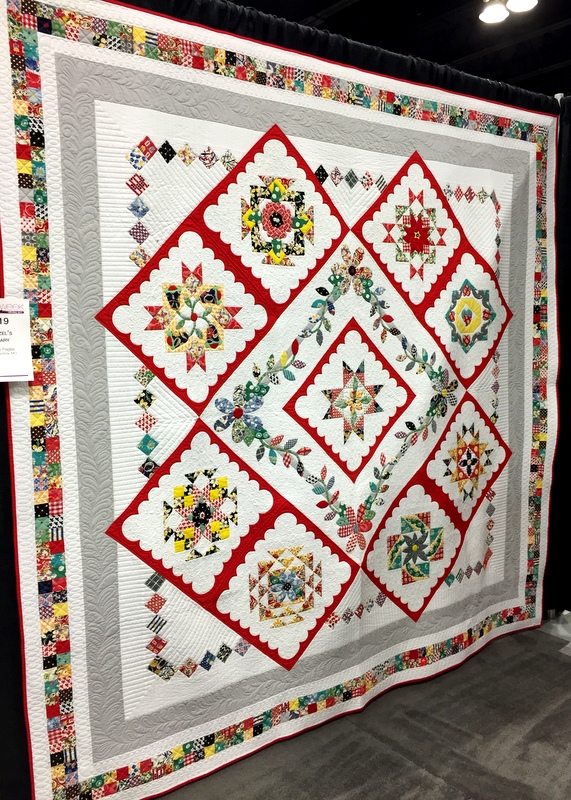
I was so sure I would get lots of hand appliqué done on my Hazel’s Diary Quilt blocks during my two-week visit to my sister’s home over Thanksgiving. Instead I found myself occupied with other things. Fun things, to be sure. We experimented with new recipes and baked and went shopping and watched Poldark on Masterpiece Theater and decorated Diane and Ed’s home for the holidays. And we played endless games of Scrabble.
It’s that last thing that kept me from getting more handwork done. My husband and my sister share this obession. Many times the three of us could be found sitting in the living room with our noses in our iPads, playing Scrabble with each other and not uttering a word. Diane’s husband Ed — who does not play Scrabble — looked on, bemused.
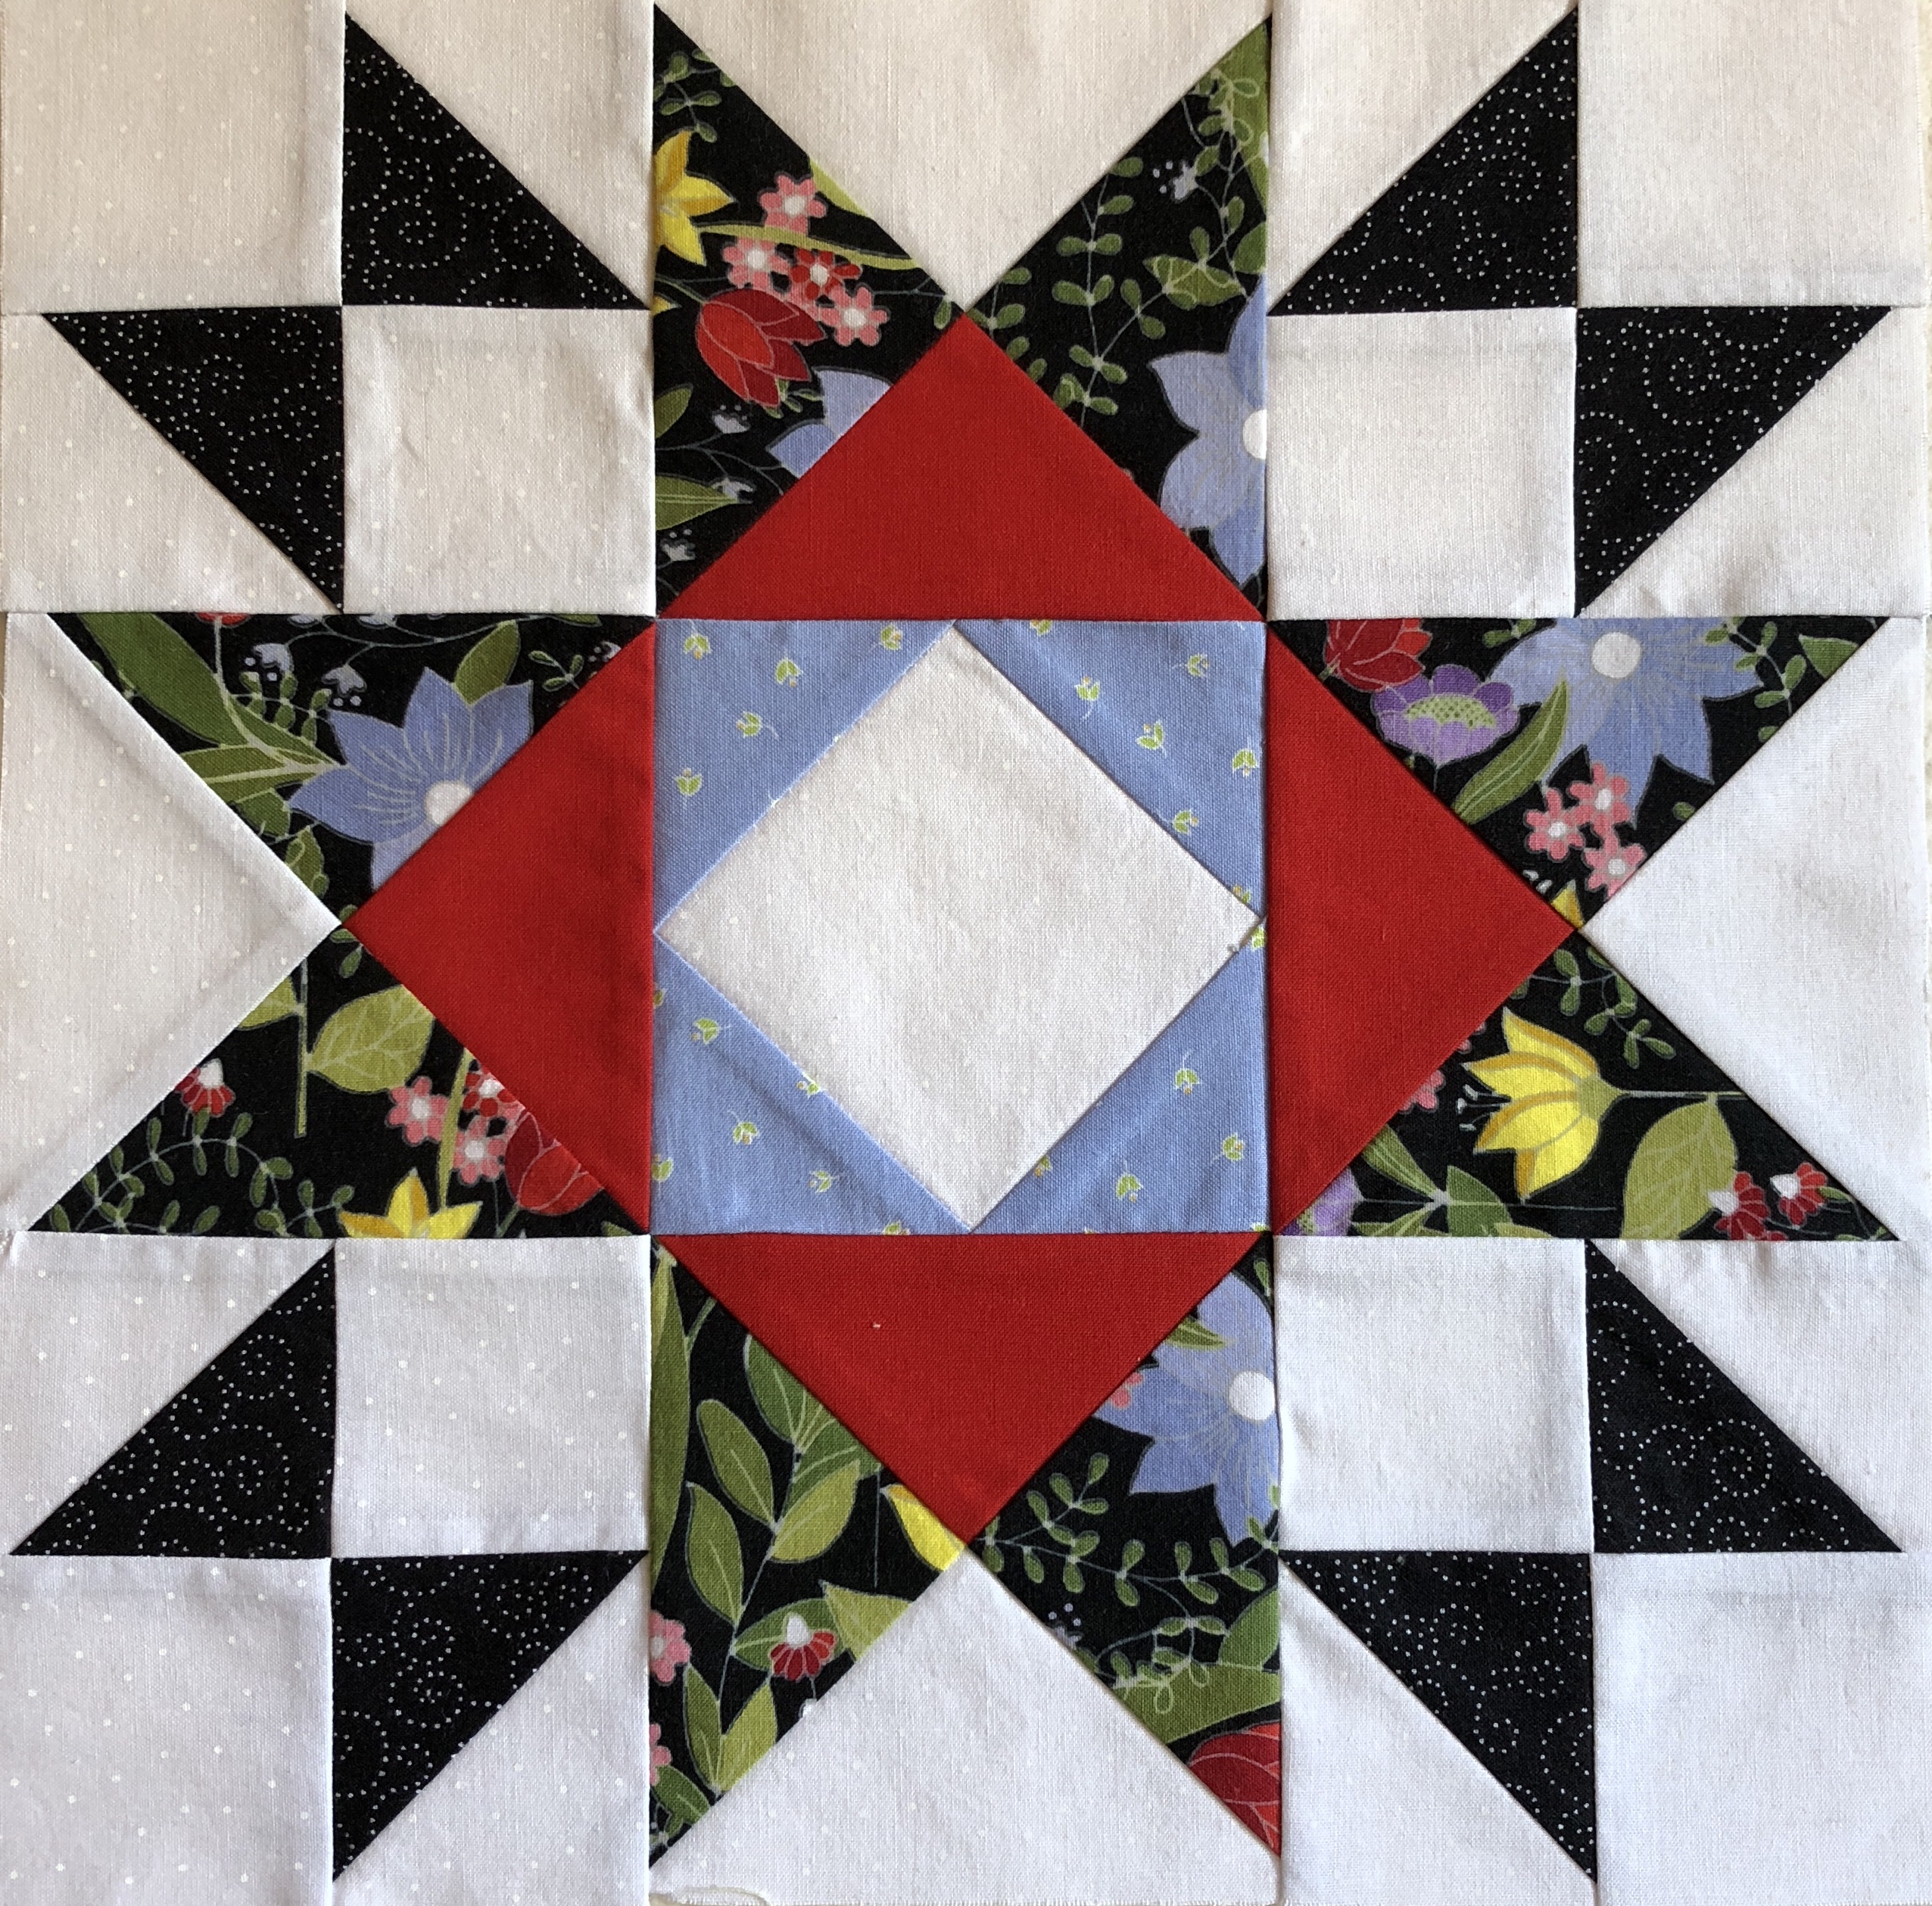
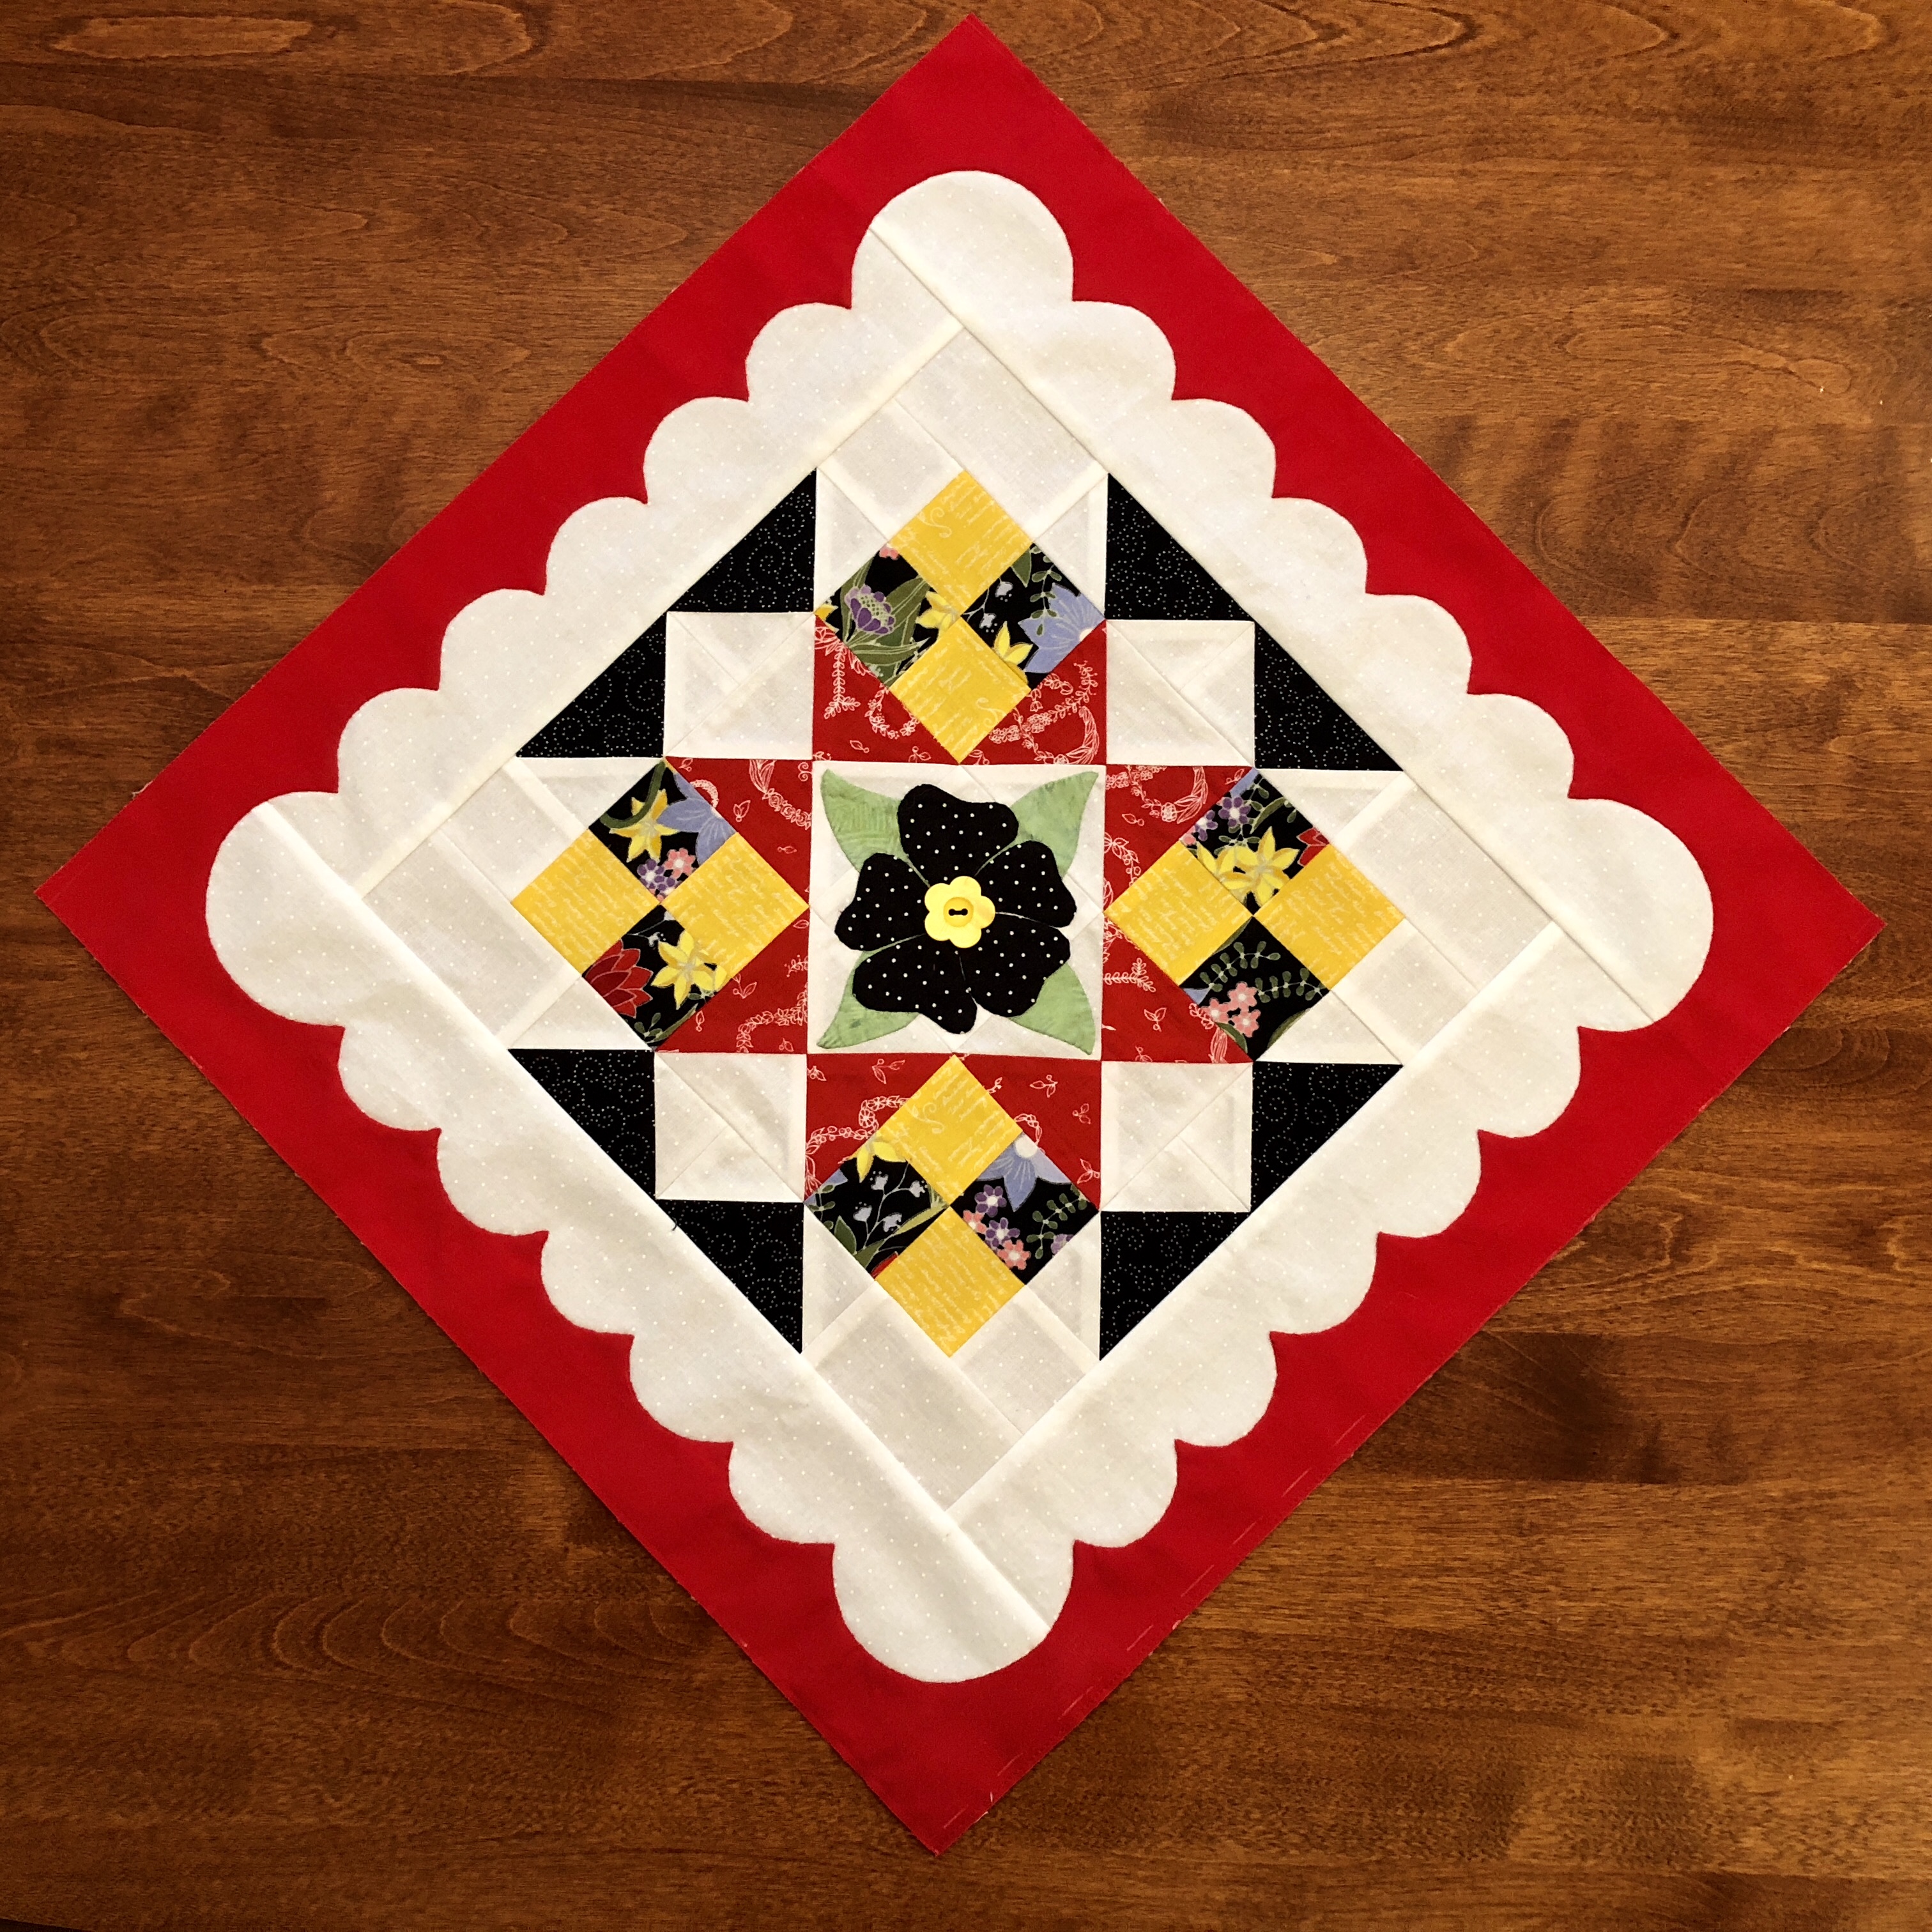
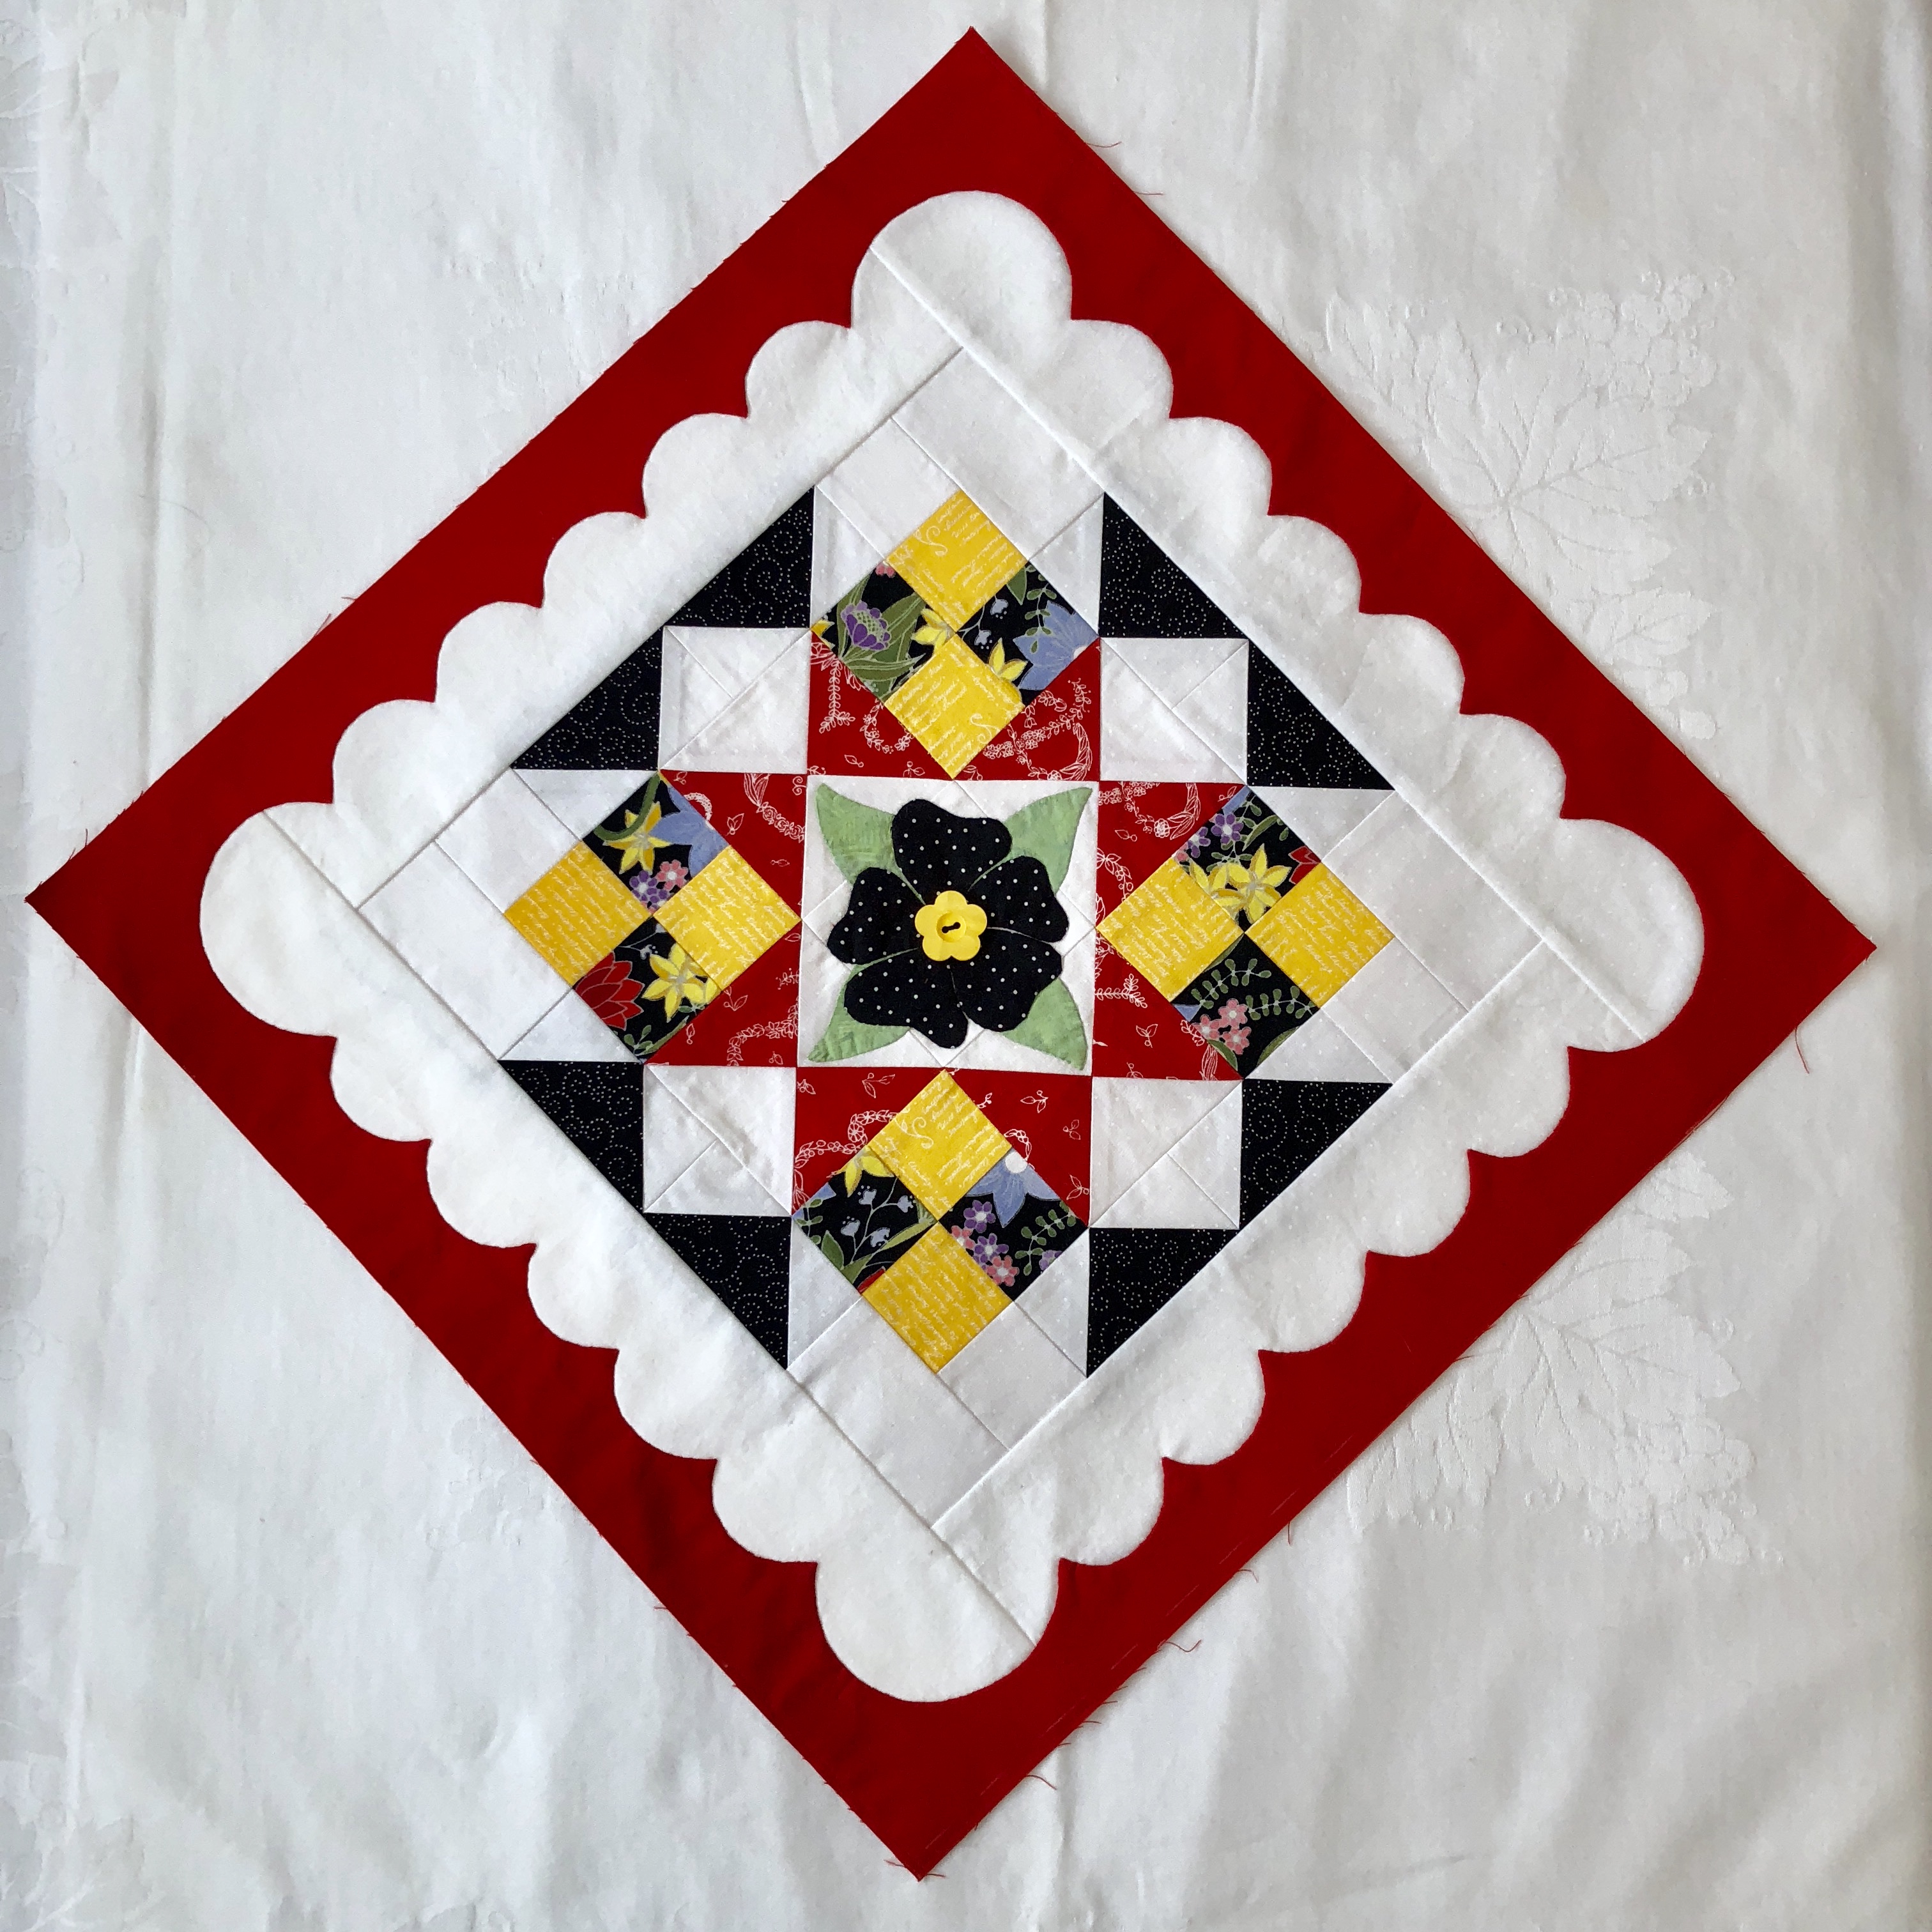
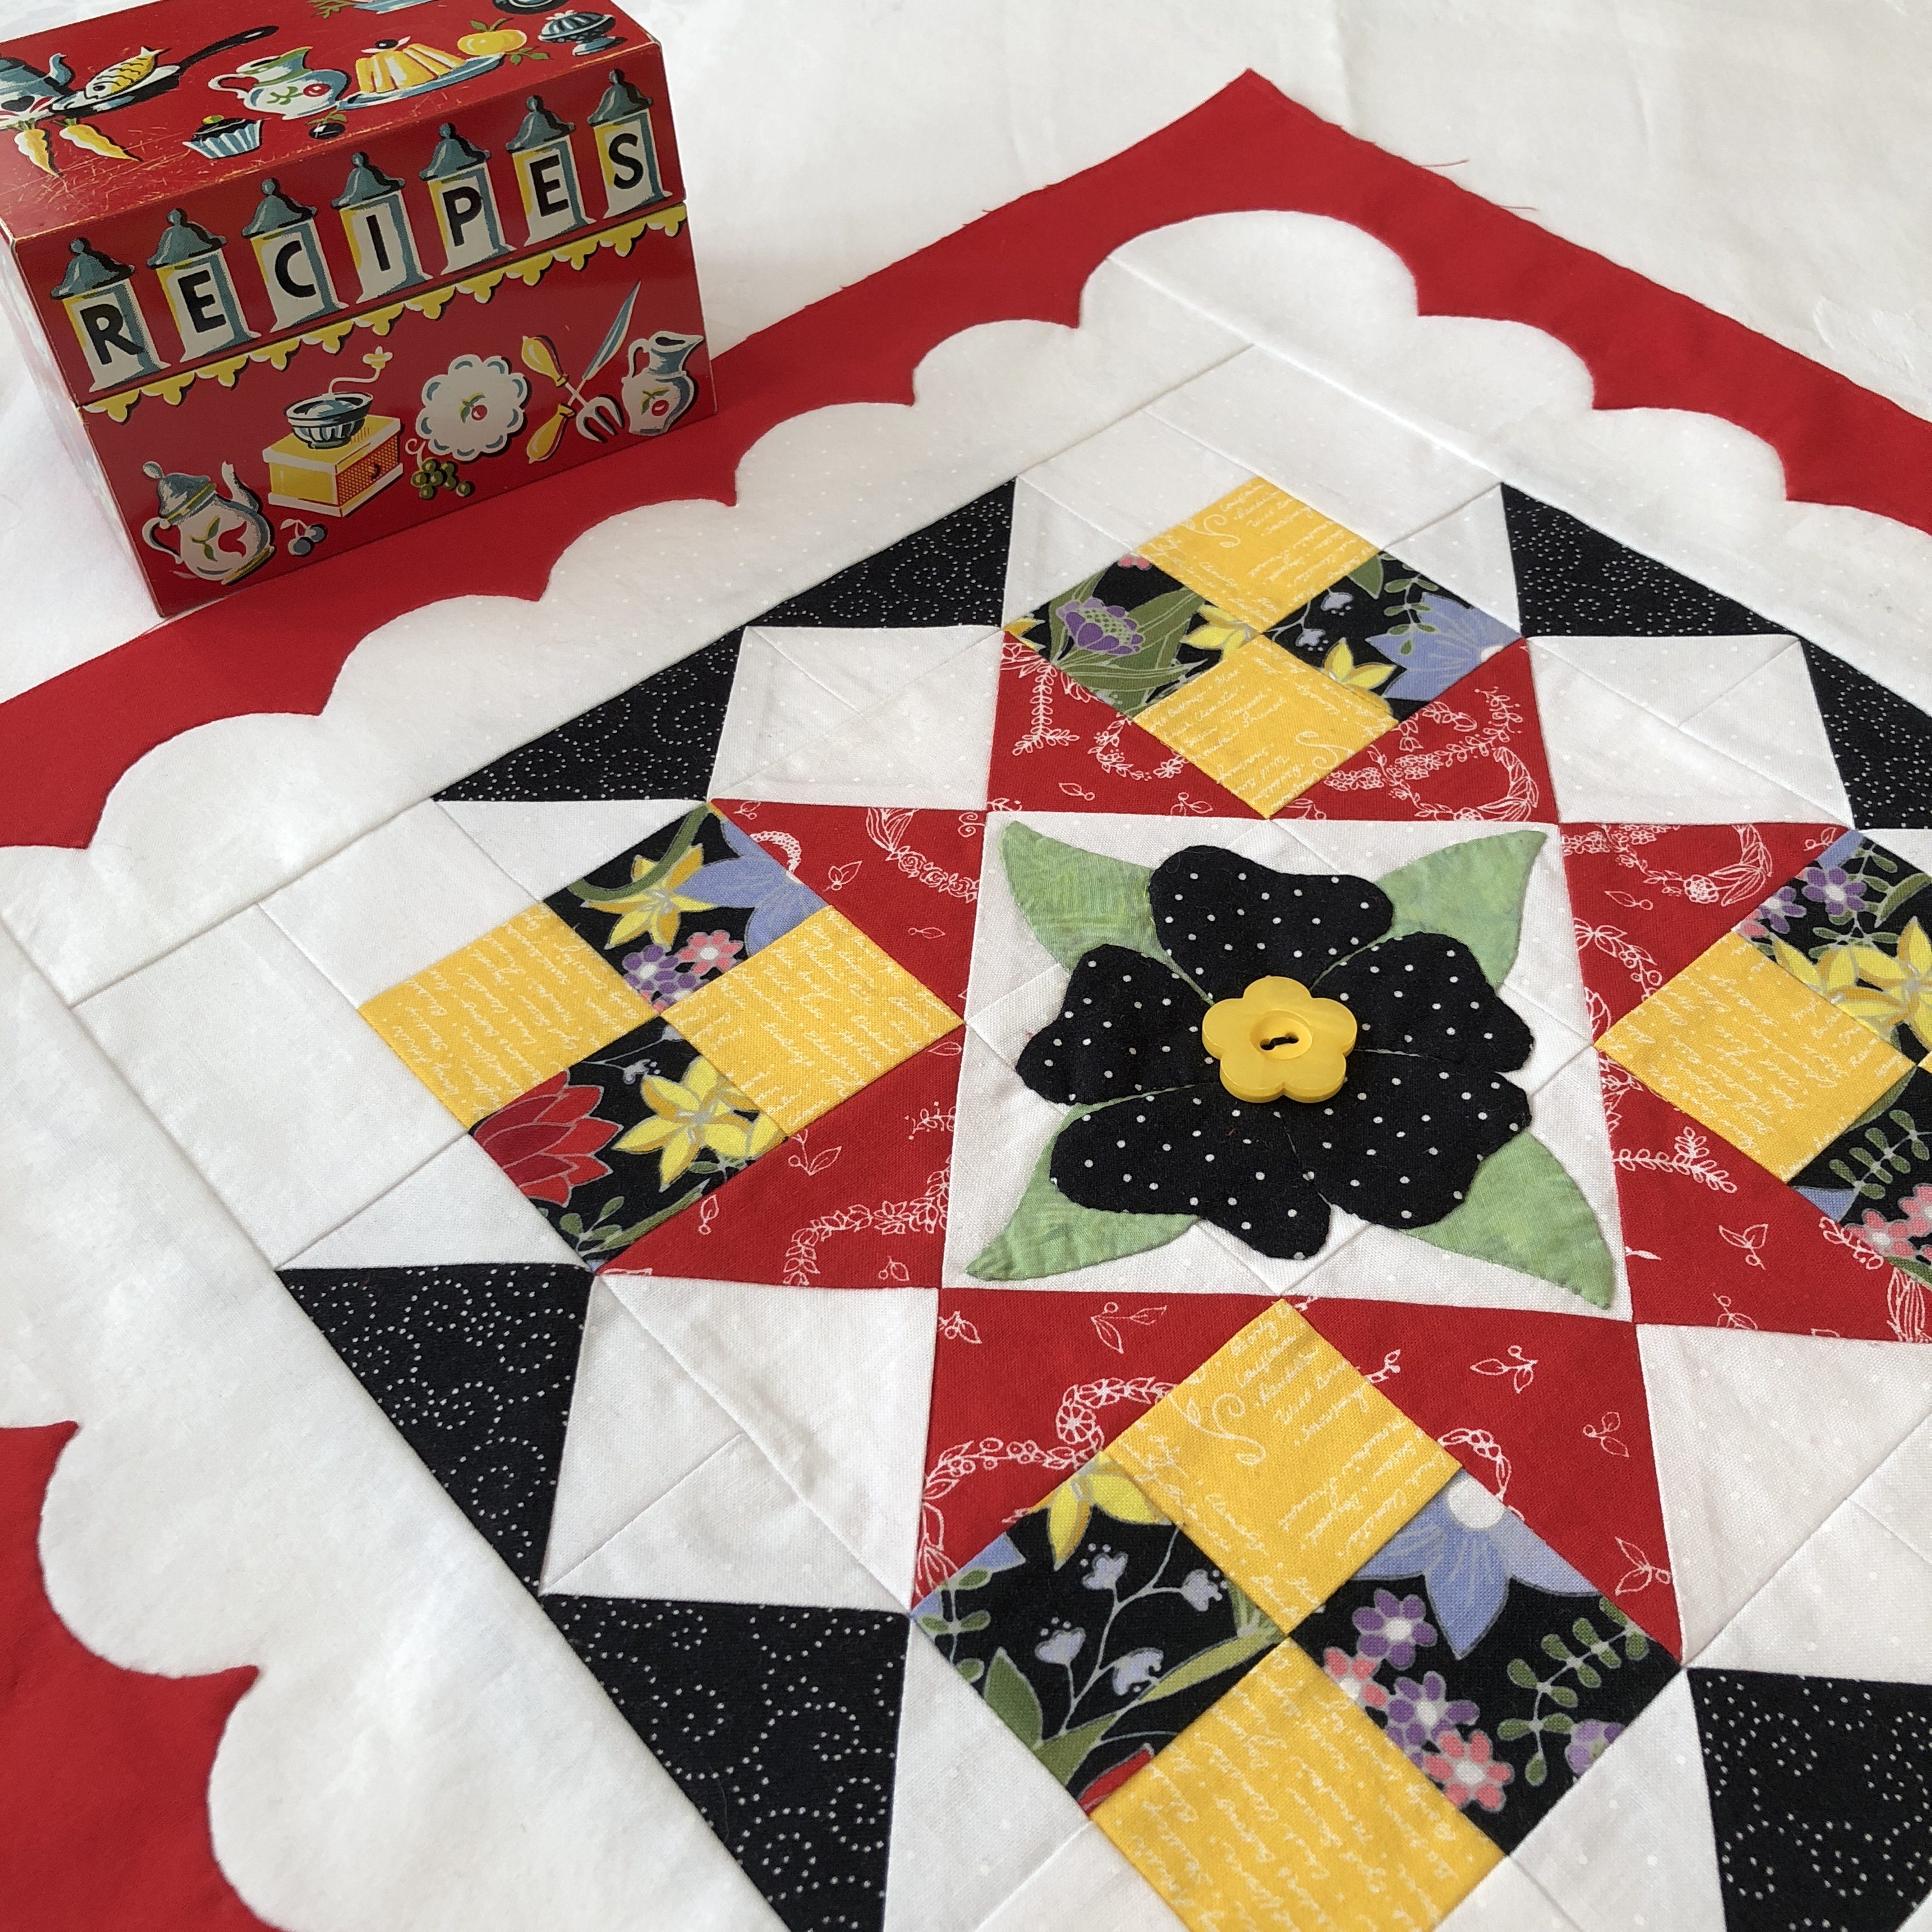
I did manage to complete one red scalloped frame (pictured in this post) and got started on another one:
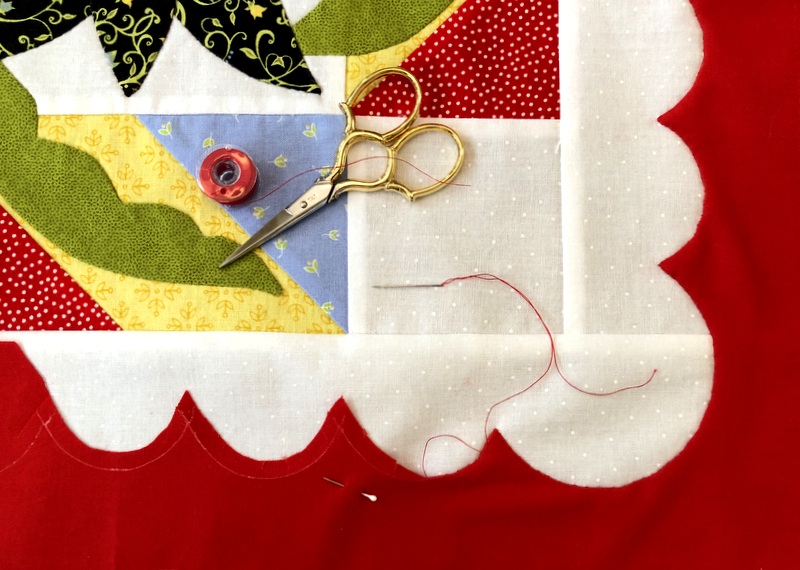
Since returning home almost a week ago, I’ve picked it up a couple of times but keep putting it down. It may look fine from a distance but I’m not at all happy with some of the points and curves. I don’t know whether to keep going or rip it out and start over.
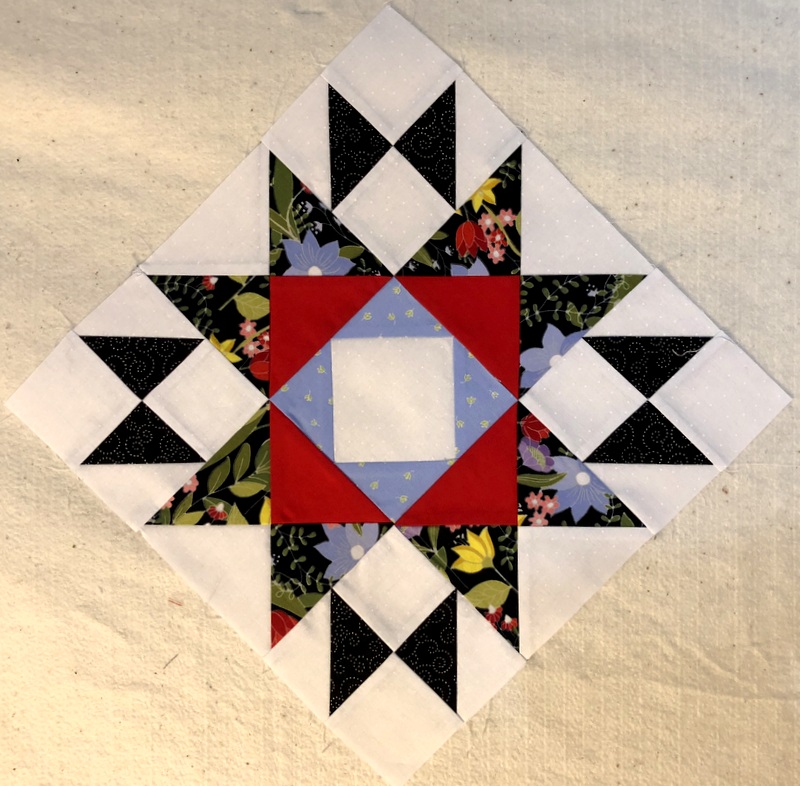
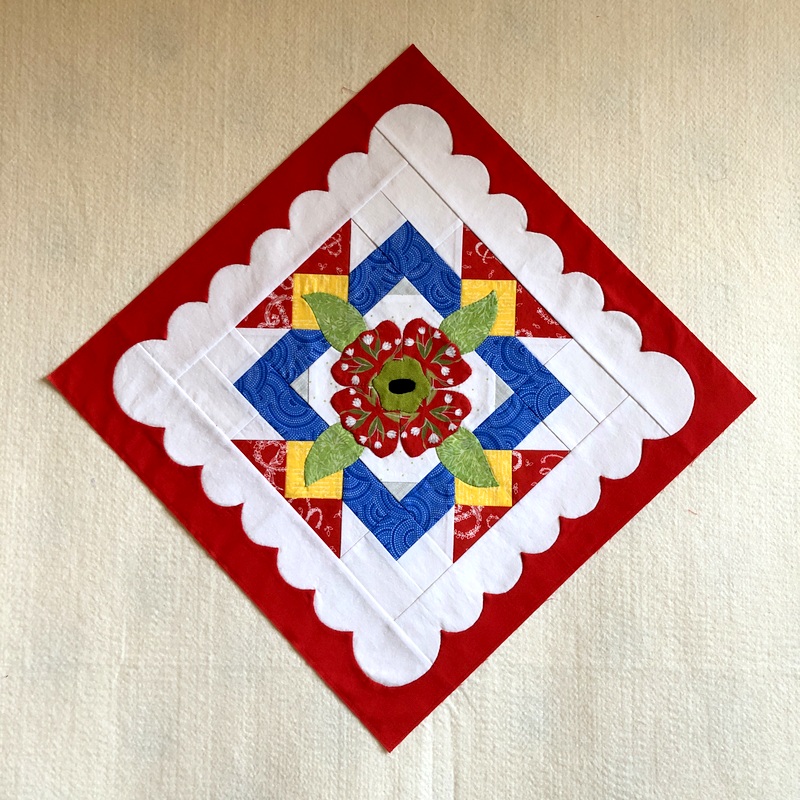
Best to put it away for a while. Not the entire project, though! I still have one more block that needs appliqué in the center (and I still want to remake the last block I pieced since I don’t like my original fabric choices). Maybe needleturning some small shapes will get me going again on those red scalloped frames.
I know: the more I do it, the easier it will become. I need practice — and patience.