When I created my blog in May 2012, one of my very first posts was about an Ocean Waves quilt my father gave me in the 1980s when I first became interested in quilting. Here’s a close-up of the quilt:
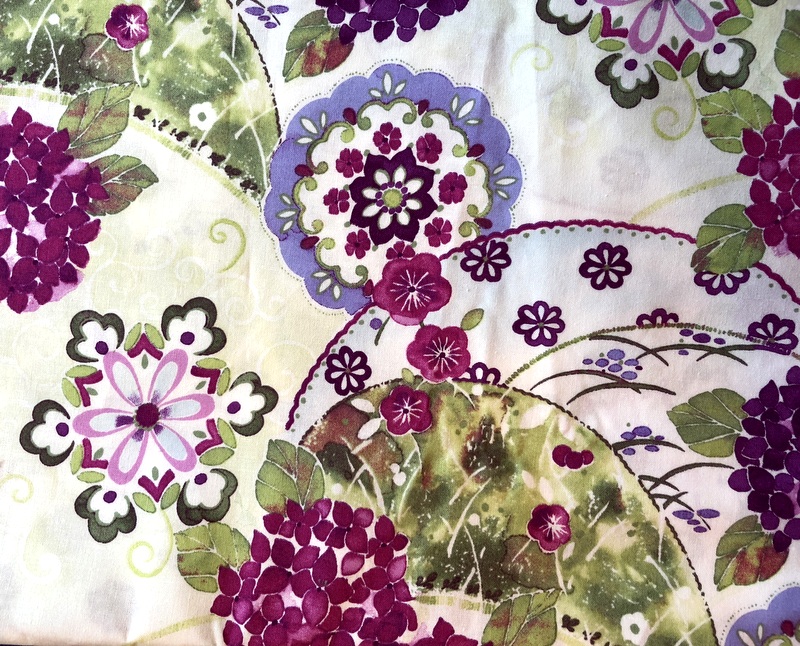
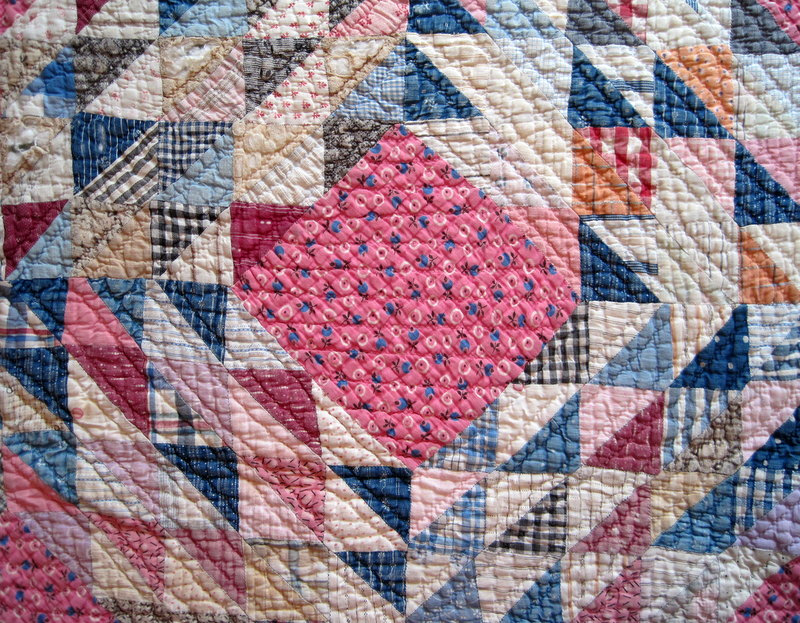 To give you an idea of scale, the squares made of Half Square Triangles finish at 2″ and the bubblegum pink print in the center finishes at about 5½” square.
The quilt was made sometime in the late 1920s by Magdalena “Lena” Weissenfluh, my father’s Swiss-born grandmother. My dad, born in 1923, contributed to the making of this quilt. His job was to pull scraps of wrinkled fabric from the rag bag and iron them so his grandmother could cut triangles and sew them together on a treadle sewing machine.
The quilt was quilted by hand on a frame lowered from the ceiling of Grandmother Lena’s home in eastern Oregon. My dad described the frame and the quilting process in great detail in an email message to me, parts of which were included in this 2012 post entitled “Nattering ladies with needle and thread . . .”
My father, Calvin Eston Weissenfluh, died last week at the age of 95. He had fallen at his home in Bend, Oregon the week before and was in the hospital. My siblings and I rushed to his side, expecting he would be released to a rehabilitation center. Instead he entered hospice care. It was his time and he was ready. His last week was spent in the comfort of his own home surrounded by three generations of family members and his wife of 59 years, my dear stepmother Shirley.
The last week was a time of great sadness because we knew the end was coming but it was also a time of joy as we got to celebrate his long life with him. My father was clear-headed up to the end, telling stories, giving orders, engaging in some good-natured joshing with his son and grandsons, and enjoying one-on-one time with family members. The night before he died he asked for — and got — a sip of whiskey, enjoying a virtual toast over the phone with his son-in-law in Georgia.
My father served in the US Marine Corps during World War II. Here’s a picture of him in uniform at the age of 23 alongside a photo of him taken seven decades later:
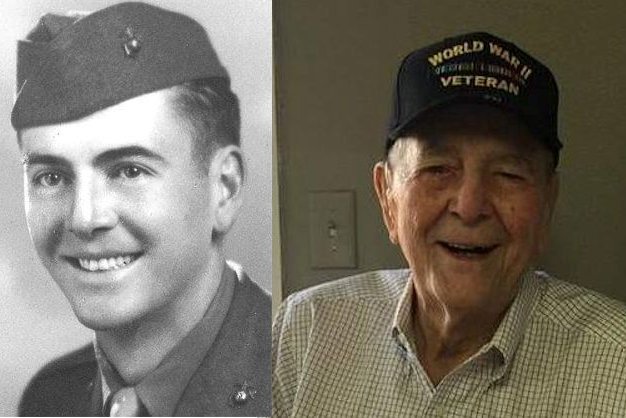
What a handsome fellow he was!
During my dad’s last week I was charged with drafting his obituary, which he read and approved. He made one correction and asked me to add one sentence that appears at the end of the following paragraph:
“Cal’s ancestors on his father’s side emigrated from Switzerland in 1880, settling in eastern Kansas before moving to eastern Oregon. A chance encounter with a Swiss tourist visiting Oregon in 1950 led to Cal’s discovery of Weissenfluh relatives in Guttannen, Switzerland. He made two trips to Switzerland to visit them and maintained close contact with his Swiss relatives for the remainder of his life. He was always very proud of his Swiss ancestry.”
My father gave me two things before he died. The first is a replica of the Swiss flag that he brought home from his first trip to Switzerland:
 I’ve always loved the simplicity and strong graphic appeal of the white cross on a red background. Now I am thinking about how to include this 22″ square flag in a tribute quilt.
The second is a leather bow tie embellished with beading that was given to him in 1980 by a member of the Klamath Tribe in southern Oregon:
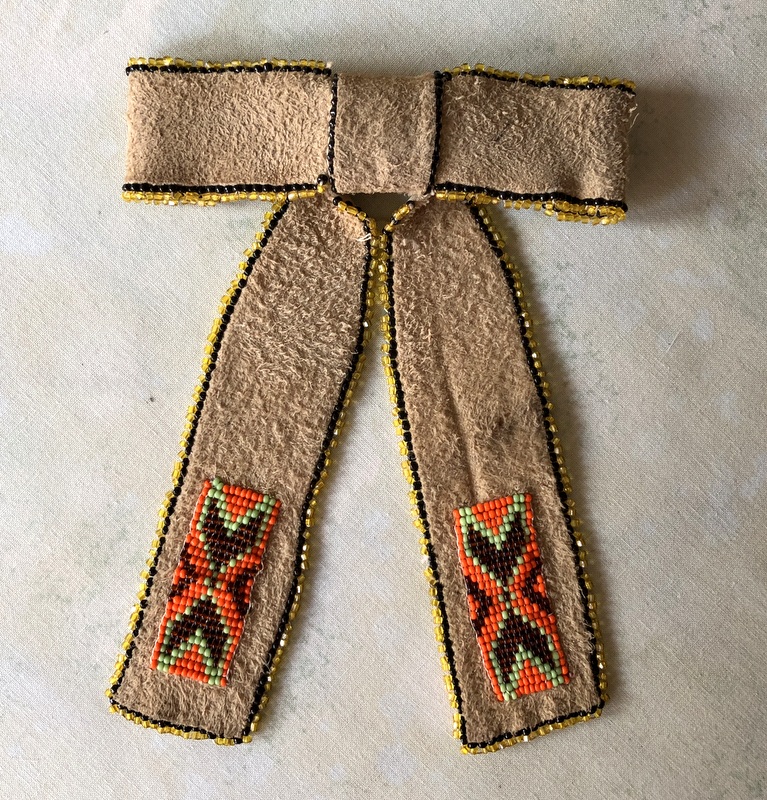
My dad loved that tie and wore it at our last Weissenfluh Family Reunion held in 2017:
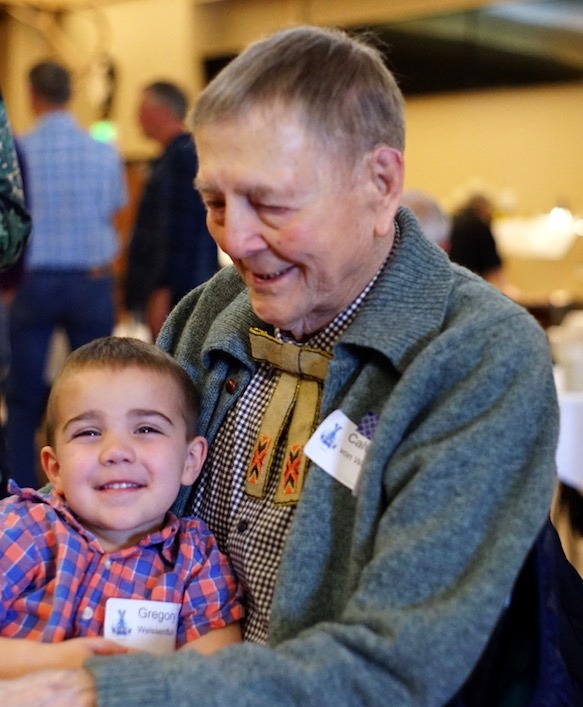
I will wear it to the next reunion in his honor.
RIP, Pater.
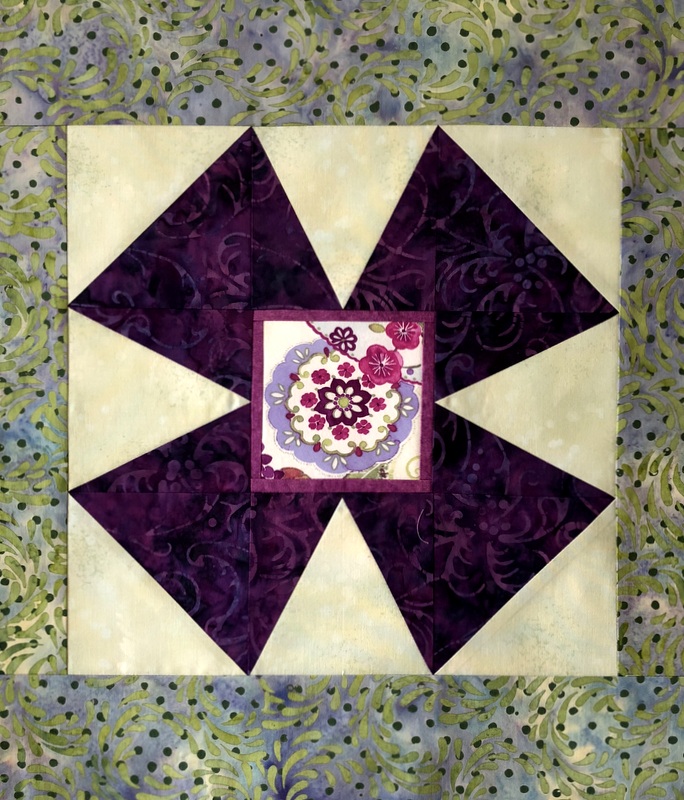

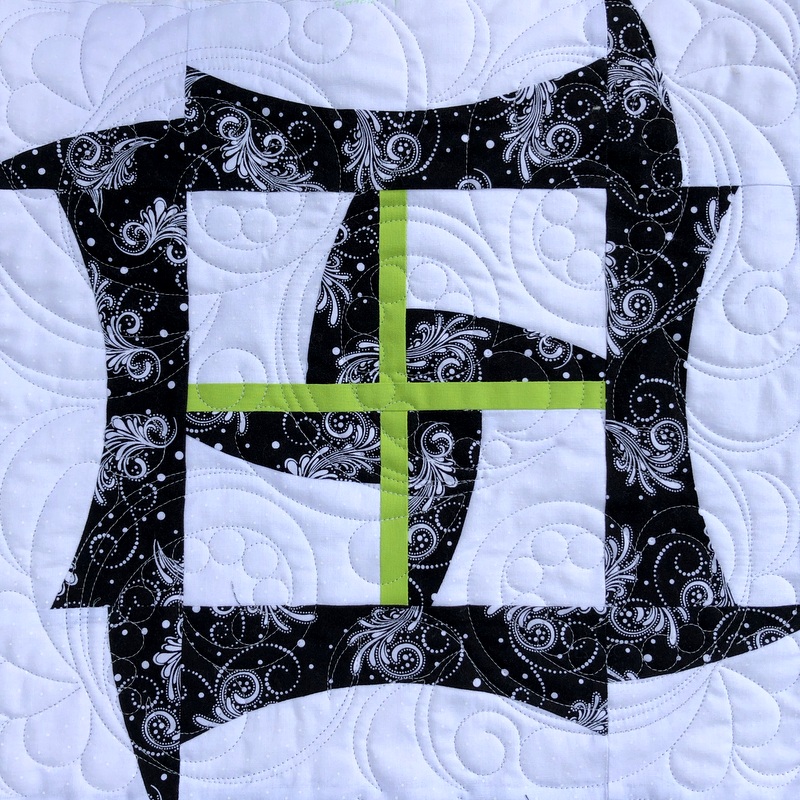

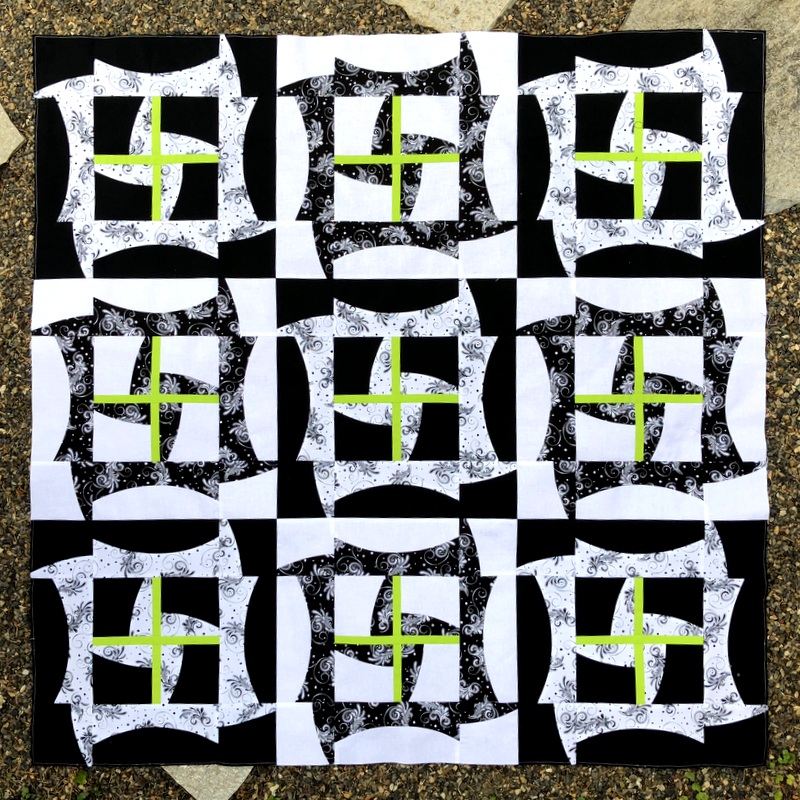


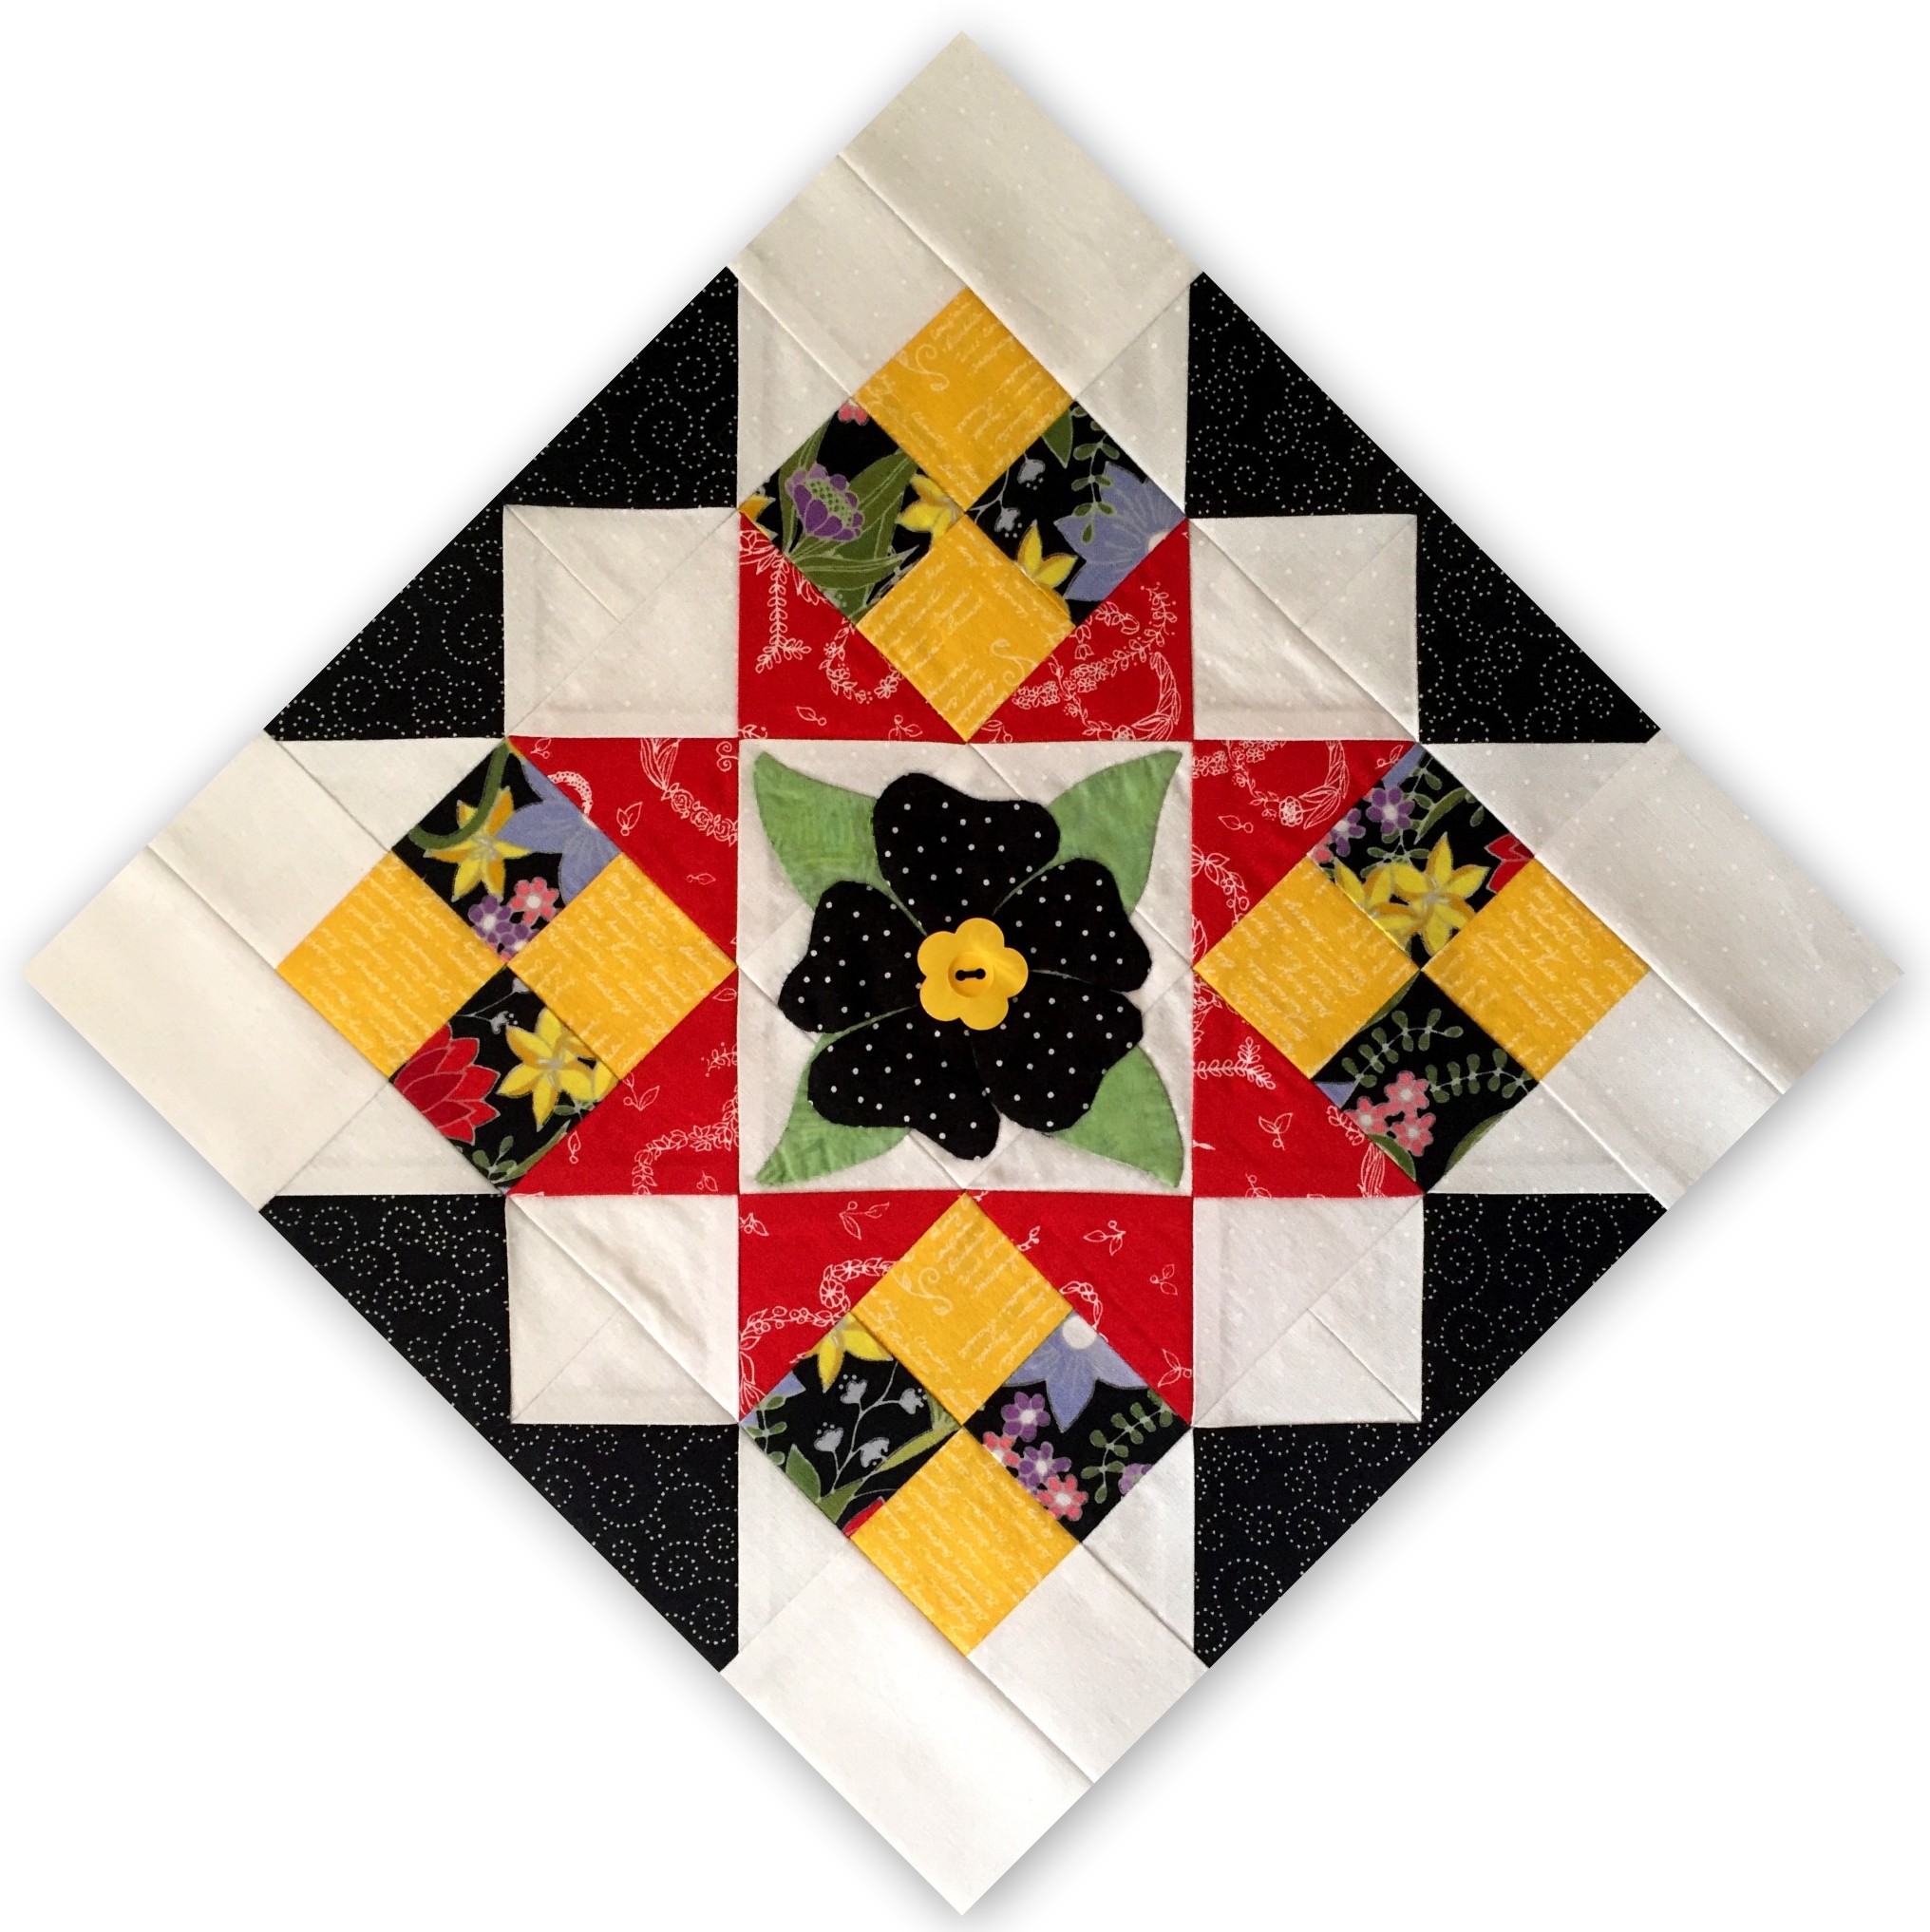
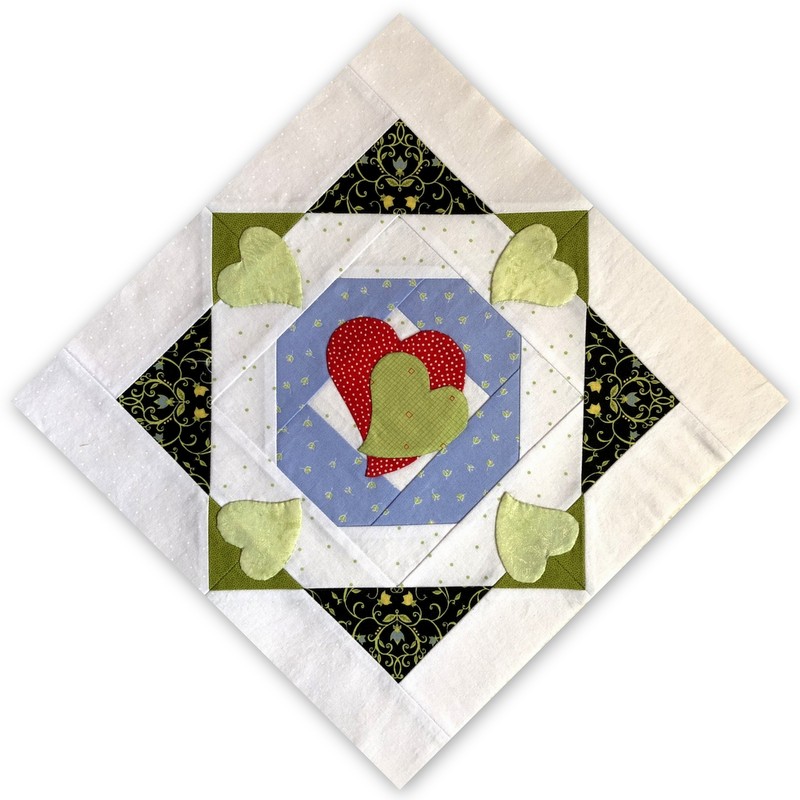 Domestic Bliss, Block 8 of