Category Archives: family

Not So Fast

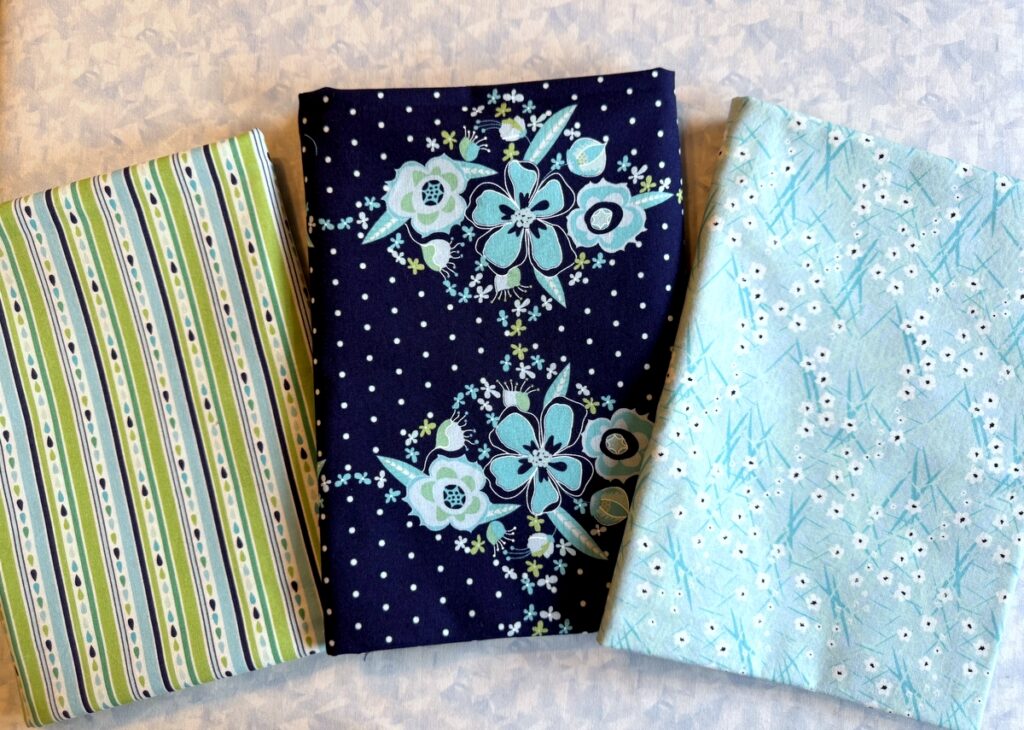
The plan was to make a fast quilt top last weekend. My starting point was this luscious pair of fabrics from the “Orchard” line by Jill Finley for Riley Blake Designs:

(I ran off in high spirits last year and bought several pieces from the line, not knowing what I would do with the fabrics, just knowing that I had to have them.)

I picked this pattern . . .

. . . because it called for just three fabrics and I could tell it would be fast and fun to make, just the ticket because I’ve been in a bit of a sewing slump.

The pattern calls for one yard each of three fabrics and is made of 12 blocks that finish at 15″. Two slender borders complete the quilt. I immediately decided to make a larger quilt. I downsized the block to 12″ and chose a 4 x 5 layout, which would yield a top measuring 48″ x 60″ before borders. The outer border will definitely be wider than the one in the pattern; my plan is to create a top that measures 60″ x 72″ or thereabouts, a good size for a throw or lap quilt.

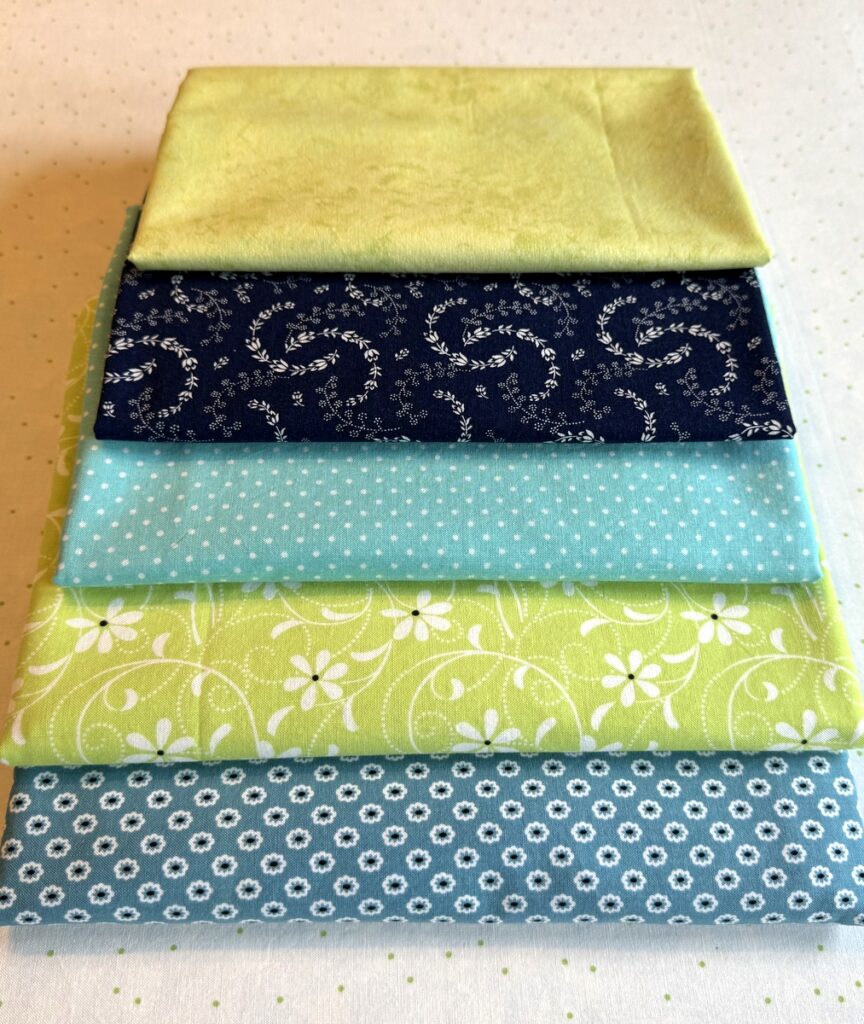
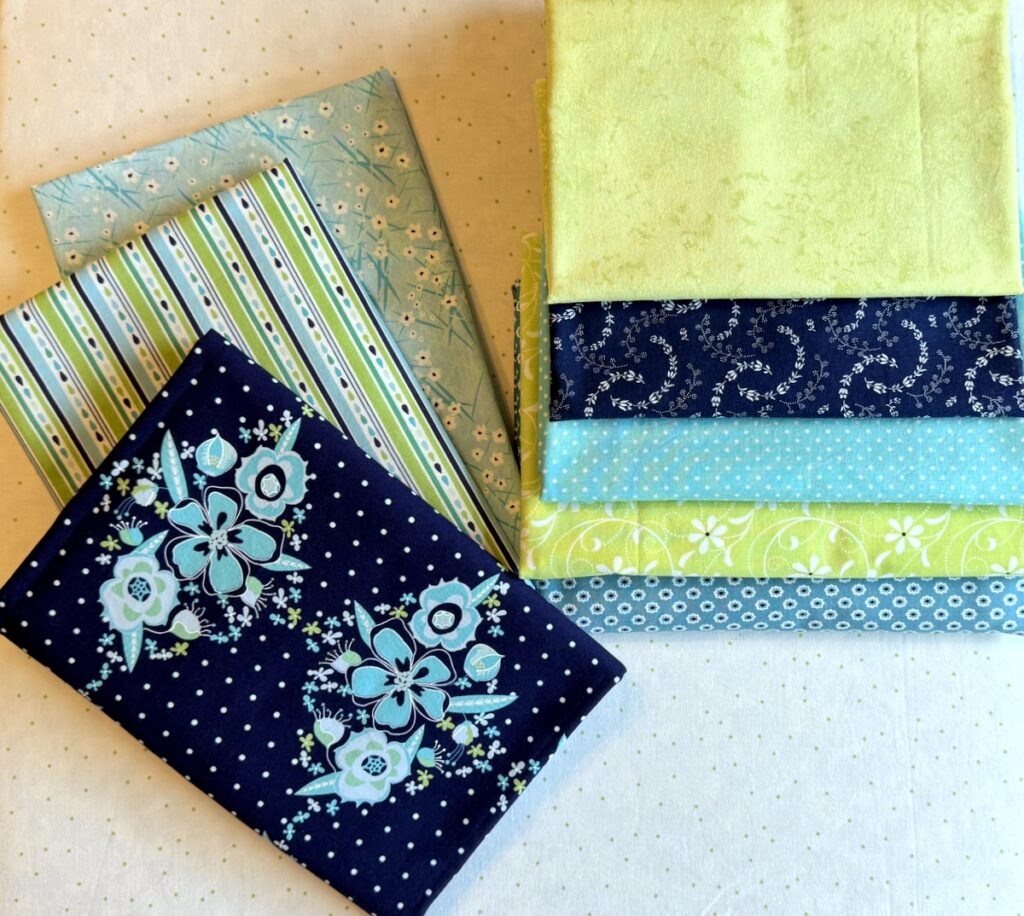
I also decided to make the quilt a wee bit scrappy by choosing four green fabrics that are very similar in color and value. Here they are with the focus fabrics:

I was so sure of my fabric choices that I didn’t make a test block before cutting my strip sets from the four greens and the smaller floral print. Uh-oh. Big mistake. I was definitely not loving the first four scrappy blocks:

My favorite green was the tone-on-tone paisley so the plan was to proceed with that one. I was preparing to take the stacks with the remaining greens apart so I could salvage the pink floral . . .

. . . when I thought, “What about using a second green?” I retrieved one of the sets above and made four test blocks with it and the paisley:

I’m liking this much better. I could have gone with one green and I almost did, realizing that part of the charm of this design is its utter simplicity. But I really like the way the two greens play with the florals as well as with each other, and the second green does add a bit more visual interest.

The blocks went together very quickly once I had the pink floral pieces attached to the greens. This is what I have to show for it:

Isn’t that refreshing? I love pink and green together. The colors are so reminiscent of daphne, that harbinger of spring . . .

. . . and the peonies in our yard that bring me joy every year . . .

. . . and even this photo of chestnuts in blossom that I took in April 2015 when the Dear Husband and I were lucky enough to spend three weeks in Paris:


Since today just happens to be National Quilting Day, it’s fitting that I was able to spend a good part of it in my sewing room. Even though this project got off to a very slow start, I am eagerly looking forward to sewing my blocks together and adding borders.

Something else to look forward to:  spring begins this coming Tuesday!


Posted in family, Paris, update | 7 Comments

A Quilt for Coco

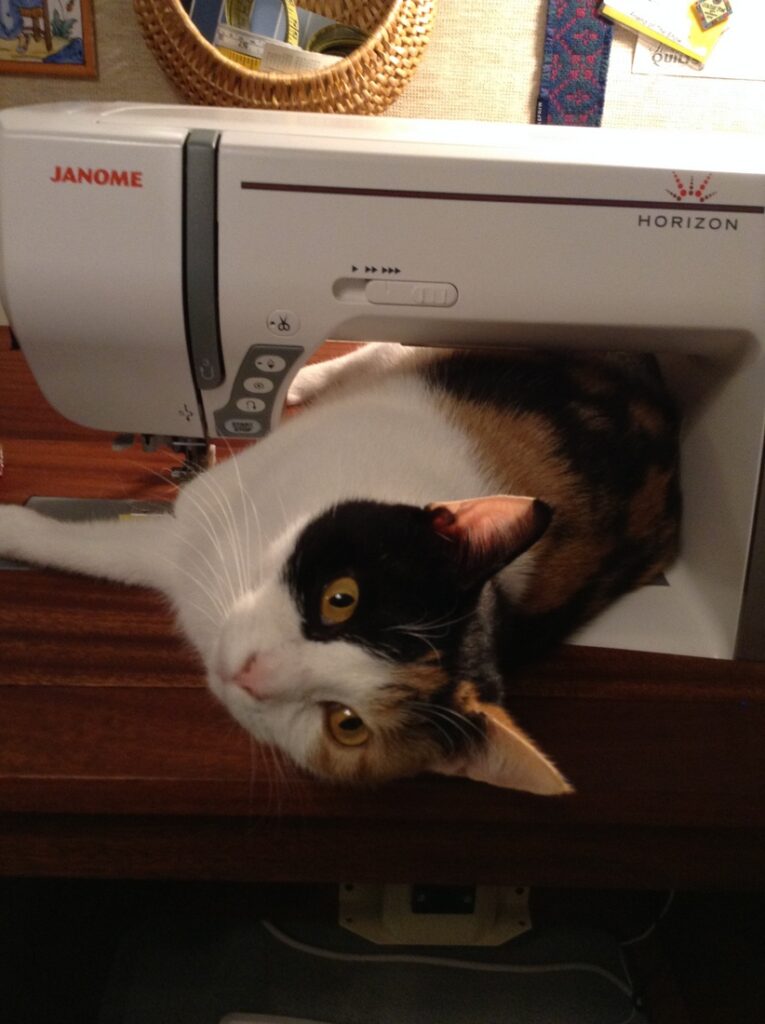
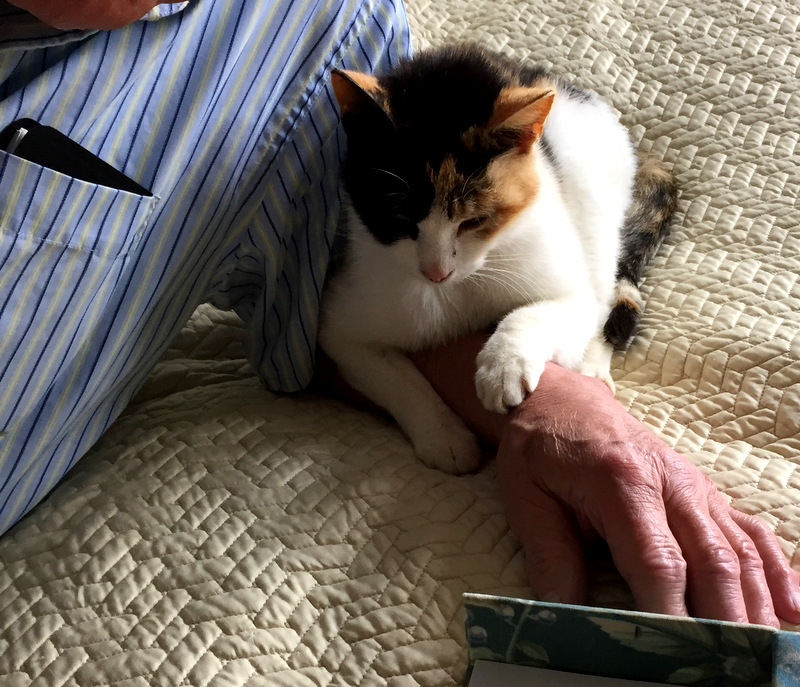
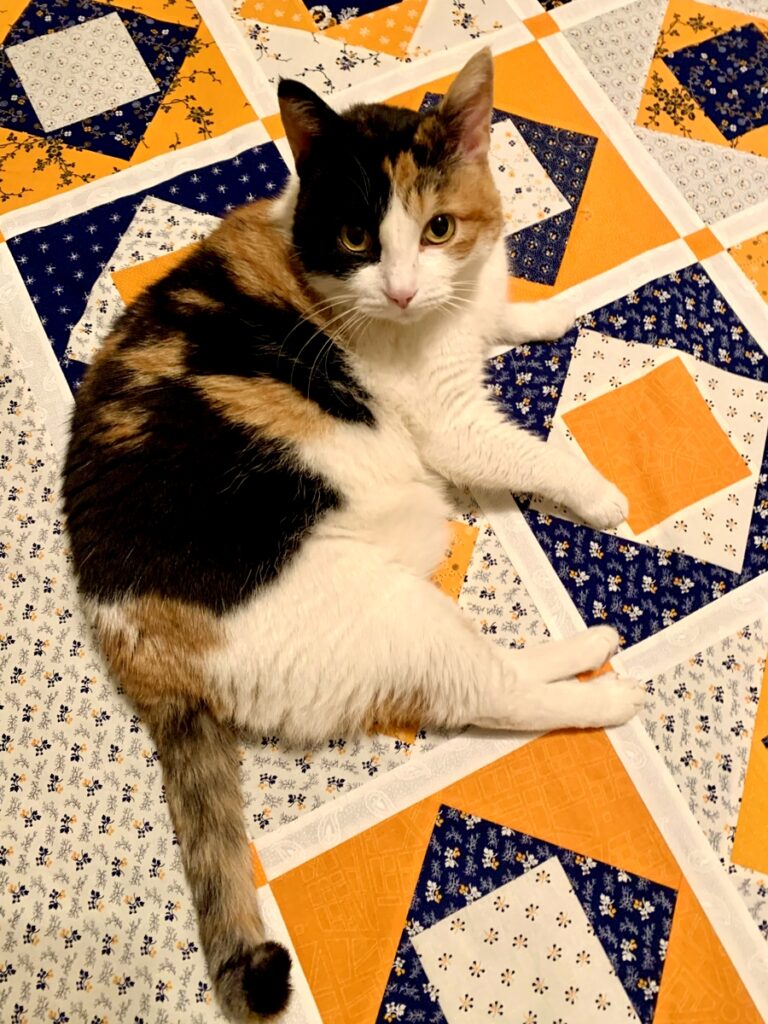
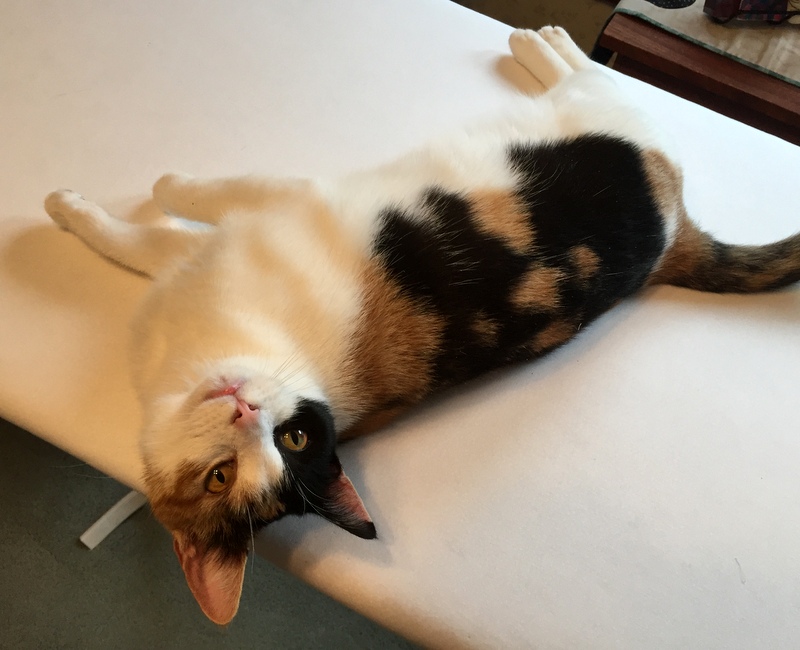
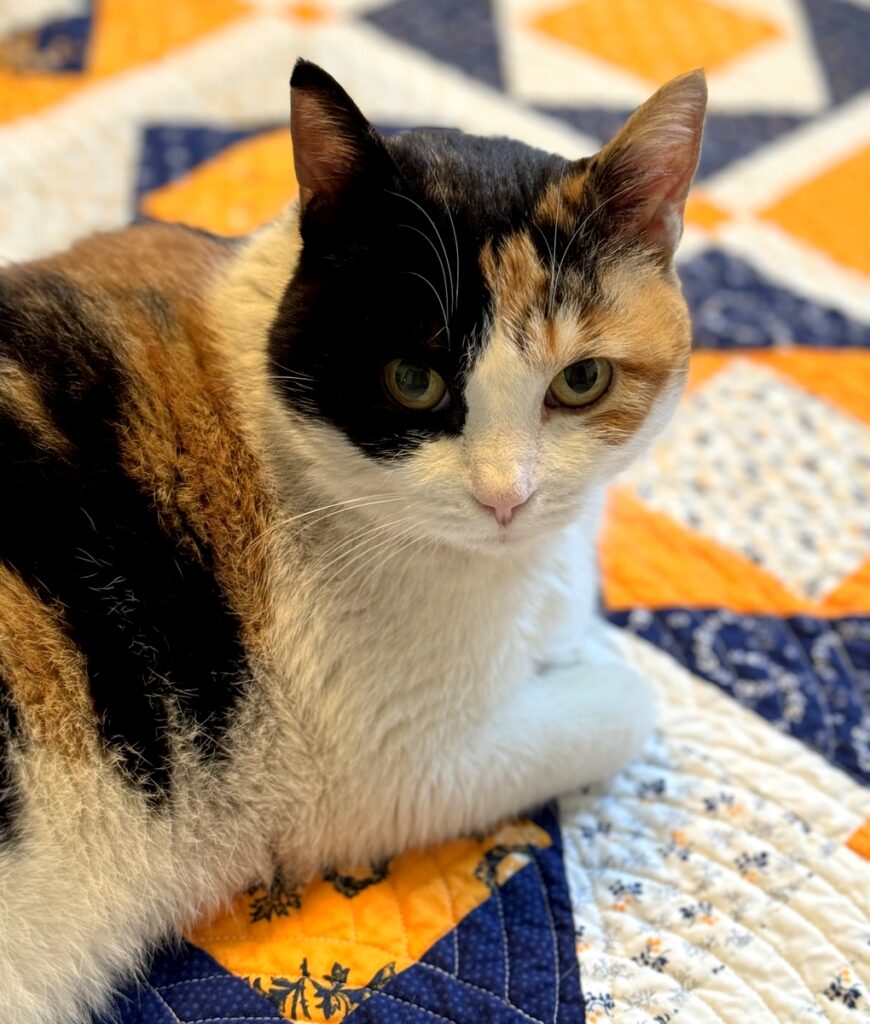
Like most cats, my Princess Cordelia — known to most as Coco — is an expert napper. She has plenty of roosting spots around the house, including on our bed, on the couch, on the chair and ironing board in my sewing room, and wrapped around the Dear Husband’s head (I’m not kidding). Until very recently, the one place that was off limits to Coco was the guest room.

All that changed when my twin Diane came to visit in November and came down with Covid. I felt so sorry for Diane that I allowed Coco to keep her company. Coco quickly added the guest bed to her list of favorite spots to catnap. Although I love seeing cats on quilts (check out #catsonquilts on Instagram), I didn’t want Coco on the quilt in my guest room. She won’t let me trim her nails, and the last thing I want to see is claw marks marring the lovely canvases of my quilts.

I quickly put an old bath towel on the guest room bed, and Coco has been quite content to snooze on it:

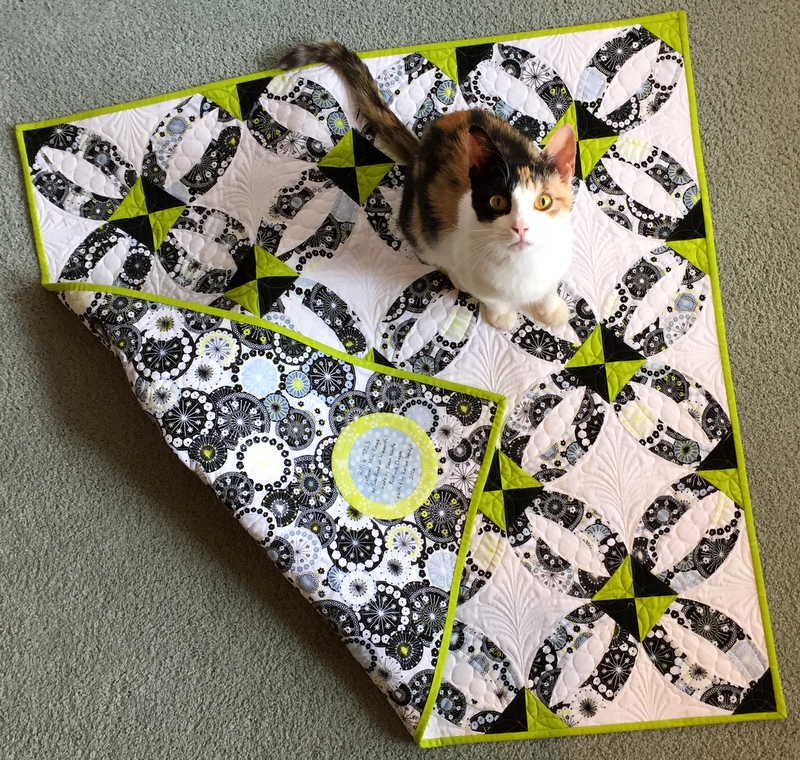
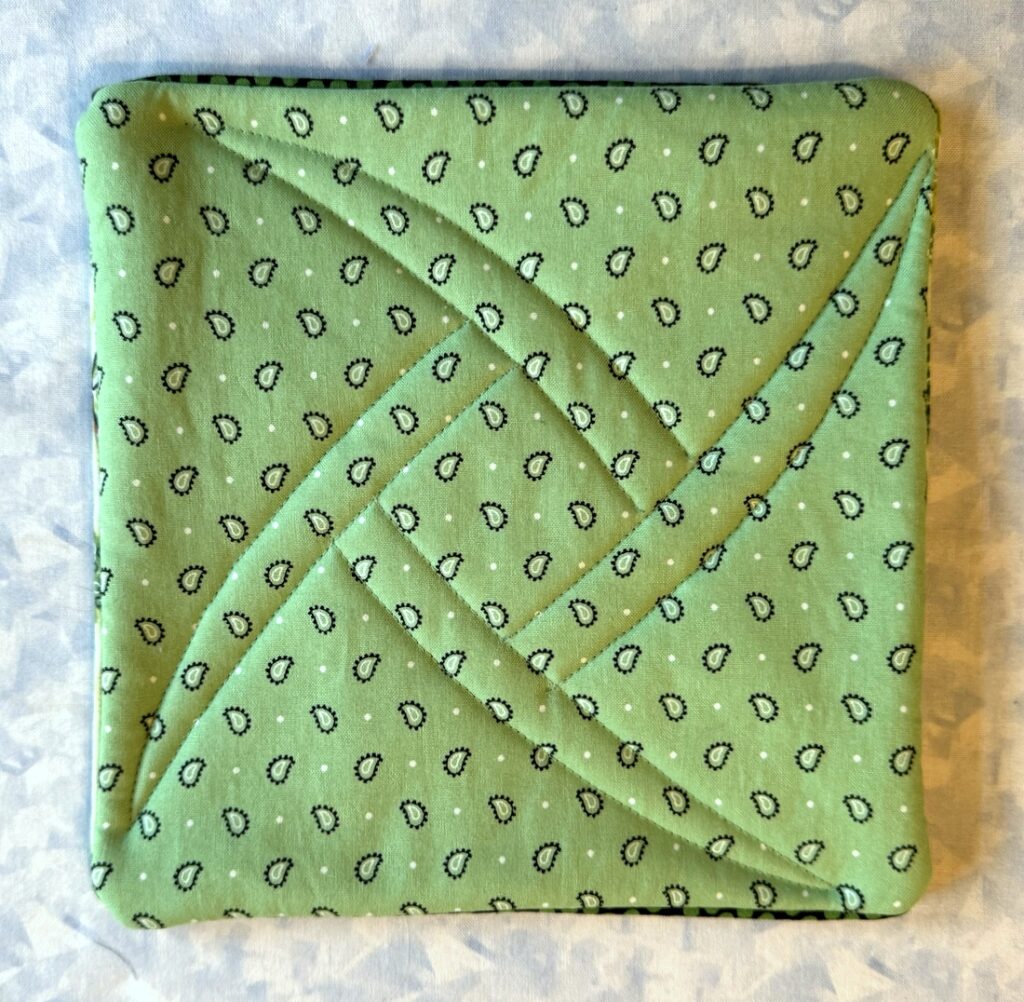
Still, I thought it would be nice if she had her own quilt, so I whipped this up yesterday:

Of course it’s not a real quilt. It’s a flannel blanket made after consulting a few of the Self-Binding Baby Blanket tutorials abounding on the Internet. After completing the blanket, I stitched four straight lines in a starburst pattern in the interior to hold the two layers together because I wasn’t sure if the blanket would keep its shape after being laundered.

Here’s a shot of the blanket taken yesterday evening, in anticipation of a visit from Coco:

There was evidence this morning (an imprint of her plump body) that she had napped on the blanket sometime in the night.

Today Coco’s Quilt (which is how I keep thinking of it) went into the washer and dryer. I am happy to report that the little quilt kept its shape beautifully. As expected, it did shrink because I didn’t prewash the flannel fabrics beforehand. It finished at 30.5″ square before laundering and 29″ square after.

As I made the blanket, I made notes to myself on suggestions and instructions I would add if I were to make another one. I’ll write those up and offer them in a subsequent blog post. In the meantime, I’m waiting for Coco to curl up on her new quilt. It’s just a matter of time.


Posted in baby blanket, cats, family, self-binding baby blanket, update | 5 Comments

Accessorizing the Home

I’ve been spending a wee bit of time in my sewing room over the last week. It could have been more but I had my nose in a book. A big book:  715 pages, to be exact. It’s Abraham Verghese’s bestselling novel The Covenant of Water. I actually bought it last summer but was reluctant to begin such a lengthy tome until after my cataract surgeries in June and August. Reading is once again a great pleasure, and this freezing cold snap in the Pacific Northwest over the last several days presented an ideal opportunity to curl up with a good book with either a cat or a quilt (sometimes both) on my lap.

I did venture into my sewing room from time to time, working around the schedules of the workmen repairing the walls and ceiling in the upstairs hallway following water damage from a rain storm. The hallway now looks brand new — a touch of irony in a house that’s 111 years old — but the texture on the walls beautfully mimics the original lath and plaster so you’ll hear no complaints from me. All the hallway needs now is a coat of primer and two coats of color.

I’ve been working on some small things:

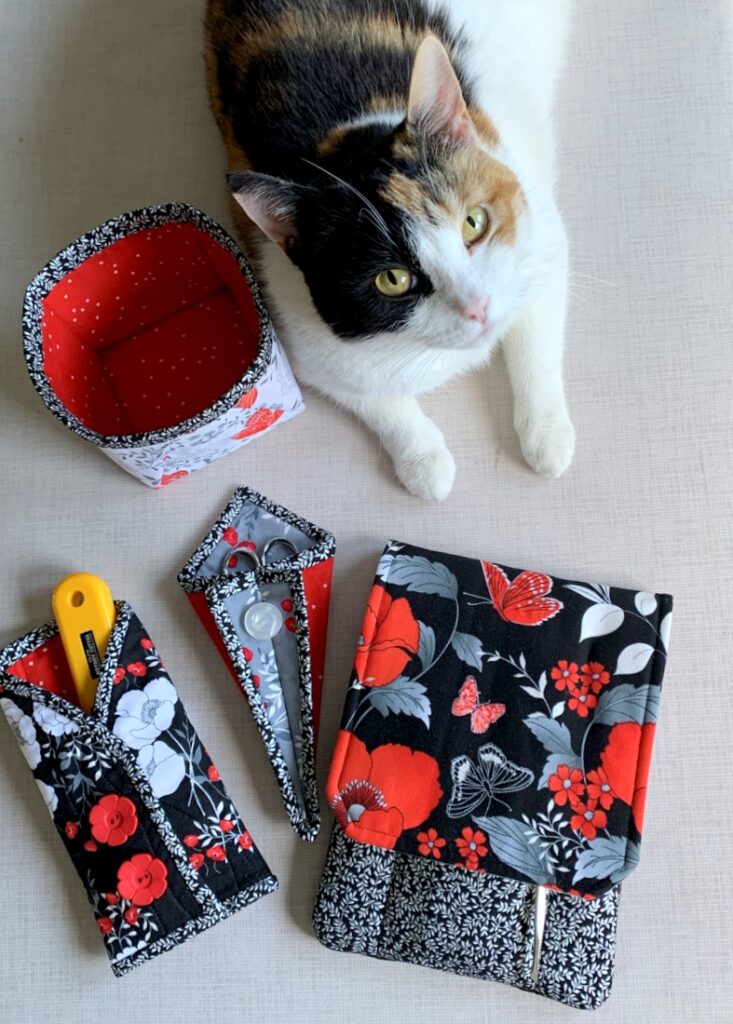
This is a quilter’s tool caddy, using the pattern Travel Case by Pearl Pereira of P3 Designs. I’ve made several versions over the years, modifying the design in a few ways but most importantly by adding a fourth pocket so the caddy holds more:

The tool caddy is one of four accessories to go with my current Junior Billie Bag-in-progress. I’ll finish it soon along with three other accessories that go with it — a rotary cutter coat, a scissors case, and a fabric box that I use as a threadcatcher. I’m so enjoying the fabrics — most of them from the Gingham Foundry line by Riley Blake that came out in 2021.

You may remember I used the same fabric last October in a pair of pillowcases made for the Portland White House. I just finished a second pair for my twin Diane, who arrives on Saturday for a two-week visit. Ordinarily she would be surprised by seeing them wrapped up with a ribbon in the guest bedroom but she reads my blog so as soon as she sees this post she’ll know they await.

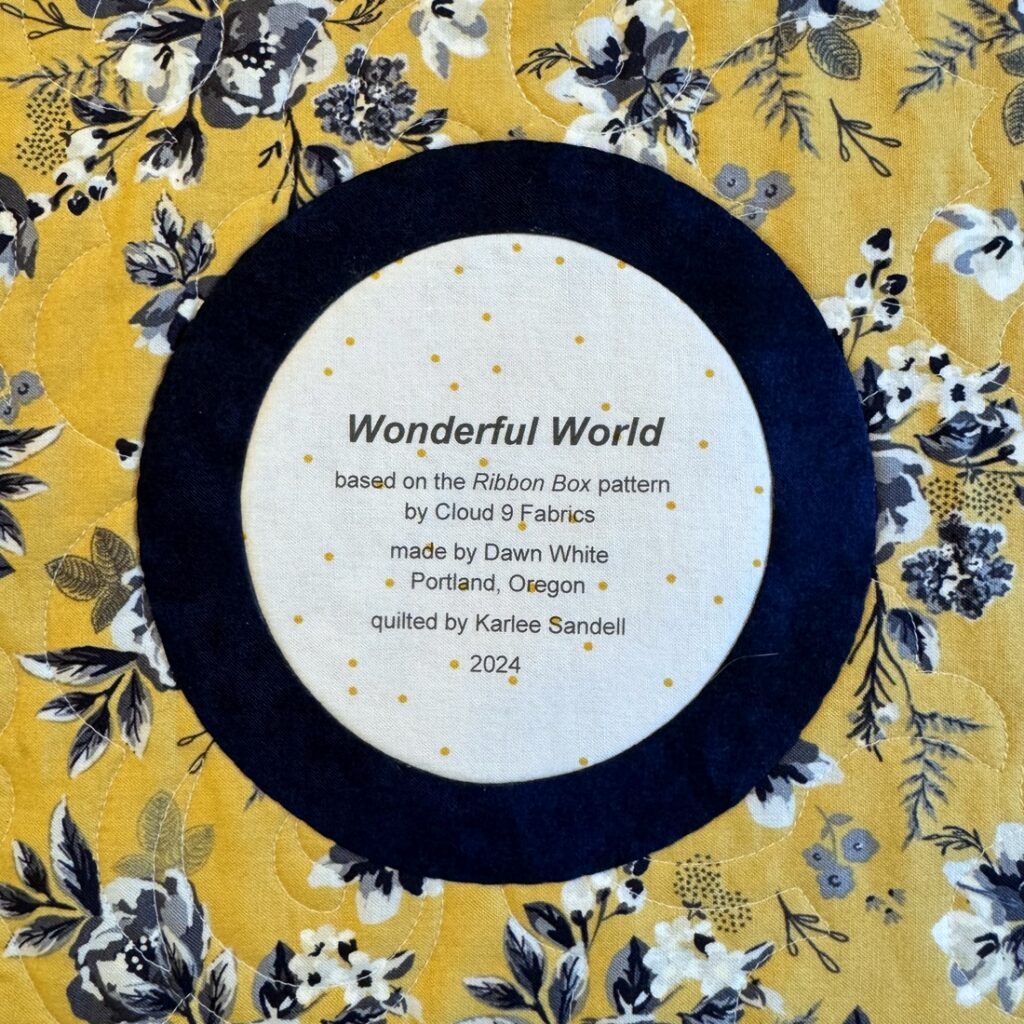
I couldn’t resist fussycutting the text print on the band so that the refrain “I think to myself what a wonderful world” appears on the top and bottom lines of the band:

A bit obessive-compulsive? Umm, yes.

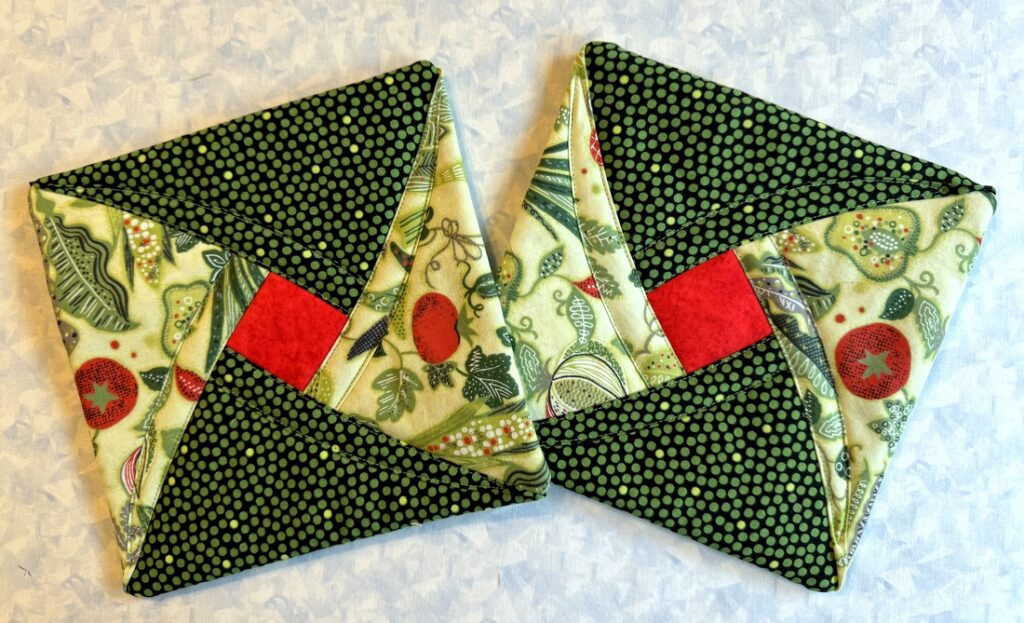
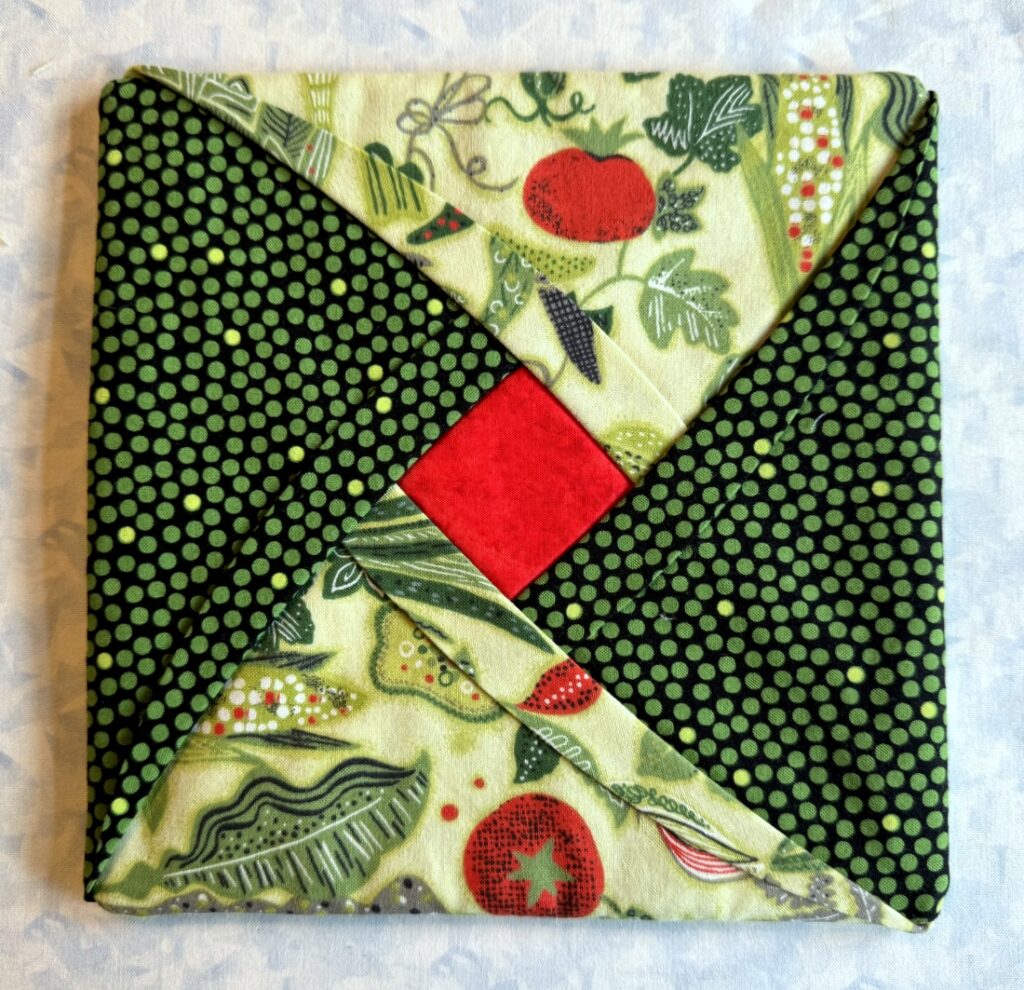
I also made myself a new oven mitt (from my own tutorial) but got two in the bargain:

I had cut out the fabric and batting weeks ago for the mitt on the right; the materials were stacked in my sewing room closet just waiting for me. I can’t remember why I got out the tub that my oven mitt supplies are stored in but when I did I was surprised to find there was a mitt inside that was almost finished! All I needed to do was tack the red band down and turn the mitt right side out. I adore that tomato print and thought I had used the last of it. Now I well and truly have.

So much for accessories. What about quilts? Well, I have two quilts I started last year that I really need to finish but I’m already dreaming about starting a new one. . .


Posted in Billie Bag, cats, family, home dec, Junior Billie Bag, oven mitts, pillowcases, roll-it-up pillowcases, rotary cutter case, sewing tool caddy, tote bags, tutorial, update | 4 Comments

“She Sells Seashells by the Seashore”

I’ll bet every grownup in the English-speaking world learned that tongue twister as a kid. It popped into my head today as I was finishing up the second of two valances for my stepmother Shirley’s master bathroom. Both valances were made using a small scale seashell print from the “Cotton Beach Collection” by Tilda Fabrics. This is the larger of the two valances, gathered on a spring tension rod the width of the larger window, 29¼”:

(Notice the sleeping cat on the couch behind me? That’s Coco, enjoying her afternoon nap.)

This is the smaller valance made to fit a window that’s only 13¼” wide:

They are the first two things I’ve sewn since moving back into my sewing room after having the ceiling replaced following the wind and rainstorm of Dec. 1 that damaged several rooms in our house. I wrote about that here.

Behold my pretty new ceiling:

I popped the valances in the mail today; with luck they should arrive at Shirley’s home in Bend by Saturday. Making the valances was a simple project but very satisfying. And I must say it feels good to be back in my happy place!


Posted in cats, family, update, valance | 4 Comments

Auntie Claus?

You’ve heard of Santa Claus, of course. But have you heard of Auntie Claus? That’s me! I made a pair of pillowcases this week as a surprise Christmas gift for my 20-something great-niece Megan:

Megan still has the pillowcases I made for her when she was a little girl. It was her mother’s clever idea to have these pillowcases be from “Auntie Claus.” Megan will be puzzled when she reads the tag but will know as soon as she opens the package that the pillowcases were made by her Auntie Dawn. These pillowcases are finished with French seams — no raw edges in sight. You can find the free tutorial for my roll-it-up or burrito-style pillowcases right here.

And don’t you just love the fabrics? They’re from the “Icy World” line by Gareth Lucas for Windham Fabrics. If you’re a regular reader, you’ve already seen these delightful folk art fabrics in a quilt I made a year ago called Arctic Stars as well as a simple ruffled valance I made just a few weeks ago for my stepmother’s guest bathroom. When I fall in love with a fabric line, it tends to make appearances in multiple projects.

It seems especially appropriate to be looking at Arctic scenes today as it happens to be the first day of winter and the shortest day of the year in the Northern Hemisphere. Each day after the Winter Solstice brings more daylight. Bring it on, I say!


Posted in family, home dec, pillowcases, roll-it-up pillowcases, tutorial, update, valance | 4 Comments

The Rest of the Story

For those of you who commented on my last post, thank you so much for your sympathetic and encouraging responses to my tale of woe. As bad as the water damage was to our home caused by the rainstorm late Friday, Dec. 1, it could have been worse. You see, I was awake much earlier on Saturday morning than I normally would be and thus discovered the damage sooner.

On that same Friday my twin sister Diane, here from Georgia for a month-long visit, tested positive for Covid. She had started showing cold symptoms — a cough and sniffles — on Wednesday. Her symptoms continued and by Thursday evening all she wanted to do was go to bed. That was when I began to suspect she might have more than a cold.

The first home Covid test on Friday morning was negative so I waited a few hours and gave her another. That one was definitely positive. As an out-of-state visitor, the only way she could be seen by a physician (and presumably get a prescription for Paxlovid) was to go to a hospital Emergency Room. We decided to do that first thing Saturday morning.

At bedtime I told her to call me on my cellphone as soon as she was awake, even if it was really early in the morning, so we could get to the hospital when fewer people would be waiting to be seen. I think her call came around 5:30 am. And that’s when I discovered the water coming into my home. As it happened, my contractor was out of town for the weekend so I called the roofing company and left a message explaining what was happening. In fewer than 3o seconds, I had a text message reply:  “We’re on our way.”

So off Diane and I went to the ER, where she was indeed the only person in the waiting room. By then she had a temperature of 100.8. The ER doctor ordered an X-ray of her lungs, which showed some congestion, and he did prescribe Paxlovid. By midmorning we were back home, prescription in hand, and Diane was back in bed.

She quarantined in the guest room in the basement for the next week. (Although the Dear Husband and I are both up to date on our Covid vaccines (as well as vaccines for flu and RSV), Diane wanted to keep her distance from the DH since he’s in a high risk category due to his age and a heart condition.) It took two full days on Paxlovid before Diane started to feel better but every day after that she showed some improvement. Of course she had to delay her departure till she tested negative. I had the pleasure of her company for an extra week, which was a bonus for me.

During Diane’s time in the sick bay, I felt so sorry for her that I allowed Coco to visit her in the guest room, although that has always been off limits.

Do you think that was a mistake?


Posted in cats, family, update | 8 Comments

In Case You Were Wondering . . .

Two weeks without a blog post! Are you wondering if I’ve gone on an extended vacation? Given up on quilting? Abandoned my blog? No, no, and no.

But here’s what has happened: Late at night on Friday, Dec. 1, a fierce rainstorm swept through Portland. We were in the process of having the front and rear dormers on our house reroofed. (Late in the season for roofing, I know, but there were extenuating circumstances.) The roofers weren’t quite finished with the rear dormer by the time it started to get dark, so they covered the unfinished part with tarp and left for the day.

When I got up in the morning, it was raining inside my house! The wind was so strong it had literally ripped the tarp in half, giving the rain an opening to enter our house uninvited. The ceilings in the master bathroom, hallway, and sewing room — all on the second story — were damaged, and some of the water traveled down to the main floor and damaged the kitchen ceiling, too.

So far the roofing company and my contractor have been wonderful in dealing with the repairs, which couldn’t even be started until the attic and all of the ceilings and walls were determined to be dry as a bone. Industrial strength fans were strategically placed to help with the drying out; they ran for days. Everything in the master bath and linen closet had to be moved into either the master bedroom or the Annex, the name I’ve given to the other second-story bedroom I’ve claimed as a second sewing room. Everything in my sewing room except the cabinets and sewing tables had to be moved into the other rooms as well, of course.

Several years ago I had the ceiling in my sewing room replastered. Our home was built in 1913 so the original lath and plaster was covered with another coat of plaster. The water damage from the Dec. 1 storm resulted in part of the second coat of plaster separating from the original coat. This is what my sewing room ceiling looked like a week after the storm, when everything was dry and the roofers had removed the plaster that separated from the original layer as well as the original plaster ruined by the rain:

The solution we all agreed on was to fill in the lath and plaster area with plywood to level out the ceiling and then cover the entire ceiling with drywall. This is what the room looks like now:

But a temporary halt has been placed on finishing all of the ceiling repairs until some serious structural issues in the attic have been dealt with. (Part of those extenuating circumstances I mentioned in the second paragraph. . .)

My world is feeling very topsy-turvy at the moment. I am doing my best to maintain my equanimity but I do confess to moments of feeling overwhelmed. Tomorrow I’m going to try to rearrange the things that have been moved into the Annex so that I can at least get to my sewing machine. I know without a doubt that creating something with beautiful fabric will cheer me up considerably.


Posted in family, update | 14 Comments

Going Places

Happy first day of December! I’m just popping in to tell you that Diane’s Car Quilt has a new and improved name:

After seeing my post of November 25 with pictures of Diane’s finished quilt, I heard from Sandy P., a mutual friend of Diane’s and mine. Sandy said she liked the way the Flying Geese look like arrows pointing in different directions and suggested Going Places as a possible name. How clever of Sandy! It’s the perfect name for a car quilt, yes?


Posted in family, quilt labels, tutorial, update | 4 Comments

Disaster Averted!

I ended my last post with the breezy statement that after binding and labeling Diane’s Car Quilt, I was going to pop it into the washer and dryer to achieve that soft crinkly effect. Little did I know what was in store. . .

Into the washing machine the quilt went with a few clean rags to even out the load and a couple of Color Catchers, those ingenious paper-like squares that trap excess dyes in the wash water. I washed the quilt in cold water on a delicate cycle, something I have done many times with other quilts being washed for the first time. Imagine my shock and disbelief when I pulled the quilt out of the washing machine and saw blotches of red and blue all over the yellow fabric. My quilt — excuse me, Diane’s quilt — had bled! The dyes had even traveled through the batting to the quilt back.

Diane and I were in a panic. I’m one of those quiltmakers who wash and iron all of their fabrics before cutting into them. How did this happen? I have a theory, which I will tell you about shortly. Our first course of action was to spray Shout, a laundry stain remover, on all of the offending places. We filled the stationary tub next to the washing machine with cold water, plunged the quilt in, and let it soak. While that was happening, I started searching the Internet for remedies.

I remembered reading about quilt bleeding before and recalled that Dawn dishwashing liquid was involved in solving the problem. Sure enough, I found several references. There were variations in the approach but most recommended soaking the quilt in hot water with Dawn.

We washed the quilt again in cold water to remove the Shout. I wish I could say it came out perfectly but it didn’t. It was definitely better but there were still offending blotches all over the quilt. This time I applied Dawn liberally to each remaining blotch, filled the stationary tub with warm water, and put the quilt back in to soak. I just couldn’t bring myself to use hot water as most sites recommended.

Fast forward to a happy ending. After a soak in the warm water and one more trip through the washer using warm water, the quilt came out with nary a bleed spot in sight. Whew! Into the dryer it went, and it dried beautifully. It did shrink a bit more than I expected, finishing at 40½” square.

So . . . this is what I think happened:  my washing machine is the kind that adjusts the water level to the size of the load. First it releases a little water into the drum, spins the load a bit, adds more water, spins again, and finally lets the remaining water in before the agitation begins. I think the bleeding happened in the initial stages of the water filling the drum, when the fabrics in the quilt were only slightly wet and were rubbing against each other as the load was spinning.

It didn’t occur to me to take photos of the bleeding for my blog. I was totally fixated on trying to eliminate the blotches. You can bet that the next time I wash a quilt, I will immerse it in water in the stationary tub first and transfer it to the washing machine while it’s soaking wet.

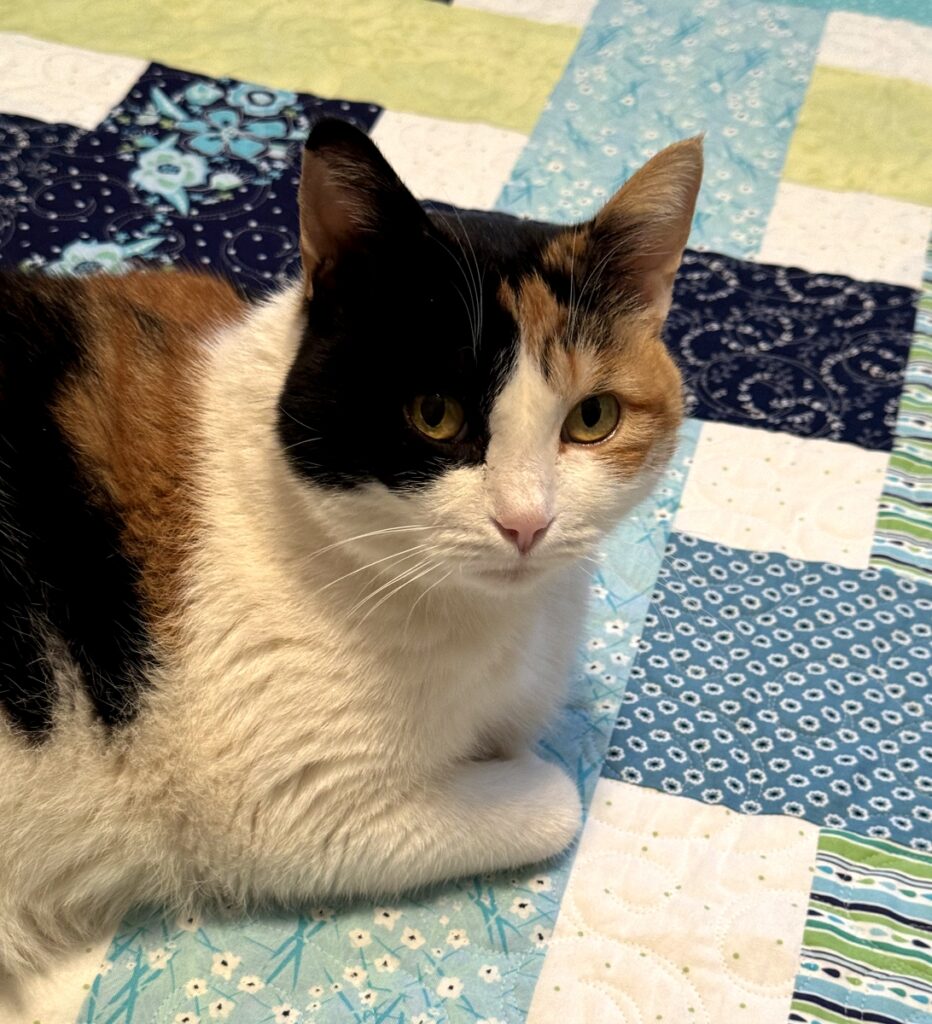
And now I am both relieved and delighted to show you my sister’s freshly laundered car quilt. As you can see, Coco has claimed it, albeit temporarily. Notice not one but two proprietary paws:

All’s well that ends well!


Posted in cats, family, update | 11 Comments

It’s A Wrap: Diane’s Car Quilt

Finally! My sister Diane’s car quilt is bound and labeled. I wasn’t able to come up with a clever name for the quilt but Diane is quite content to have it identified as her car quilt. Here’s a look at the front so you can see how nicely the ½”-wide binding frames the quilt:

Diane’s Car Quilt, 42″ Square (2023)

Here’s a look at the back:

The blue and yellow prints pulled from my stash work very well with the French provincial border fabric on the front.

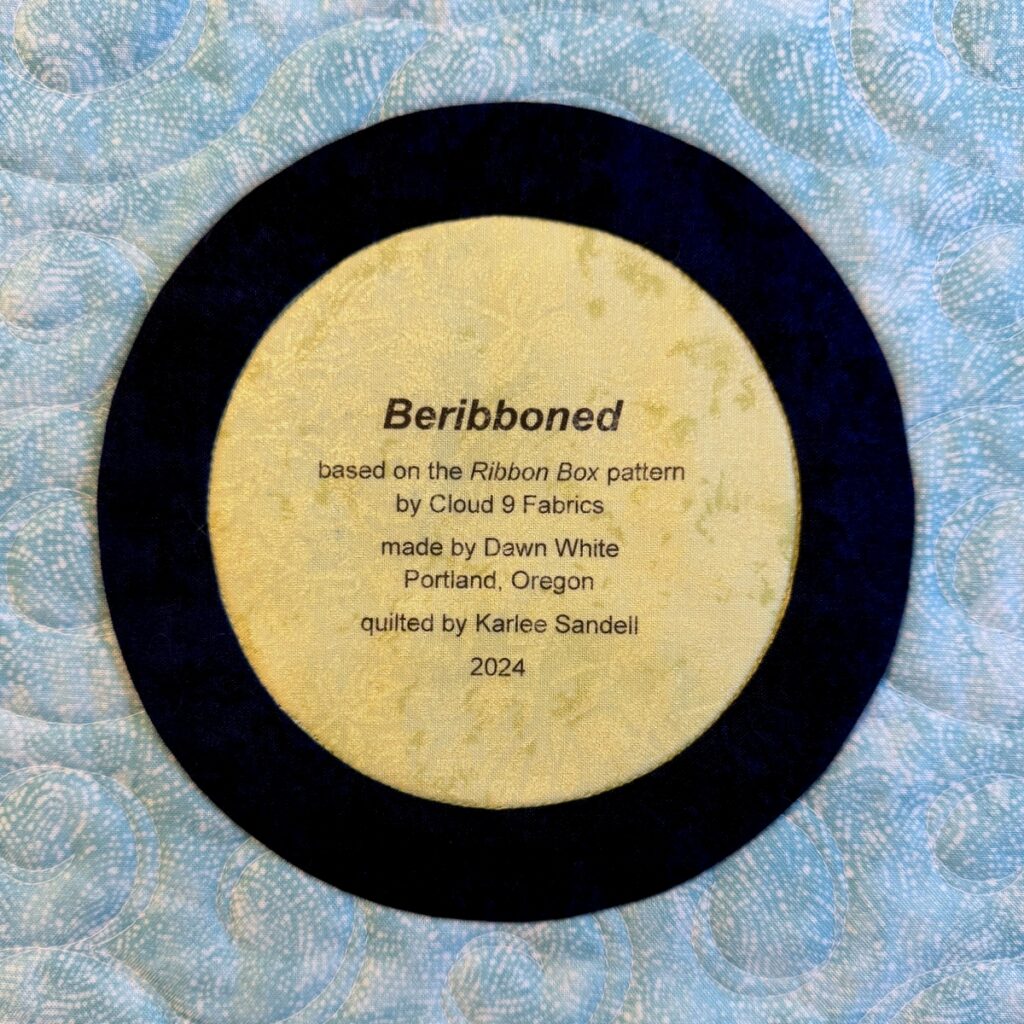
Here’s a close-up of my signature round label:

It was made using a compact disc as a pattern. You can find my picture-heavy tutorial on that method right here.

A couple of you asked about the pattern. I didn’t use a pattern; I designed this very simple quilt for a beginning quiltmaking class and it became my class sample. I started with alternating Nine-Patch and Rail Fence blocks. The blocks finish at 6″ square so the strips were cut 2½” wide for both blocks. Then, to give my students some additional options, I replaced some of the blocks with Flying Geese units; two units make a block that finishes at 6″ square.

This is the initial design rendered in the software program EQ7 and colored to match the palette of Diane’s quilt:

If you look carefully at the center of the quilt, you’ll see that the center block is a simple Nine-Patch. Notice that the corners of the block are navy blue. The addition of navy and yellow Flying Geese units around the center block creates the illusion of a navy diamond. I really like the effect and feel that it adds visual interest. With the right combination of fabrics, even a simple design like this can make a quilt sing.

If there is interest, I will write up my measurements and directions in a future post. The priority now, though, is to pop Diane’s Car Quilt into the washing machine and dryer for that wonderful crinkly effect.


Posted in family, quilt labels, Quiltmaking 101, tutorial, update | 4 Comments